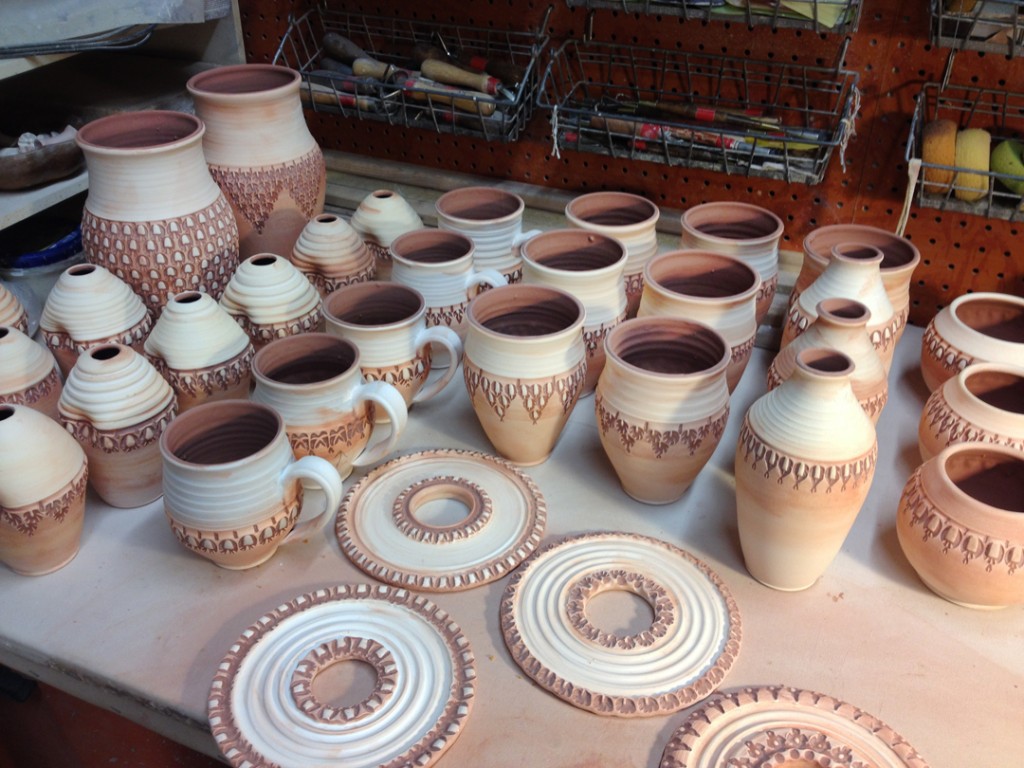
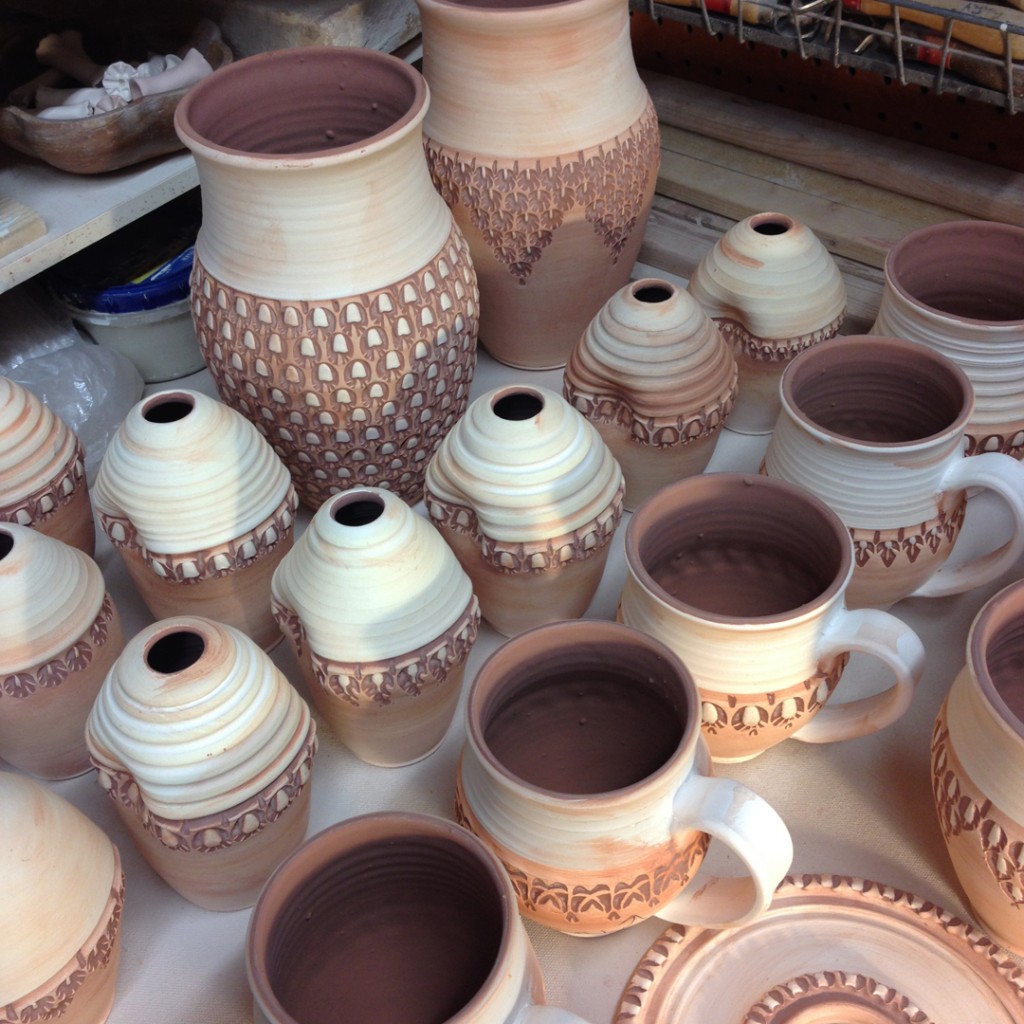
Did a little glazing & wadding in my studio after camp prepping for this weekend’s Three Day Soda-Firing Workshop. My students should be glazing their work too… I just want to be ready with a few extra pieces for kiln filler. Just in case.
Gary Jackson: Fire When Ready Pottery
A Chicago potter’s somewhat slanted view of clay & play |

Did a little glazing & wadding in my studio after camp prepping for this weekend’s Three Day Soda-Firing Workshop. My students should be glazing their work too… I just want to be ready with a few extra pieces for kiln filler. Just in case.

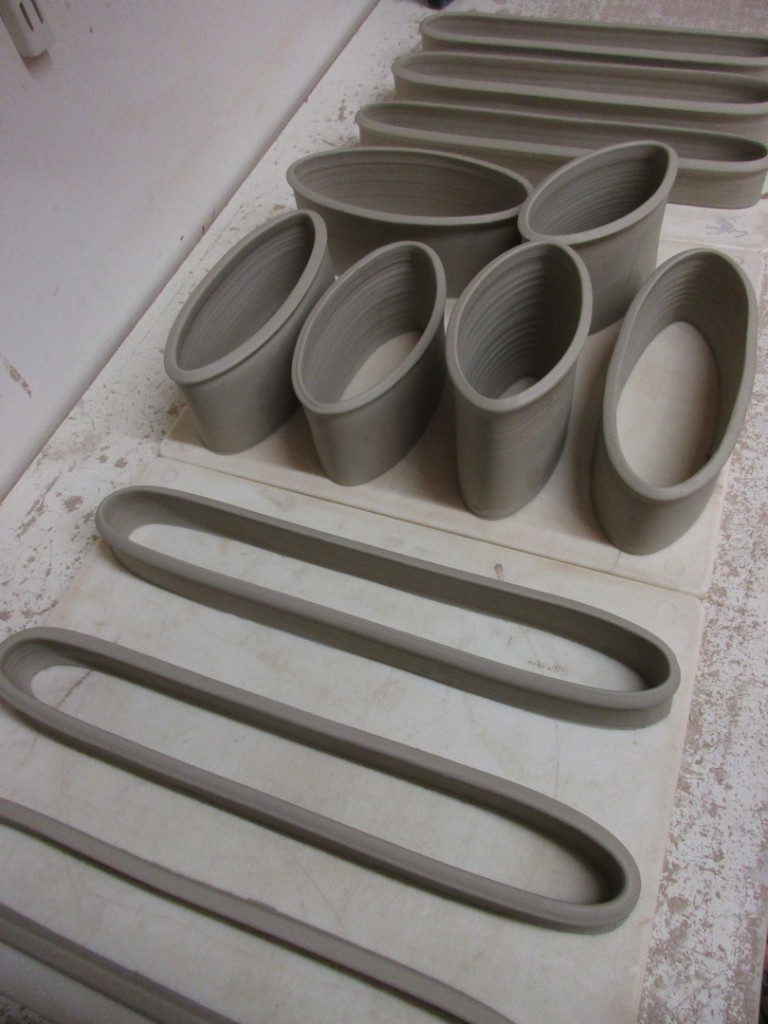
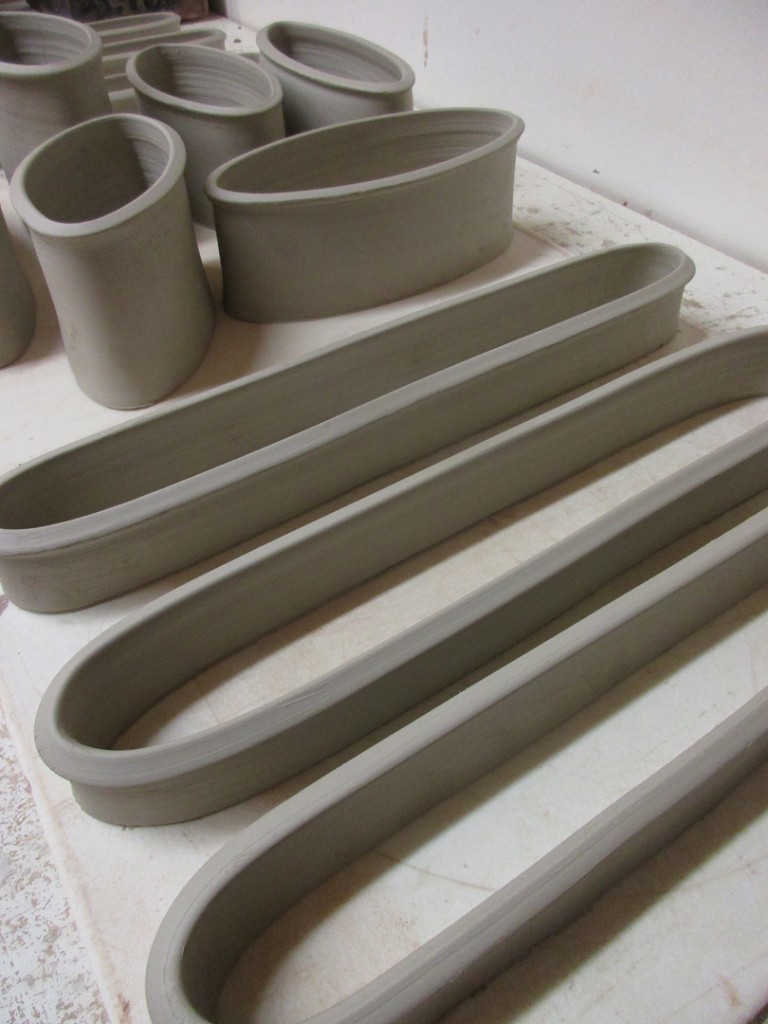
After camp, it was an OVAL kind of day!
Because some times round is over-rated.
So the class demo bowls have been “under wraps” in my studio for a few days. But I finally got around to do doing some stamping & detailing. Making the “not-so-basic” bowl demo even MORE not so basic!!!
A quick row of stamps around the edge of a thin flared rim.
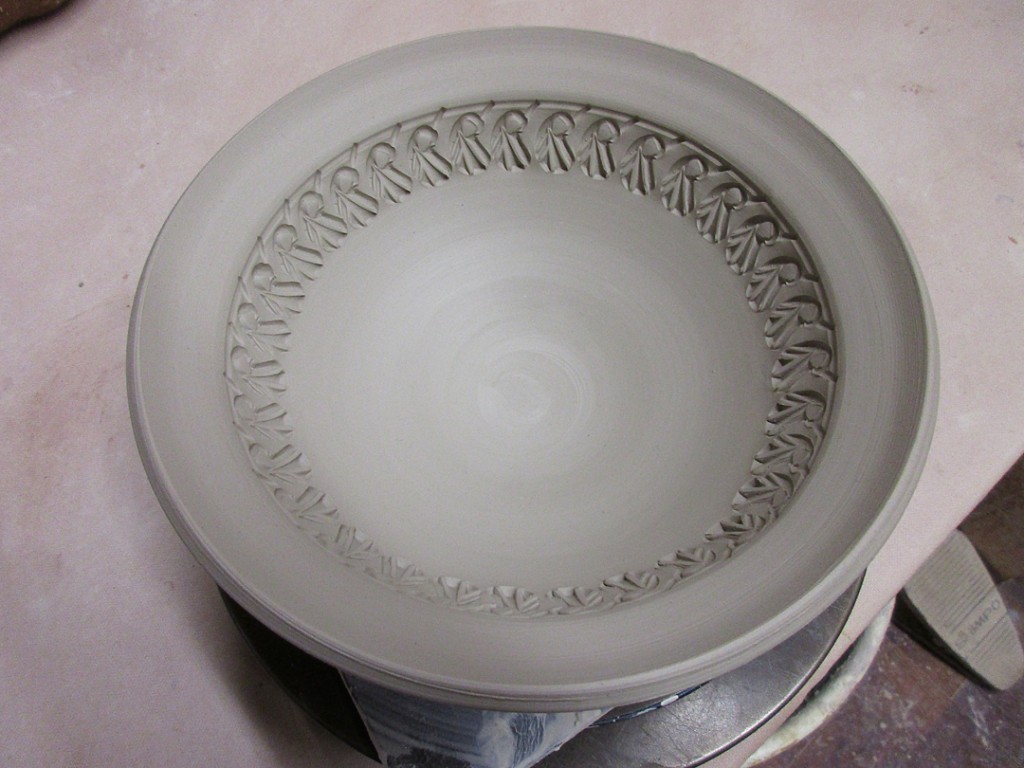
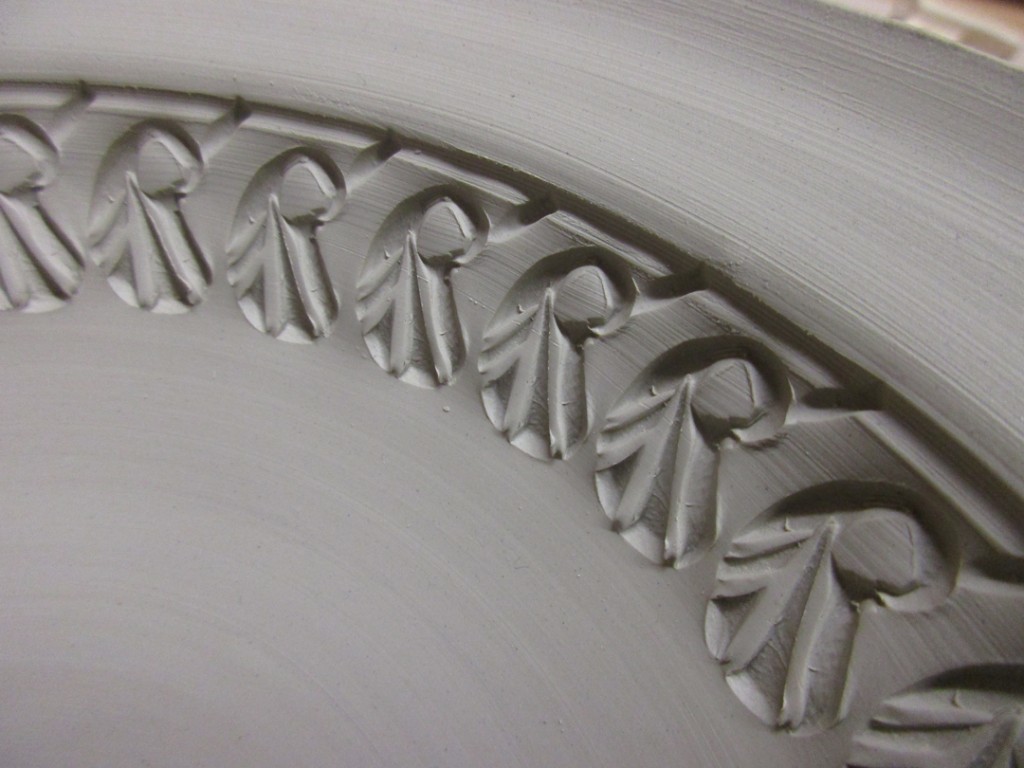
A thinner row of stamping on the smaller section of the bowl.
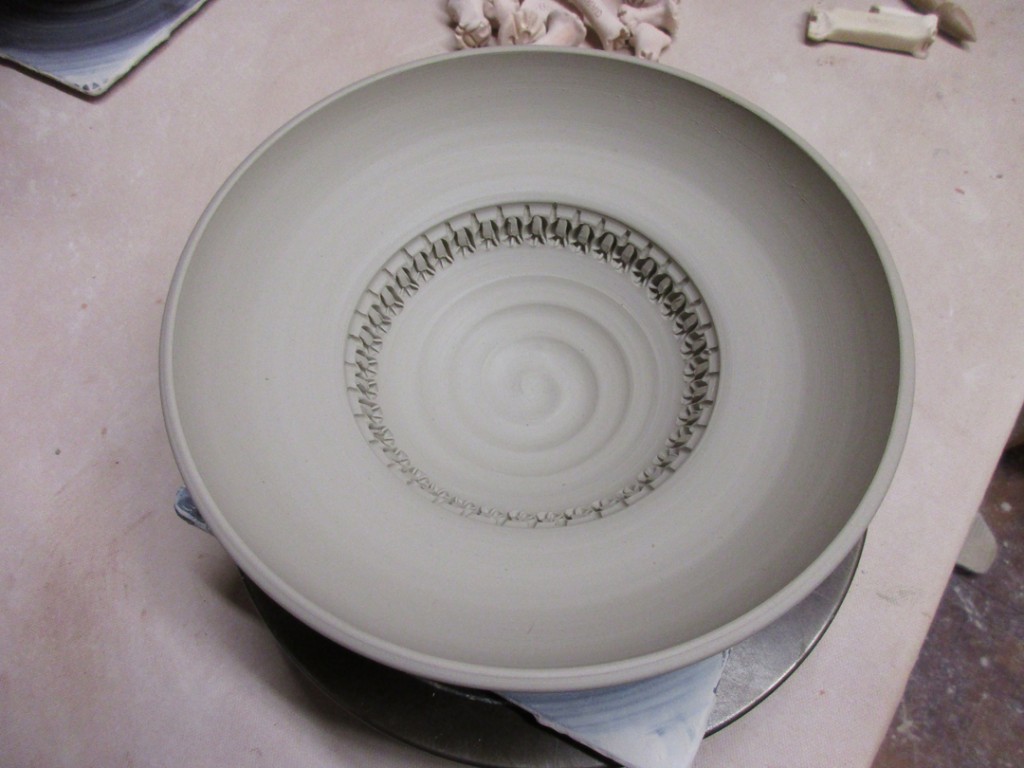
Another row of stamps around the interior of this bowl with a fluted flange.
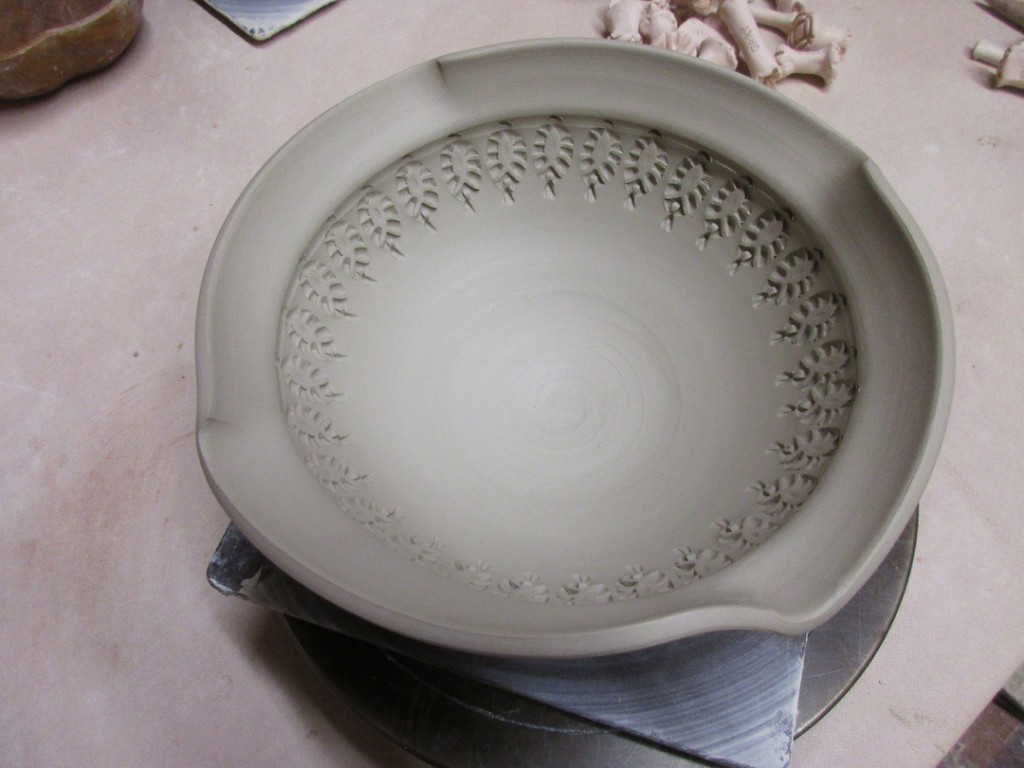

This bowl had two finger-twists… so I decided to stamp HALF, and only half!!!
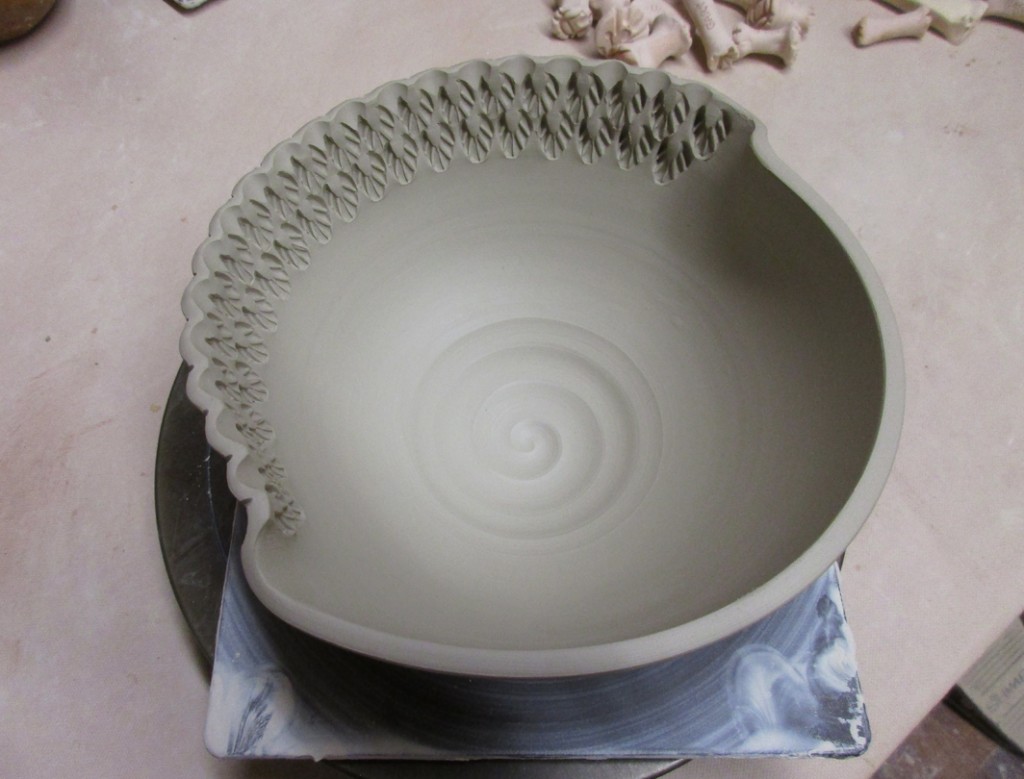
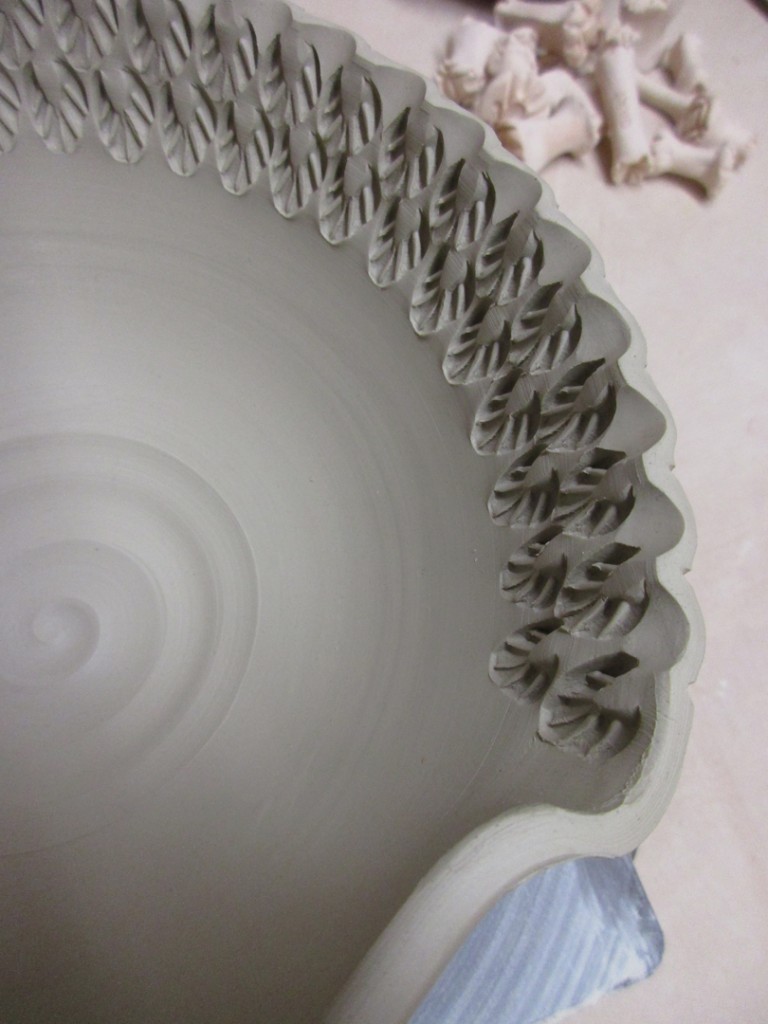
Eight fluted accents… now with angled stamps & little button accents.
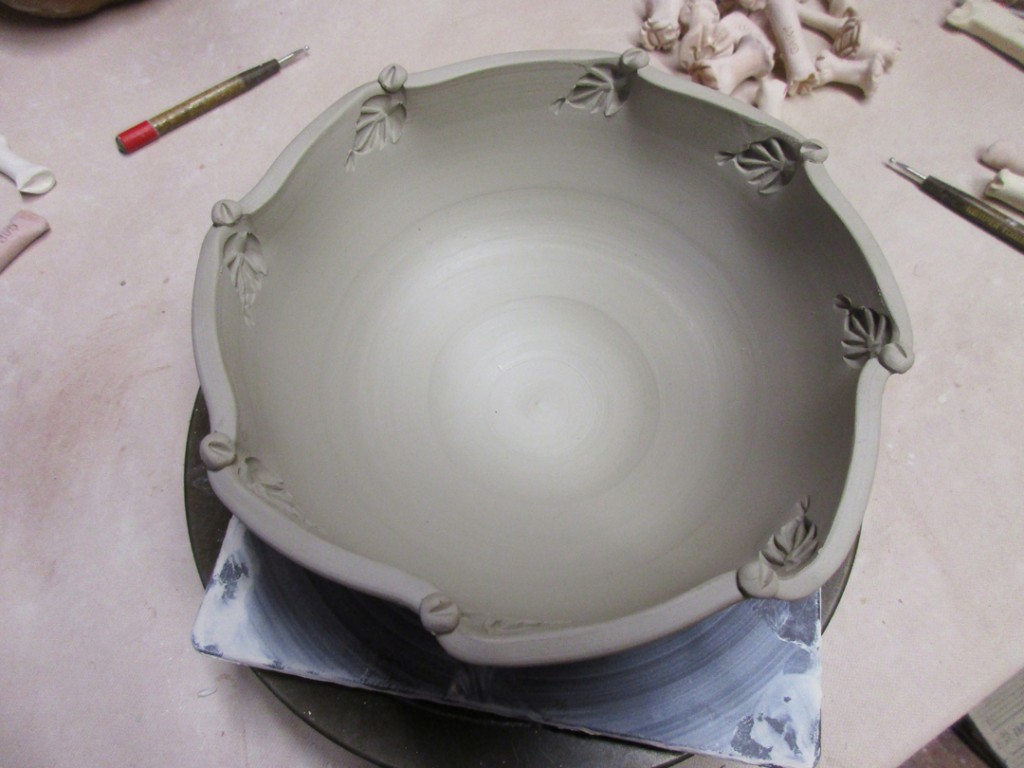
The basic split-rim bowl now has little “buttons” attached where it was pinched back together. You can’t really see it, but there’s also a stamp on the exterior just below each pinch point.
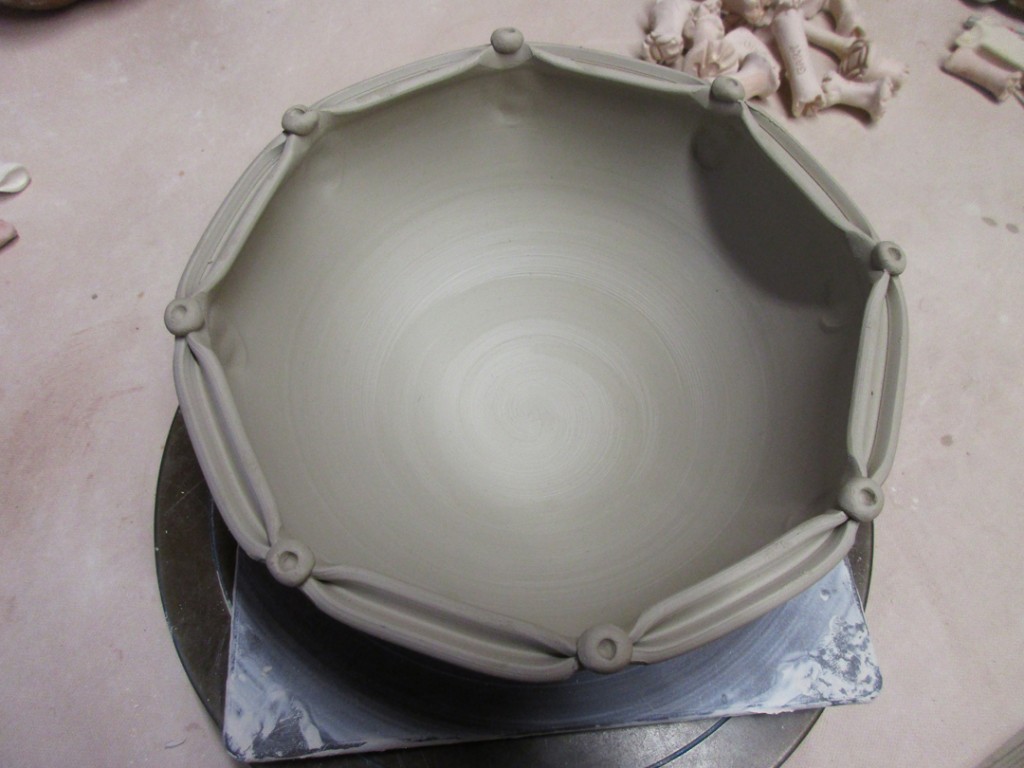
Same deal here… a small stamp on the exterior and “buttons” added at the pinch points.
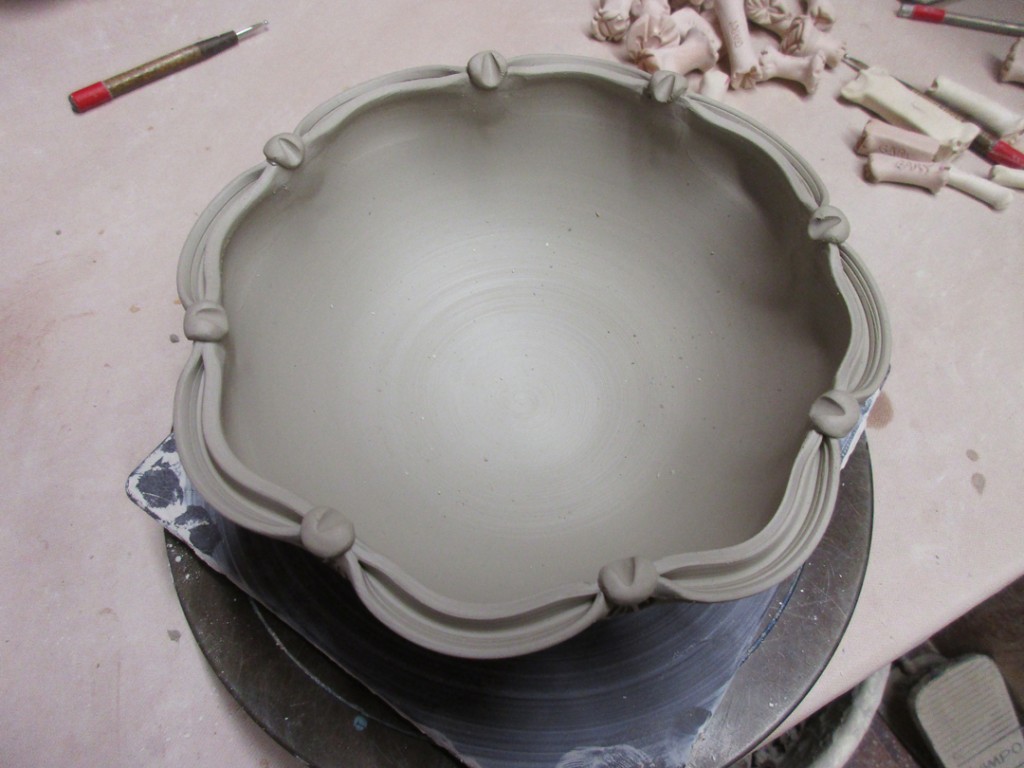
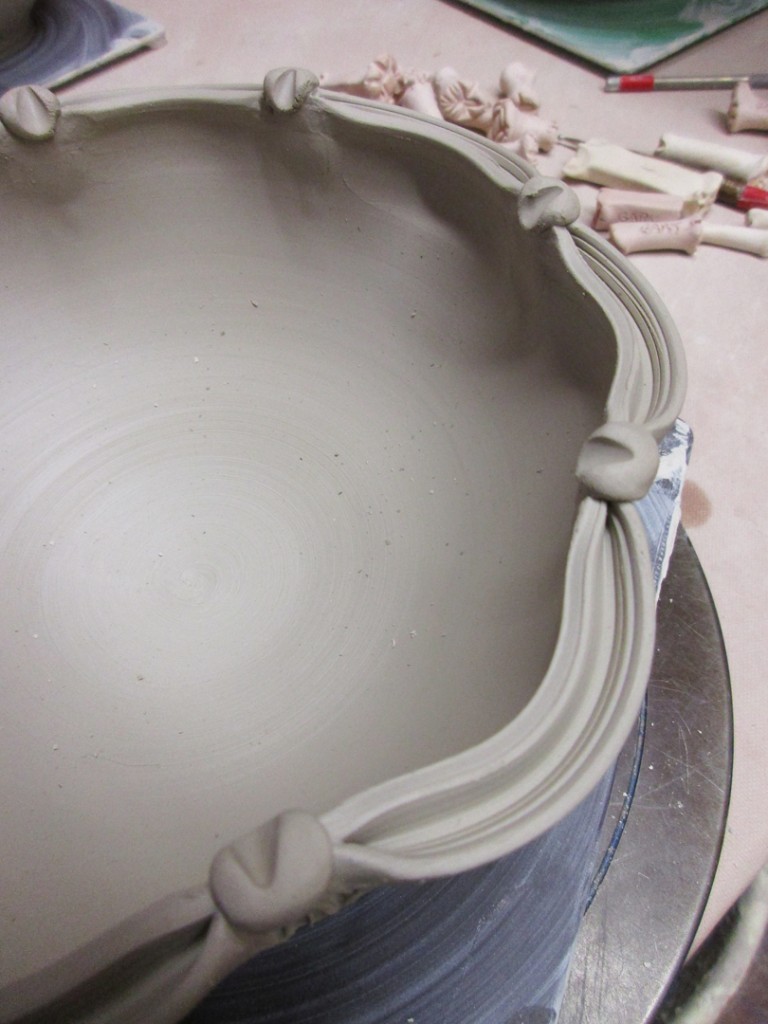
The bowl with the dragonscale “flower” got a simple “grooved” rim.

The basic bowl with solid white slip inside got a simple row of stamps along the top exterior.
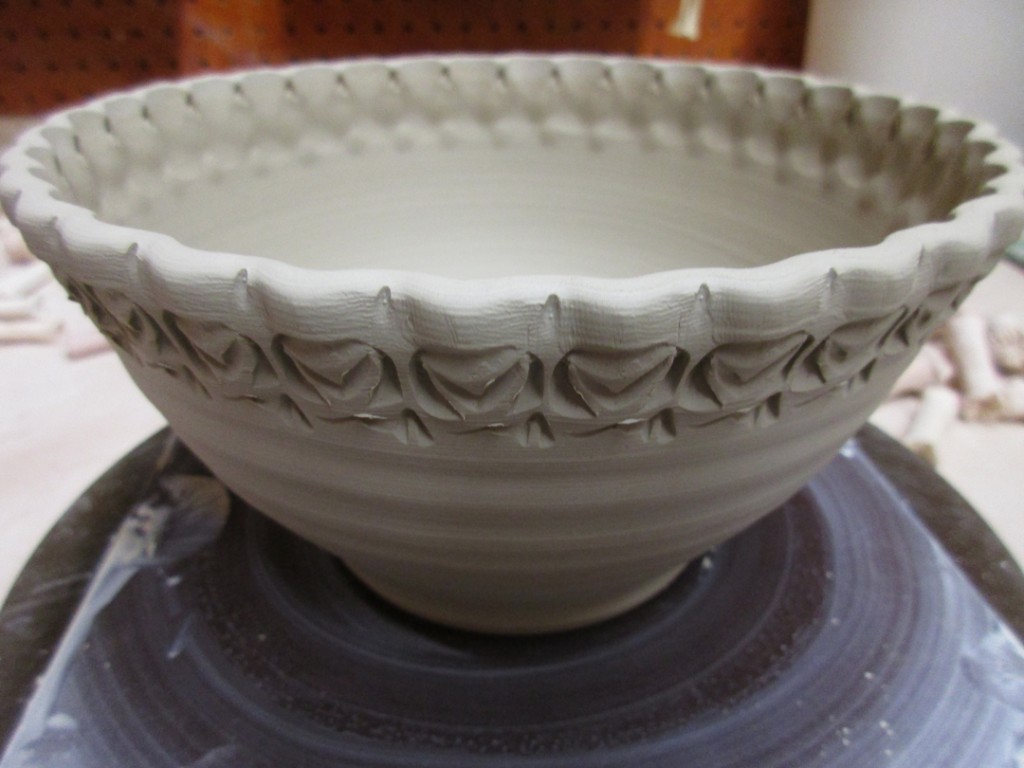
A simple bowl… a simple rim… no longer so simple with a row of stamps!
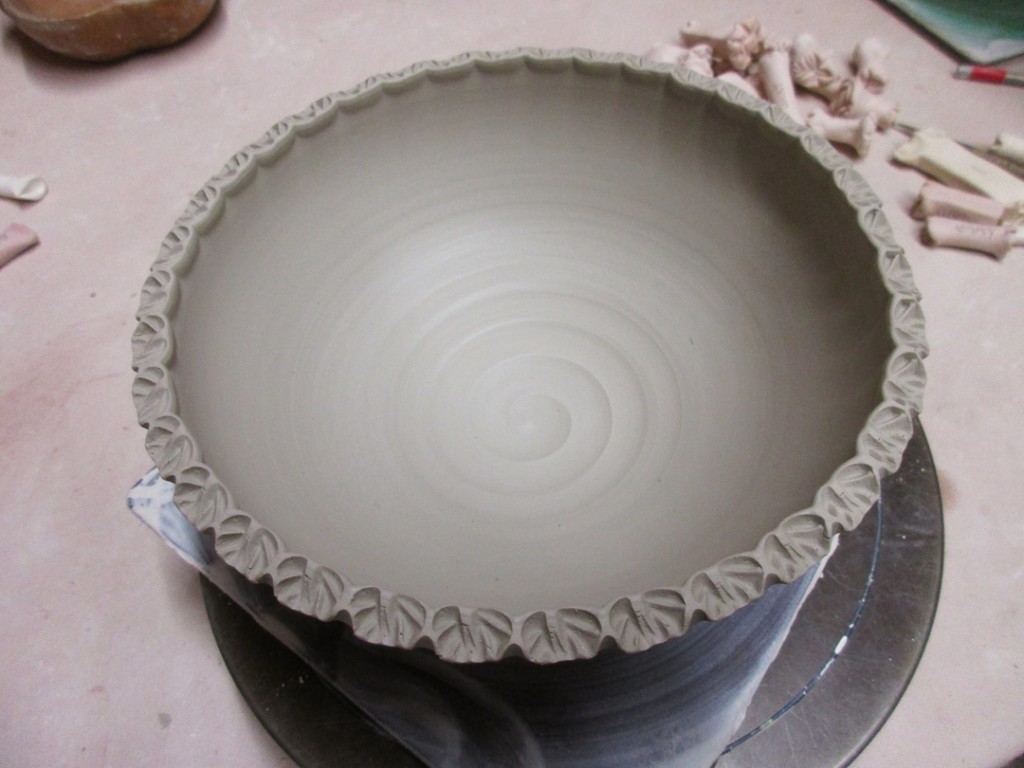
Grooved rim should catch & hold some glazes in a pretty cool way.
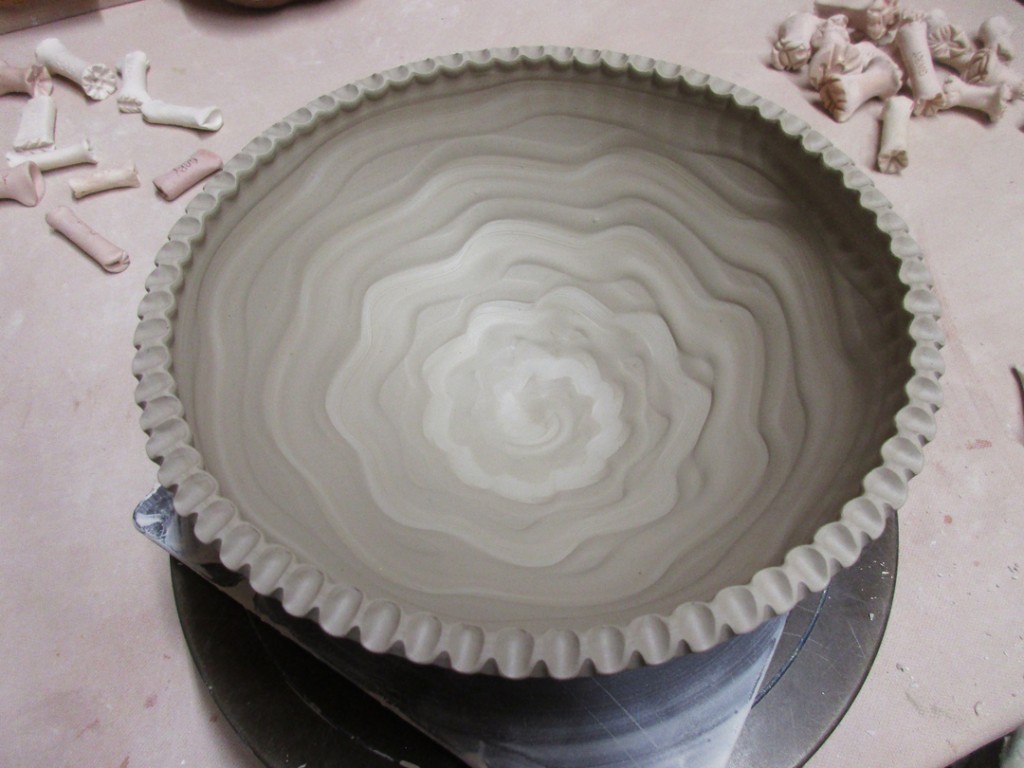
The split rim square has been detailed… but only on the inside is the rims!
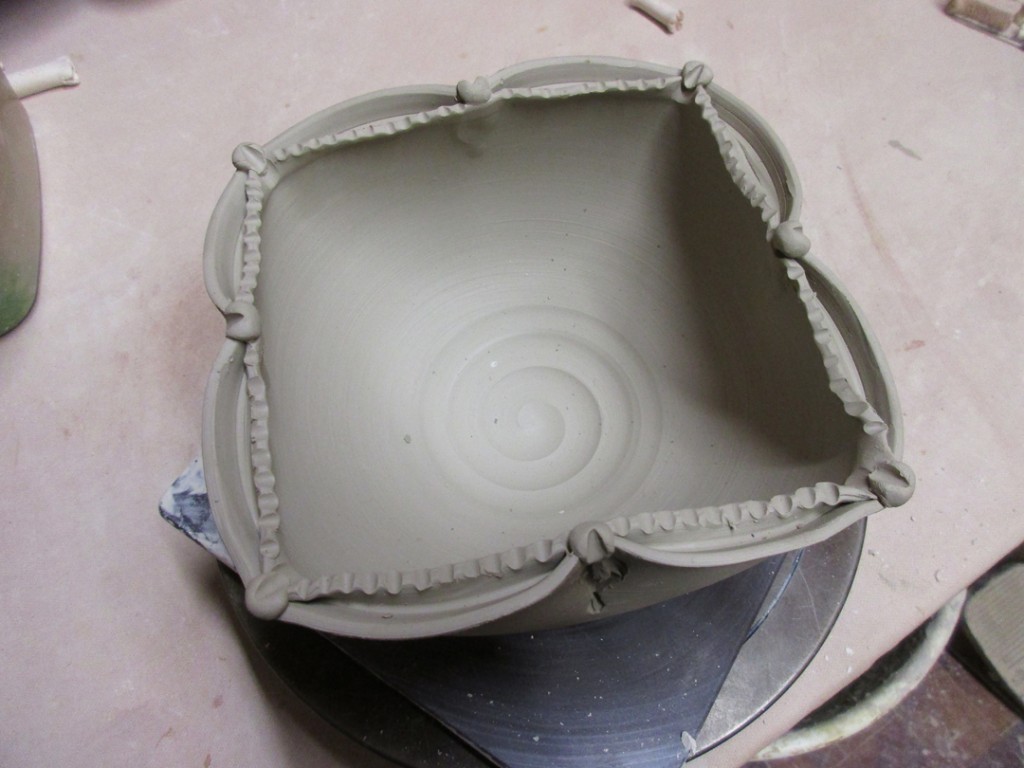
With some concentric circles in the bottom, I though circular dot stamps were perfect!
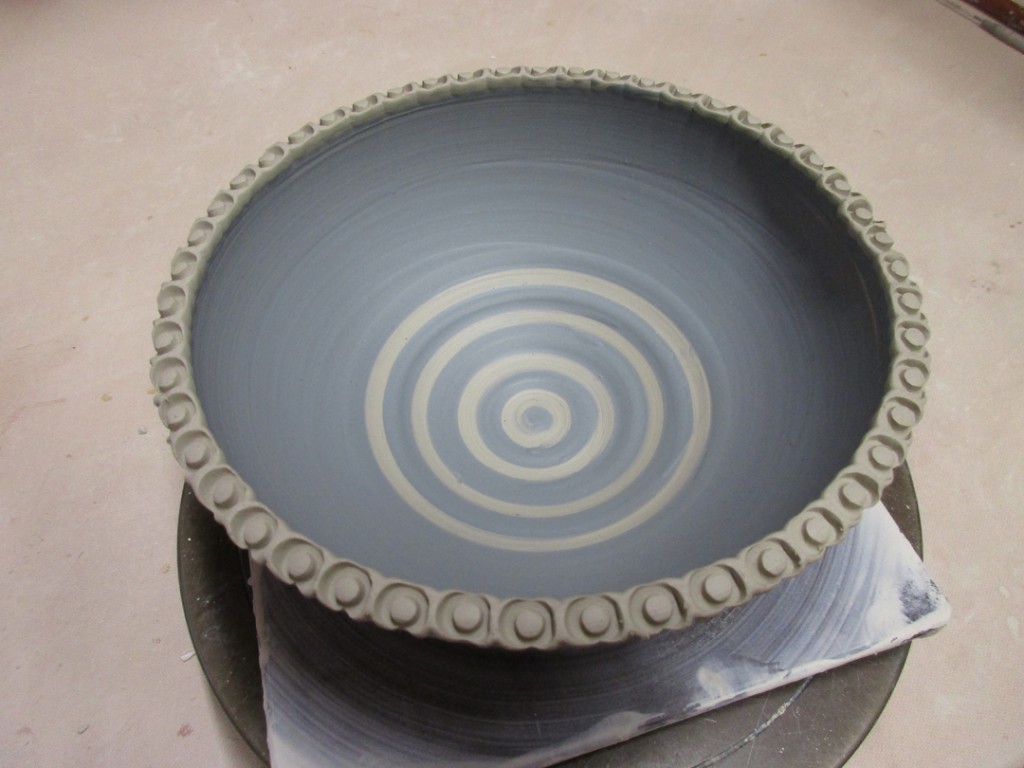
The chattering pattern has a certain “motion” to it… so I tried to accentuate the movement with some angled grooves around the rim.
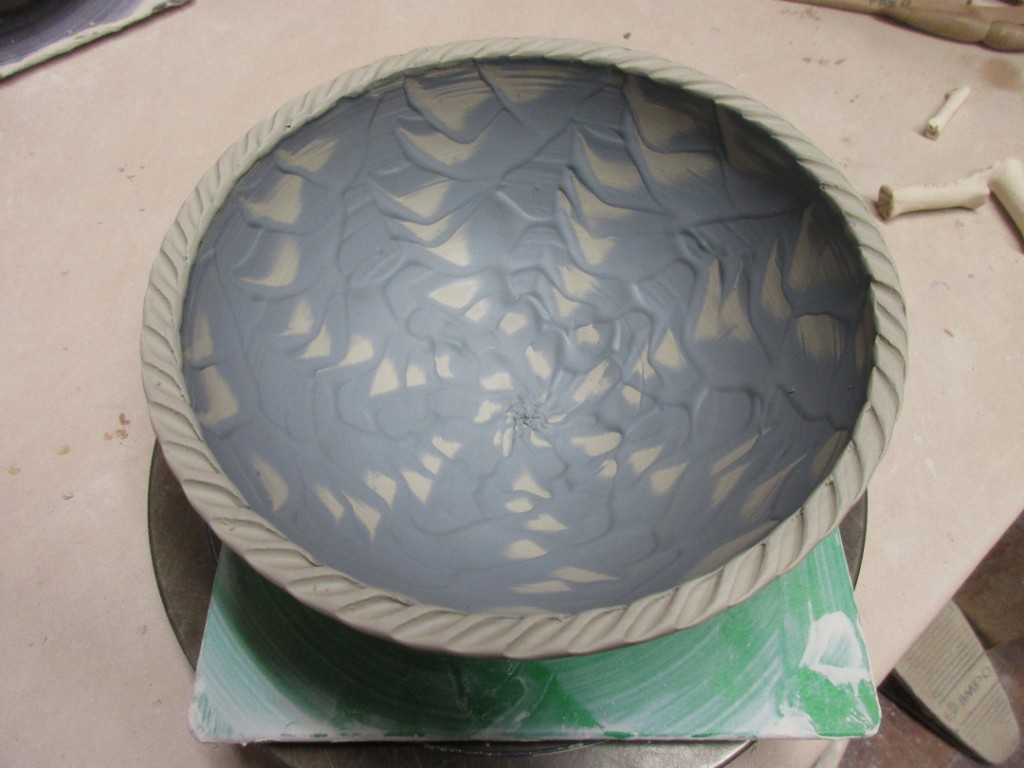
Vertical stripes dragged through the slip are mimicked with the grooved rim.
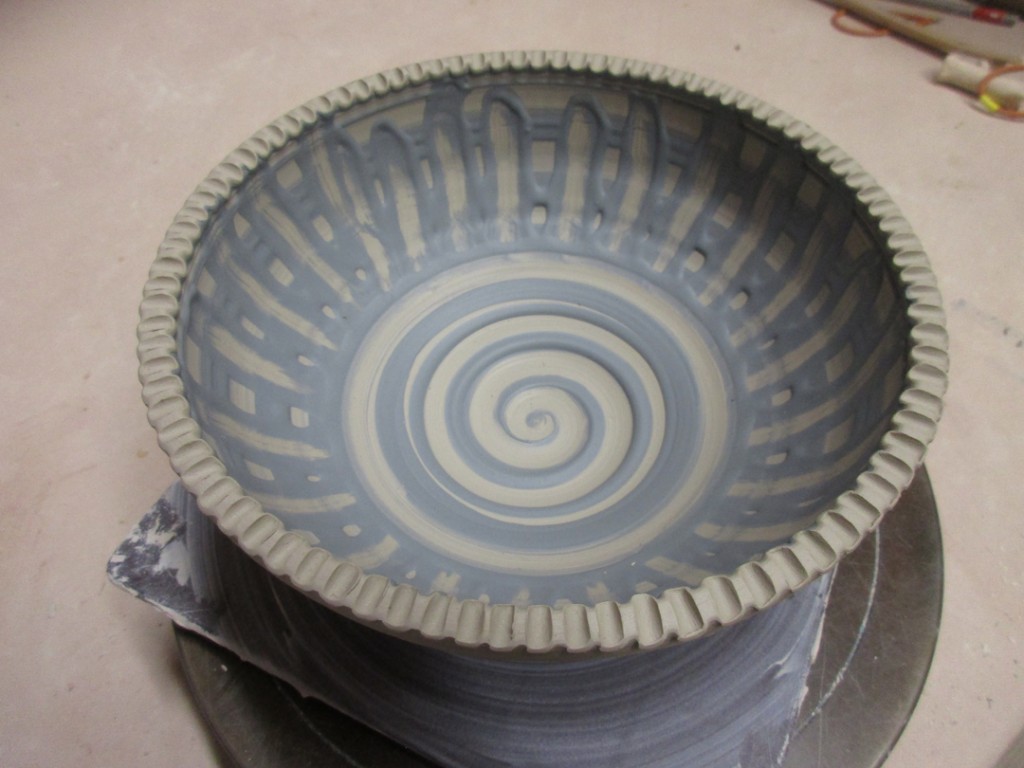
So now they’re drying and waiting to be trimmed. One step closer to done.

So many stamps. So many patterns. So many possibilities.
And just for the record, I have over six tool boxes just like this one
full of my handmade stamps!!!


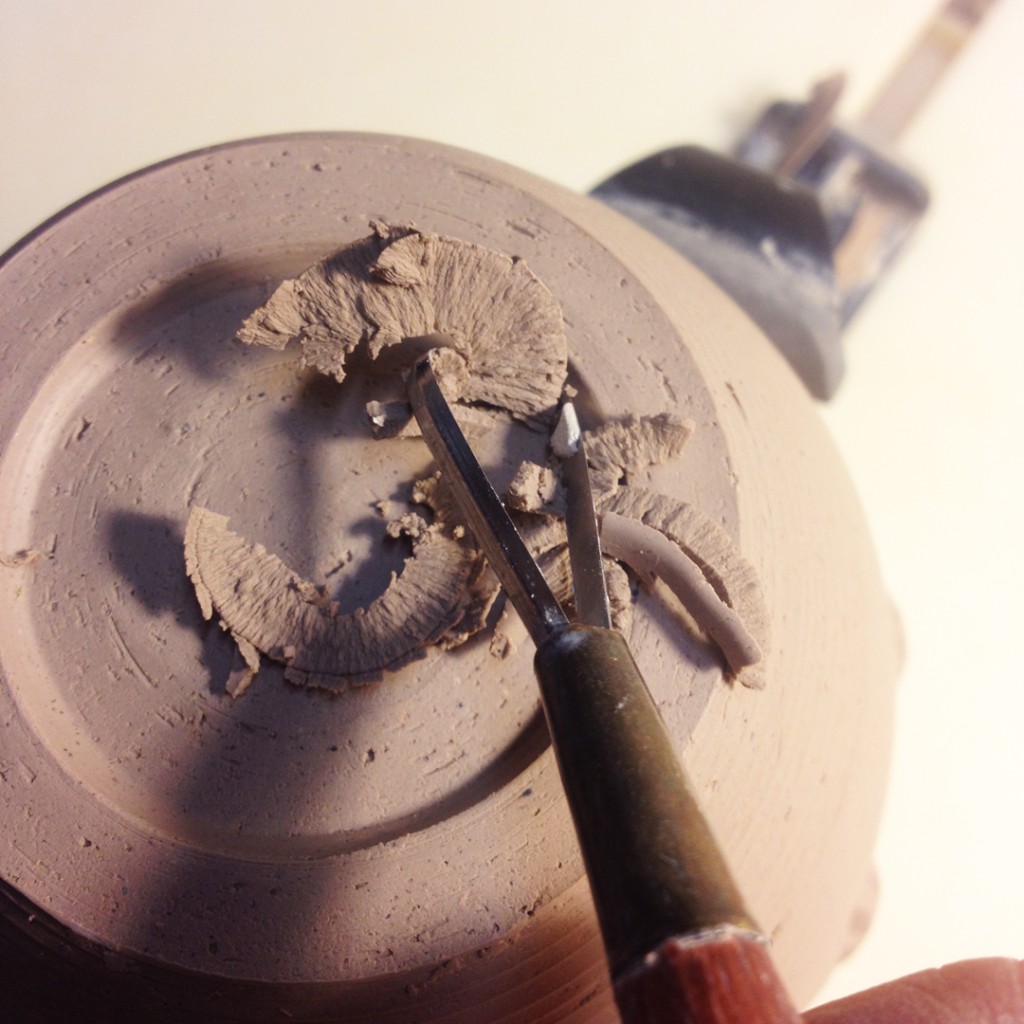
Spent some time tonight trimming my stamped cylinders… with my favorite trimming tool. THE GIFFIN GRIP. It’s a brilliant contraption that instantly centers things and makes my trimming life so much easier in the studio!!! Love it.
Spent the afternoon making some more FREE clay. My reclaim was turned out onto a large plaster bat a few days ago. The gooey clay has firmed up a bit… so it was a day full of “fast-drying” with slices in front of the fan, and a LOT of wedging!!! But still… five bags of FREE CLAY!!! And you know how I like free clay!


I had a great “surprise” visit from a budding potter from Nova Scotia yesterday. She follows along on Facebook and found herself in Chicago for a conference. So she stopped by and luckily I was around to meet her, chat and give her a quick tour. So much fun to meet some of my Facebook friends in person! Plus, she now has two nice mugs going home with her to Canada!


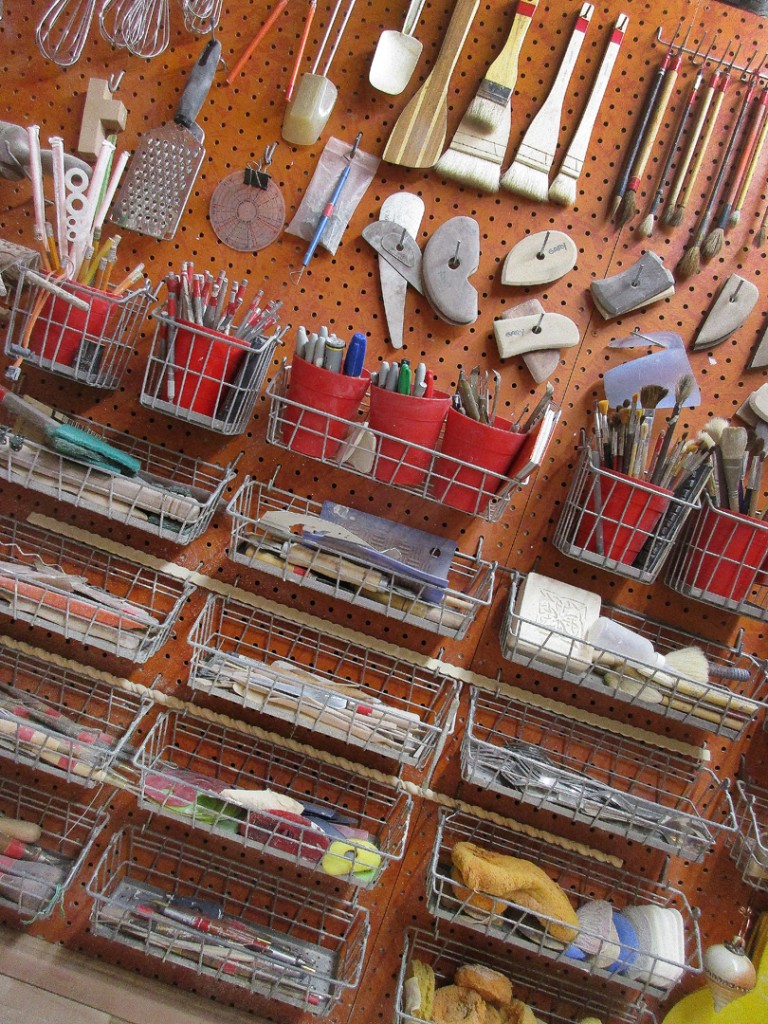
When faced with a small studio space in Chicago,
organization is the key. And I have one suggestion… PEGBOARD!!!
Go vertical with the help of IKEA baskets & cups.
It’s been a very busy week. Making. Glazing. Loading. Firing.
All in preparation for this weekend’s Schaumburg Prairie Arts Festival.
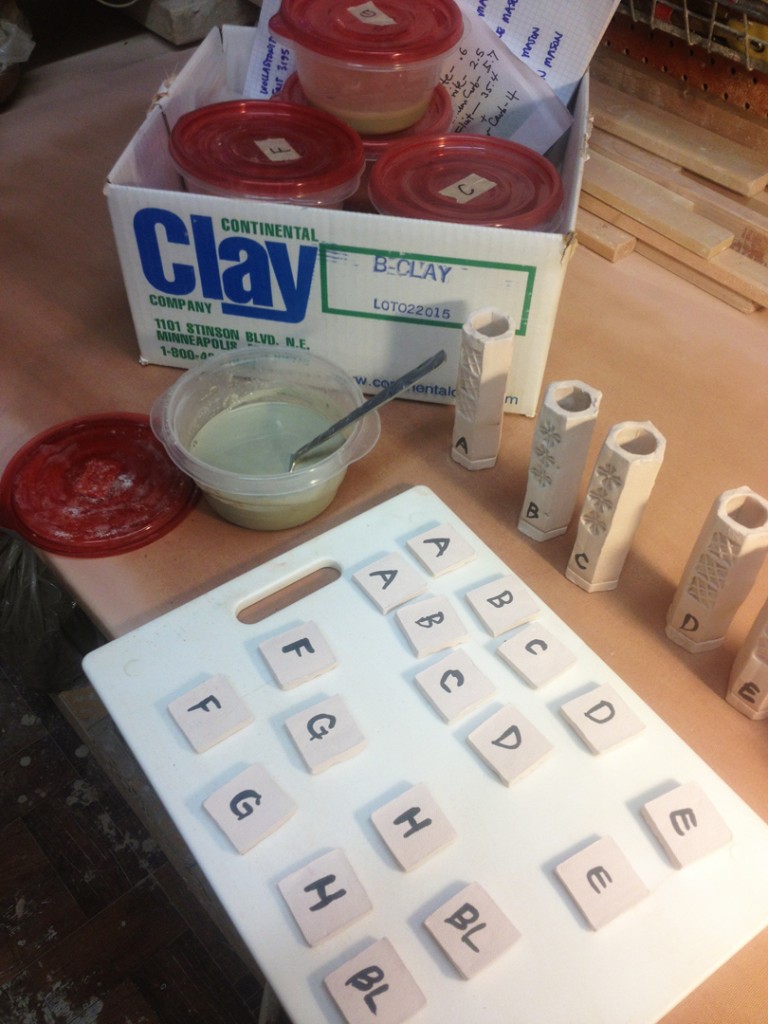
And while I’m already rushing about, why not add one more project to my to-do-list like developing some new glazes? I’m firing a Cone 6 electric oxidation kiln for some fun bright colors. So I mixed up a few new Cone 6 glaze recipes… hoping that one or two of them might turn out nice?!
I’m firing two test tiles of each color – one for the top of the kiln, and the other for the bottom. As well as a vertical tube to check for runniness. Fingers crossed that something works out. Maybe not in time for this weekend’s art fair… but maybe in time for some new colored pieces for Hinsdale in another two weeks?

|
Gary Jackson: Fire When Ready Pottery
Lillstreet Studios ∙ 4401 North Ravenswood, Chicago, Illinois 60640 ∙ 773-307-8664 gary@firewhenreadypottery.com |