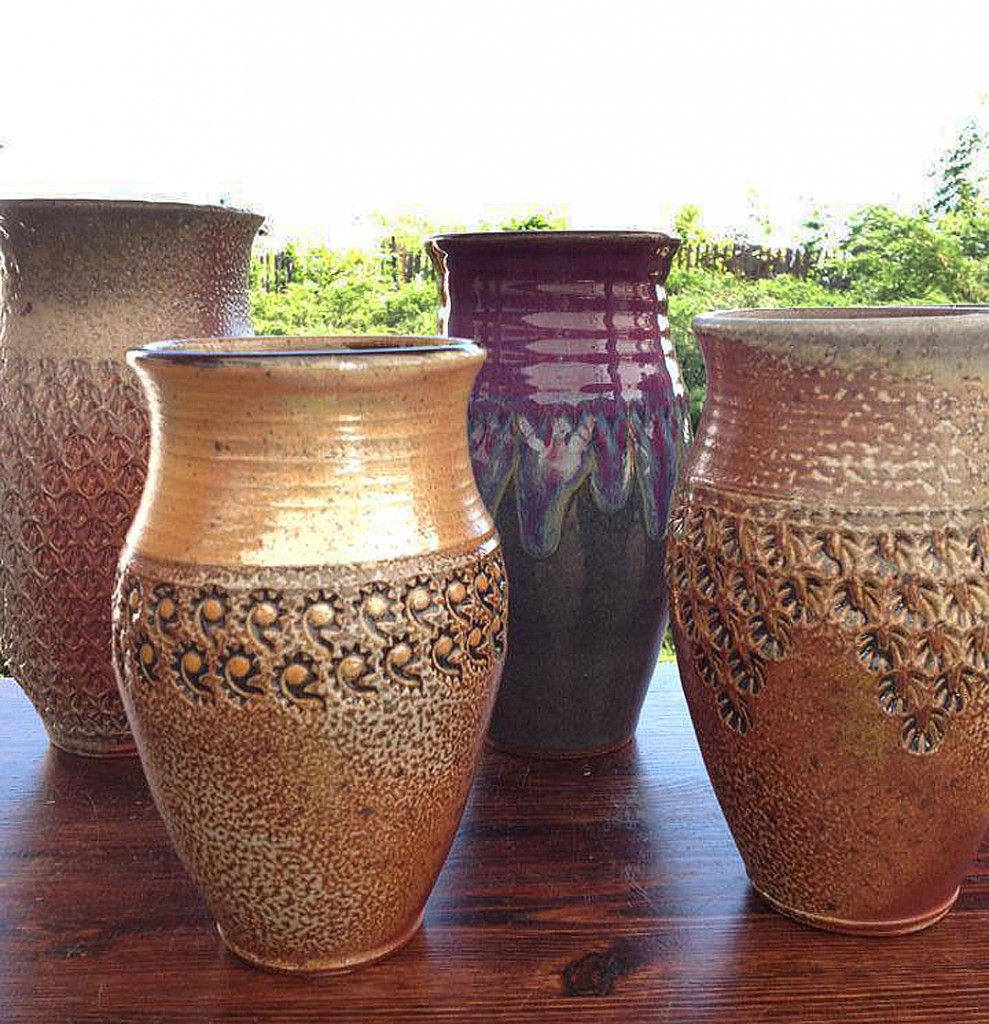
Tuesday night I showed my class how to make larger bowls and platters.
I made three pieces for them… but I felt two of them needed a little somethin’-somethin’.
Tonight I pulled out some stamps and did a bit of decorating. So here goes…
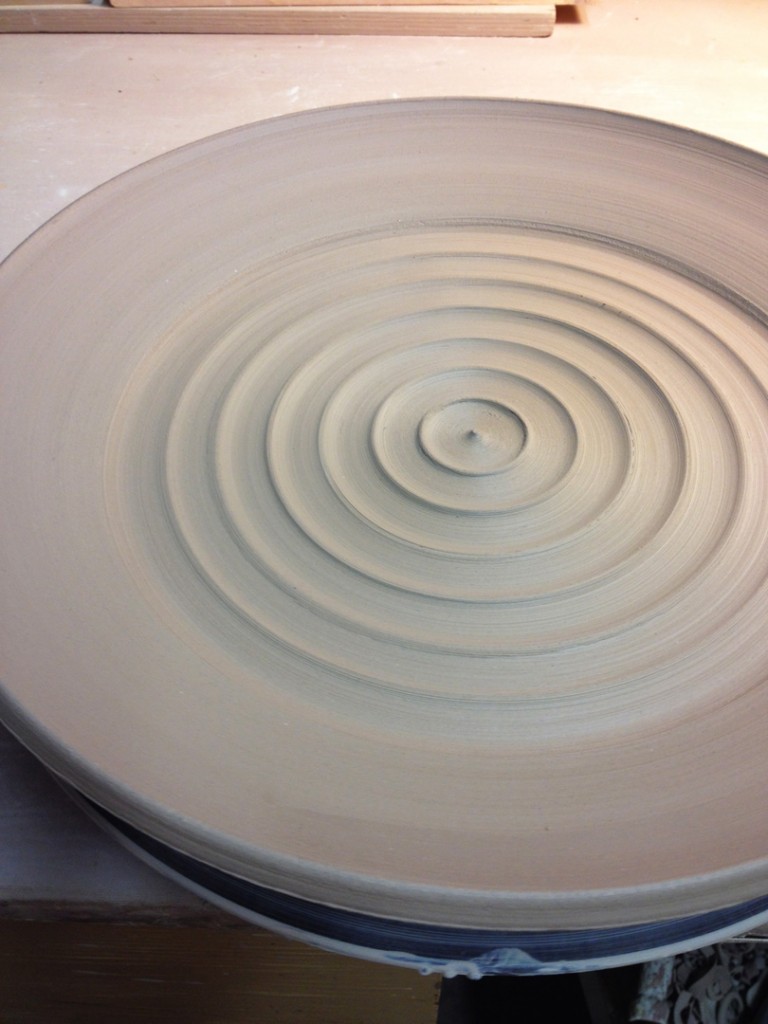
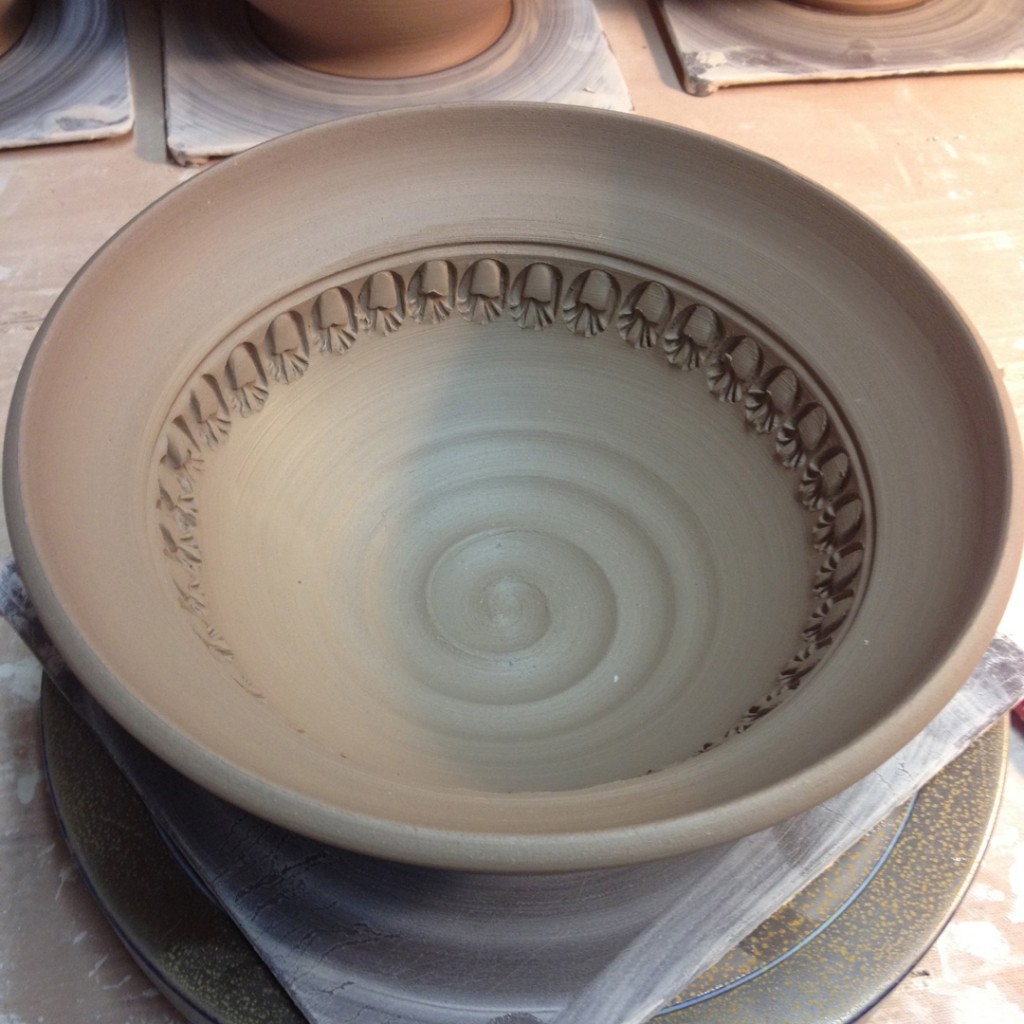
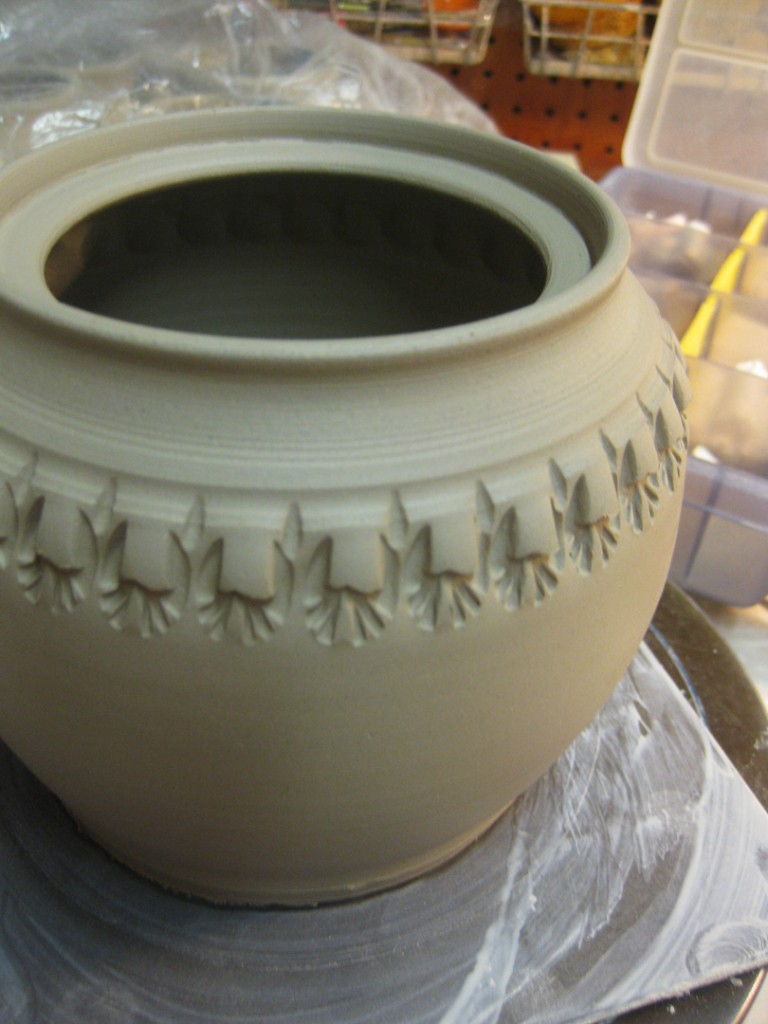
Starting with the plain bowl that I threw Tuesday night. It was wrapped up under plastic and tonight it was on the “wetter-side” of leather heard. Perfect for stamping!
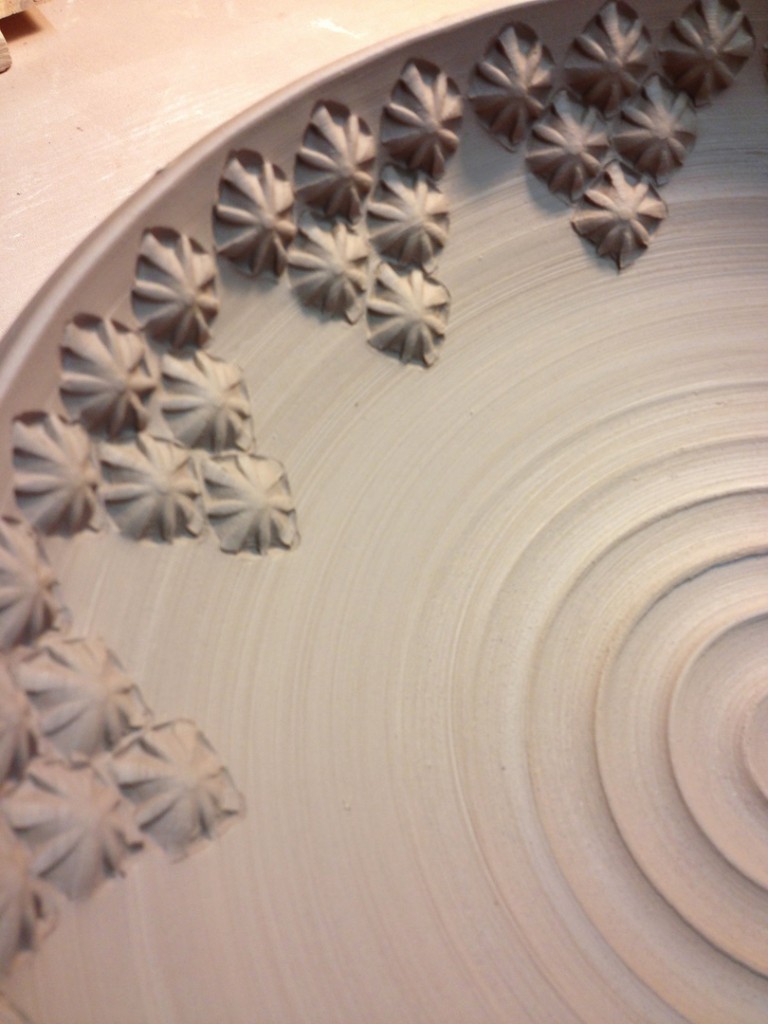
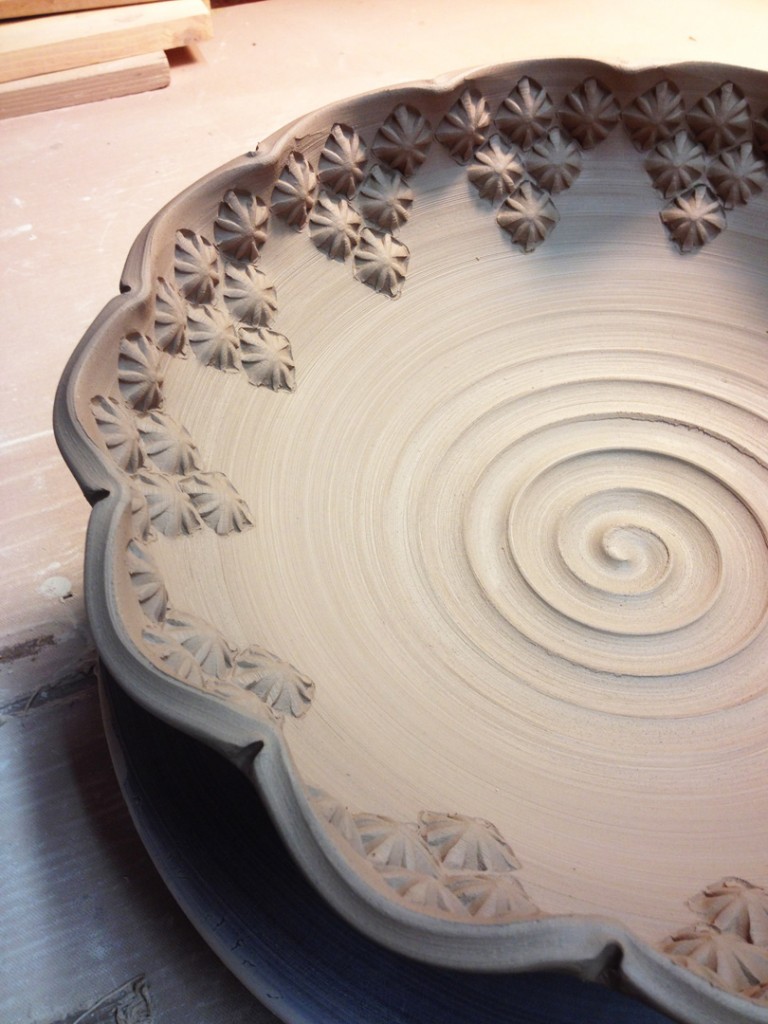
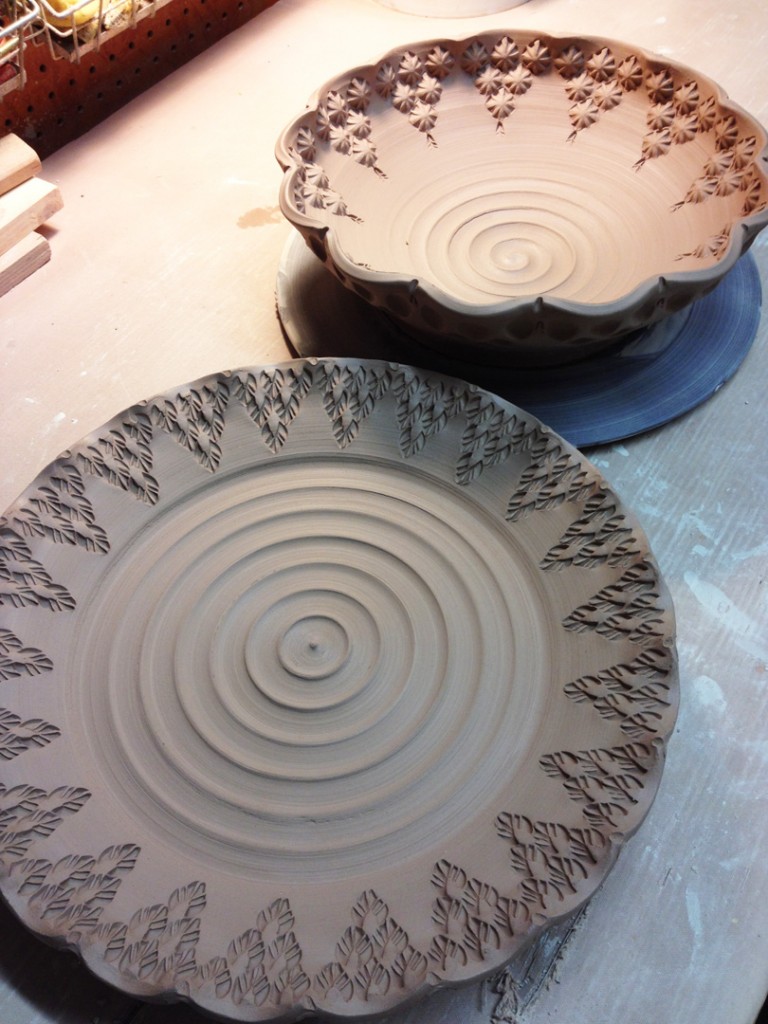
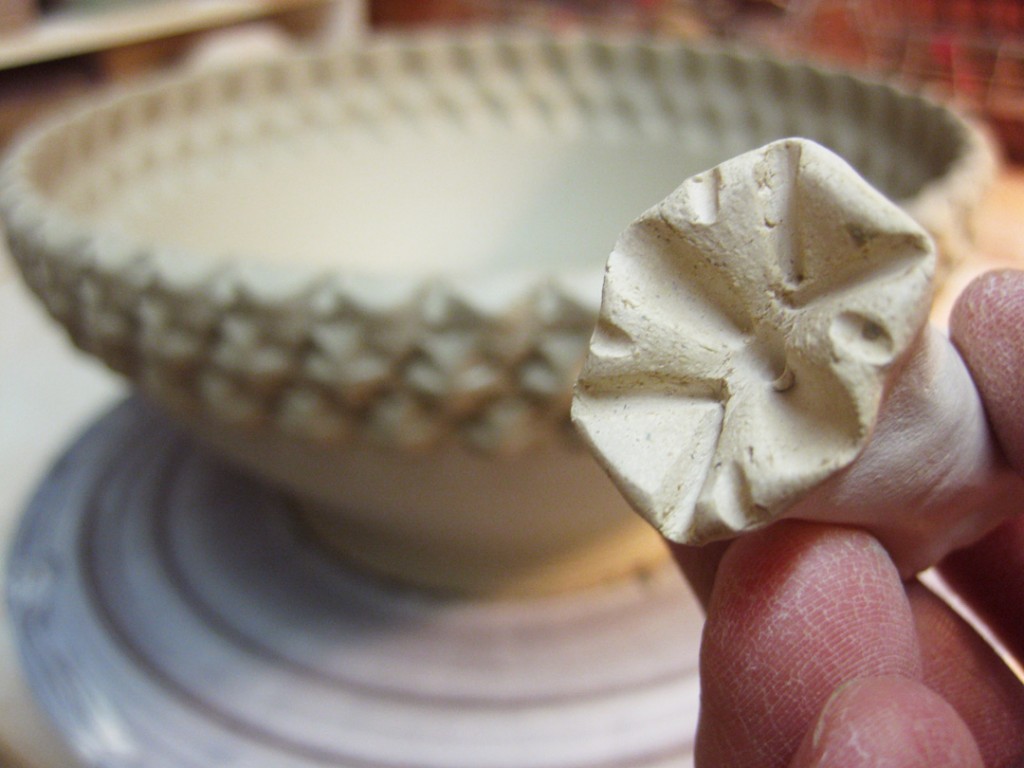
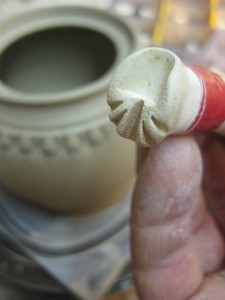
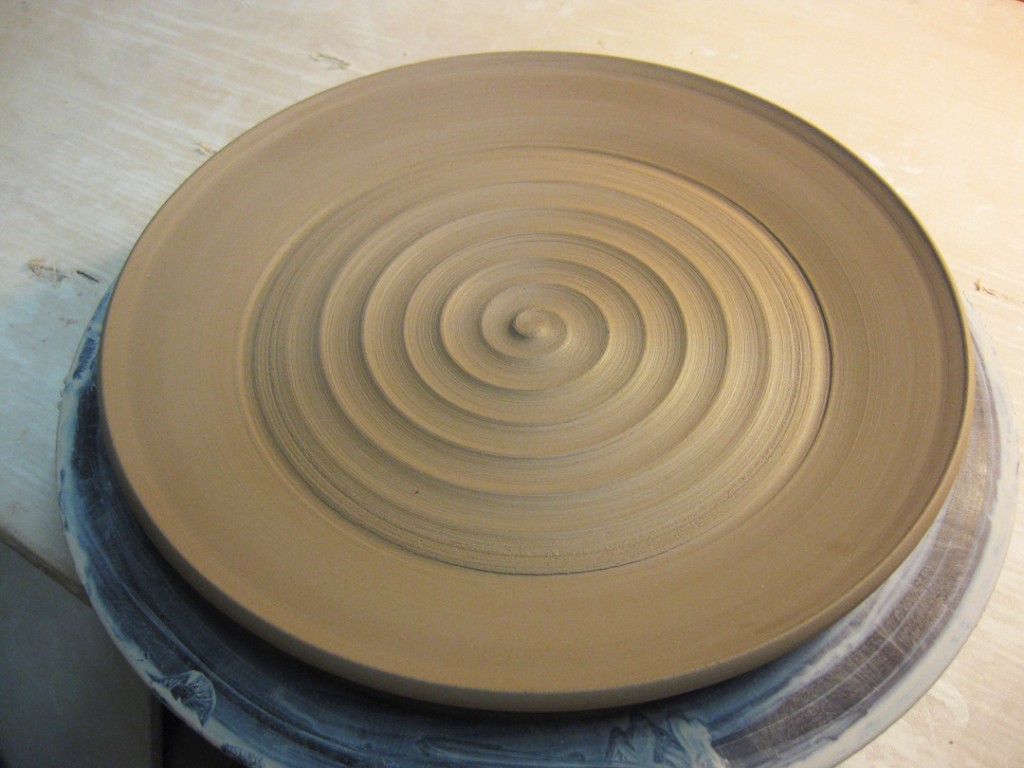
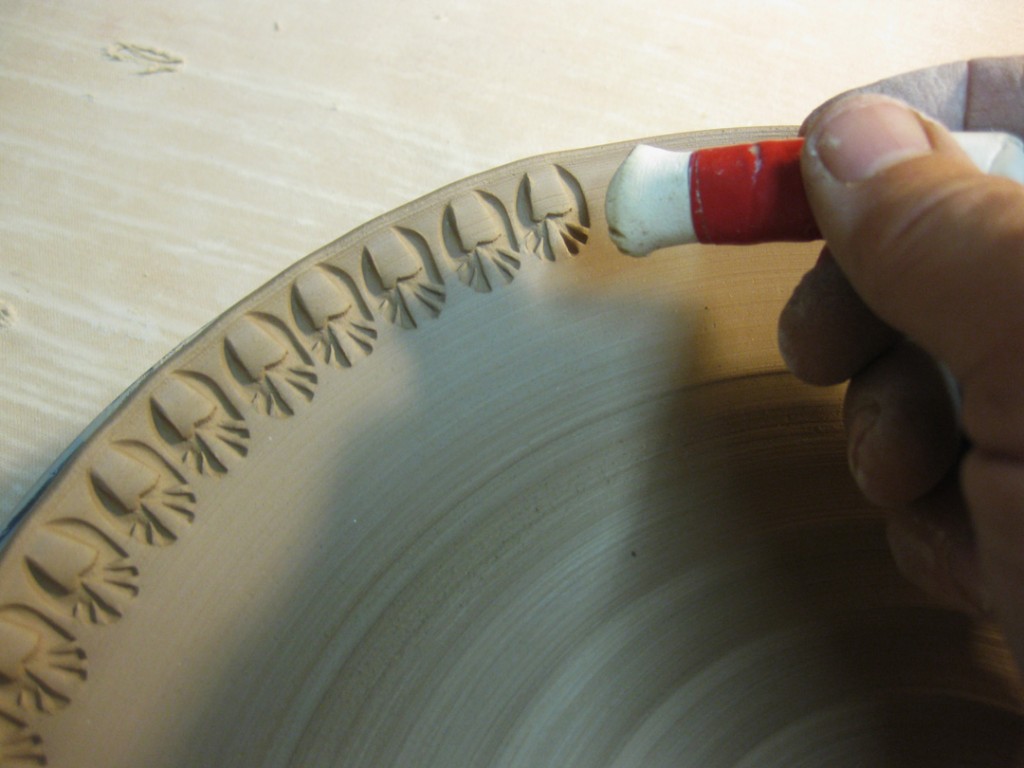
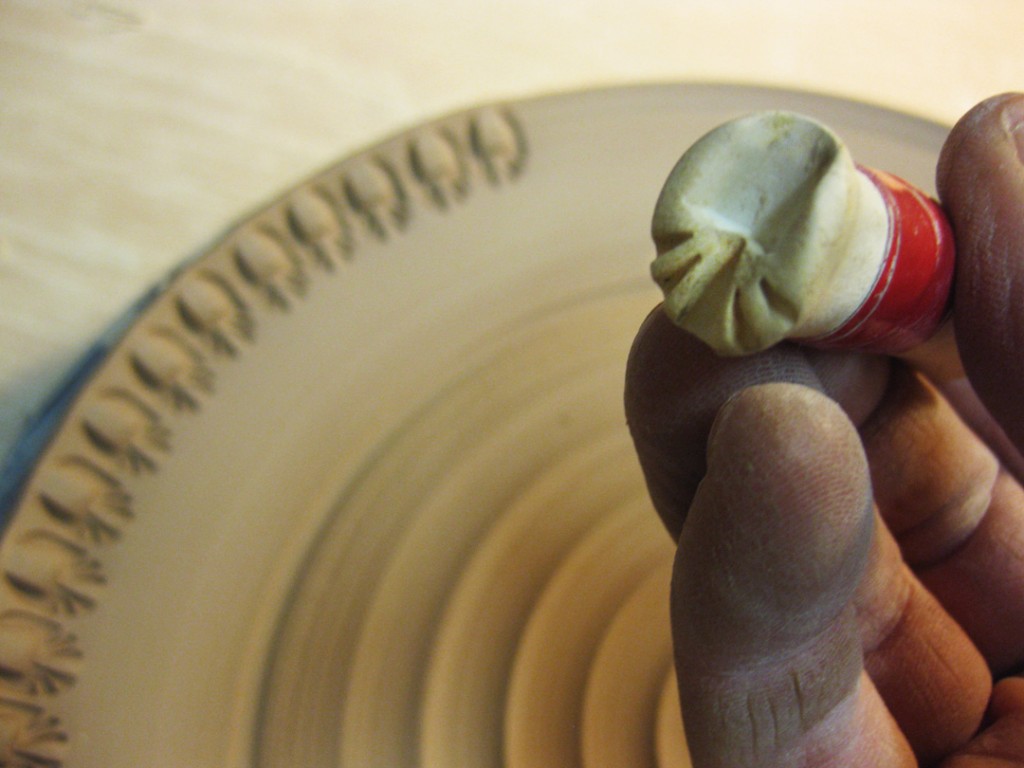
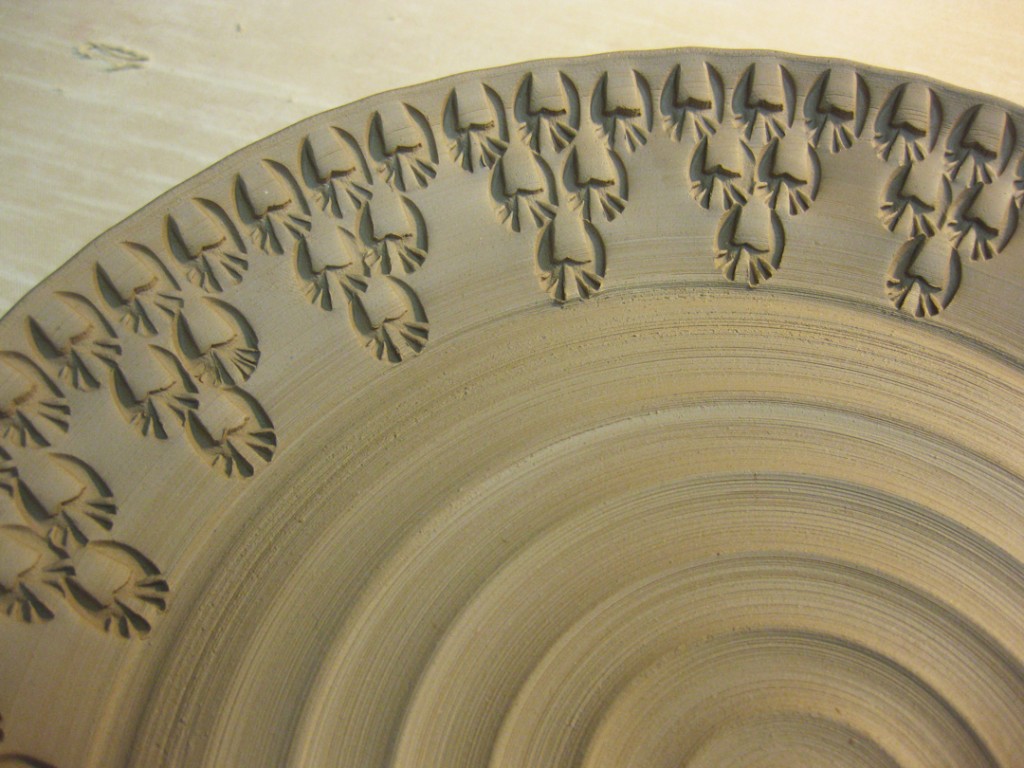
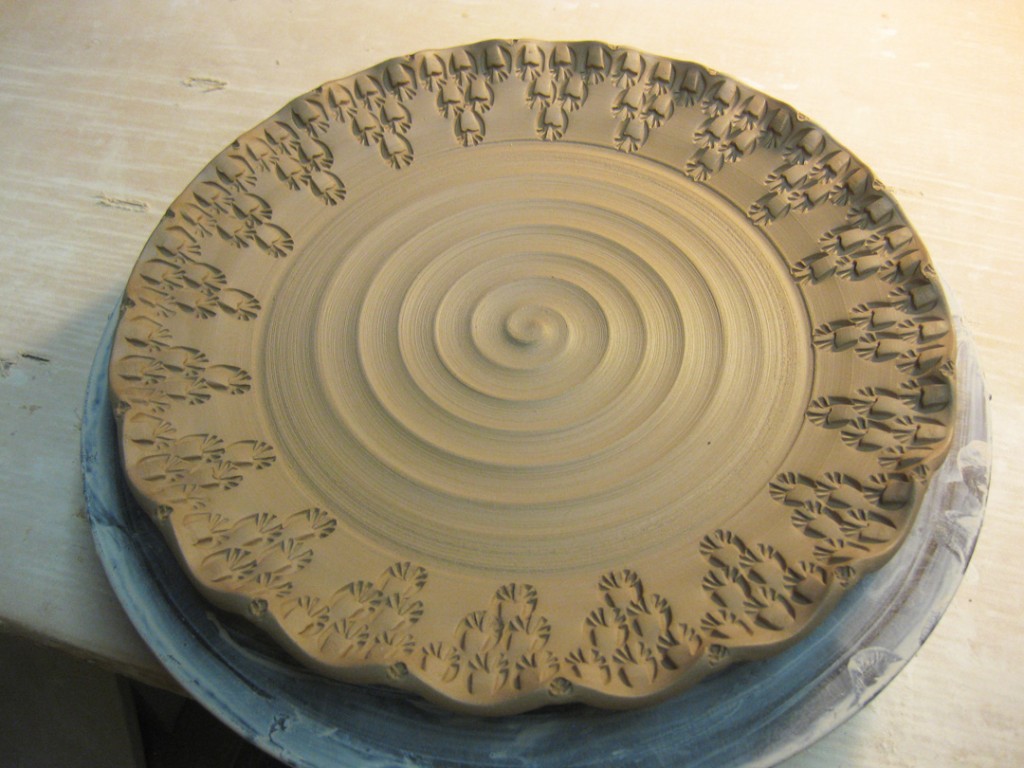
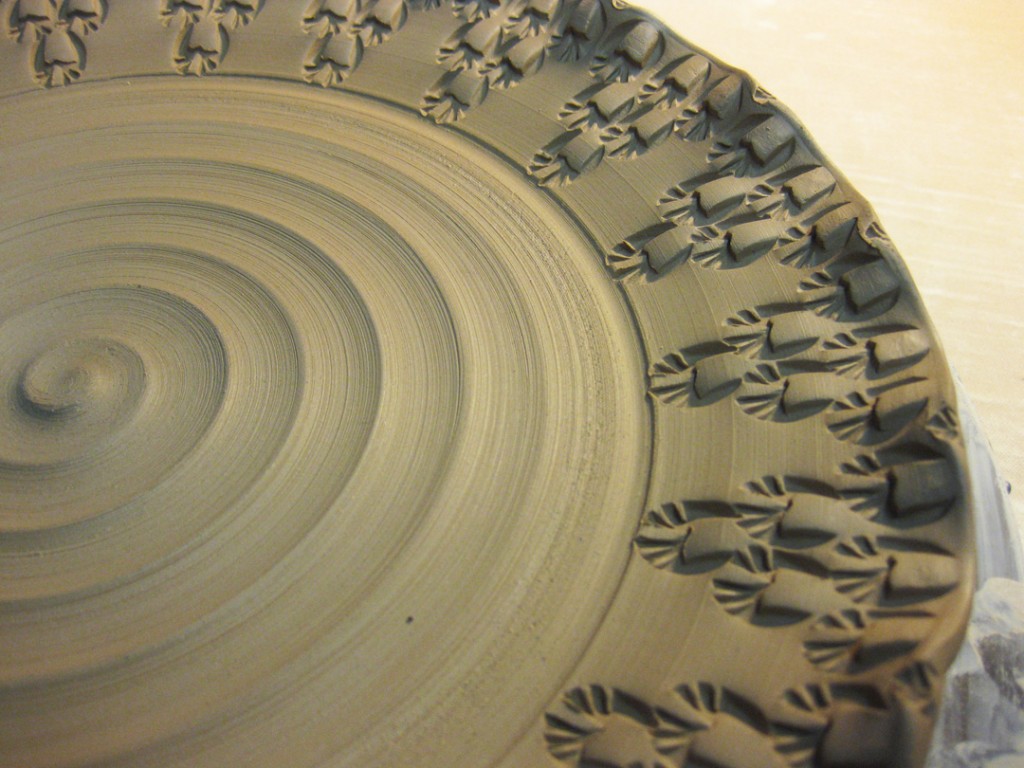
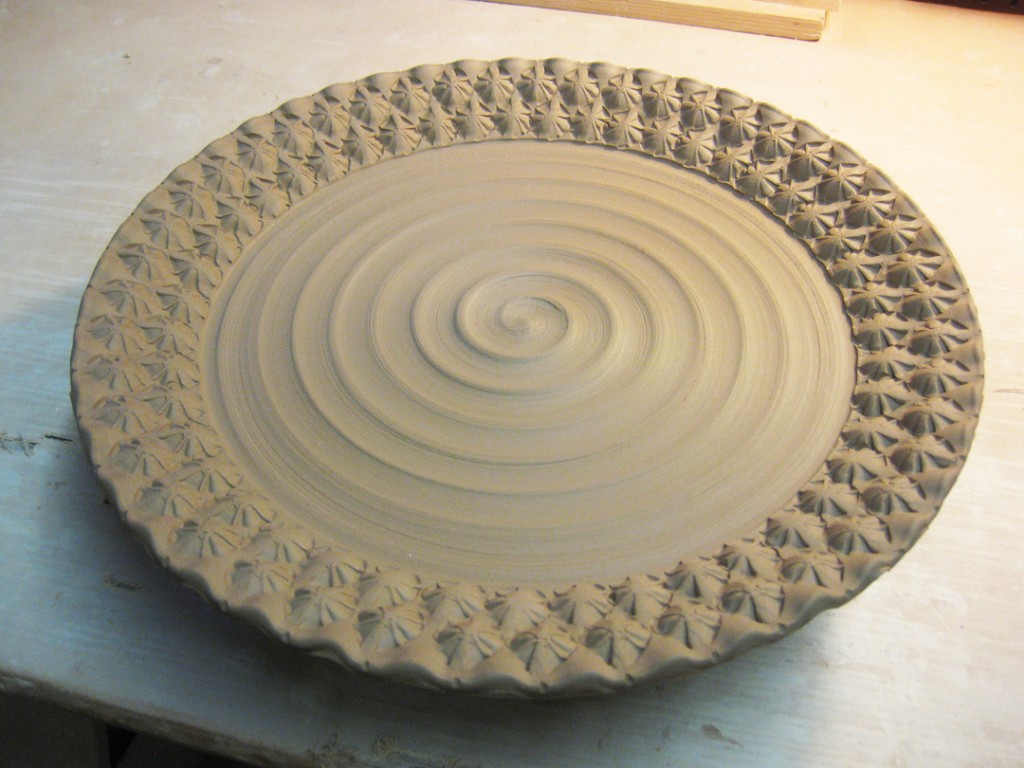
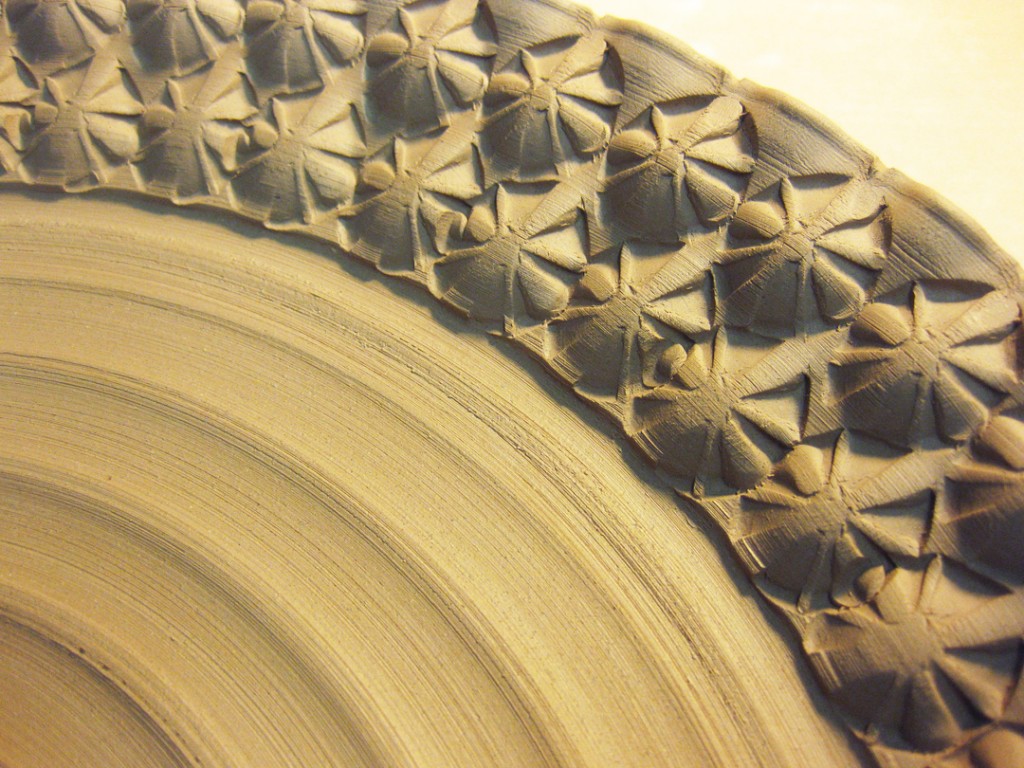
Once the bowl was all stamped, I moved on to stamp the platter too. So I found the stamp I wanted and began indenting one by one by one… all the way around!!!
Eventually both of these class demo pieces were stamped and done for the night. So I put them both back under plastic so they can dry a bit slower. I’m hoping that tomorrow I might be able to trim both of them.
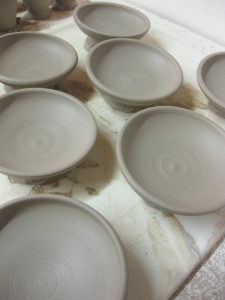
Tonight I stopped in the studio to do a little “refining” of some of my class demo bowls. They were still a little wetter than I would normally like, but they were “almost” ready to be stamped. So I stamped a couple of them… and the others will need to wait a little longer for attachments & trimming.
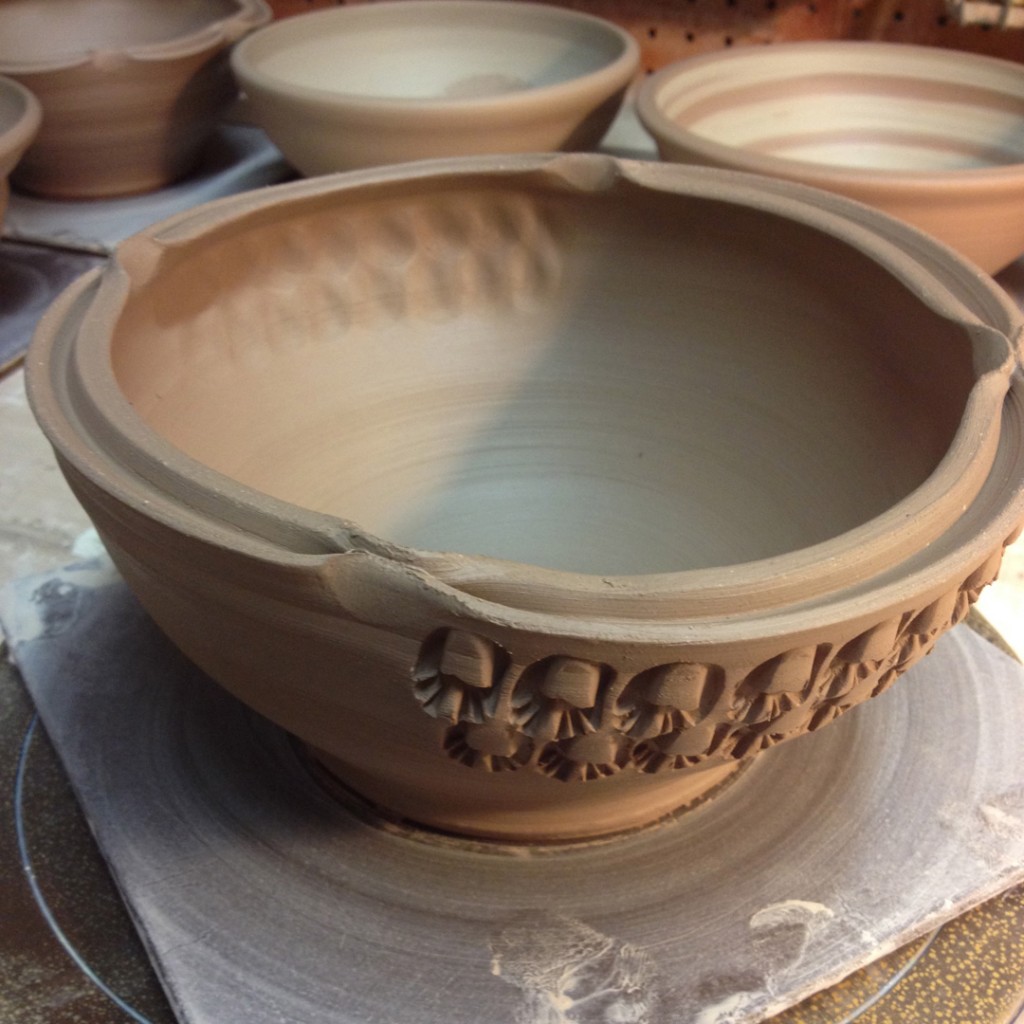
Bowl #3 – With a simple, single row of stamped impressions just below the flange.
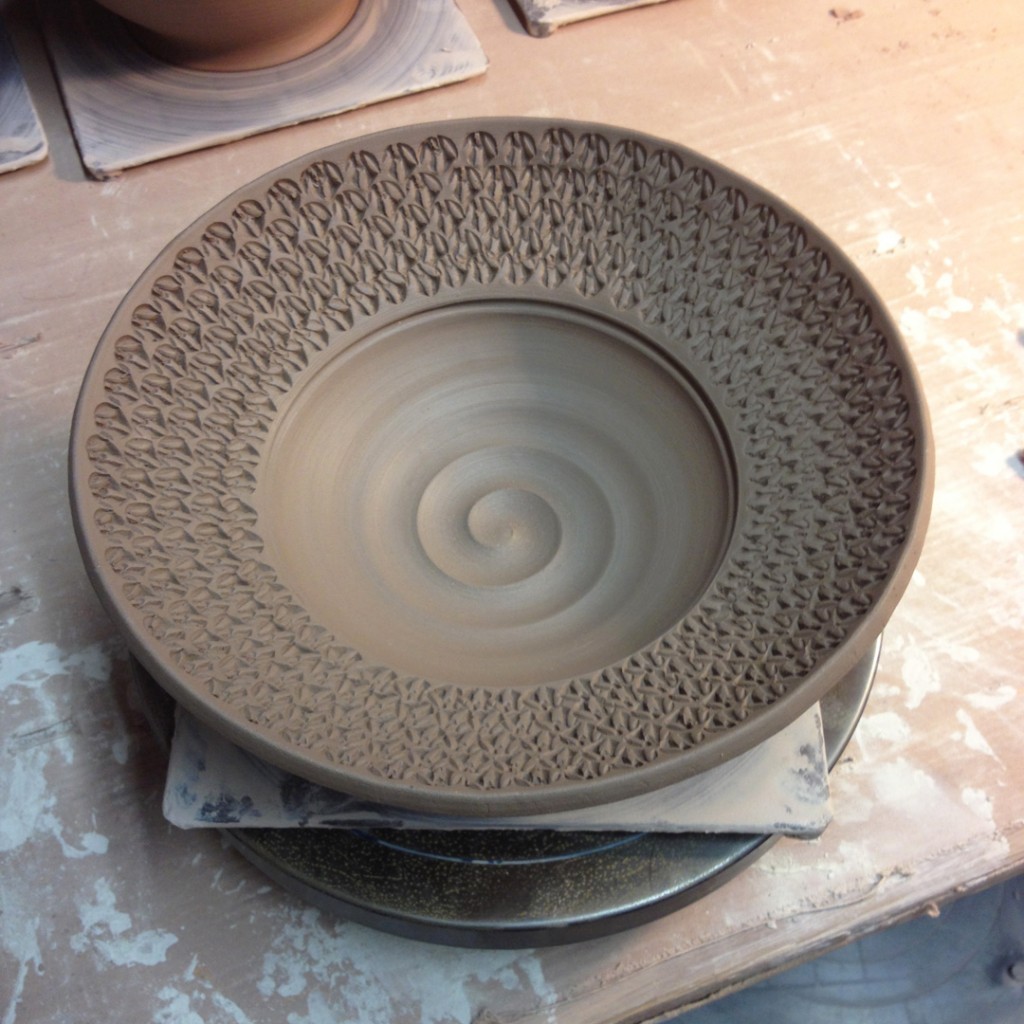
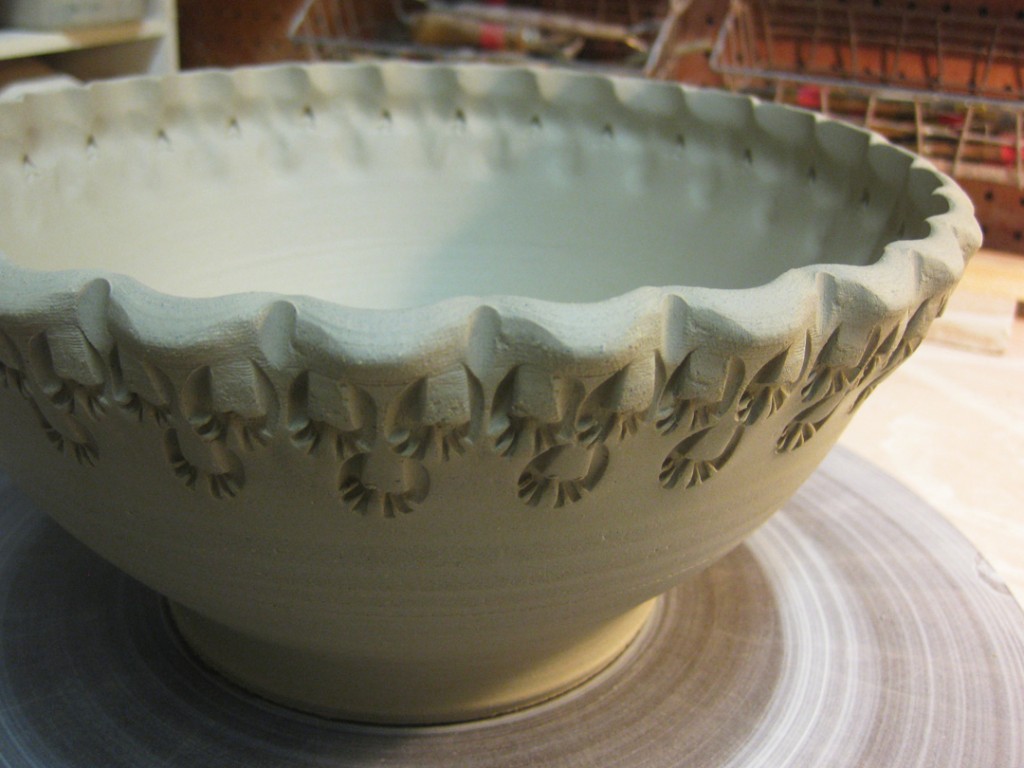
Bowl #4 – And if a single row is good, a lot more of stamps would be a LOT better, right?
Bowl #6 – I took the four-pinched bowl and “ovaled” it a bit, and then stamped two sides opposite each other.
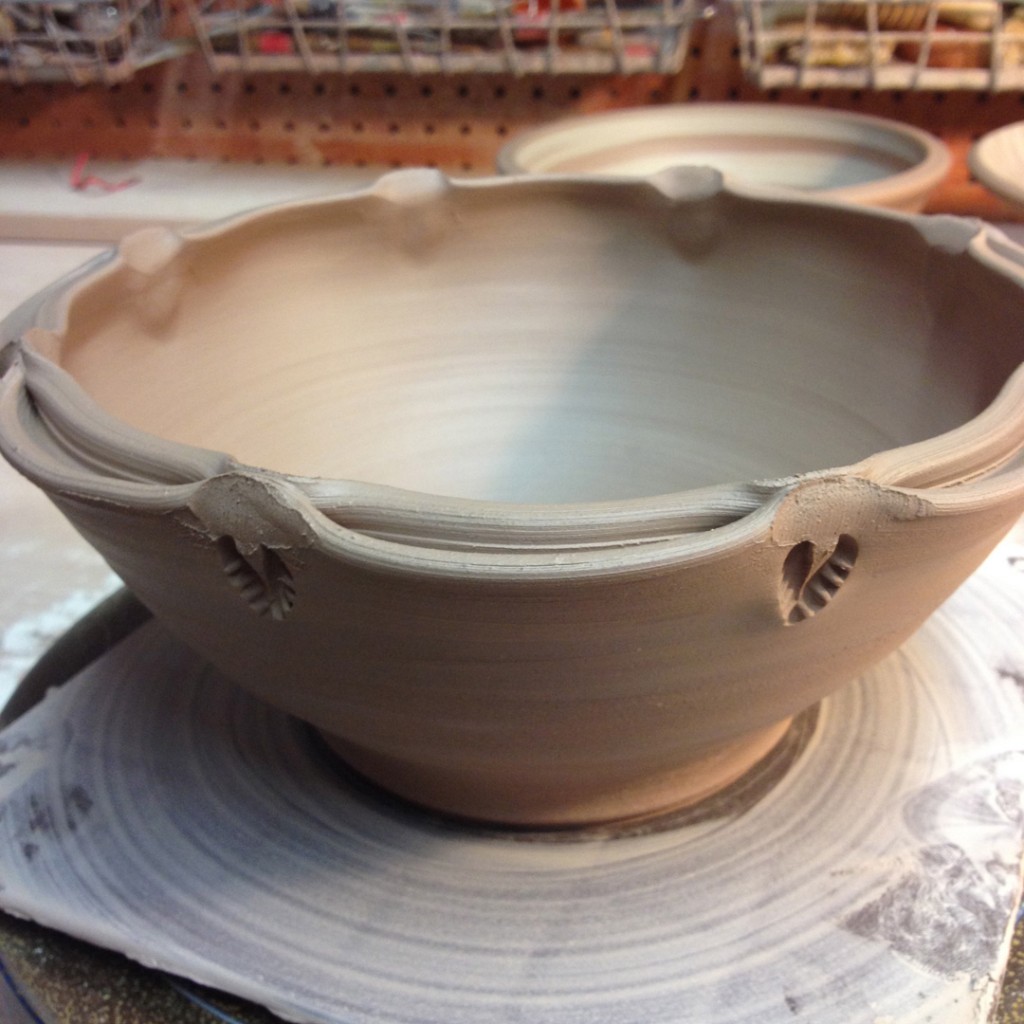
Bowl #9 – Each of the eight pinched points were accented with a single stamp. I’m not a huge fan of actually seeing the pinch marks, so there’s a very good chance that there may be more added to this bowl before we call it done!
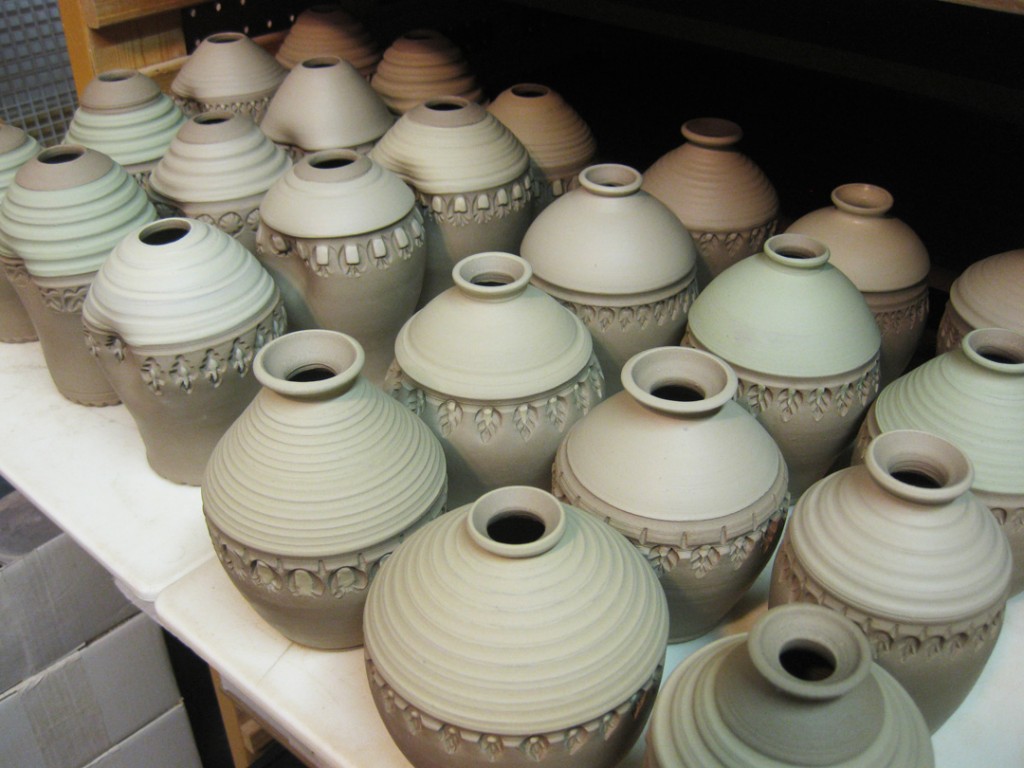
As part of my “big” production day in the studio, I threw five more serving bowls with soda clay. I let them set-up for awhile and had the opportunity to stamp them today. Usually I do it the next day, or even two days later. But since I was cranking things out today… it was great to be able to stamp them today!!! I’m kind of rushing to fill a kiln next weekend. The “faster” I can get things done, dried and into a bisque kiln the more time I’ll have to glaze & wad.
Bowl #1 –
Bowl #2 –
Bowl #3 –
Bowl #4 –
Bowl #5 –
So now they’re loosely wrapped up for the night… and I hope to trim them tomorrow.
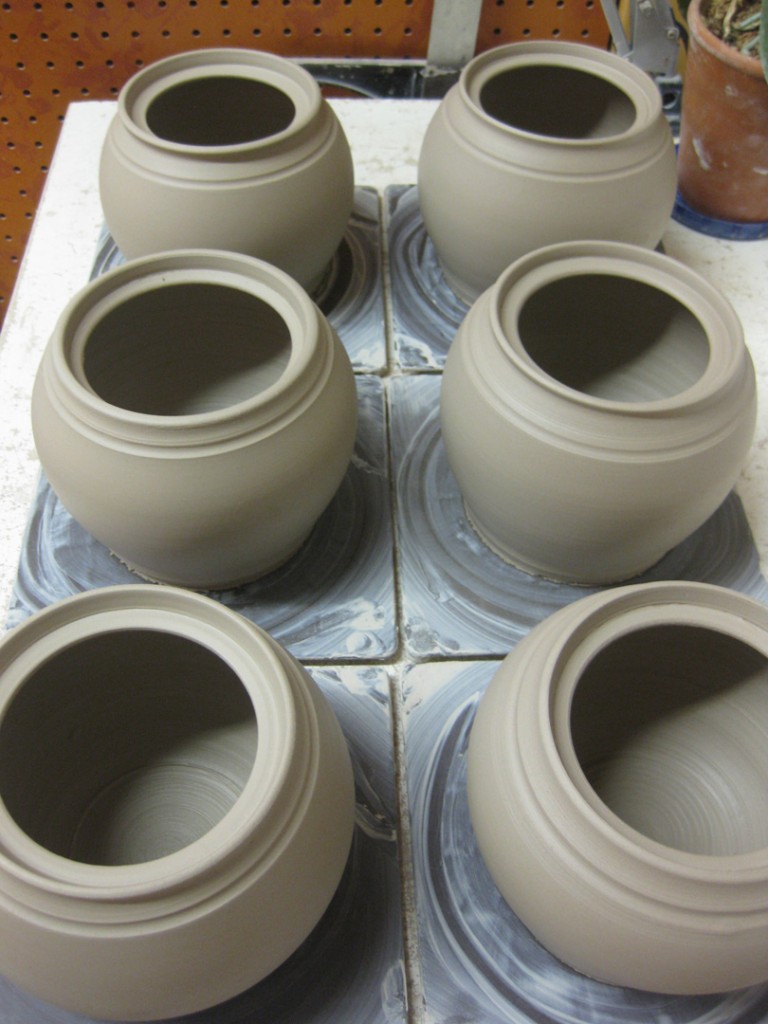
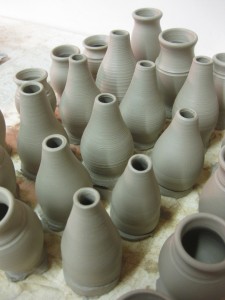
So it’s been FAR TO LONG since the last time I made teapots. I’ve put them off. And put them off. But I figure it was finally time to tackle teapots. So here we go… the beginnings of six teapots. I started with six shaped cylinders. And then made several lids and several spouts. Pieces & parts. As a production potter, I planned ahead and made the opening pretty much the same size on all six of them. I figure it would give me more chances of a lid fitting if I threw them the same size, and then made multiple lids to fit. Eventually, something’s got to fit together, right?!
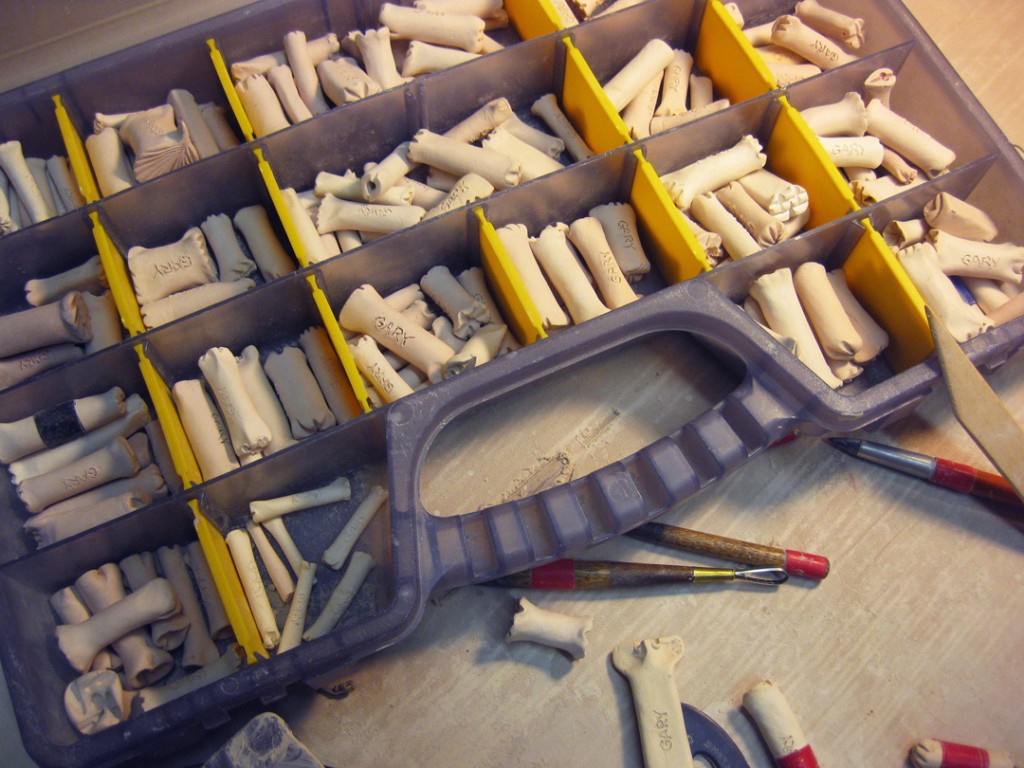
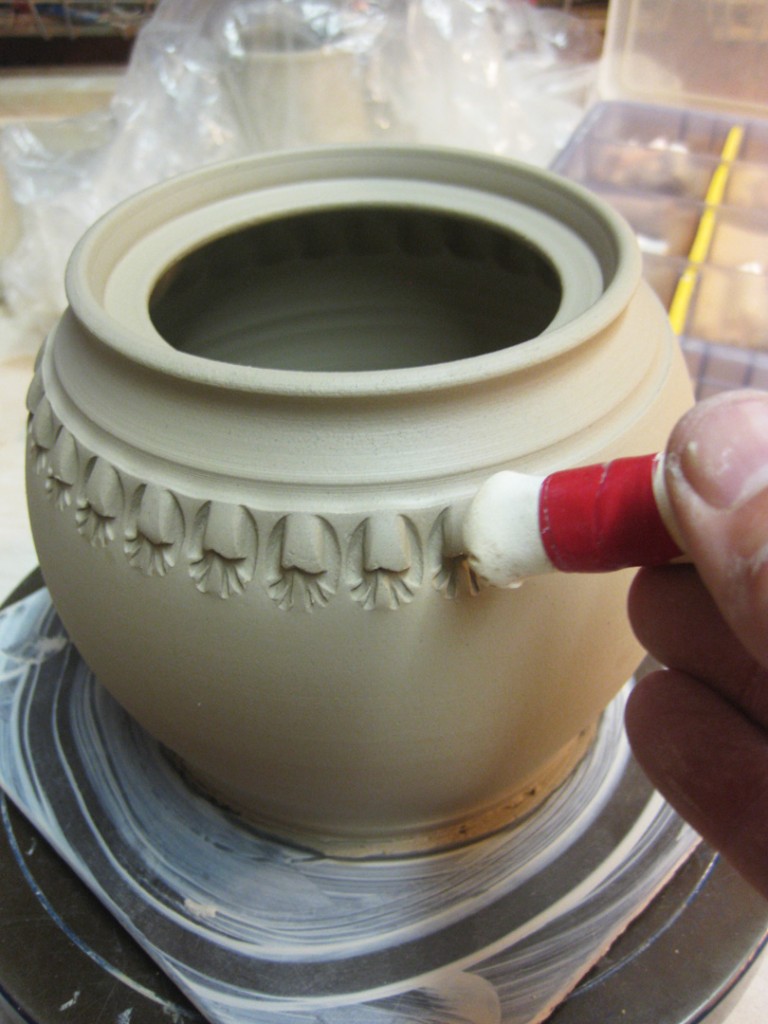
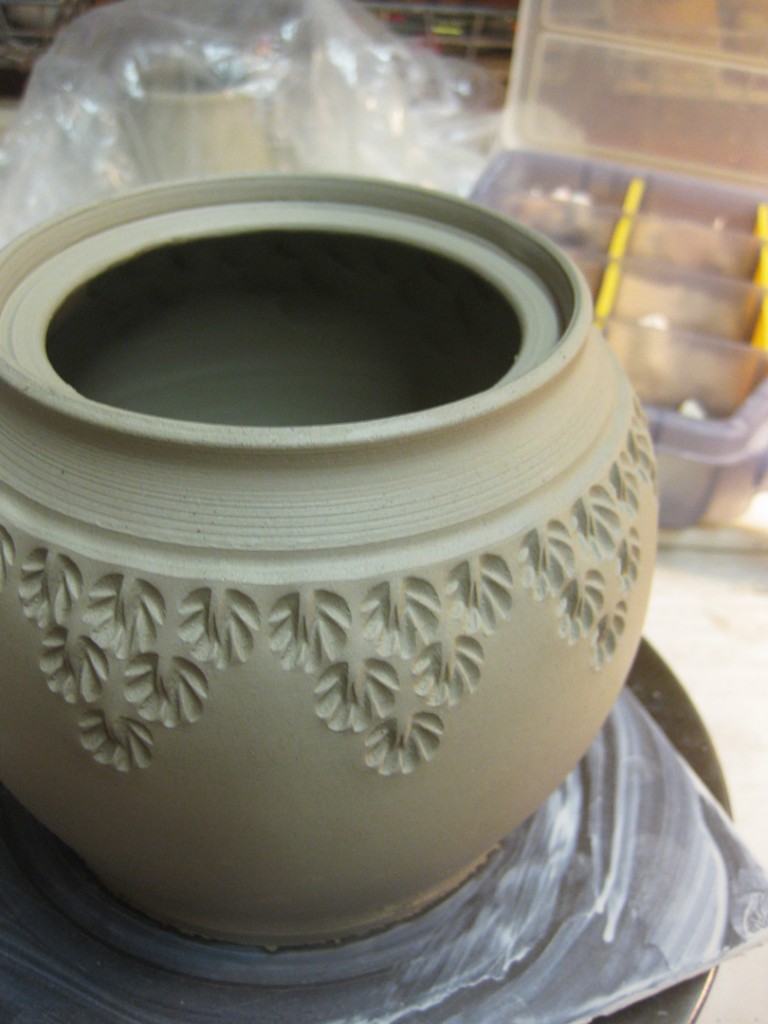
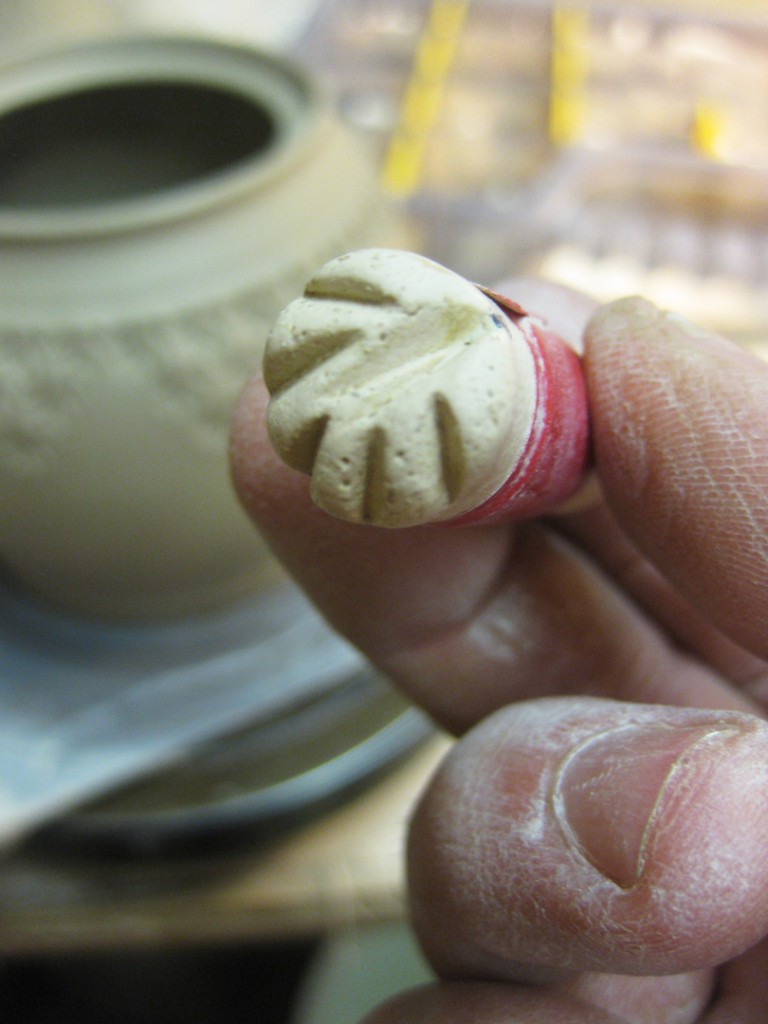
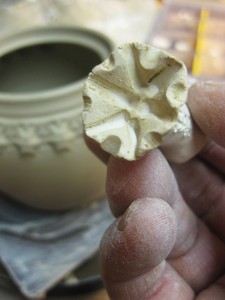
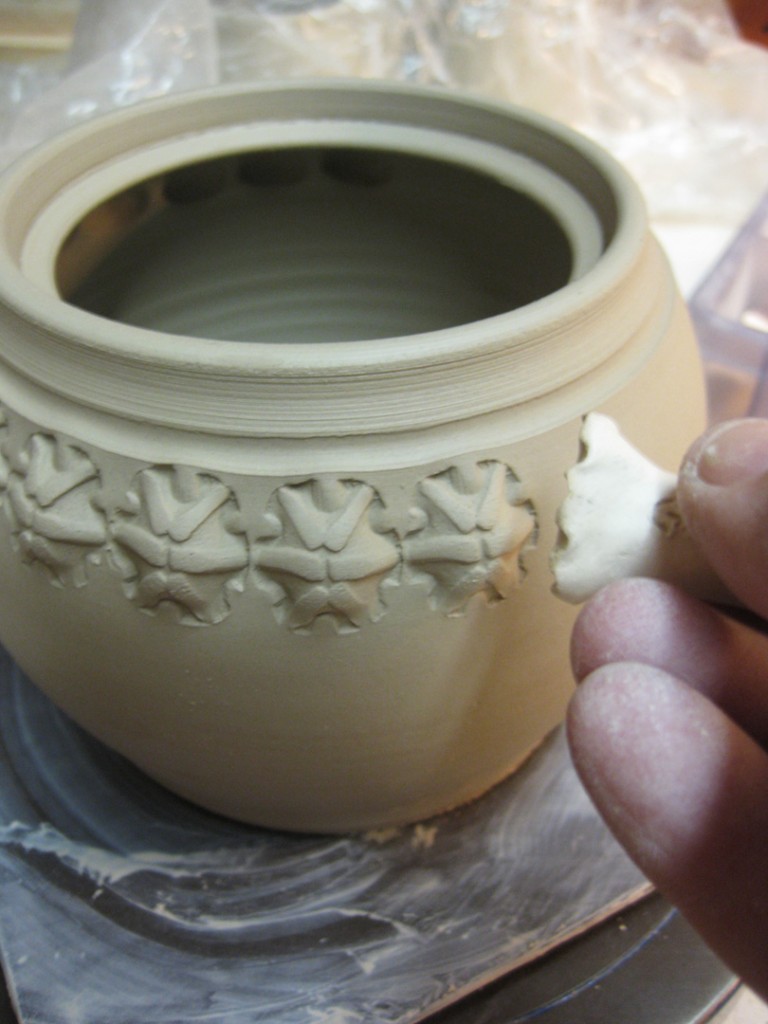
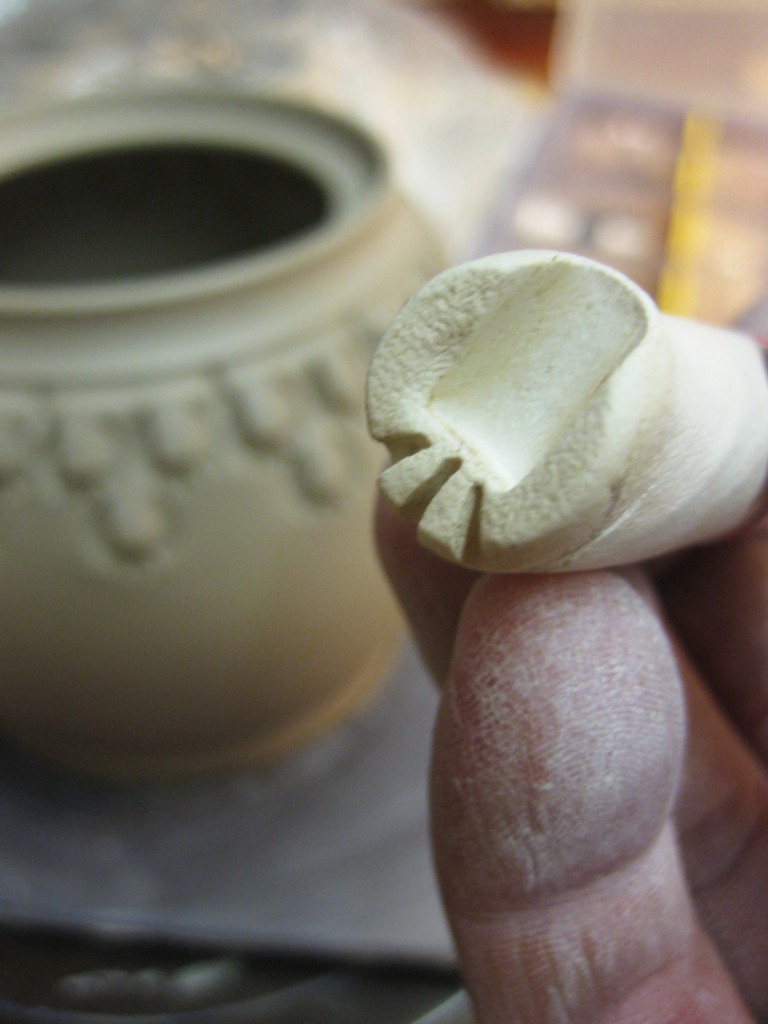
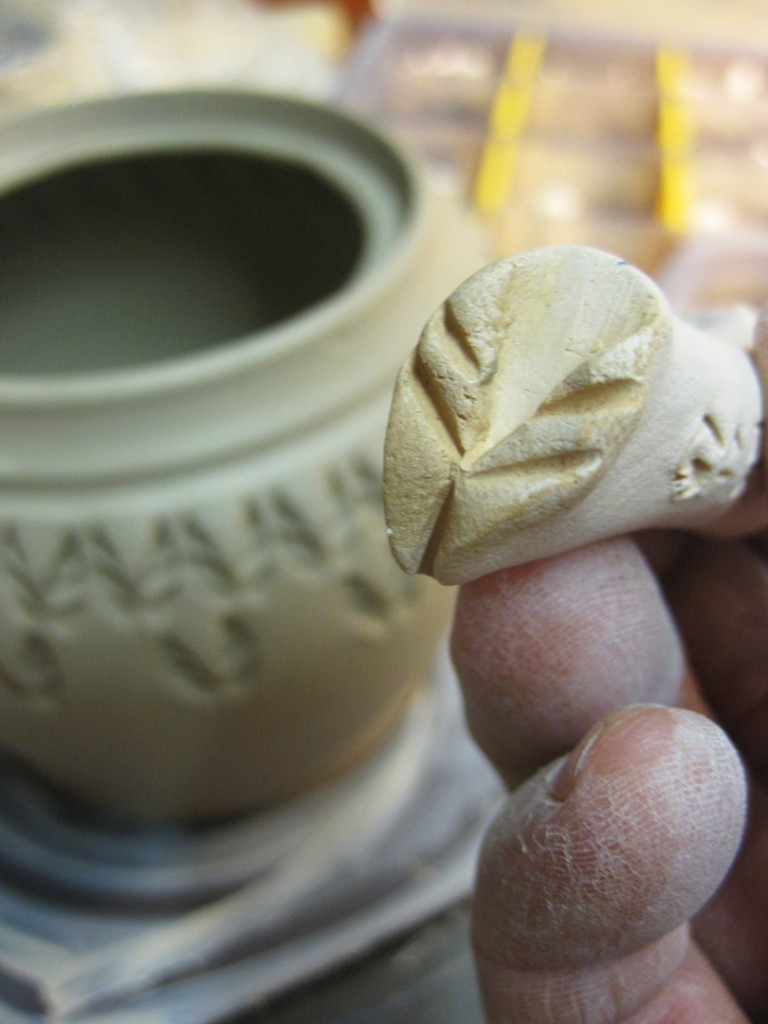
I let them stiffen up overnight under plastic. When I came back today, they were ready for some stamping. So I pulled out one of my stamp cases to figure out what patterns I would be using. Big choice… and somehow, I always tend to pick out my favorites. Go figure.
Teapot #1 –
Teapot #2 –
Teapot #3 –
Teapot #4 –
Teapot #5 –
Teapot #6 –
So now everything is wrapped up for the night, drying to leather-hard so I can assemble them later. Lots of pieces & parts to put together to make six new teapots!!!
Last week, I did a demo for my class on how to make plates & platters. I’ve kept the demo pieces well-wrapped, and occasionally sprayed, to keep them wet enough to stamp. Well, tonight I finally got around to stamping them.
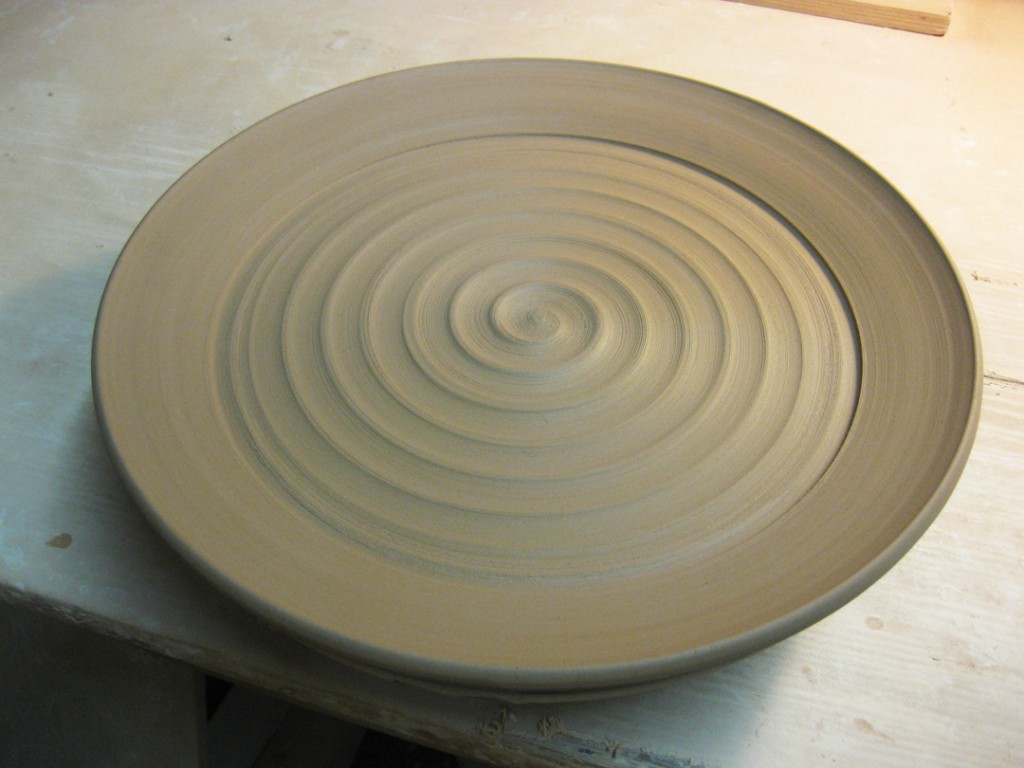
Plate… freshly thrown… and plain!
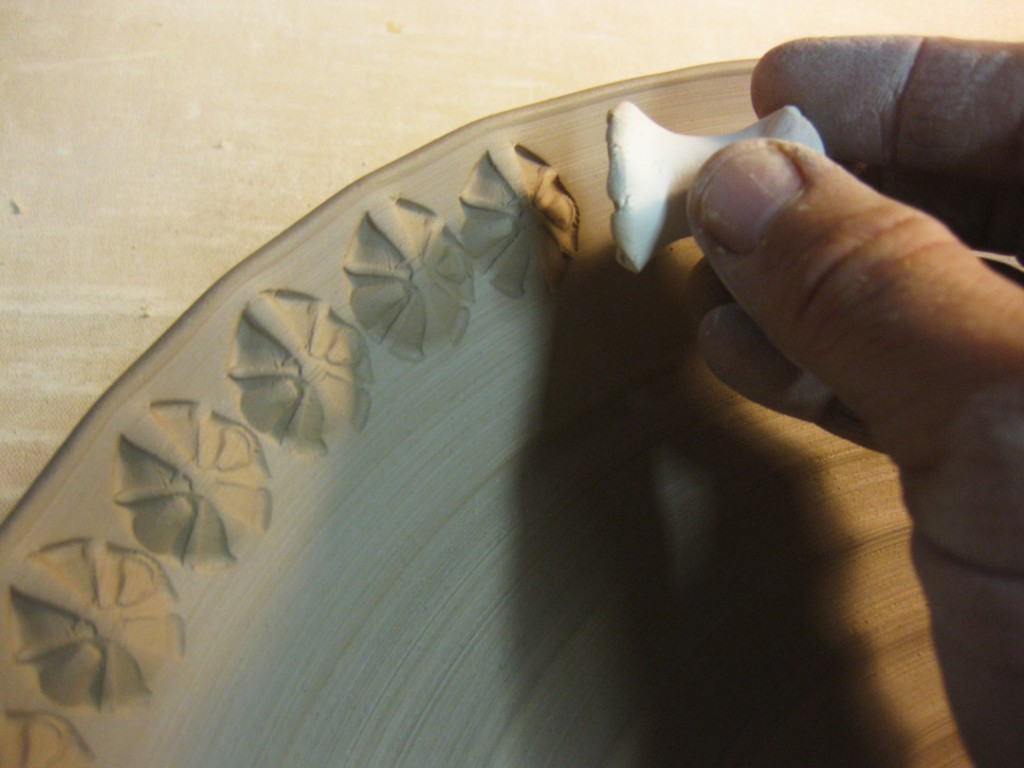
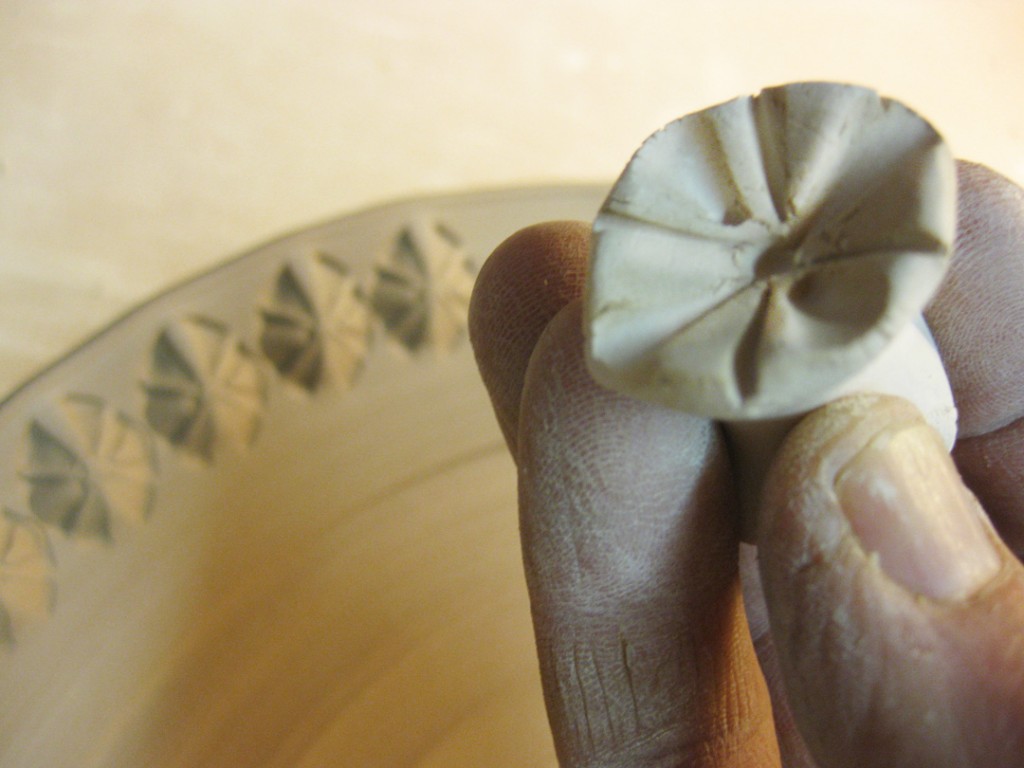
A little stamping around the perimeter… and the stamp that did it all.
Once stamped, I did a little decorative fluting along the edge.
Platter… freshly thrown… and also plain!
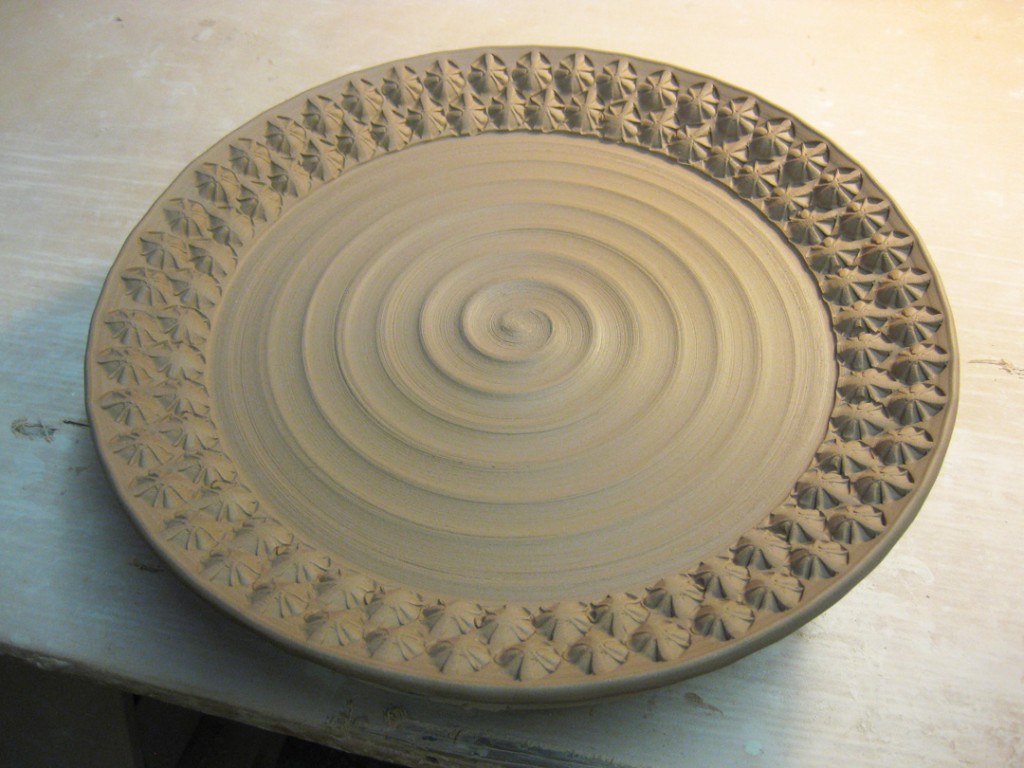
Stamped around the perimeter… and the stamp that did the impressions!
Once it was all stamped, I did a little fluting around the edges for a slight ruffled effect.
So now they’re back under the plastic to dry a bit more to leather-hard for trimming.
