06.30.2025

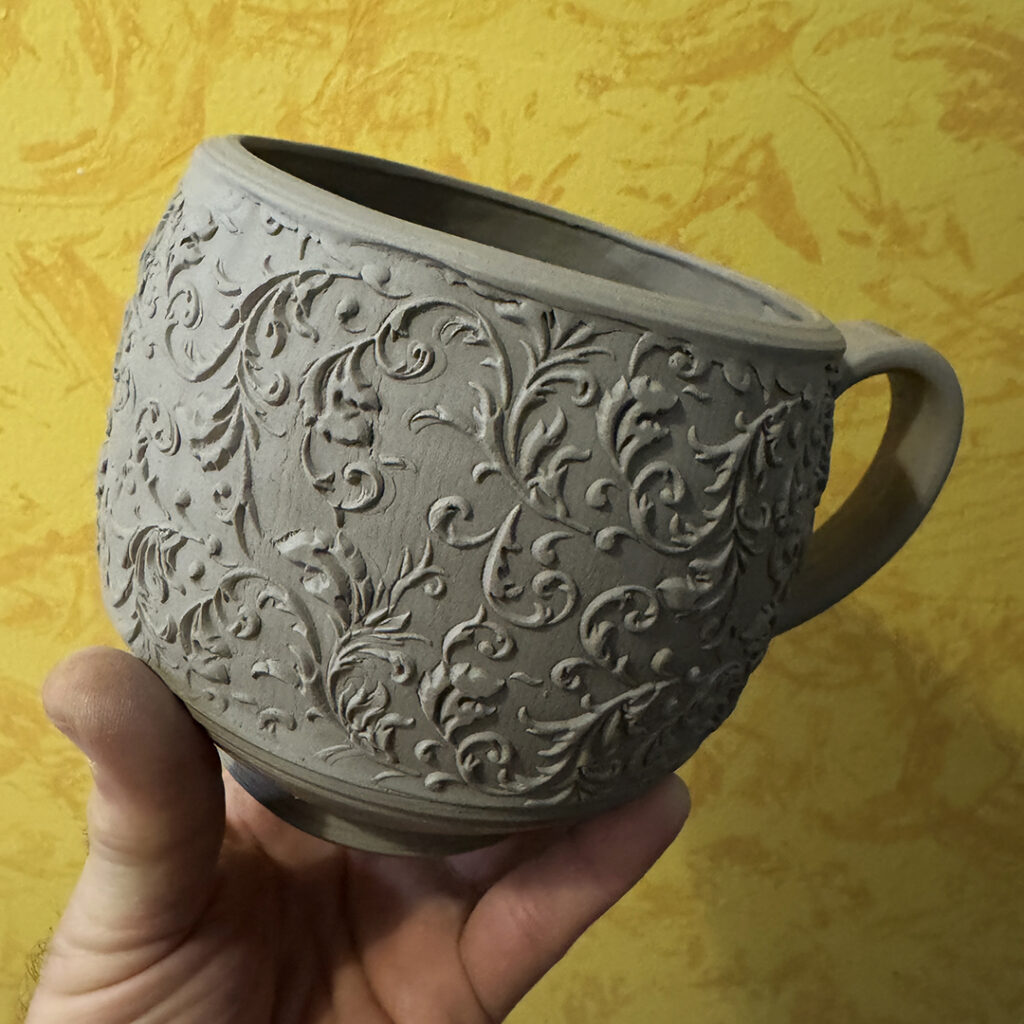
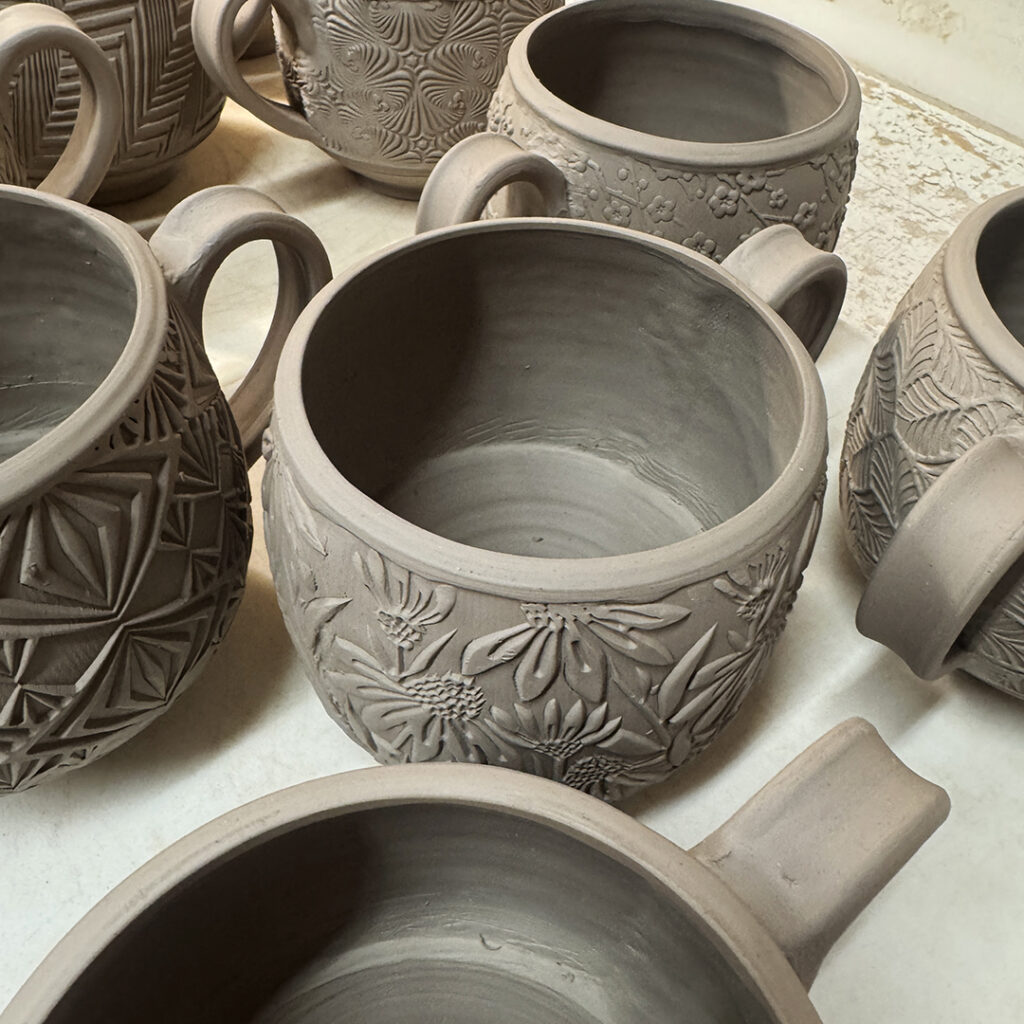
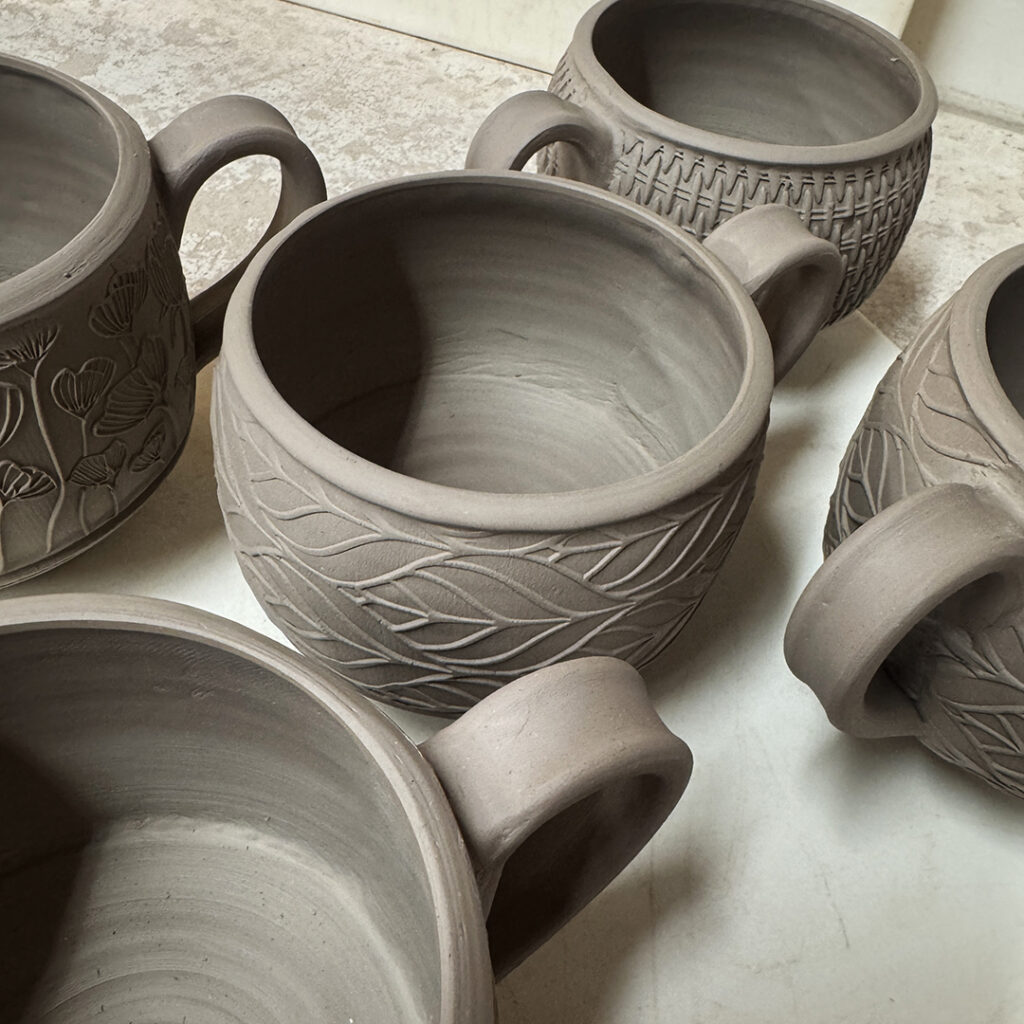
Celebrating another Mugshot Monday with another batch of stamped mugs.
Handles attached… next they need some accents of colored flashing slips!!!

Gary Jackson: Fire When Ready Pottery
A Chicago potter’s somewhat slanted view of clay & play |
Celebrating another Mugshot Monday with another batch of stamped mugs.
Handles attached… next they need some accents of colored flashing slips!!!

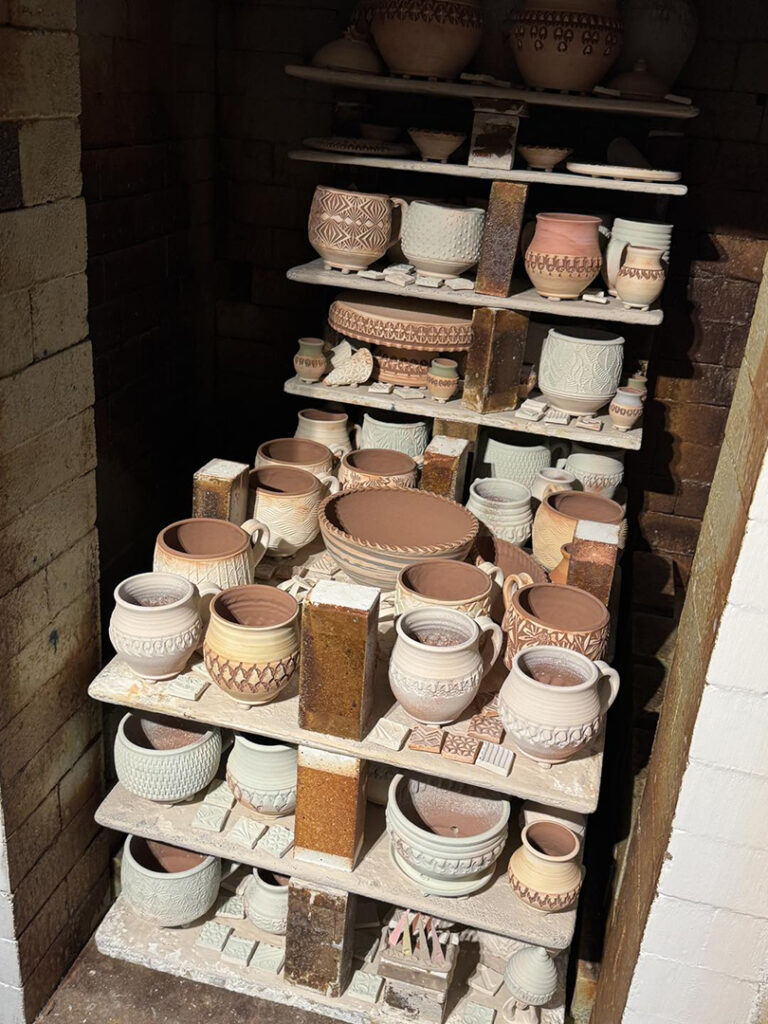
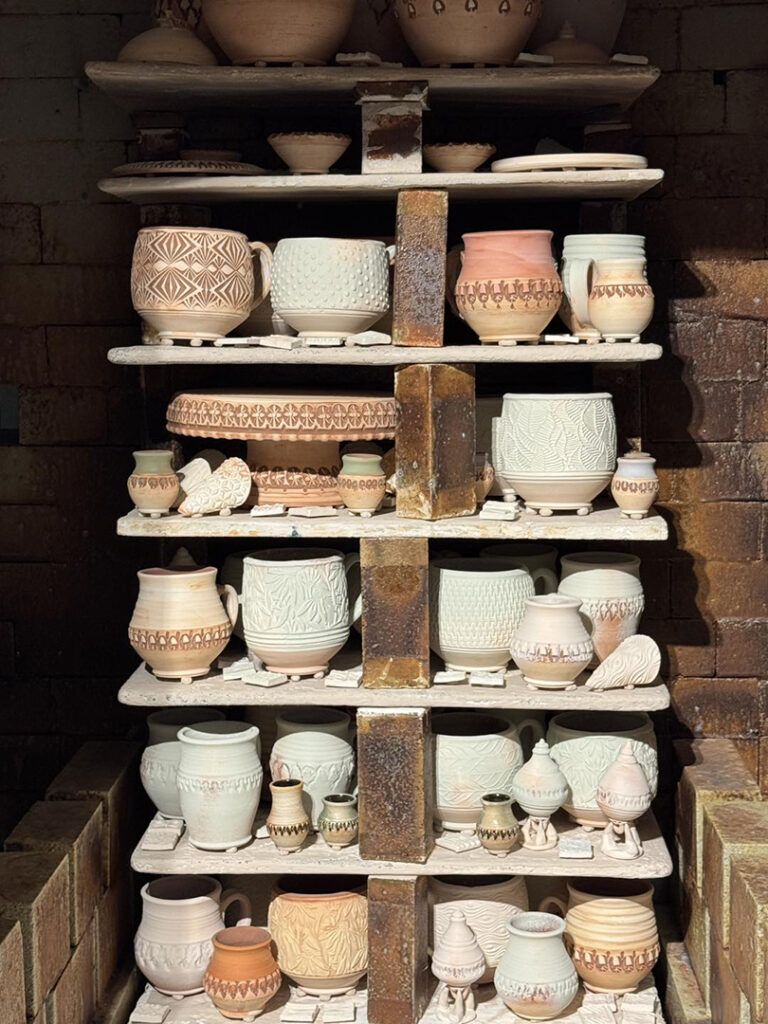
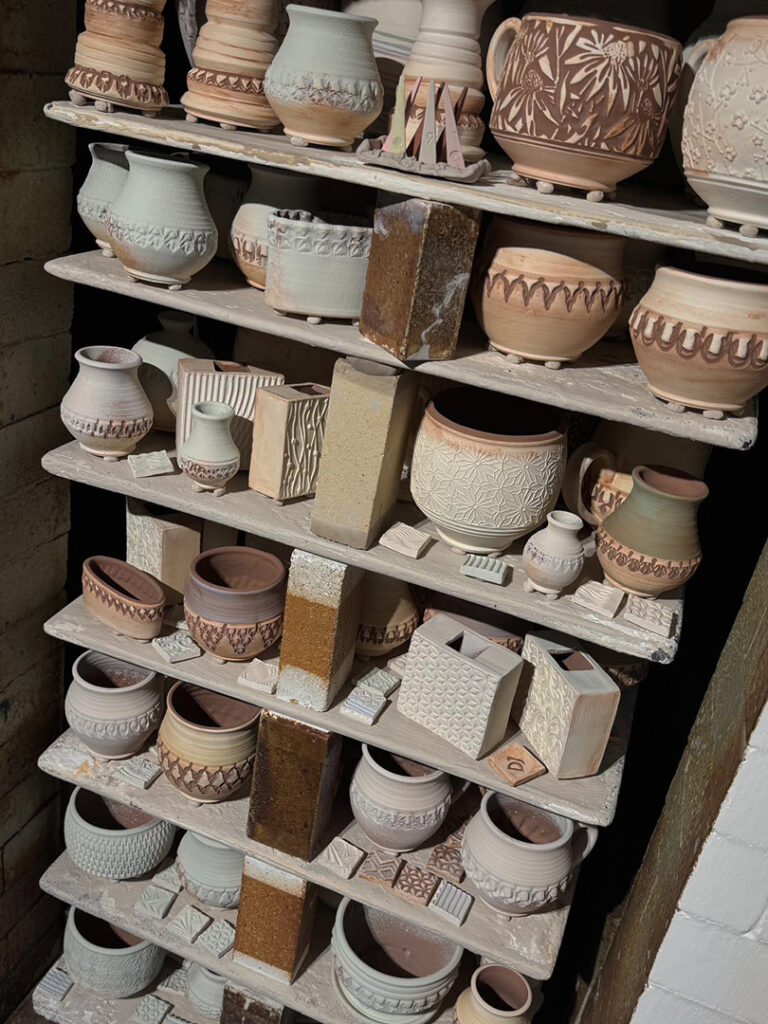
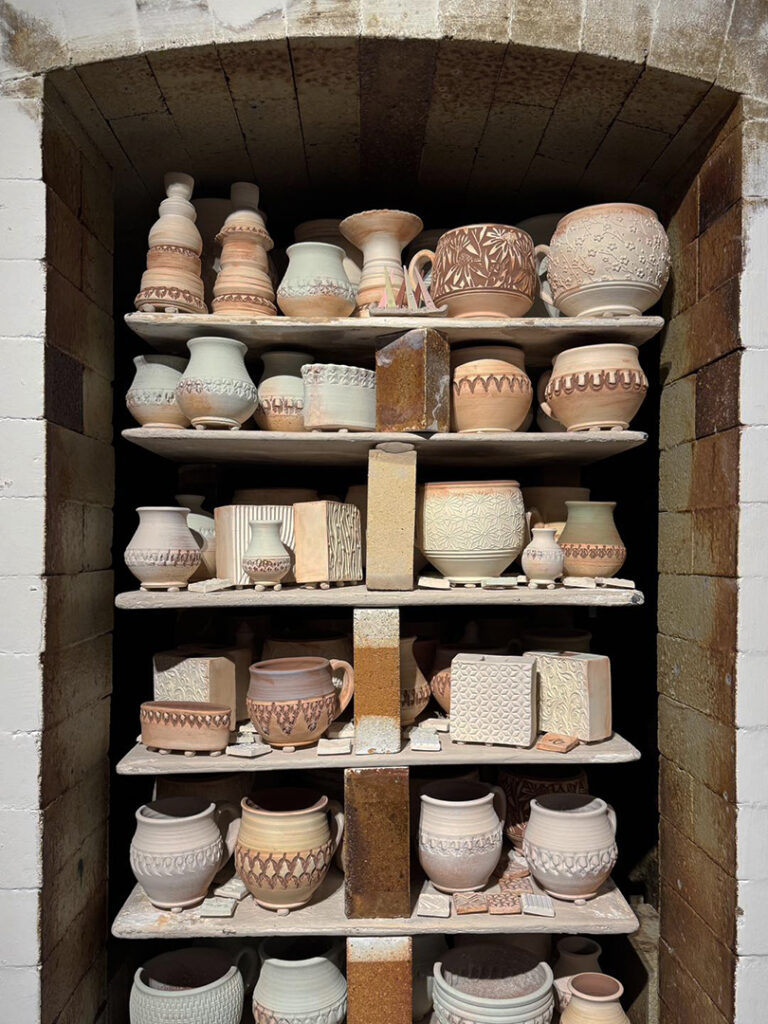
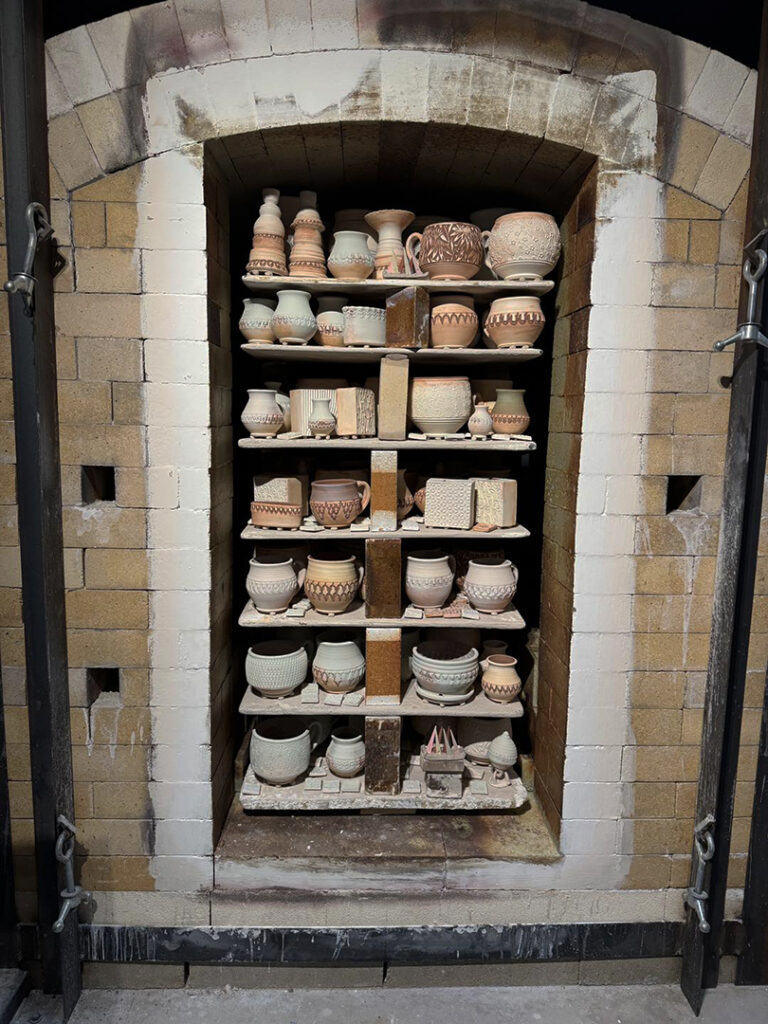
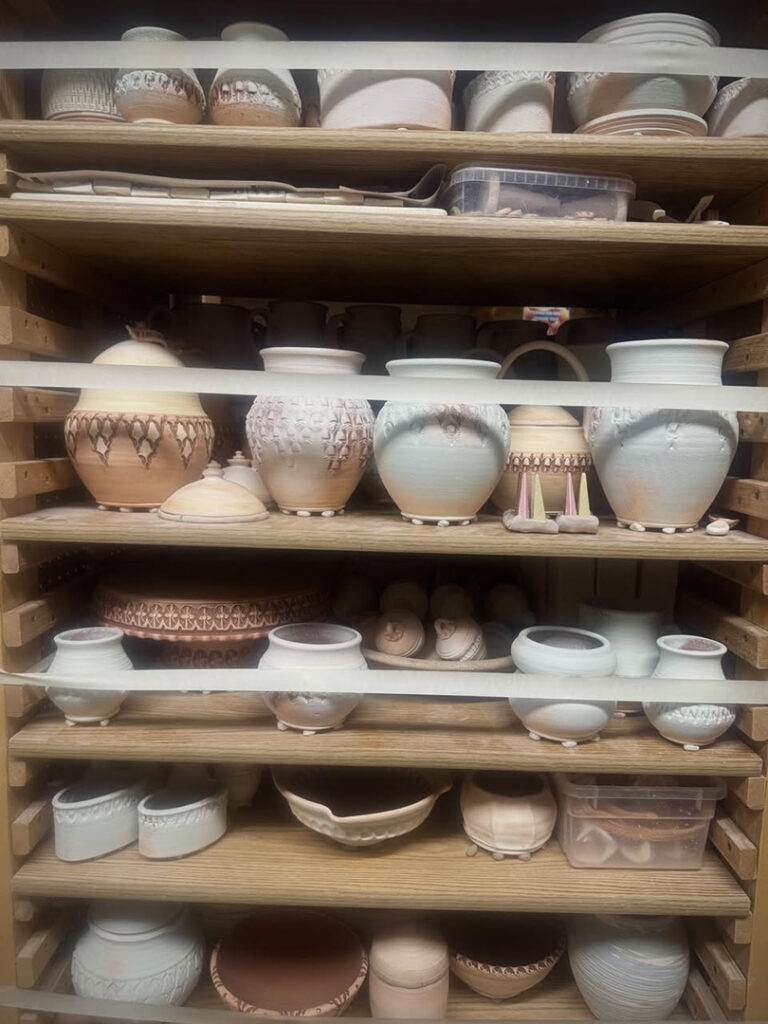
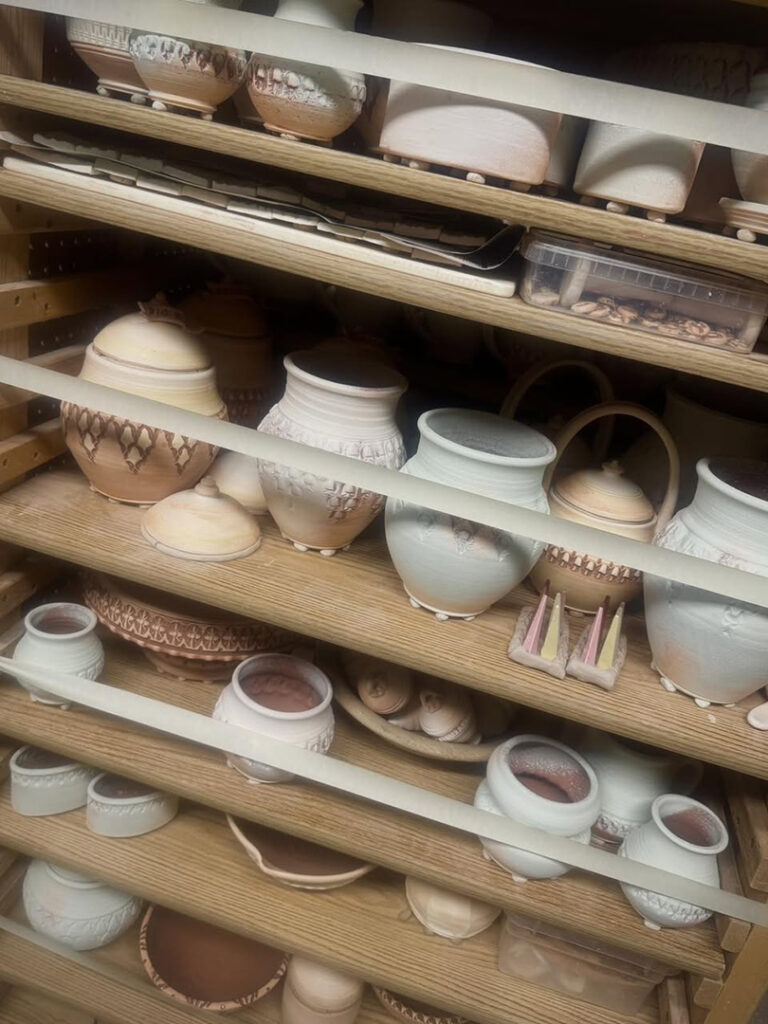
After a couple hours of loading the kiln… shelf by shelf… brick by brick… pot by pot… I finally filled all three stacks to the top. I managed to pack in a LOT of pots. Trying my best to maximize the firing fee vs. pots being fired. Hoping for good soda “glaze” coverage & some nice flashing effects. Also hoping for an easy firing in the new kiln… without too many surprises along the way!!!
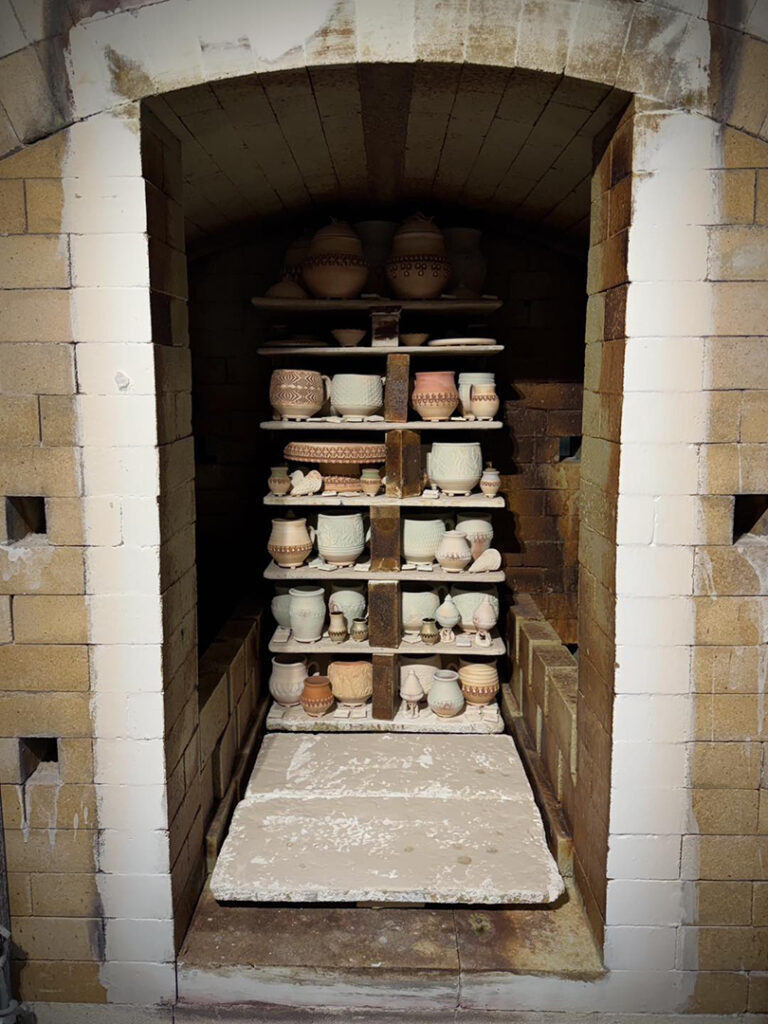
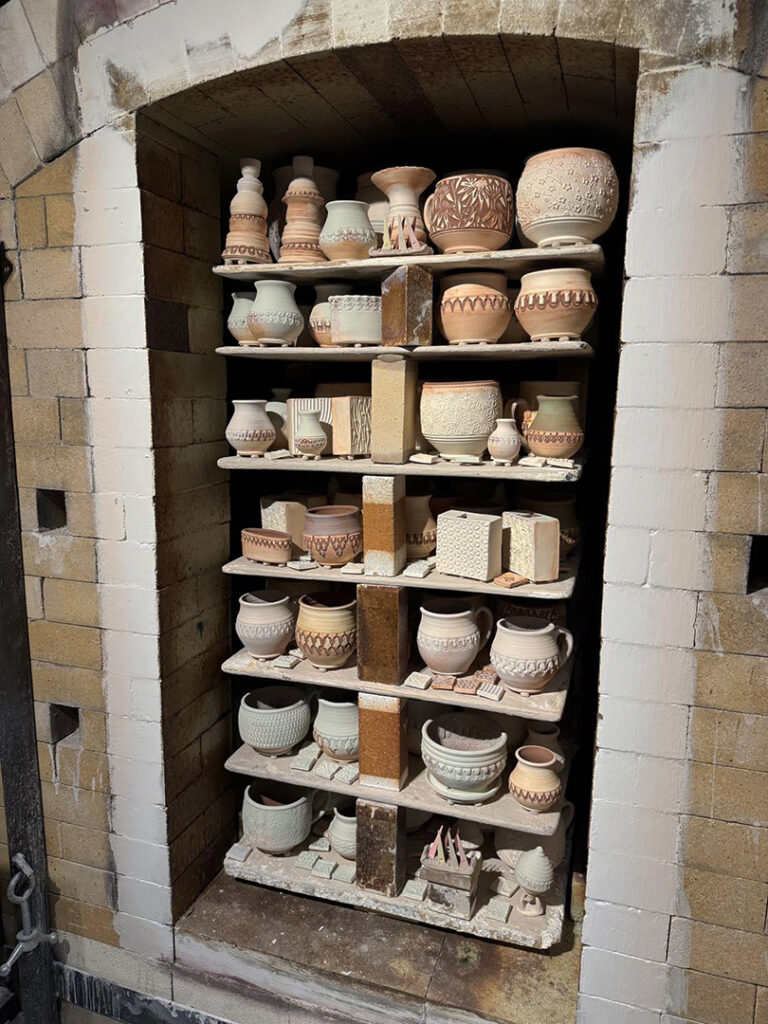
Last night when I finished glazing & wadding, it was time to take my studio cart down to the kiln room. It’s a rickety old freight elevator… so I use strips of masking tape as makeshift “seat belts” to keep pots from jumping off the shelves in the way down!

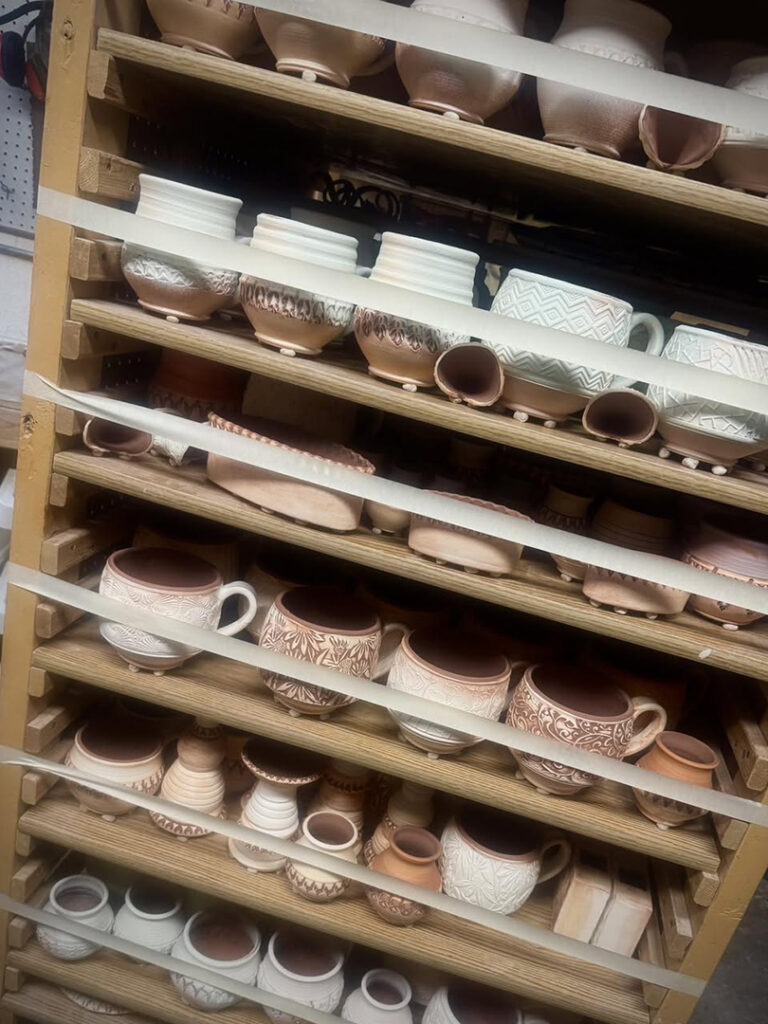
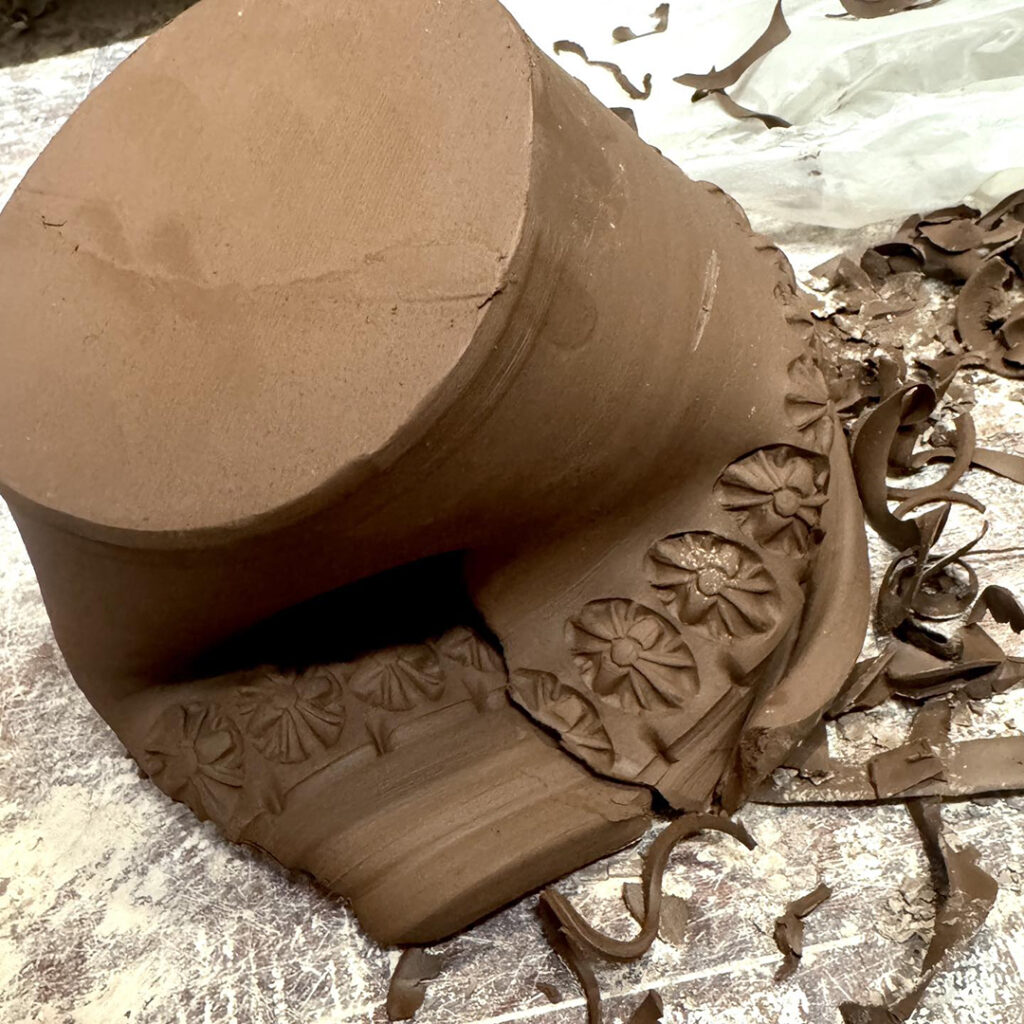
A little early morning trimming! I’m trying to speed-up the drying process a bit. So they’re drying upside-down on elevated plastic grids. Better air circulation on all sides this way.

Just me here painting some accents of colored flashing slip on this next batch of mugs.
The colored slip should turn orange & show good flashing marks after being soda-fired.


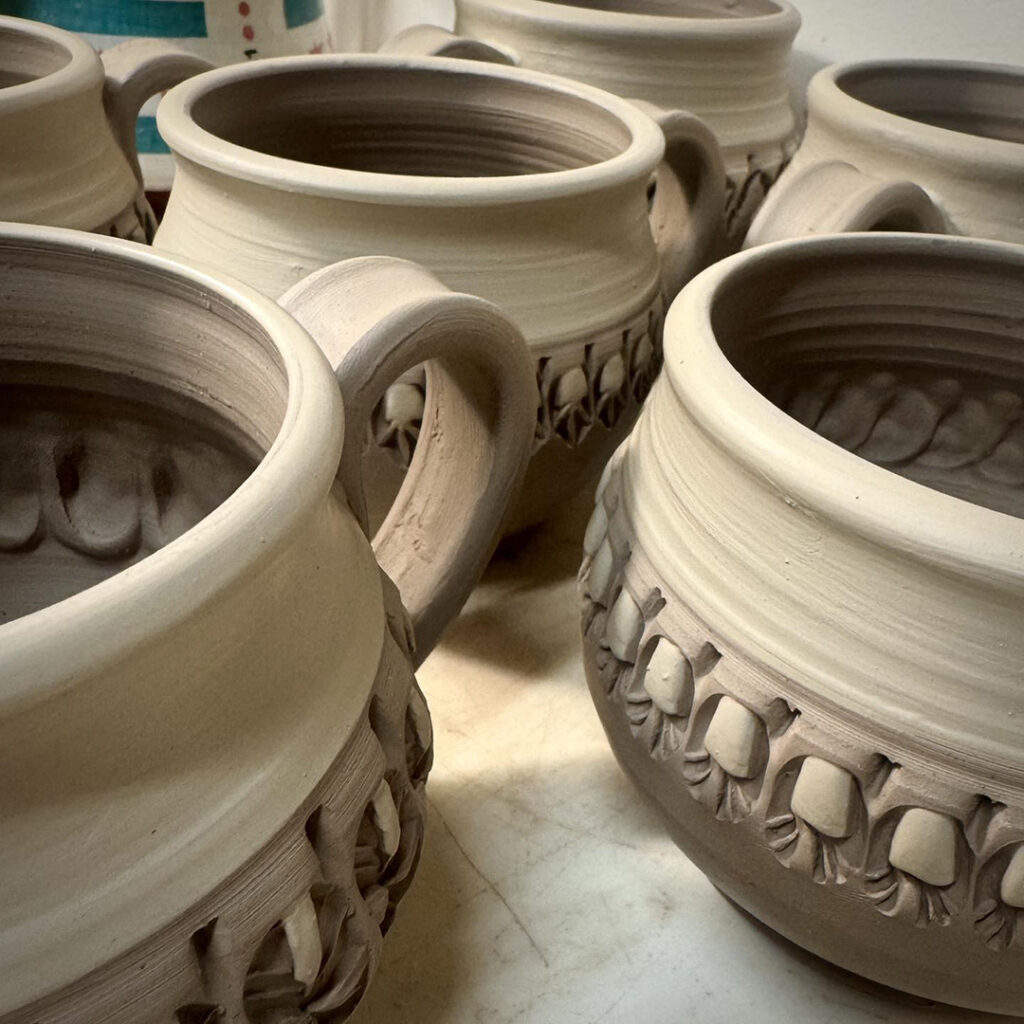
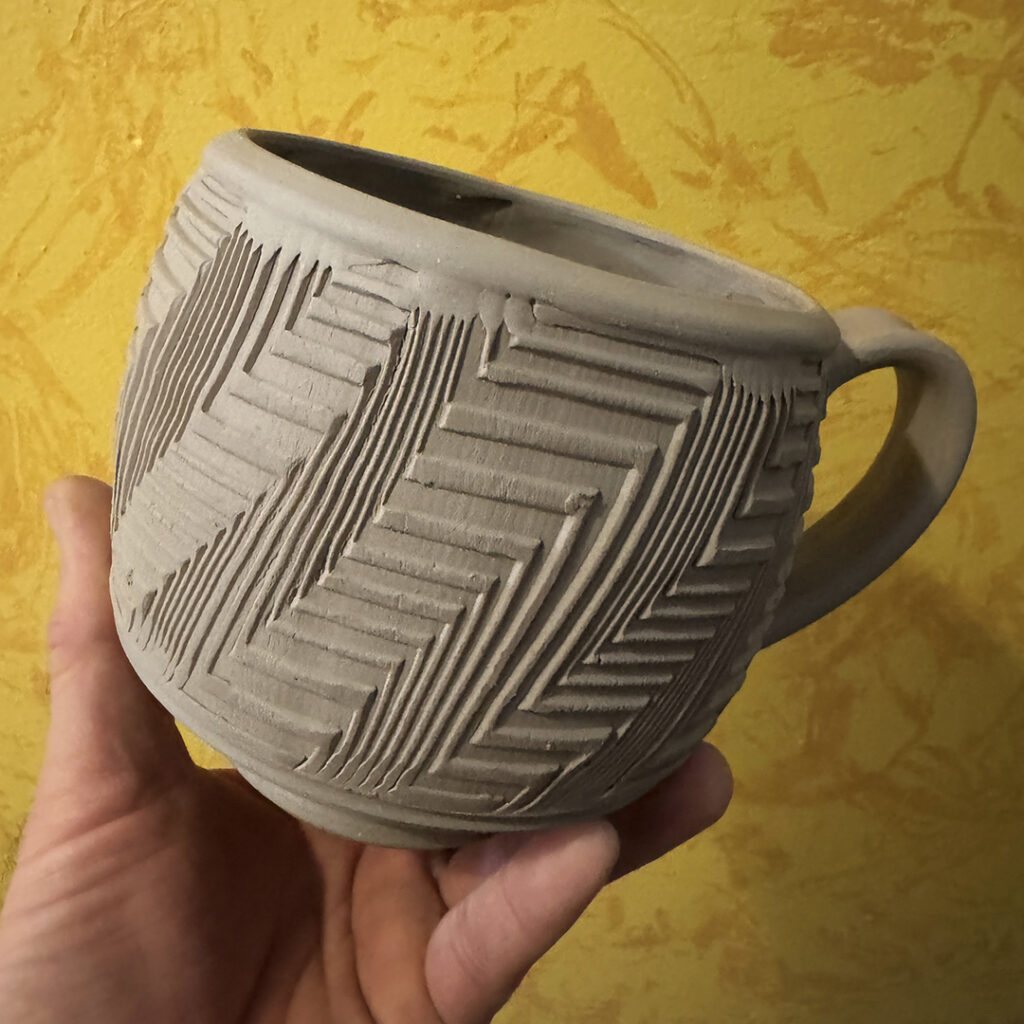
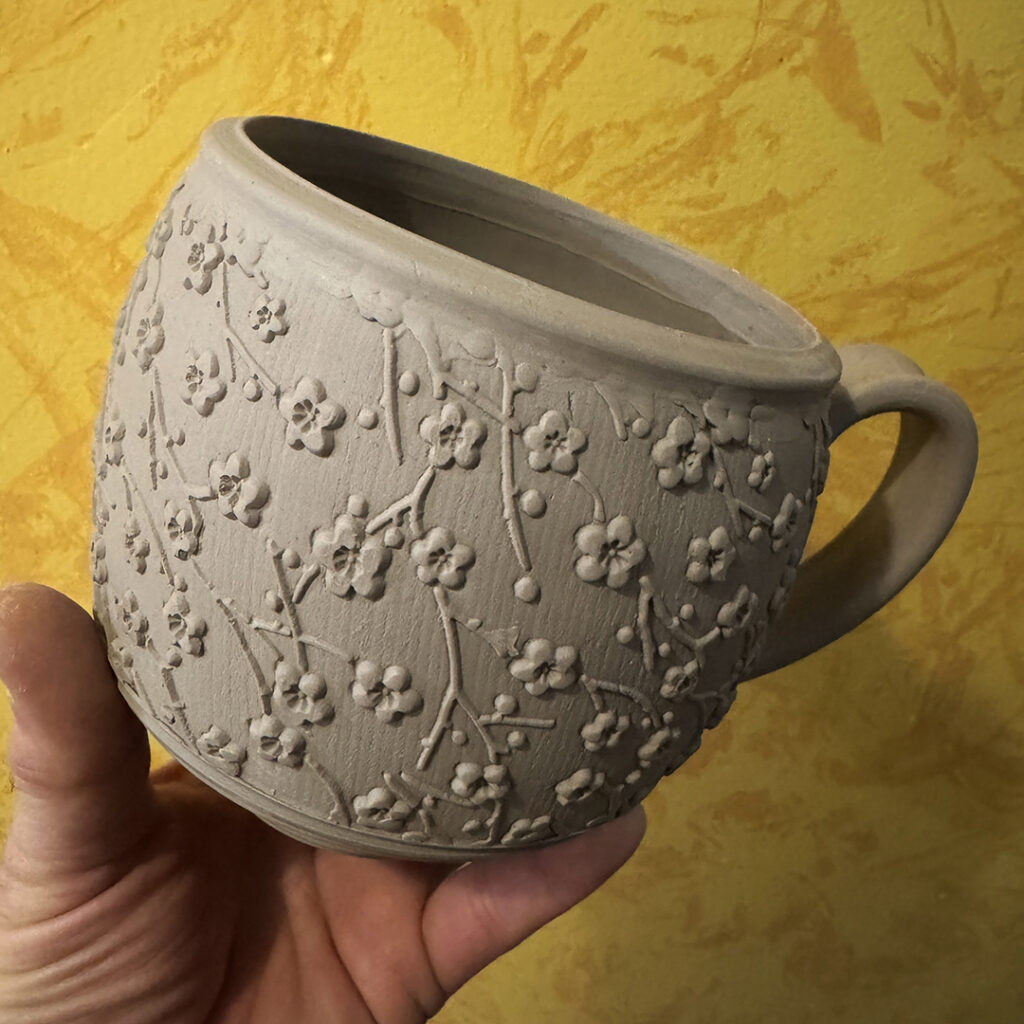
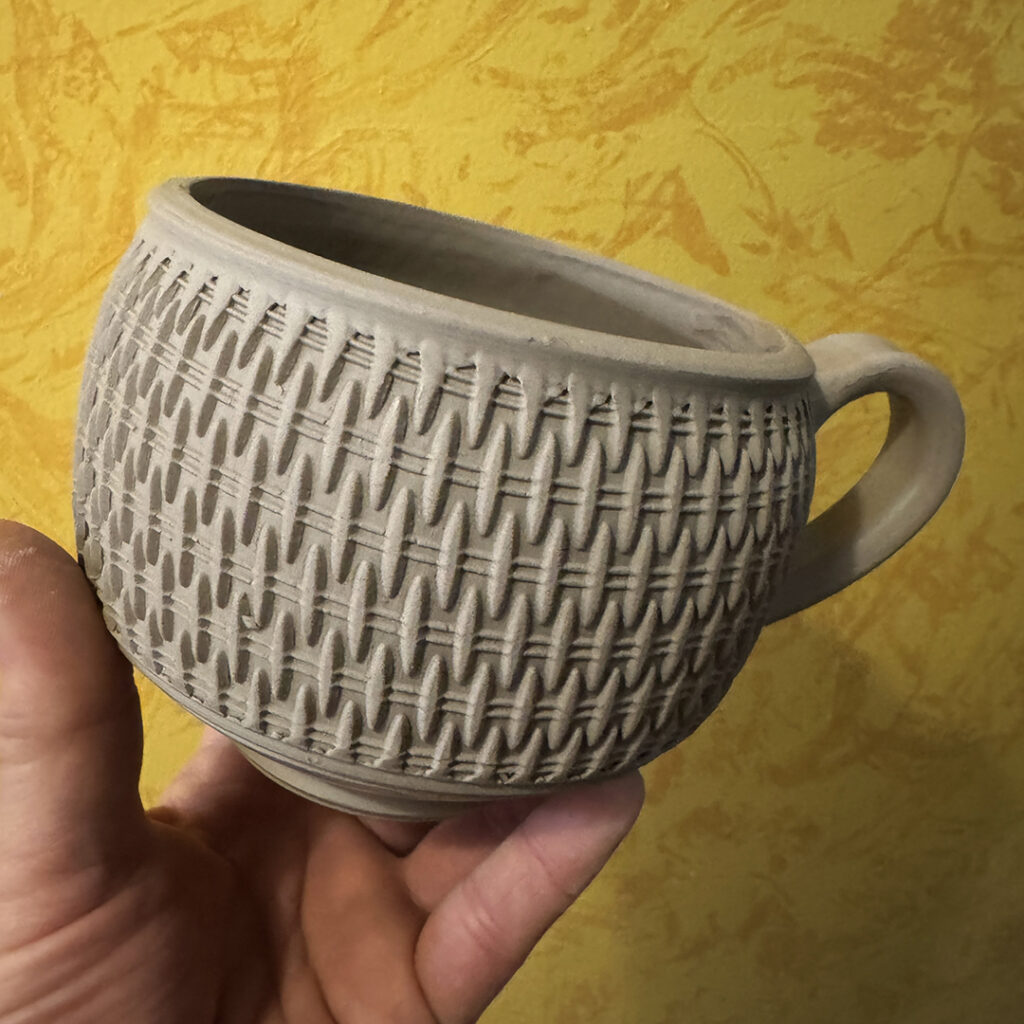
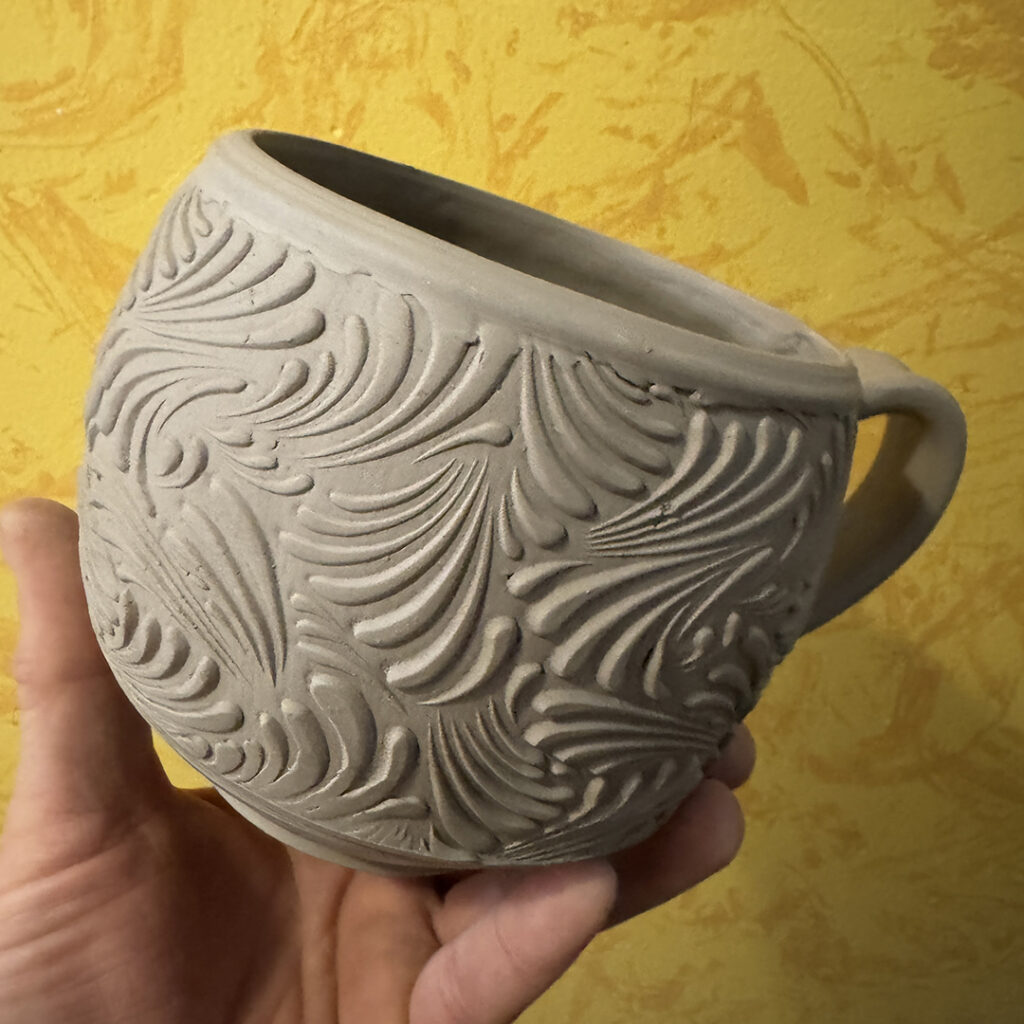
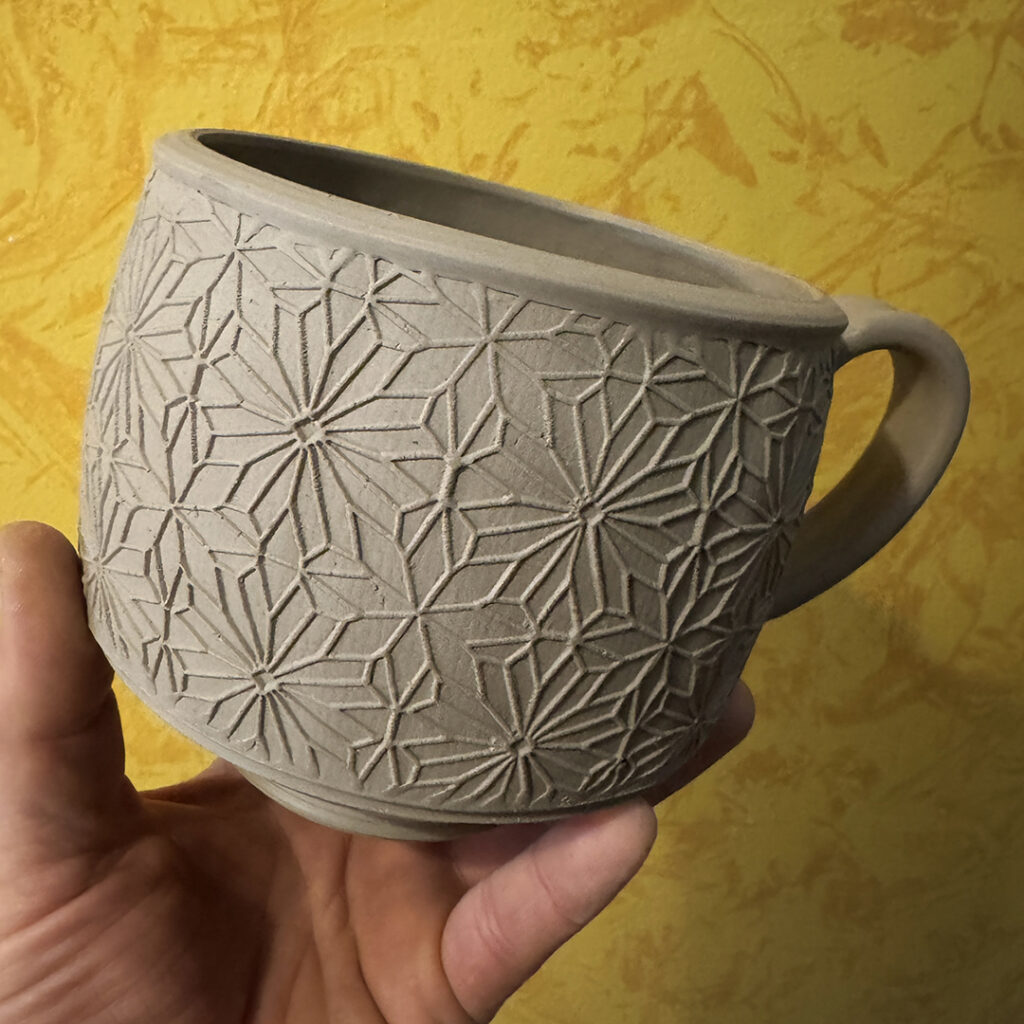
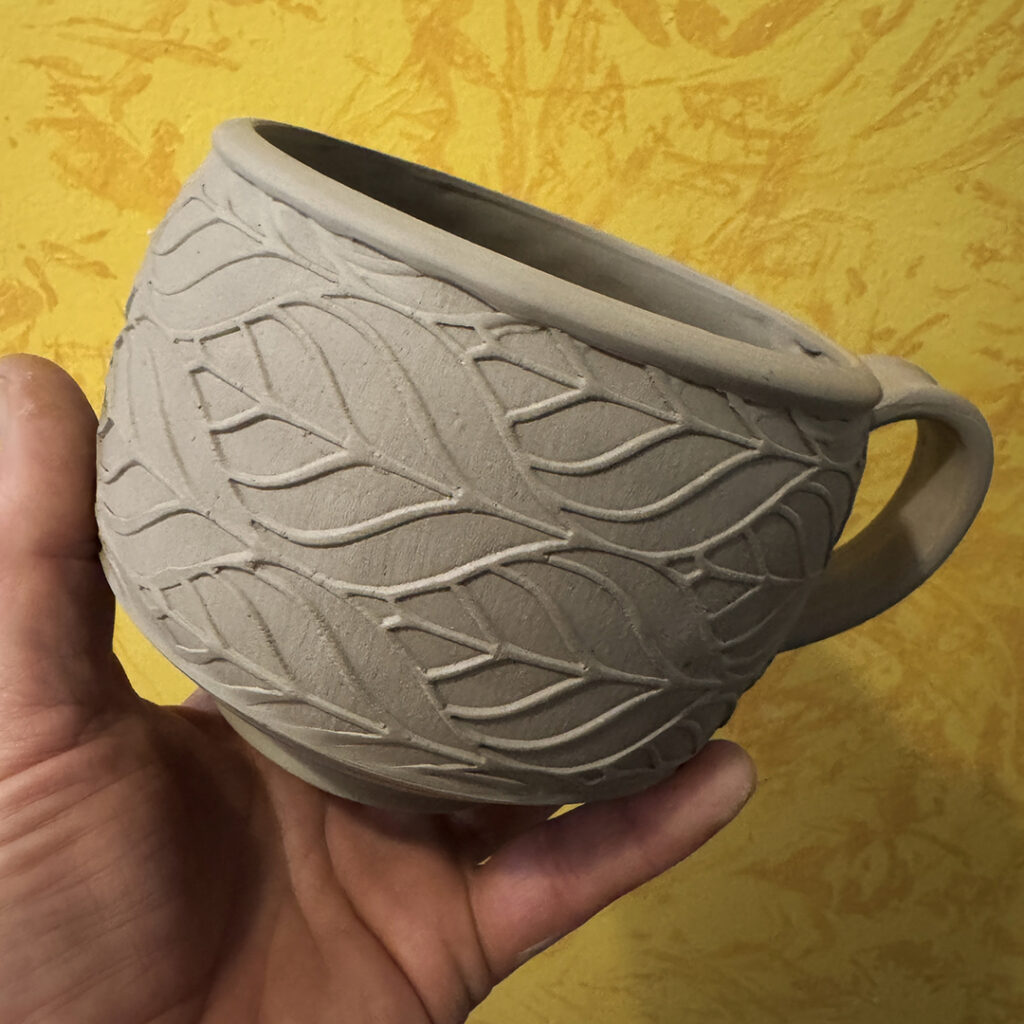
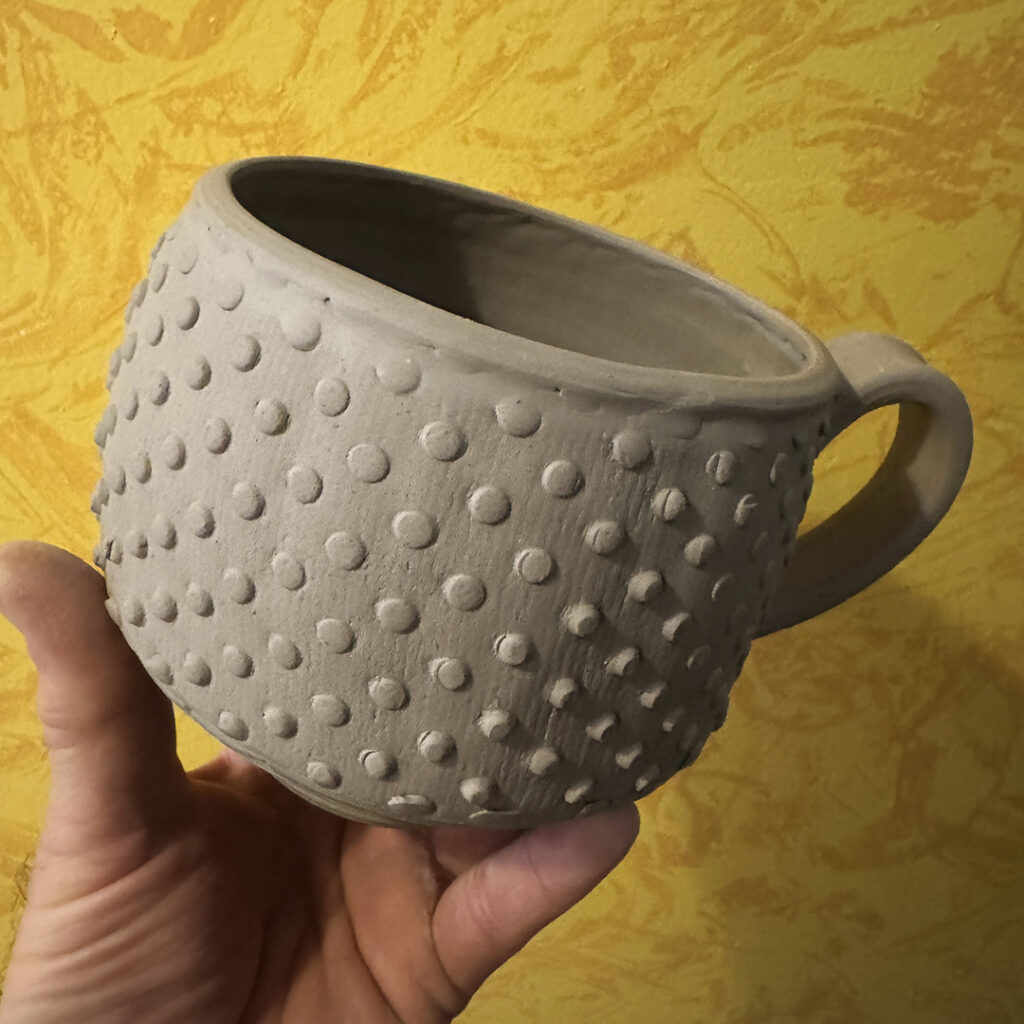
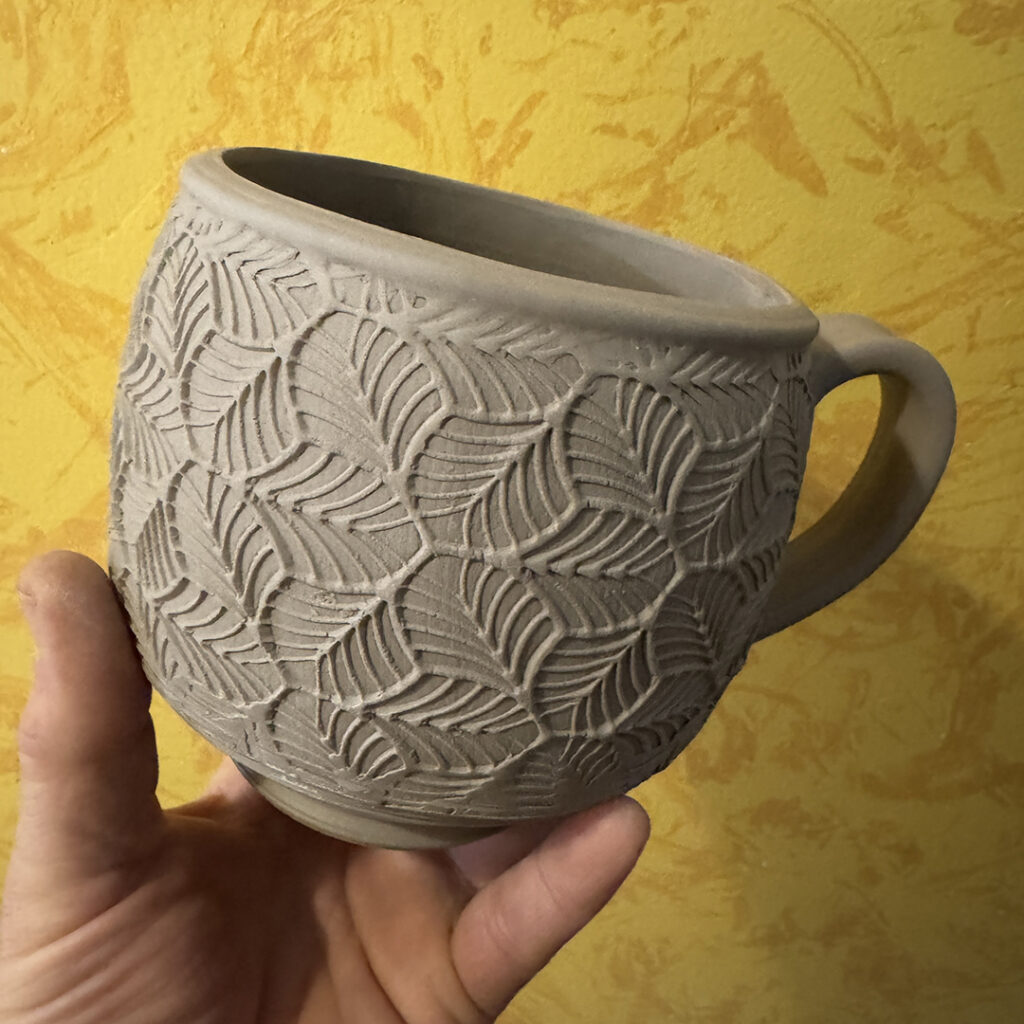
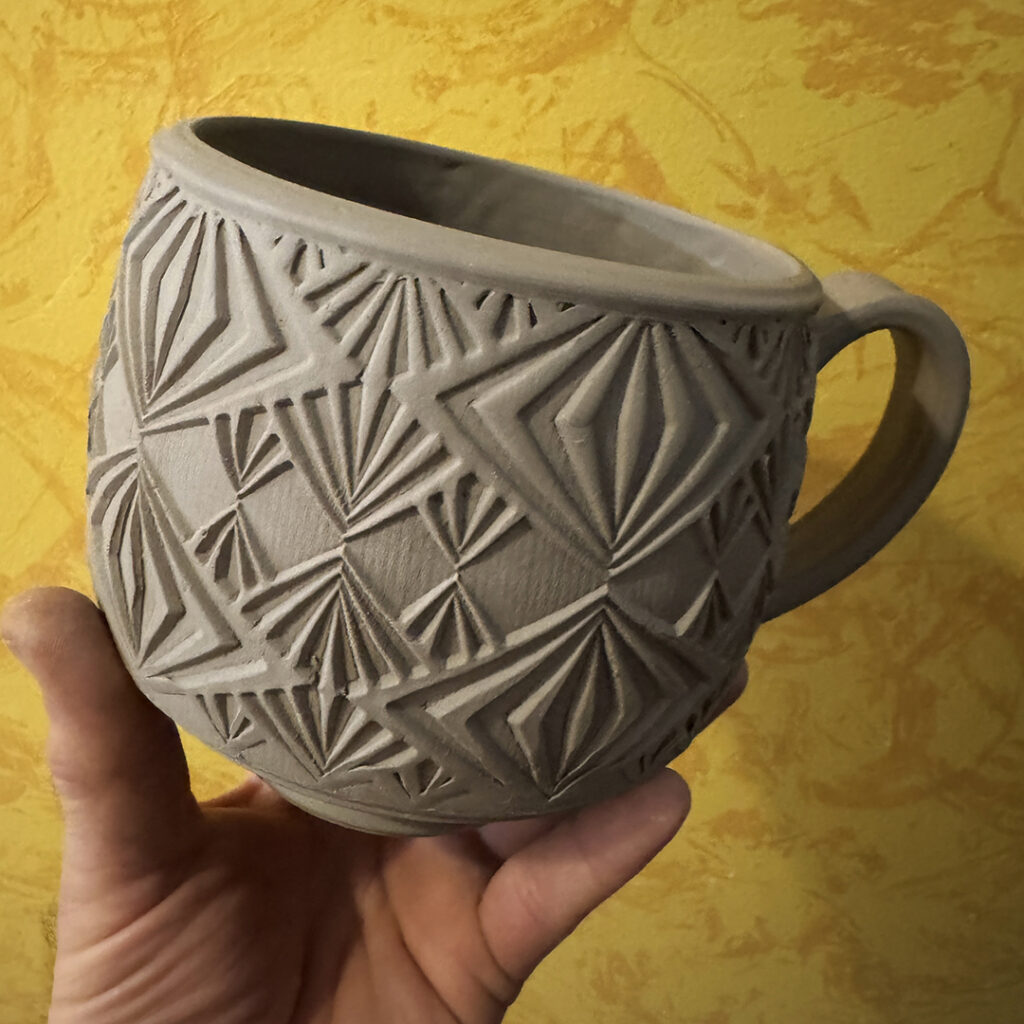
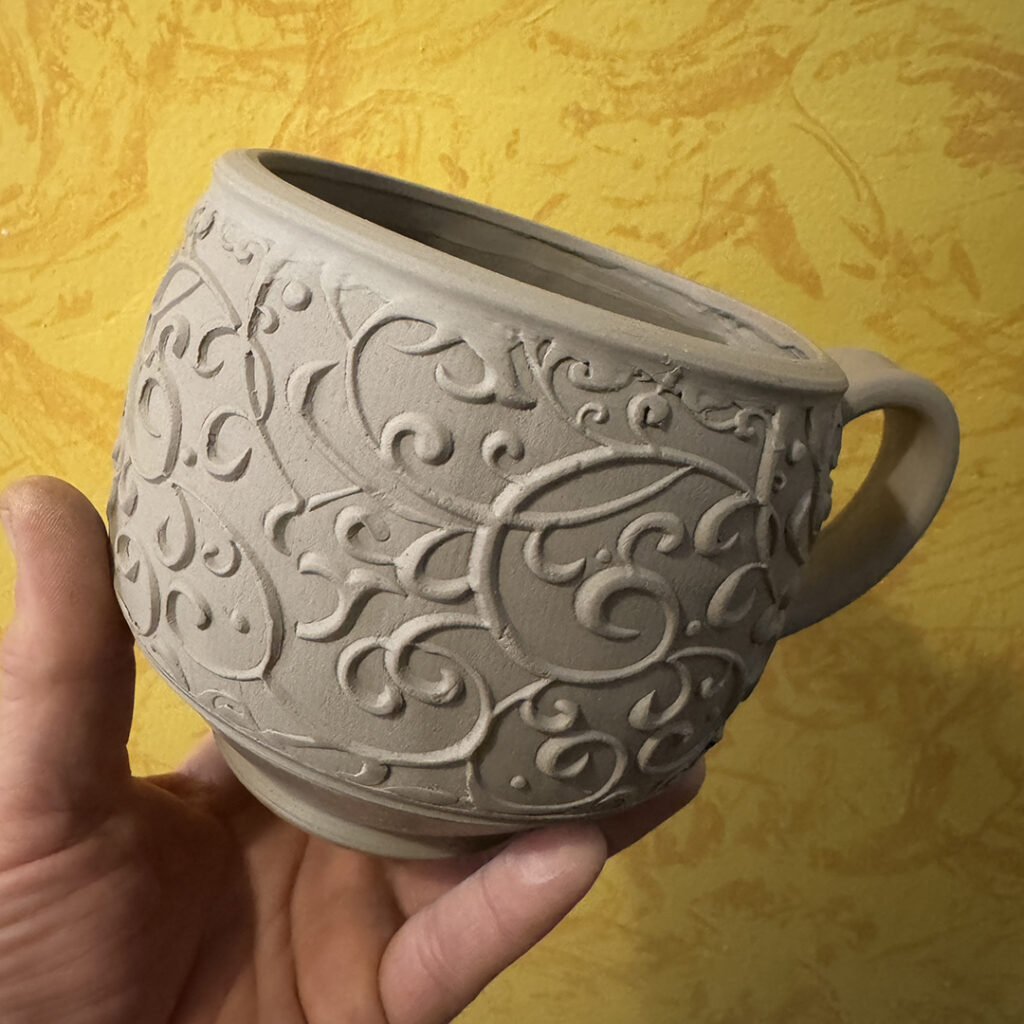
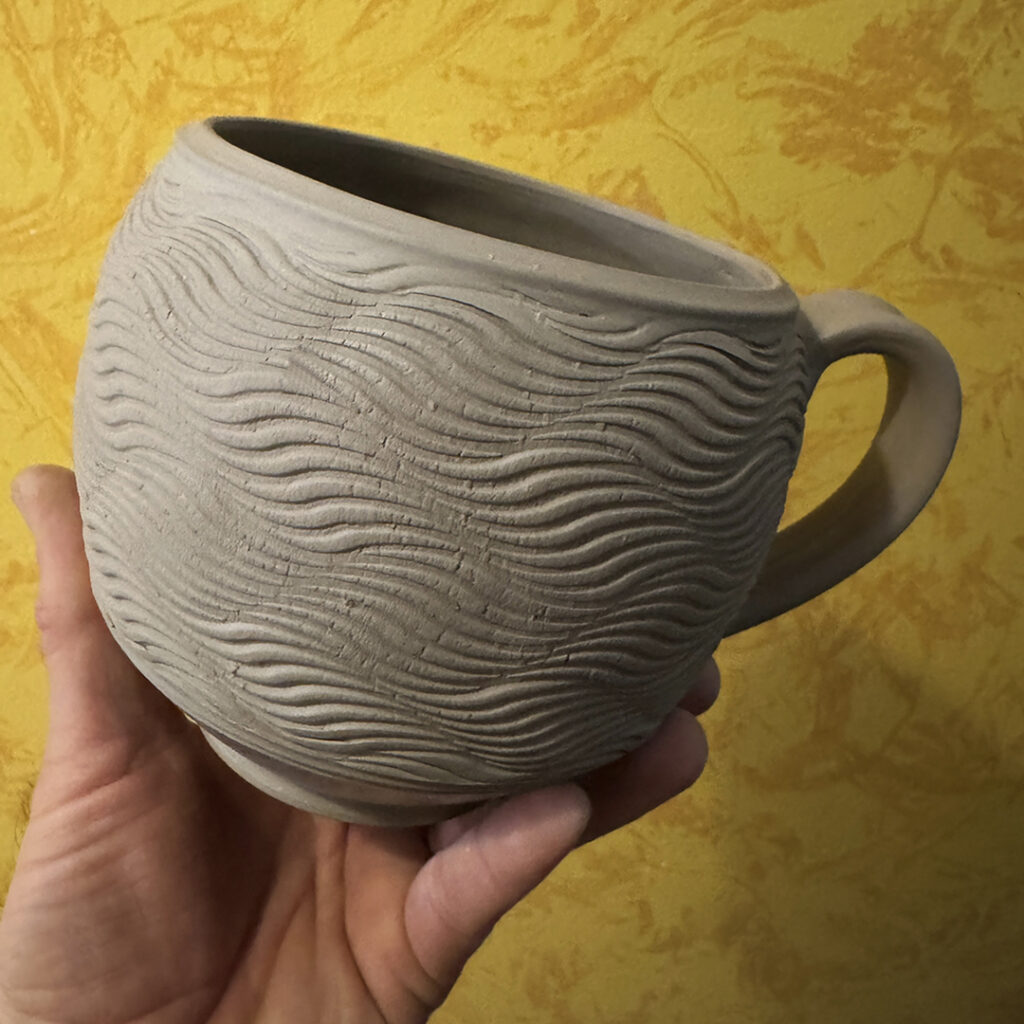
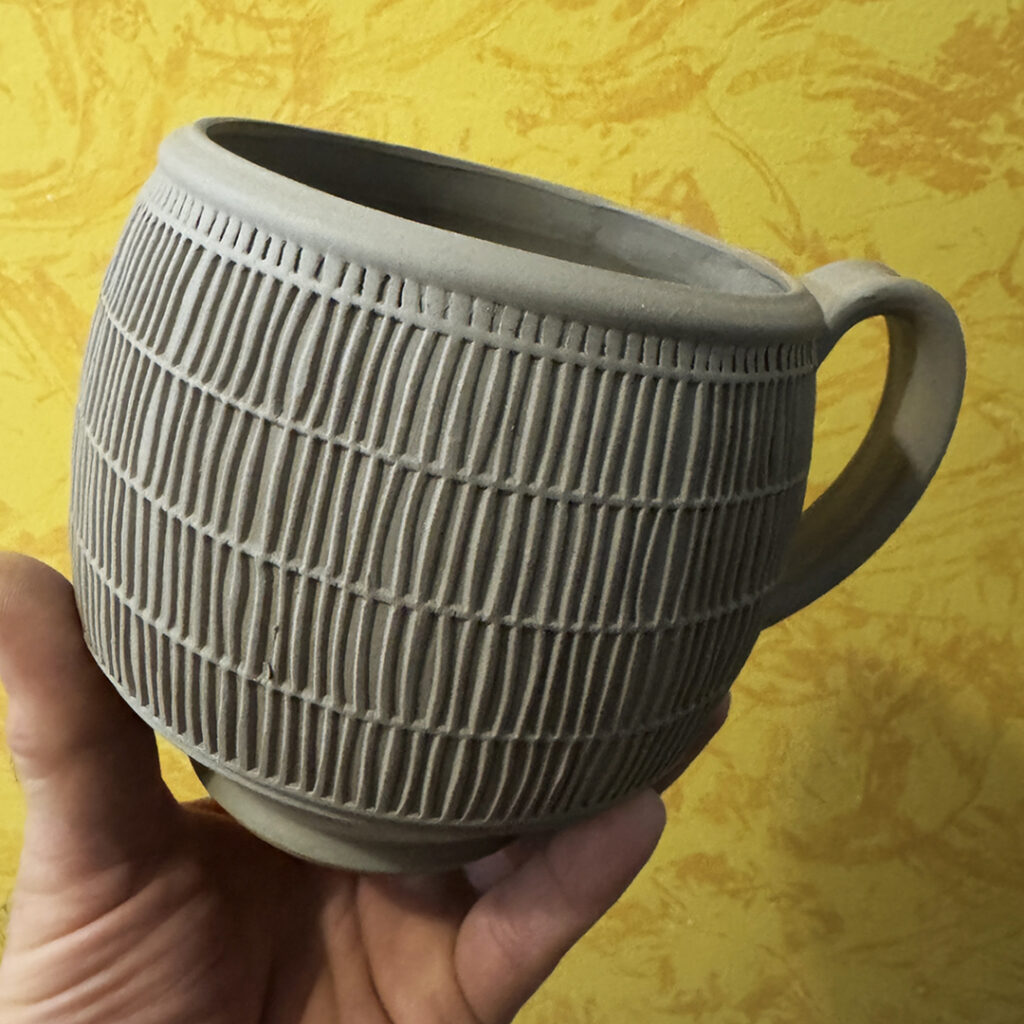
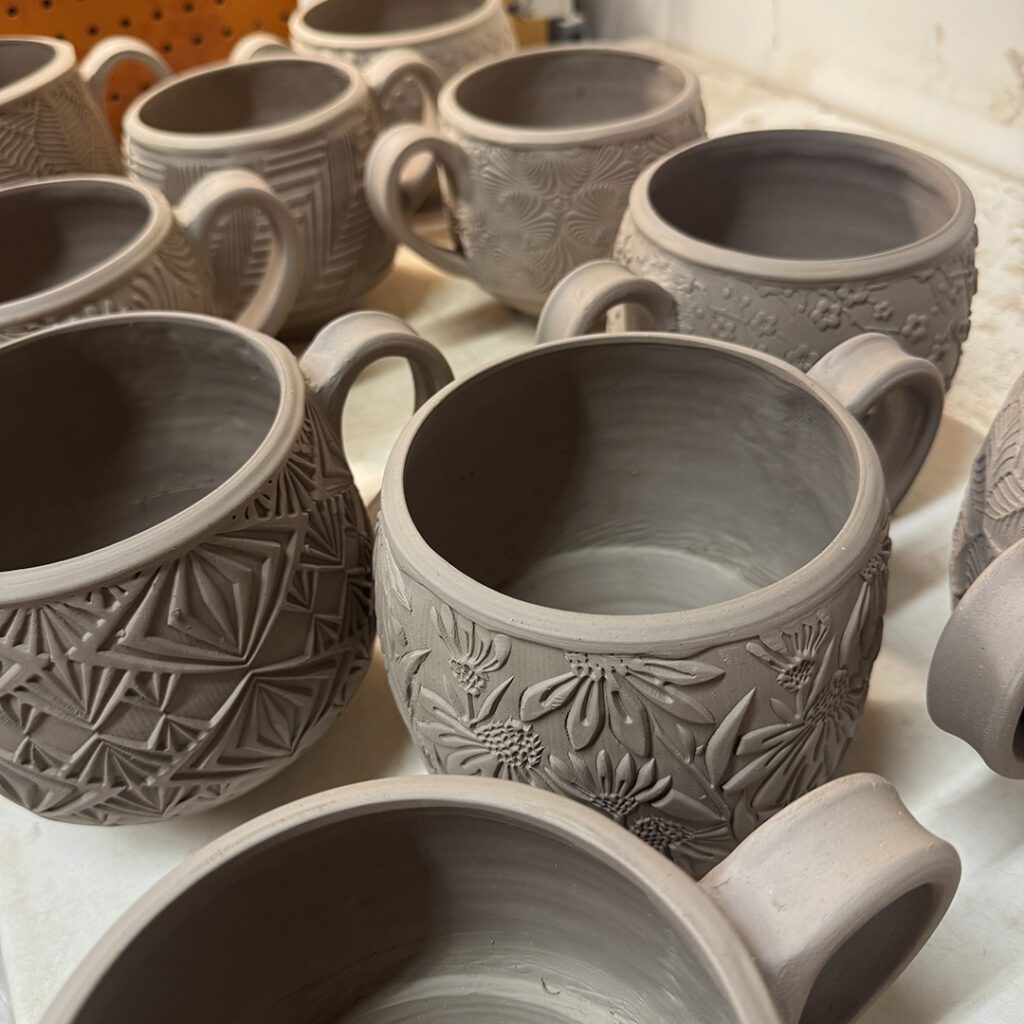
Here’s my latest batch of hybrid mugs… with groovy cool patterns & textures made with some of my newest MKM Pottery Tools handrollers. Now they just need some flashing slip while they’re still leatherhard. Then it’s off to drying, bisque firing, glazing, wadding & soda-firing. Still a long ways to go before these are ready to go!!! Lots of steps… not just in the making, but also in the finishing.


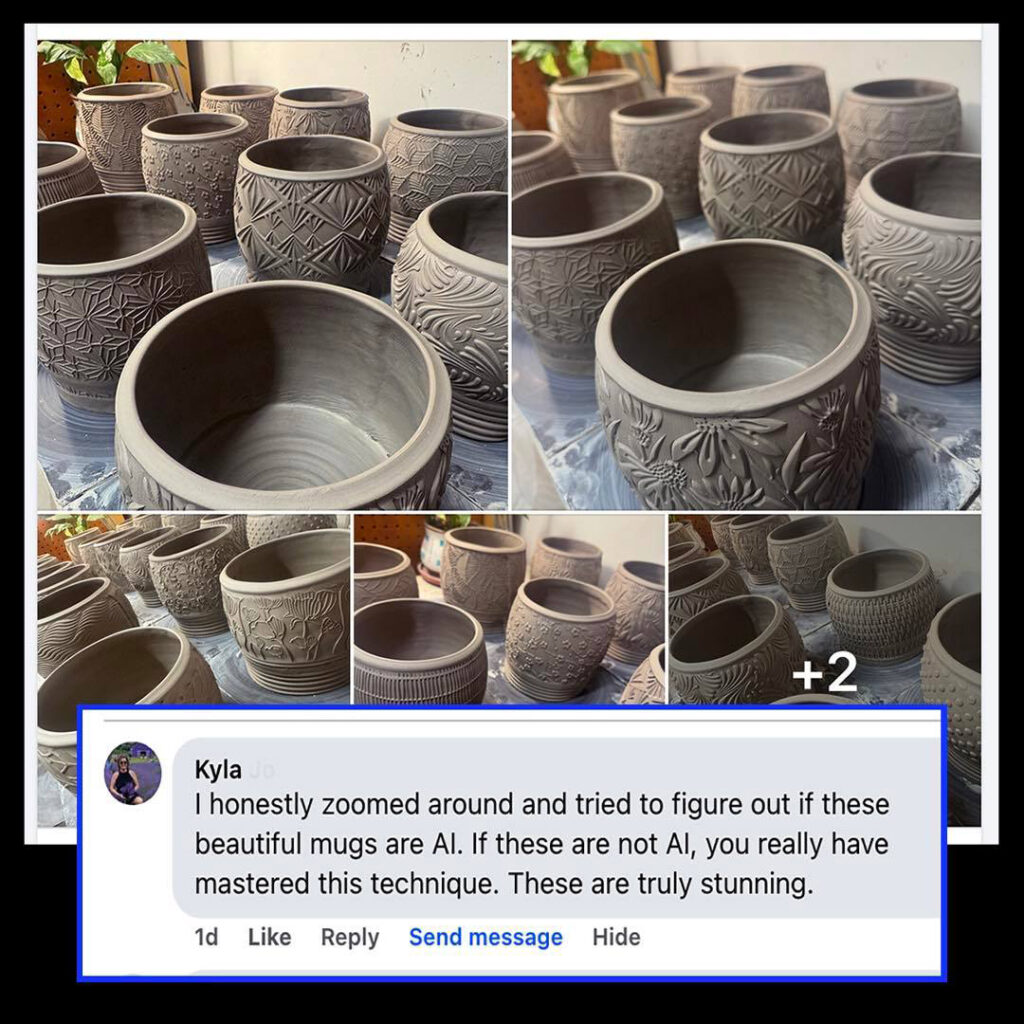
This might be the best & funniest Facebook comment I’ve ever gotten?! I don’t think that I’ve been compared to “AI” before?… but I’m kinda flattered in a weird way!!!
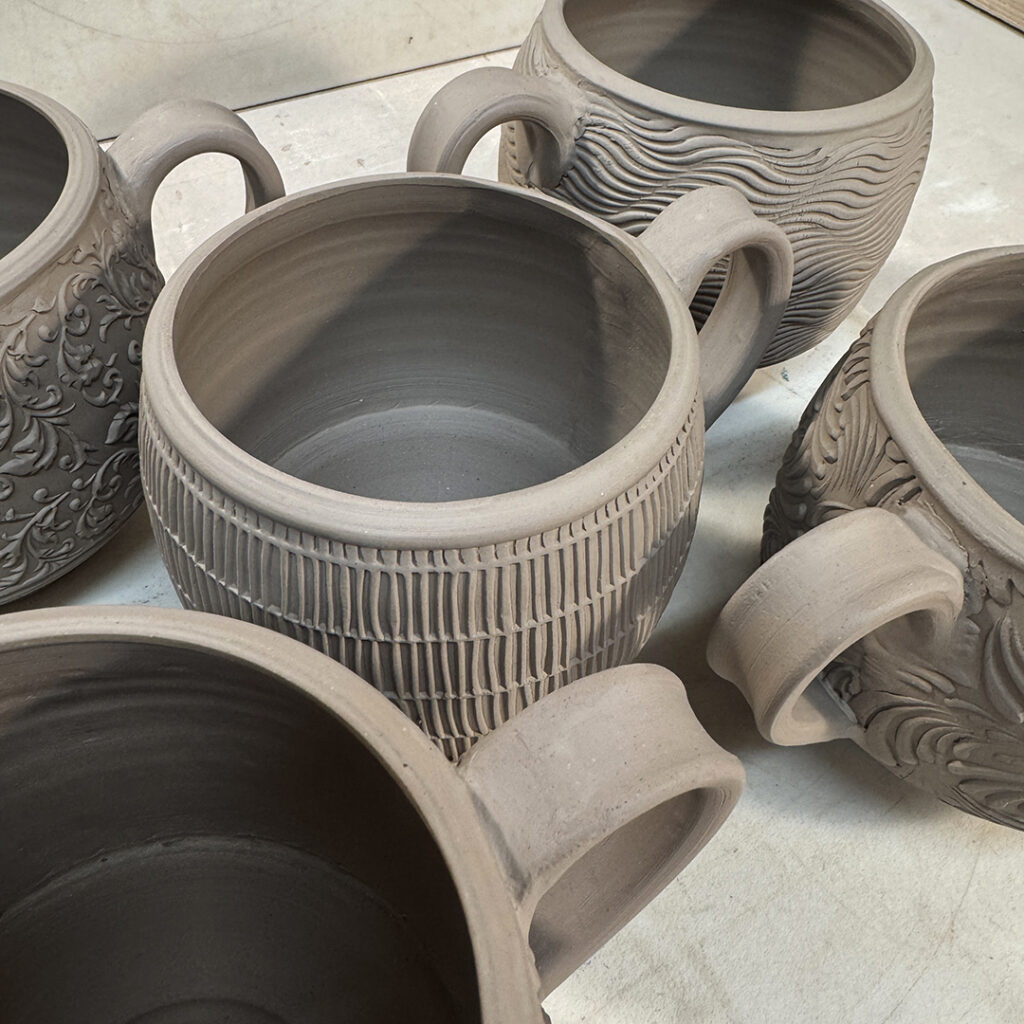
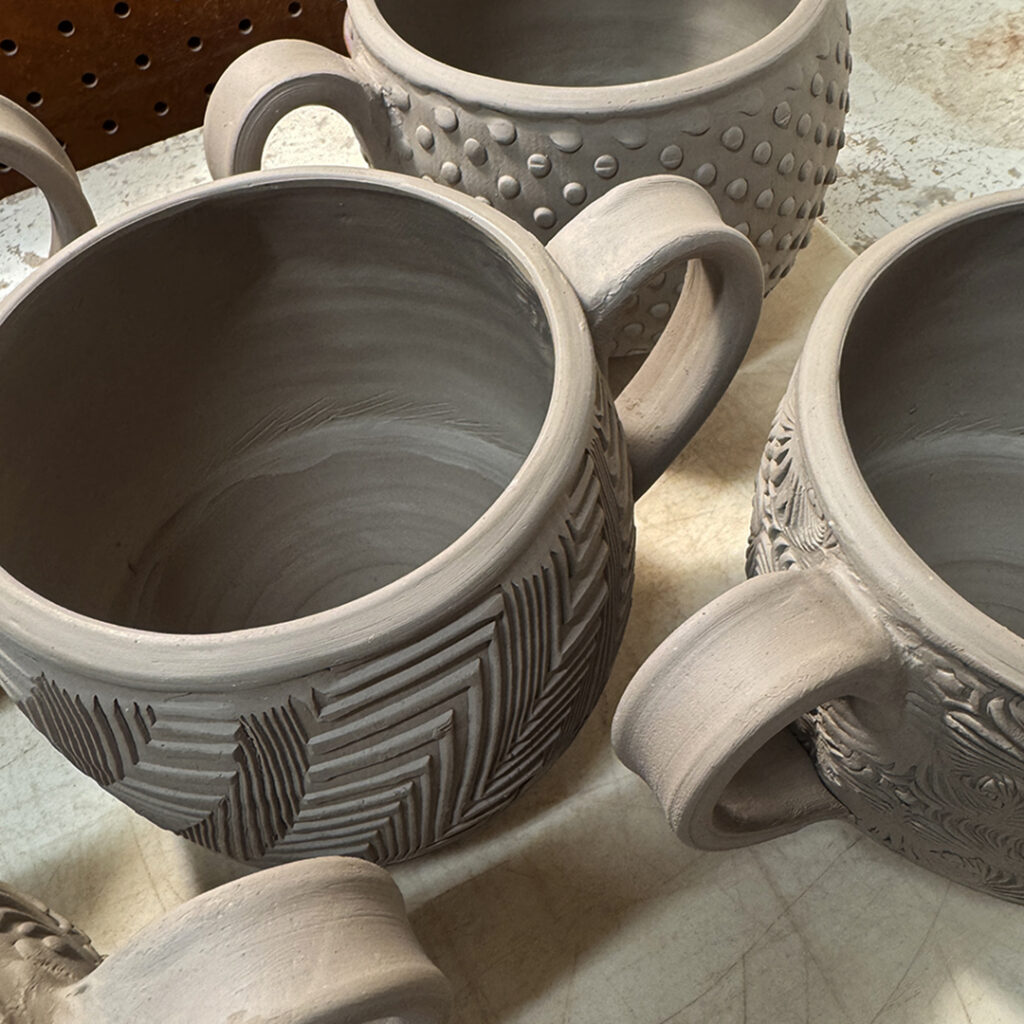
Assembled… now with handles! This latest batch of hybrid mugs finally all have handles… thus making them MUGS!!! I’m a firm believer that a “mug” by this potter’s definition must have a handle!!! So they’re all attached & ready to “relax” a little under some plastic overnight… before I come back to touch them up a bit more before drying.
|
Gary Jackson: Fire When Ready Pottery
Lillstreet Studios ∙ 4401 North Ravenswood, Chicago, Illinois 60640 ∙ 773-307-8664 gary@firewhenreadypottery.com |