I’ve been so busy prepping for art fairs that I kind of forgot about the new glaze test tiles I ran through my last kiln. Finally getting around to looking at them… some hits, some misses. Promising… but all need a little more exploration.
Gary Jackson: Fire When Ready Pottery
A Chicago potter’s somewhat slanted view of clay & play |
I’ve been so busy prepping for art fairs that I kind of forgot about the new glaze test tiles I ran through my last kiln. Finally getting around to looking at them… some hits, some misses. Promising… but all need a little more exploration.

With just two days until the Schaumburg Prairie Arts Festival,
it’s my very last chance to get these birdhouses fired in time!

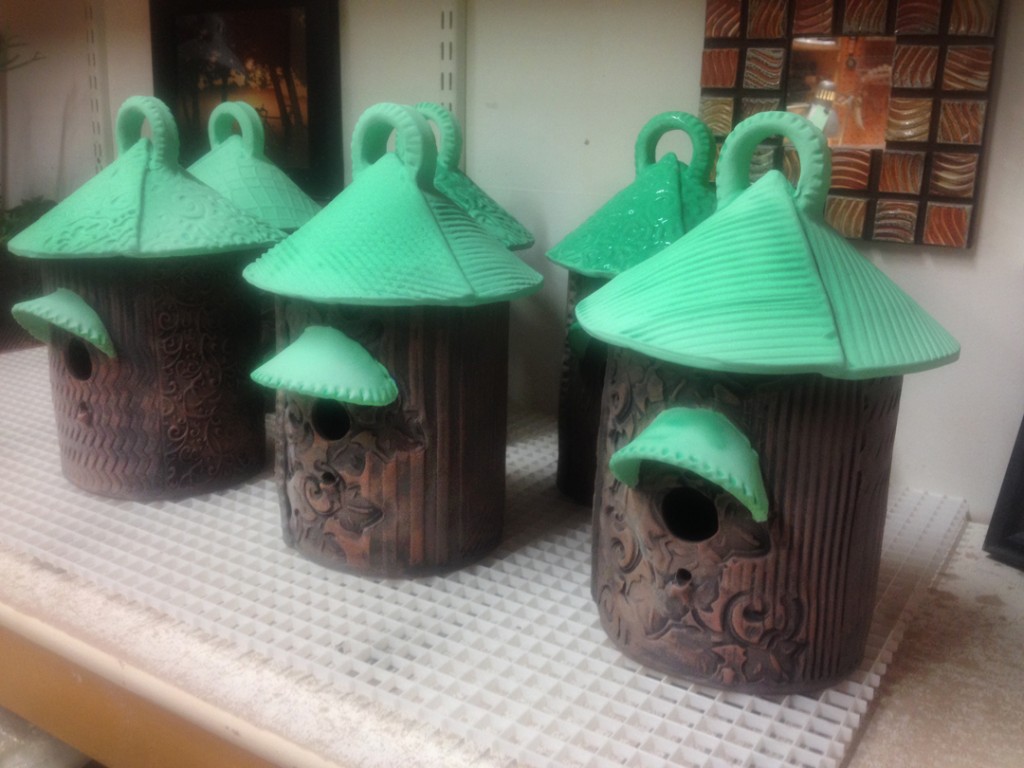
So with a quick coat of clear glaze on the roof tops, they’re headed into a single-fire terra cotta cone 04 kiln. Fingers crossed that they fire okay… and that they’re not still too hot to bring to the fair on Saturday!

The front door bricks were just taken off… and all looks good!.
Always a relief to see some good colors and nice soda flashing effects.
And to know that as you dig in and unpack the kiln it’s only going to get better!

It was also nice to see the top cone pack still intact. At some point towards the end of the firing, I lost visuals on it. The kiln was so hot, glowing orange with flames shooting out… that ot was tough to see in through the peep. I actually wondered if it had fallen off the shelf at some point?! Apparently not… but that Cone 10 did melt nice and flat, huh?!
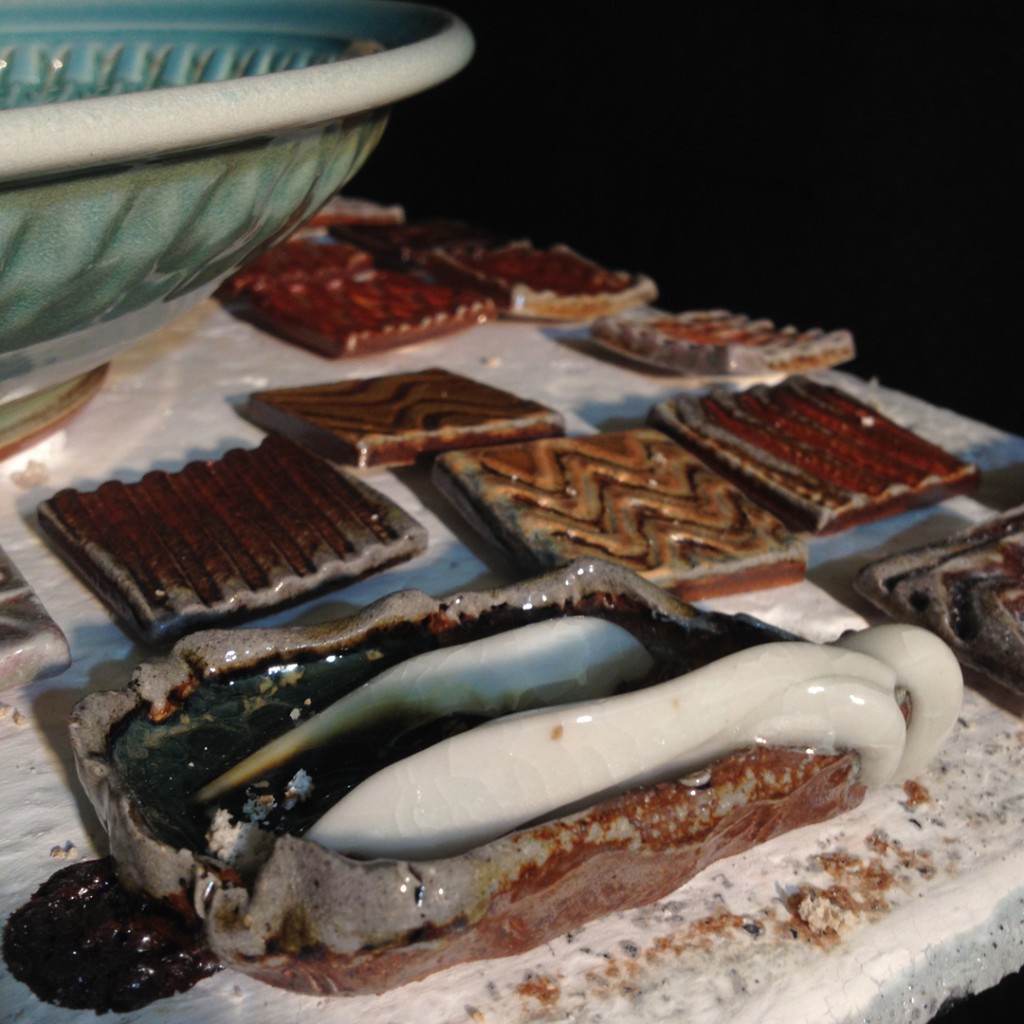
Always fun to unpack and see what’s in-store. So many nice things that were “kissed” by the kiln flames. Beautiful blushes of colors and soda build-up. So many of these pieces will be coming with me to Schaumburg & Hinsdale for my first two art fairs. We’re just weeks away… and here’s a sneak peek of what to expect…
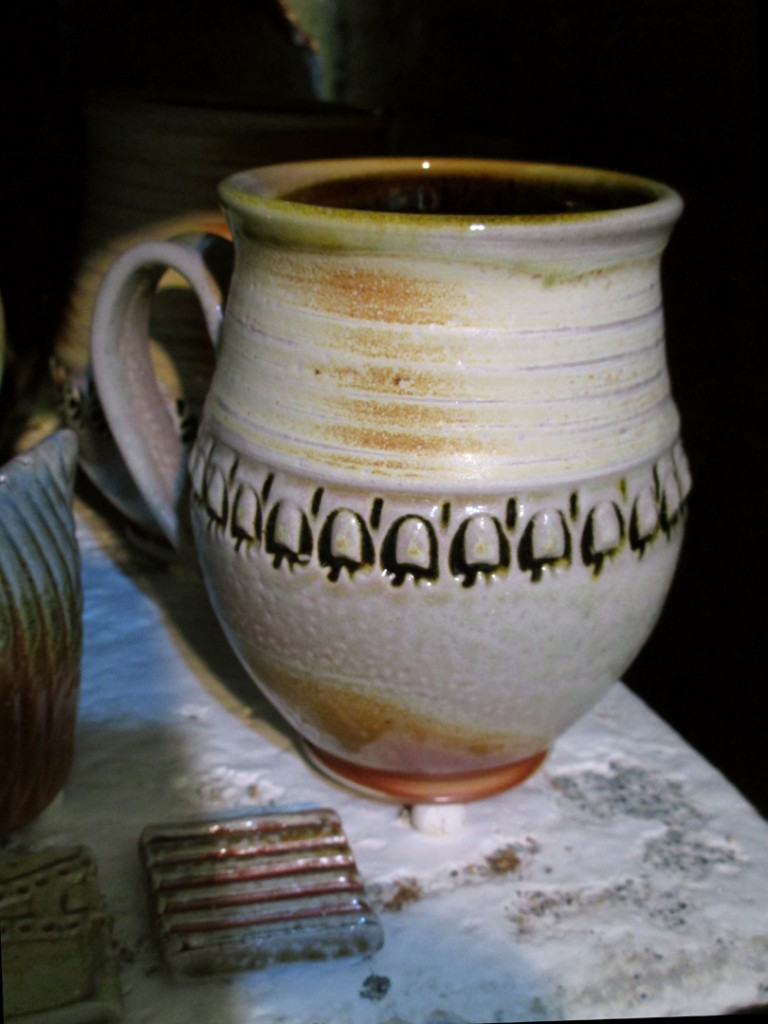

One of the many joys of soda firing. Some times the Kiln Gods like to give some pots a good sloppy kiss of goo. Changing their destiny forever. Luckily, this was my only “kissed” pot.

Now THAT’s a big smooch!!!

Click over to my INSTAGRAM feed to see a video of what happened to this “lovely” pot!
www.instagram.com/firewhenreadypottery – and then hit FOLLOW.
Or, even quicker, click on the QR Code…

Step up on your tippy-toes and you can get a quick peek into my soda kiln as it cools throughout the day. Looking forward to the “treasure hunt” tonight as I unload the whole kiln with fingers crossed.


My soda kiln is firing smooth today… cones are falling… adding soda mixture…
we’re getting really close to cone 10. Almost ready to put it to bed for the night!
Here’s the back stack of the kiln… loaded piece by piece, shelf by shelf, post by post.

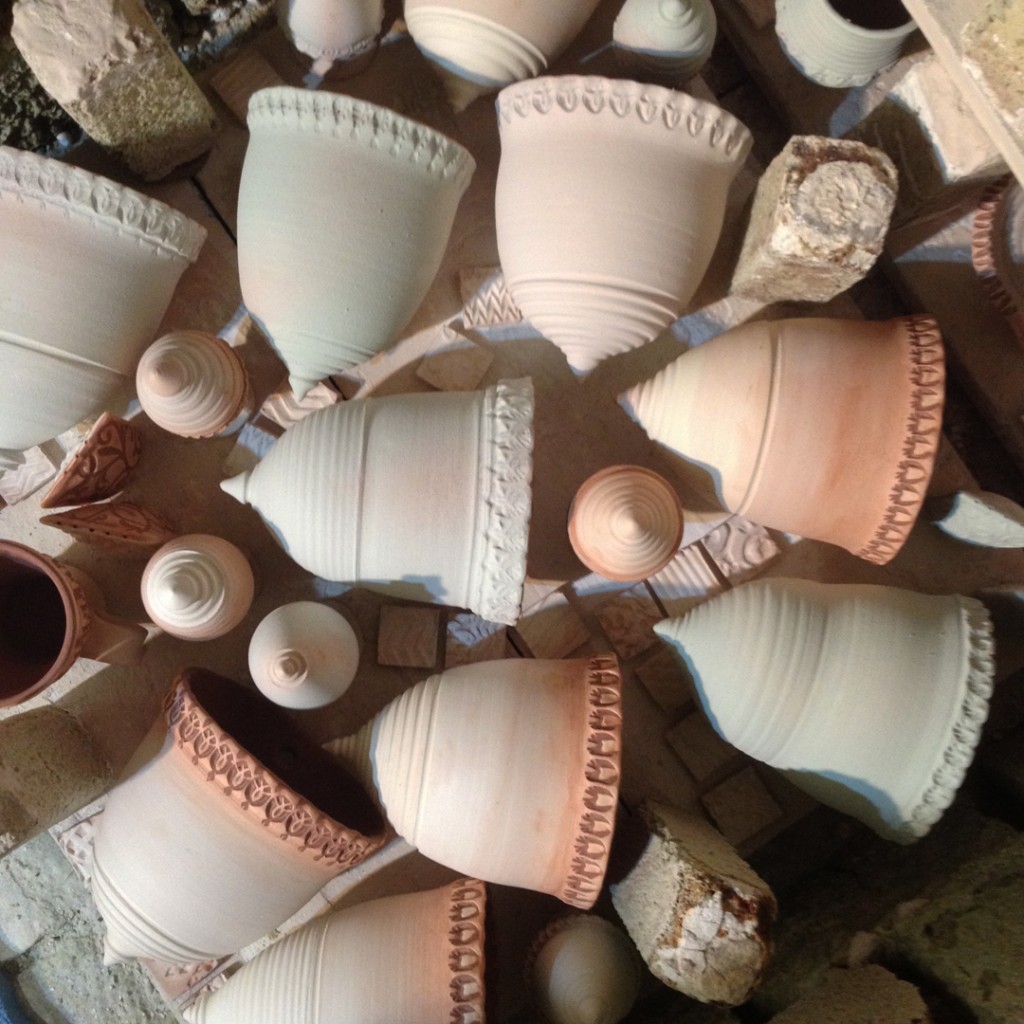
And a quick bird’s-eye-view of some wall pocket vases & ornaments mixed together.
So after a couple hours of focused kiln loading, my kiln was finally full. Pretty much everything fit in… just a few “strays” that will hopefully sneak into the next firing. Pretty pleased with my loading… it took quite awhile, but there’s not any spare space unused in this kiln Hopefully it’s not packed too tight for the soda mixture to fly around inside and hit all of the pots. I guess we’ll find out Monday when I unload?!
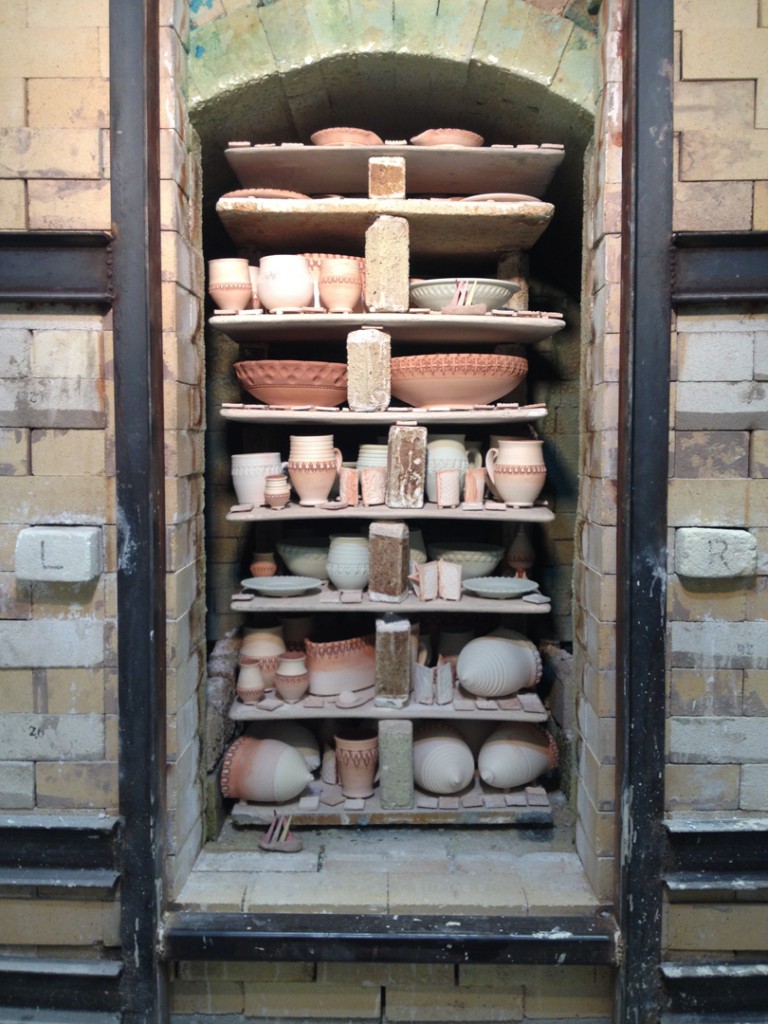

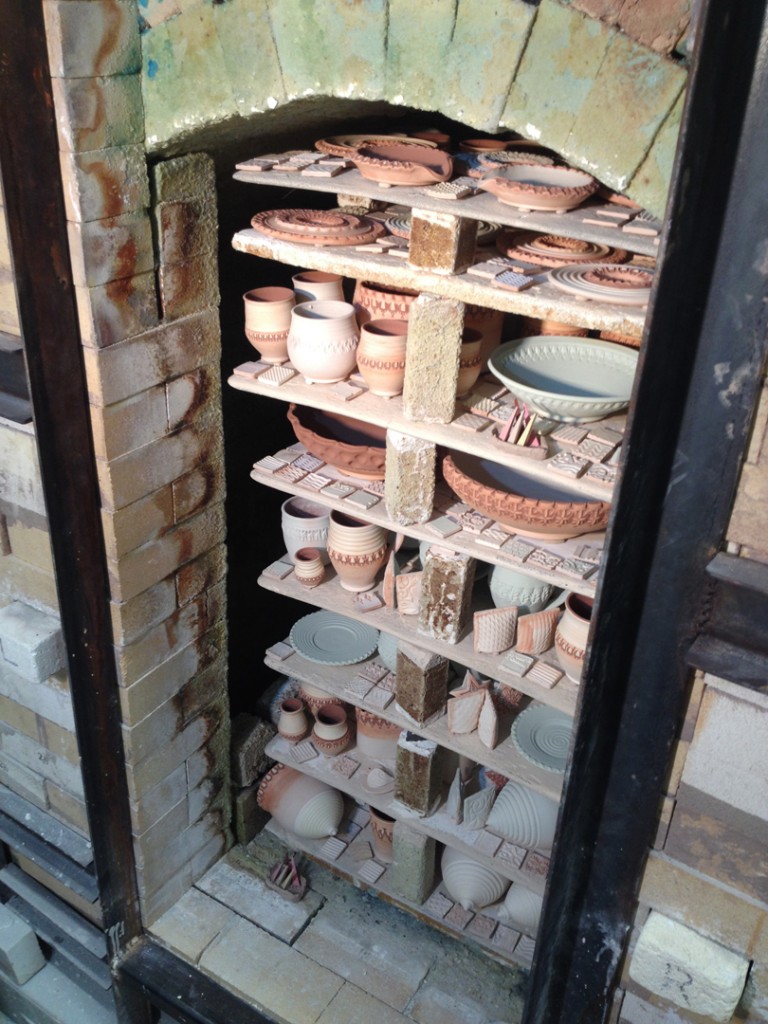
Time to close it up, brink up the door… then add a little heat to dry things out.
I’ll be back early tomorrow morning to get it all started.


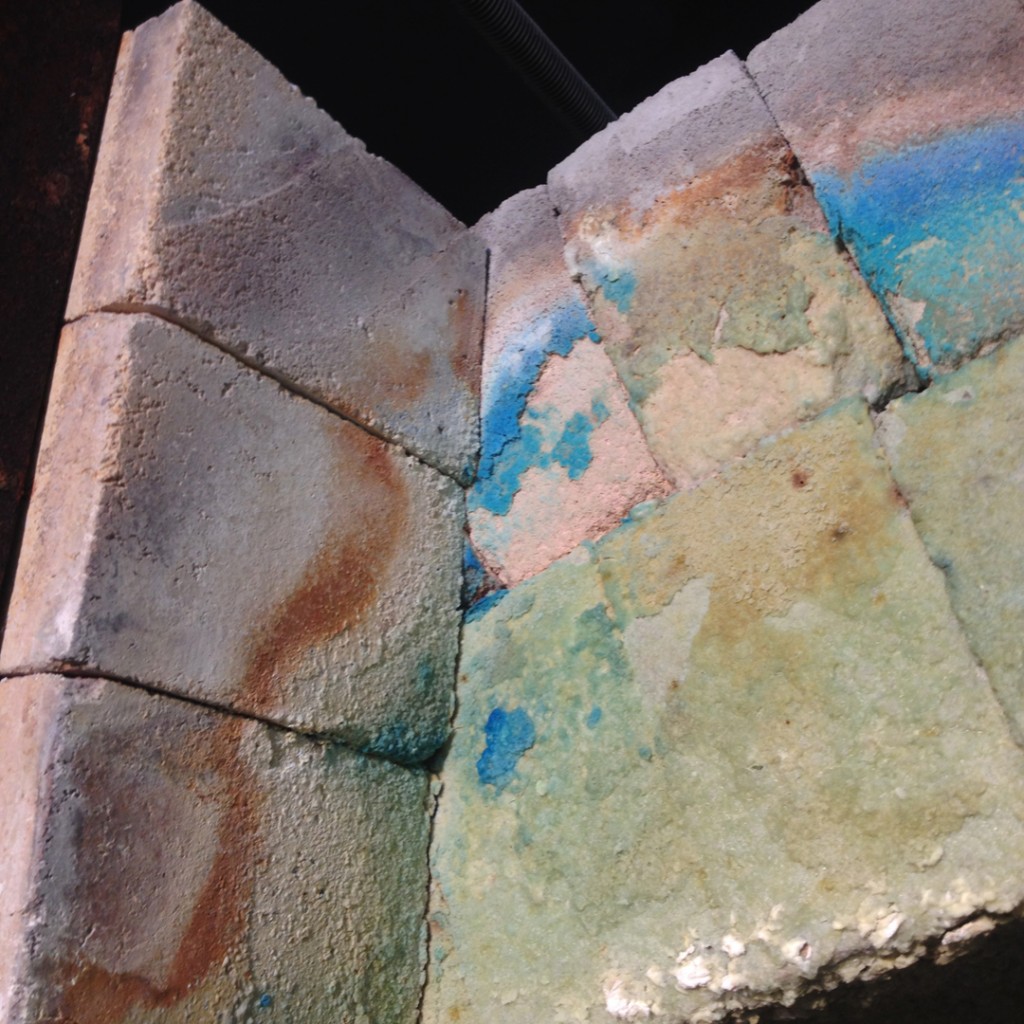
And you’ve gotta love the wonderful colors building up on the kiln arch bricks.
The beauty of chemistry in action!
It was a long drive home… but actually enjoyable with beautiful skies, wonderful scenery, songs to sing with and great road trip snacks! Did I mention homemade pie from Norske Nook??? Any way, I rushed home today to load another bisque kiln. I’ve got a lot of glazing to do before next Friday’s kiln loading. And first things first… got to get ’em bisqued before I can start glazing!
Kiln Layer #1 – mugs, large bowls, and ornaments.

Kiln Layer #2 – wall pocket vases, mugs, tiles and tripod supports.

 Kiln Layer #3 – mugs, tumblers, bowls, and berry bowls.

Kiln Layer #4 – oval vases, mini vases and ikebana vase tops.

Kiln Layer #4.5 – a half layer of berry bowl plates, ikebana vase tops and small cups.

Tonight I loaded another bisque kiln. I’ve been making a lot of work lately. Lots of pieces to squeeze in, snuggle together and pack a tight kiln. You know how I LOVE loading a kiln…
I only hate to admit that I didn’t quite fit it all in.        Shoot!!!
Layer #1 : Lots of mugs… each with a wheelthrown ornament nestled inside.

Layer #2 : Wall pocket vases, spoon rests, cups & tiles.

Layer #3 : More mugs, oval vases, salt & pepper shakers, ornaments & tiles.

Layer #4 : Some bowls & birds… surrounded by more bowls, shakers & tiles!


Layer #5 : A few platters, ikebana vase tops and a lot more tiles!!!

You know how much I love a well-packed kiln… well-packed ALL the way to the top!!!

Here’s a quick glimpse into the kiln as I loaded layer by layer last night. It’s a smaller electric kiln, so there’s not a lot of room. And yet I tried my best to squeeze a good amount of pieces in. And while I still LOVE soda-firing and the large percentage of my work is soda-fired… I must admit that it’s kind of fun to glaze & load a kiln in a couple hours – then close the lid, press the button and go home for the night. A quick kiln firing and we have some fun pop-of-color mugs to add to Saturday’s Holiday Home Show!!!
Kiln Layer #1 – mugs & cups
Kiln Layer #2 – a small bowl and a lot of holiday stars… replenishing the inventory!
Kiln Layer #3 – mugs & cups & bowls… oh my
Kiln Layer #4 – three larger mugs & some more bowls
Kiln Layer #4.5 – a partial layer with some more bowls
Kiln Layer #15 – a small plate and lots of tiles
|
Gary Jackson: Fire When Ready Pottery
Lillstreet Studios ∙ 4401 North Ravenswood, Chicago, Illinois 60640 ∙ 773-307-8664 gary@firewhenreadypottery.com |