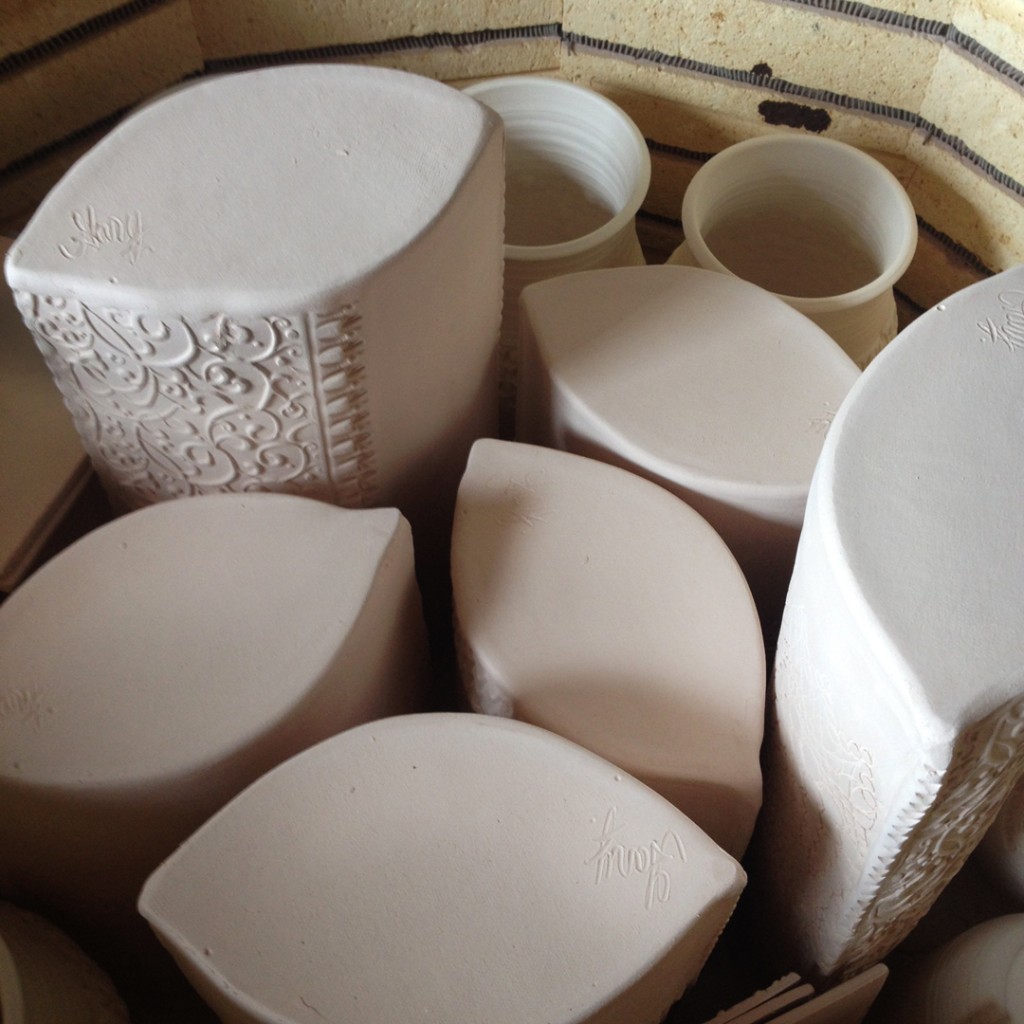
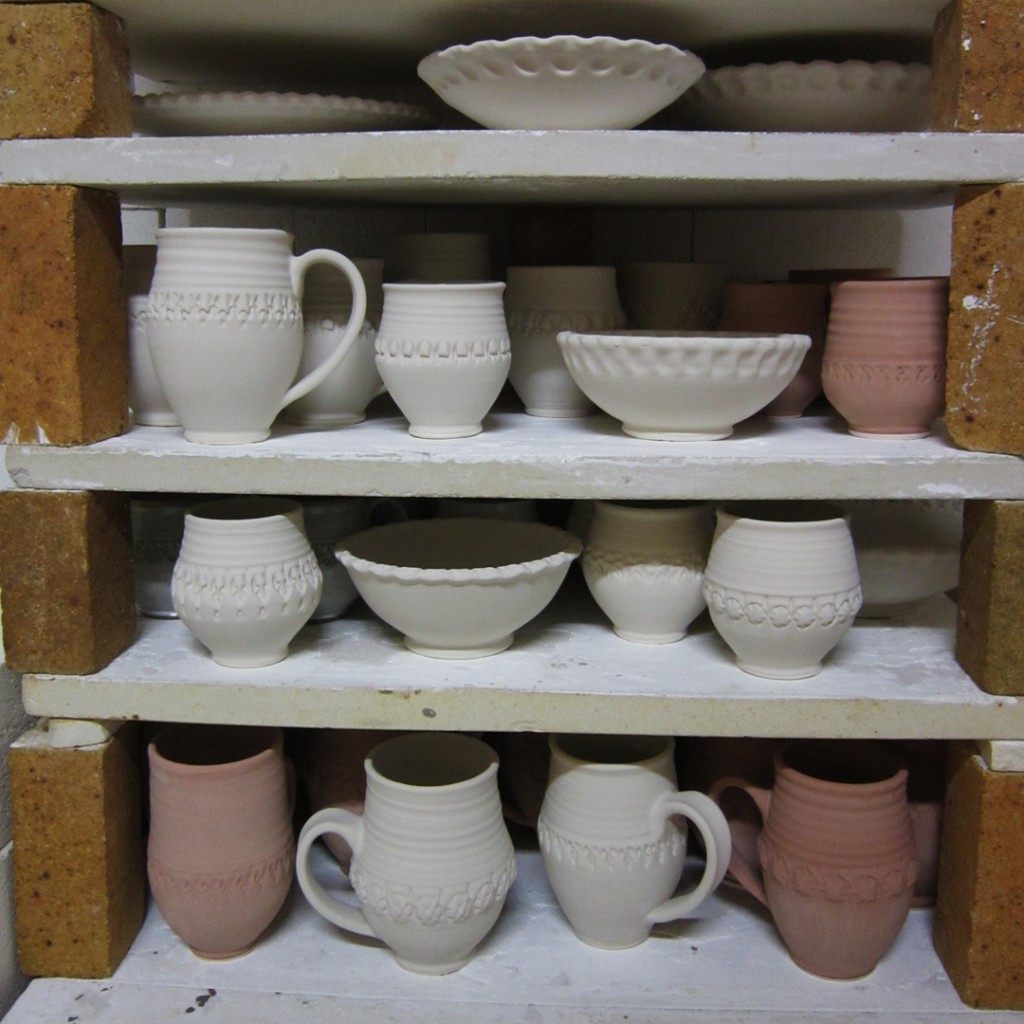
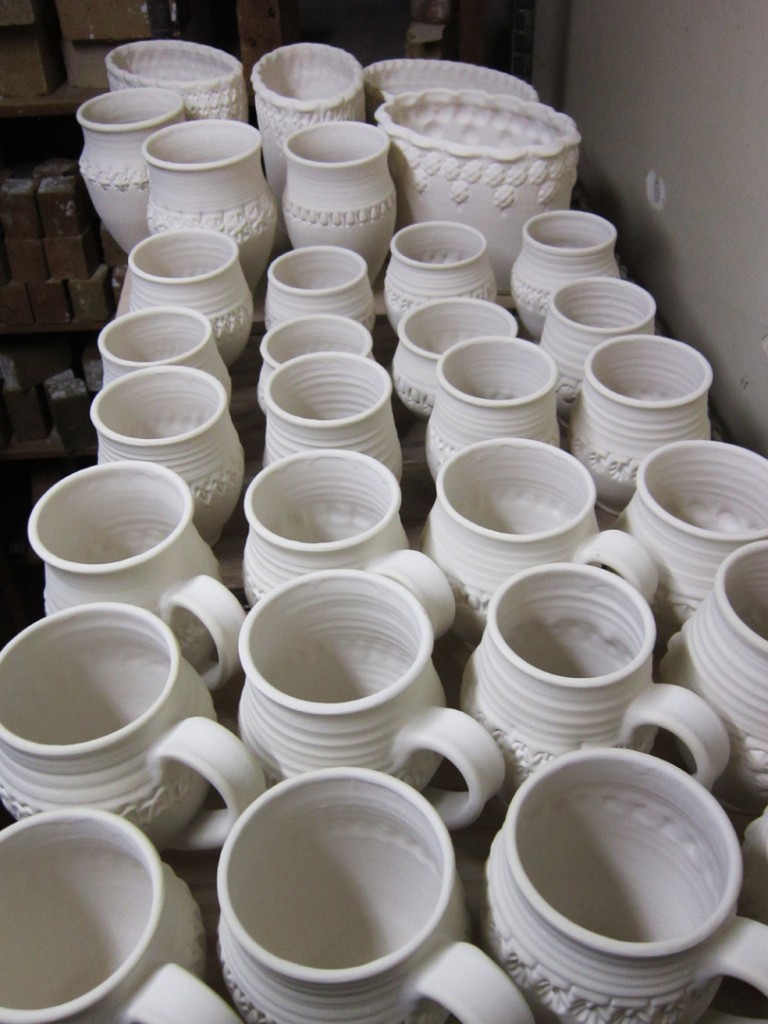
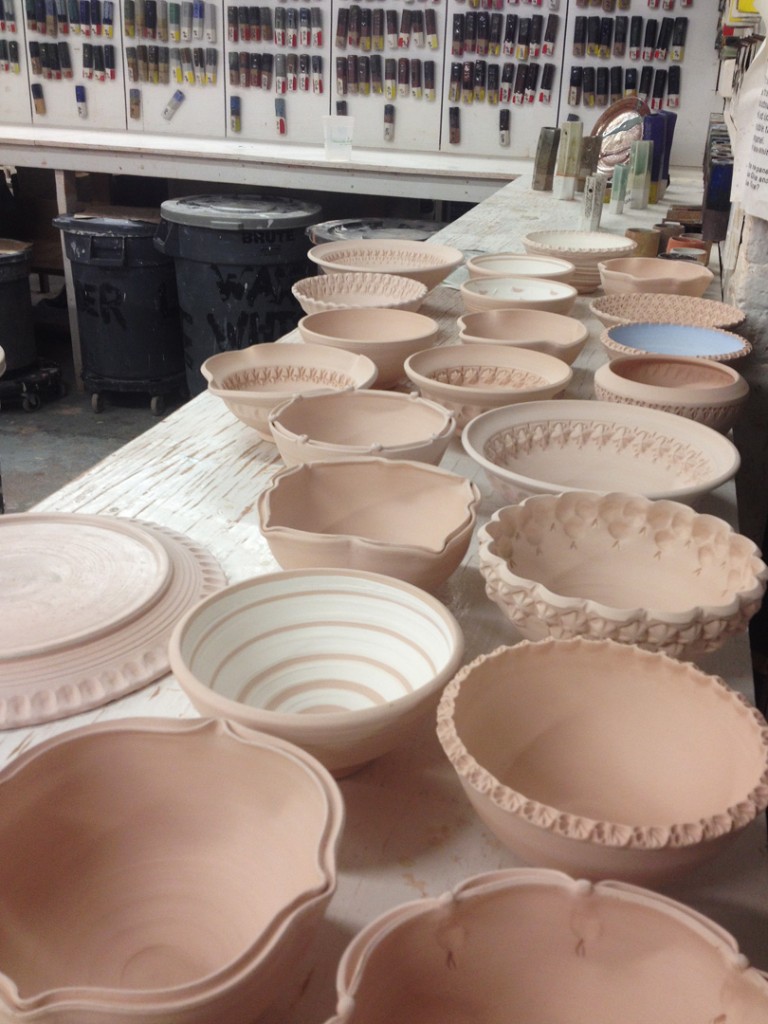
Tonight I started glazing… and I have a LONG road ahead of me.
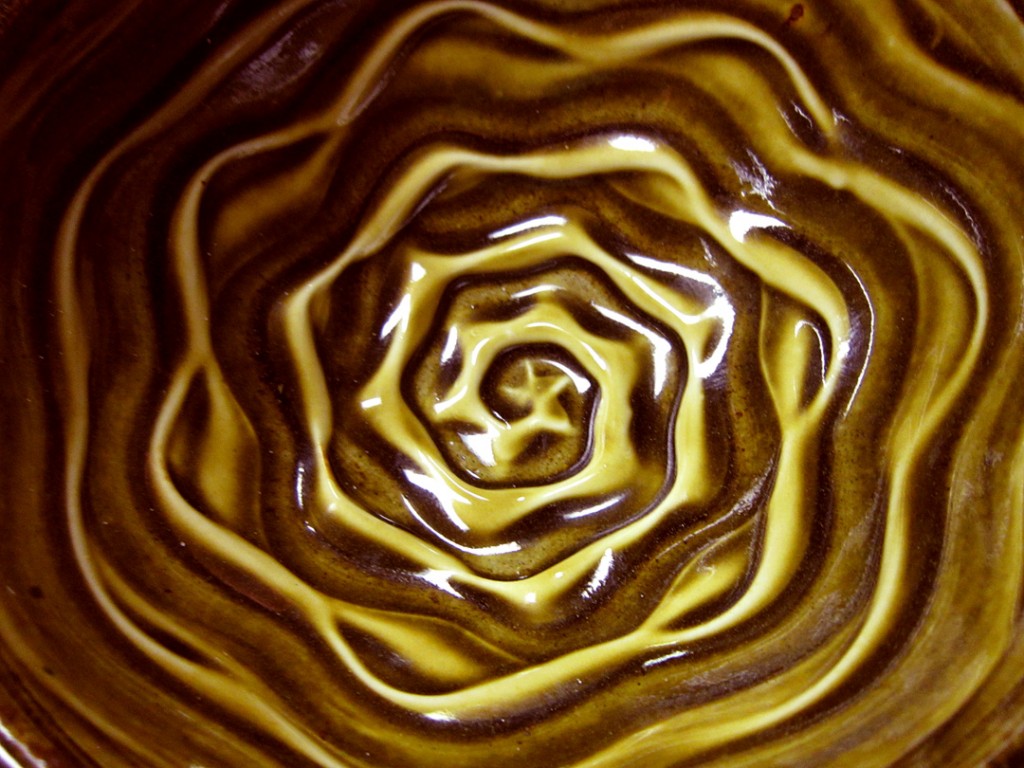
I need to have everything glazed & wadded by Friday so I can load the soda kiln. I’m starting with inlaying some temoku glaze into the stamped impressions. Once they are “covered” with glaze, I will carefully wipe off the top surface to reveal the glaze-filled stamp.
Tonight I got home from a wonderful weekend of pottery in Minnesota.
And I went straight to the studio to do some more glazing.
My studio neighbor Karen was loading a kiln of her own work, and had some extra space.
So I volunteered to be the filler. I glazed up a few pieces and loaded the bottom half of the back stack for Karen’s cone 10 reduction kiln.
So I finally got back to glazing some of my class demo bowls.
The stack has been on my Teacher Shelf for weeks. At least they were all waxed from the last time I “tried” to glaze them, but gave up too soon. Tonight I was determined.
Some just got dunked in a glaze bucket.
While others had some accent glazes inlaid into the stamp impressions and wiped off. In this case, it was temoku glaze inlaid, and then the bowl was dipped into green celadon glaze.
Determined to get some stuff finally glazed and off my Teacher Shelf.
Determined to make some room for new work when my new session of wheelthrowing classes starts next Tuesday!!!
It seems like I go through this every session…
I’ve got a lot of class demo pots to glaze. And I keep putting it off.
So tonight I pulled them all off my Teacher Shelf and planned on glazing them all.
I had the best intentions… really I did…
I dusted them all off and waxed all the bottoms. I started “planning” on what colors & glazes I was going to use. Then I started chatting with my friend (and brilliant painter/sculptor) Martin and soon enough… voila’… motivation gone!
So once again, much like every session, I packed up my bowls, layered them with newspaper and back they went onto my Teacher’s Shelf. Maybe I’ll try it again tomorrow night?!
I hate glazing.
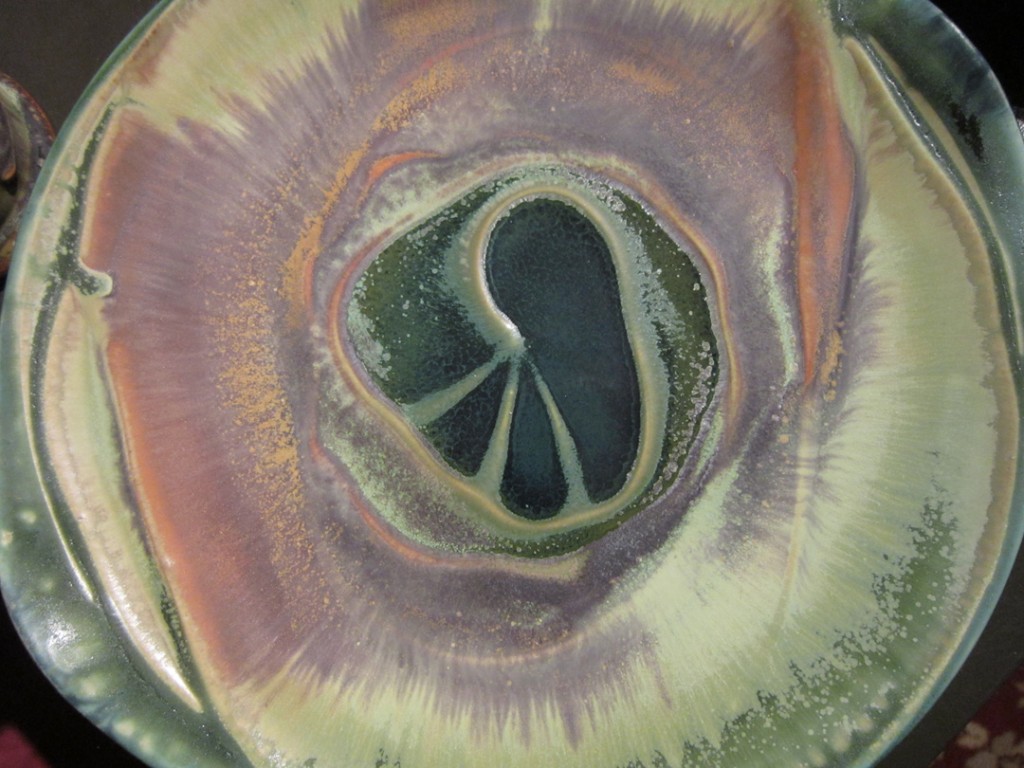
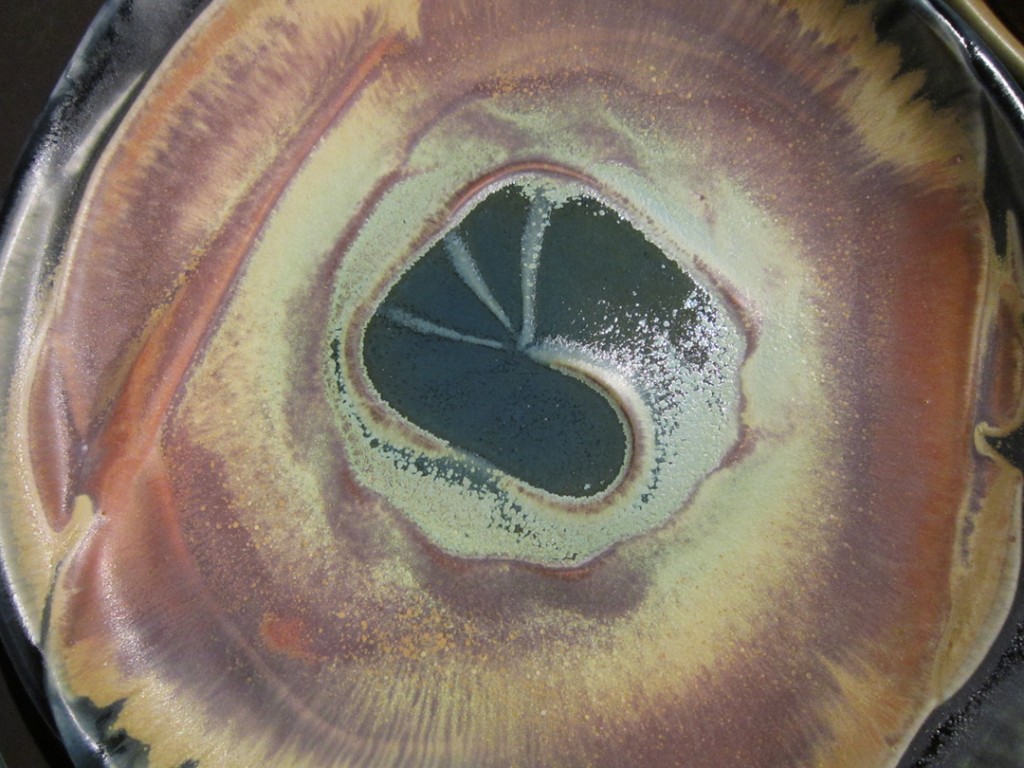
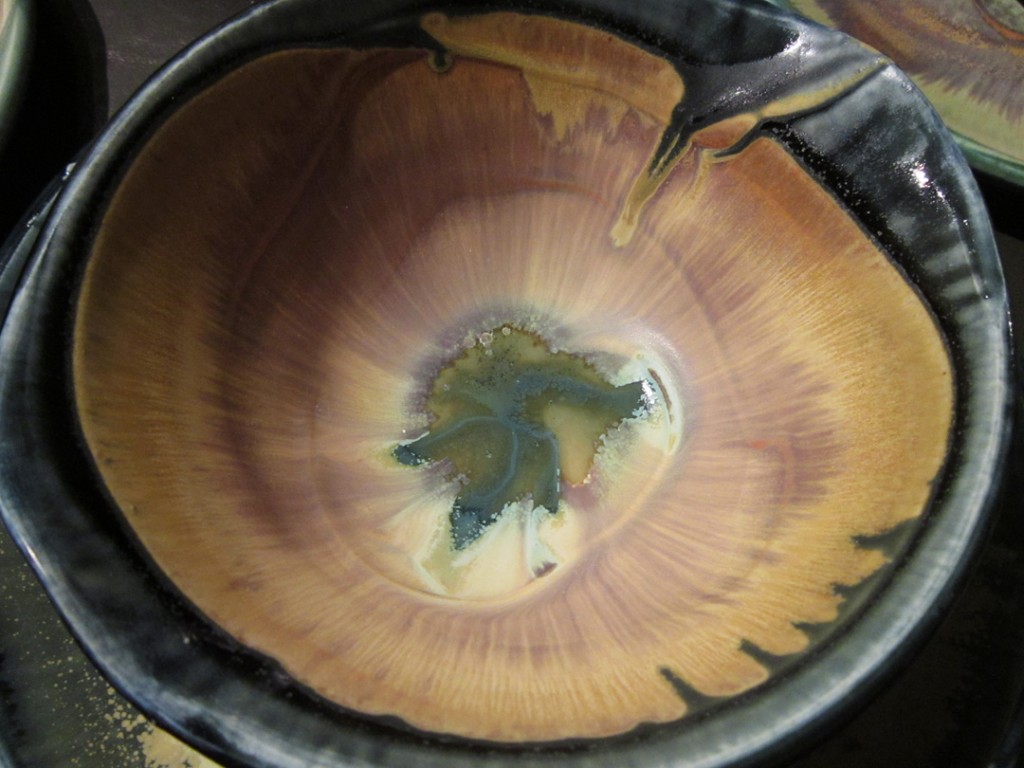
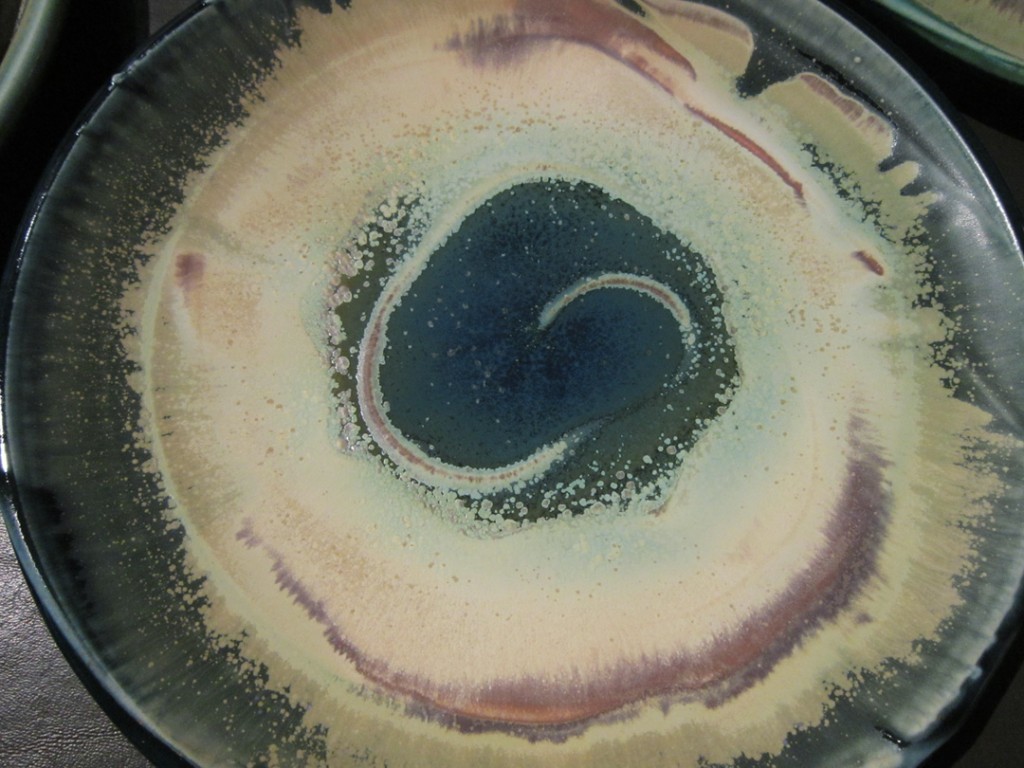
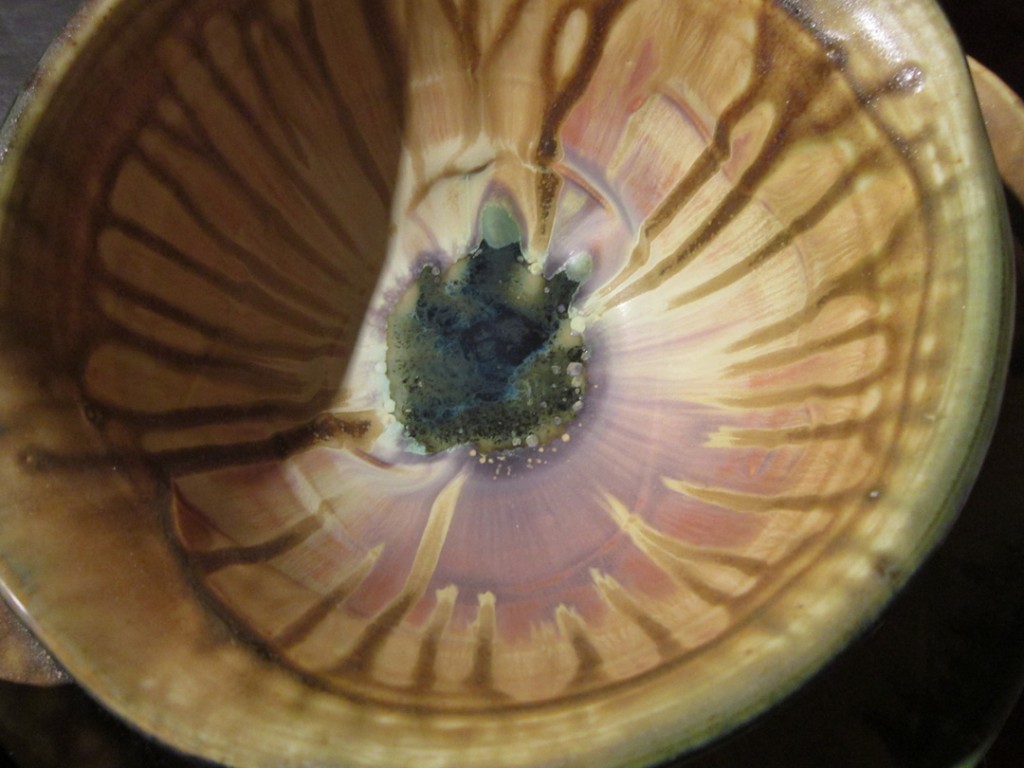
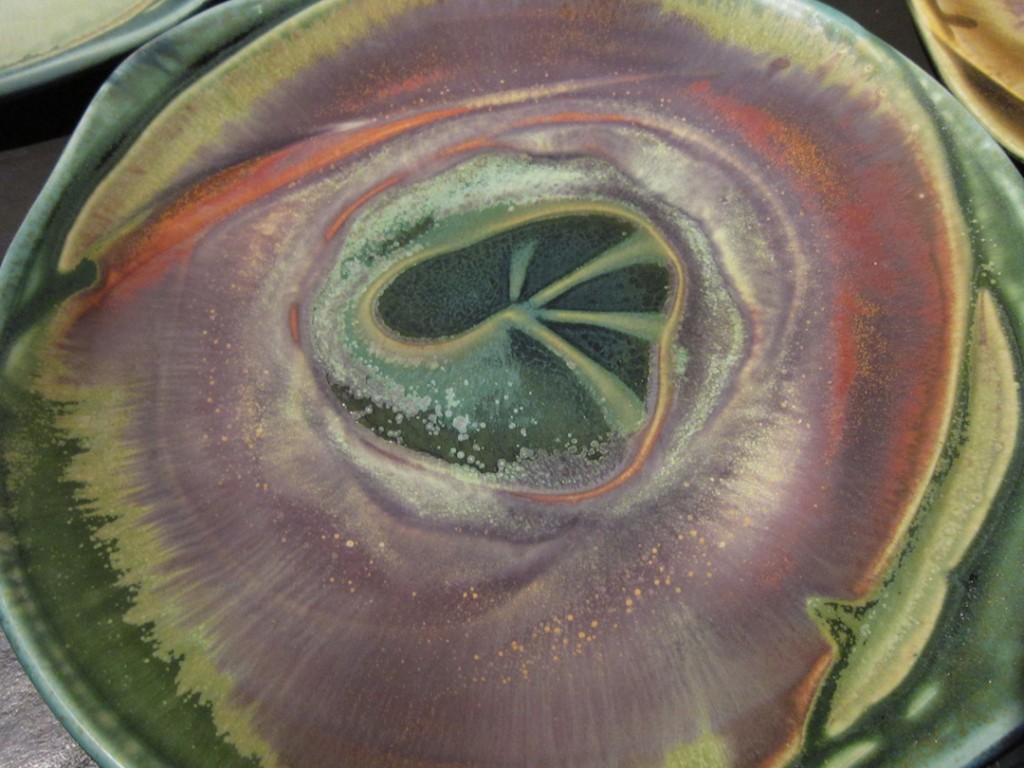
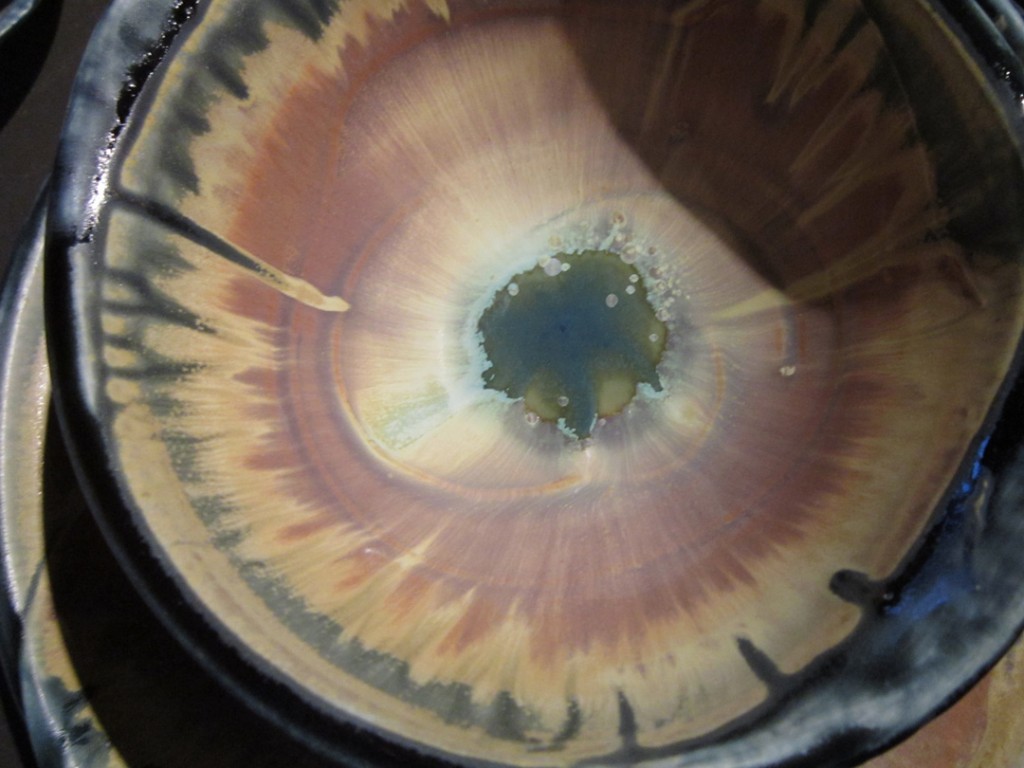
Here’s a few examples of the wonderful glaze effects that Steven Hill is creating on his pottery. His glazes are sprayed onto the piece in layers. Several layers of different colored glazes that blend, run, crystallize and do other magical things to create these incredible results!!! Sure, the forms are great too, not to mention the textural slip decoration.
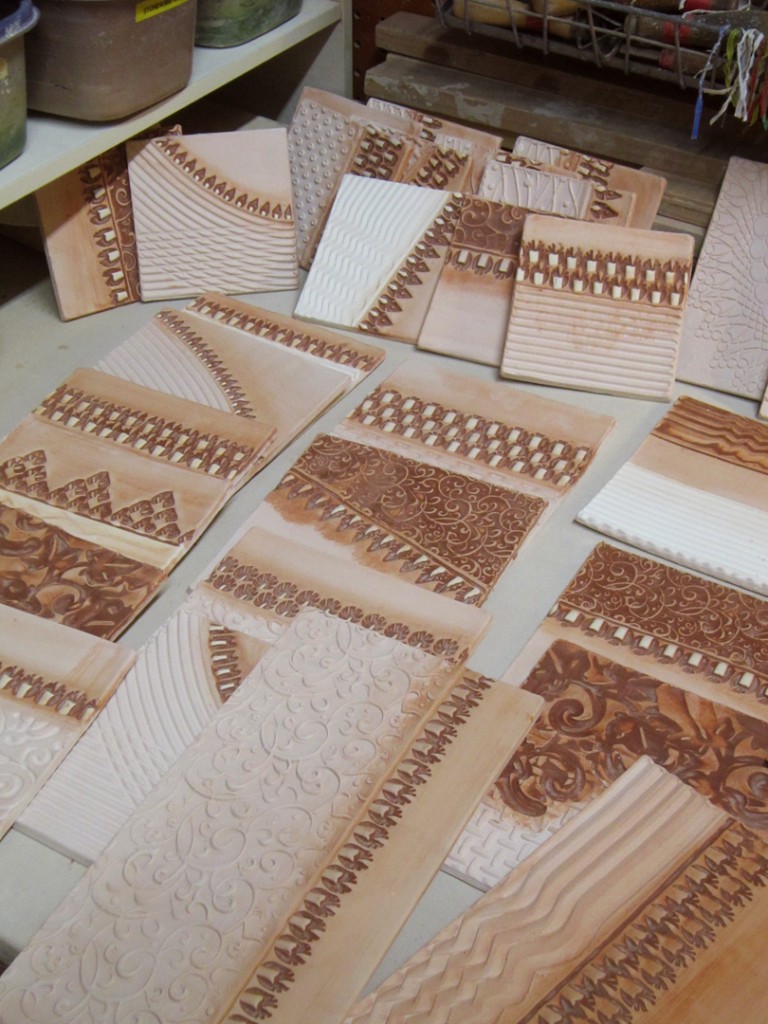
Well, the “instant” tiles I made on Tuesday before class turned out just fine. Surprisingly flat after the bisque firing… none of warping or cracking that I was dreading. The textures pop even more when I add temoku into the stamps. Lets hope that they stay as flat and un-warped when they come out of the soda kiln too?!
