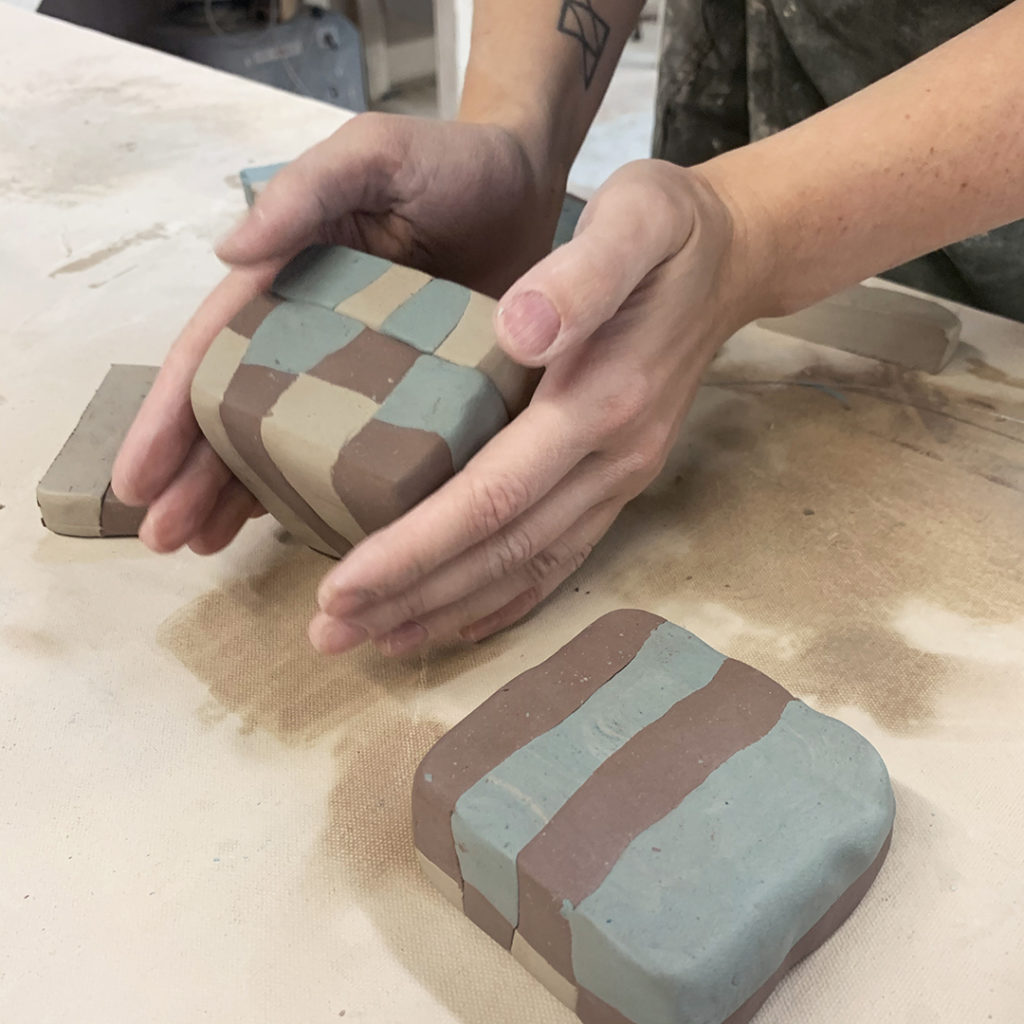
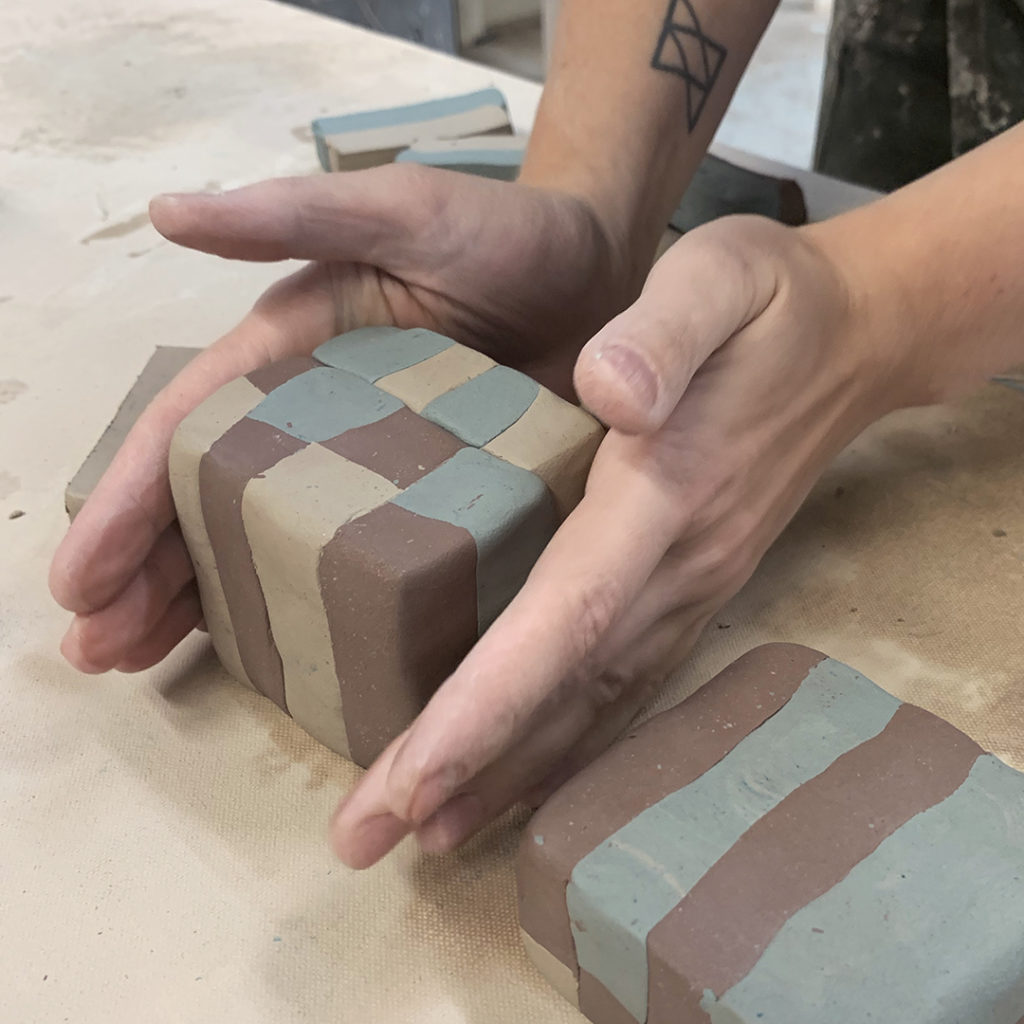
So I keep telling the kids to keep their wet clay under plastic so that it doesn’t dry out. Spray it water if necessary… but keep the extra scraps under plastic!!! We talk a LOT about not letting their clay dry out too fast.
And THIS is why!!!
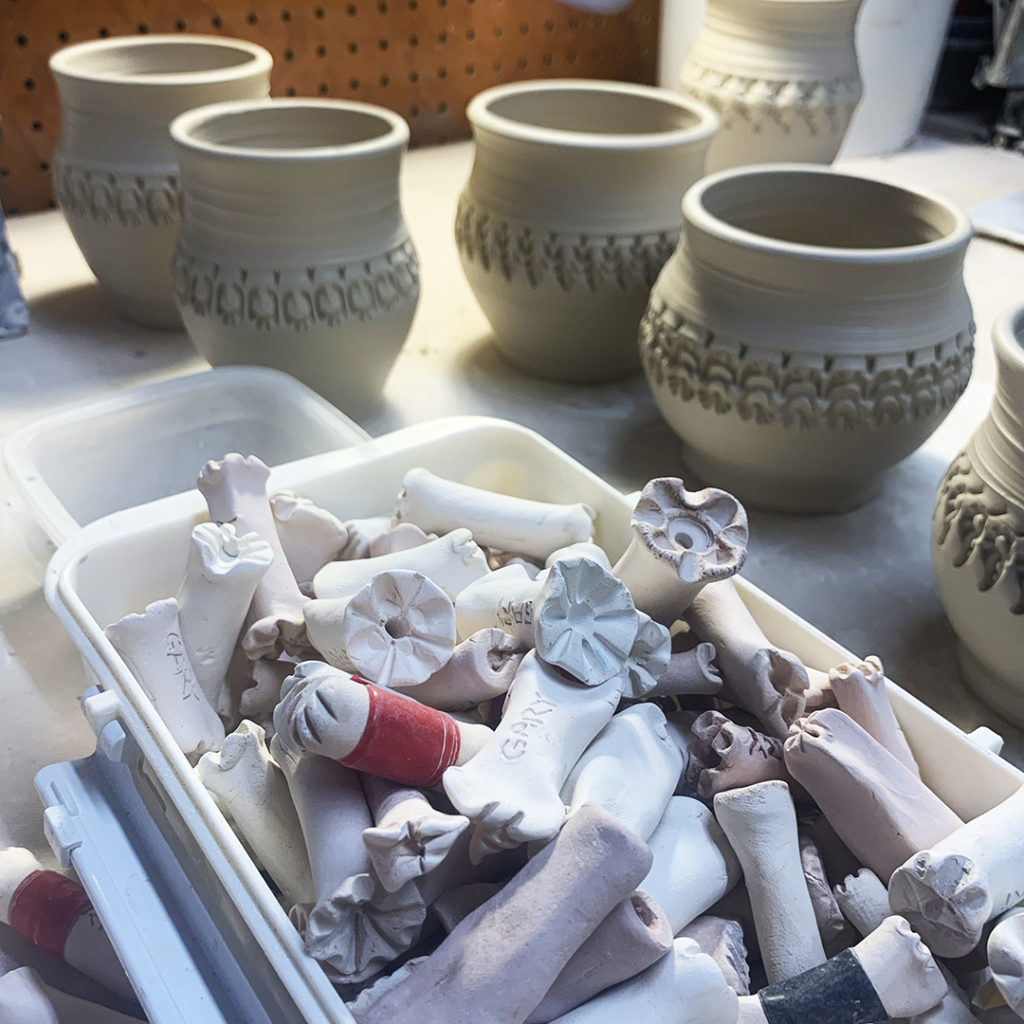
Because now they need to reclaim it themselves… making terra cotta slip out of their scraps. Because dry clay is not usable for their dinnerware sets!!! So now they need to do some manual labor… all part of the clay process. And an important lesson to learn.
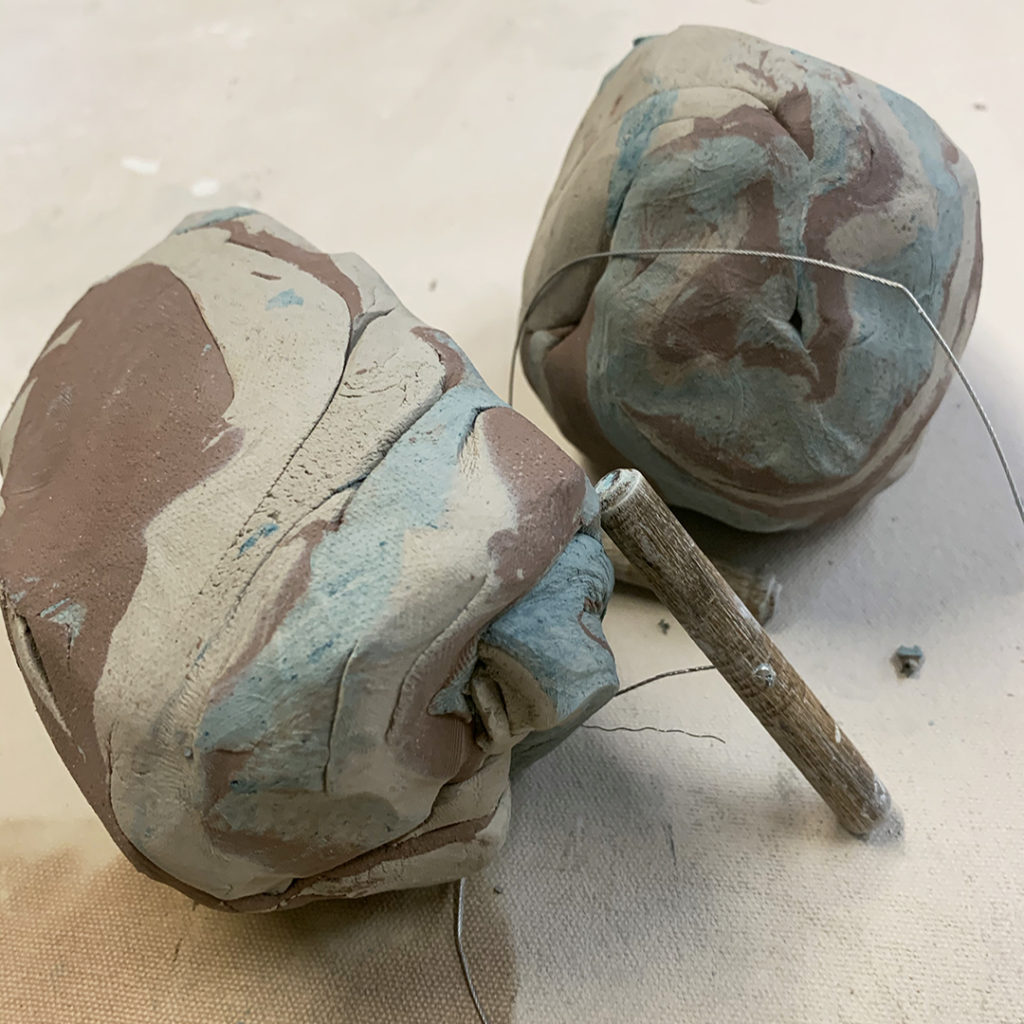
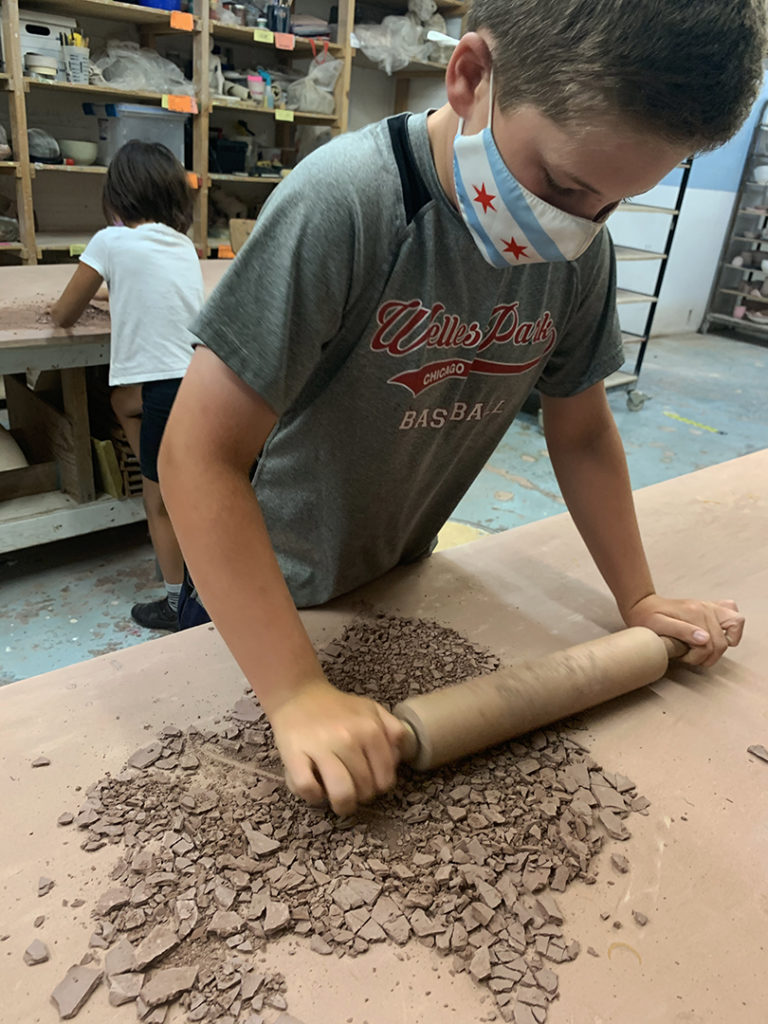
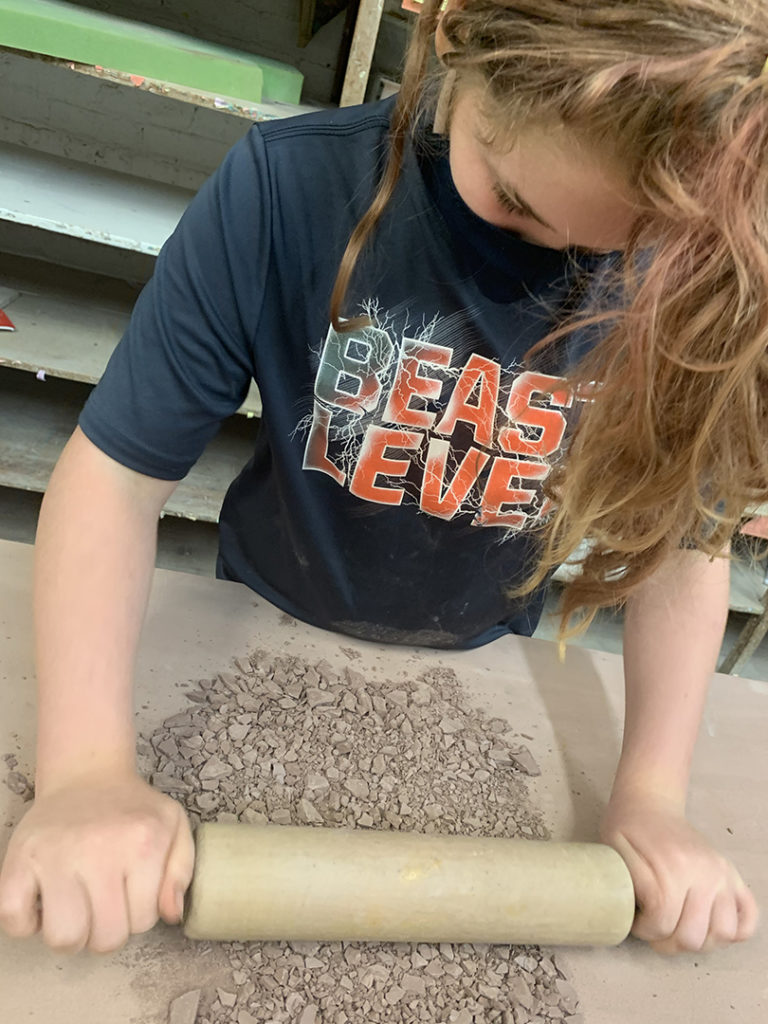
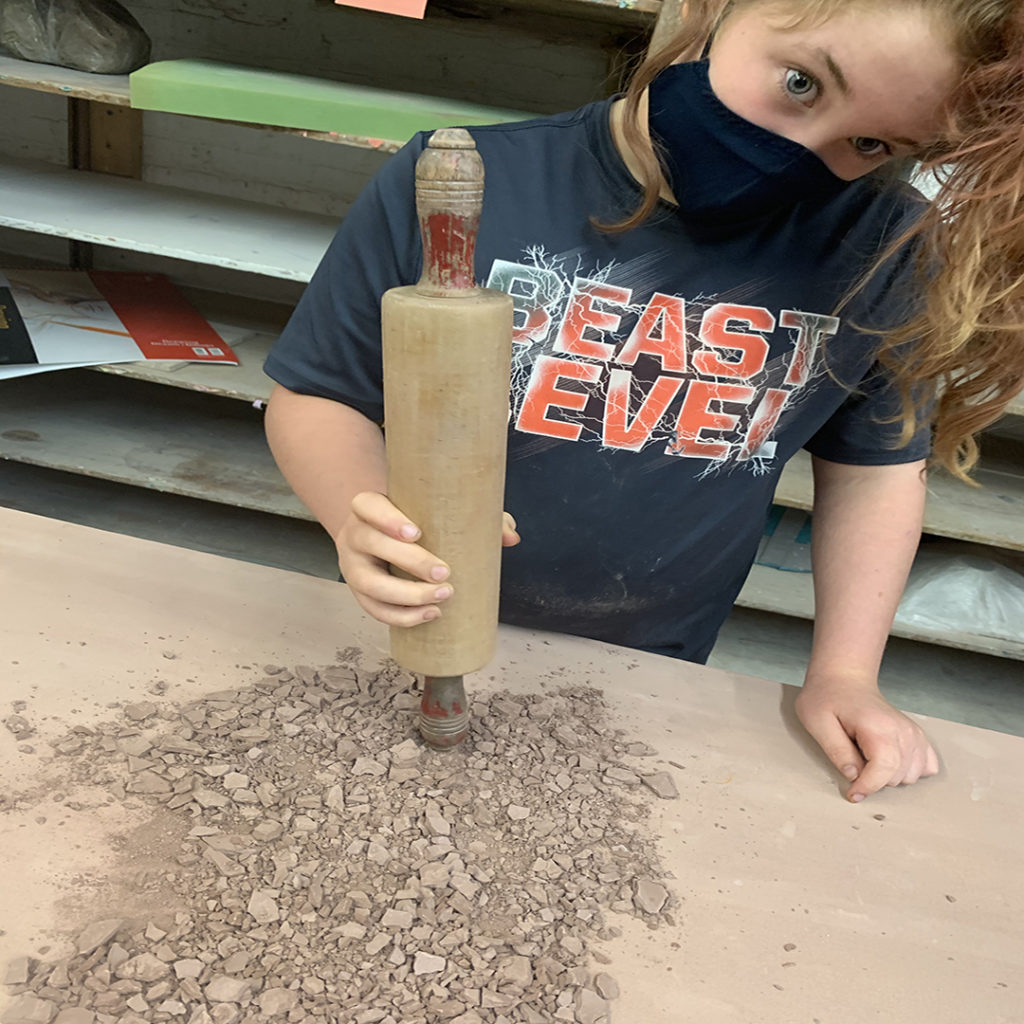
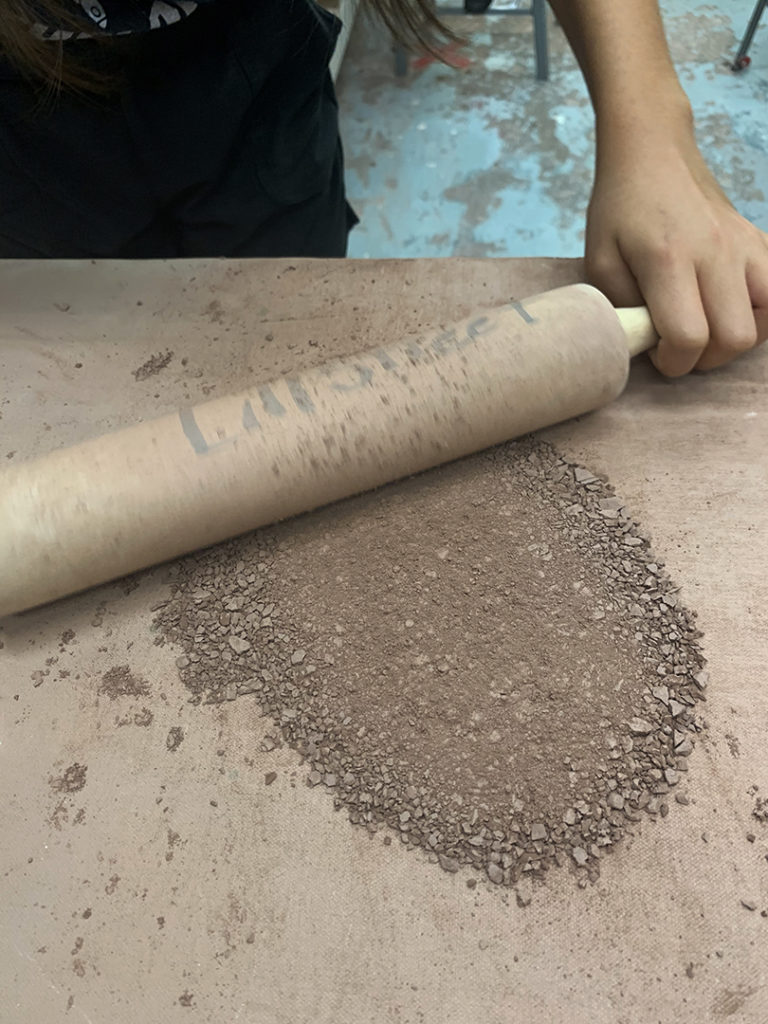
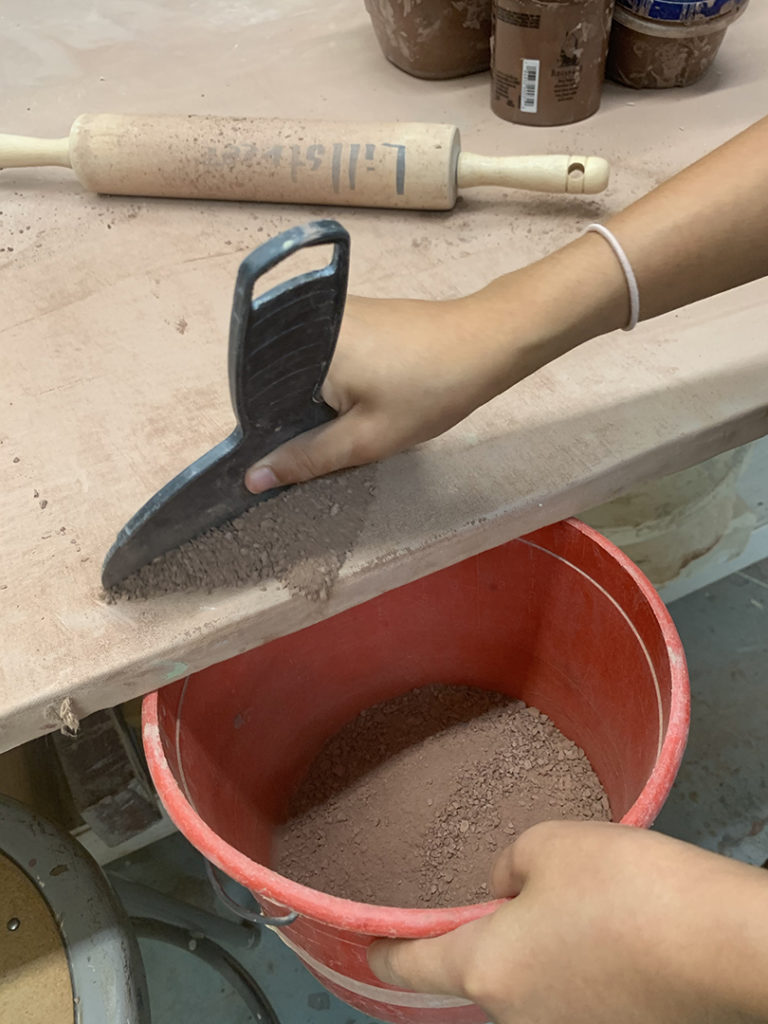
So we start by having them pulverize their dried terra cotta pieces – pounding & crushing with rolling pins. For once,. it was a good thing that everyone has to be wearing masks!!!… as this can be a bit of a dusty process.
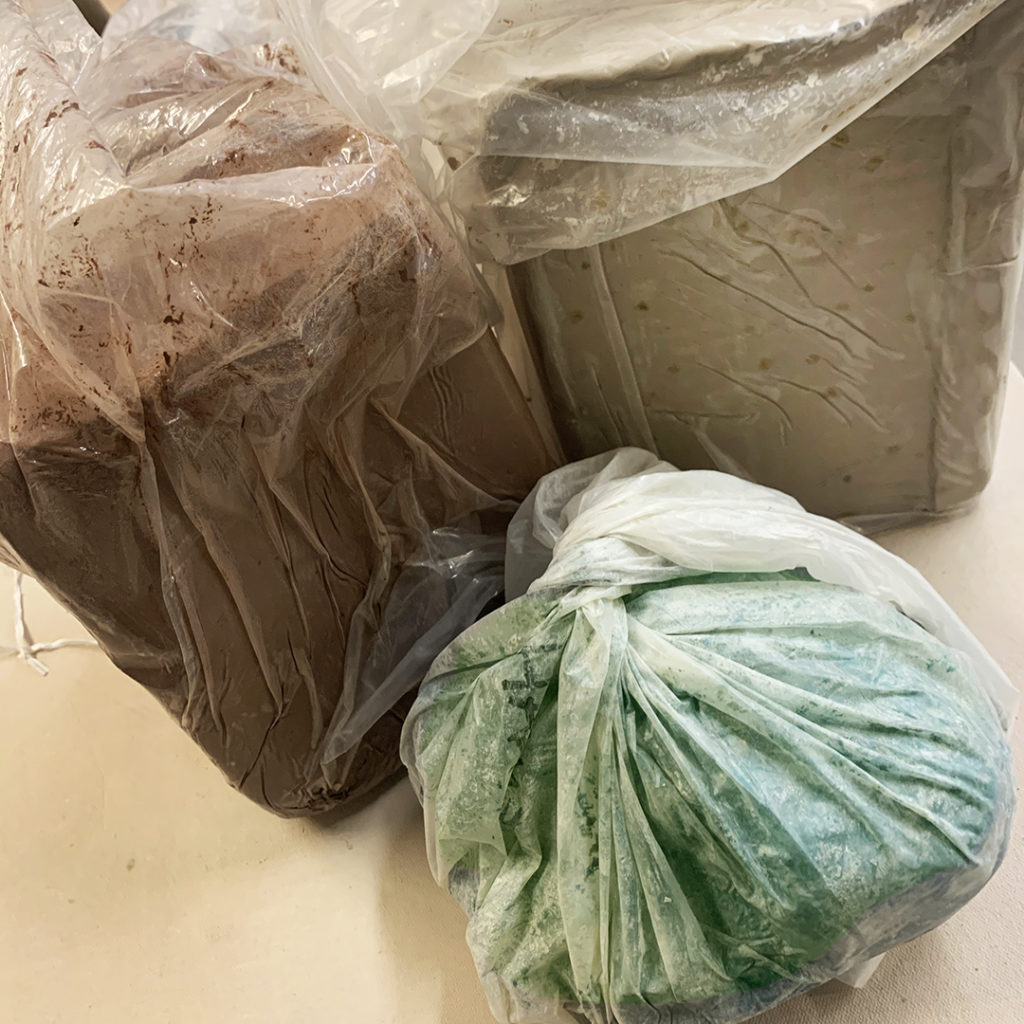
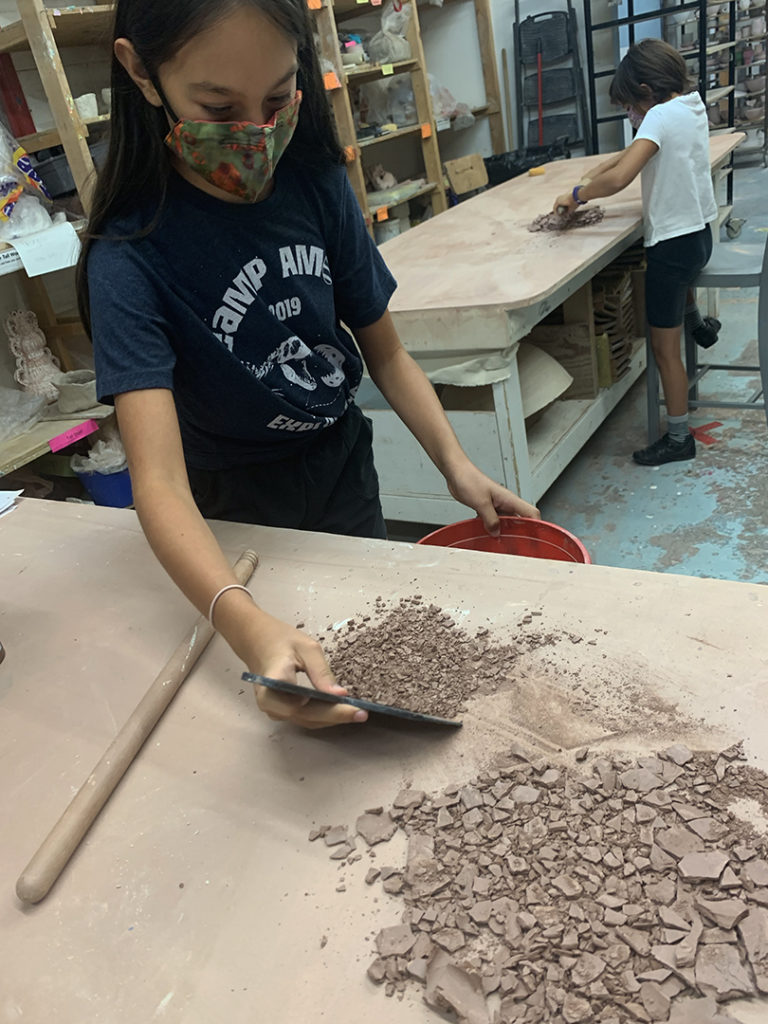
And then as they get it crushed down to small pieces & powder, we scoop it into plastic buckets.
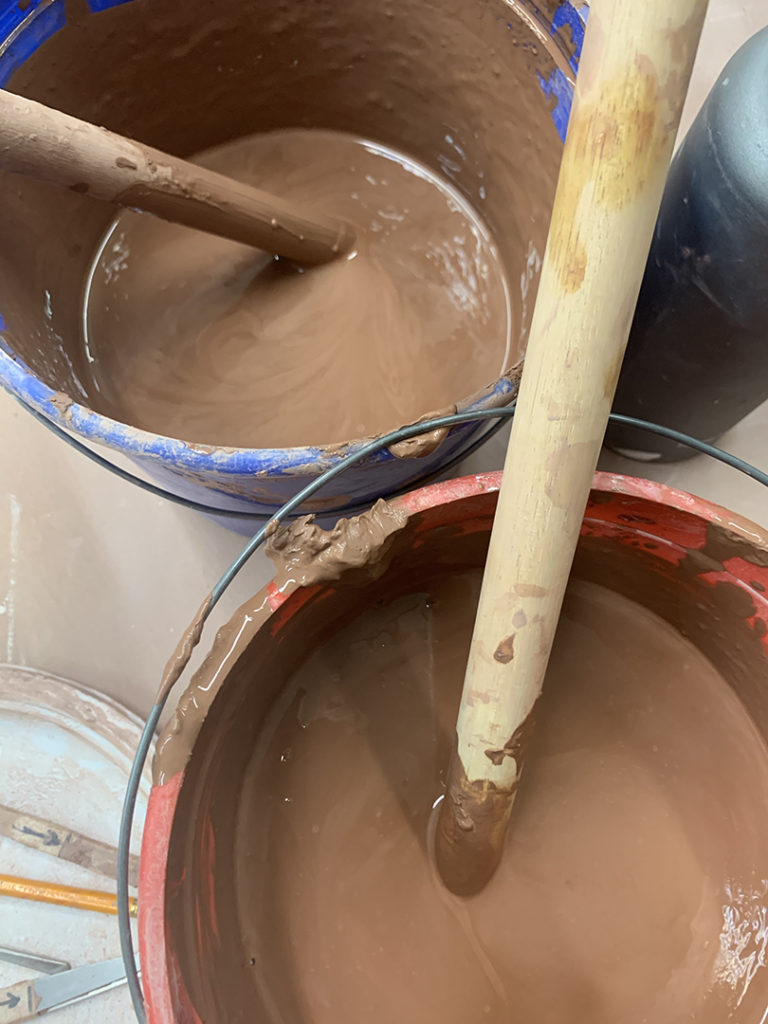
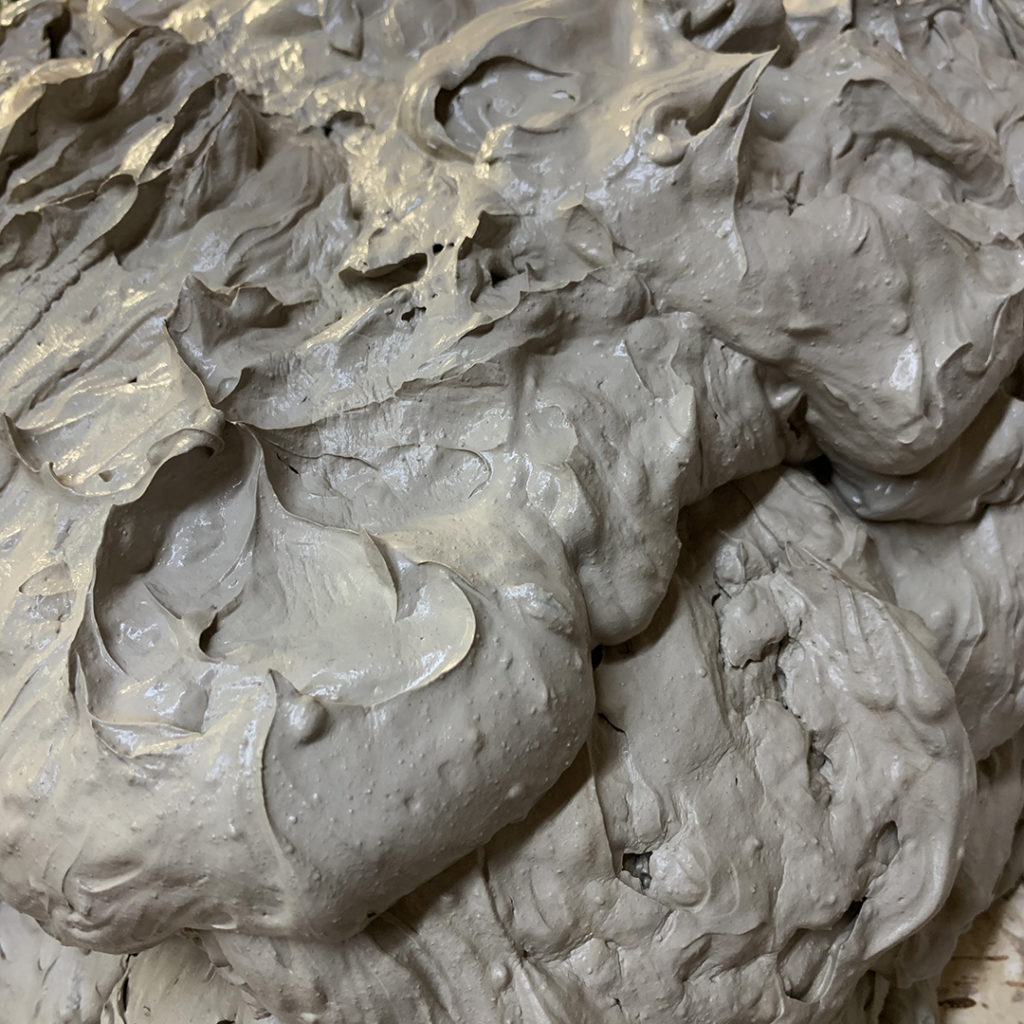
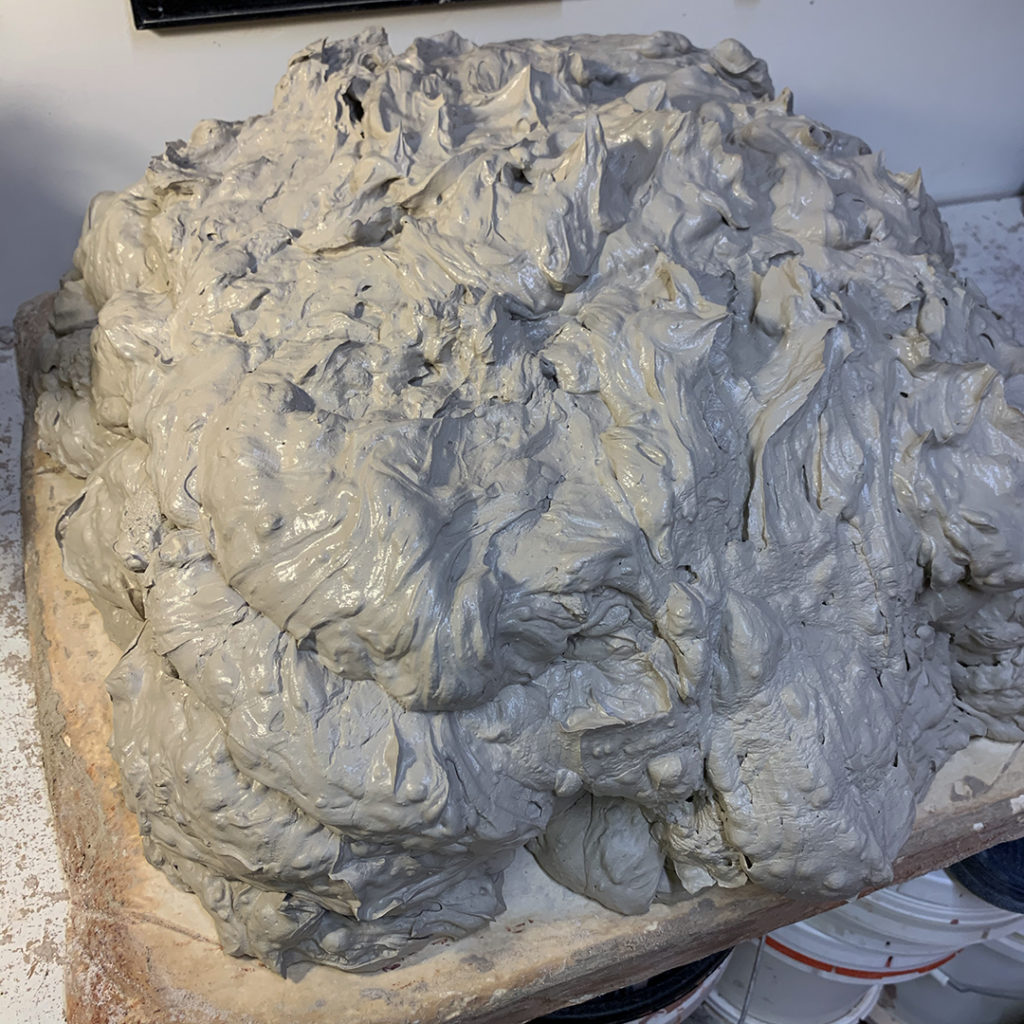
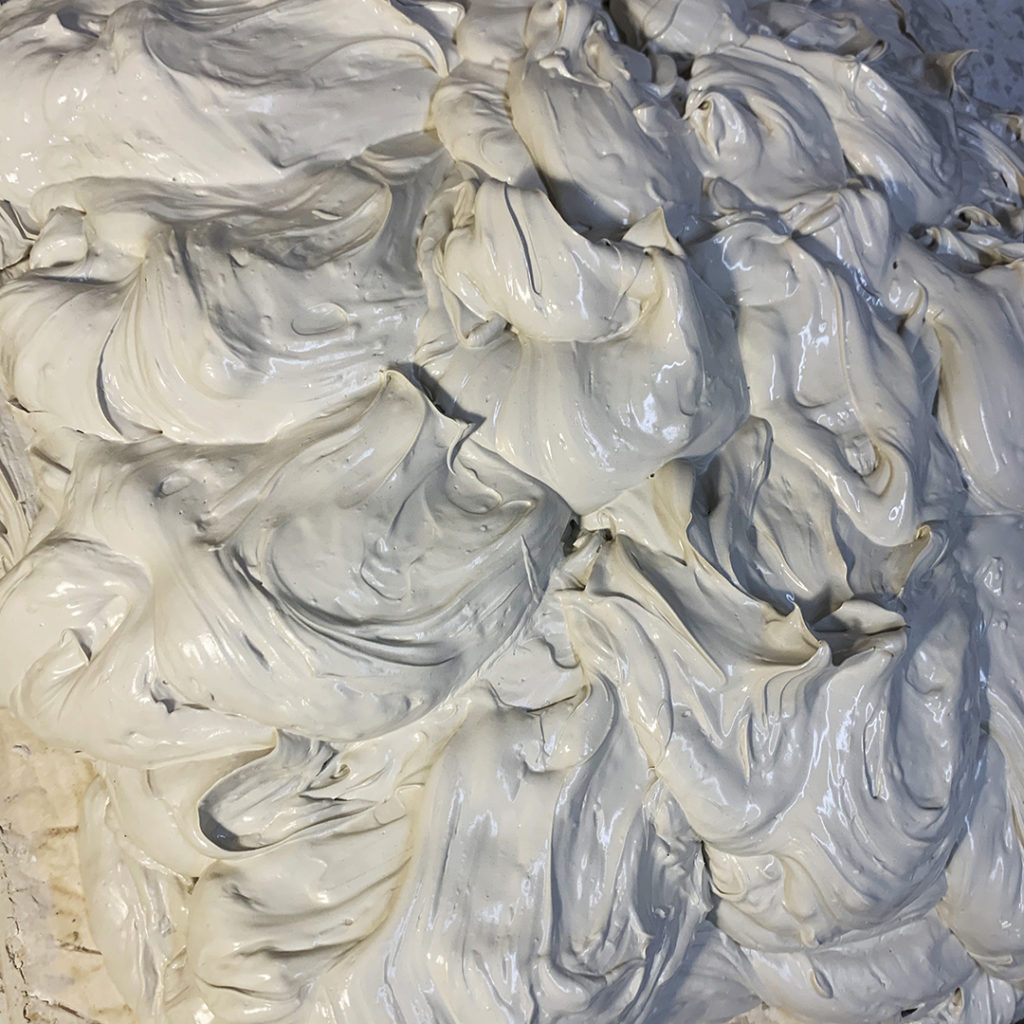
Then we add water and they get “the privilege” of stirring forever to make it smooth! After all of this work to make something out of the clay they let dry out too much… they might re-think keeping their clay wet under plastic a bit more next time!
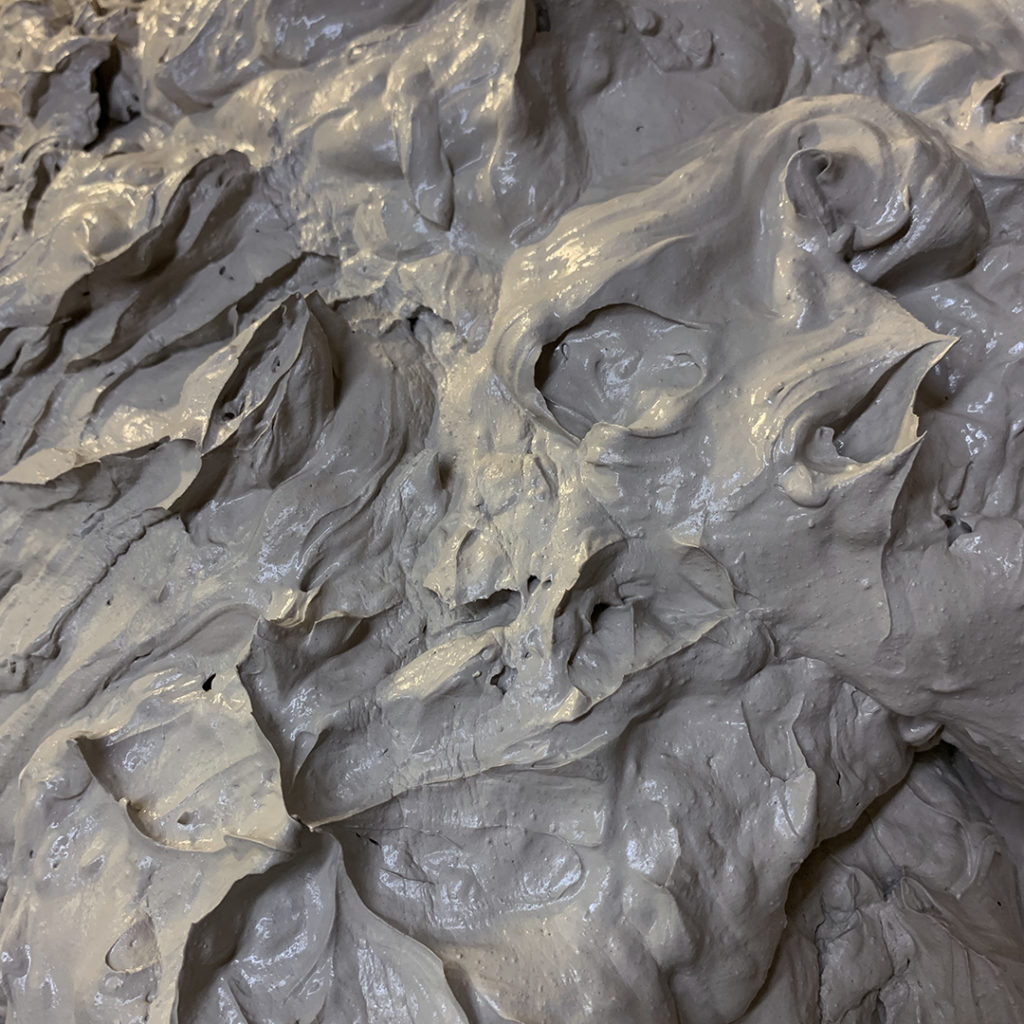
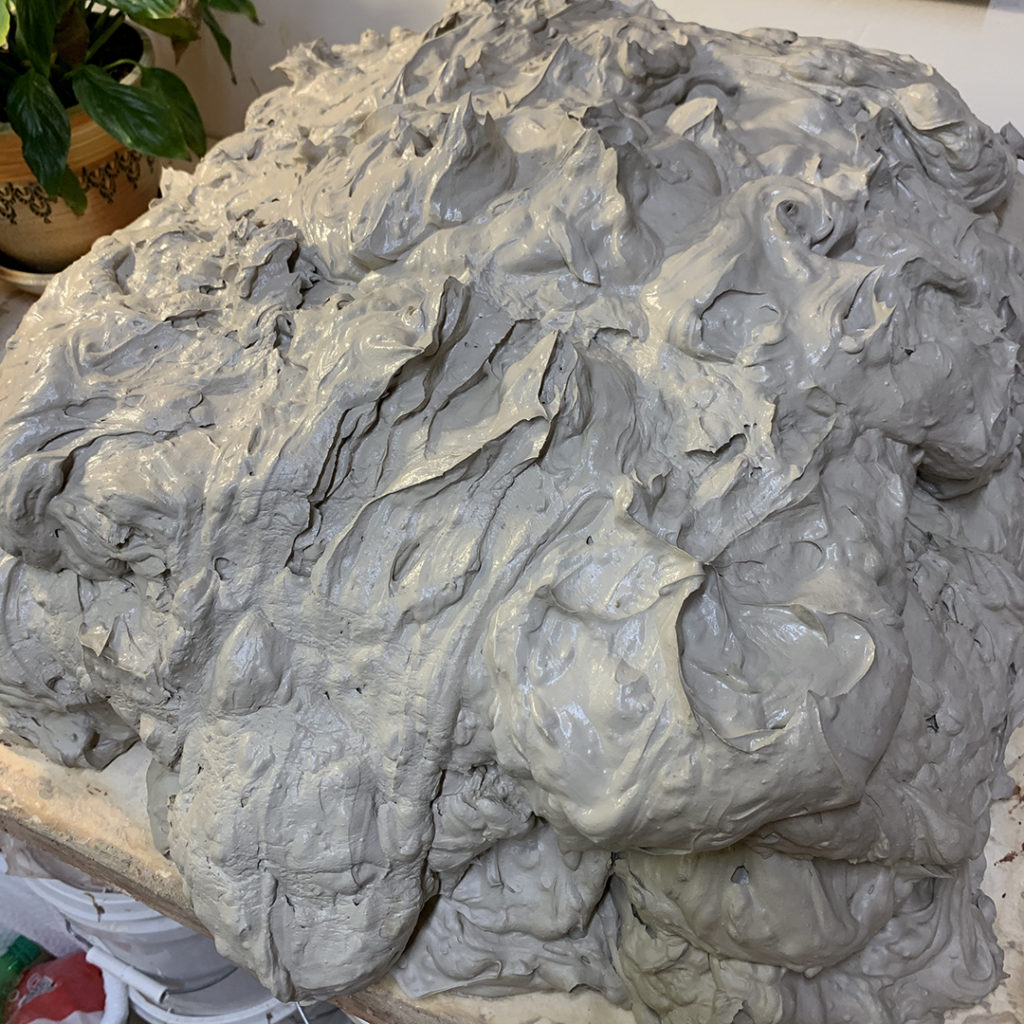
And if not… at least we have a LOT of really nice smooth slip now!!!