Gary Jackson: Fire When Ready Pottery
A Chicago potter’s somewhat slanted view of clay & play
Categories: classes, food

Last night was another “sweet” night in my wheelthrowing class. My teaching assistant Stacy found the elusive Swedish Fish OREO’s!!! They were a fine compliment to our weekly “sugar overload” with Key Lime Pie OREO’s and Halloween OREO’s!!! We were throwing pots all hyped up on sugar!!! Wow that class went fast!!!

Save

Categories: classes, food

Last night was the kick-off of a new session of classes at Lillstreet.
My class is full of returning “beginners” so this session might be a bit more challenging… for them. Ha!! At least we had some OREO’s “returning” as well. Pumpkin Spice and the new “Choco Chip” which oddly tasted more like maple than chocolate chip cookies?!

And we are still on the quest to find the latest new flavor “Swedish Fish Oreos.” We can’t find them anywhere here in Chicago?!!! What’s up with that?

Categories: classes, olympics

With the Rio Games coming to an end, it seemed only appropriate that we “celebrate” with our own Pottery Olympics. Tuesday night was the last class of the summer session. We typically have a potluck dinner, a pottery exchange and then we sit around without much to do. Typically there is no “wet work” during Week Nine. But in the name of “fun & games” I decided to introduce a little Olympic Throwdown into the mix!!!

So I had my class divide into two teams… choosing schoolyard style. Then I showed them what the seven challenges were going to be… kind of… with fairly cryptic messages. They needed to decide which of their team would be doing each challenge. We then went through them one by one. Seven challenges in all. Not quite a decathlon… but maybe a septathlon relay?!

ROUND ONE : Take a full bag of clay and divide it into even cubes that weigh 1-1/2 pounds each… without the assistance of a scale. They had to guess and even them out as much as possible. It was Catherine versus Taylore… with an initial lead taken by team Taylore!!!

ROUND TWO : Remember those 1-1/2 lb. blocks of clay… well now the race was to wedge them all. So it was Natalie versus Stephen. They were both a little overwhelmed, but impressed with themselves when they had accomplished the daunting task.

ROUND THREE : This bout was Rachel versus Erin to make the best bowl with a perfectly round bottom. At first glance Rachel was the clear winner… with bonus points “sucking up” to the judge (me) with a spiral in the bottom and a split rim pinched together. Two of my favorites. But… upon closer inspection, it was Erin who had a more rounded bottom. Rachel’s was actually a little flatter and wider, but still with a nice curve. Erin’s was more rounded as challenged.

ROUND FOUR : This round was the relay!!! A tag team bout of throwing ten cylinders the fastest. With each team member taking a turn, and then repeating until they had ten. I served as the judge to determine at what point it actually counted as a cylinder. They actually had to throw it, compress it, and make some thin walls before I would call it good.

ROUND FIVE : The challenge was to throw an enclosed form that is the closest to a perfect sphere. We’ve done enclosed forms in class… but never a sphere. Katie took a quick lead, while Sam never really got her’s together. She was close, and kept working at it… but it kind of self-imploded before she could finish the sphere!

ROUND SIX : Throw the tallest cylinder in five minutes.
They centered. They threw. We measured.

After measuring, they were pretty close… too close to call when we averaged out the two heights on Stacey’s angled rim. So I gave them each another minute to perfect it even more. And then we measured again! It was Melissa who won the point with the tallest cylinder she has EVER thrown!!! And now that I know she can do it… I’ll have “higher” expectations for her next session!

ROUND SEVEN : The final challenge… BLINDFOLDED!!!
It was Tony versus Natalie in the final round. They both looked as though they would be facing a firing squad. But instead, they challenge was to center & throw the best cylinder while blindfolded in ten minutes.

It was great to see the teamwork & support of their team members…

Such focus & determination… when I expected it to just be a fun & silly little exercise!!!

In the end it was Natalie who won the Blindfold Challenge. But each of them had a pretty amazing cylinder considering the lengths that I put them through.

It was a wonderful night of Pottery Olympics. And to tell you the truth, I;m not even sure which team won?! We all had so much fun, and everyone was so supportive and encouraging of each other. A great game. Several pots. A lot of clay… that has already been re-claimed & re-wedged. Thanks to everyone in my class for stepping up to the plate… err, podium… for a wonderful game. It was another great session of classes. Ending on a hug night of fun!!! You’re ALL gold medalists in my book!!!


Save

Categories: classes, patterns, stamped, textures

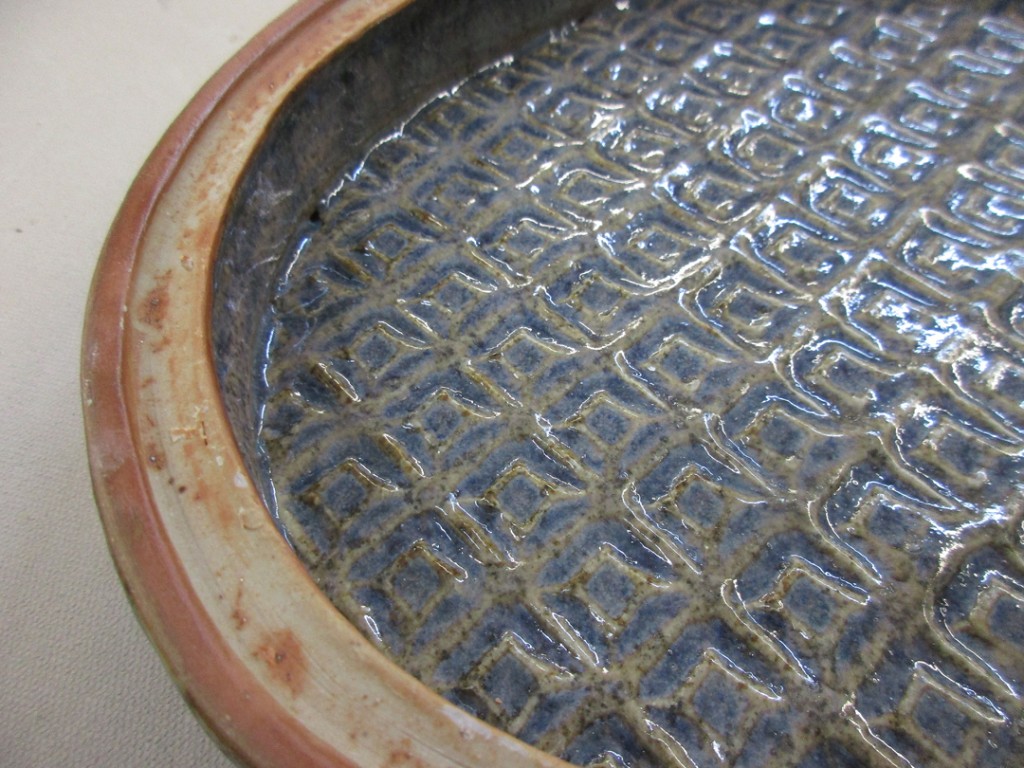
Last Sunday, I subbed for my friend Catherine’s Soda Firing class. We chatted, toured my studio, discussed & solved “all of the problems in the clay world”… and then I told them it could be “Demo On Demand”… and I ended up stamping a large platter!!!


Categories: classes, kiln firing, soda-fired

THE BIG REVEAL.
A quick peek into the top as we started to unbrick reveals a well-melted cone pack.
Cone 10 just a bit flatter than I would normally go for, but it took our class a bit longer to get all of the soda mixture into the kiln. Oh well… still a beautiful kiln full.

After the door bricks were removed, the Soda Workshop Team started unloading their kiln. Piece by piece. Shelf by shelf. Post by post. Trying my best to limit the ooh-ing & aahhh-ing until later. I thought it would be best if we got all of the pots unloaded into one of the classrooms… and then clean the kiln, scrape the shelves and kiln wash before we start to admire their treasures! I was afraid that if we started the admiration process, I may never get them back into the kiln room to do the “ugly” part of the process.


A quick shot of the back stack before it was unloaded.

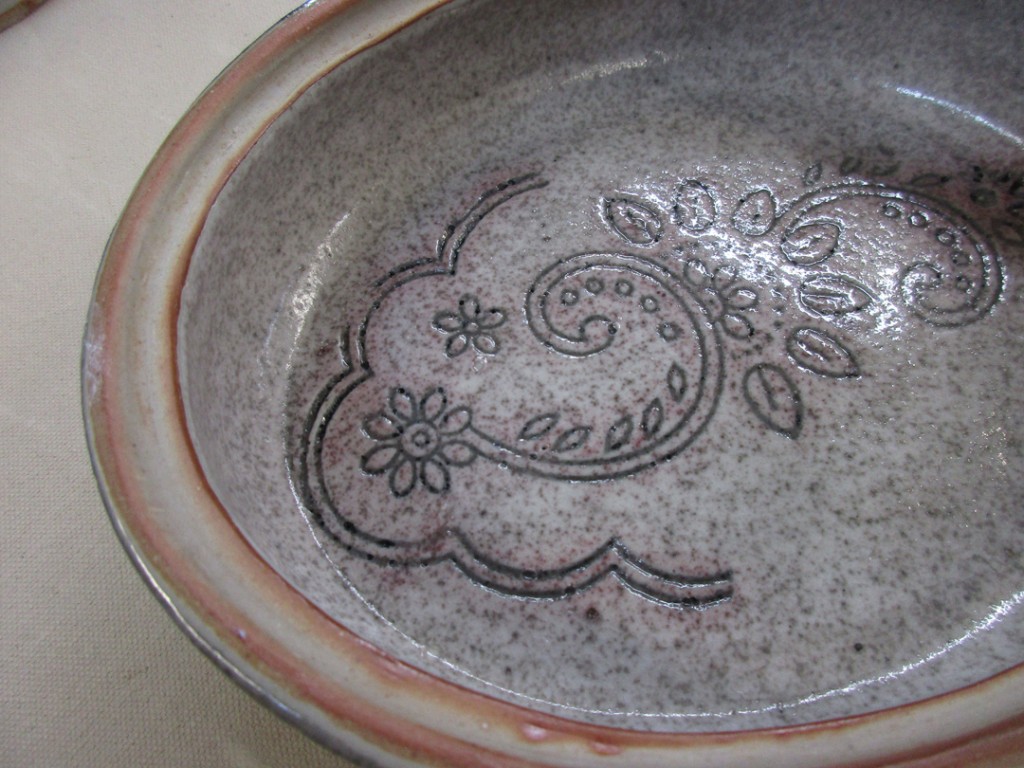
One casualty… it was a large, flat oval casserole. It was liner glazed with Reitz Green and nothing outside. Rachel wasn’t too upset as it is all part of the learning curve. But she also couldn’t help herself with camera is at the ready!

It was such a “perfect” crack that we think it might have been a bad glaze fit. With the inside lined with glaze, and nothing on the outside, the shrinkage differential may have been too much for the low, flat oval casserole. The cracks were right through the walls of the pot… nowhere near the construction points as you might expect.

As their soda-fired pots began to pile up, it was tough to stop the admiration! So many beautiful pots. So many new things to learn. So many excited Soda Workshop peeps!!!

All too soon, it was back to the “ugly” part of the process. They scraped the shelves down and then re-painted them with kiln wash. My very least favorite part of the entire process. I would much rather scrape than kiln wash!!!

So many shelves that they had to expand into the larger kiln room to spread the shelves out.

It was a long thee days. Yet never enough time to bequeath all of the soda-firing information. So much to share, so little time. I’m pretty sure the Soda-Firing Workshop students had a great time. Their pots turned out great… and now they have been bitten by the “soda” bug. Let the addiction begin…


Save

Categories: classes, kiln firing, workshop

After a very short sleep, I was back in the studio firing the soda kiln. Day Two of the three-day Soda Firing Workshop. My students came back towards the end of the firing in time to help put the soda mixture in. Since this is the very first firing experience for any of them, I thought it was important that they get the full experience. Doing all of the work if possible. Including the oh so glamorous job of mixing the soda mixture…

Then when the kiln was ready, we started insert the soda mixture. I like to put it in when cone 8 is mostly down and cone nine is starting to soften. I gathered the group, explained our process and then had them do the soda insertion. Starting with laying the mixture onto an angle iron.

The loaded angle iron is then inserted into the peeps so that it dumps into the side fire boxes. They were a little apprehensive of the flames shooting out at first, but quickly warmed up to it. And found the fun & excitement of playing with fire!!!

Beautiful flames as the peeps are pulled out to check the cones. Glowing. Orange. Fantastic.

As we’re nearing the end of the firing, it’s always fun to see the flames peeking out between any brick it can.

So now the kiln has been turned off and the cooling has begun. It will cool all day Sunday, as well as most of Monday. My Soda-Firing Workshop students return MOnday evening to unload their kiln, admire their pots and do some kiln shelf cleaning, scraping & maintenance. All part of the process.


Save

Save

Save

Save

Categories: classes, glaze, kiln firing, process, soda-fired, workshop

After much discussion, I finally decided it was time to teach a Three-Day Soda-Firing Workshop. Many of my Tuessday night Advanced Beginners were looking for a little soda-firing experience. So we’re kicking off the Three-Day Workshop.

Day One – Friday : Glazing, wadding & loading.
Day Two – Saturday : Firing & potlucking
Day Three – Monday : Unloading, kiln cleaning & admiring of pots!!!

We started the evening with a discussion about glazing & wadding for the soda kiln. They had all come with a collection of bisqued pots… so they set about to glazing & wading. With LOTS of reminders to take good notes and keep track of what they’re doing so we can discuss the results after the firing.

Once everything was glazed & wadded, we moved pots into the kiln room. More discussions about the soda-firing process, air-flow patterns, reduction/oxidation… and other kiln loading basics like how to stack with shelves & posts.


Back stack done… time to move onto the front stack of two shelves. Lots of discussions amongst the workshop participants. Trying to determine which pots should go where, and figuring out how to get everyone’s pots into the kiln evenly and fairly.

After many-repeated conversations about soda-firing & kiln loading, the workshop participants finally got the kiln loaded.  I think they all have a new realization & appreciation for all the work our Monitors do with loading & firing all of the classroom kilns. For the first time, they had to load kilns themselves… instead of their work just “magically” getting fired. I think it was a LOT more work than they expected… but hopefully they’ll appreciate the process more when they get their finished pieces out of the kiln Monday night.

Excited to have the kiln loaded… and now on to bricking the door.
One-by-one… brick-by-brick…

So now it’s all closed up. Ready to go.
Firing begins early tomorrow morning to kick-off Day Two of the Soda-Firing Workshop.

Save

Save

Save

Save

Save

Save

Save

Save

Save

Categories: bowls, classes

Last evening, we did my FAVORITE class demo of every session for my Beginners & Advanced Beginners. It’s the demo where I show my students how to make a basic bowl on purpose… instead of a cylinder gone bad!!! So we cover the basics of bowl-making…. and then I continue to make a LOT More bowls while they go back to their wheels to start throwing. After I’ve made a good number of bowls… a full clay bag full…  I call them all back to my demo wheel so we can start playing with the bowls. I threw them all on plastic bats and did NOT wire them off, so that they are still centered on the bat. I can then easily put them back on the wheel and they’re still centered.Bowl by bowl, we go through a whole lot of options and techniques for altering & decorating each of the bowls.

My goal is to show them some tricks… but more importantly to show them that they can actually PLAY with their clay. That they can push it further than they think… and make it their own piece of work. That bowls don’t always have ot be round… nor left exactly how the wheel made it for them.

BOWL A – This is the “starter” bowl… simple, round, just as they all came off the wheel.

BOWL B – Two simple flutes to the edge, so much cooler already!!!

BOWL C – And if two finger flutes are good, eight might be even better?!

BOWL D – A small flared flange and a groove line where the change of direction happens.

BOWL E – If a small flange was nice, maybe wider would be better?! Kinda like one of those fancy restaurants where you get the huge plate with one small fancy morsel for a huge price!

BOWL F – Combined flared flange and finger fluted accents.

BOWL G – A fun “flower” decoration made in the bottom of the bowl with a simple dragonscale tool.

BOWL H – Split rim bowl pinched back together in eight places.

BOWL I – Very similar to the one before, except the bowl was “bulged out” and rounded more by hand between the pinch marks.

BOWL J -Another split rim pinched “in” and pinched “out”… and then formed into a square.

BOWL K -A simple round bowl with a solid coverage of white slip inside.

BOWL L – A simple covering of blue slip with a spiral pattern from the end of a paintbrush being dragged through while the wheel was spinning.

BOWL M – Another bowl with more blue slip. Partial spiral in the bottom. And some banding around the sides that were then dragged through vertically to create the “grid” effect.

BOWL N – A thick layer of white slip with a finger squiggle through it while the wheel is spinning.

BOWL O – A layer of blue slip with a chattered pattern through to reveal the clay color below.

BOWL P -This one is funny because it started out as a newspaper stencil demo. I cut a few squares and used them as a pattern stencil. But when I pulled them out, I didn’t really like the design, AND I couldn’t find all of them. Ha!!! So I dug around to pull them all out and then re-covered it all with slip and did a little banding in the bottom.

BOWL Q – A blended ombre effect with white and blue slips.

So now they’re up in my studio and under plastic. Once they set-up a bit, I will do a little more stamping, detailing & trimming of the bowls. Hopefully my students were inspired by a few of the techniques… and might actually try making some not-so-basic bowls with a little design flair!!!


Categories: classes, creativity, food

Sadly, in class last night we had no OREOs. Mwah, mwah, mwah... But my assistant Erin decided to make some clay OREOs using a stamp she made last week during our stamp-making demo!!! Sweet… but not quite as tasty!!!

Categories: classes, food

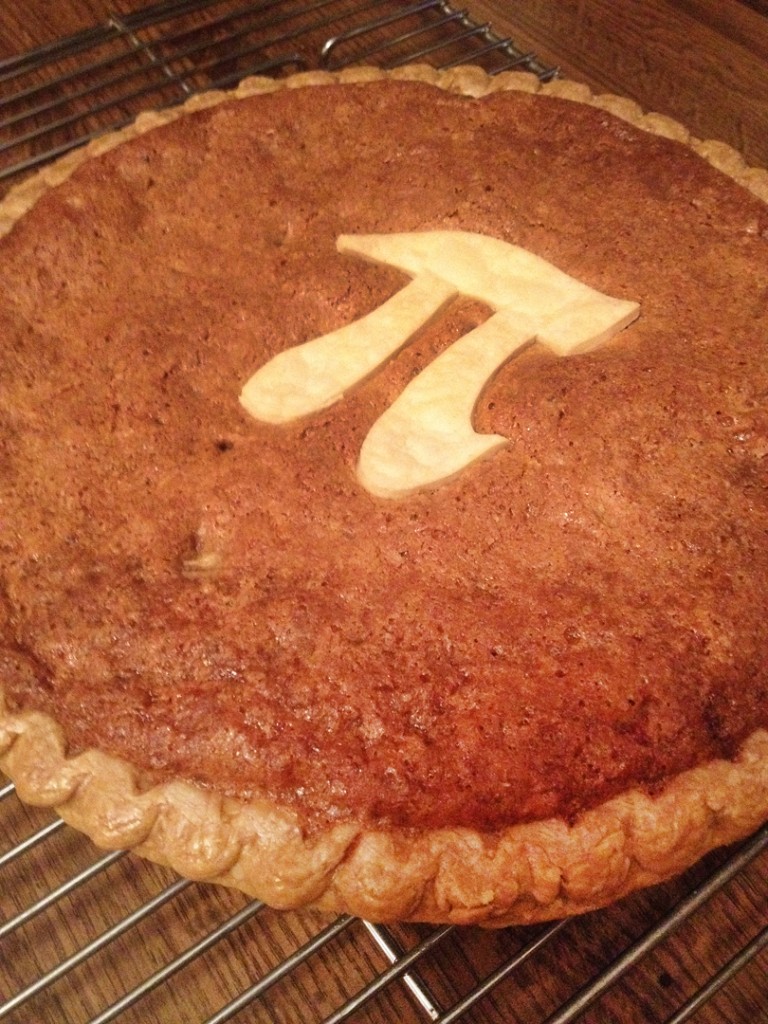
Last night we started the new Summer Session of my Beginning & Advanced Beginner Wheelthrowing class. We also started with the NEW Oreo flavors! Key Lime Pie and Blueberry Pie. And you know how I love pie!!!