Gary Jackson: Fire When Ready Pottery
A Chicago potter’s somewhat slanted view of clay & play
Categories: classes, food

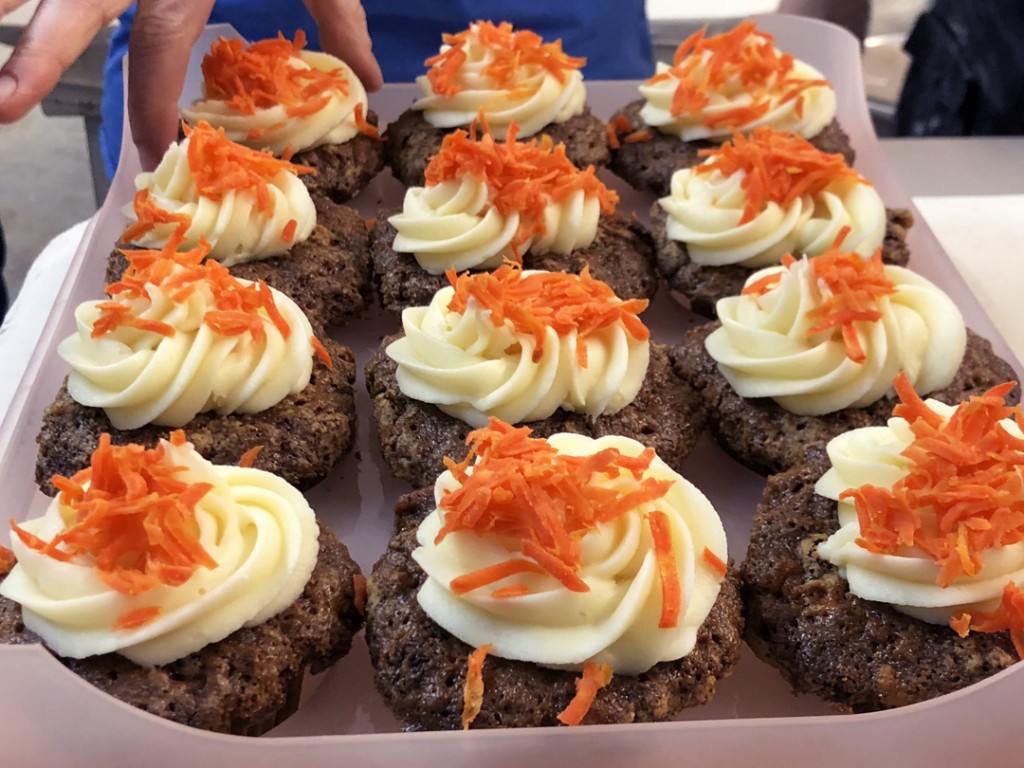
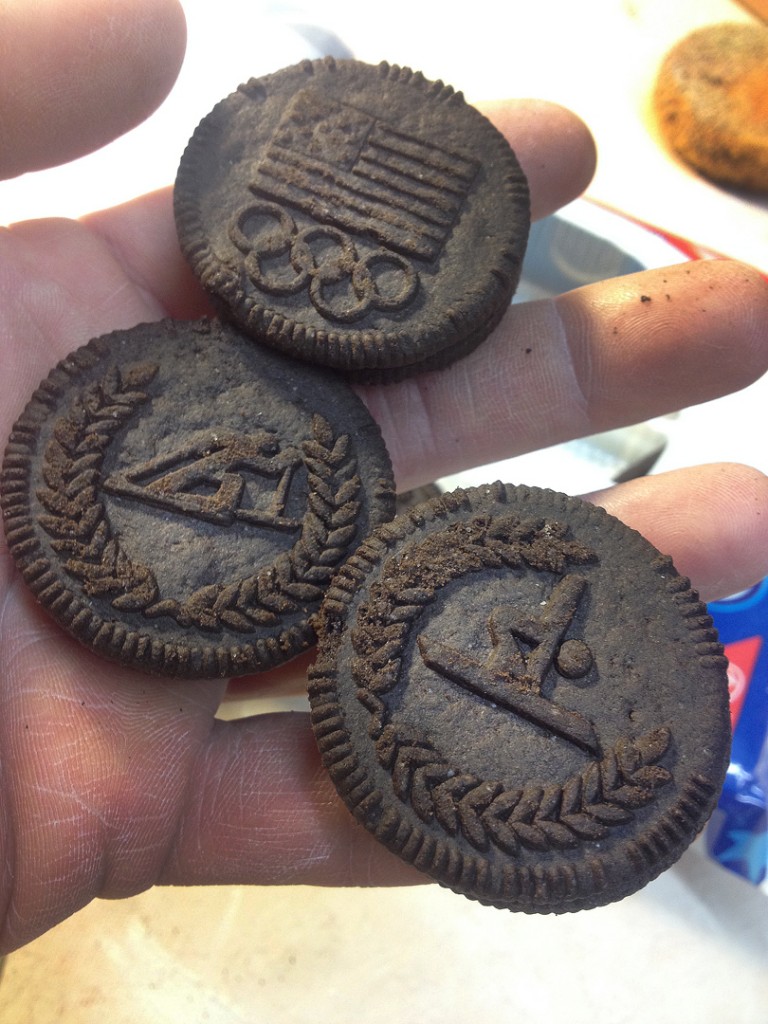
This week we kicked-off the summer session of classes at Lillstreet with some more new OREO’s!!! I’m still a bit unsure of the “Thins”… you just need to eat twice as many, right?!!!

As for the coconut… tastier than I expected.
Although someone said it tasted like suntan lotion..
let’s just say that still didn’t stop us from finishing them!!!

Categories: classes, mugs, process, stamped, summer camp

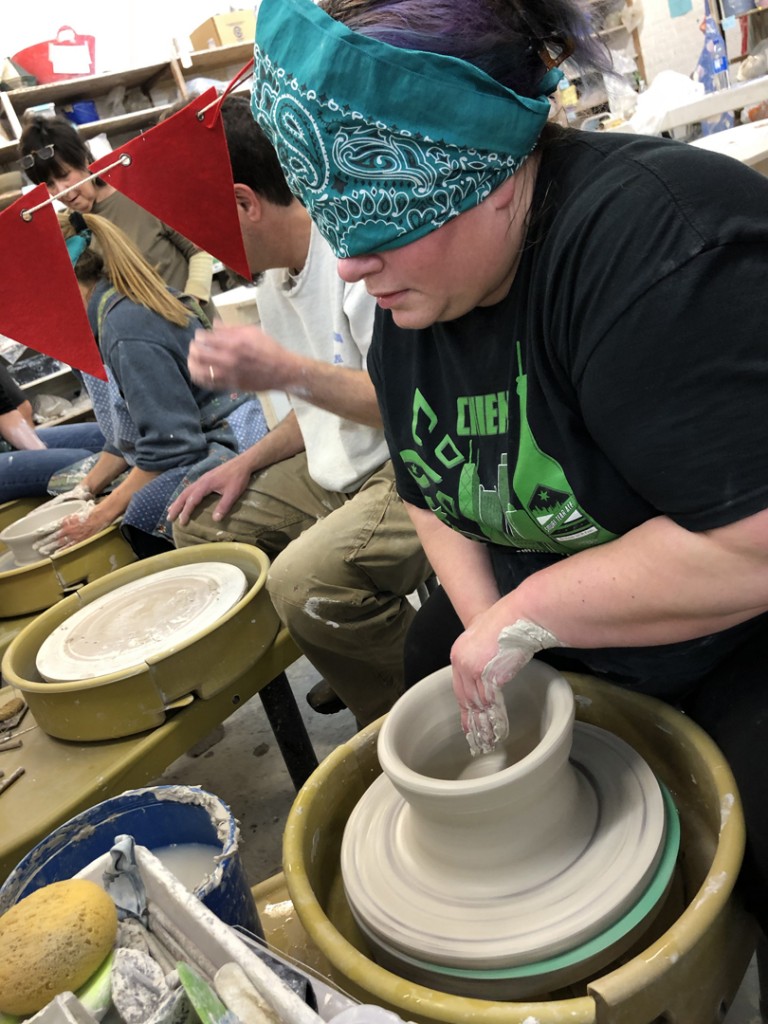
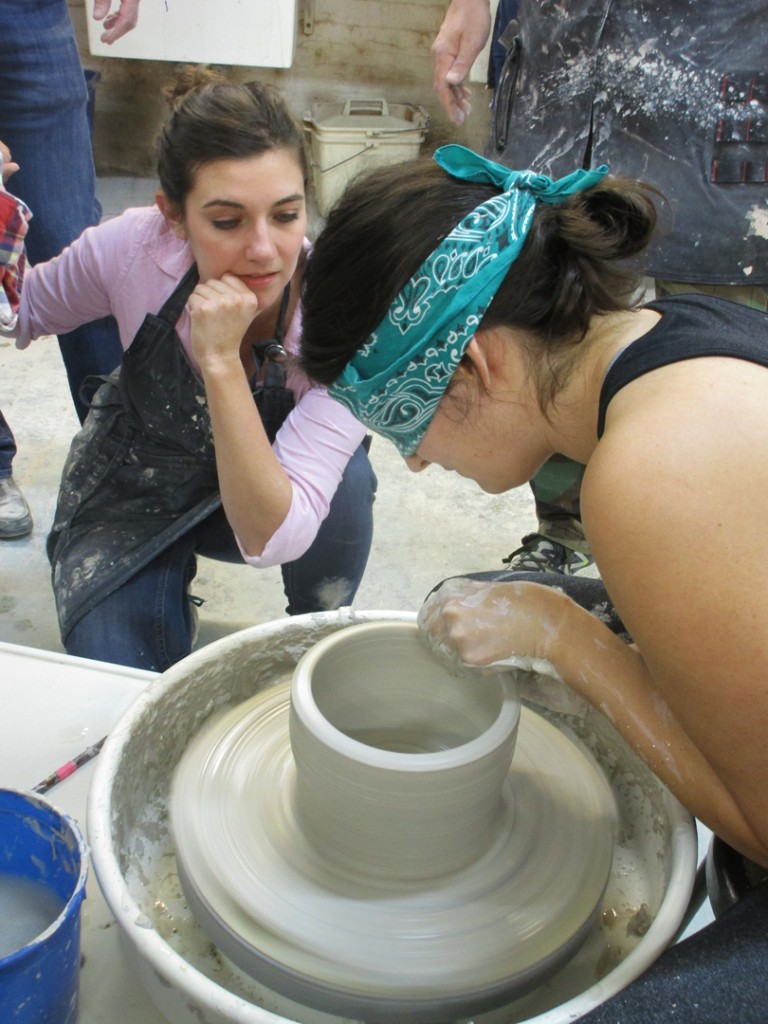
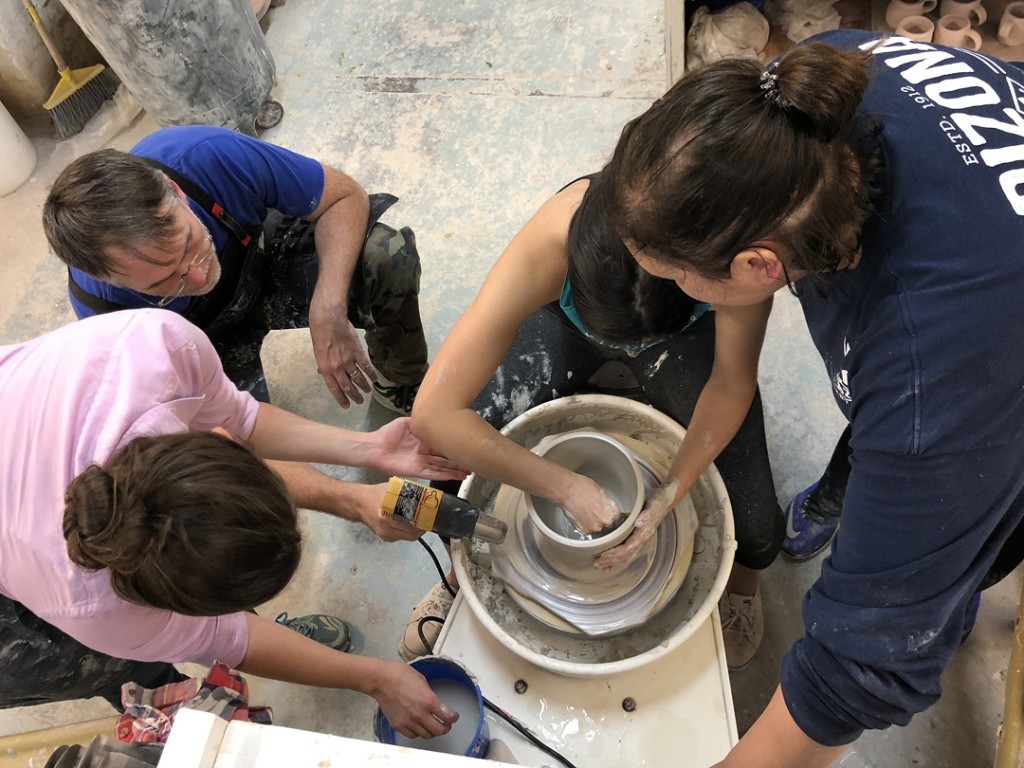
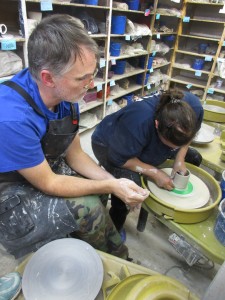
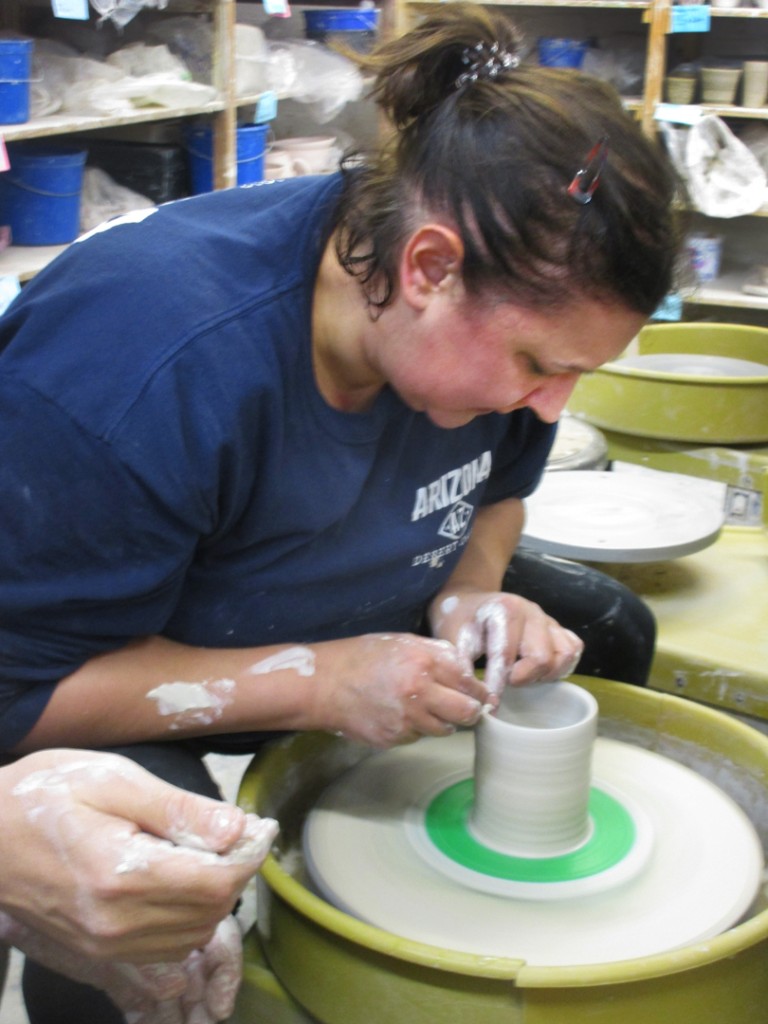
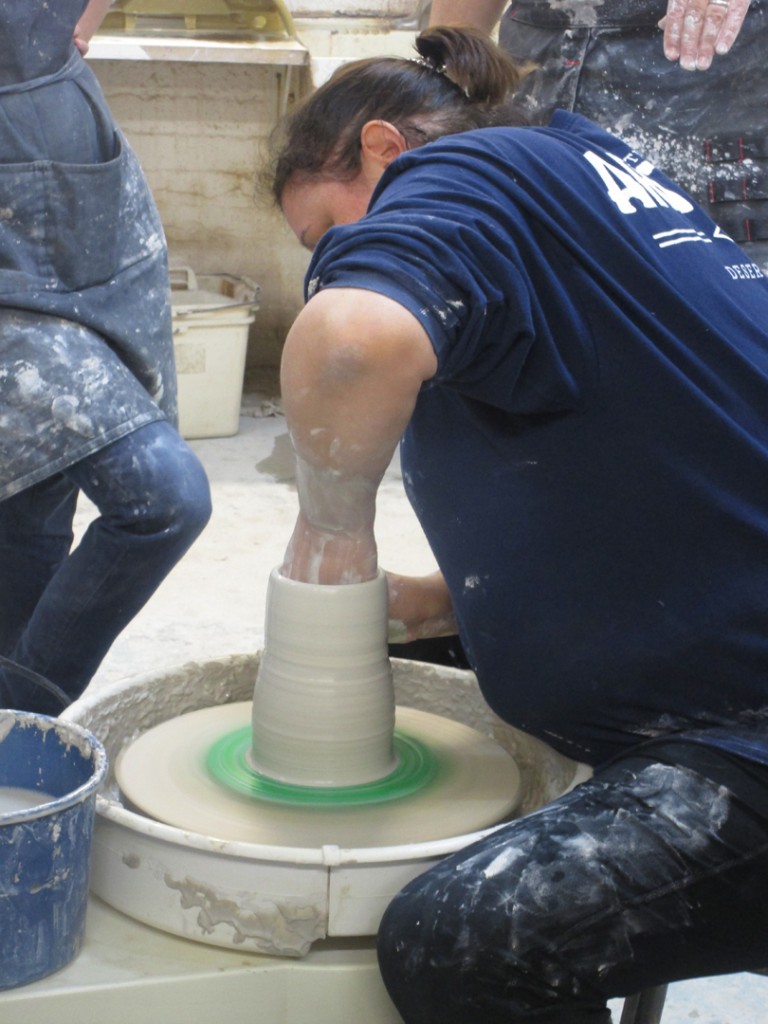
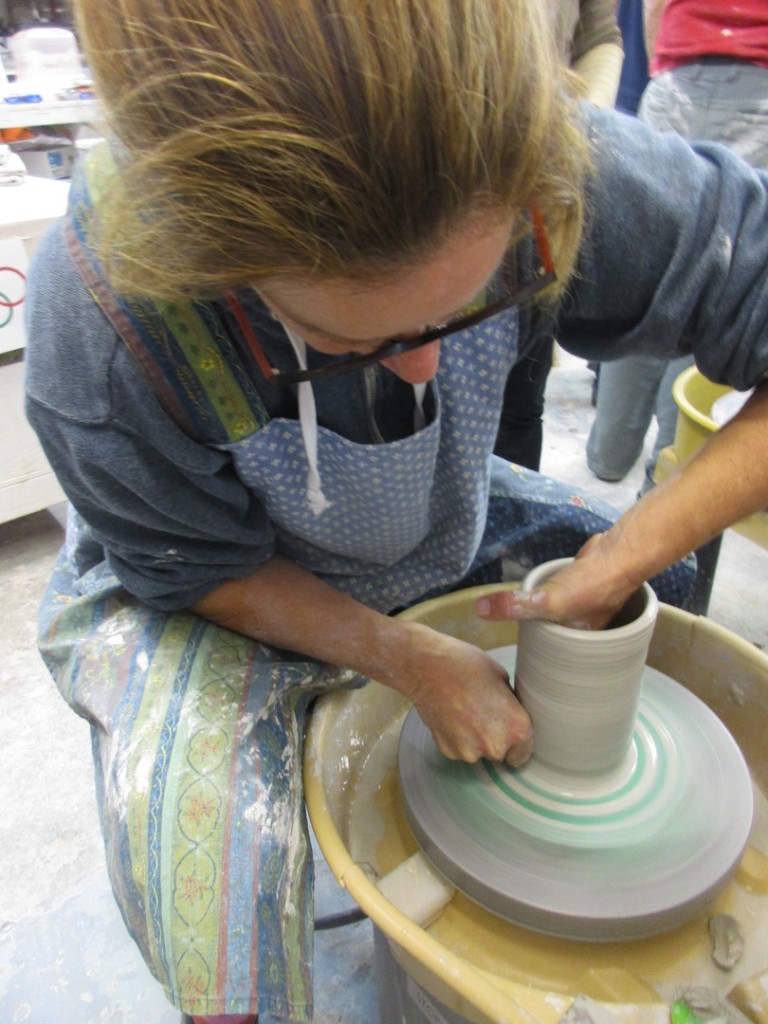
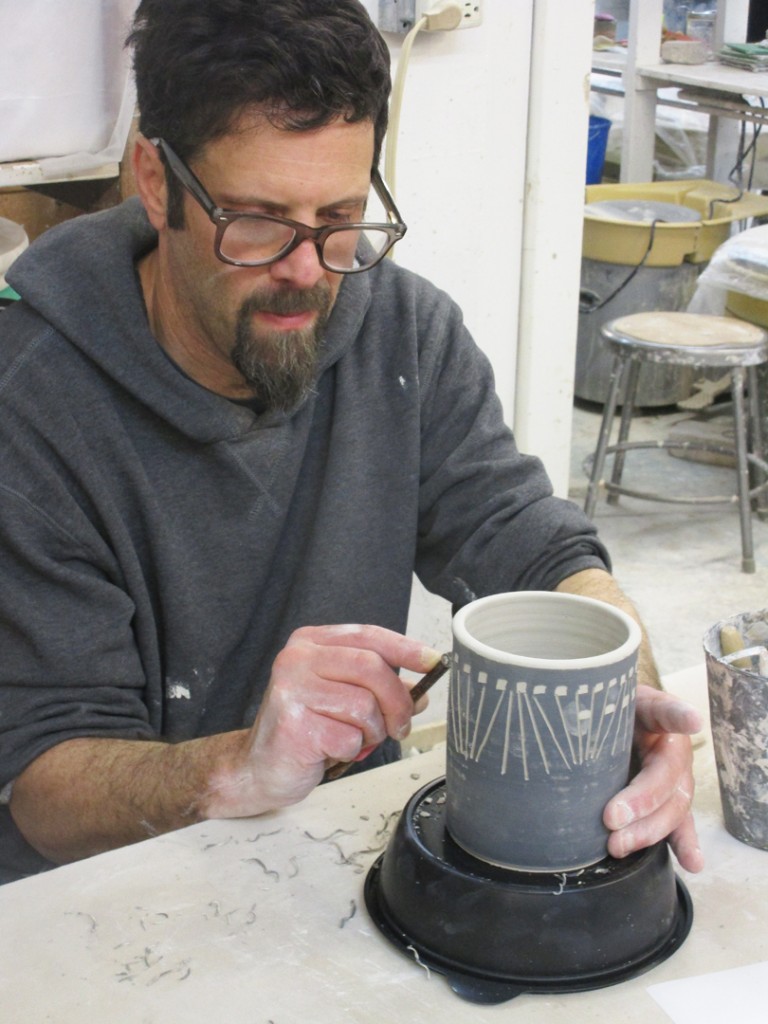
It’s the third day for my Summer Campers and today they had to “finish up” their stoneware pots. So we did some trimming, some stamping, some adding of handles and colored slip detailing. Never too soon to start stamping, right???

Categories: classes, lillstreet, mugs, soda-fired

This past Tuesday night was the last class for my Simply Soda class for the Spring session. My beginning soda-firing students did a great job working through some of the “difficulties” and “unpredictabilities” of firing in the soda kiln. But after ten weeks, we made it to the end and everyone learned a LOT… including me!

To celebrate our last class, we had a little class challenge to finish with. At the beginning of the session, I had challenged each student to make enough mugs to trade one with everyone in class. So each student had to come with ten mugs for the trade… Peter already moved away, so nine… and then we played a little game. Going one person at a time, each student got to pick one of their group to call their won. By the end, everyone’s mugs had found a new home… and they were going home with one mug from each of their fellow students… and me!

So here are MY mugs that were up for the taking! Stamped and soda-fired B-clay.

And then AFTER The exchange, these are the mugs I came home with!!!

This sweet porcelain mug with subtle flashings and two white glaze stripes by Catherine.

A shallow “diner cup” with some great carved details at the bottom by Taylore.

A beautiful tankard mug by Cecelia with butter yellow slip and gray carbon trapping.

A sweet little mug made with B-clay and a Tom’s Purple glaze liner by Patty.

A fun little mug with indented dots across the surface with a Tom’s Purple liner by Katie.

A beautiful grooved mug by Stacey with a wonderful flashing on the mustard slip.

Unfortunately, Ed’s mugs were still in the soda kiln cooling. Just a day short of making the deadline. He participated  in the exchange and promised to fulfill his “trade” end of the bargain soon!

So all in all, I’d say my beginner soda students knocked it out of the park!
A great session… and a great exchange… and great additions to my Mug Collection!!!

Save

Save

Save

Save

Categories: classes, food, lillstreet

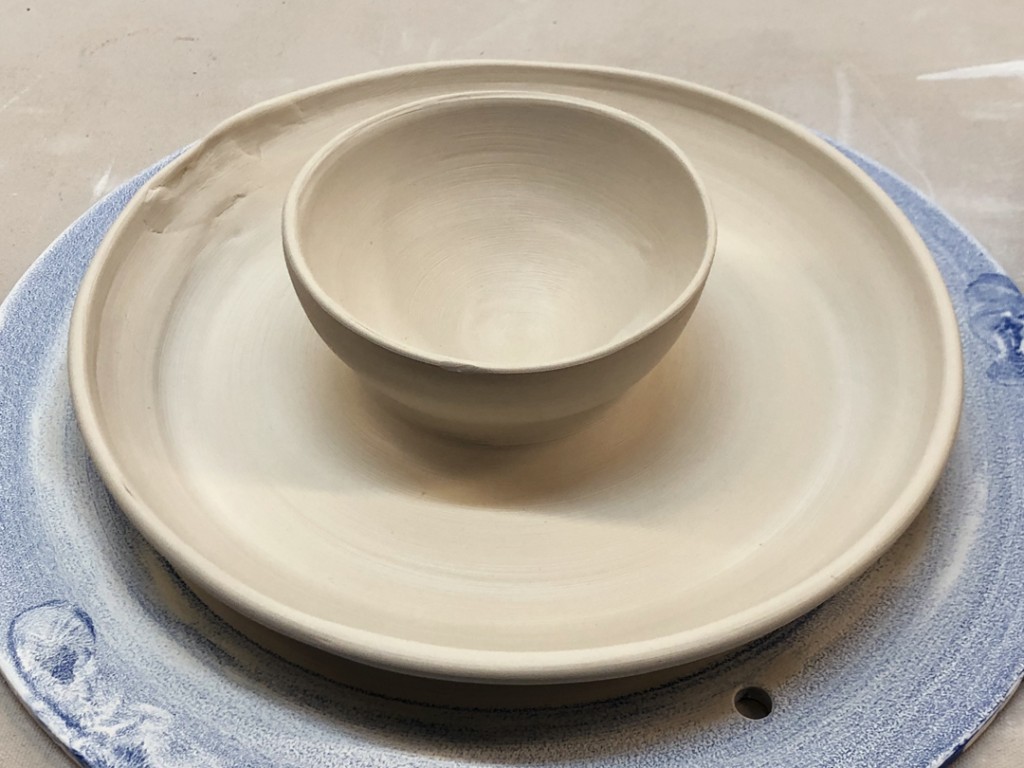
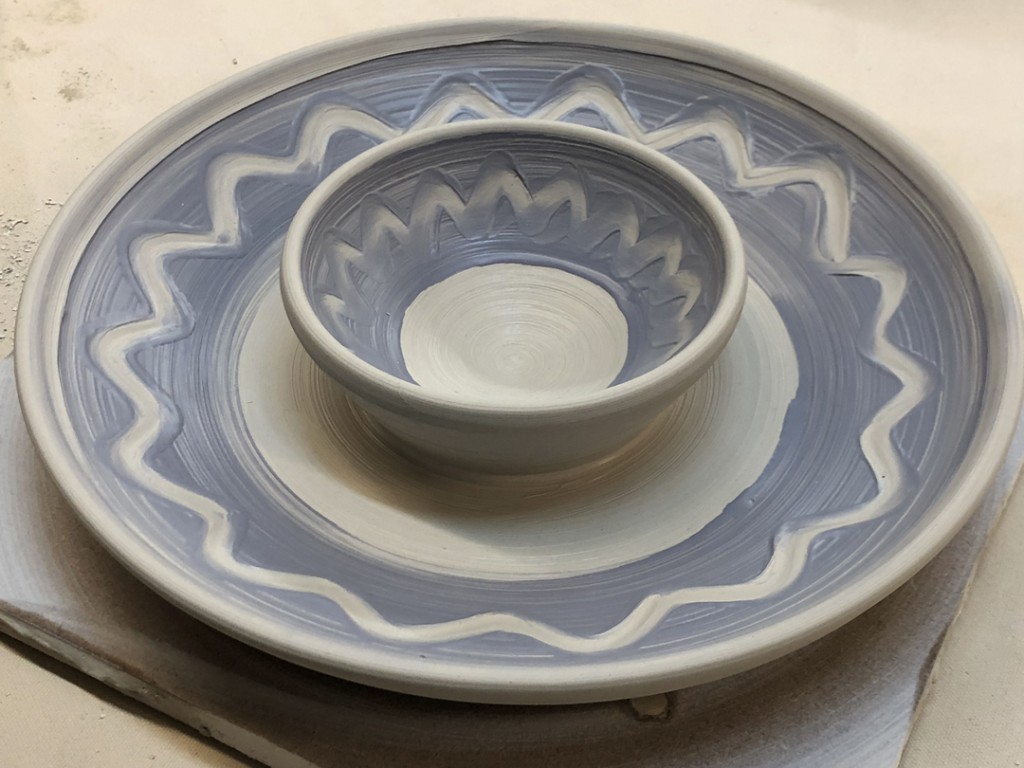
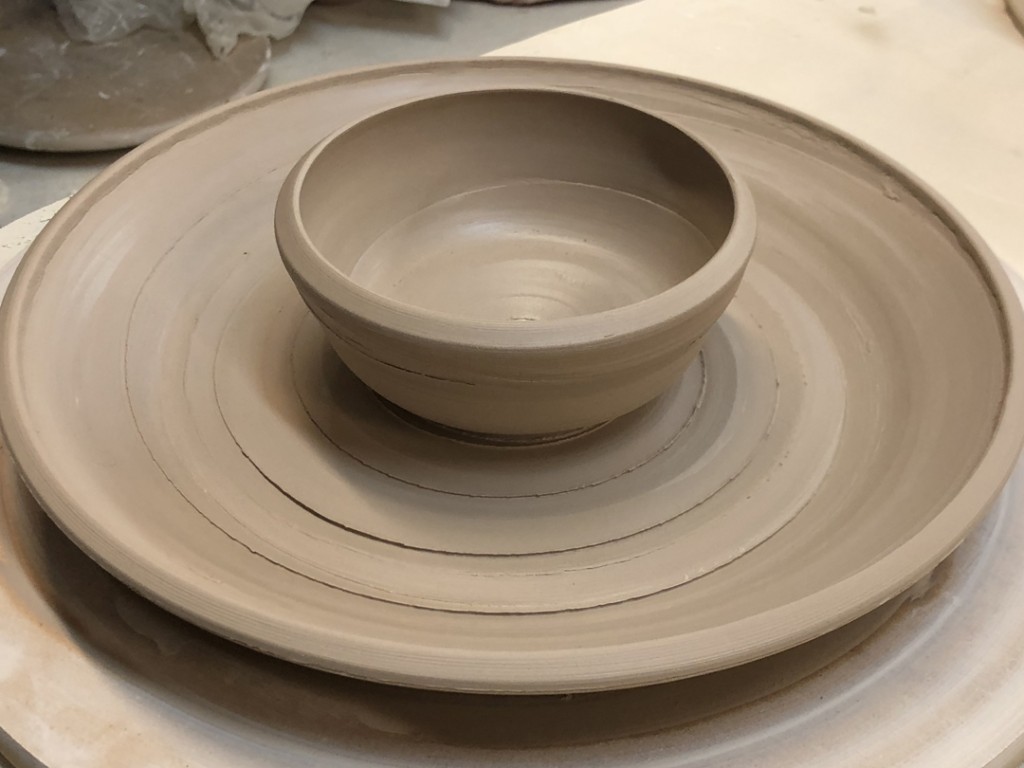
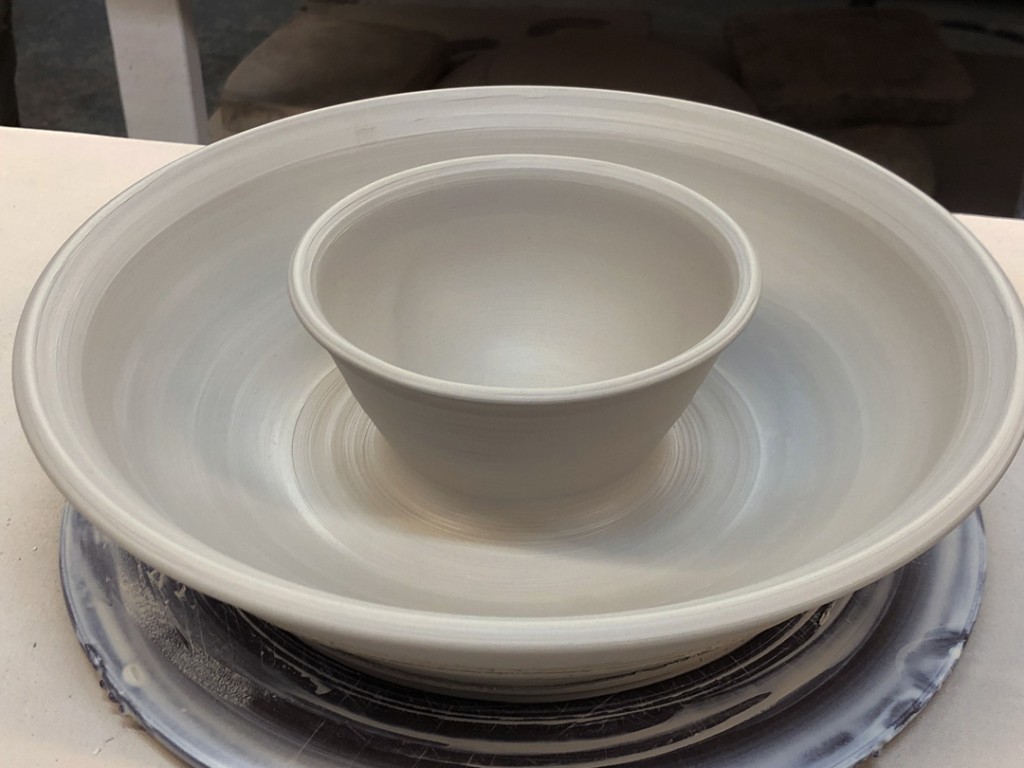
One of my students made this incredible Ursula covered chip & dip bowl in my class last session. Last night, Stacey brought it back for our last class potluck. Even better when filled with goldfish crackers, fish cookies and gummy Swedish Fish inside!!! Too funny. Too yummy!!!

Categories: artists, classes, mugs, textures

So I got an email from one of my Facebook Fans… Kate Chenok, a potter from the San Francisco area. She told me she was traveling for business and would LOVE to stop by my studio to meet me. She gave me her travel schedule and it aligned with the classes I teach on Mondays & Tuesdays. She suggested I check out her website to see her work… so I did. And I saw these wonderful little “folded mugs” on her website. And a plan started to develop…

Sure, she could easily stop by the studio and sit-in one of my classes while my students were working during Week #9. But I had a better plan… I figured it might be fun if Kate Chenok stopped by and then do a quick demo for my students! Perfect timing. Perfect plan!

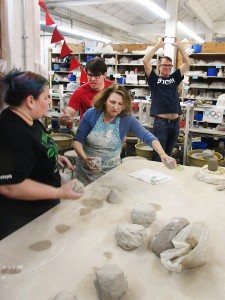
So I asked her to swing by the studio on a Tuesday night. We’re in Week #9 of the ten-week session, and I thought my Beginner’s might like a little handbuilding “break” from the wheel. Kate got here a t little late… so we did a quick tour of my studio and Lillstreet… and then it was right into my classroom. Quick introduction and she was on for the demo.

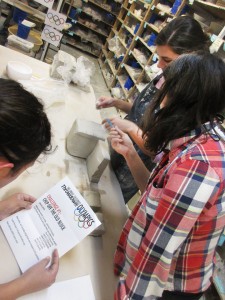
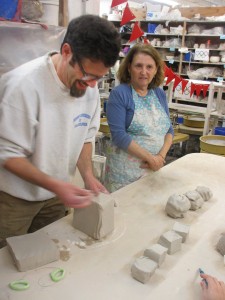
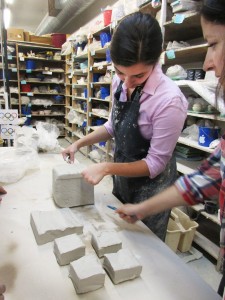
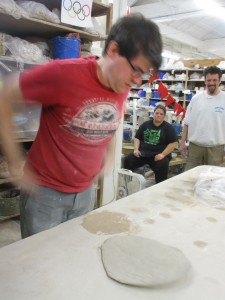
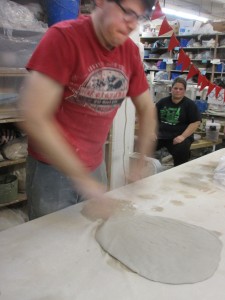
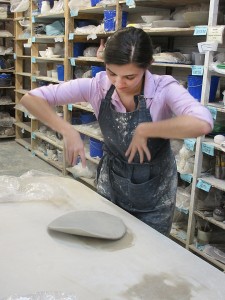
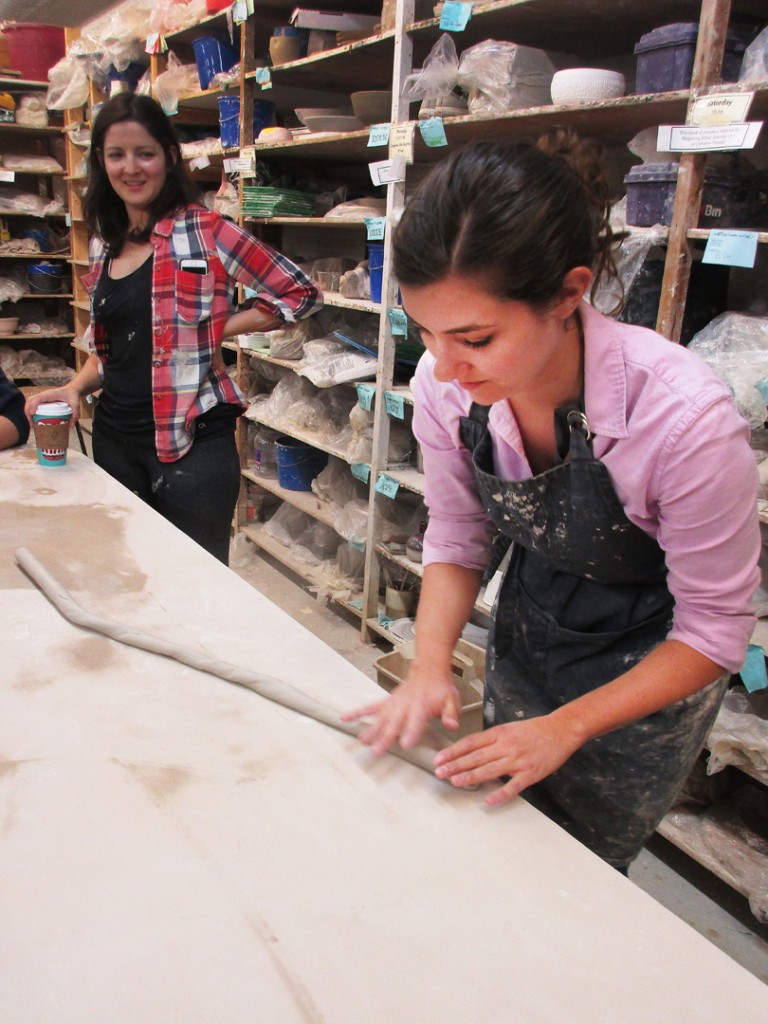
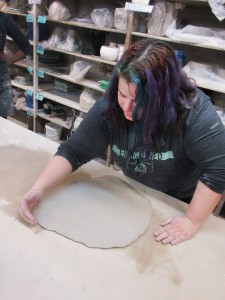
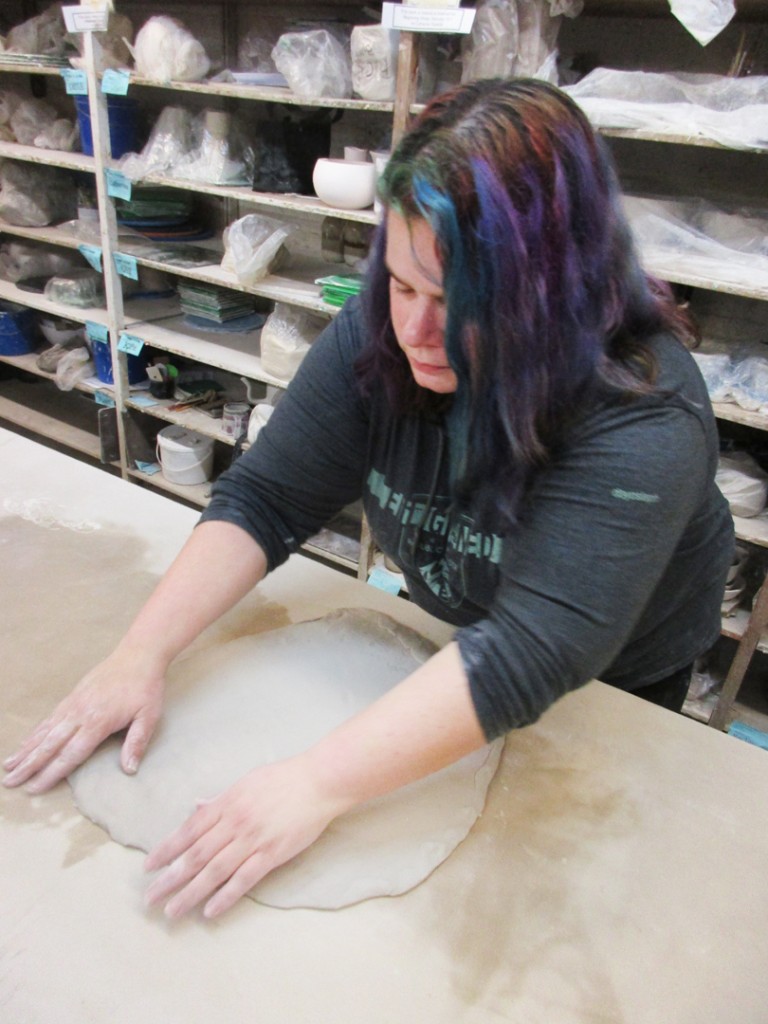
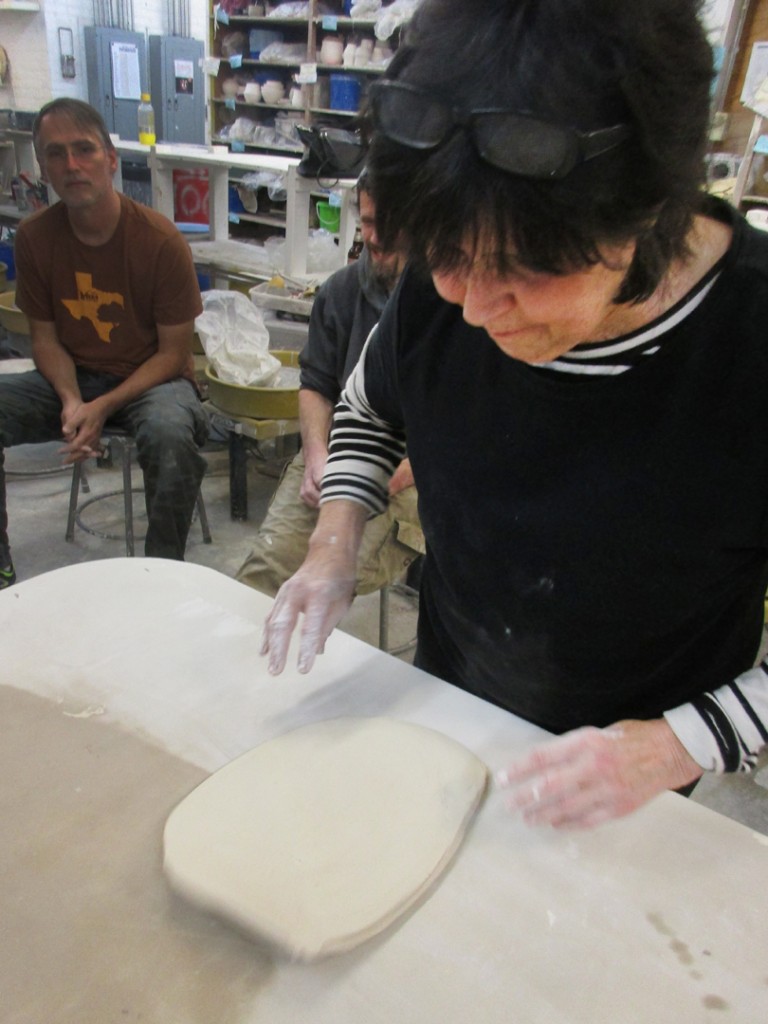
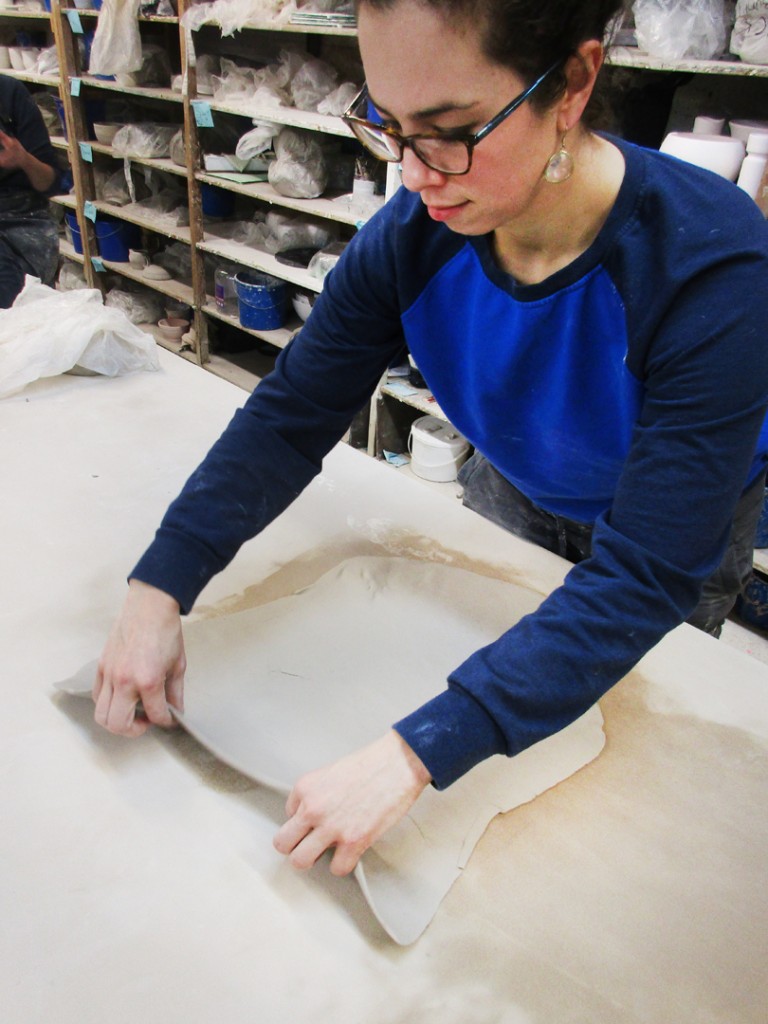
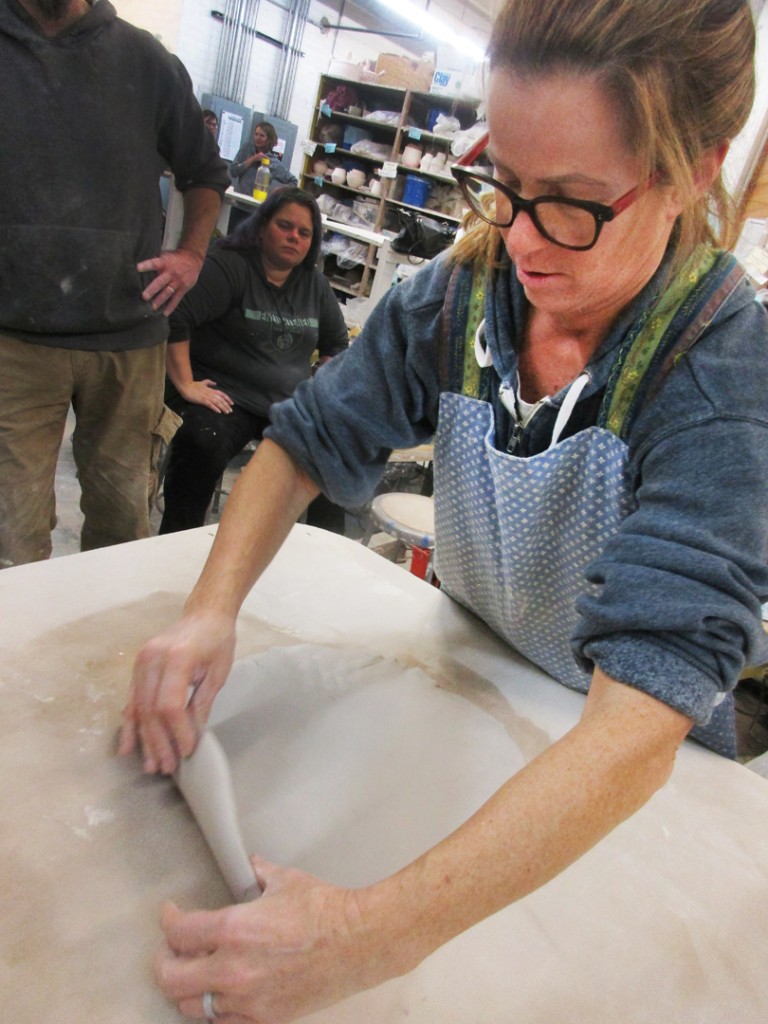
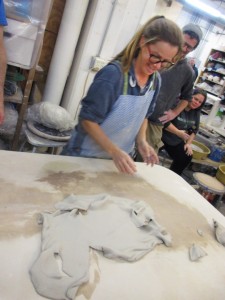
We threw some quick slabs, and she showed how she adds texture using assorted texture forms, vinyl placemats, corrugated cardboard and more.

She then shared the patterns she uses to cut our a shape from the slab. Carefully aligning her textured design with the shape of the cut-out pattern.

And then that cut-out shape was carefully rolled and seamed together with angled edges… carefully seaming the seam with as little fudging & smudging as possible. The cutout darted sections are also scored, slipped and stuck together. Basically folding in the bottom of the cup.

After the darts are connected, she took a second to smooth out the interior and double-checking the security of the seam. All the while trying to keep the exterior pattern as clean and smudge-less as possible.

The square bottom “hole” that is created by the folding in of the darts needs to be filled. Another small piece of textured slab is scored and slipped into place.

After securing the bottom, a little refining of the rim is in order.

And then there’s the question of the seam. Is it smooth enough? Does it need to blend in better? Or should it be made more apparent?… or even decorated with little stamped buttons?!

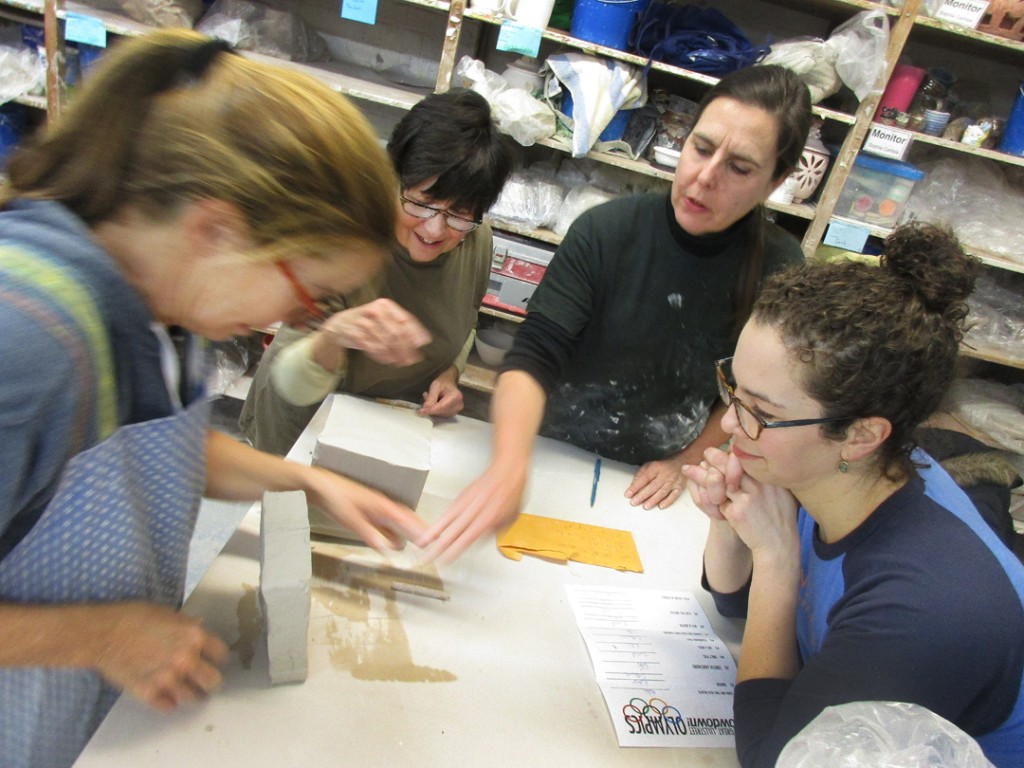
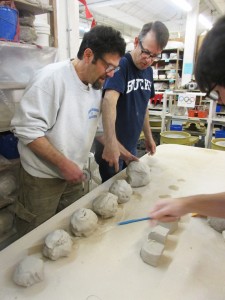
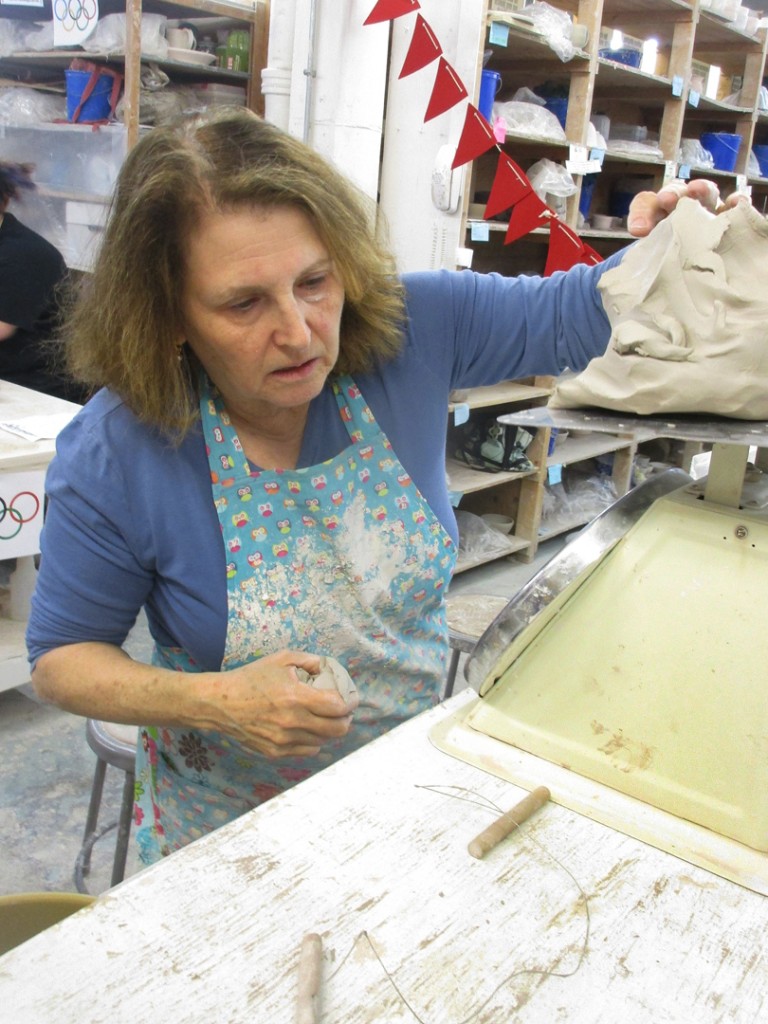
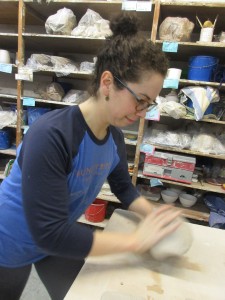
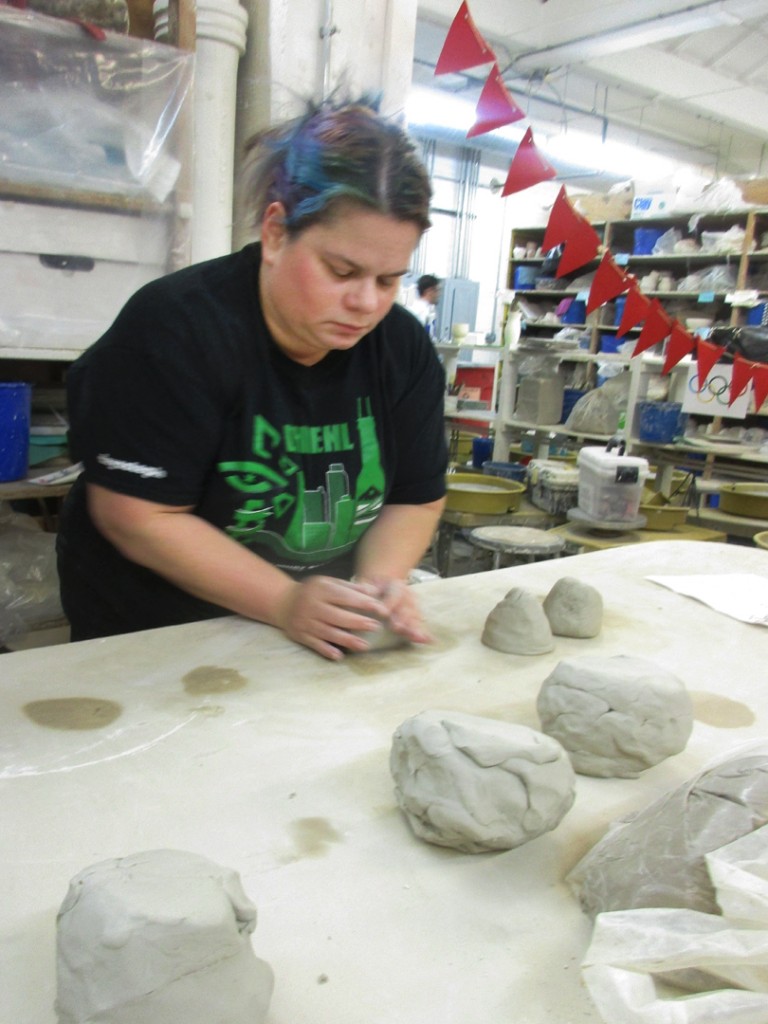
After Kate finished her demo, we encouraged my students to step up and give it a go. Some of them were very excited… you could see it on their faces during the demo. So they pulled out their slabs and texture tools  and dove right in!!!

Kate was great… so sharing with her knowledge and time. Helping my students through every step of the process.

Such focus and determination by Carmina and Grace…

And here’s one of the “finished” pieces… a very sweet little pitcher that Grace made. She’s become quite the master of texture… and even added a bit of slip detail on top of the textured surface!!!

Huge thanks once again to Kate for stopping by and playing with my students. We all had a great time and learned a lot from her.

To see more about Kate Chenok and her work,
including her wonderful folded mugs, click here for her website.

Save

Save

Save

Save

Save

Categories: classes, lillstreet, mugs

Last night in my Beginning & Advanced Beginning Wheelthwoing class,
we ended the Spring session with a fun class, potluck snacks and a Double Mug Exchange! At the start of class I challenged my students to make mugs to exchange during the final class. With a small twist… my brand new Beginners needed to make two mugs, but my returning Advanced Beginners needed to make “matching” mugs!!! Here are a “few” of the mugs that were up for grabs last night!!!

And two “individuals” by one of my brand new Beginners… pretty sweet, huh?!

And of course I had to play along too… so here are my contribution
to the Double Mug Exchange… two stamped and cone 6 glaze fired mugs!

Save

Save

Save

Save

Save

Categories: bowls, classes, process

Just some quick photos from one of tonight’s bowl demos for my Simply Soda class.
I coated the bowl with wax before carving the leaf pattern… and let it dry for a few minutes.
Then I painted the exterior and filled-in the grooves with colored slip…

After it set-up for a few minutes, I wiped the excess off the wax layer.
Thus filling in only the carved grooves for a colorful slip inlay.

Save

Save

Save

Categories: classes, kiln firing

Did a quick studio “drive-by” this morning to unbrick the top of the kiln to cool it a bit quicker. My soda class will be unloading the kiln later tonight… but here’s a sneak peek of the beauties inside!!! More to come…

Categories: bowls, classes, production

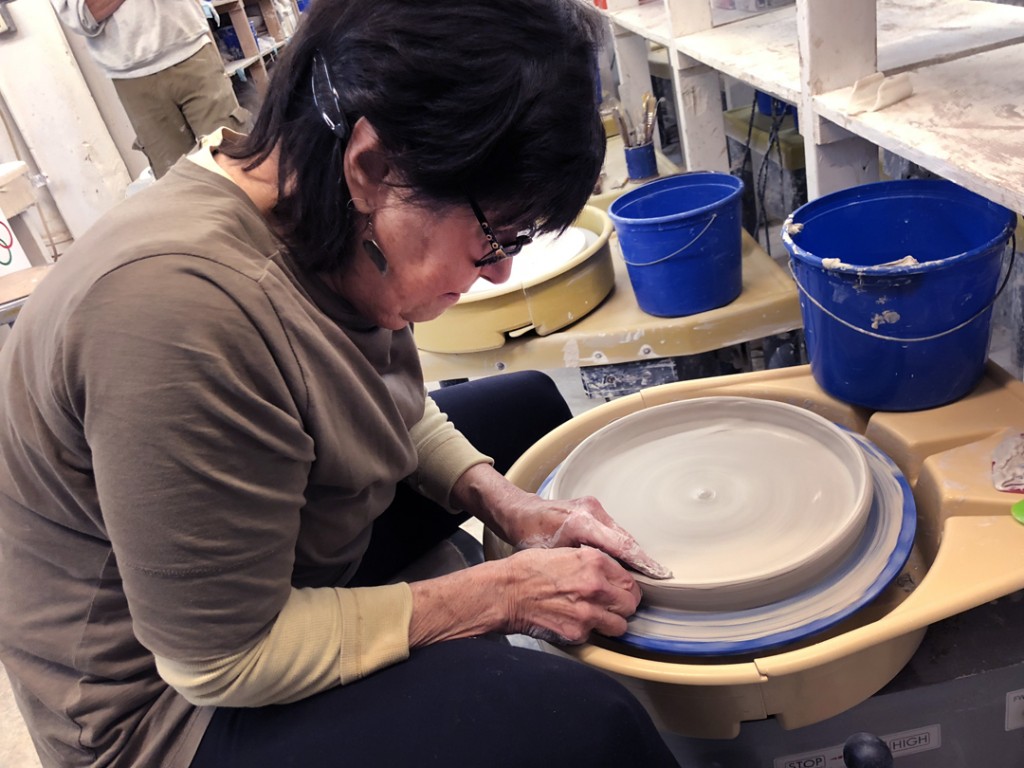
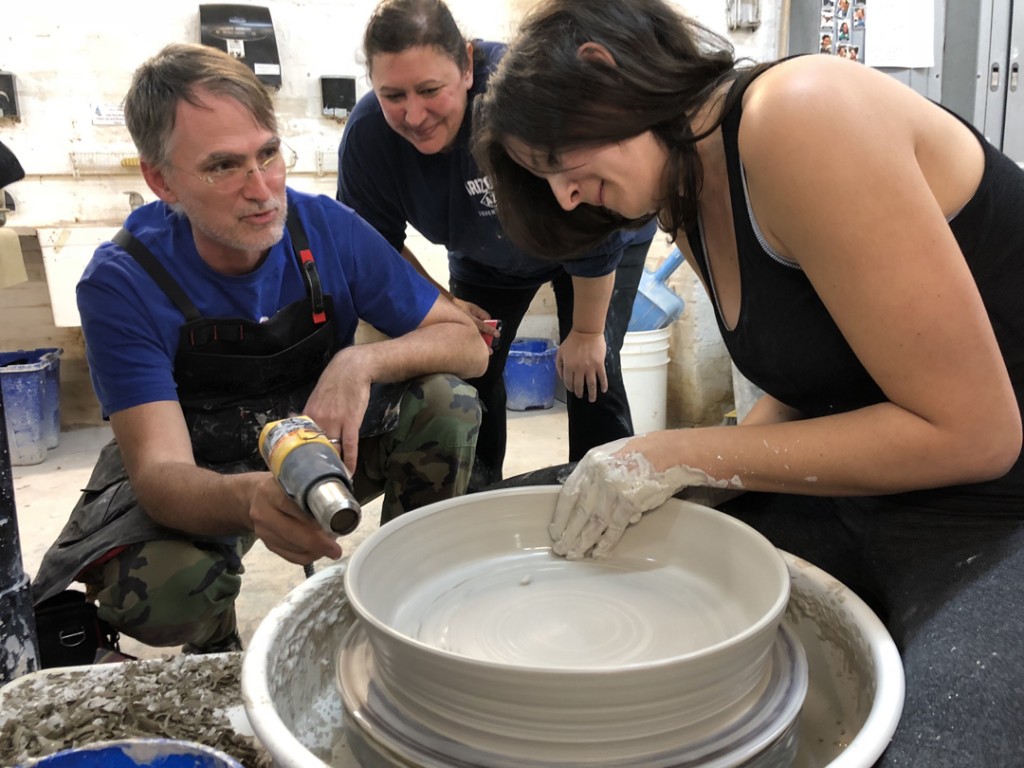
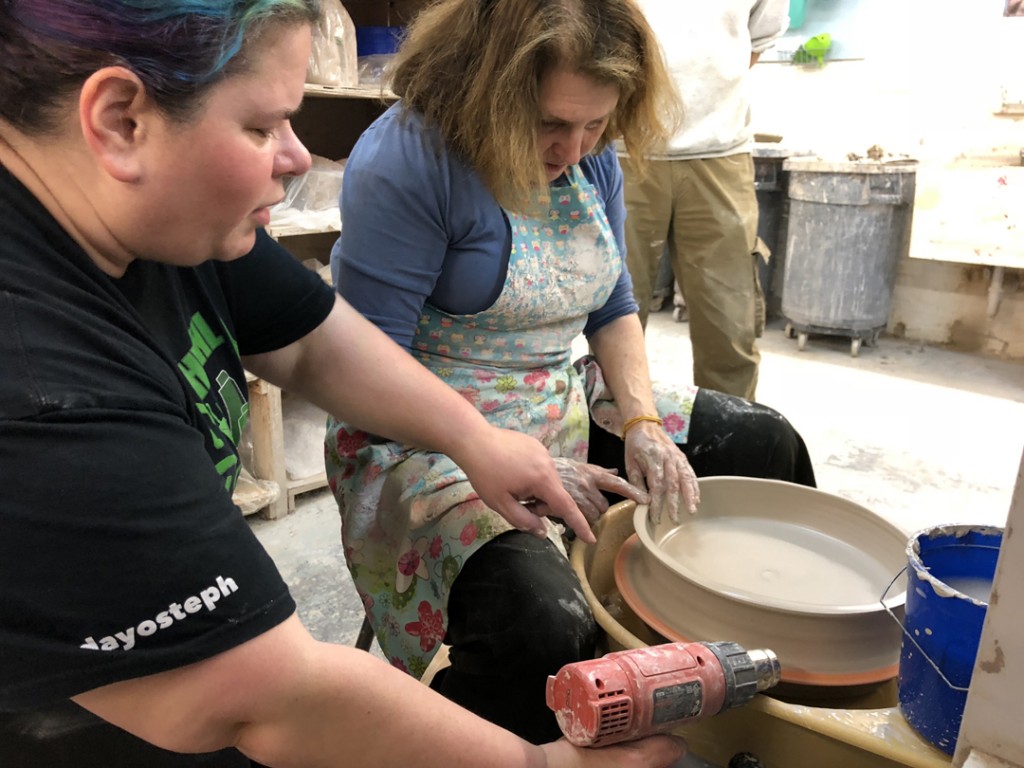
This is my favorite demo of every session of classes. It’s so much fun to teach my students how to make a bowl on purpose, instead of it just being a cylinder gone bad! So the first part of the demo is making bowls on purpose. We talk about techniques and downfalls. They go back to make some bowls, while I sit at my wheel and quickly throw some more bowls… a whole bag’s worth!!! When I finished all eighteen bowls, we reconvene and start doing some alterations to the bowls.

My goal for this second part of the demo is to get them over-the-hump, and encourage them to try different things to make their bowls more individual. And that the clay is not precious. Have fun. Make something. And if it doesn’t work out… just squish it up and do it again!!! So here are my eighteen quick tricks that I showed my class. Remember, we started with 18  very similar plain round bowls. And then some quick flicks & tricks… and now we have 18 completely different bowls.

Bowl #1 – Simple fluted twists. One finger inside, one finger outside, side-by-side. A bit of a pinch and a twist. Four times… aligned with the corners of the square bat for even spacing.

Bowl #2 – And is four fluted points are good… maybe eight are even better?!

Bowl #3 – Then I gently bent the rim out on over to create a flattened flange around the edge. The outside finger stays pretty stationary while the inside fingers gently press the rim outwards over that outside finger. And I like to add in a little groove line just inside the flange… like a nice way to show the delineation between the interior & exterior.

Bowl #4 – And if a thin flange is good, maybe a wider flange is even better?! Kinda like that bowl they serve in fancy restaurants with one small dollop of food in the bottom and charge a ton of money!!!

Bowl #5 – Then we combined the two – the flattened flange and fluted rim.

Bowl #6 – Next up was splitting the rim with the point of my wooden knife. I use my left hand with thumb & forefinger gently “pressing” the rim for support, while my right hand has the knife gently pressing the point into the rim. Press down slowly while the wheel is spinning asnd watch the rim split open. And then I like to pinch it back in a few spaces for a bit of fun.

Bowl #7 – Another split rim pinched together in four spaces. But then the I pressed the other four spaces outwards which kind of squared off the bowl… so why not “force” it to be even square-er?!!!

Bowl #8Okay, so we’ll place this bowl in the category of not all demo’s work.
I started by splitting the rim a little deeper & wider then before. And then I took the wooden end of a big loop trimming tool to press indentations outward on the split rim. And on the very first one… the wooden handle literally STUCK to the clay!!! I mis-estimated the wetness of the rim… and the thinness of the split rim. The tool stuck and when I tried to force it away it ripped half of the split rim off with the tool. Not good. So we all had a bit of a laugh as I once again proclaimed my mantra… “It’s just clay.” So I pulled off the other half of the split rim and smoothed it out a bit. And then tried to come up with a new “plan” on the fly with an already dented bowl. Not so sure how this one will turn out… but it’s “just clay,” right?!!!

Bowl #9 – A simple indentation made in the bottom of the bowl with a metal dragonscale tool.

Bowl #10 – One of my students “scoffed” a bit when I did the indentation flower and said how easy it was. And since she was sitting at the wheel right next to me… I handed her a fresh bowl, the dragonscale tool, and told her to do something with it!!! It’s just clay. She balked a little, got a bit embarrassed, but when everyone cheered her on, Lucy ended up making this pretty incredible pattern in the bottom of her bowl. See?… sometimes it’s fun to be pushed out of your comfort zone… and look what beauty can came out of it!!!

At this point it was time to introduce colored slip as a decorating option. A layer of colored clay painted onto the pot to give it some more color & texture. We talked about the difference between slip and glaze, and when it might be better to use one or the other.

Bowl #11 – A full coating of white slip on the inside of the bowl – and then a fun spiral dragged through the slip with the rounded end of my wooden knife. It’s fun to see the contrast between the lighter white slip and the darker clay body.

Bowl #12 – Same coating of white slip on the inside of the bowl but this time with horizontal banding instead of spiral.

Bowl #13 – Tools are great… but so is finger painting. So for this one I made the layer of white slip a bit thicker than the others. And then I squiggled a couple fingers through it while the wheel was spinning. I love the undulating curves, the revealed clay color and the texture that will show up even better when glazed.

Bowl #14 – A layer of white slip to cover the entire interior of the bowl. And then a steady, rhytmic tapping of my plastic rib… tapping up & down, up & out, while the wheel is spinning. It’s a combination of all three that creates the pattern.

Bowl #15 – Okay, so I apparently forgot a bowl here?! Mwah, mwah, mwah…
And it’s a NICE one… trust me!!! It was another white slip with a tighter, angled chattered effect,

Bowl #16 -Instead of coating the bowl with white slip, this time I drew a spiral of slip white a squeeze bottle. My original intention was to have a perfect slip-trailed spiral. But the slip sputtered out a couple times. Ugh. So instead of trying to “fix” the splotches, I decides to do some gentle chattering through it… a very happy accident!!!

Bowl #17 – The other bowls have all had slip on the interior of the bowl, but for this one I put slip on the outer rim. I then drew some bands through the slip in concentric circles to the bowl. And then did some finger dragging outwards to get the contrast.

Bowl #18 – For our final bowl, I did a simple ombre blend of white slip with a black slip

So for now, all of the bowls are safe up in my studio under wraps. Of course I wish I could have shared these bowls a lot sooner…. but those darn Income Taxes got in the way. But now they’re done… I’ve breathed a small sigh of relief… and I hope these bowls were worth the wait.

Save

Save

Categories: bowls, classes

While tonight’s class demo was throwing bowls, altering & decorating them, and I would LOVE to show you more photos of them right now… “someone” still needs to finish his taxes!!! One hour until the deadline… bowl photos & descriptions will have to wait. Sorry… trust me, I’d MUCH rather be talking about bowls!!!