Gary Jackson: Fire When Ready Pottery
A Chicago potter’s somewhat slanted view of clay & play
Categories: bowls, classes

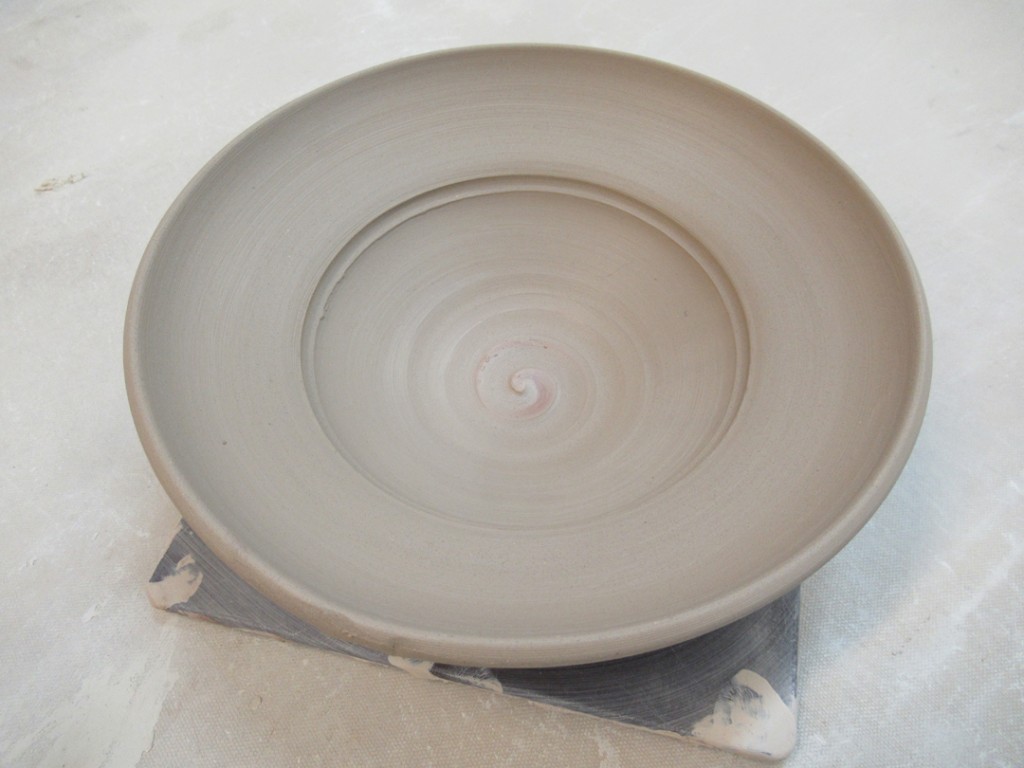
Tuesday night in my Beginning & Advanced Beginning Wheelthrowing pottery class, we finally tackled throwing bowls on purpose instead of a cylinder gone bad! With a nice smooth curved interior, and now stair-stepped, beginner’s ledge. No indentation that ruins that perfect curve. So we talked about how to throw the inside of the shape, knowing that you can trim the outside to match. And how to use a plastic rib on the inside to refine the curve and make it nice and smooth.  Okay “smooth”… my students know how much I love a good spiral… so we kind of laugh about the swirl that I add back into the bottom of the bowl after it was smoothed out by the rib.

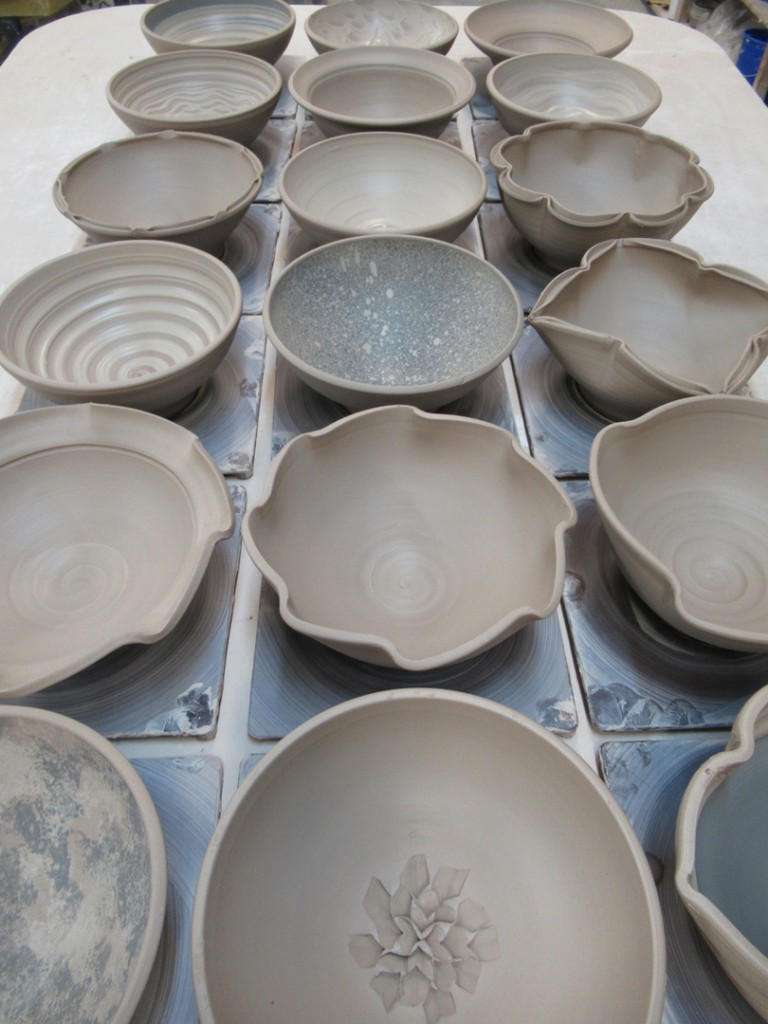
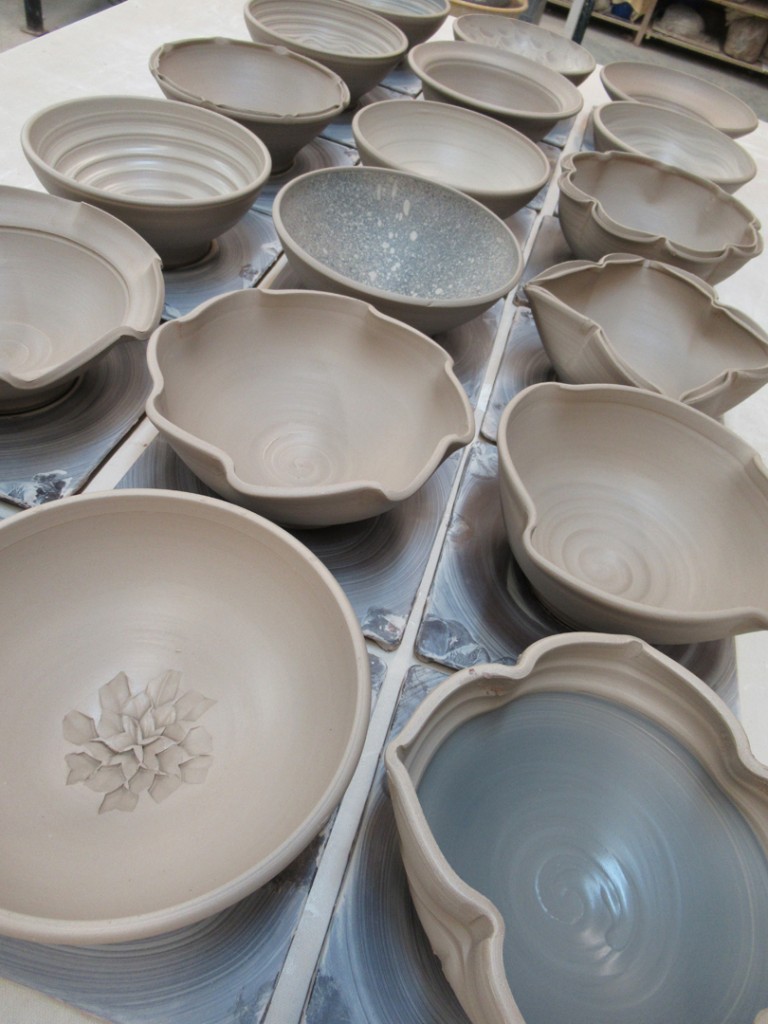
After they learned on to make a “bowl on purpose”… they then went back to their wheels to throw some bowls! And I stayed at my demo wheel to throw a “few” more… a full bag of reclaim to make sixteen basic bowls. When I had thrown them all, I called them all back to Part Two of the demo. Because the second part was the decorating & altering all of the bowls to make them not-so-basic anymore!

Bowl #1 – Two simple flutes on opposite sides… easy & cute.

Bowl #2 – And if two flutes are good… maybe eight would be better?
Plus we talked about how important it was to really “commit” and be deliberate in the fluting.

Bowl #3 – A thin flange flared out… just bending the top over a finger held stable on the outside.

Bowl #4 – And if a bot of a flange is good… bigger might be better?!
You know this bowl… that fancy restaurant bowl where they charge a fortune for one scoop of fancy food in the bottom of a big bowl… kinda like this!

Bowl #5 – And then it was time to combine the flute and the flange. We’ve already done two flutes, and eight flutes… so this one we went for four!

Bowl #6 – I showed my students how to split the rim with the pointed tip of their wooden knife. Makes a nice place for some glaze to pool and do some cool effects. Sure, I could have left it open and even all the way around… but I think the little pinches are a bit cuter!

Bowl #7 – And then since we were all enamored with the split-rim trick… we did a bit of fluting and talking about how bowls don’t always need to stay perfectly round!

Bowl #8 – After doing four flutes inward on a split-rim bowl… we decided to go four in and four out. Creating a bit of a lotus curved pattern.

So after doing some altering of the bowls, I then introduced colored slip to the group. And we discussed how it is actually “colored clay” which kind of creates a new “colored skin” to the pot.

Bowl #9 – The first one was just a layer of mazzerine blue slip painted evenly across the interior. We discussed how much harder this effect would be if they tried to do it  with a glaze bucket. Getting that perfectly even edge, crisp & clean, creating a tow-tome bowl now easier than doing it in a glaze bucket!

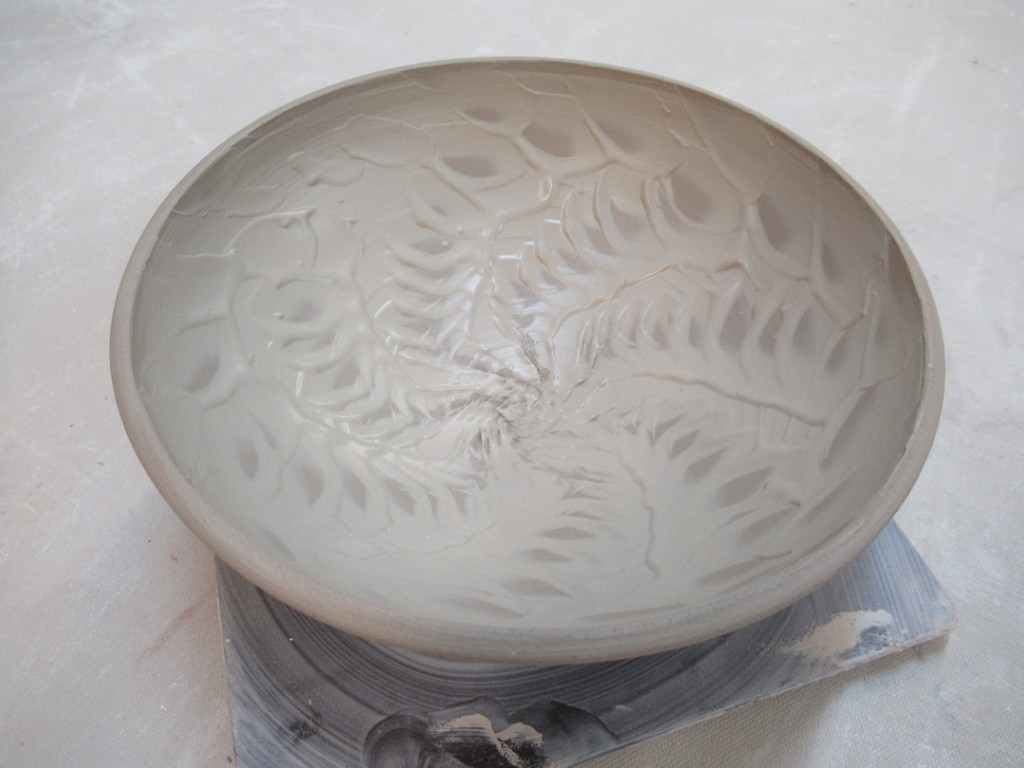
Bowl #10 – The mazzerine blue slip was a bit too thin and wouldn’t hold its “shape”… so I switched to a thick white slip. I coated the interior of the bowl and then dragged the curved end of my wooden knife through the slip while it was spinning. It makes a great pattern & texture revealing the clay body color along the way. Unfortunately, the white slip wasn’t really showing up all that well… a darker color with a bit more contrast would show up better!

Bowl #11 – One of the students asked if you could mix or blend colors… so we did.
A bit of an ombre blend of the white & mazzerine blue slips.

Bowl #12 – So while we were doing the ombre blend, one of my teaching assistants grabbed a container of thicker green slip. So we were back in business… and re-did the spiral bowl with a lot more color contrast.

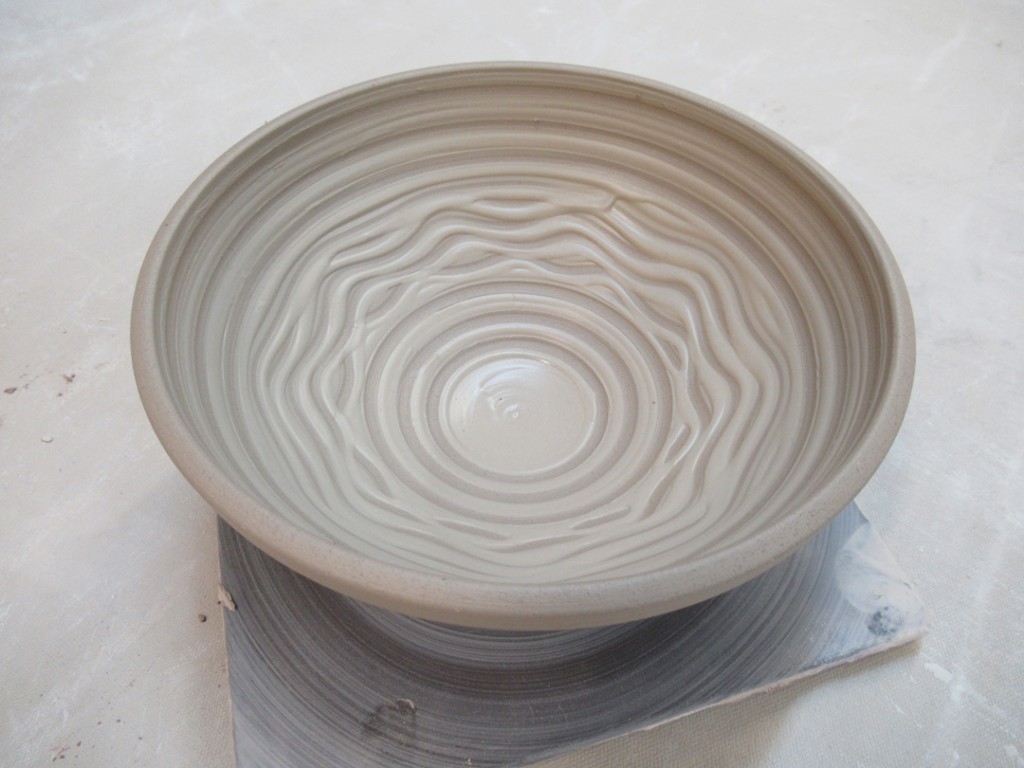
Bowl #13 – And since the thicker green slip was holding its place so much better, we carried on with it. This time with a full layer of green slip and then a wavy finger squiggle through it while it was rotating.

Bowl #14 – Again with a layer of thick green slip, and then some rhythmic chattering with a plastic rib. Tapping the moving up at the same time while it’s rotating.

Bowl #15 – This time we switched from the paintbrush.. and made a spiral with a squeeze bottle filled with colored slip. And you know I love a good spiral.

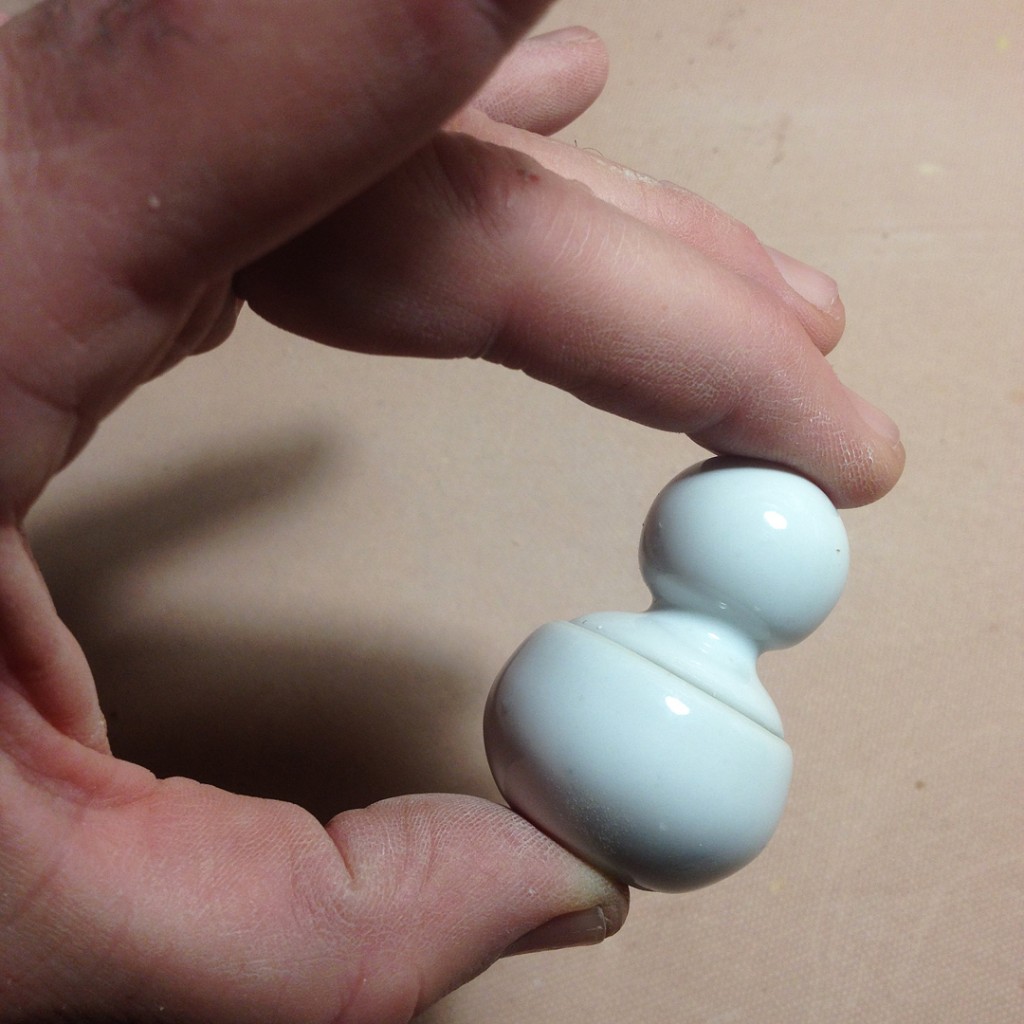
Bowl #16 – With just one bowl left, we ditched the slip and went with a bit of a de-constructed look. I literally cut through the side of the bowl in four places, then pulled them in and overlapped the edges. With a bit of scoring & slipping to hold them together… my “plan” is to add a decorated screw head on each overlap to “hold it together.”

So by the end of class, we had sixteen bowls. Each of them started pretty much the same and very basic. But after some quick tricks & techniques, we made each fo them look a lot different. With so much more style and charm. But the main goal of my demo is to encourage my students to just play more. To not look at every pot they make as being quite so precious. Make more pots… more practice.. more things to experiment with. More fun too!!!

So for now they’re wrapped up under plastic for the night…
for tomorrow night I’ll come back in and do a bit more “detailing”
o make them even more fun.

Save

Save

Categories: classes, stamps

Last week, several of my beginning students made some clay stamps in class.
Tonight they get them back so they can start playing with texture & patterns.
Let the addiction begin!

Categories: classes, platters

One of my former THROWDOWN students brought in his
glazed sgraffito platter to “show off” the results! Love the colors! Love the carving!!!

Little did I expect that he would have possibly the “best” S-crack ever!!!
Right through the entire plate… just hanging on by one rim.
He suspected a small crack after the bisque firing in the center…
perhaps something heavy was stacked on it so it couldn’t “shrink & move” during the firing?
I dunno… something’s fishy!

That Ryan is one heckuva over-achiever!!!
Shame because his carved fish were amazing!!! No bueno!

Save

Categories: classes, clay

Not bad for one bag of clay, huh?
Another project in the works… one I’ve been “putting off” for quite awhile now!
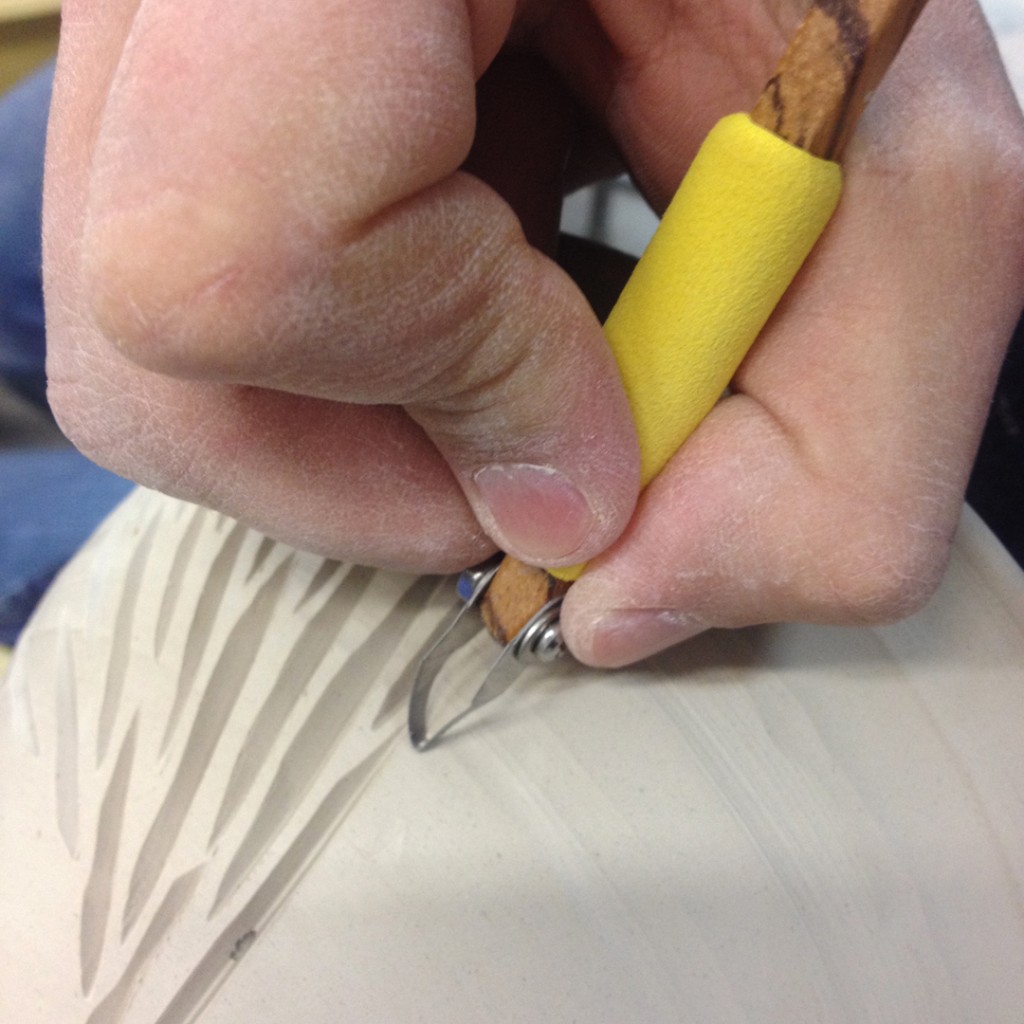
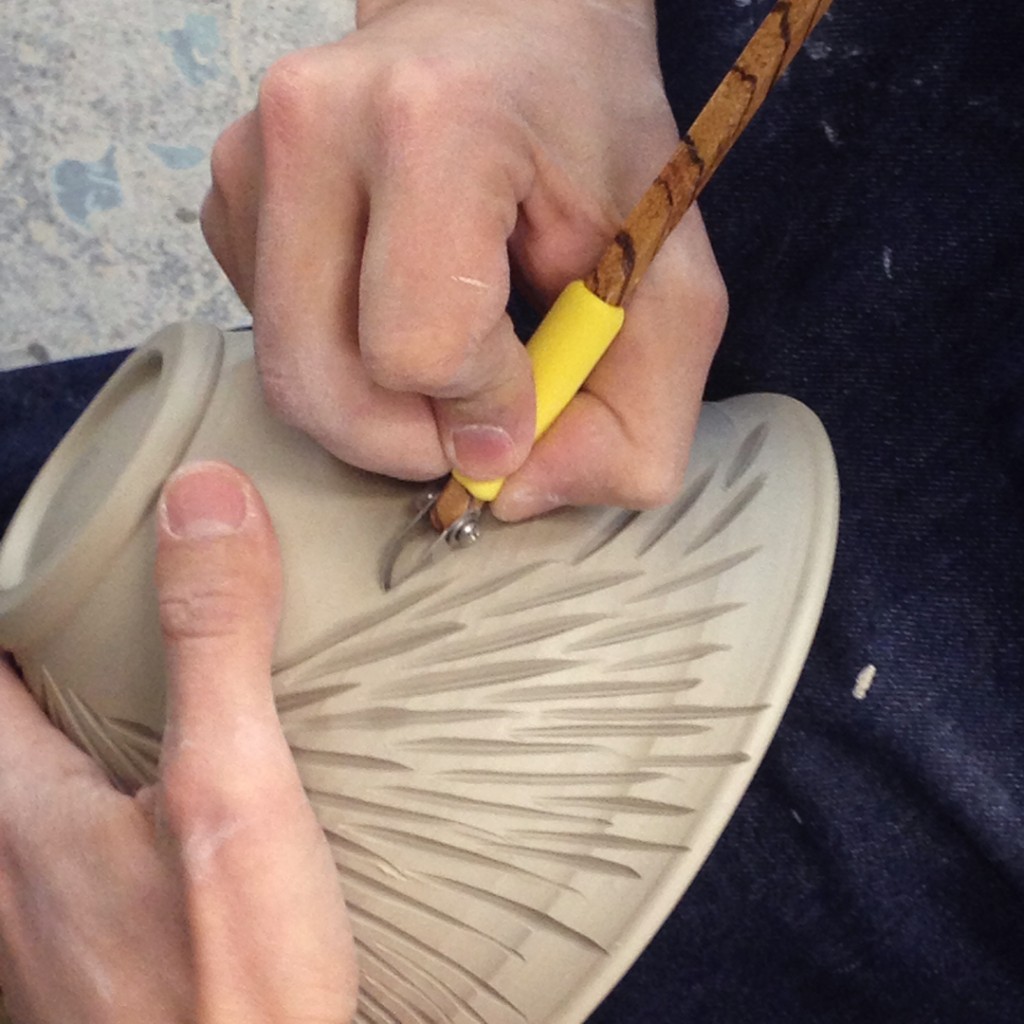
Finally decided to get it done! So now I’ve got some stamping to do!!!

Categories: classes, lillstreet

A huge Thank You to all of my students who made The First Annual LILLSTREET THROWDOWN class a success!!! I was so impressed by the group’s bonding, camaraderie & healthy competition. So helpful & supportive of each other along the way. Not to mention their creativity & determination with every project. Thanks to each of you for putting up with my crazy games & challenges. You guys ROCKED IT!!! Thanks for being such a good group. You were so much fun to “play with” each week… you made my job easy!

Save

Save

Categories: classes, lillstreet

After ten weeks of playful pottery competition… we’ve finally come to the end.
The Closing Ceremonies so to speak. After awarding points to the final teapots, and points to the matching cups & saucer, the totals were tabulated for all participants!

And the Winners are…

MOST CREATIVE… for that amazing Airstream Butter Dish…
“Joe Bowl-A”… also known as Jon!

MOST OVER-THOUGHT… for almost always making at least two entries for every challenge…
“Tay-Tay Clay-Wedger”… also known as Taylore!’

BEST TREATS… my favorite award… for those crazy amazing S’mores Cupcakes!!!
“Peggy Burnish-ine”… also known as Patti!

THIRD PLACE… with a total of 300 points…
“Tay-Tay Clay-Wedger”… also known as Taylore!

SECOND PLACE… with a total of 310 points…
“ClaytinaWatergirl” … also known as Catherine!

And in the much coveted FIRST PLACEwith a Grand Total of 372 points…
“Clay Eagerman”… also known as Chuck.

WINNER of the FIRST ANNUAL LILLSTREET THROWDOWN!


Save

Save

Save

Save

Categories: classes, teapot

Last night was the final class & final challenge for my LILLSTREET THROWDOWN class! While we had a few people struggling to find time for this final & largest challenge, we still ahd quite a few amazing entries. Especially amazing as this was the very first teapot for many of my students!!! And just two weeks to finish putting it all together is not a lot of time!

Katie’s sweet little teapot and cups. Her first teapot ever!!!… and as of right now, she’s claiming it might be her last. We’ll see… maybe I can get her to tackle another one next session???

Ryan’s structured slab constructions kind of took on a life of their own… especially when the teapot literally “jumped” off the table and fell om the ground. Luckily, it was still wet enough that he could do a bit of reconstructive surgery in it. We’ll see how this holds up when it gets fired… so far so good.

Chuck’s wheelthrown set dipped in colored slip for an upcoming soda-firing.

Jon’s unique handbuilt teapot… note: the little bumper at the bottom right is just that, a bumper to keep it from rocking backwards white drying or bisque firing. Unfortunately, Jon wasn’t able to complete his cups in time as some birthday celebrations got in the way… totally understandable… PARTY OVER POTTERY!!!

HAPPY BIRTHDAY JON!!!

Richard’s teapot set was very well-constructed with great angles & lines that tied it all together. Very well thought out as you might expect from an architect.

Stephanie’s handbuilt constructions with stenciled slip decorations.

Isabel’s porcelain set… with a smidge of last-minute brilliance of throwing her cups & saucers as one piece and slapping on a handle quick so as to fulfill the challenge in time!

Patty’s porcelain set with sweet cups & saucers.

Taylore’s porcelain teapot & cups… soon to be completed with a handmade brass handle!
My vote for second place!

And the one I chose as best teapot was Catherine’s porcelain precision!

Save
Categories: classes

Okay, so my final class of the LILLSTREET THROWDOWN class is tonight!!!
And I’m working quickly to make some prize ribbons to share with the group.
There’s been a lot of healthy competition & camaraderie amongst the students.
So tonight is going to be a fun one!!! Everyone has worked hard…
so EVERYONE gets a ribbon!!!

Save
Categories: classes, food, mugs

Last night was the final class for my Tuesday night beginning wheel students. They all did an amazing job this session… so we ended it with an amazing potluck & mug exchange! We all submitted a handmade mug disguised in a brown paper bag. And then with a fun White Elephant kind of picking-trading-stealing game, we all went home with someone else’s mug as a class souvenir! I came away with this beauty by my teaching assistant Susan Slogoff. Inside and out… just perfect.

And top treat of the night?… at least for me?…
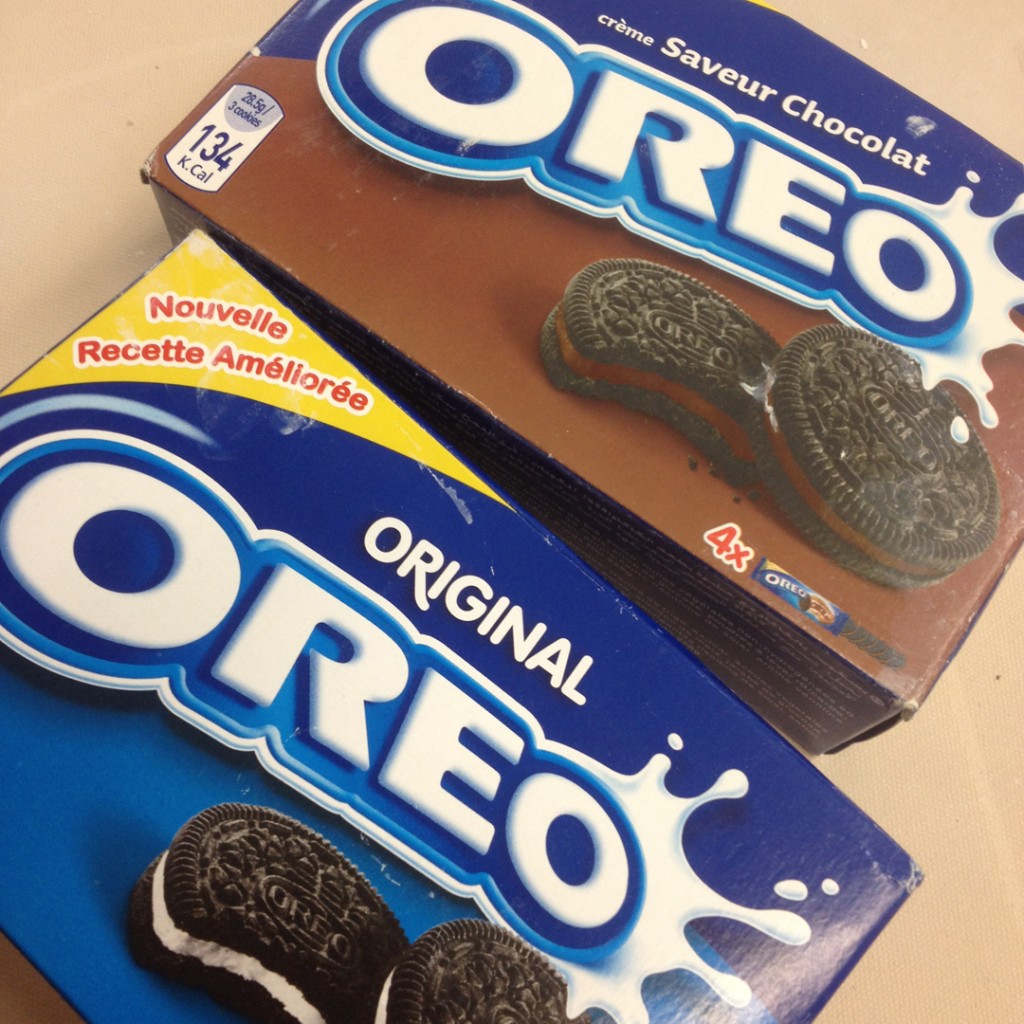
oh, they know me oh too well... HOMEMADE OREO’s!!!
Best way to this teacher’s heart is through my stomach!
Thanks Teresa – you’re MY FAVORITE!!! Ha!

Categories: classes, lillstreet, process, production, stamped, teapot

So we’re now in the final week of classes for this session. Which means my LILLSTREET THROWDOWN students are working frantically on their final challenge… okay, maybe a “double” challenge?! A week and a half ago in class they got the assignment of a teapot for the last class. So they all started out making their best renditions… although several of them had never made a teapot before!

Then last week in class I surprised them with one last twist of a challenge. Now that they have a teapot started… now they need to make two cups & saucers to go along with that teapot! All to be “finished” greenware by this Thursday’s last class. SURPRISE!!!

And of course, I too was challenged to make a teapot along with them… so I am! You know I love a good challenge. So I’m working on my teapots…. yes, plural… you know I can’t do just ONE of anything!!!

Save