Last night in my pottery class, it was my favorite demo of every session!
The night that I teach my students how to make a bowl on purpose, instead of a cylinder gone bad. Starting with a nice smooth curve on the inside… NOT a flat bottom, a corner or a “beginner’s ledge” where the curve should be. So I did a throwing demo to show them the basics… and then sent them back to their wheels to practice making some bowls.
While they were throwing, continued to throw more bowls. Sixteen in total… one full bag of clay… in case you were counting. Once I had all sixteen of them thrown, we reconvened the group for Part Two of the class demo. This is the FUN part. Where I get to show them a bunch of fun little tricks to make them all different. To give them a bit of style & flair! Just some quick tricks to encourage my students to “play” more with their clay. To take some time to make each bowl special & individual to themselves. The wheel basically makes the smooth round bowls… so now they need to mix it up and make them special.
Bowl #1 – FLUTED RIM
Just four simple fluted accents evenly spaced around the rim.
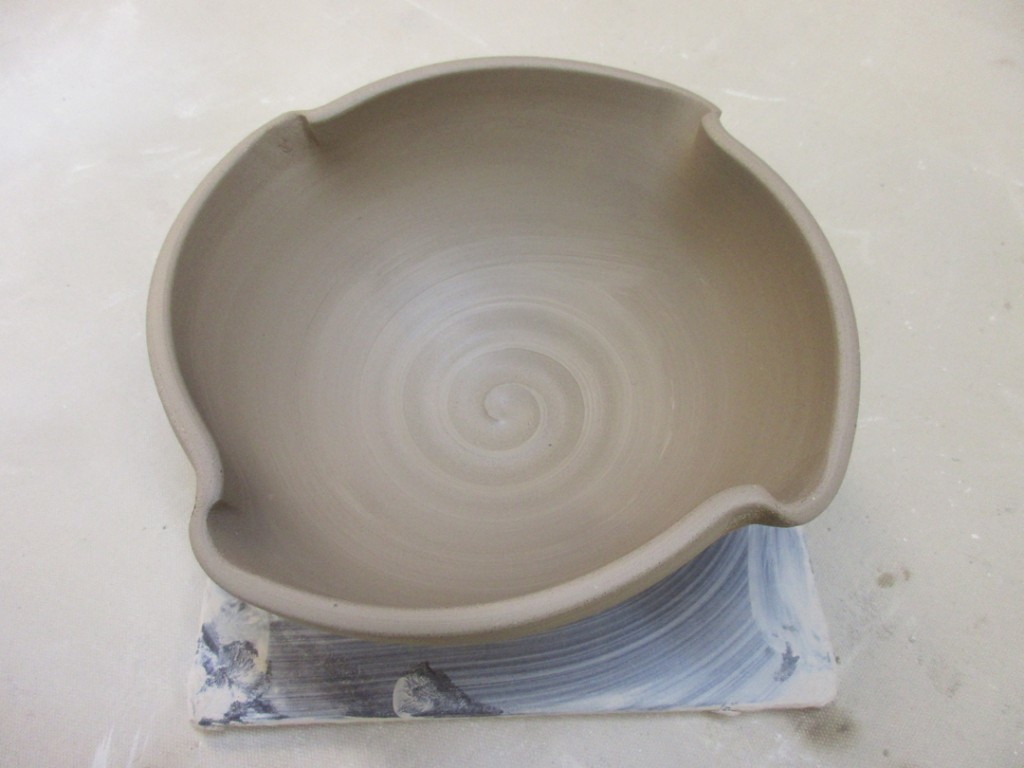
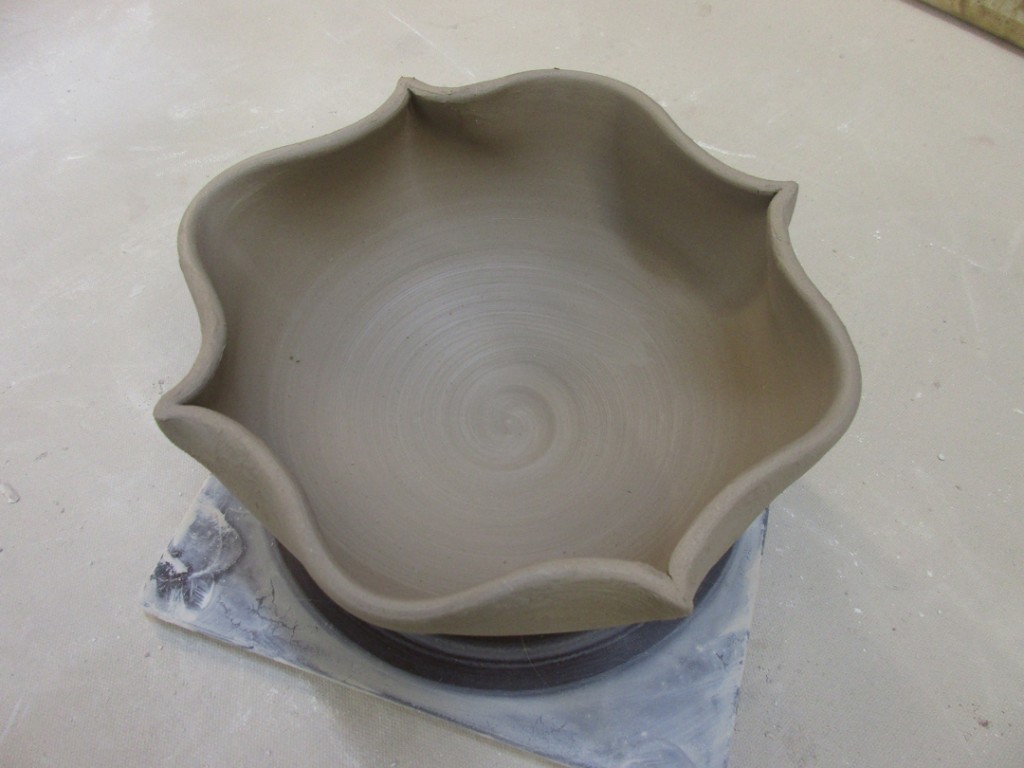
Bowl #2 – FLUTED RIM #2
And if four fluted accents was nice, maybe eight would be even better?!
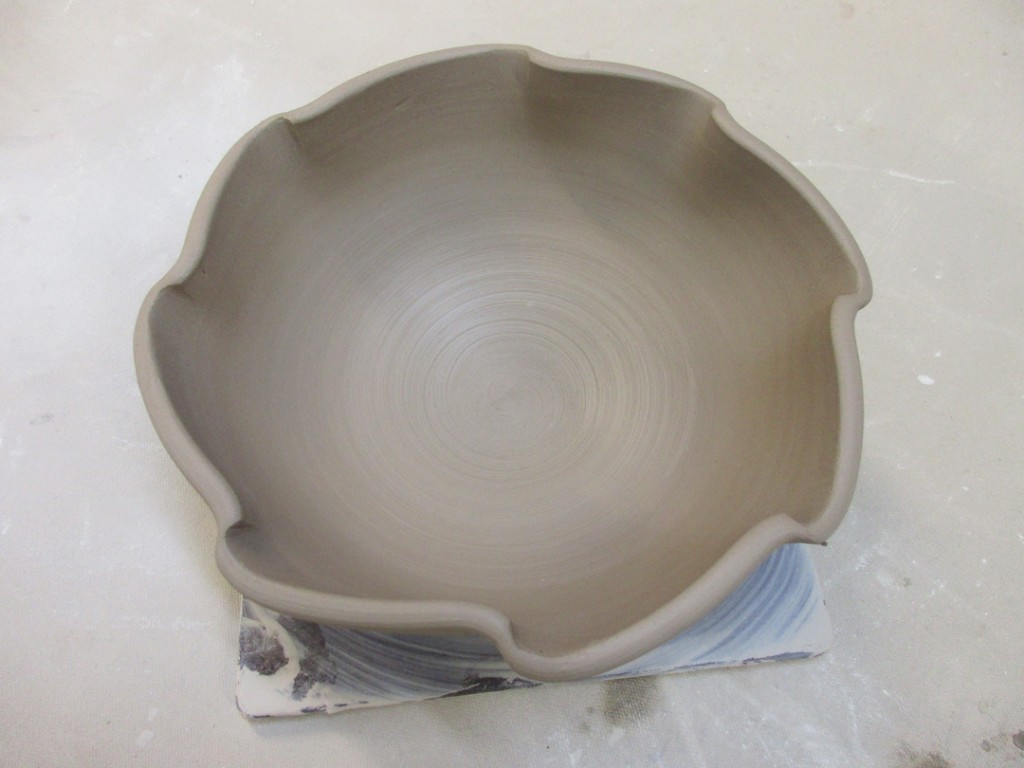
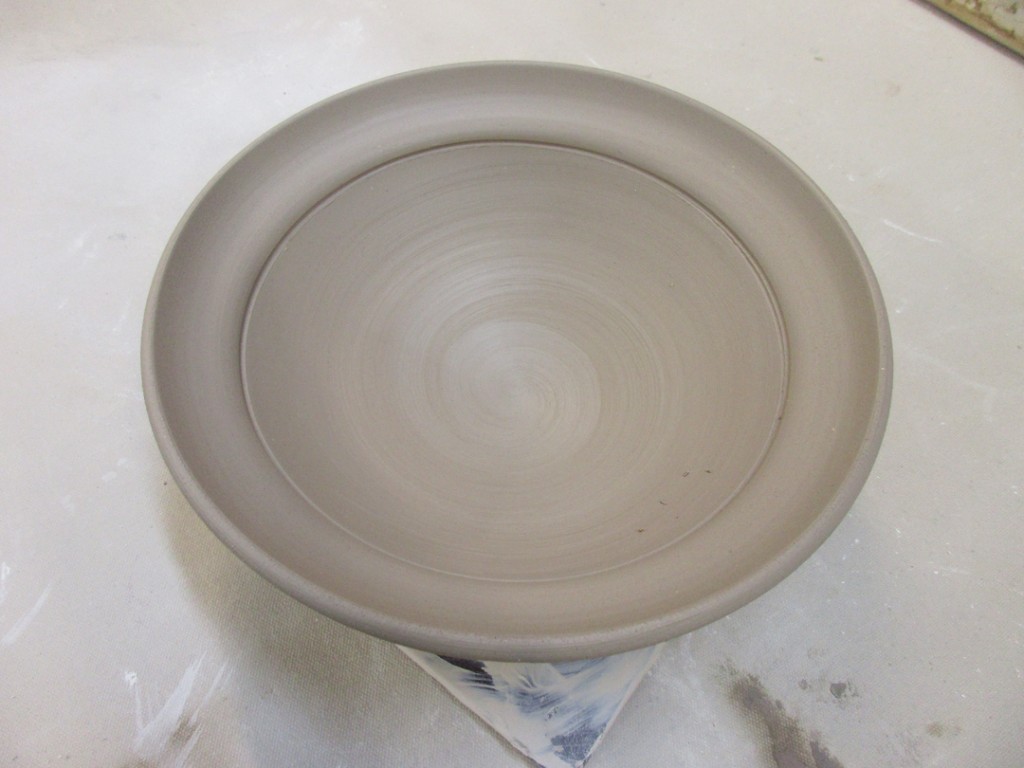
Bowl #3 – NARROW FLARED RIM
Just a gentle “fold-over” of the rim to flare it down a bit. Keeping a steady finger on the outside about a inch below the rim, and the the inside fingers help “fold” the clay out over that finger.
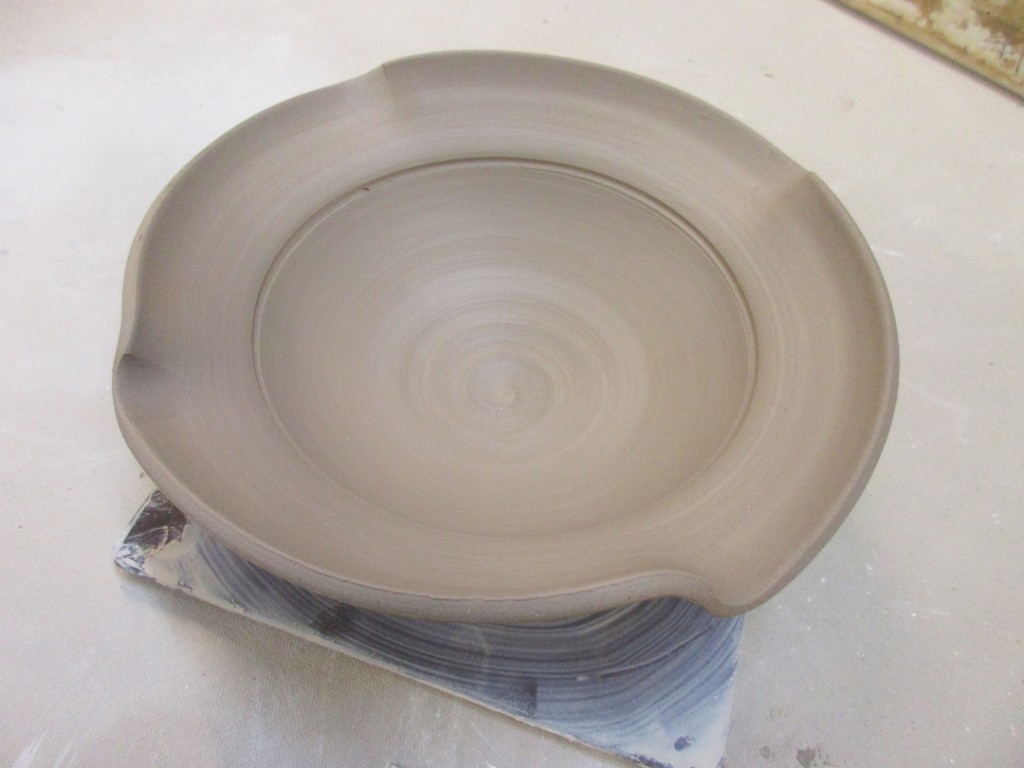
Bowl #4 – WIDE FLARED RIM
And if a narrow rim was nice, maybe a wider one is even better?
It’s like one of those fancy restaurant bowls where they give you one tiny little scoop of food and charge you a fancy arm & a leg!!!

Bowl #5 – FLUTED & FLARED
So if we like fluted, and we like flared… why not do both.
Flare out the rim first, and then add the fluted accents.
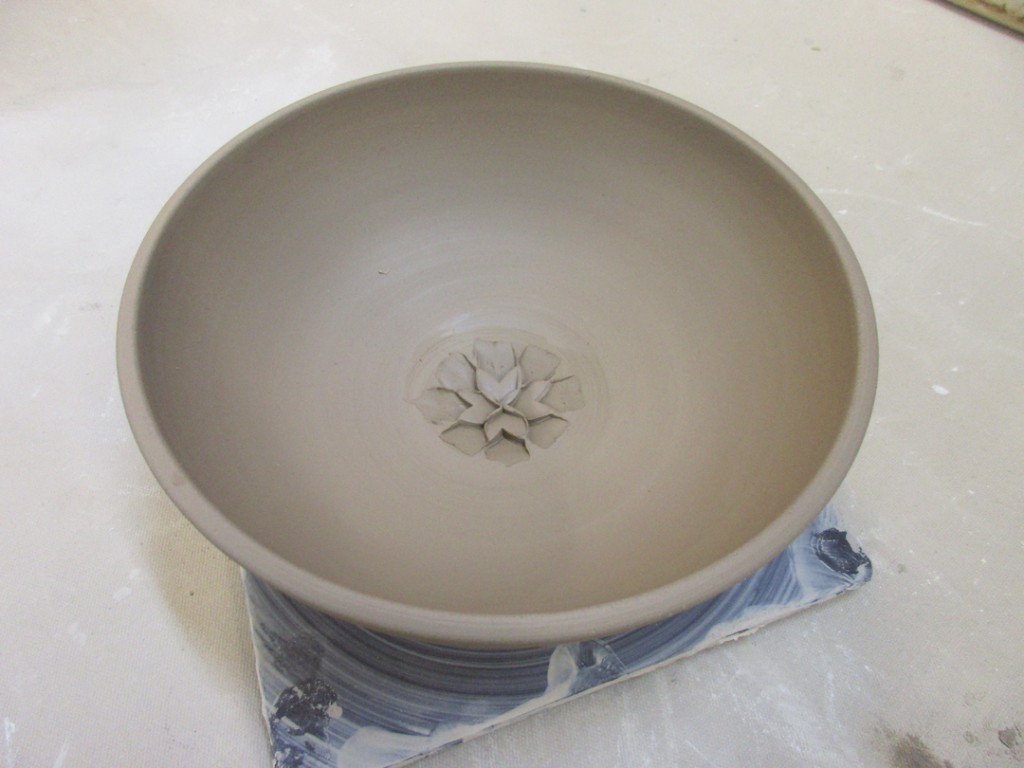
Bowl #6 – FLOWER REMARK
With a small metal dragonscaling tool, just a few little indents makes a cute flower…
a fun little surprise at the bottom of a bowl of soup or ice cream!
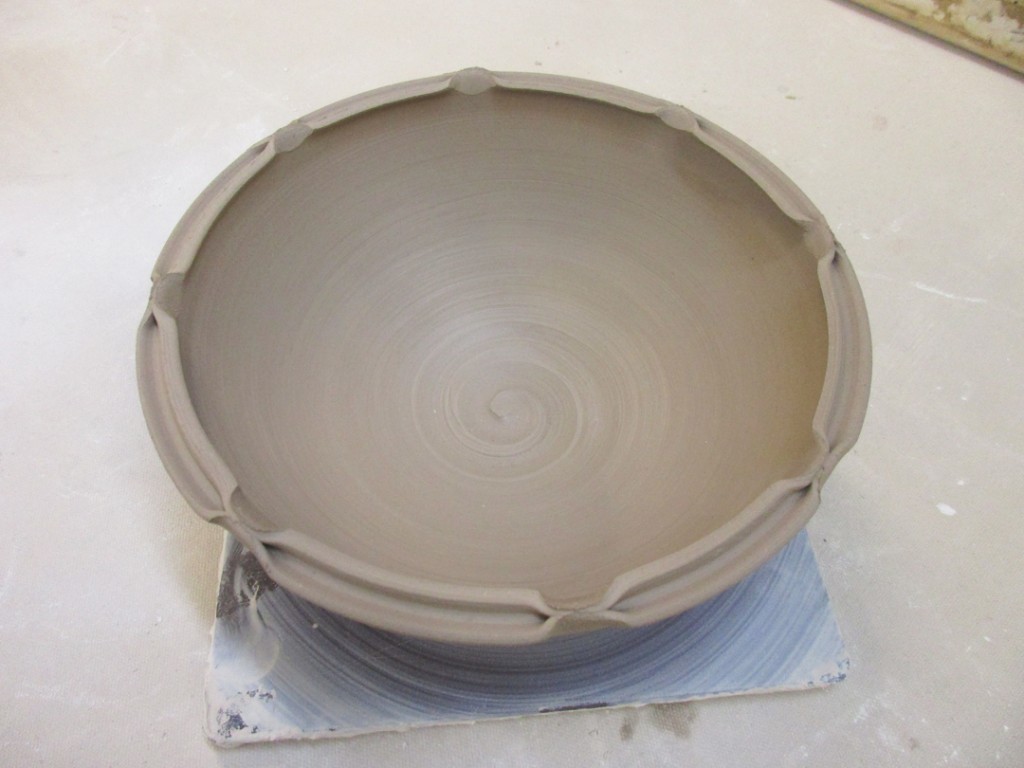
Bowl #7 – SPLIT RIM & PINCHED
With the pointed end of my wooden knife, I carefully split the rim and then pinched it back together in eight places. Creates a few good places for glaze to pool and make some great effects in the firing.
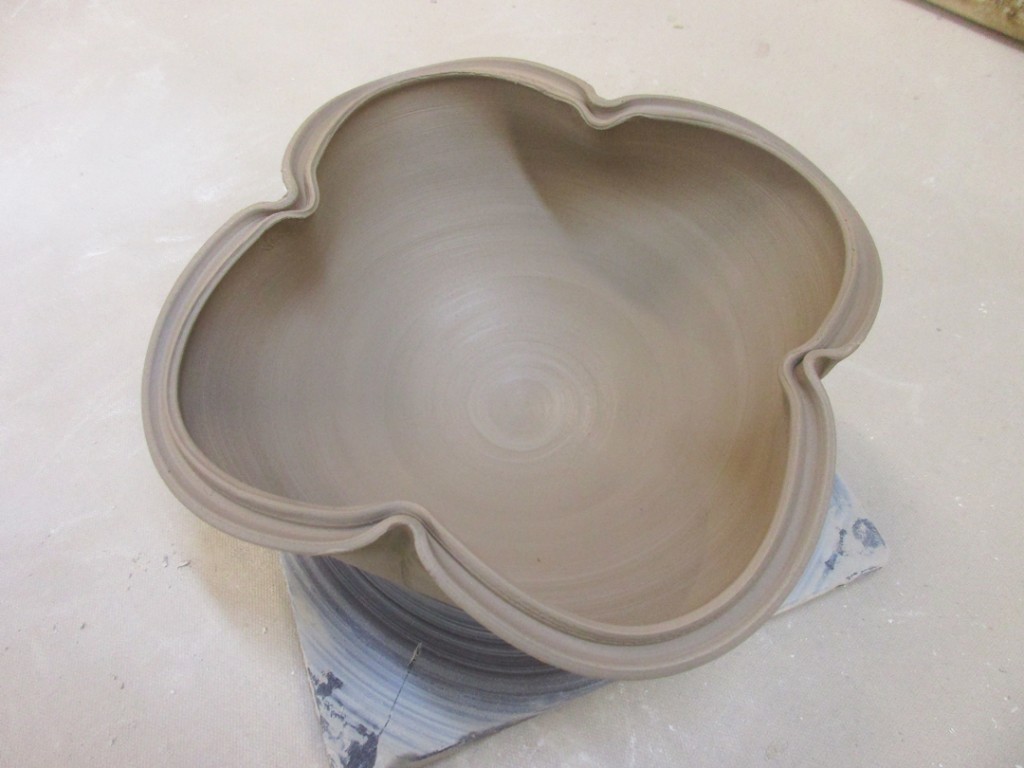
Bowl #8 – SPLIT QUADREFOIL
Another split rim, this time “dented” inwards at four places with the side of my wooden knife… creating a clover-like shape. Who says bowls need to be round???... NOT ME!!!
Bowl #9 – SPLIT & DENTED IN & OUT
Another carefully split rim gently “dented” inwards and outwards.

Bowl #10 – FRENCH GREEN SLIP
I introduced my Beginners to the concept of colored slip. And tried to explain to them o=how much easier it is to make a two-color, inside-outside bowl with colored slip, than it is a glazing time. So much easier to get a clean dividing line using slip and a paint brush than trying to dip in a bucket of liquid glaze. The other benefit of a nice, solid covering of colored slip is that I can do some decorative carving through the slip to reveal a pattern in the base clay color.
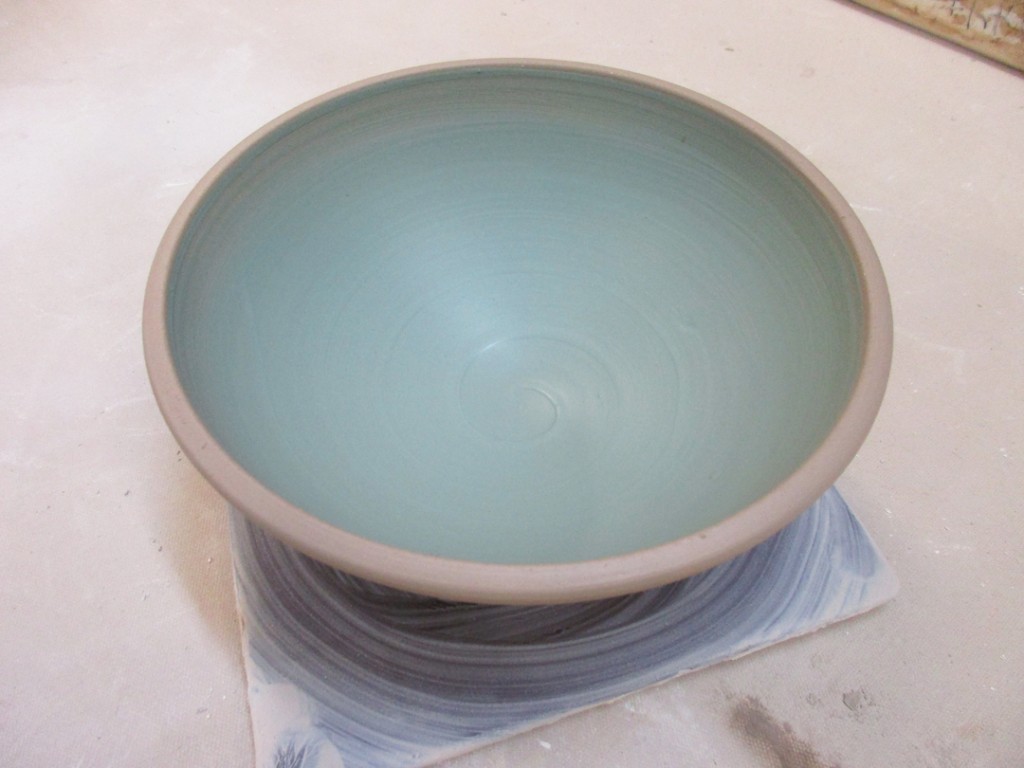
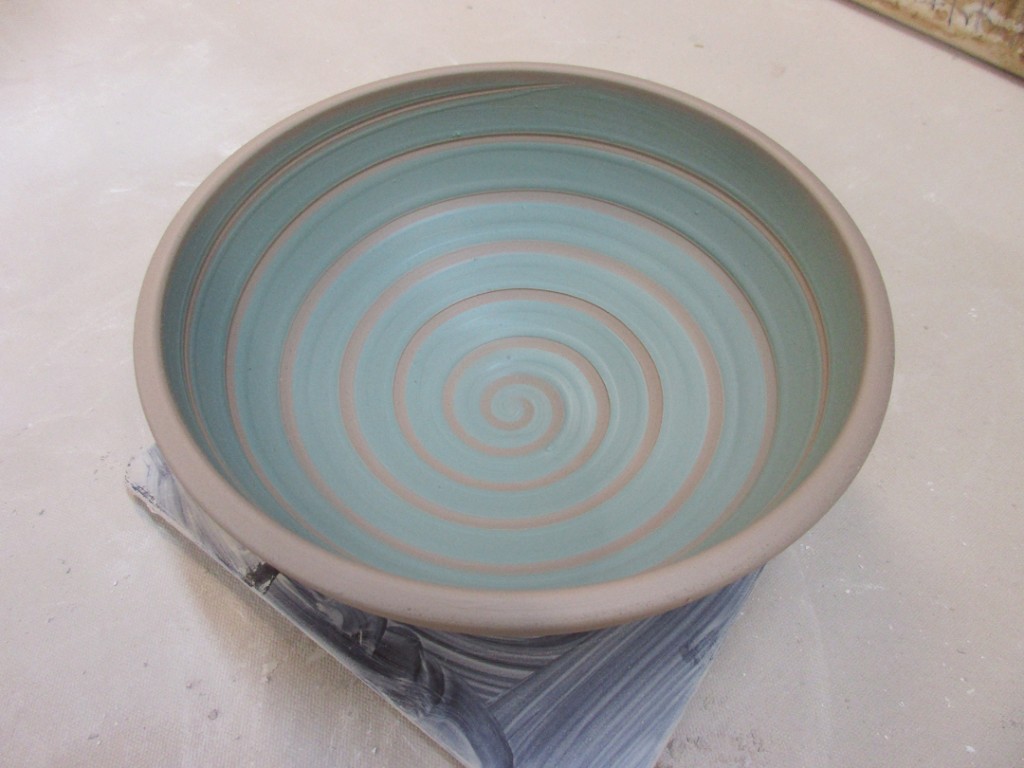
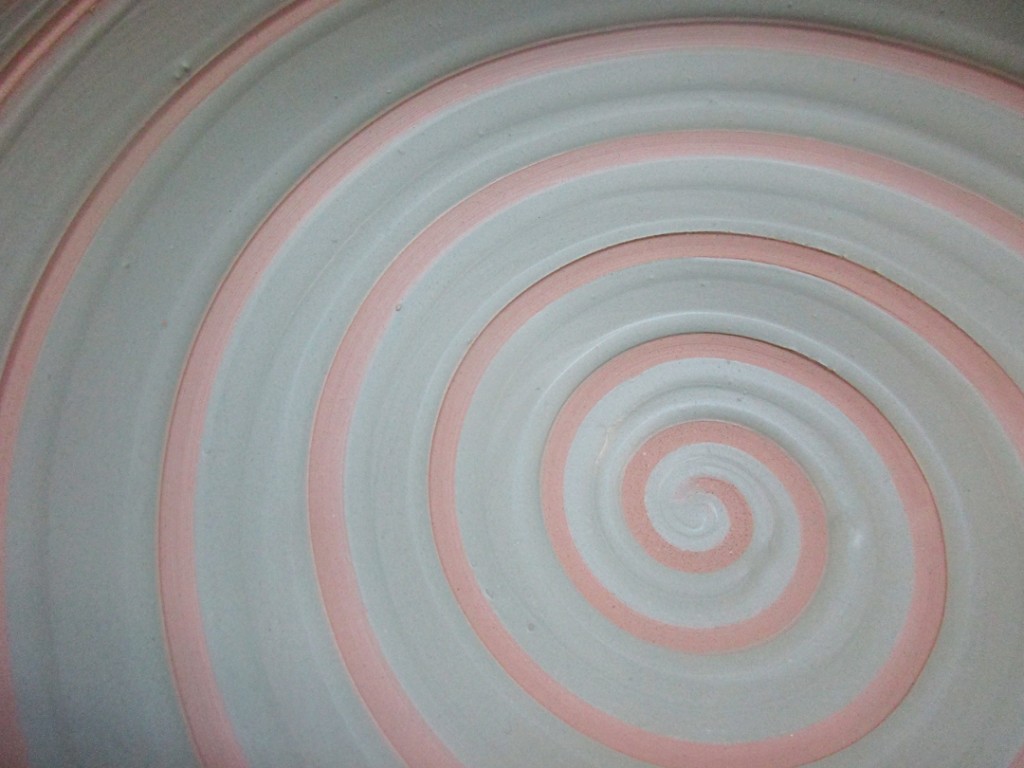
Bowl #11 – COLORED SLIP SPIRAL
After making a solid layer of French Green slip, I used the end of a wooden paintbrush through it while the bowl was spinning – easily creating this spiral pattern.
Bowl #12 – FINGER SQUIGGLES
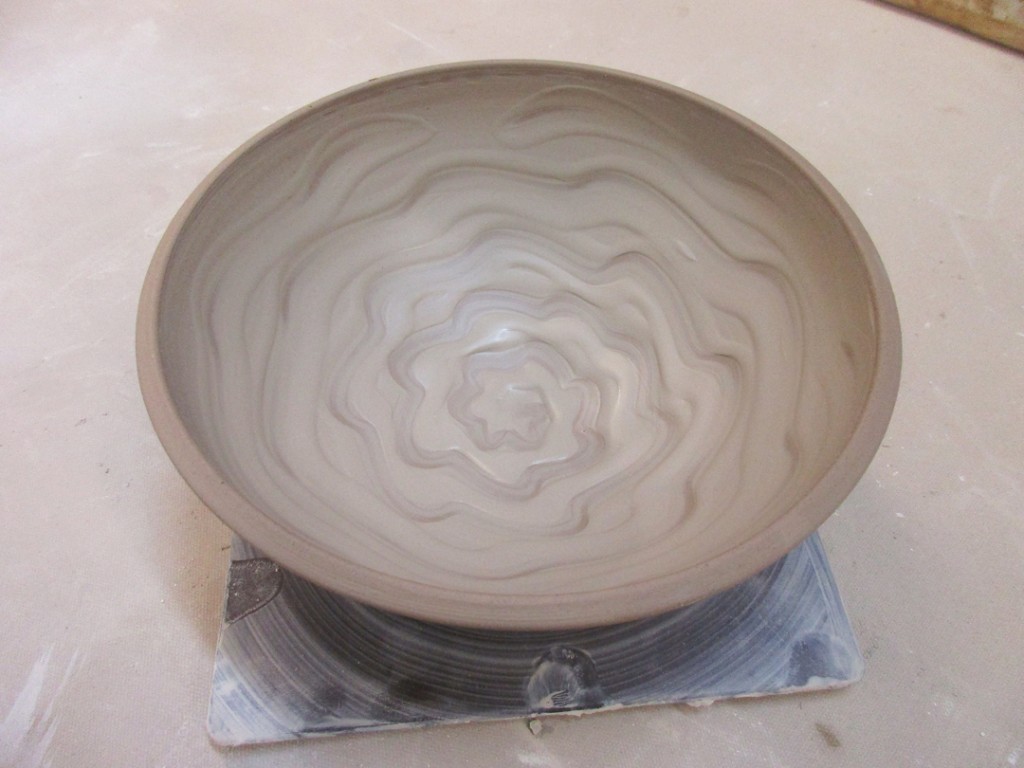
Everyone loves finger painting… so I filled this bowl with a layer of thick white slip. And then while the bowl was spinning, I stick in a finger and did a little squiggle. I love how the thick white slip creates some depth & waves which will play well in the glazing process.
Bowl #13 – CHATTERING
After another later of thick white slip, I used a green rubber rib to create a chattered repetitive pattern. Spin the bowl nad tap the rib up & down from the center up tthe side. And breath… don’t panic. Once you’ve started, keep going. Don’t freak out!!!

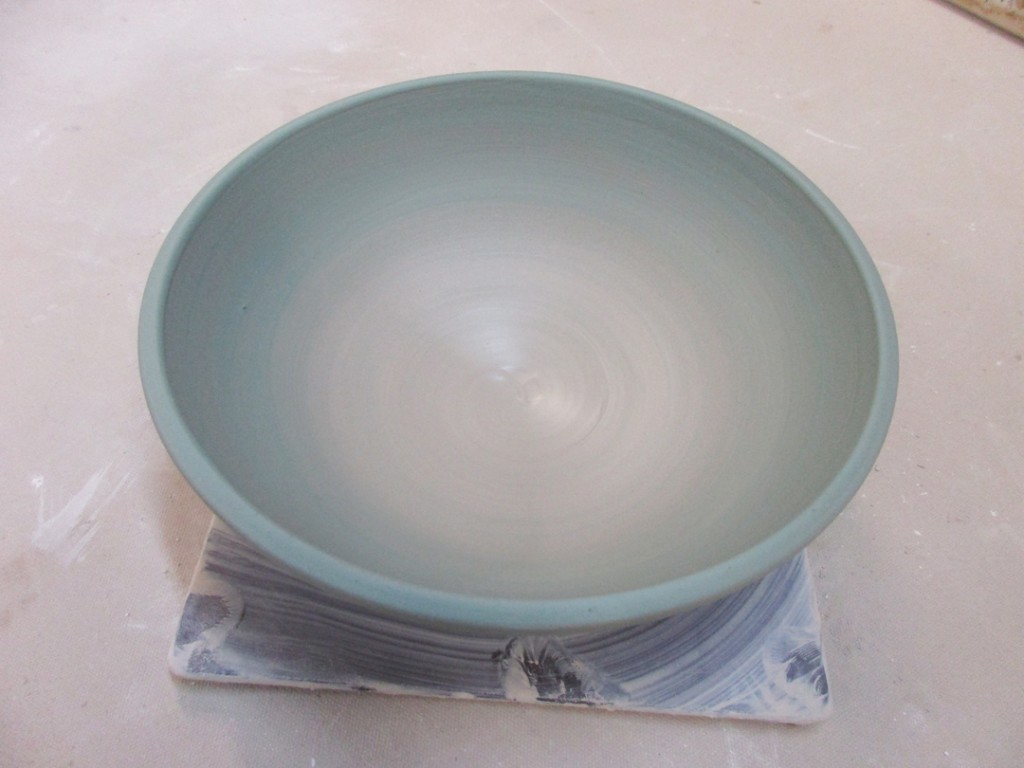
Bowl #14 – OMBRE
Just a smooth gradation of color from French Green to White. At this point it’s smooth color… but there’s a good chance there may be some sgraffito carving though this later when it gets to be leatherhard.
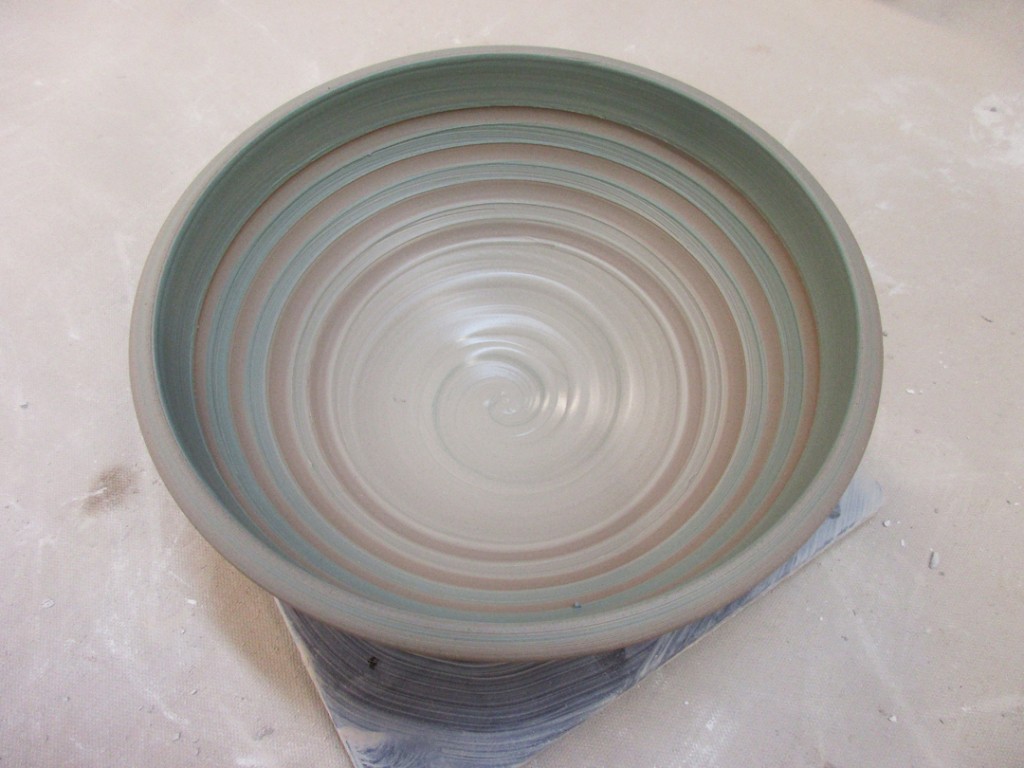
Bowl #15 – BANDED OMBRE
Another gradation of French Green to White slip… and then a couple bands taken out with the wooden end of a paintbrush. And I’m kinda diggin’ the groovy spiral swirl at the bottom!!!

Bowl #16 – THE FINAL BOWL
When we got down to the last bowl, I encouraged my teaching assistant Susan to do the last bowl. She did a bit of denting, pinching & curving to give the bowl a pretty cool shape.
So for now they’re all up in my studio under wraps.
There’s a “pretty good chance” that there may be some stamping & detailing
in their not so distant future. Just guessing….
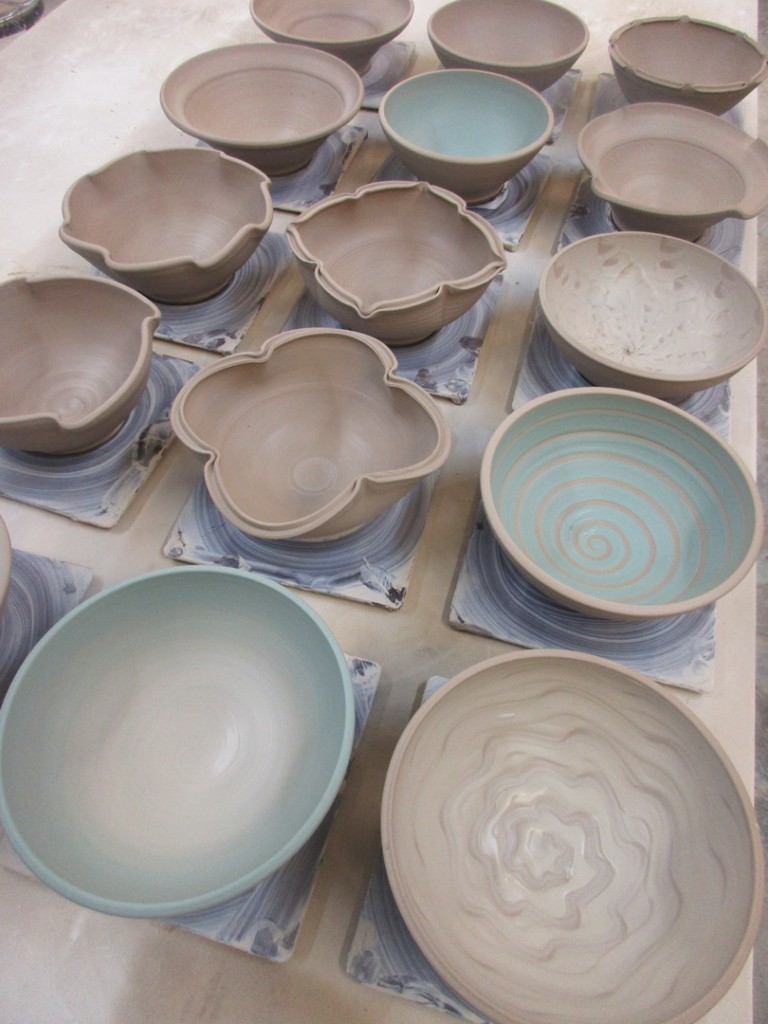

Never a dull bowl…