Last night in my wheel class, Katie one of my Advanced Beginners continued her exploration marbled clay. She started with standard colors like marbling ochre stoneware with lighter B-clay. She loved the finished results… and now has stepped up her game with stained porcelain!!! Looking great… even though there’s still a little bit of cleaning up to do!
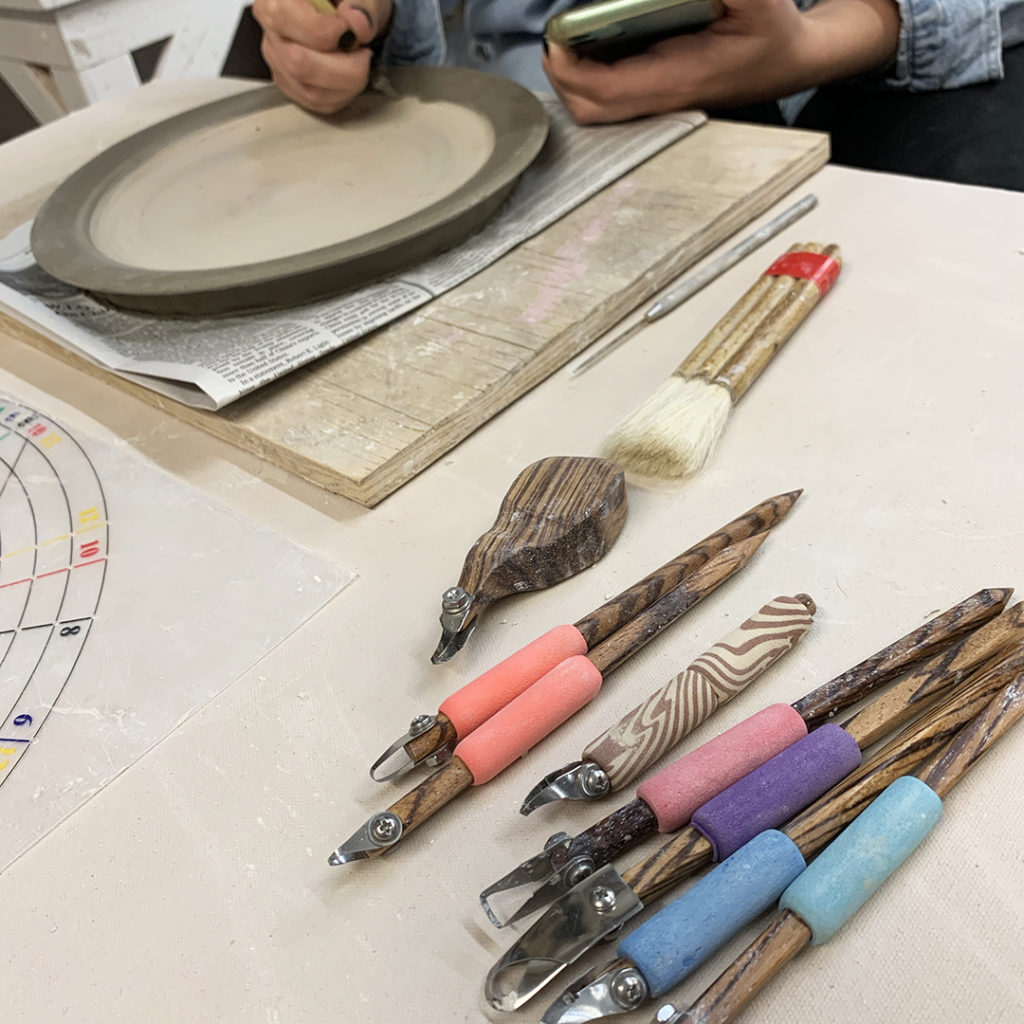
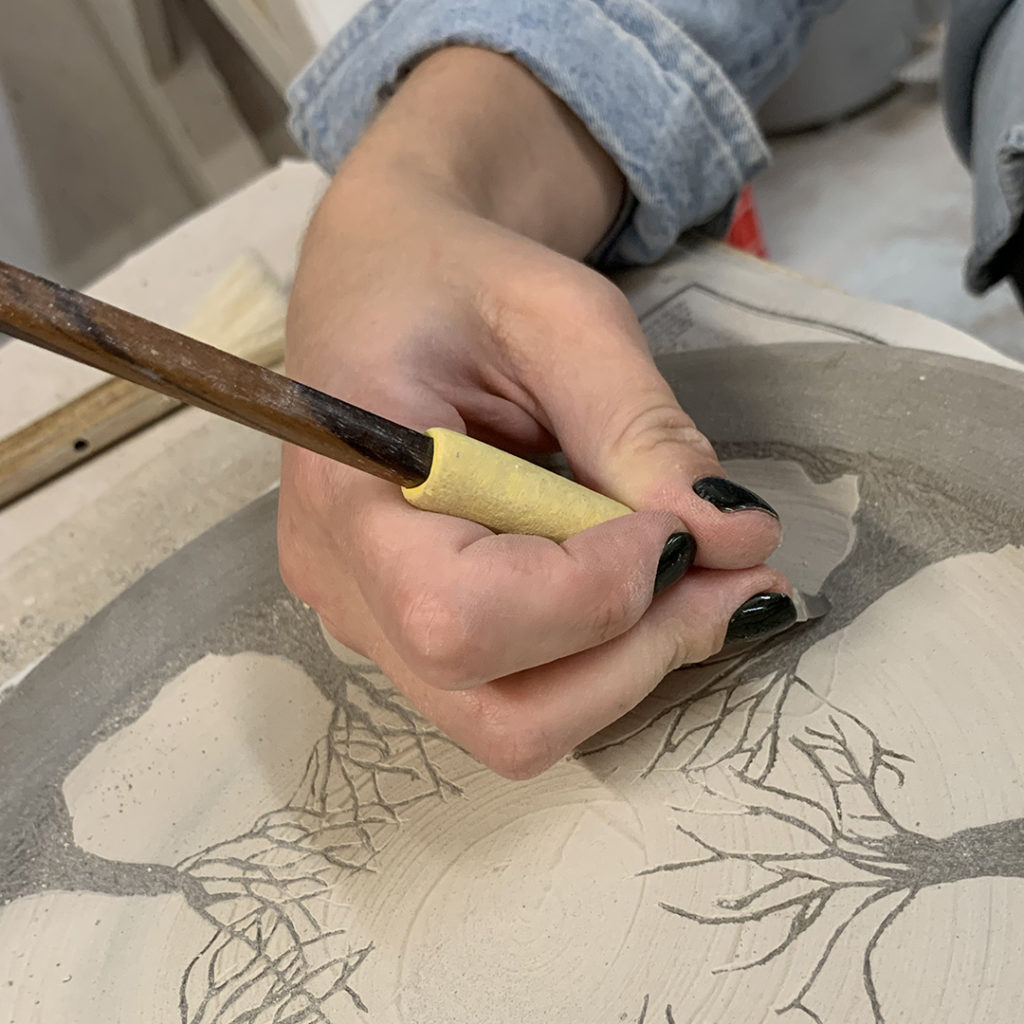
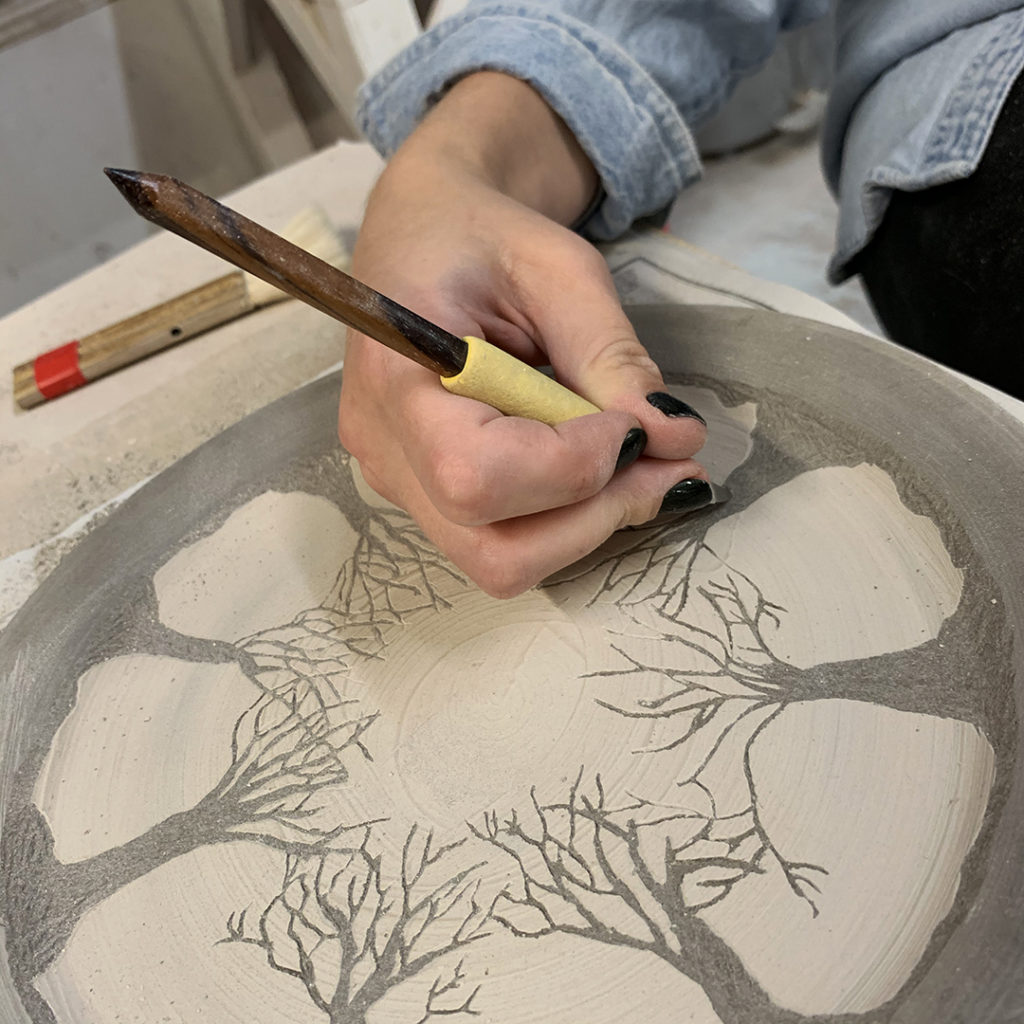
Last night in my Intermediate Wheelthrowing class, one of my students wanted to do a bit of sgraffito carving… some creepy & scraggly trees just in time for Halloween! So what better way than to let her borrow my assortment of DiamondCore Tools to get her carving groove on!!!
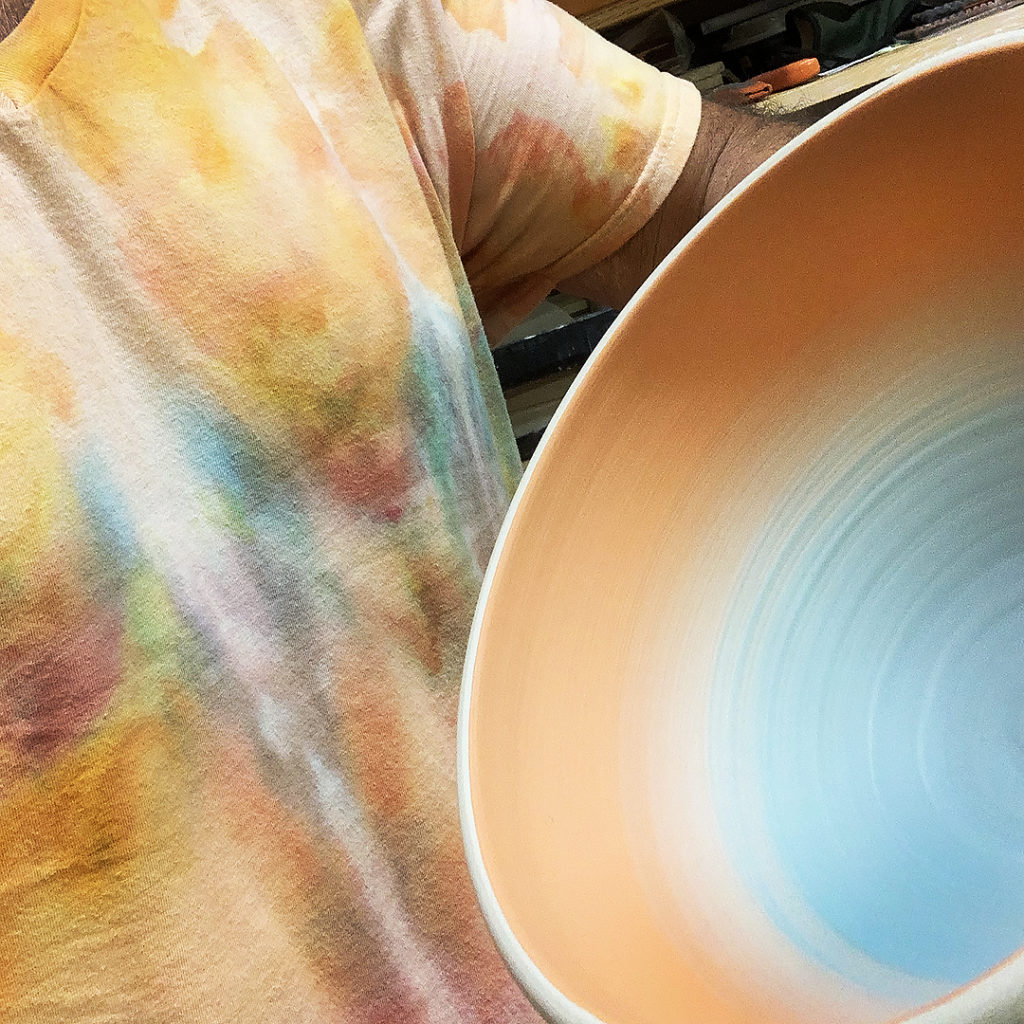
Huh?… who knew that I would “match” my bowl so well today?! A couple colored slips from last week’s class demo… and an ice-dyed shirt from quarantine… finally get to meet!
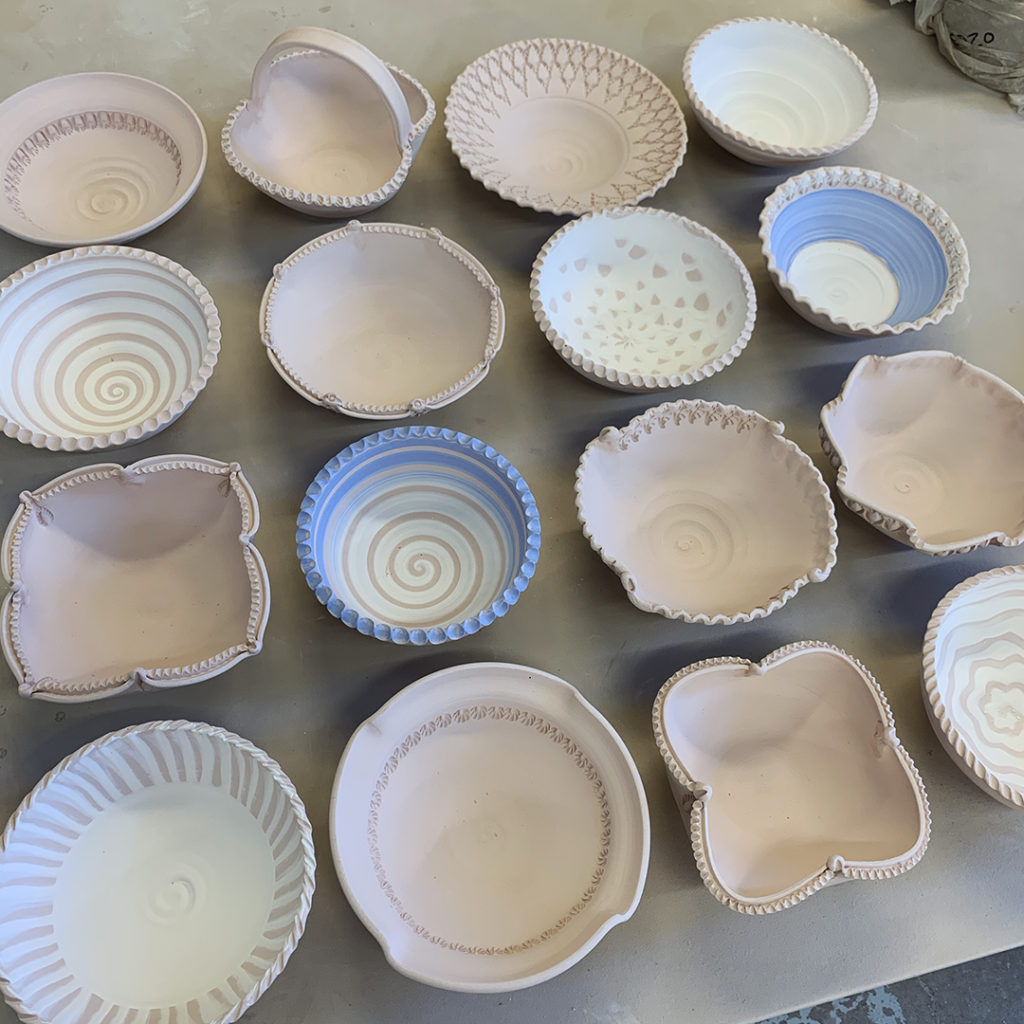
Another bisque kiln was unloaded this morning… and it had the sixteen “not-so-basic-bowls” from last week’s class demo in it. So here they are… including the basket I added a handle to. So now it looks like I’ve got a bit of glazing to do?!!!
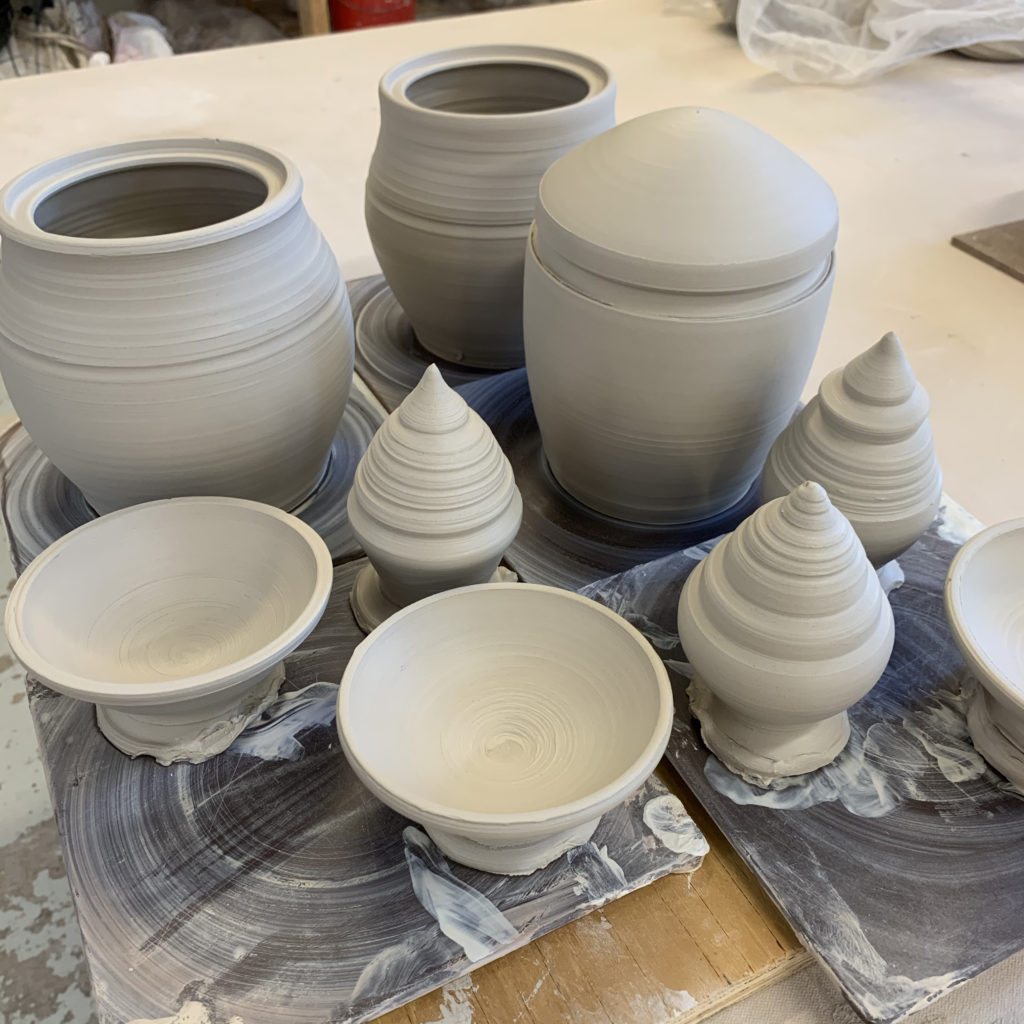
Not a bad ware board of “demo pots” from this morning’s wheelthrowing class. We tackled lidded jars – both traditional & my favorite “trick” jar. The lids we threw off-the-hump… and I had some clay left over on the hump… so we did some impromptu ornaments too!
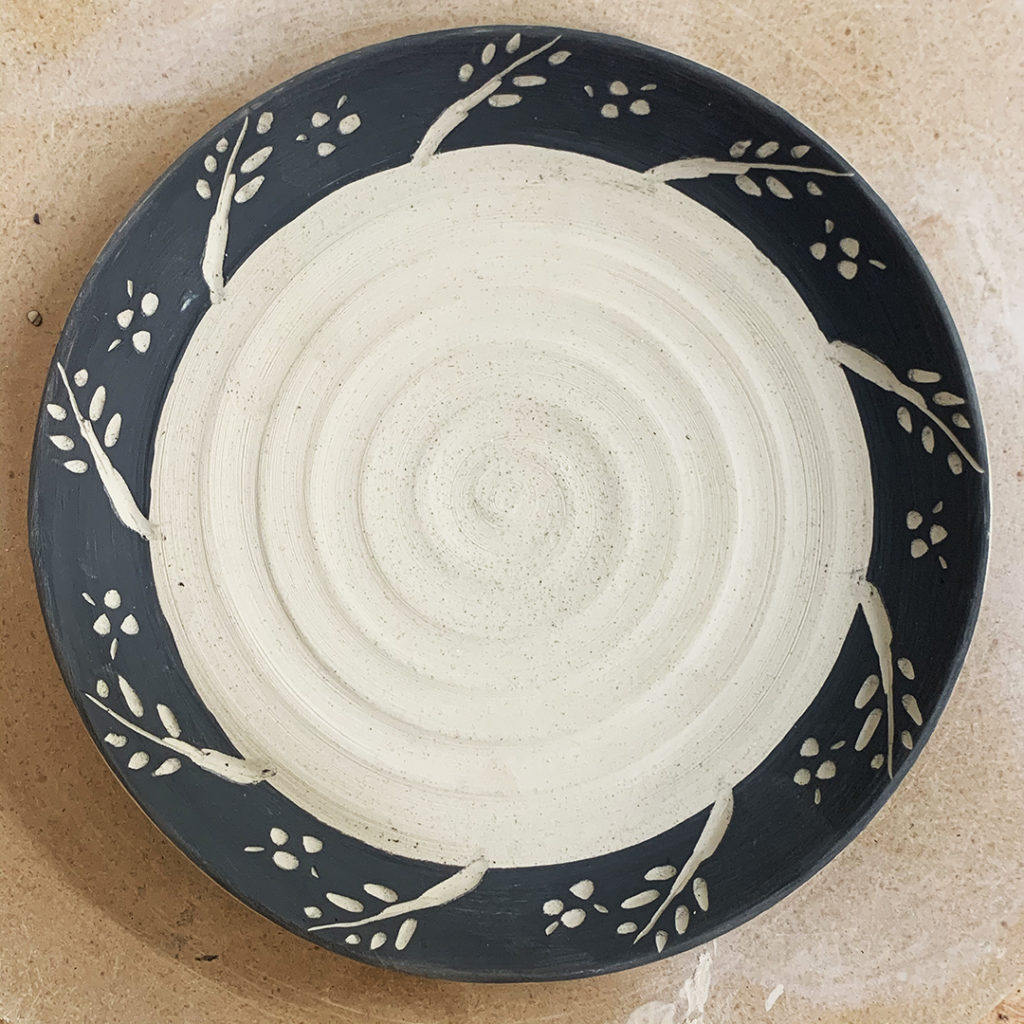
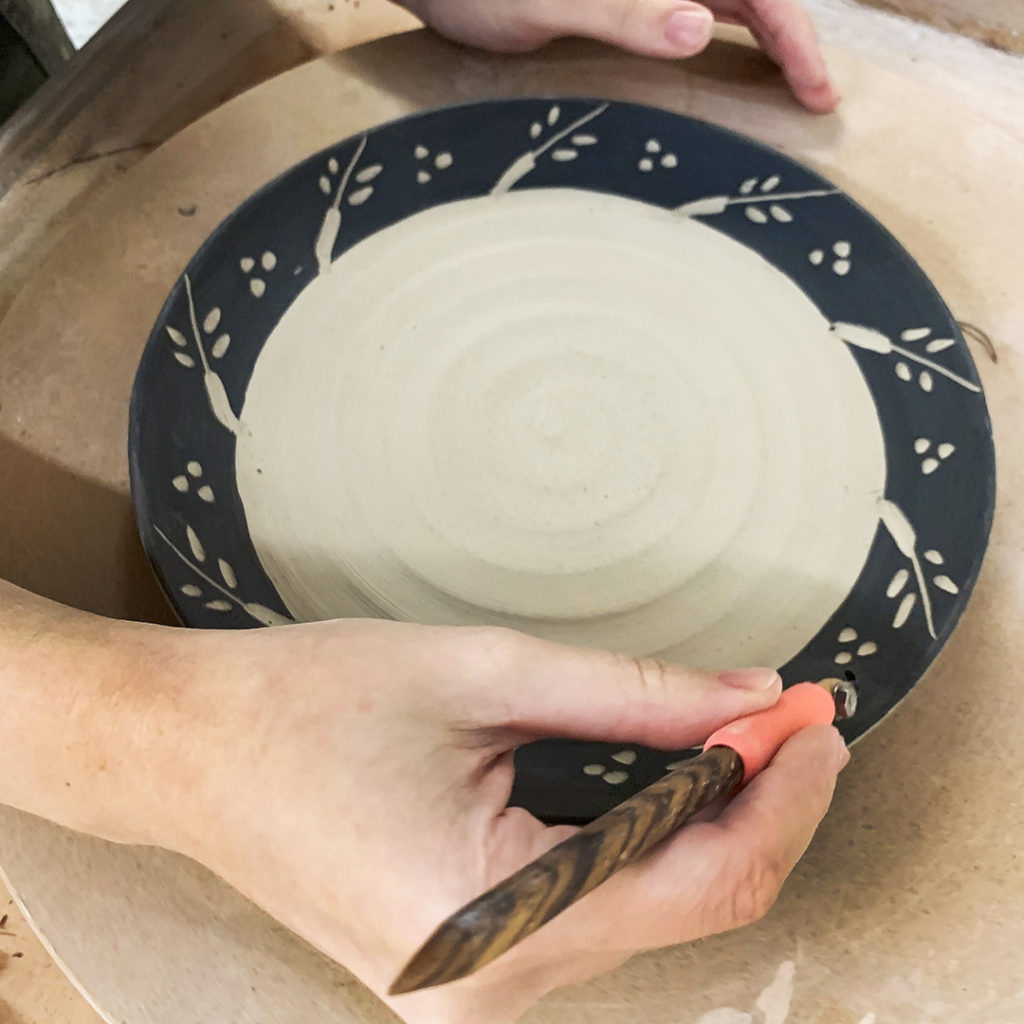
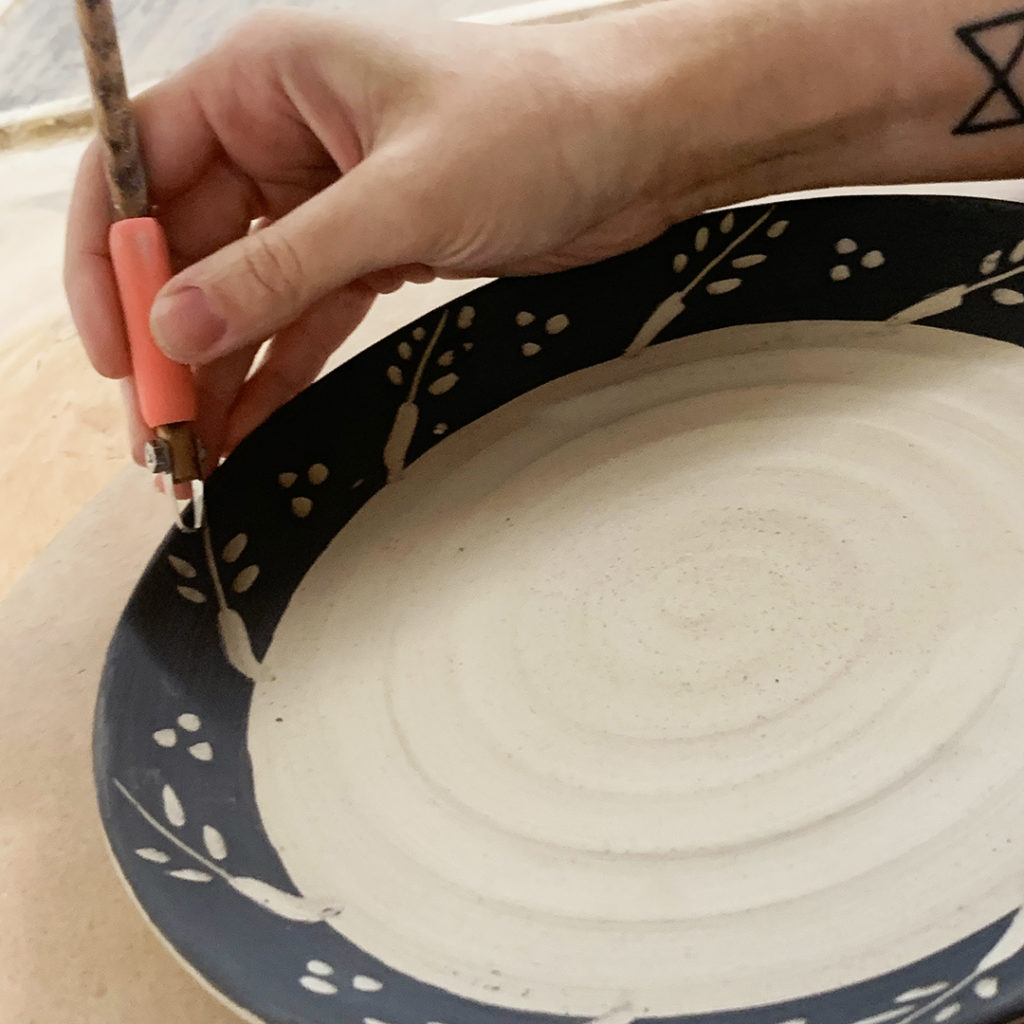
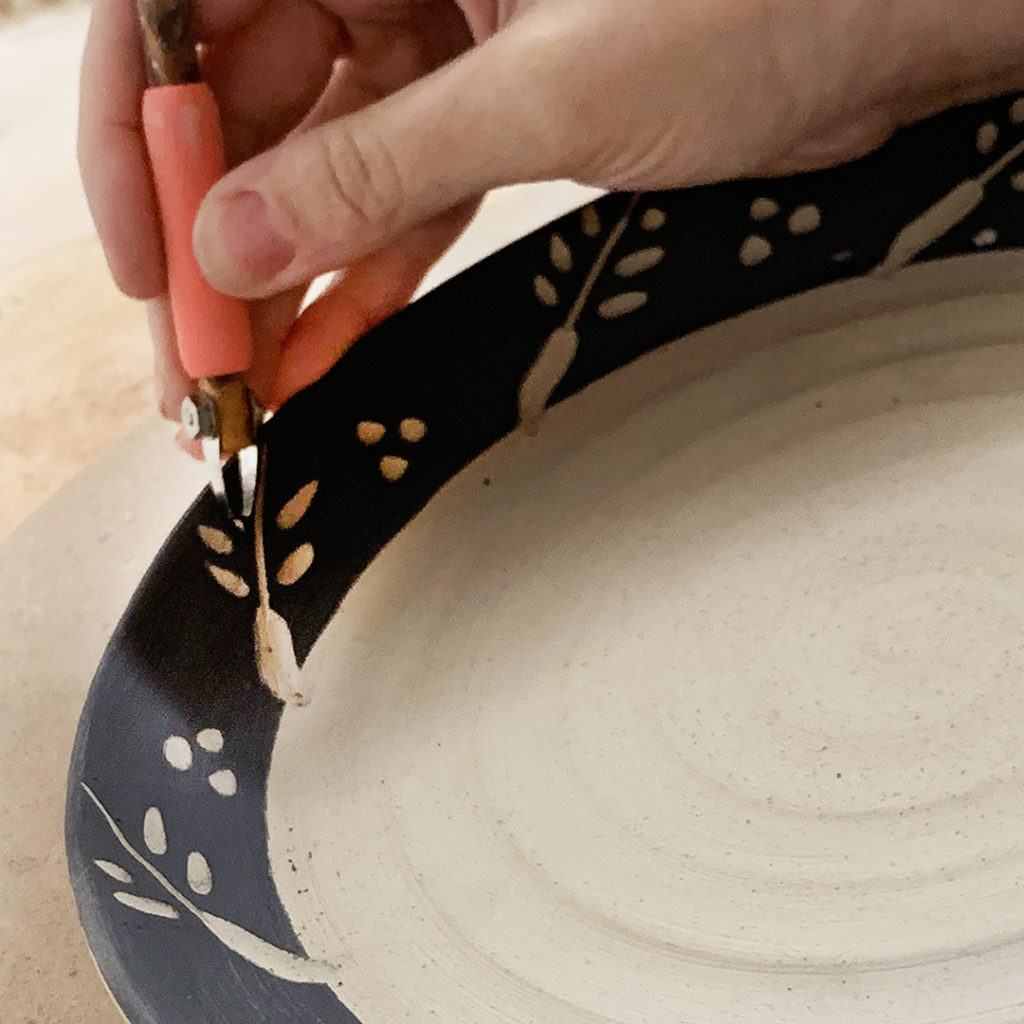
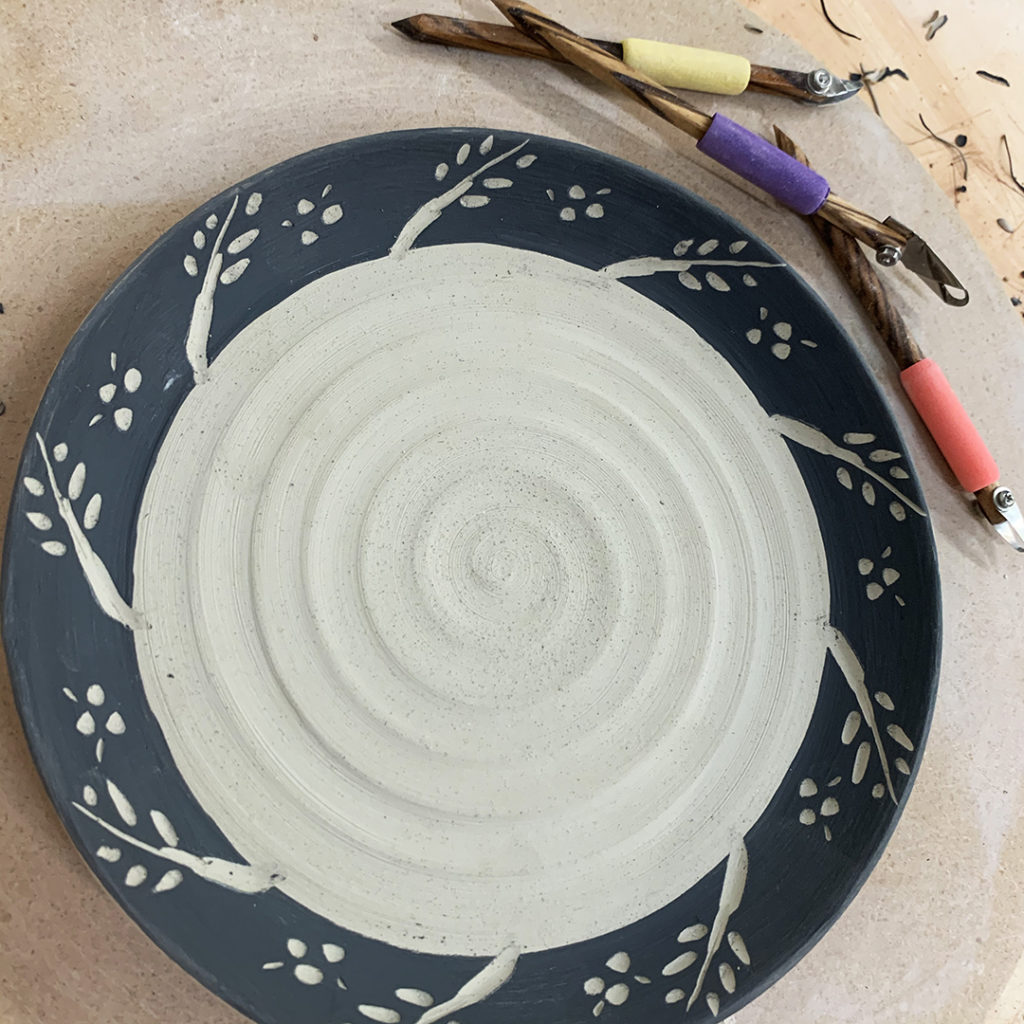
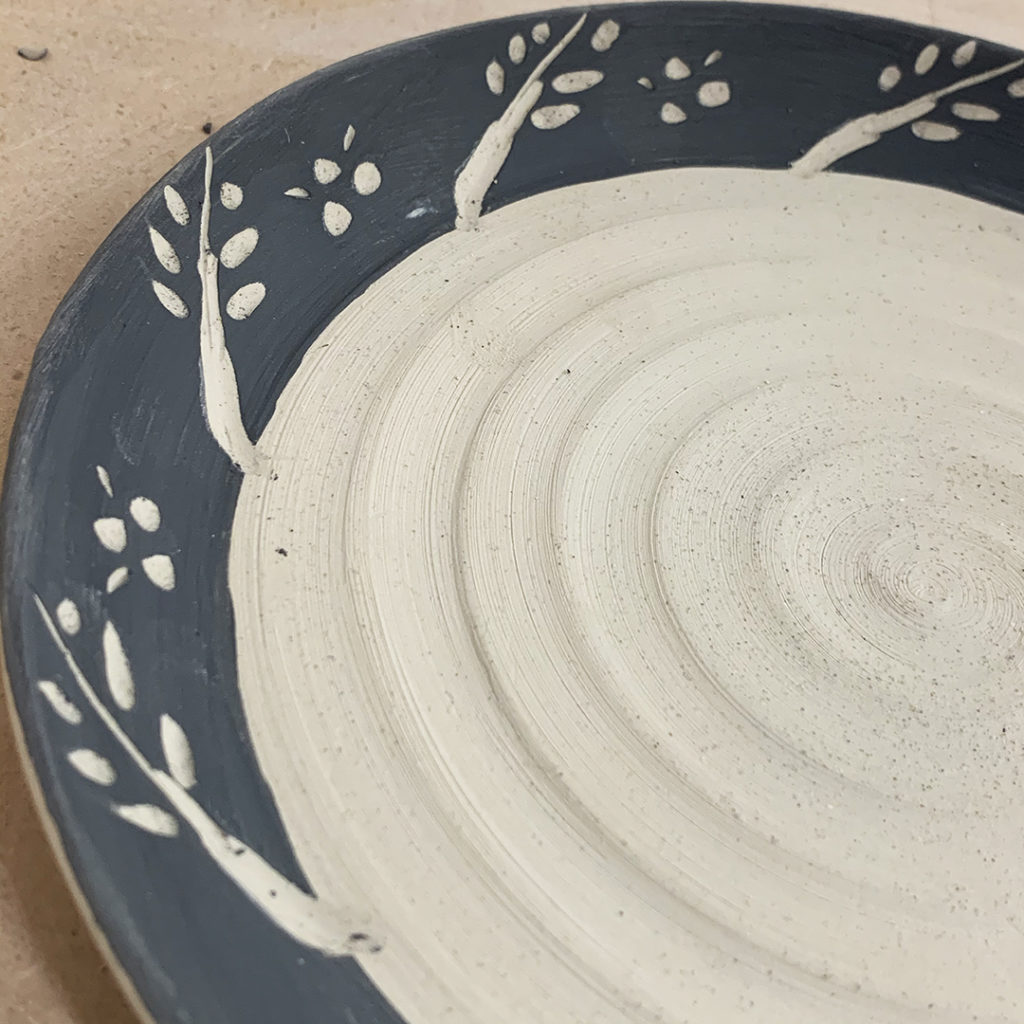
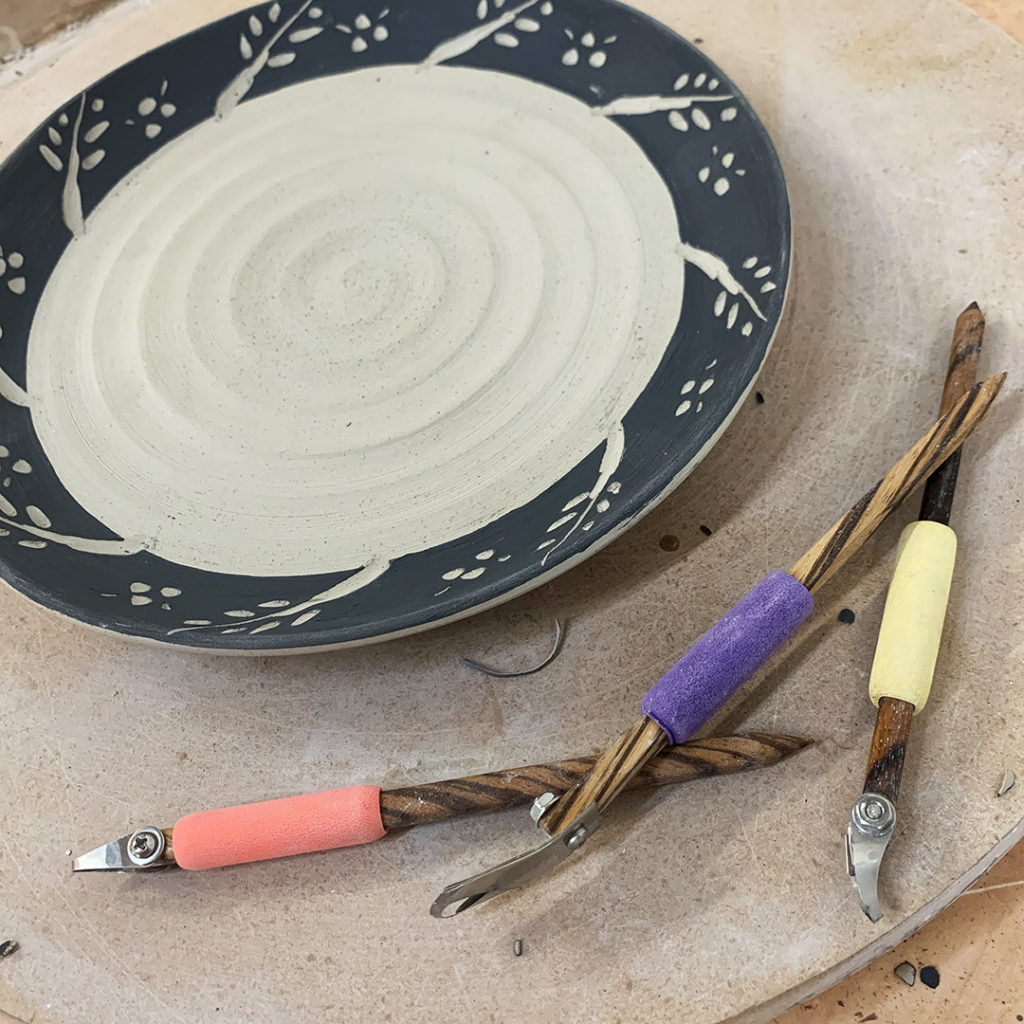
Tonight in class, Kelly had a plate that she wanted to decorate. She had hoped to do some stamping, but it was a bit too dry already. So she did some sgraffito carving instead. And to make her carving lines cleaner & sharper, I brought down my collection of DiamondCore Tools for her to try out. Always a good choice for crisp carving lines… and I’m always willing to share!!!
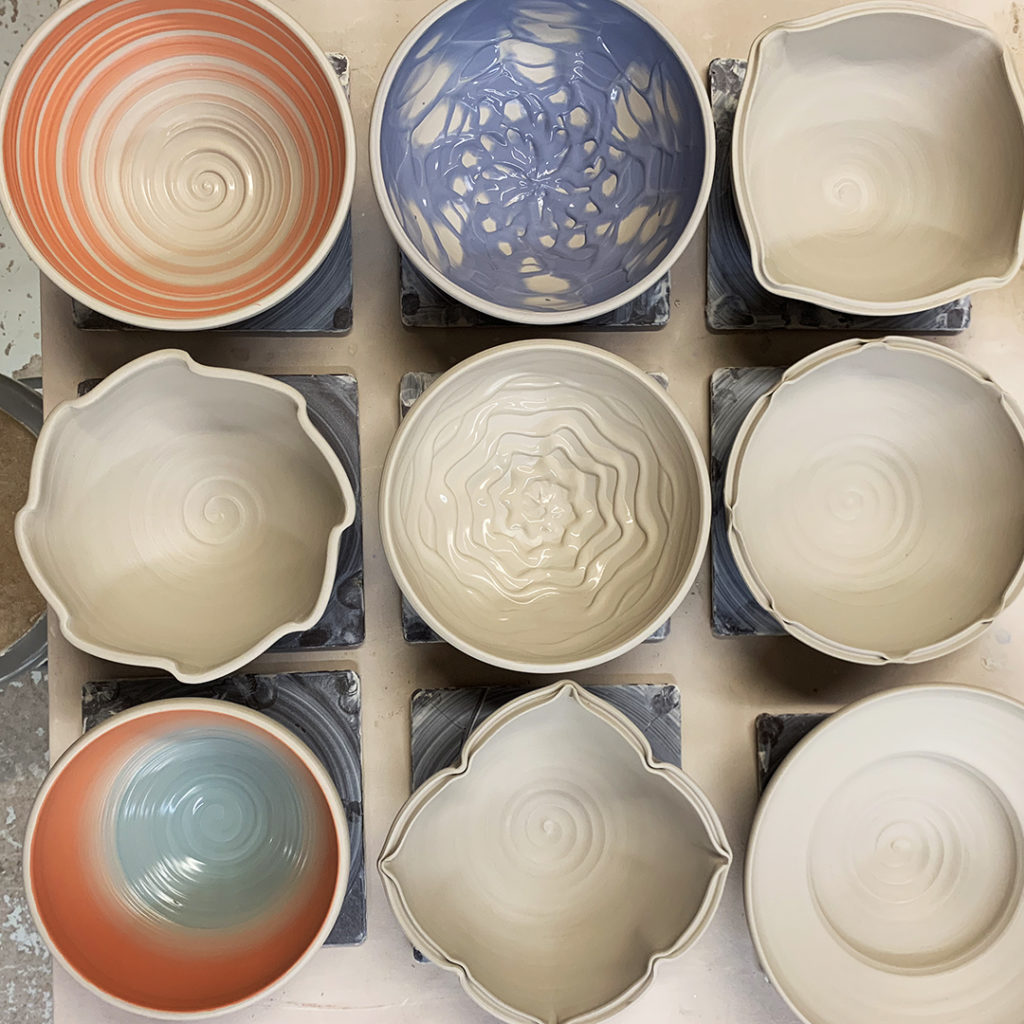
Back by popular demand… one of my Intermediate Wheel students saw my photos from the bowl demo I did last week for my Beginners on Instagram. She asked if they could see some of the not-so-basic-bowl “tricks” in her class. And who am I to say “no”??? So we did it again… but this time only nine, not the full sixteen!
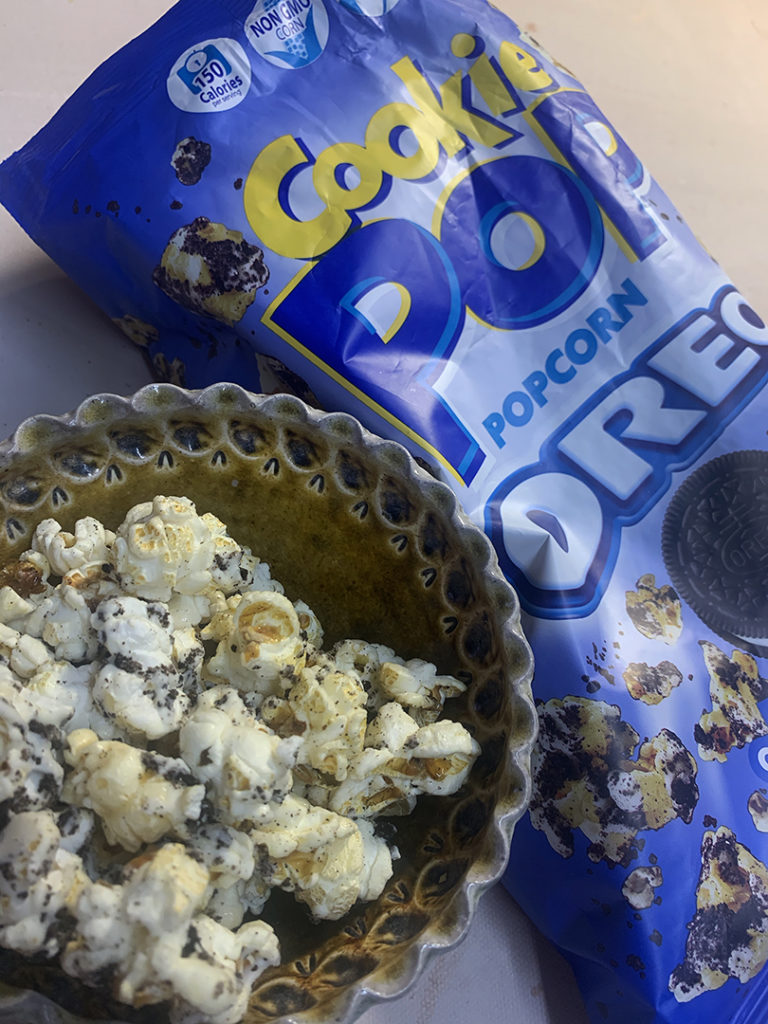
One of the many downsides to the whole pandemic thing… we can’t share OREO cookies & yummies in classes anymore! So while I’m positive the OREO shareholder profits have dropped dramatically, I also find that I need to tackle new OREO products like this by myself.
I mean MORE for me… while taking one for the team & keeping everyone safe! Burp…
Today I did a bit of stamping & detailing the class demo bowls I made Tuesday night with my Beginning Wheel students. A bit of stamping, some groves from a wooden tool, or even some lines from chopsticks! Each one done by hand one impression after another.
So now I’ve got a lot of trimming to do after these dry a bit more to leatherhard. My goal is get them all trimmed, dried & bisqued so that I can bring them back to part of my glazing demo for my same group of Beginners!
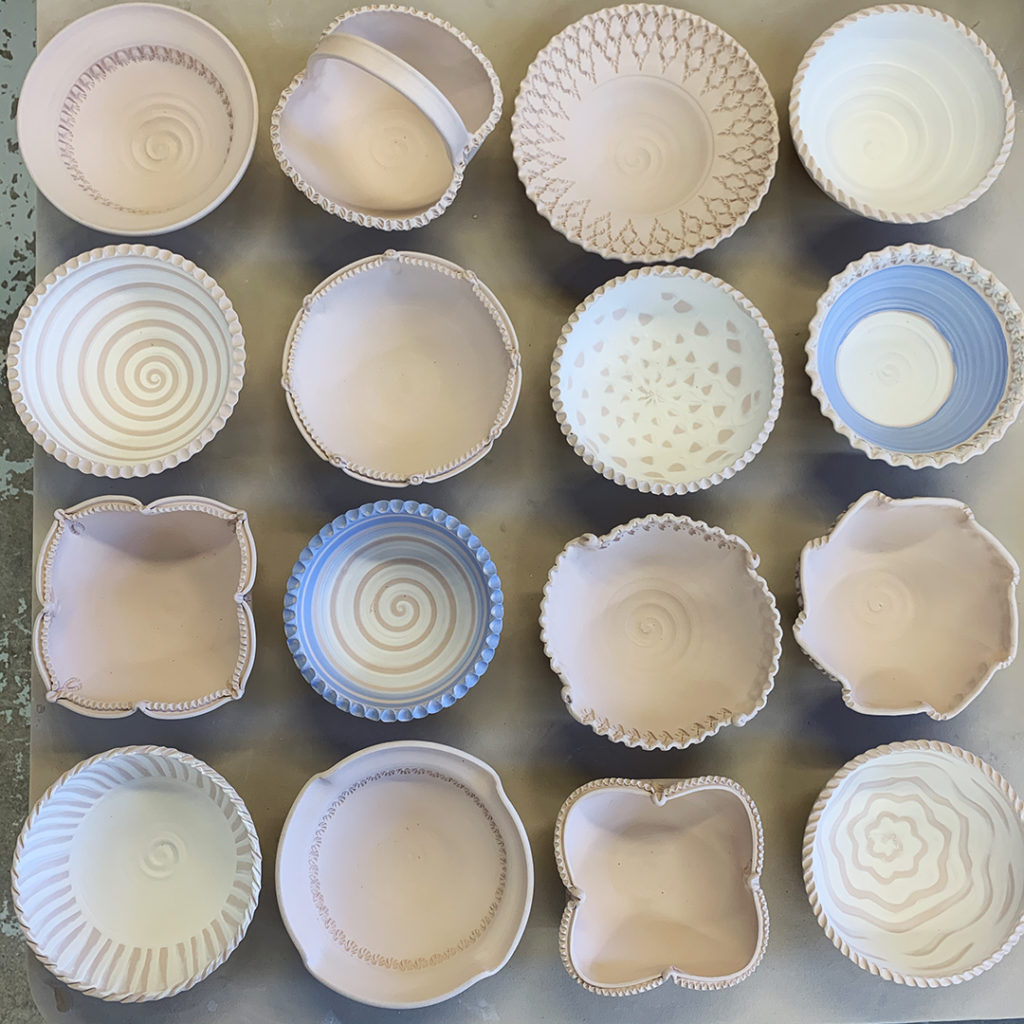
Last night in my Beginning & Advanced Beginning Wheelthrowing class we did my FAVORITE demo of the session! I started with a class demo on how to throw a basic bowl on purpose… and NOT just a cylinder gone bad. A nice smooth curve though the bottom of the bowl… and no “beginners ledge” near the bottom! So we did the demo… made a bowl and they went back to their wheels to start making their bowls… on purpose!
While they were throwing their bowls, I continued to throw more of mine. After throwing a bunch of basic bowls, we reconvened for more demo. Where I showed them some quick decorative tricks, rim alterations and colored slip to make their bowls not-so-basic anymore!
Bowl #1 – four fluted edges
Bowl #2 – if four is good, maybe eight fluted edges is better?
Bowl #3 – flared out rim
Bowl #4 – an even wider flared out rim
Bowl #5 – combined flared rim and four fluted points
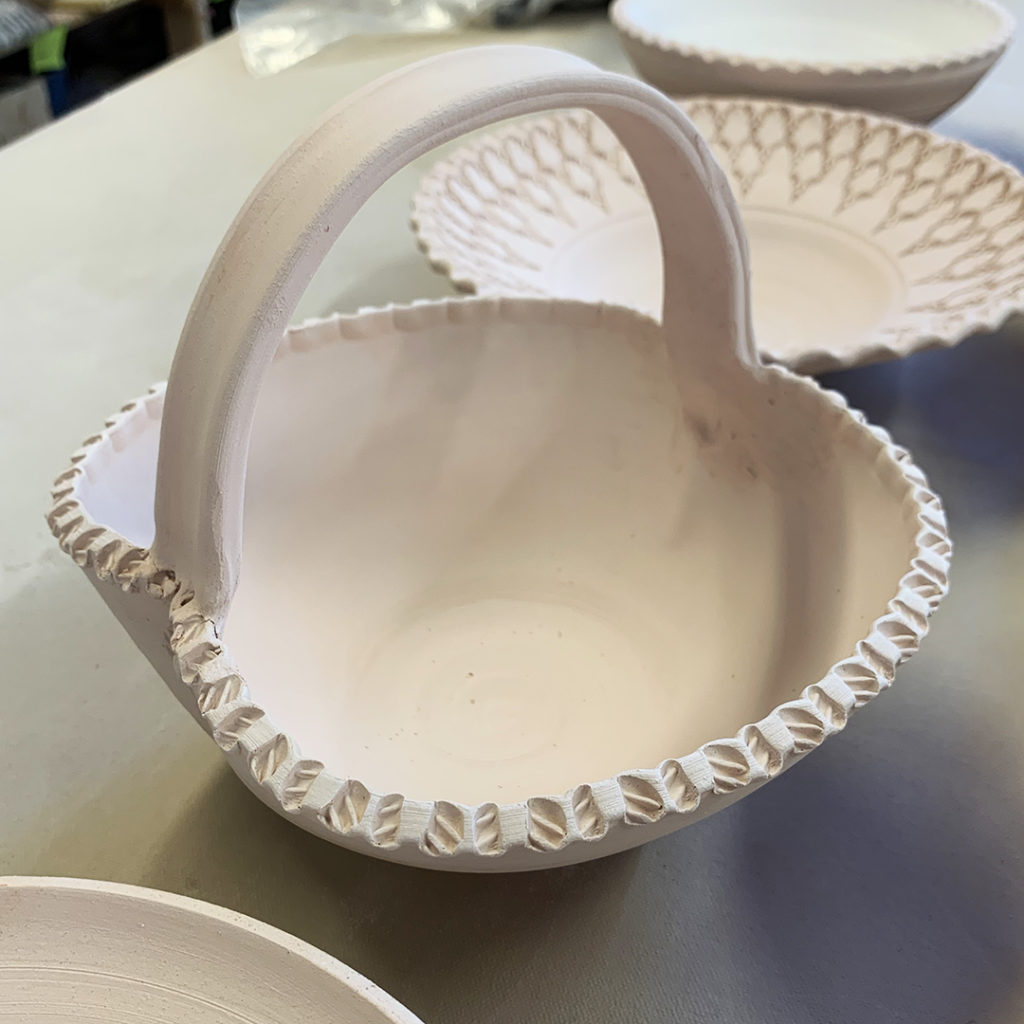
Bowl #6 – two indents… with the intention of adding a basket handle over the top from indent-to-indent.
Bowl #7 – a split-rim… pinched back together in eight places.
Bowl #8 – a split-rim with four indents to make it kind of like a quadrefoil shape
Bowl #9 – another split-rim with four INdents & four OUTdents.. giving it kind of a lotus shape!
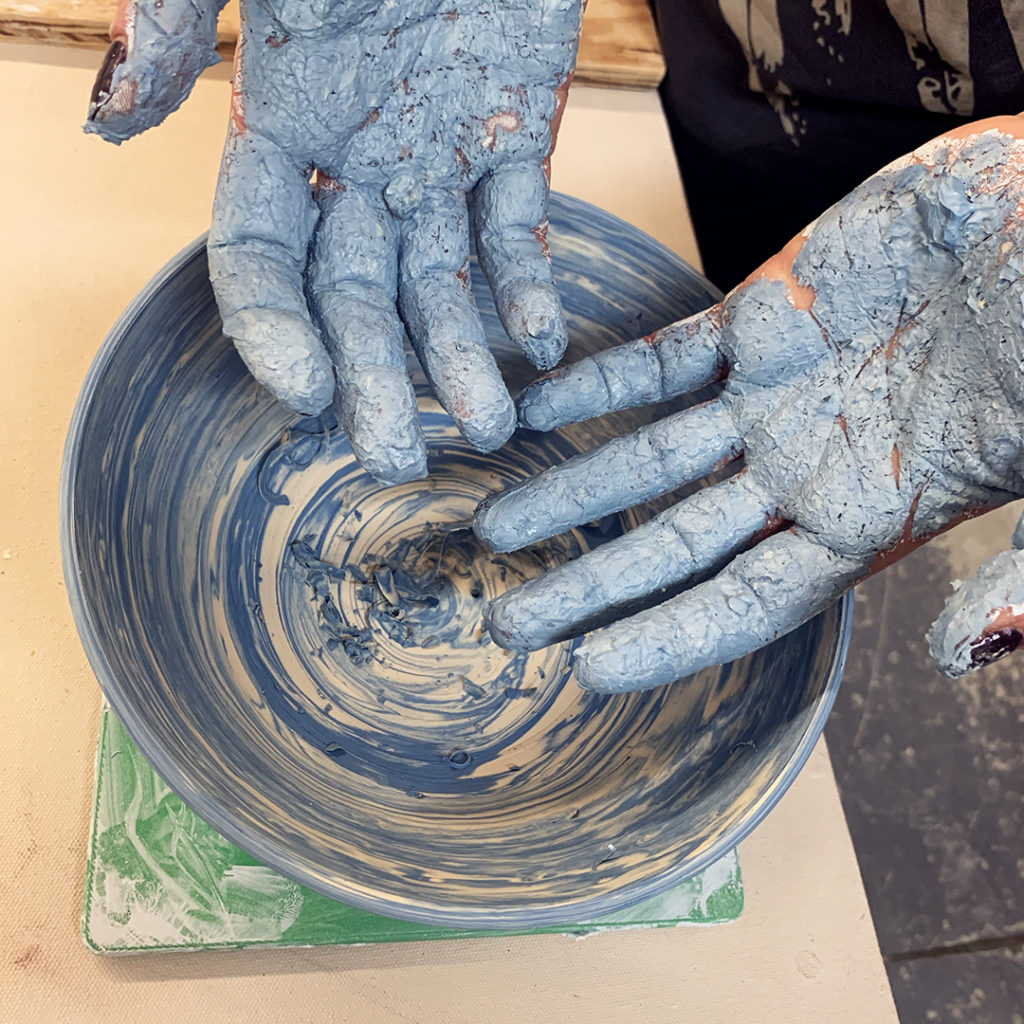
Then we switched our focus to colored slips… again with the plan of just showing them some “quick tricks” and encouraging them to play & try more things!
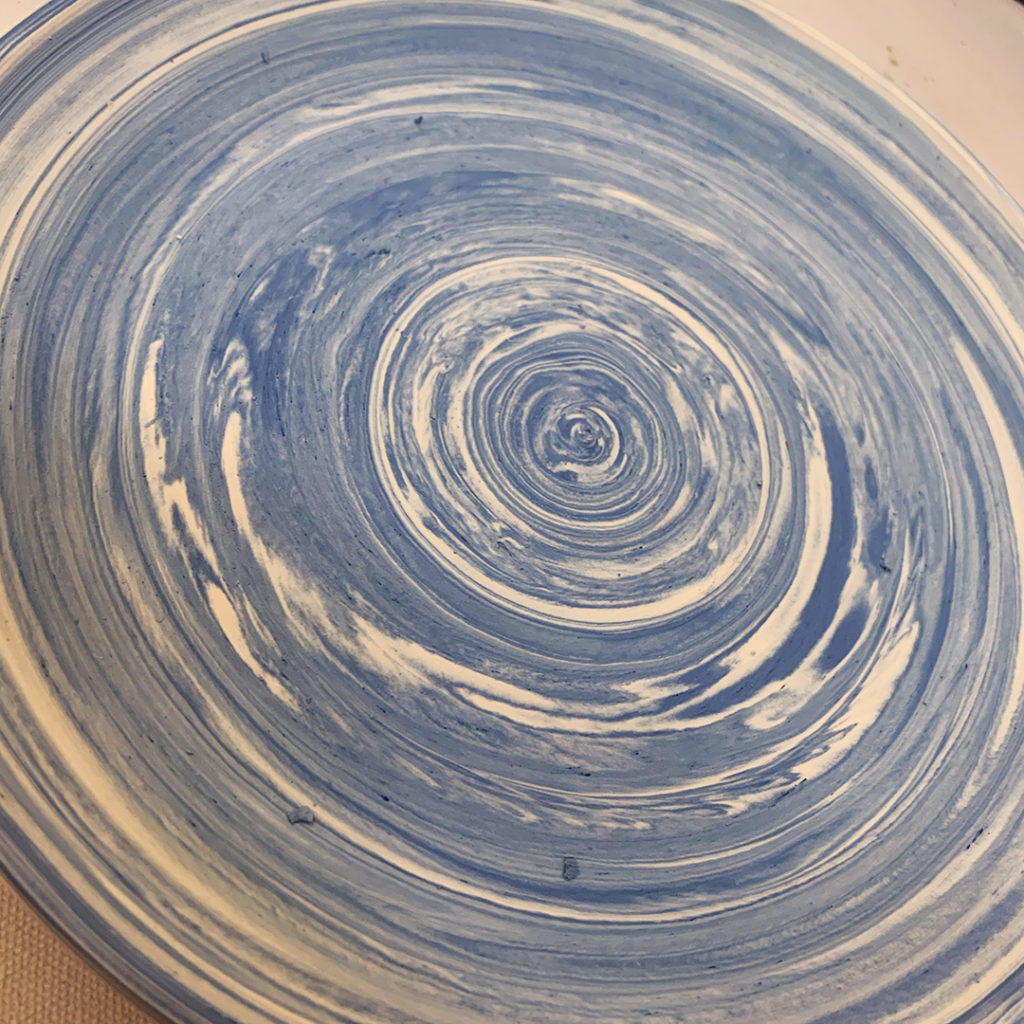
Bowl #10 – a full coating of white slip inside with a paintbrush spiral
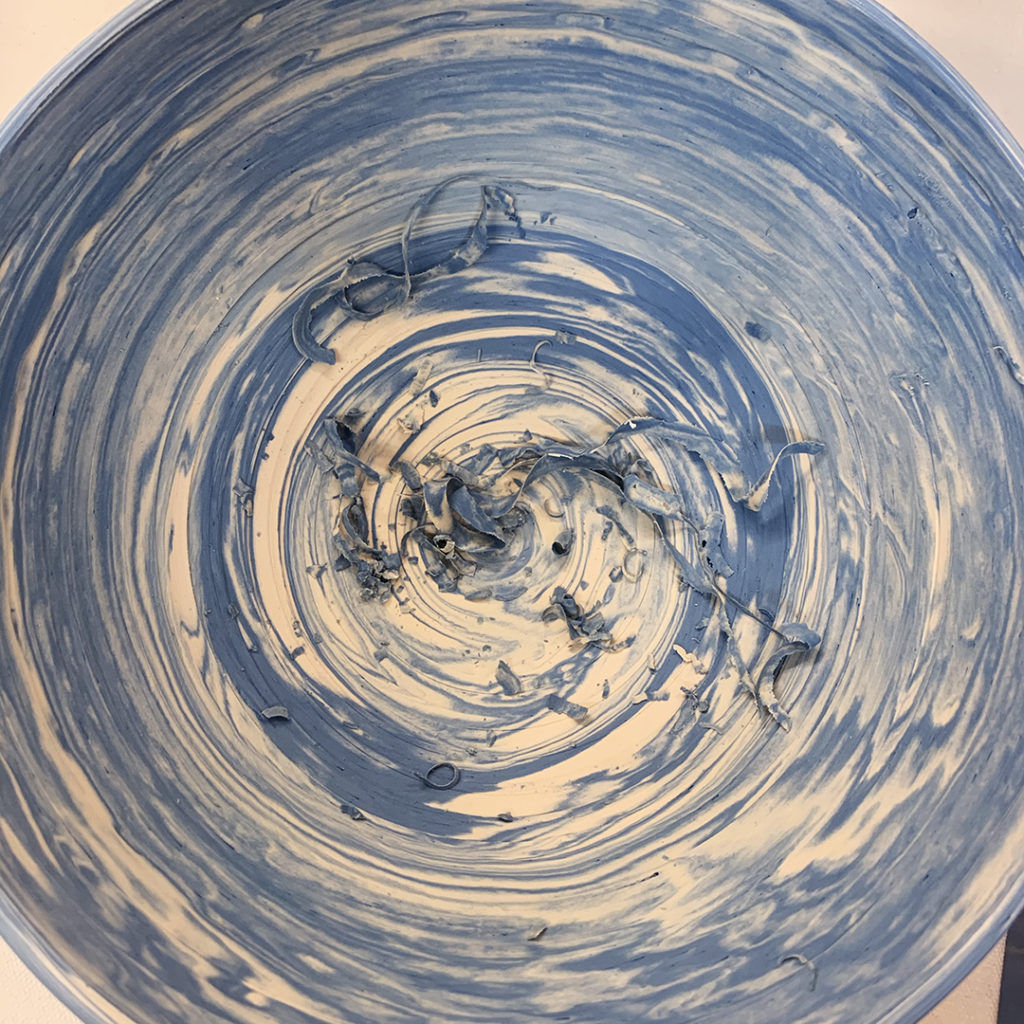
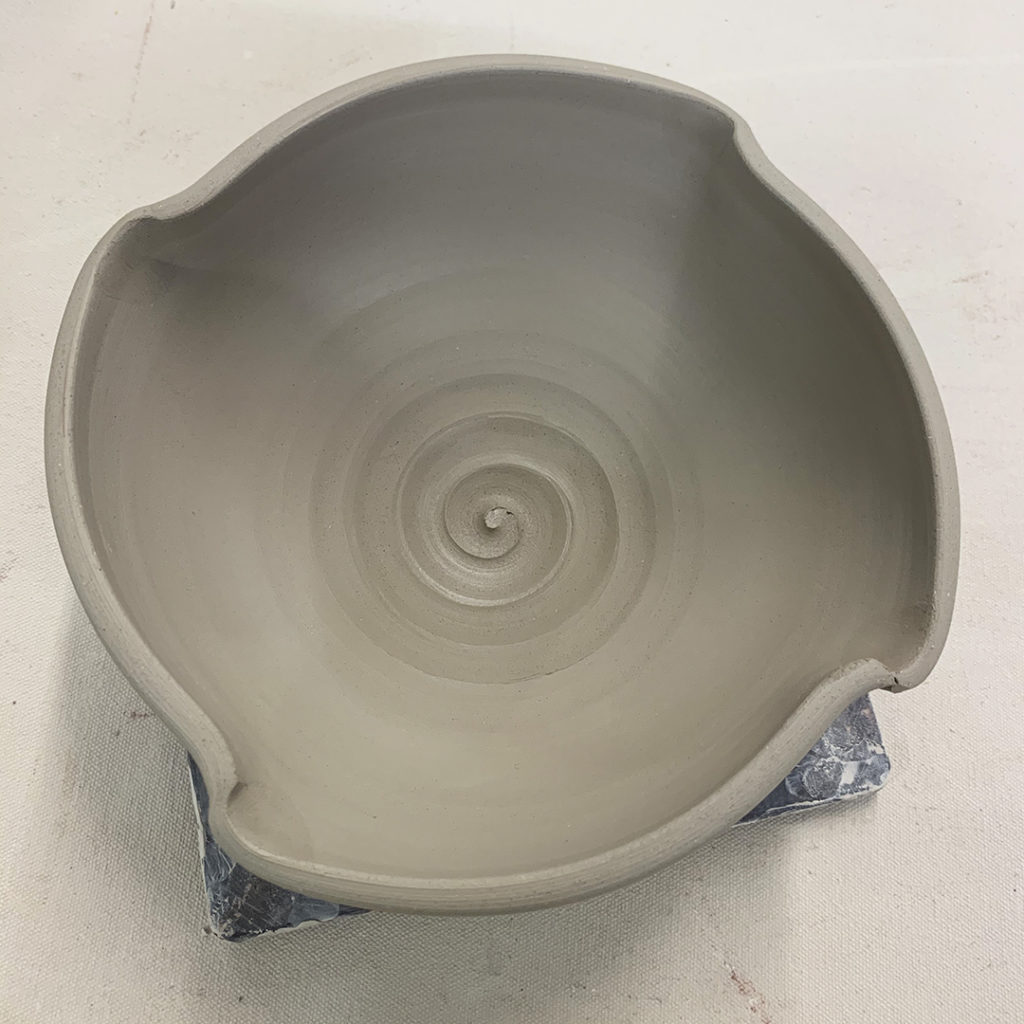
Bowl #11 – a fuill layer of white slip with a wooden tool dragged through it while the wheel was turning to reveal the darkness of the clay as a spiral.
Bowl #12 – finger-painting a squiggle through the white slip while the wheel is spinning.
Bowl #13 – rhythmic chattering with a plastic rib through the white slip while the wheel is spinning.
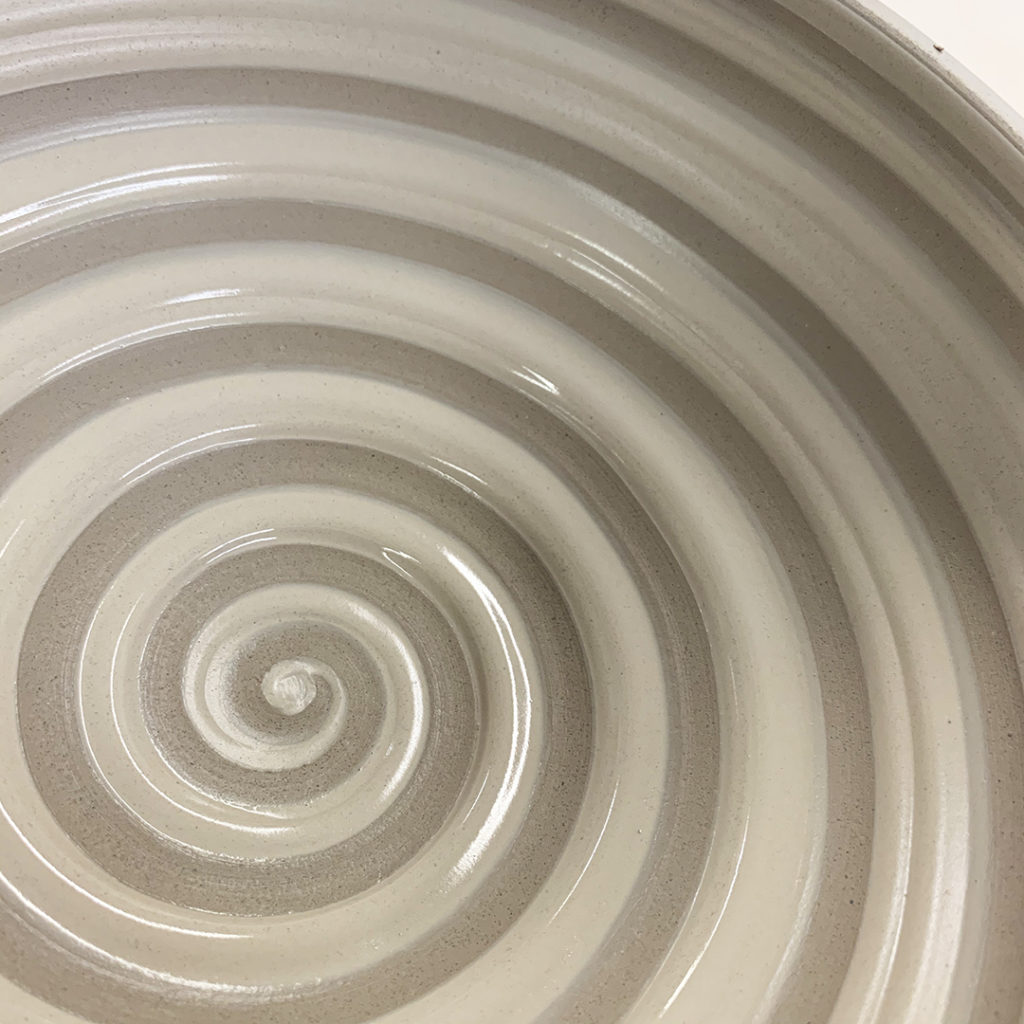
Bowl #14 – a full coating of white slip, the vertical lines dragged through with a rubber rib, and then the center re-applied & smoothed out with just the cutest little spiral ever!
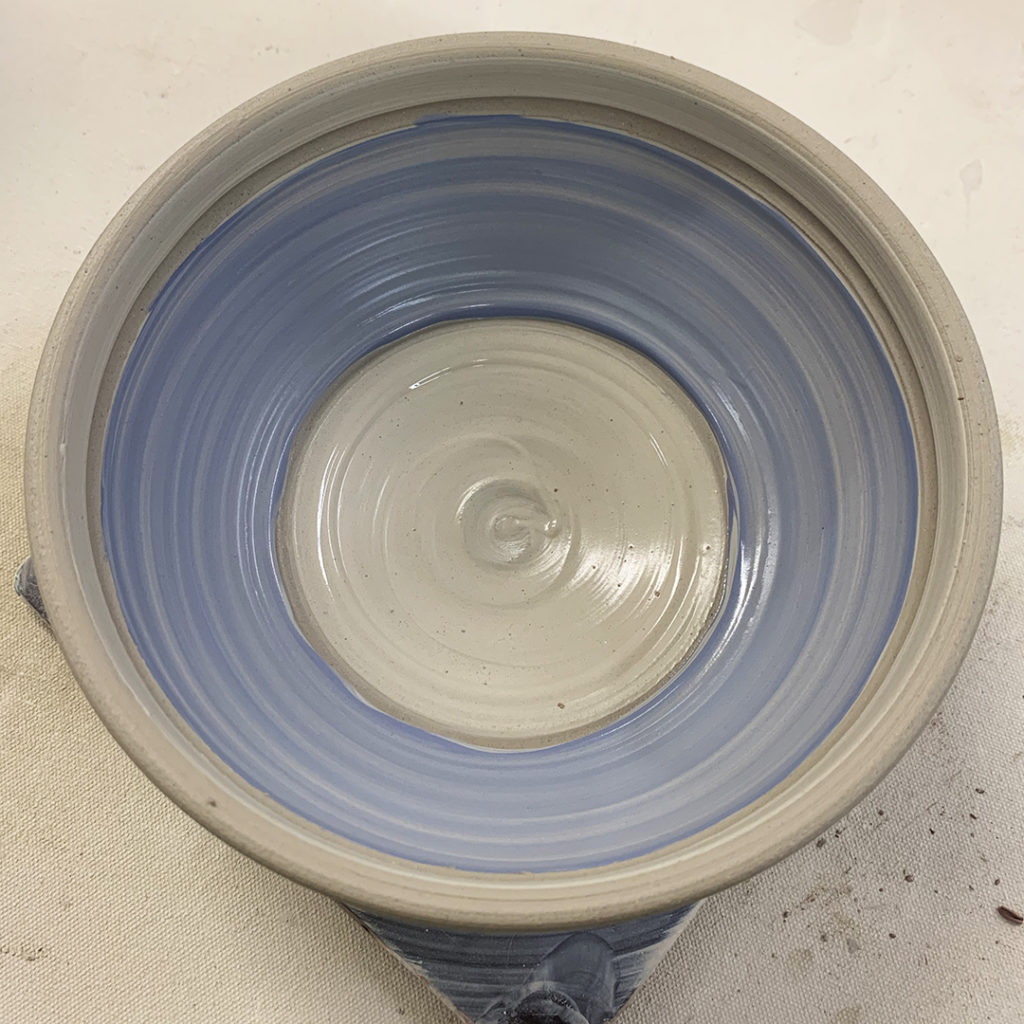
Bowl #15 – I introduced using two colors of slip with simple banding.
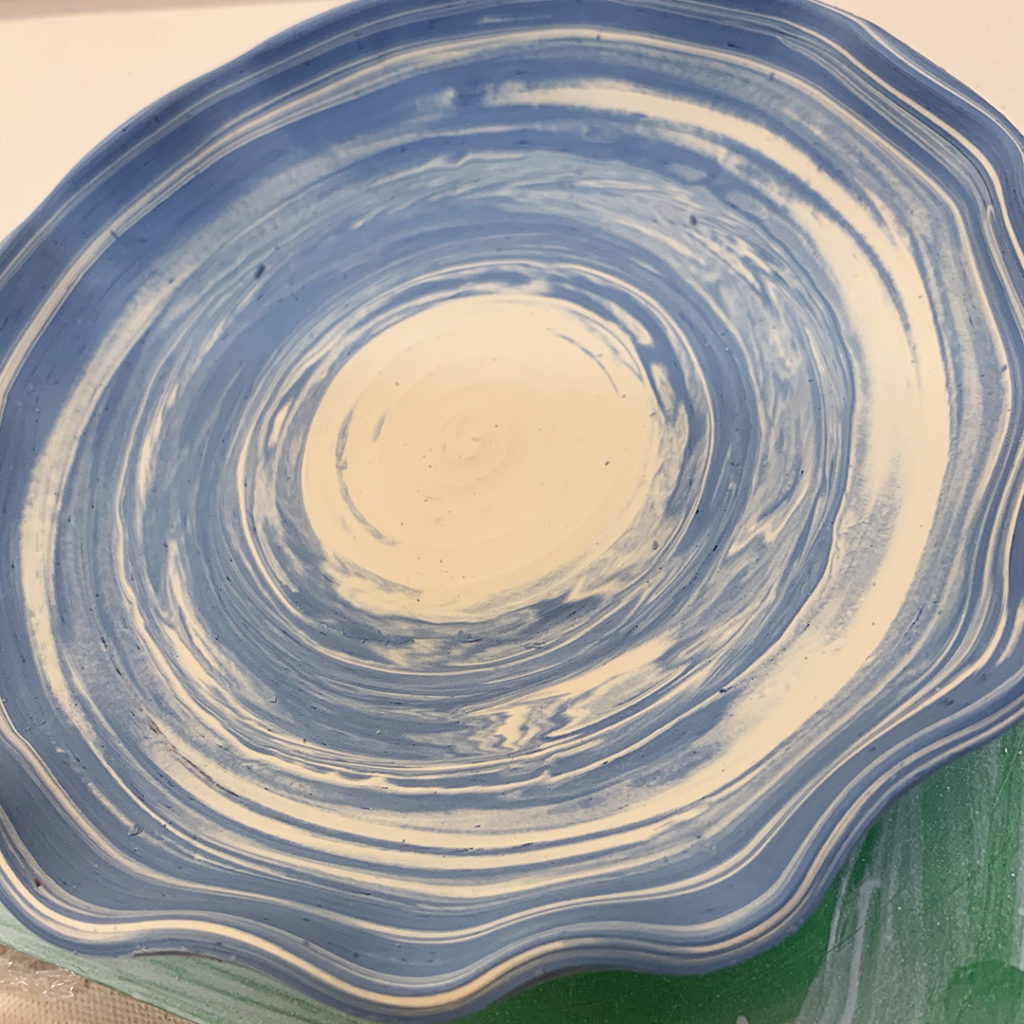
Bowl #16 – and then an ombre blending, with a spiral dragged through.
So for now they’re under plastic so they don’t dry out too quickly… as there’s a “good chance” that there just “might” be a bit of stamping, texturing & embellishing of these bowls before the dry too much.