Last night in my Beginning & Advanced Beginning Wheelthrowing class we did my FAVORITE demo of the session! I started with a class demo on how to throw a basic bowl on purpose… and NOT just a cylinder gone bad. A nice smooth curve though the bottom of the bowl… and no “beginners ledge” near the bottom! So we did the demo… made a bowl and they went back to their wheels to start making their bowls… on purpose!

While they were throwing their bowls, I continued to throw more of mine. After throwing a bunch of basic bowls, we reconvened for more demo. Where I showed them some quick decorative tricks, rim alterations and colored slip to make their bowls not-so-basic anymore!
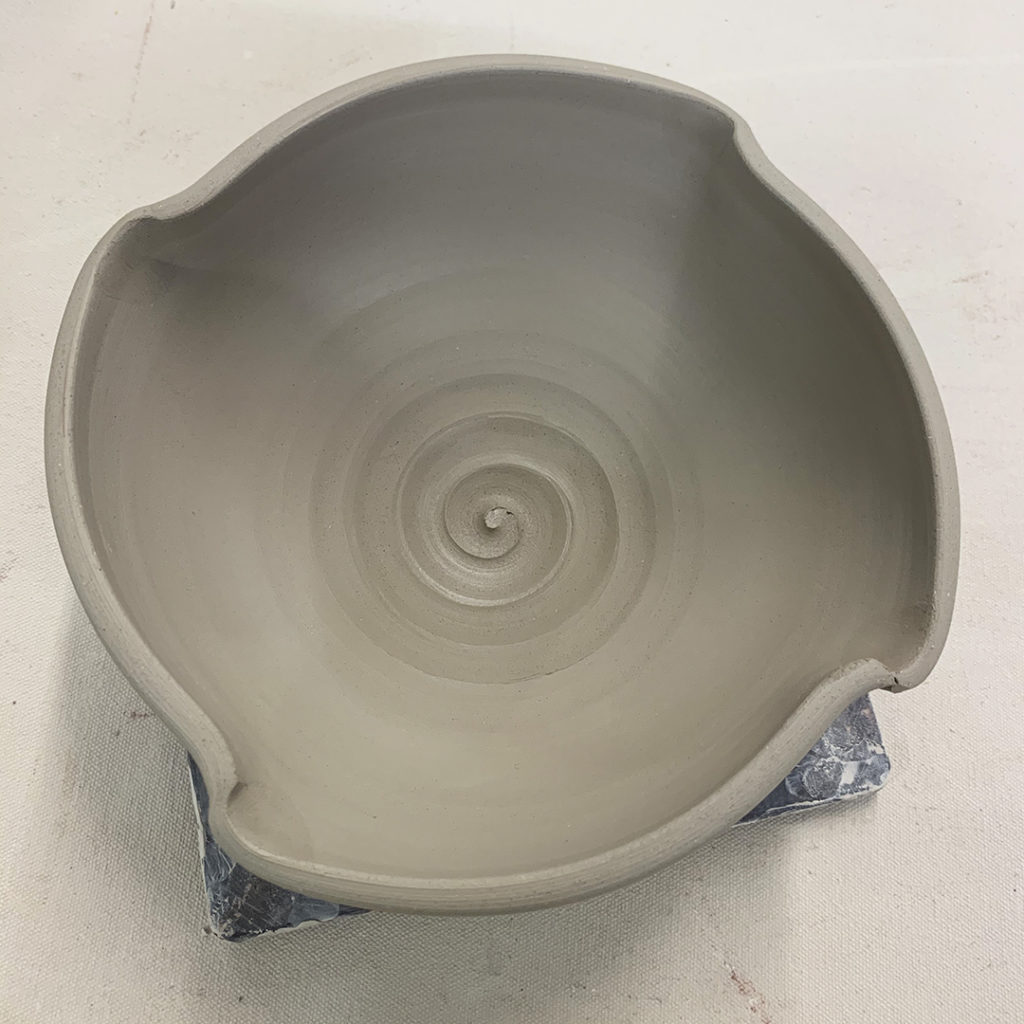
Bowl #1 – four fluted edges

Bowl #2 – if four is good, maybe eight fluted edges is better?

Bowl #3 – flared out rim

Bowl #4 – an even wider flared out rim

Bowl #5 – combined flared rim and four fluted points

Bowl #6 – two indents… with the intention of adding a basket handle over the top from indent-to-indent.

Bowl #7 – a split-rim… pinched back together in eight places.

Bowl #8 – a split-rim with four indents to make it kind of like a quadrefoil shape

Bowl #9 – another split-rim with four INdents & four OUTdents.. giving it kind of a lotus shape!

Then we switched our focus to colored slips… again with the plan of just showing them some “quick tricks” and encouraging them to play & try more things!
Bowl #10 – a full coating of white slip inside with a paintbrush spiral

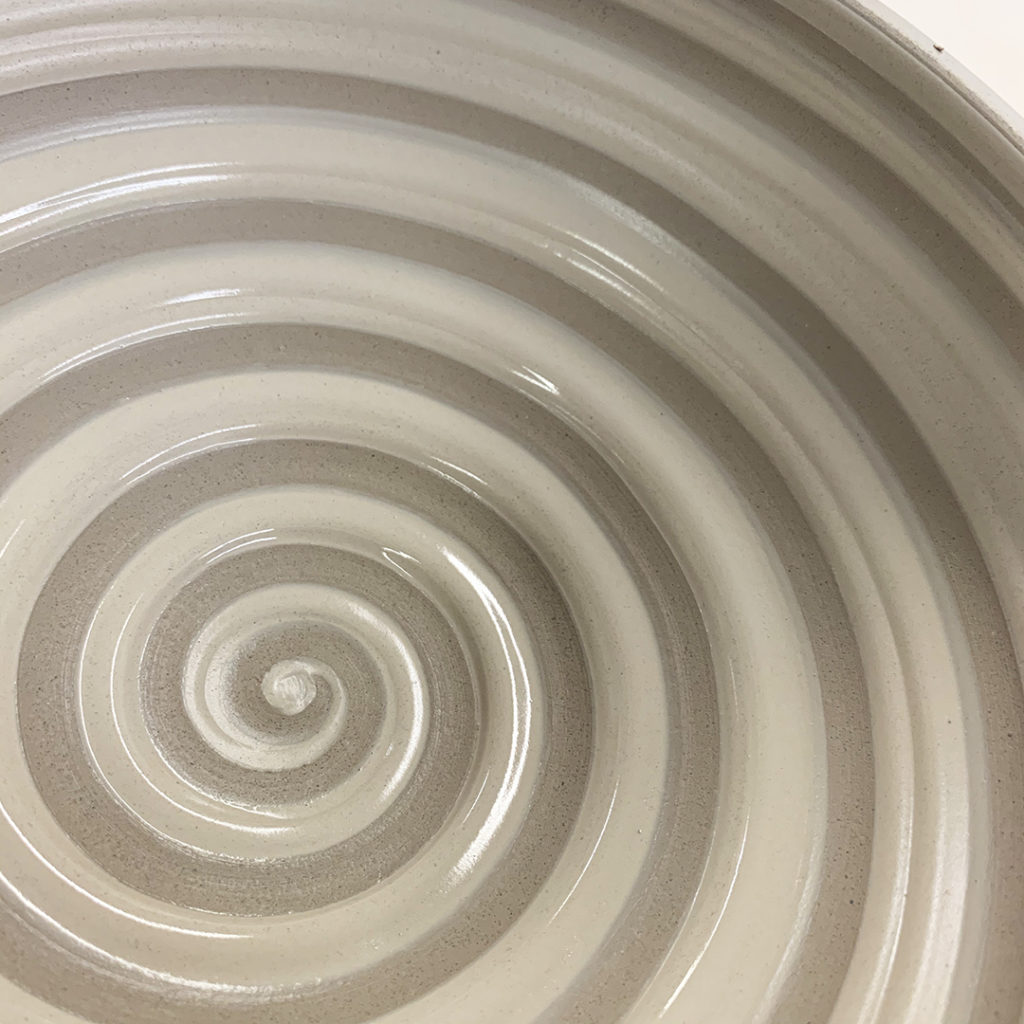
Bowl #11 – a fuill layer of white slip with a wooden tool dragged through it while the wheel was turning to reveal the darkness of the clay as a spiral.


Bowl #12 – finger-painting a squiggle through the white slip while the wheel is spinning.

Bowl #13 – rhythmic chattering with a plastic rib through the white slip while the wheel is spinning.


Bowl #14 – a full coating of white slip, the vertical lines dragged through with a rubber rib, and then the center re-applied & smoothed out with just the cutest little spiral ever!


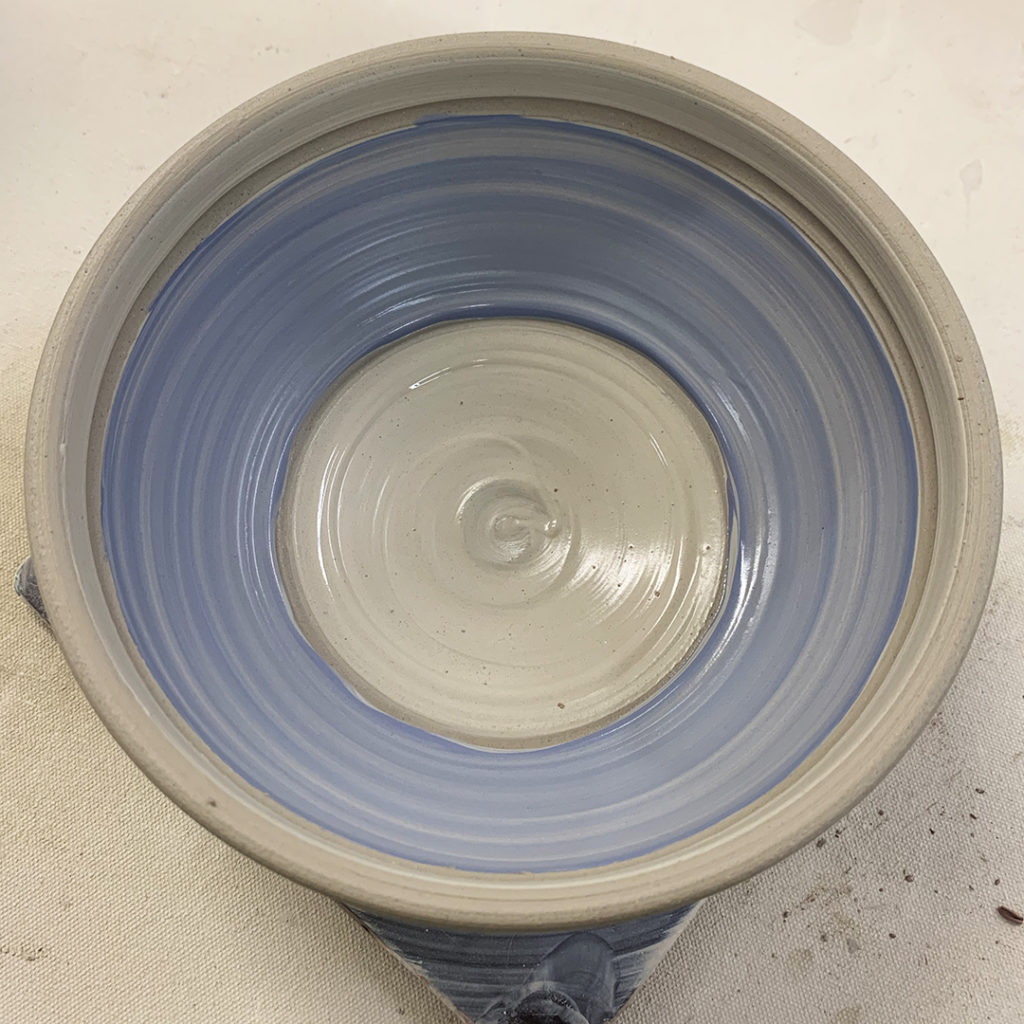
Bowl #15 – I introduced using two colors of slip with simple banding.

Bowl #16 – and then an ombre blending, with a spiral dragged through.

So for now they’re under plastic so they don’t dry out too quickly… as there’s a “good chance” that there just “might” be a bit of stamping, texturing & embellishing of these bowls before the dry too much.
MORE IS MORE!!!… right???
