03.26.2022
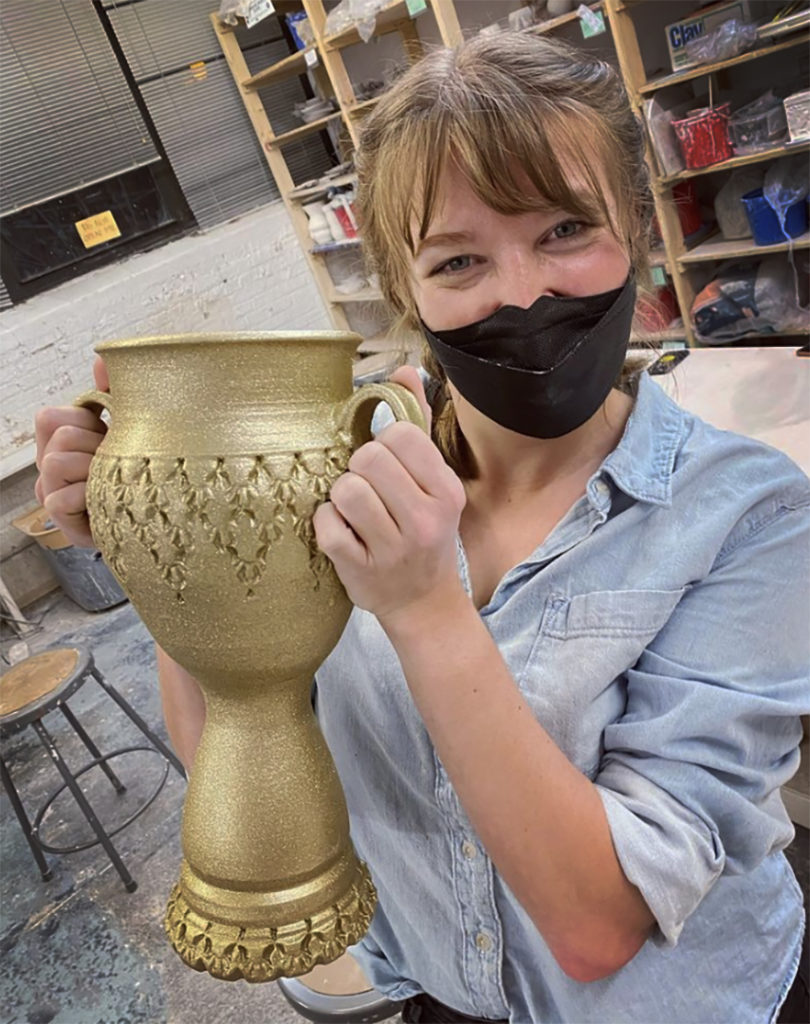
Huge CONGRATULATIONS to Clara…
winner of the LILLSTREET THROWDOWN Season Four!!!
Gary Jackson: Fire When Ready Pottery
A Chicago potter’s somewhat slanted view of clay & play |
Huge CONGRATULATIONS to Clara…
winner of the LILLSTREET THROWDOWN Season Four!!!
For the BIG BUILD project of the LILLSTREET THROWDOWN, I challenged my students to make a creamer & sugar set based on the work of a famous artist… assigned by Tracy! Including creamer with handle, sugar with lid, tray and a spoon! They all did an amazing job… most of them getting all of their pieces “done” for class. We did have a few kiln issues, so not all of the pieces were at the same place… some were bisqued, some glazed, some stuck waiting on a cart, and some missing? I felt sorry for Helen who was struggling to find her pieces on the bisque carts! Regardless, they did an amazing job embracing their inner Mondrian, Dali, Lichtenstein & Koons.
Claire : PIET MONDRIAN


Clara : SALVADOR DALI


Melanie : ROY LICHTENSTEIN


Tracy : JEFF KOONS


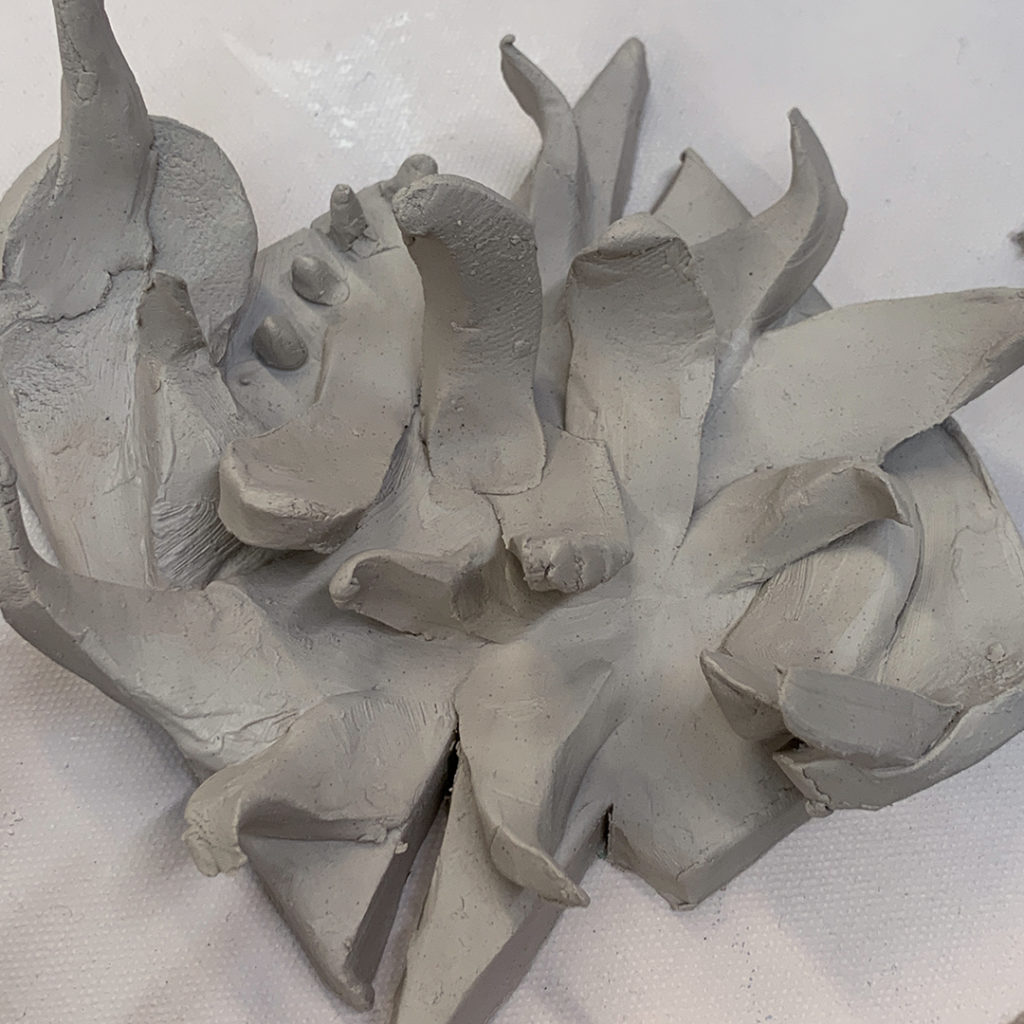
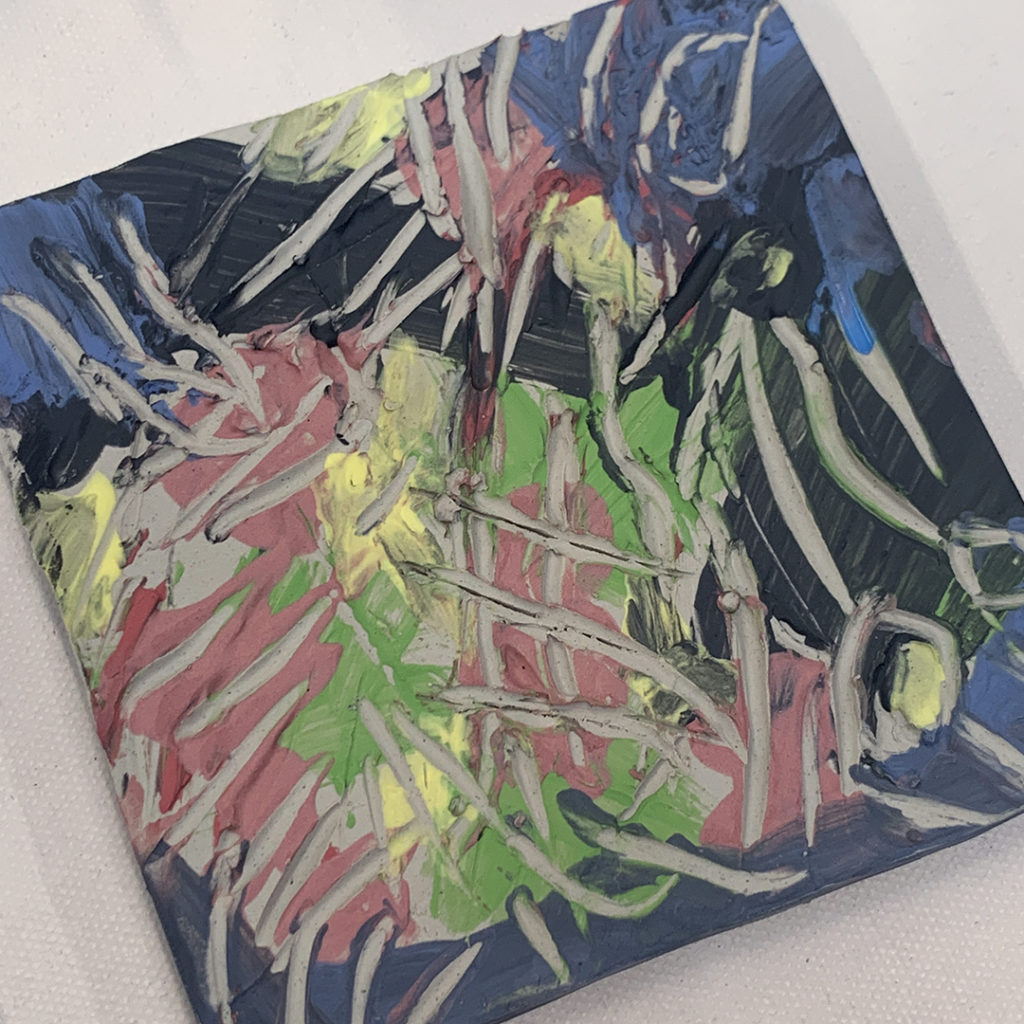
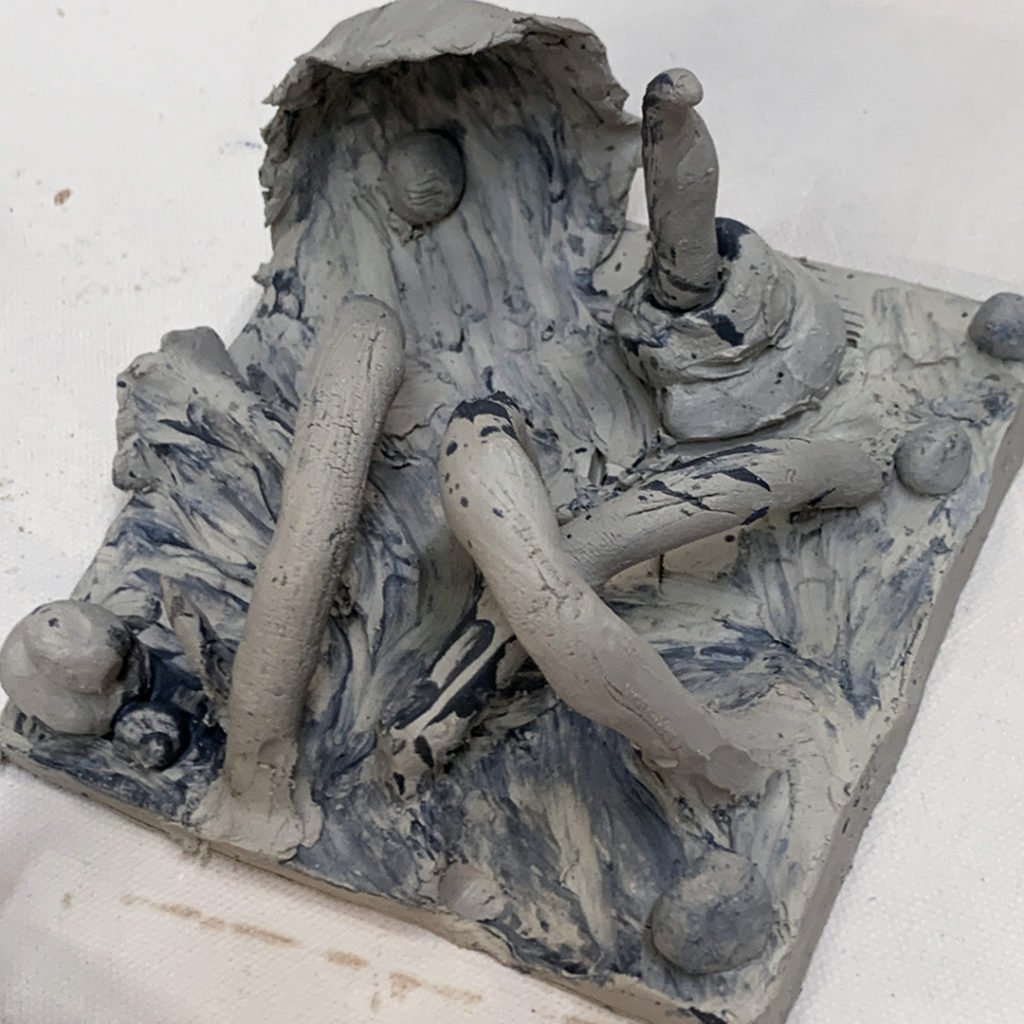
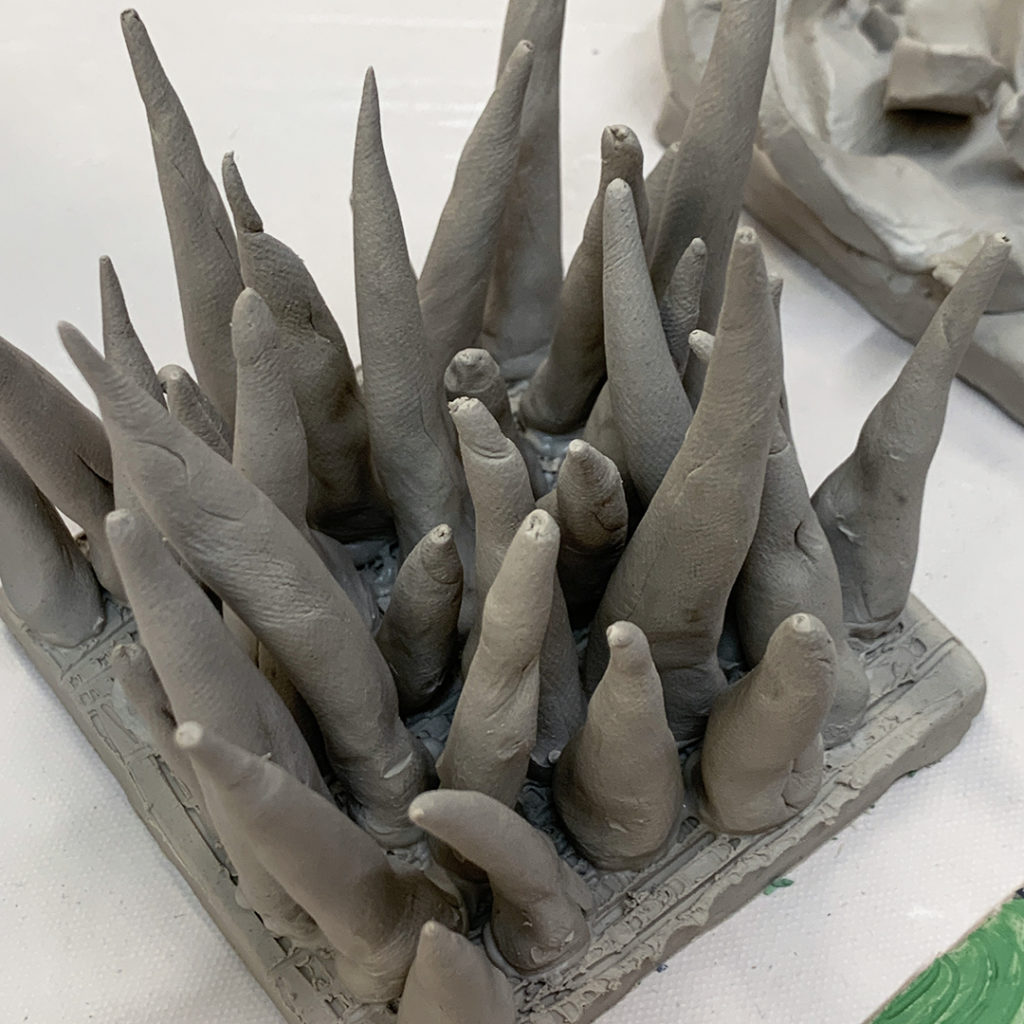
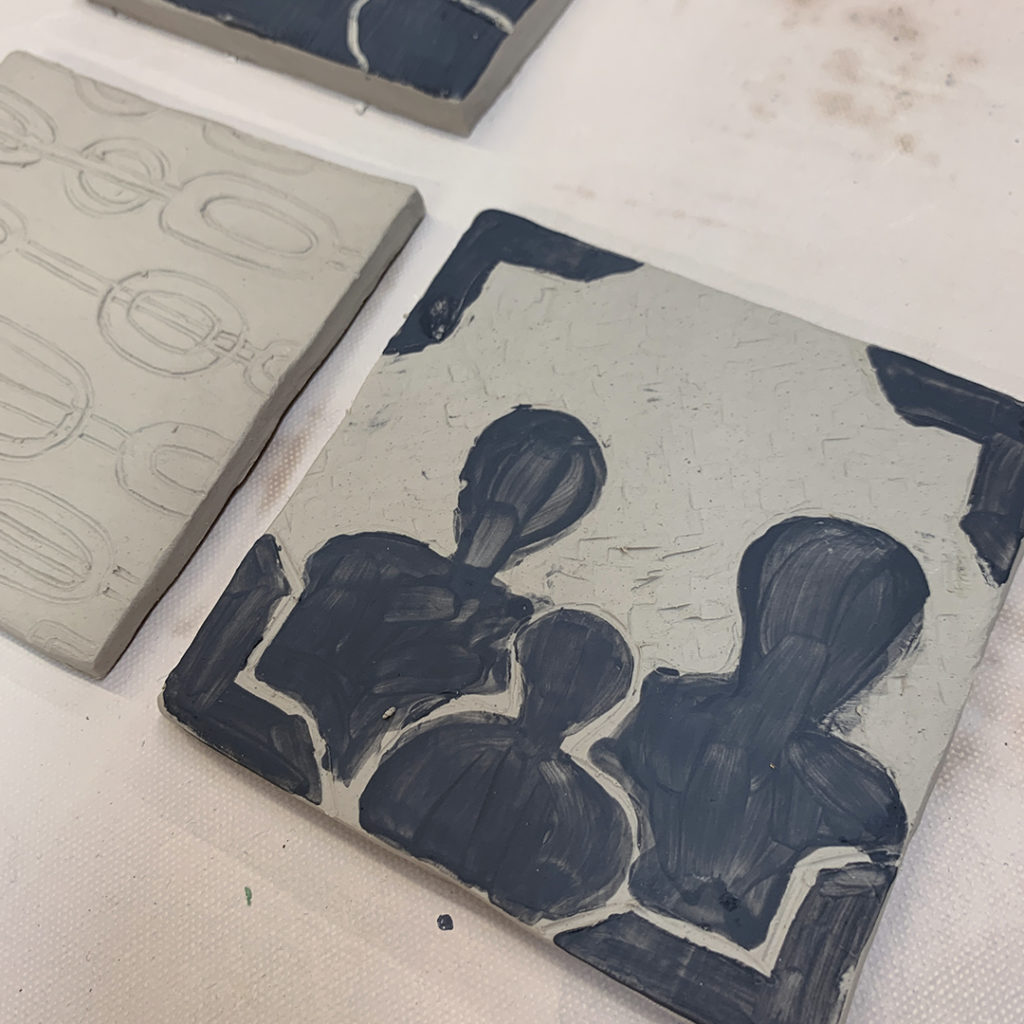
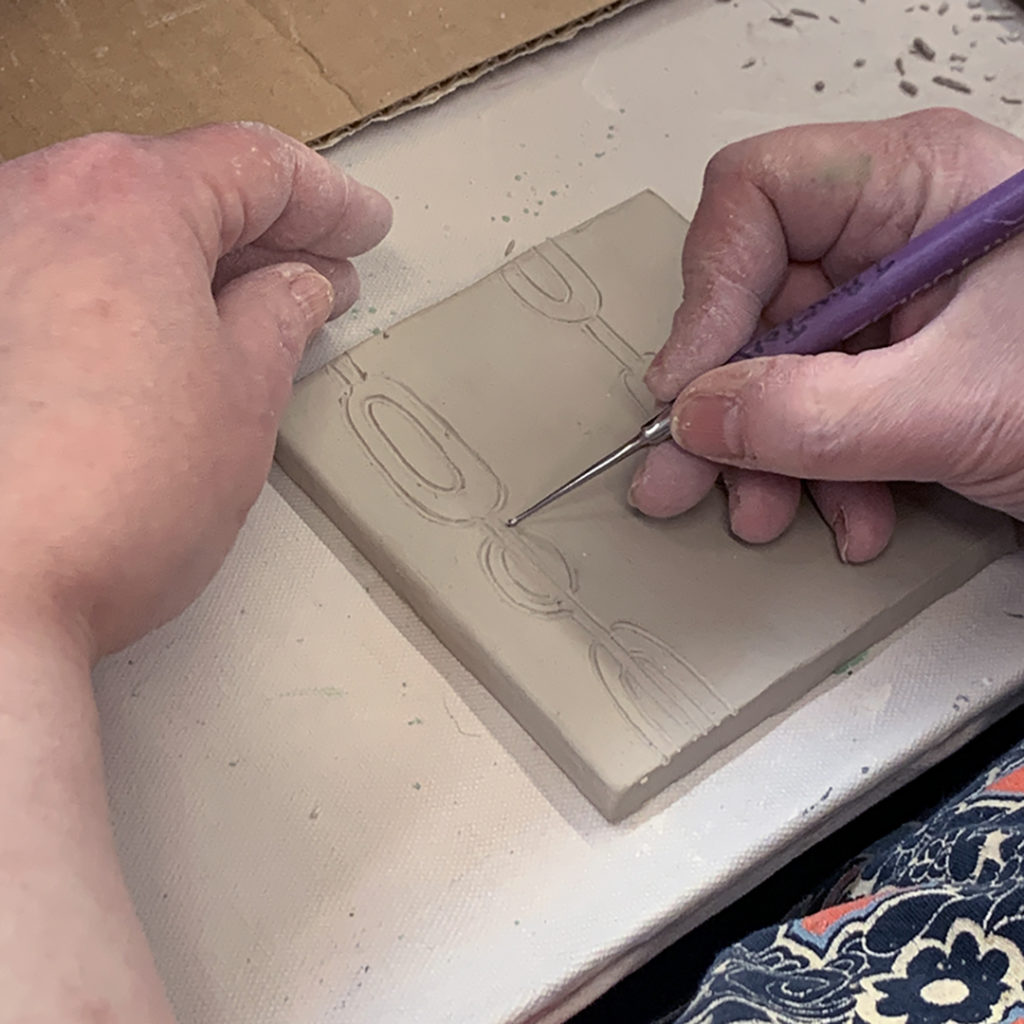
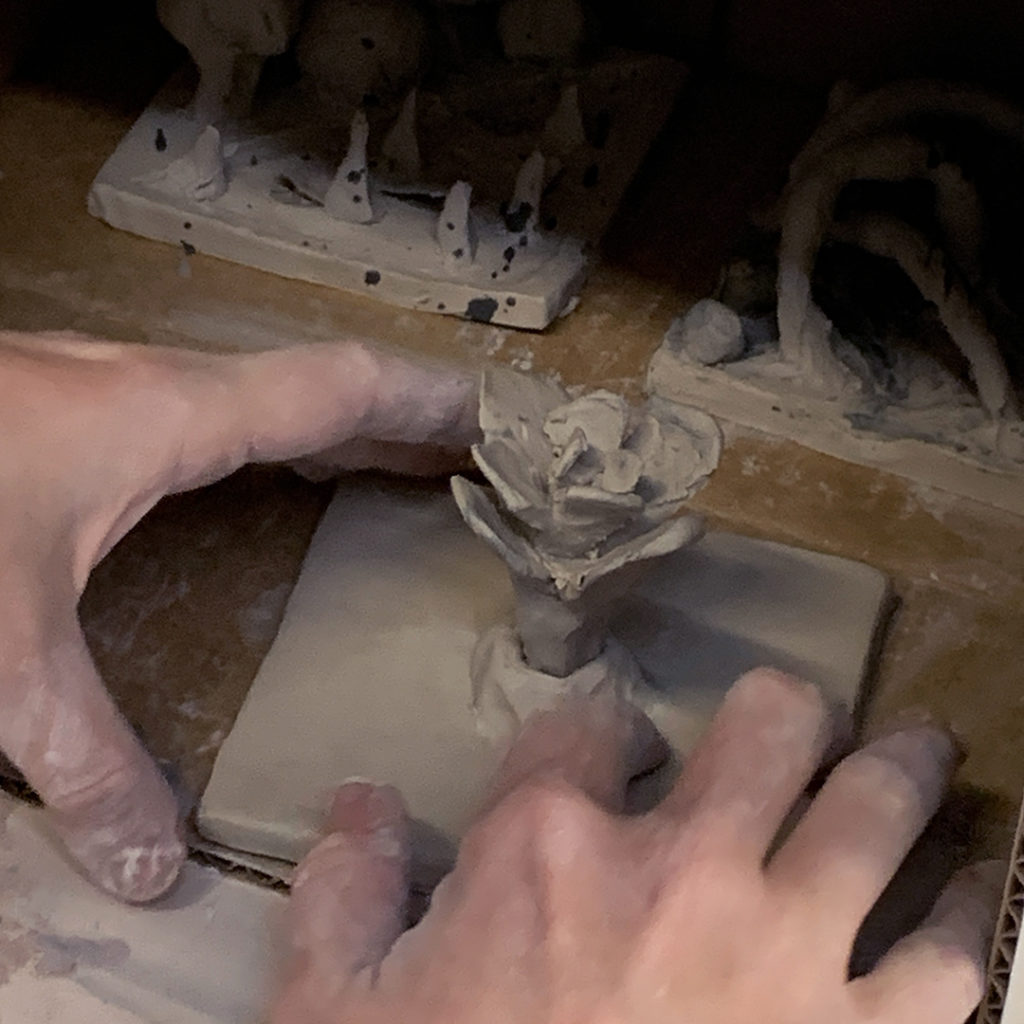
The final “surprise” challenge for my LILLSTREET THROWDOWN class was to interpret five different words onto five different tiles. They each received the same words & a blank tile, and then had fifteen minutes to “represent” the word on each tile. The words were PAISLEY, NOSTALGIA, CHAOS, FESTIVE and JUXTAPOSITION. Always fun for me as the observer to watch each of them approach a challenge in different ways – both in interpreting the word and their handbuilding approach & techniques!
CHAOS –


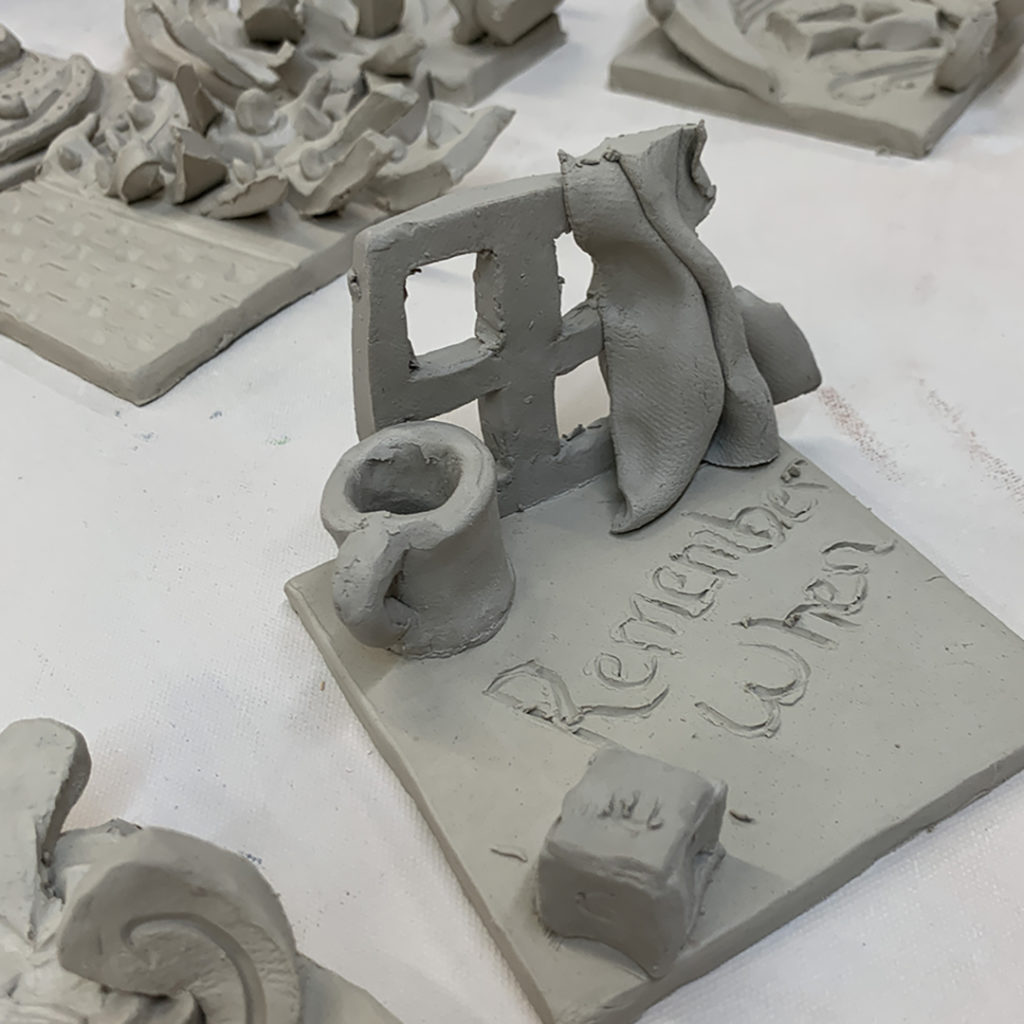
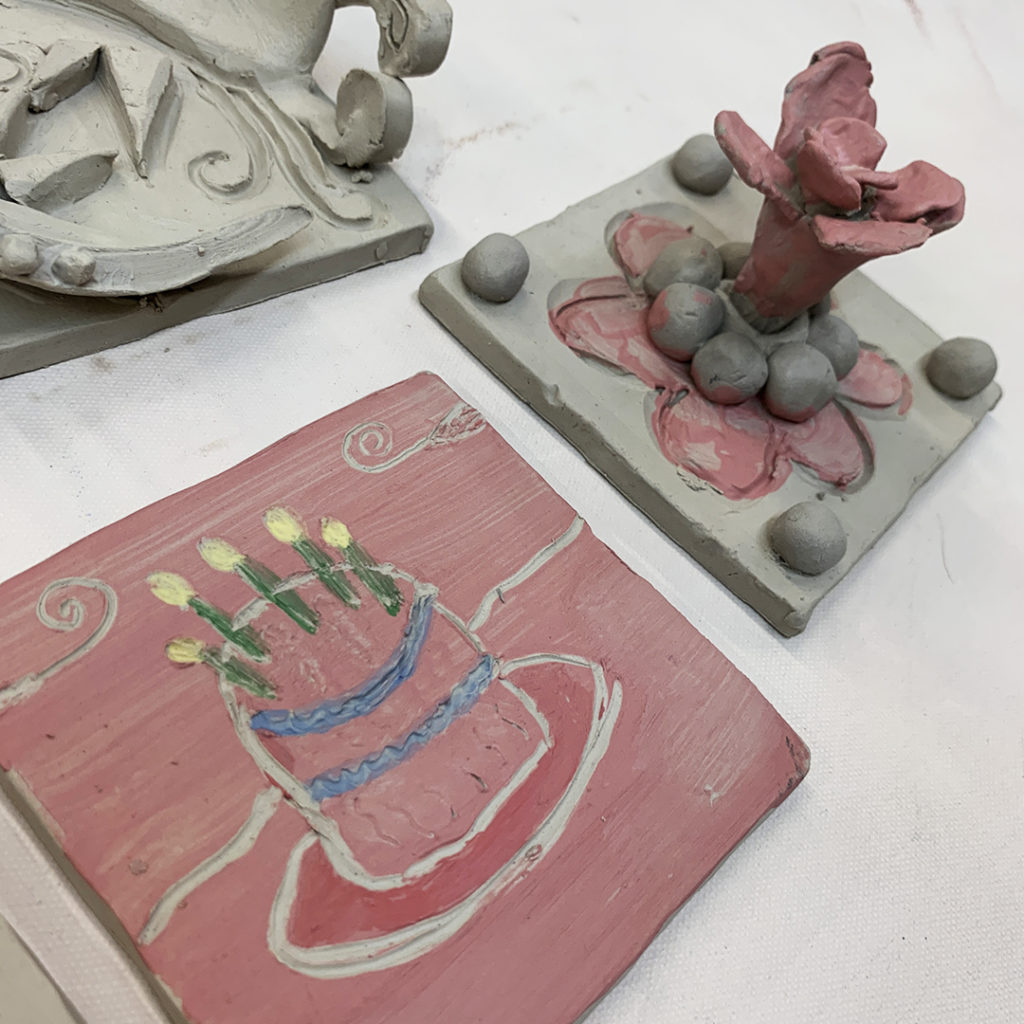
NOSTALGIA –
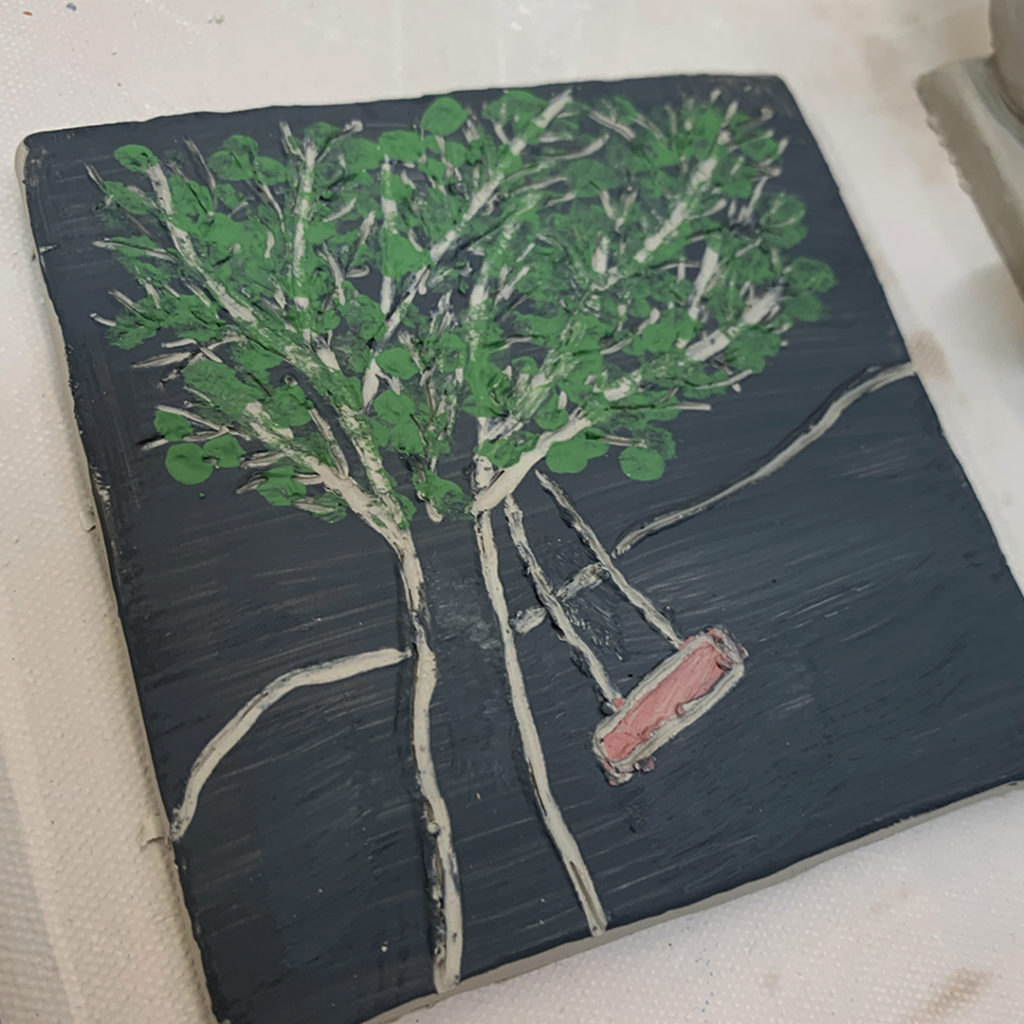

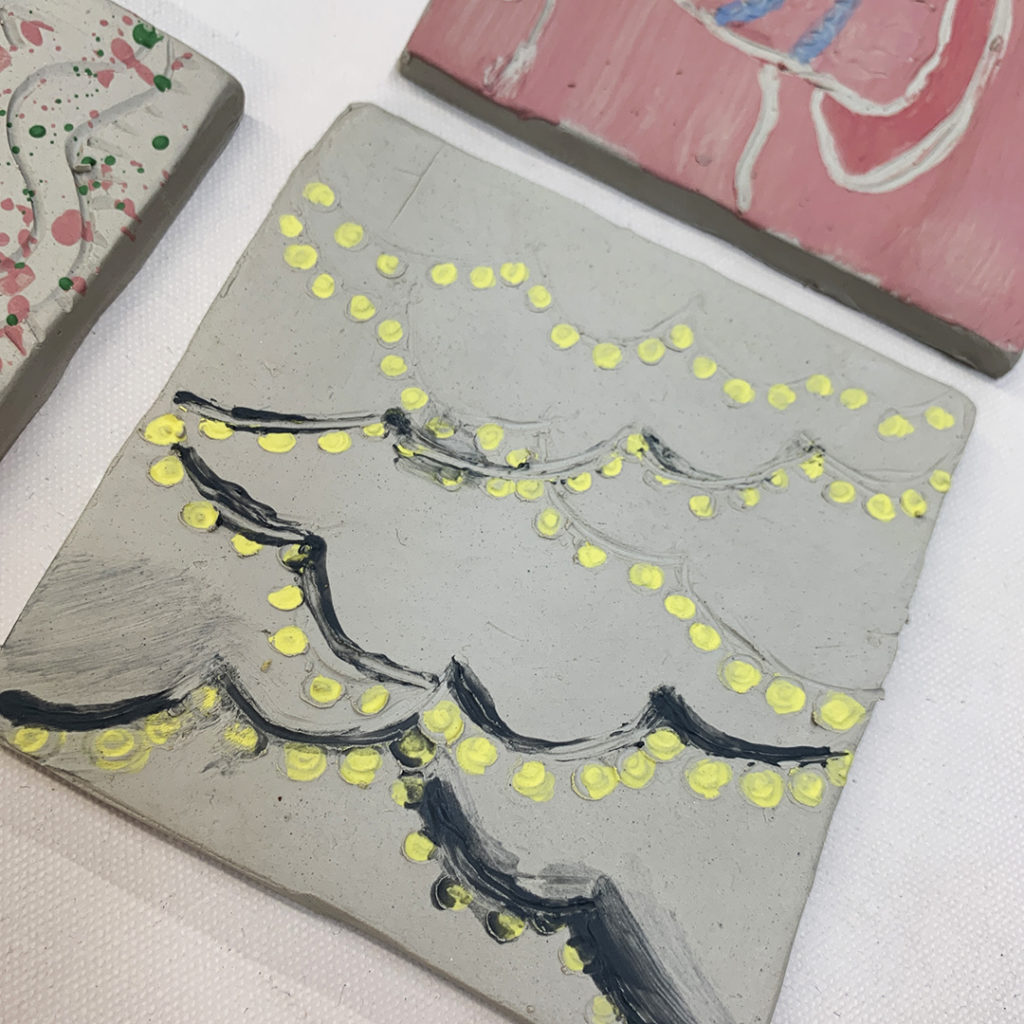
FESTIVE –


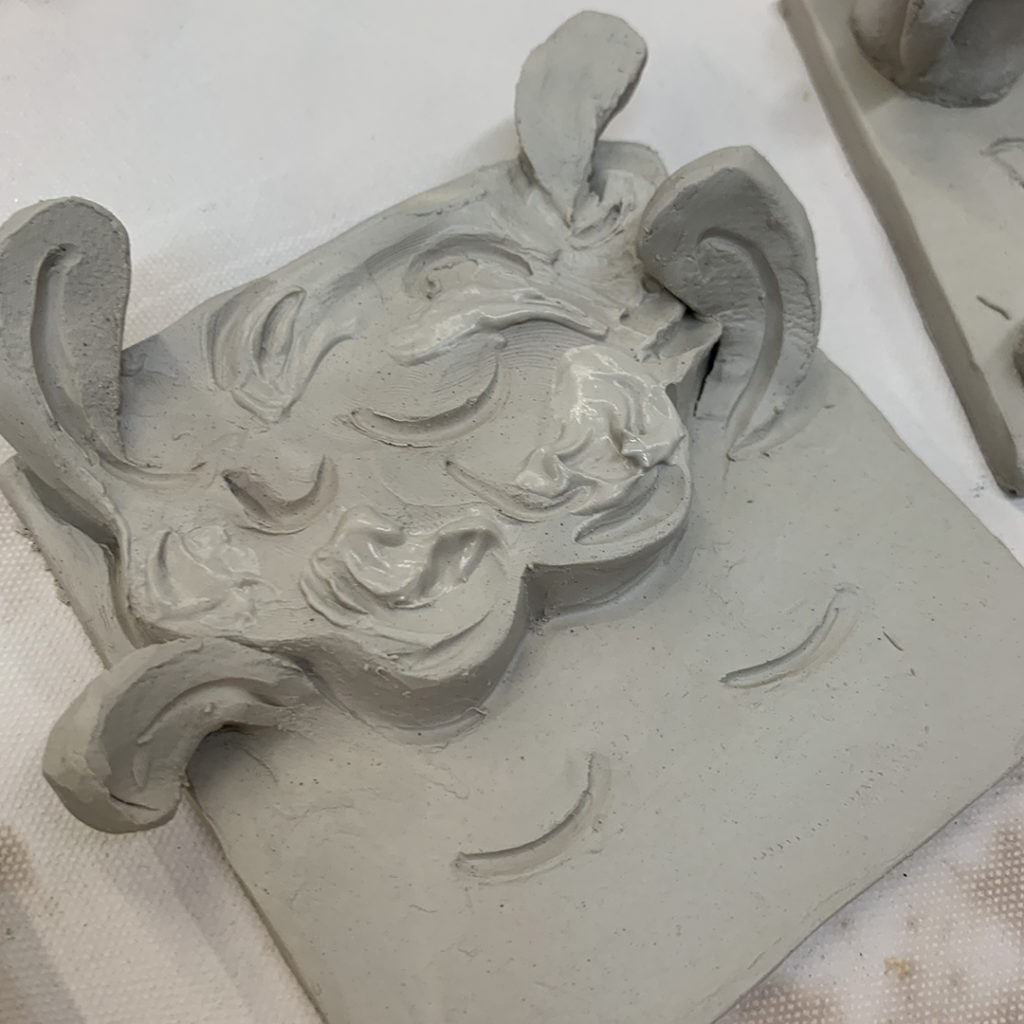
JUXTAPOSITION –


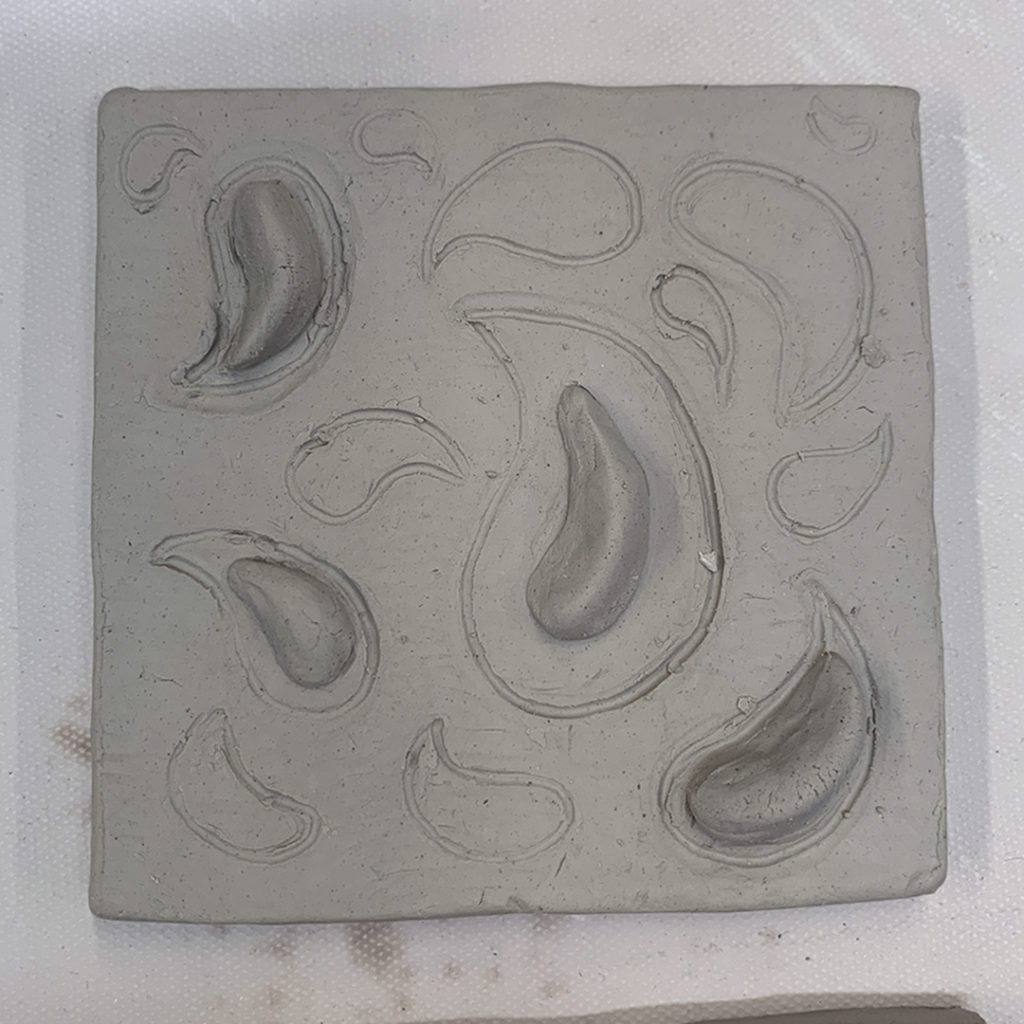
PAISLEY –


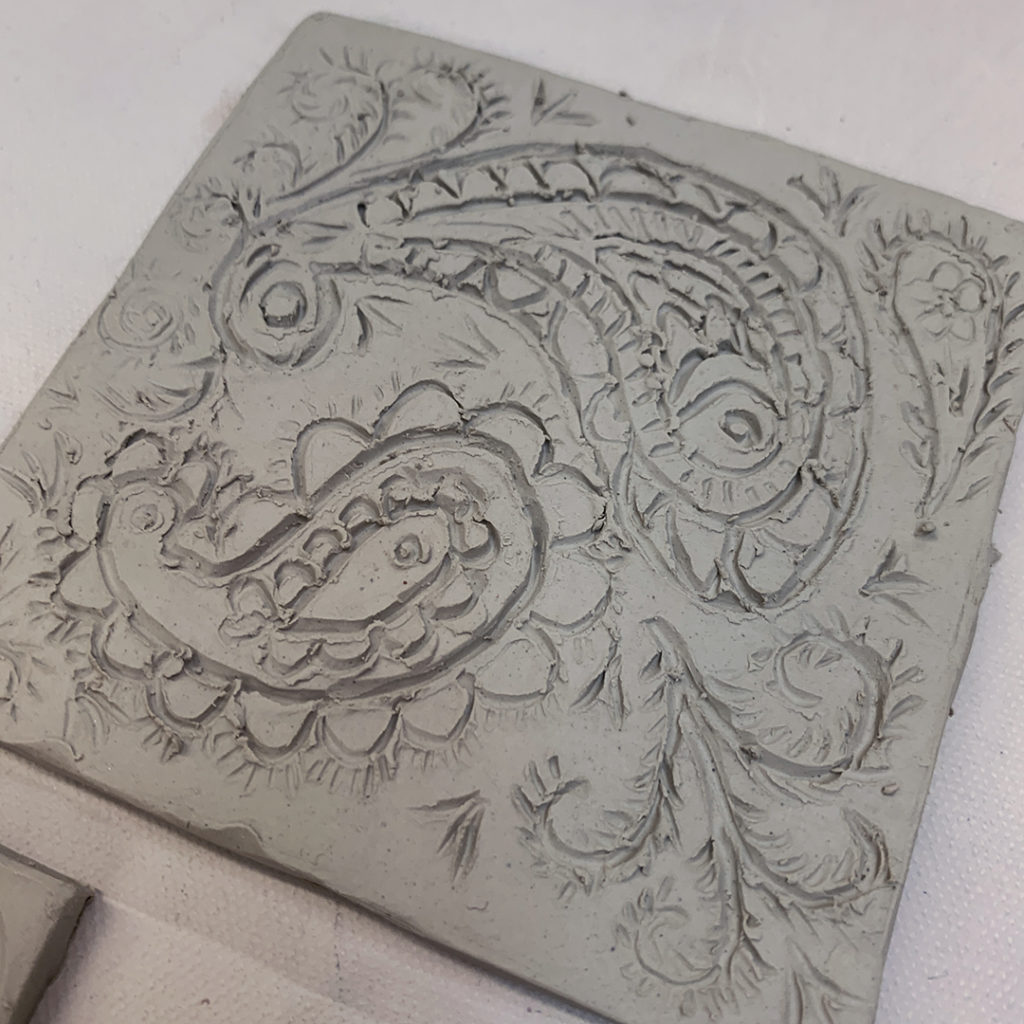

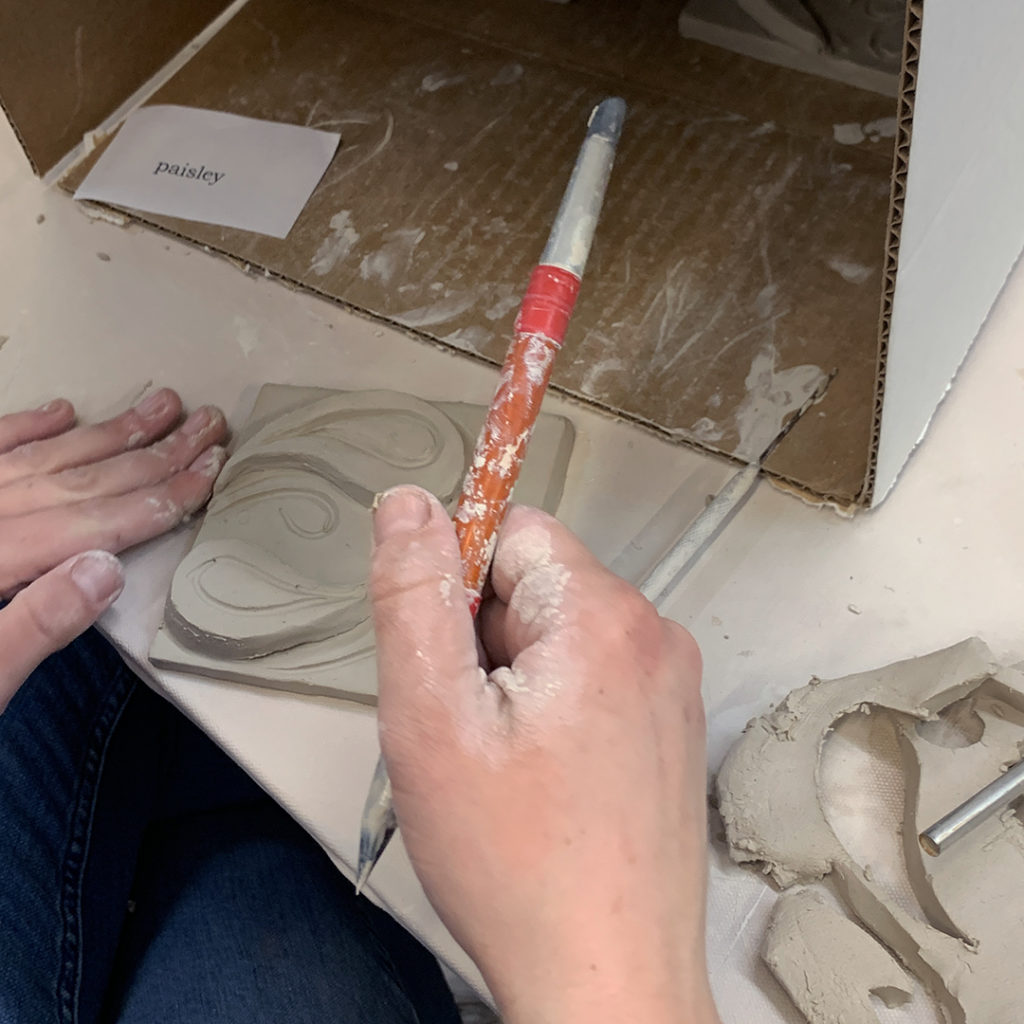
On the final night of the LILLSTREET THROWDOWN, my students came in thinking they were pretty much done except for some critiques, judging & points… but they were WRONG!!! I surprised them with one last challenge… decorating tiles with only 15 minutes per tile.
And oh, but wait there’s more...
each of their five tiles had to each represent a different given word…
chosen by me!
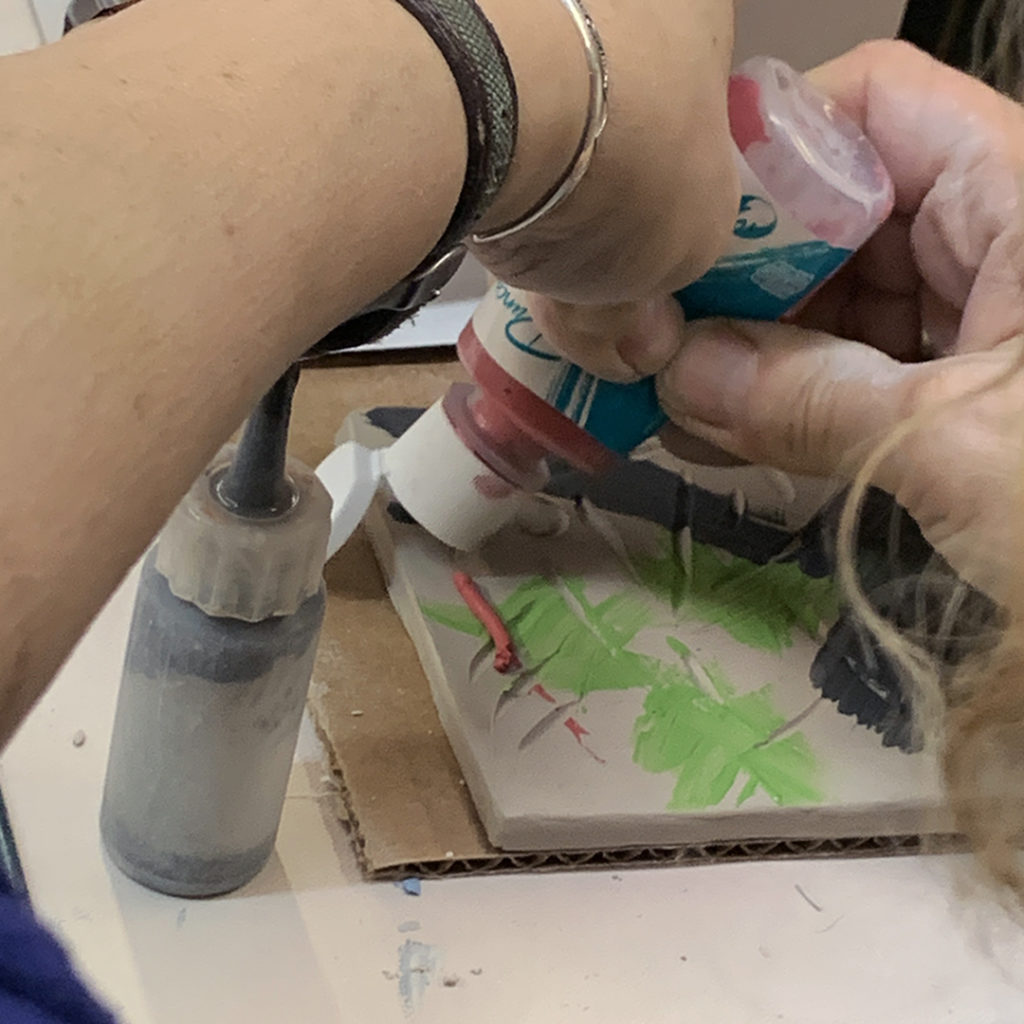


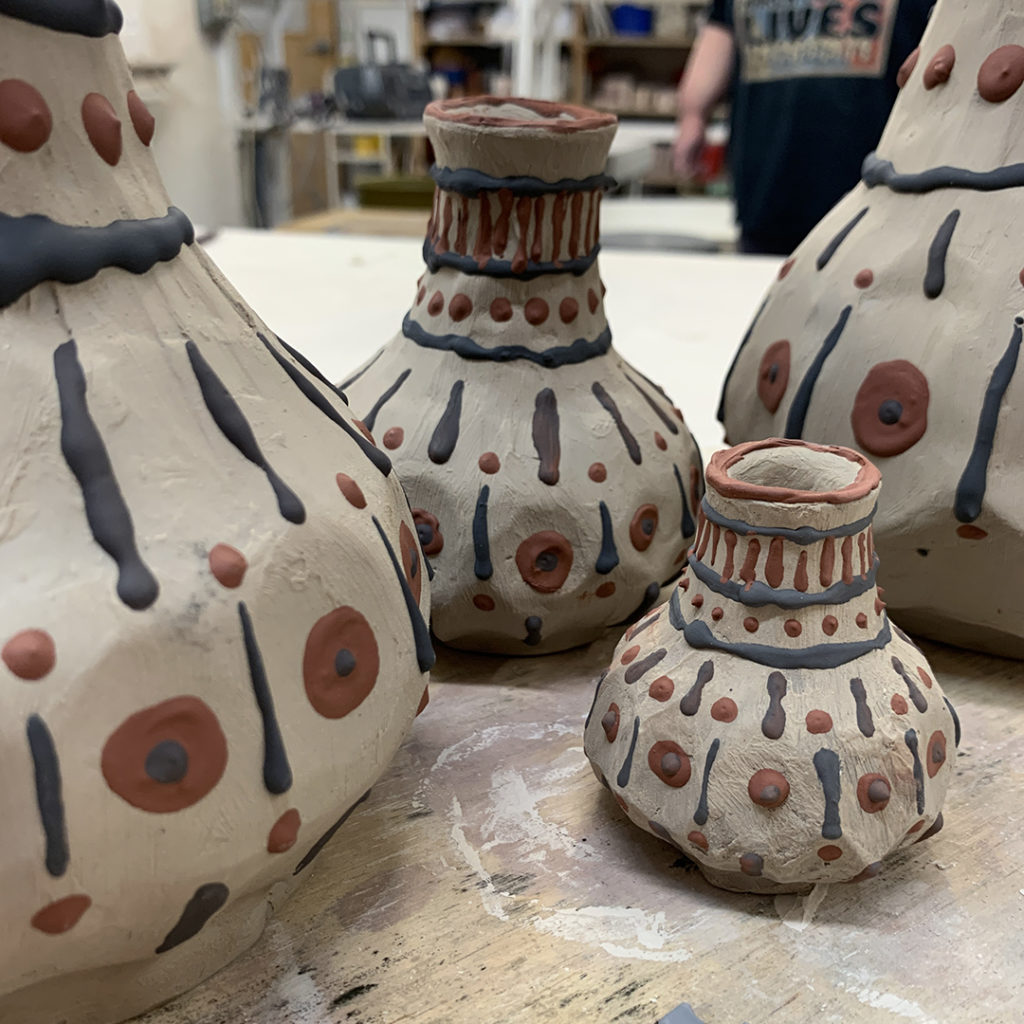
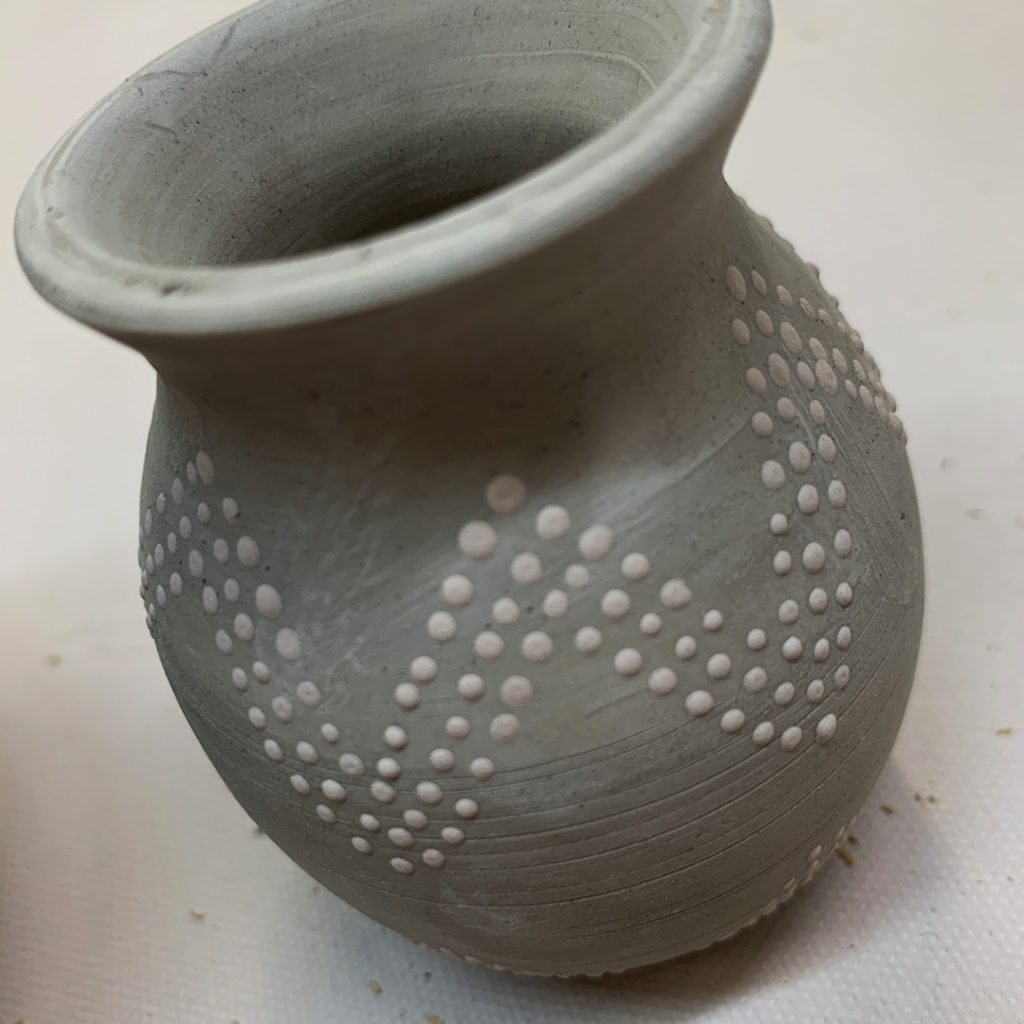
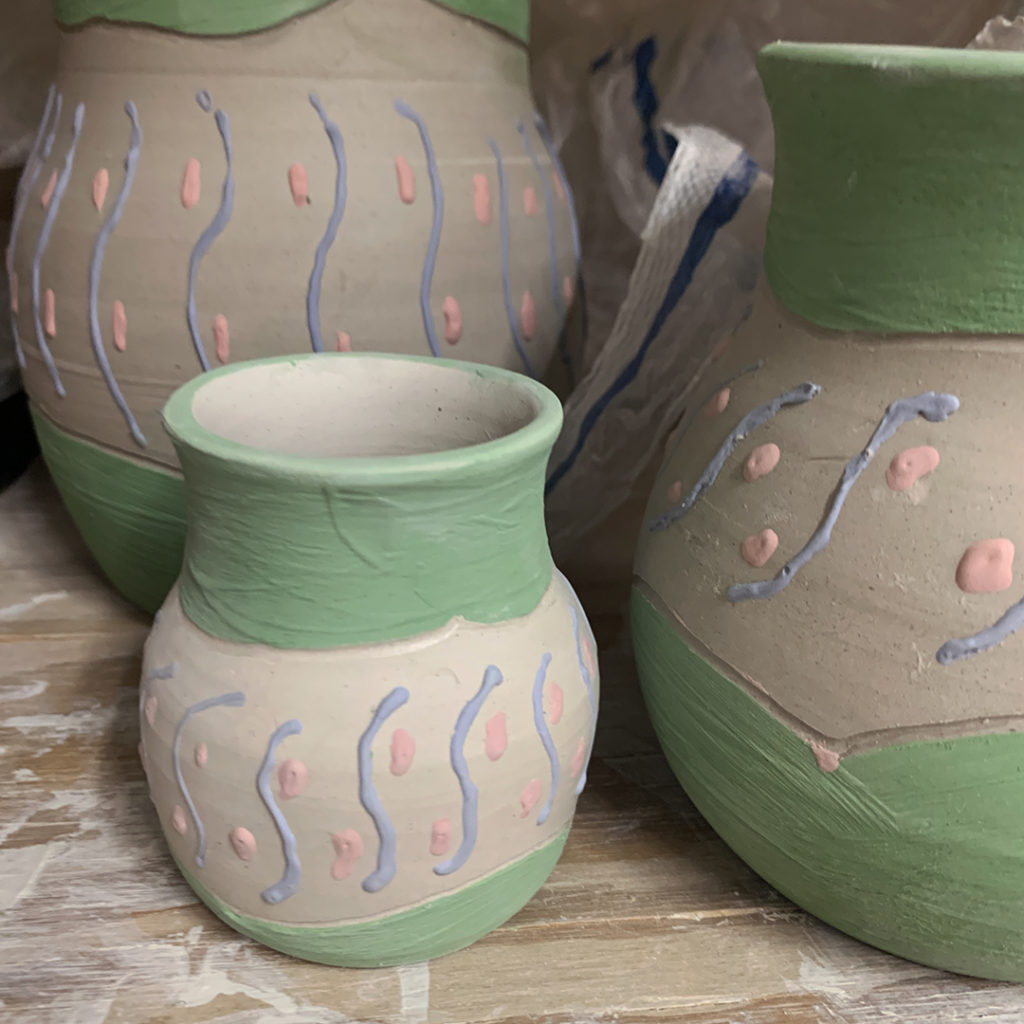
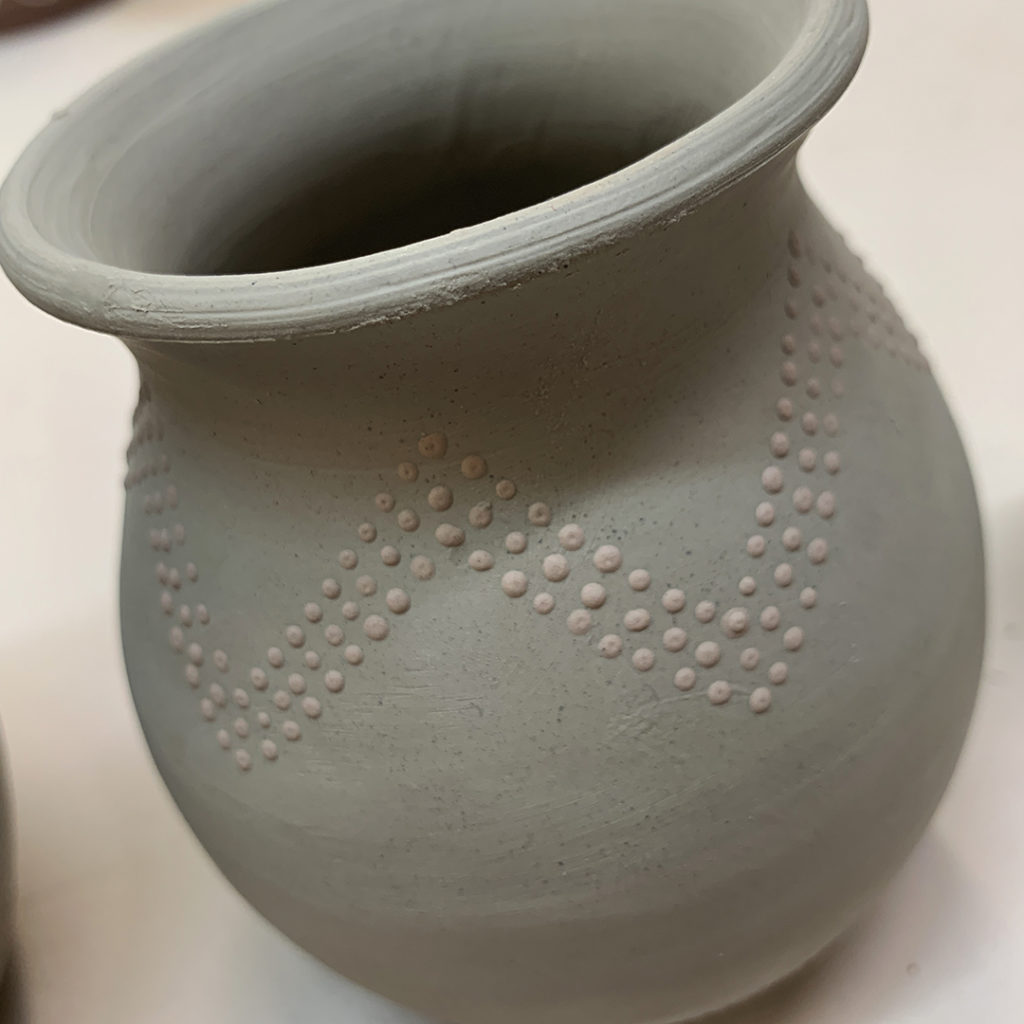
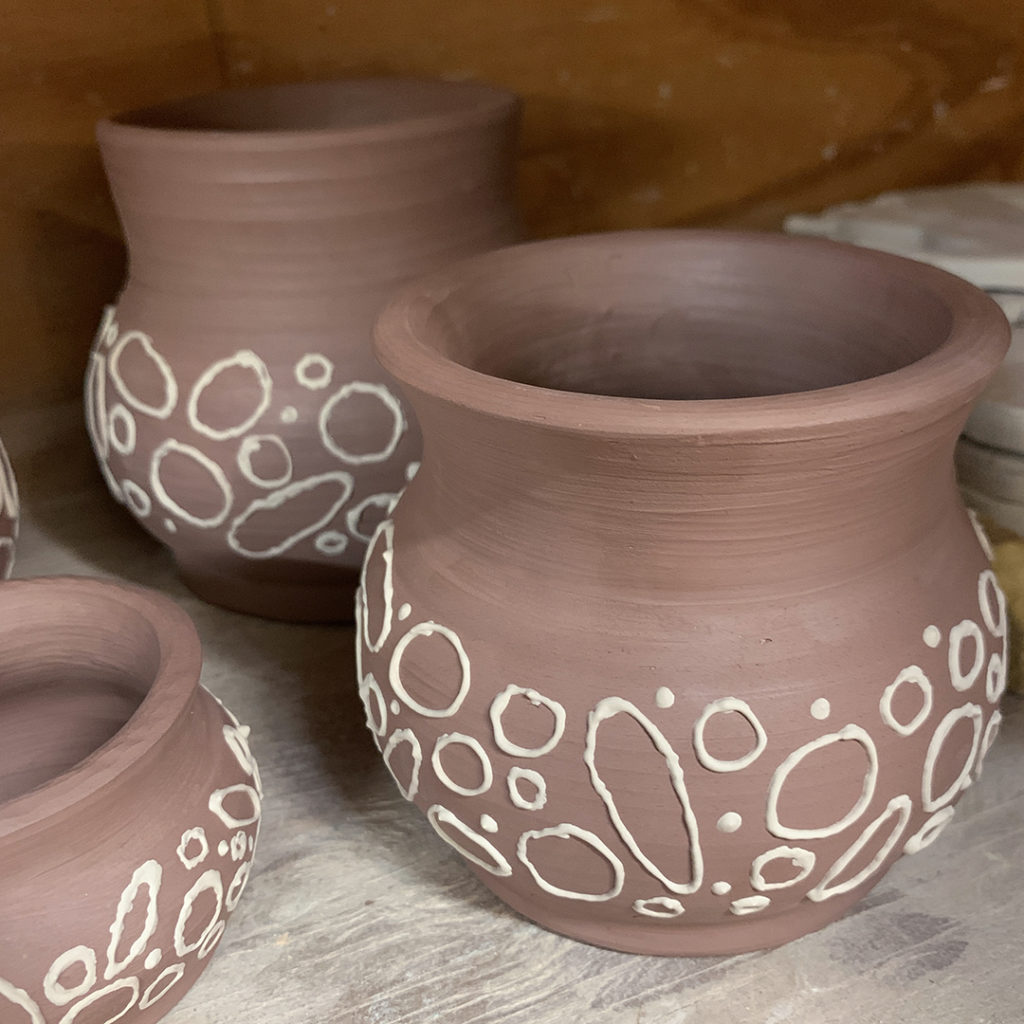
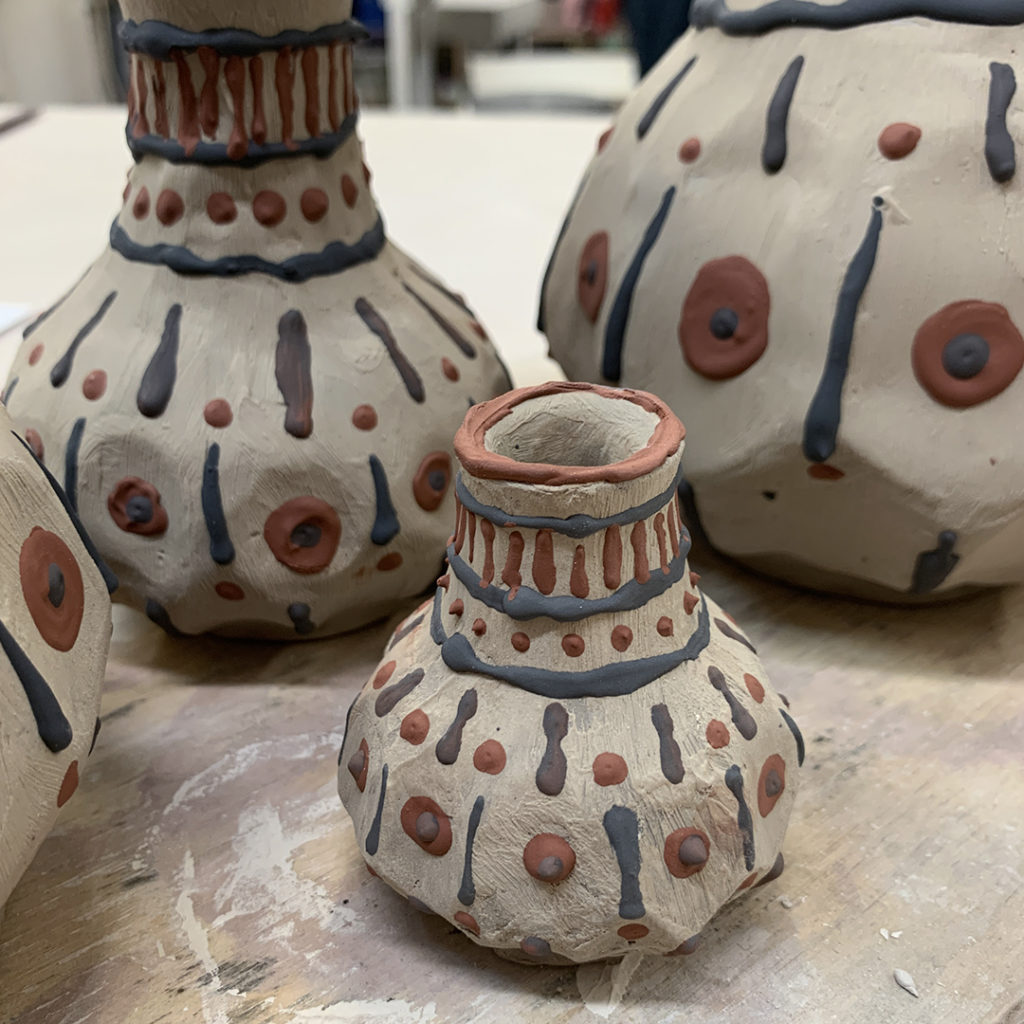
For this week’s LILLSTREET THROWDOWN, my students brought in their homework from last week. Which was trimming & decorating with slip trailing on the four “matching” vases they threw during class last week. It was fun to see how each of them approached the challenge differently… many of them slip trailing for the very first time!!!


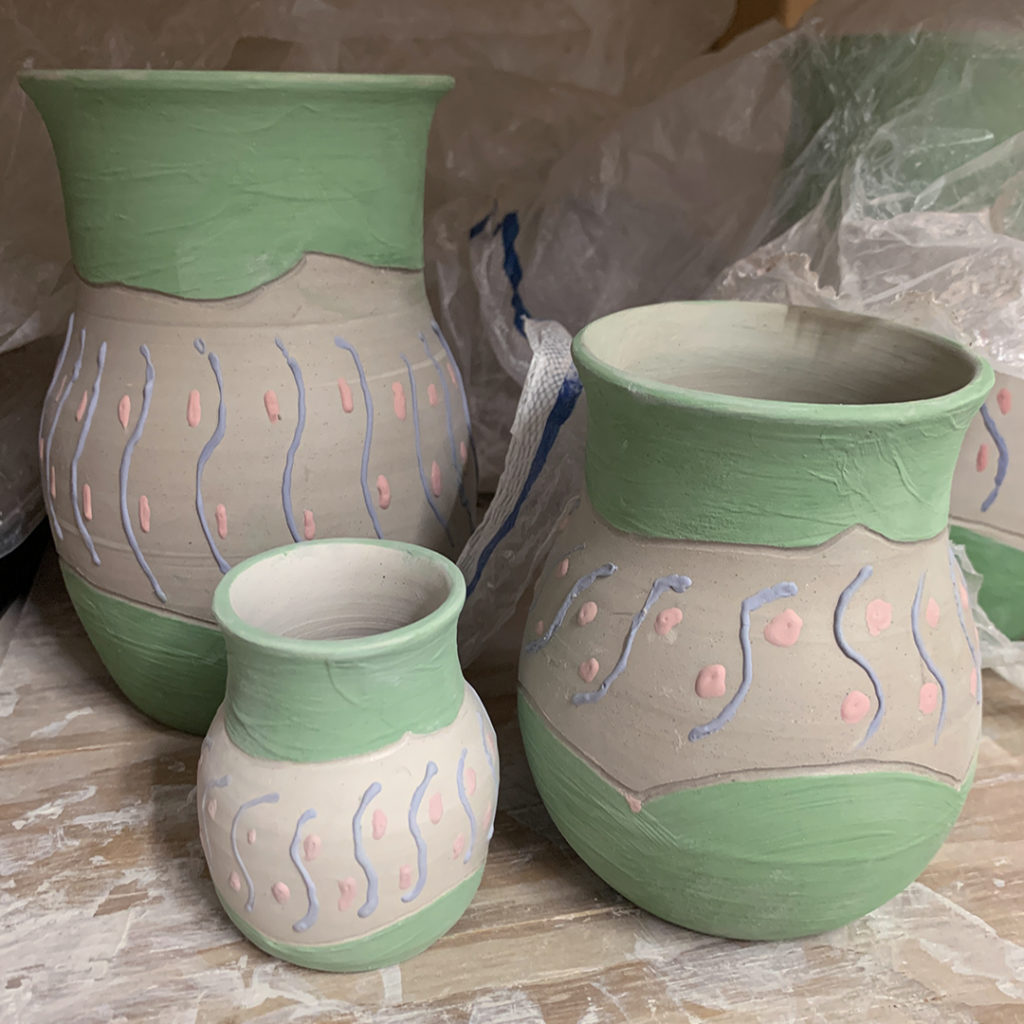
THE GOOD…
I have the most fantastic students!
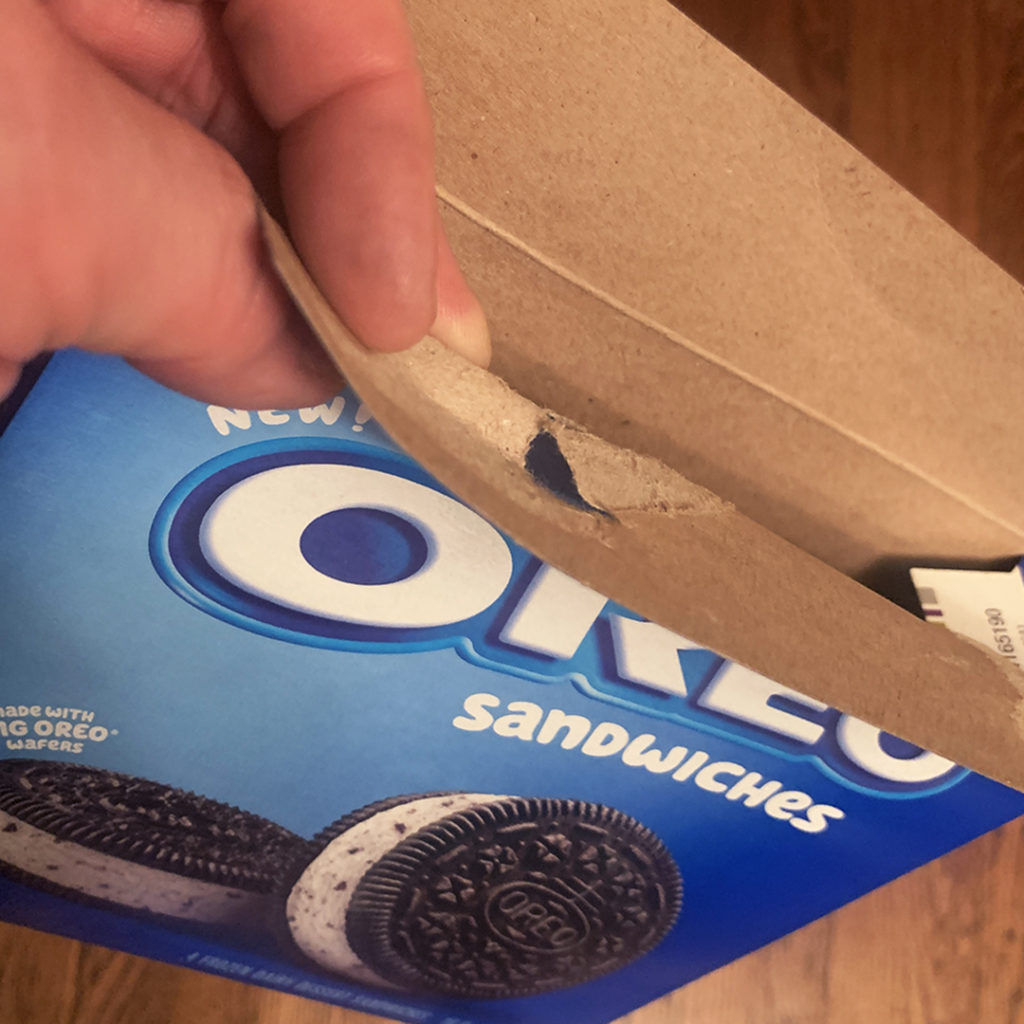
Last night, Davis brought me this package of the brand NEW Oreo Ice Cream Sandwiches as a “Thank You” for another great pottery session! Since we’re still under a “no-potluck-zone” at Lillstreet, I put them in the freezer and said “Thank You so much Davis… can’t wait to try them later!”

THE BAD…
When I went just now to get them out of the Lillstreet freezer clearly marked “LILLSTREET STAFF ONLY”… not even 24 hours later… the box had been ripped open and half of them are already gone!!! Keep in mind, I was there until 11:00pm last night and no one else was there. Lillstreet opens at 10:00am in the morning… so that’s NOT EVEN NINE HOURS in the freezer when people were around… and they’ve already been plundered!!!
HOW RUDE!!!


So just when your AMAZING students continue to redeem your faith in Humanity… “someone” else has to bring you back down to Reality!!!
RUDE.
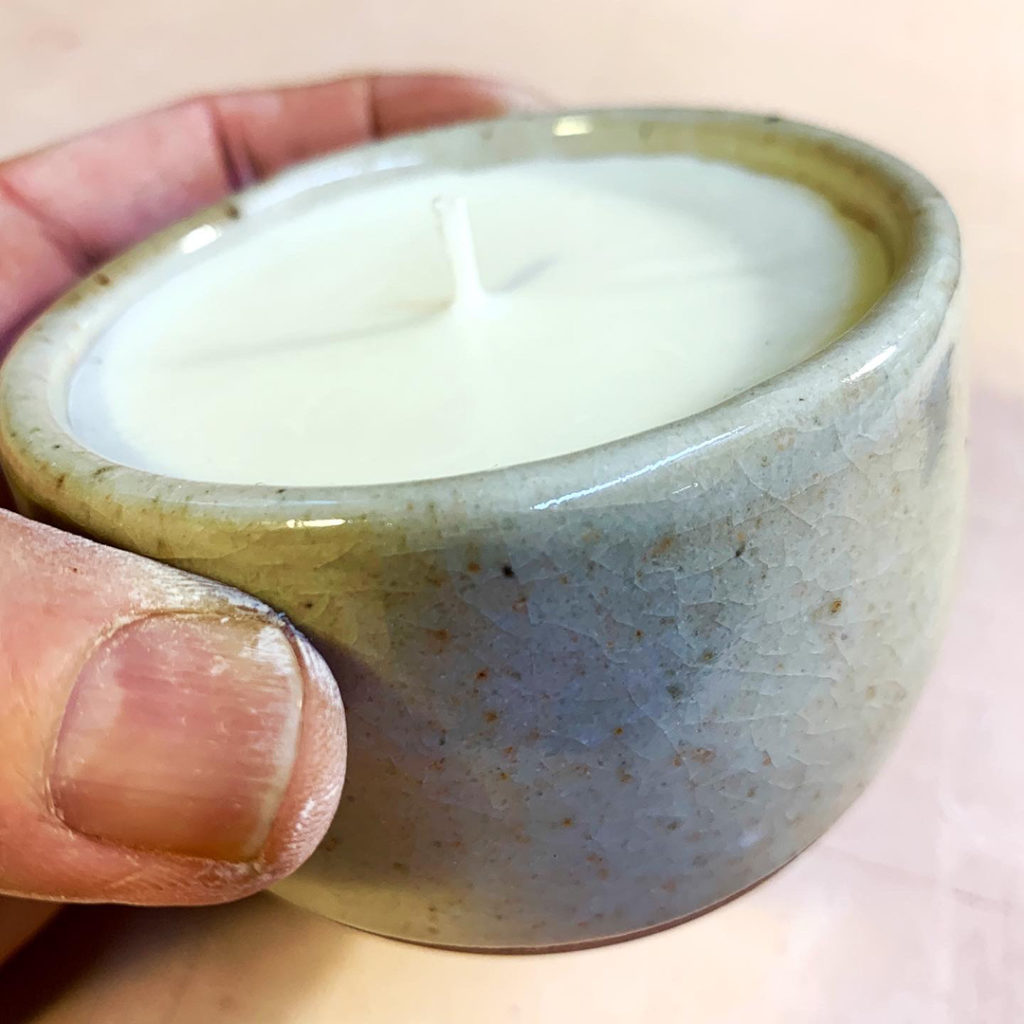
A very thoughtful gift from one of my pottery students this week… a handmade soy candle… and a second one as part of our “not-so-basic-bowls” exchange game!!! Extra special as Kelsey made the bowl and the candle… and it won’t be stolen from the freezer!!!

Thank you Kelsey… see you when the next session starts up again!


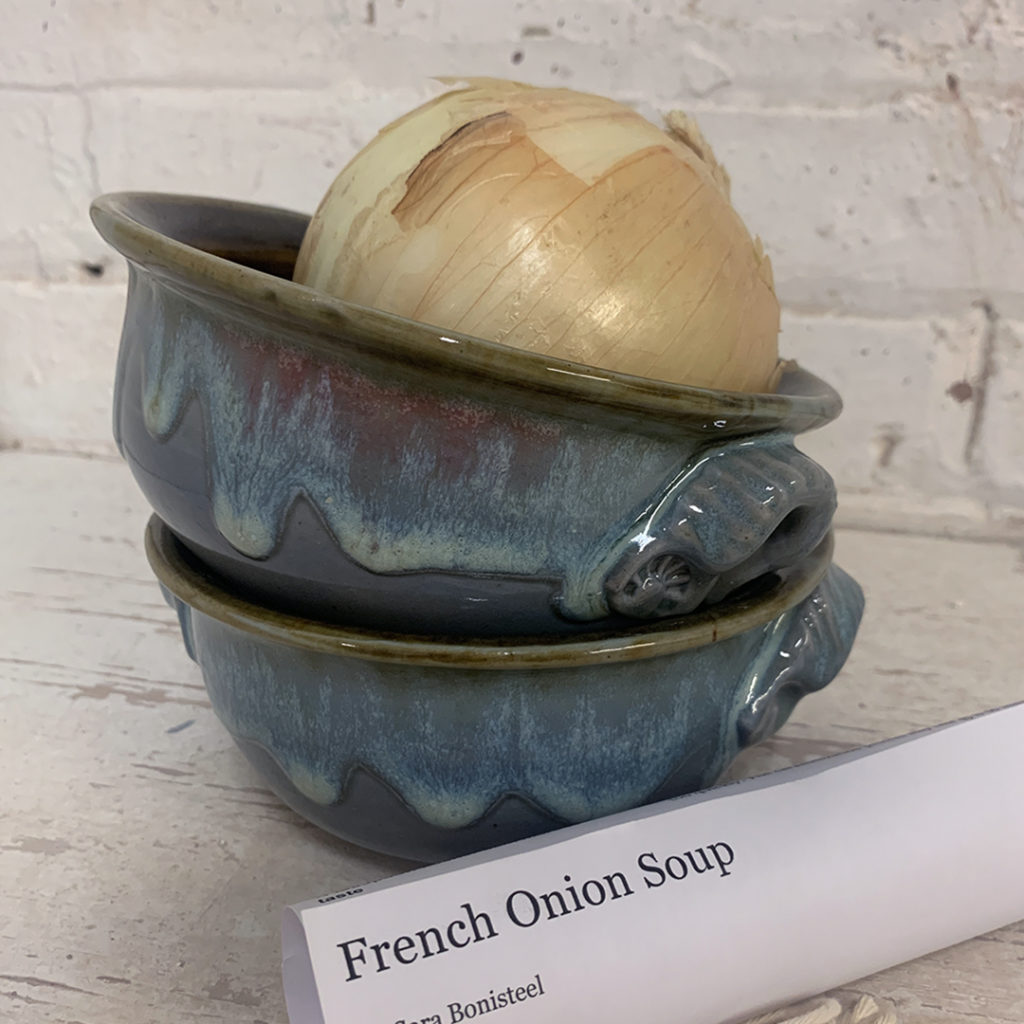
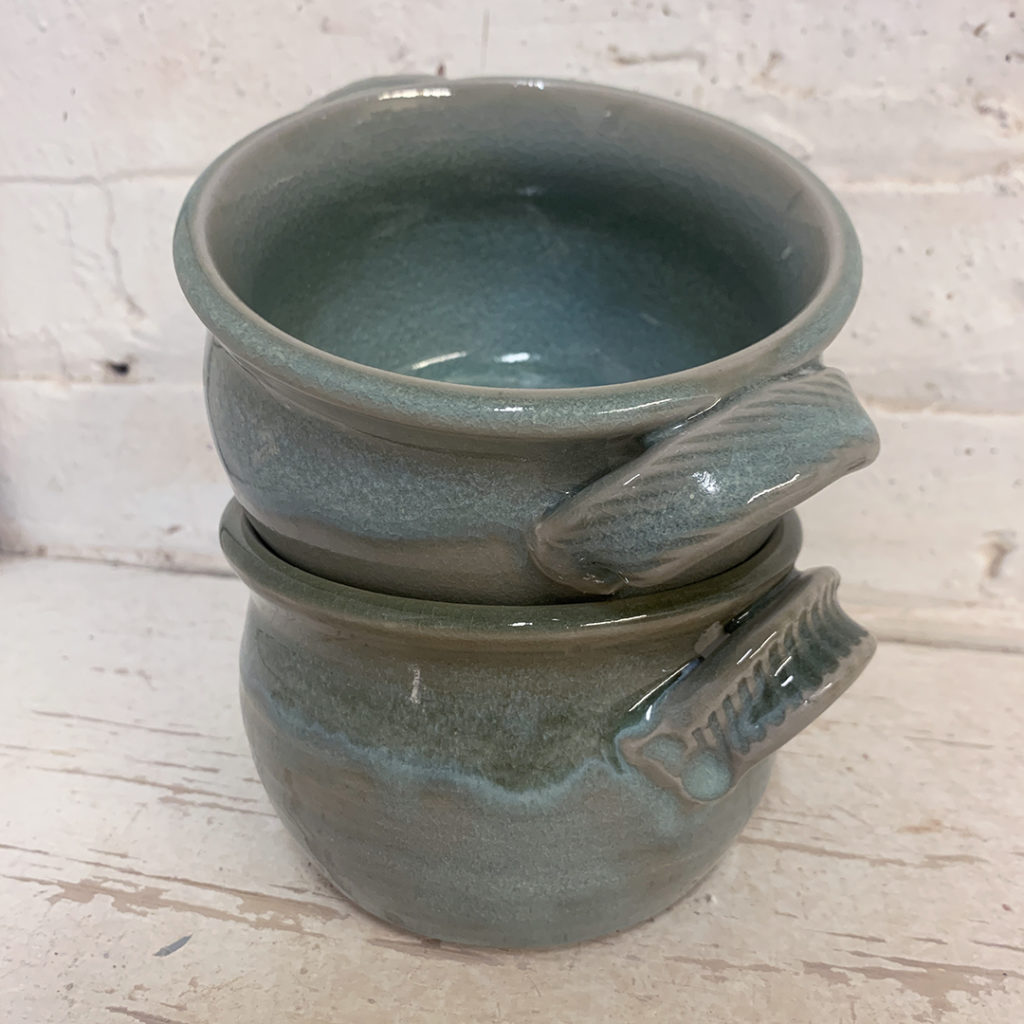
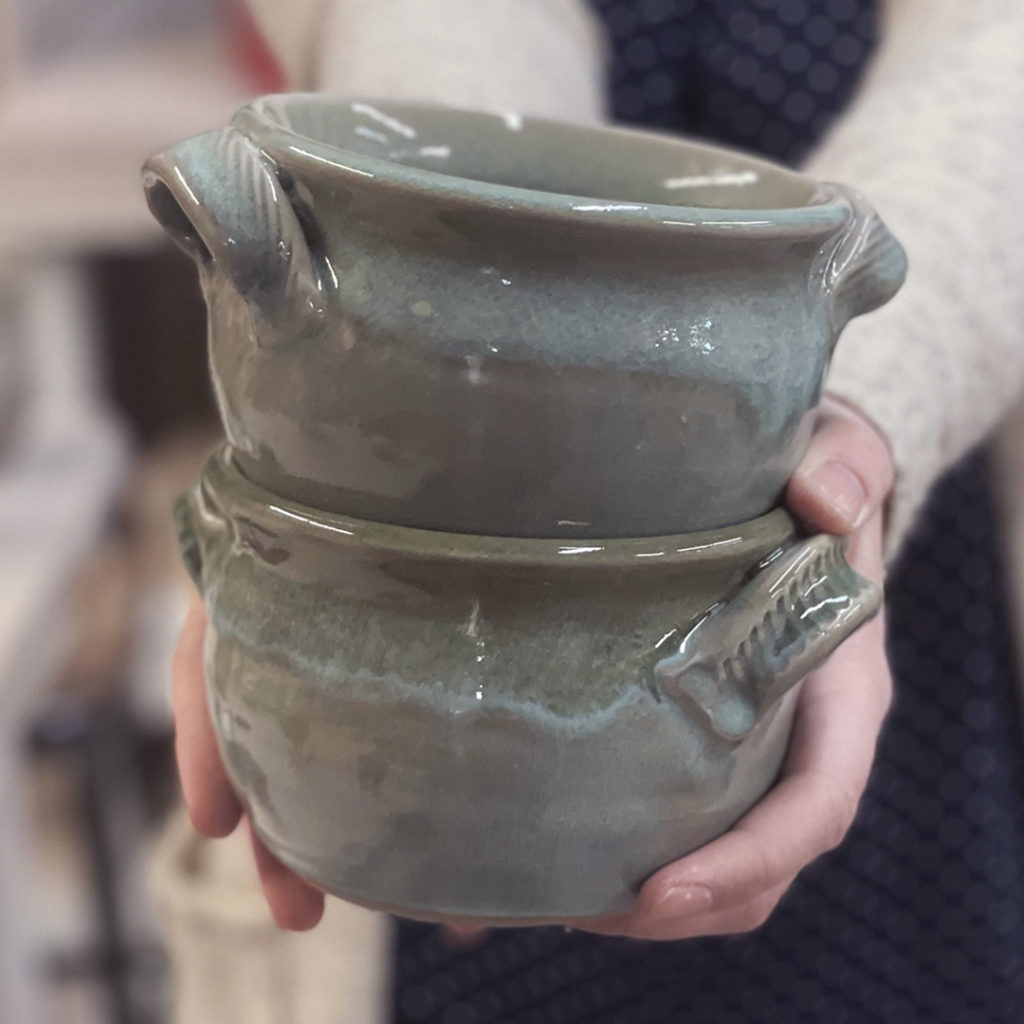
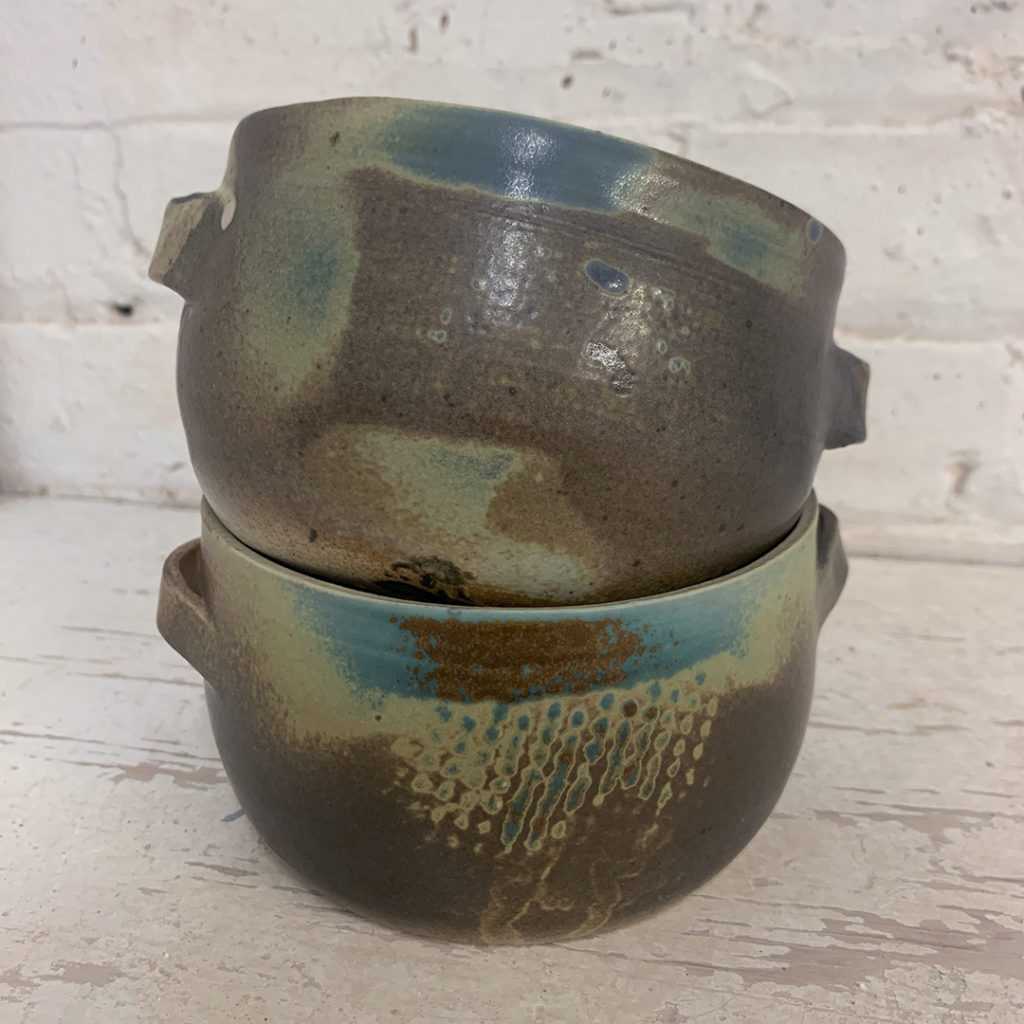
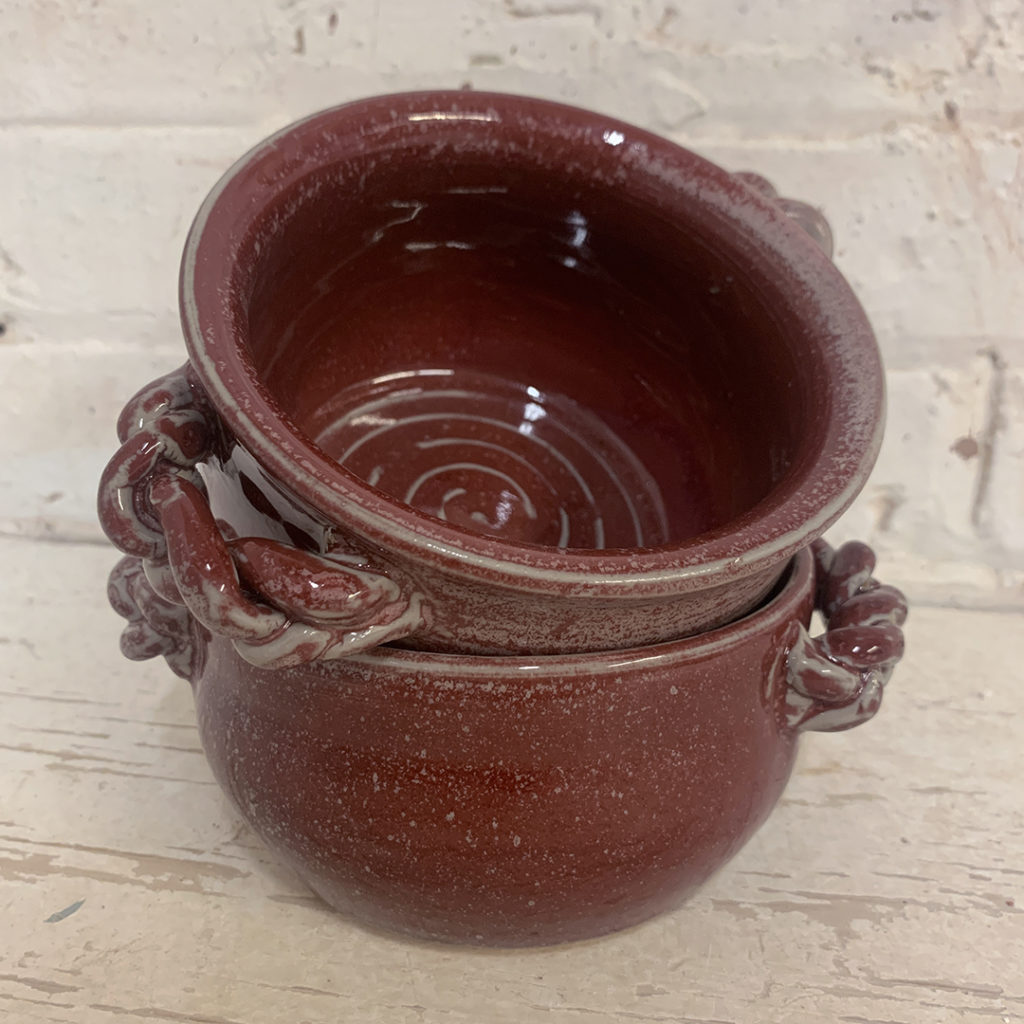
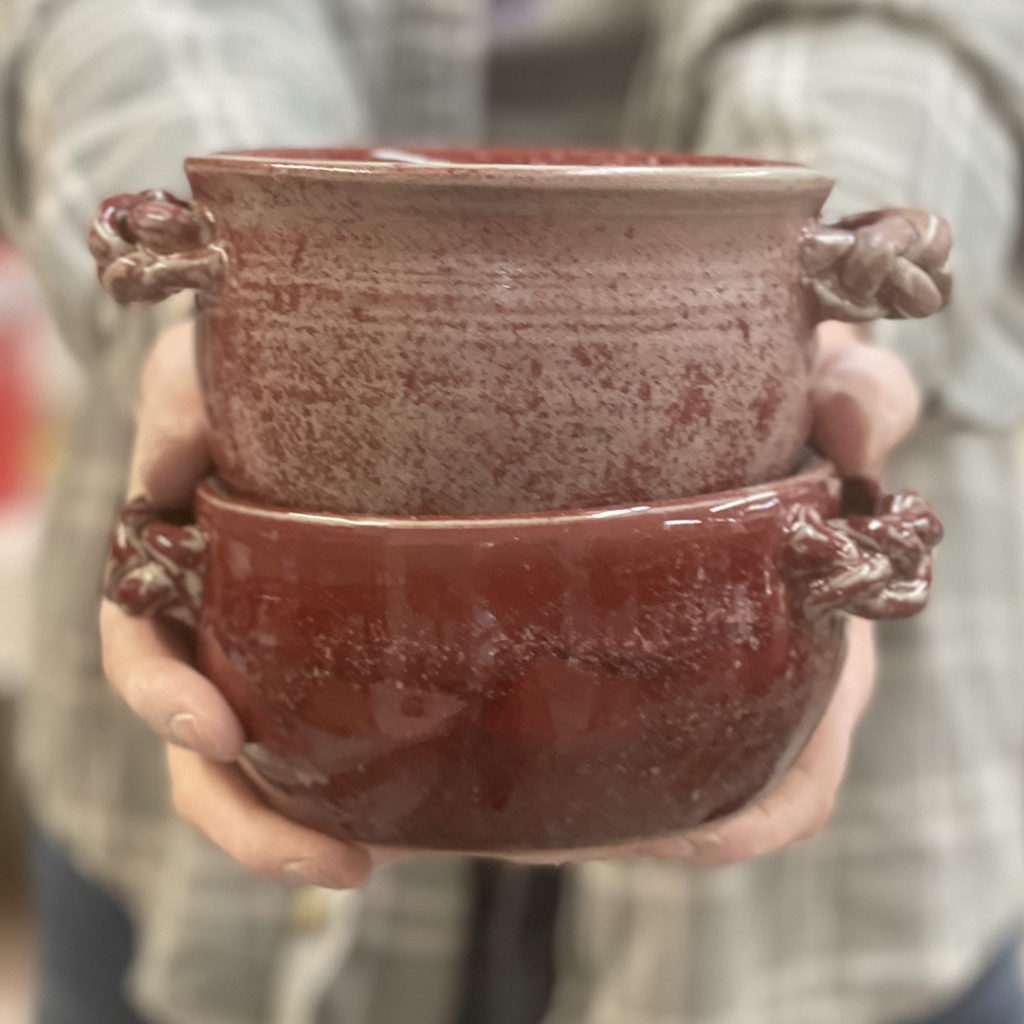
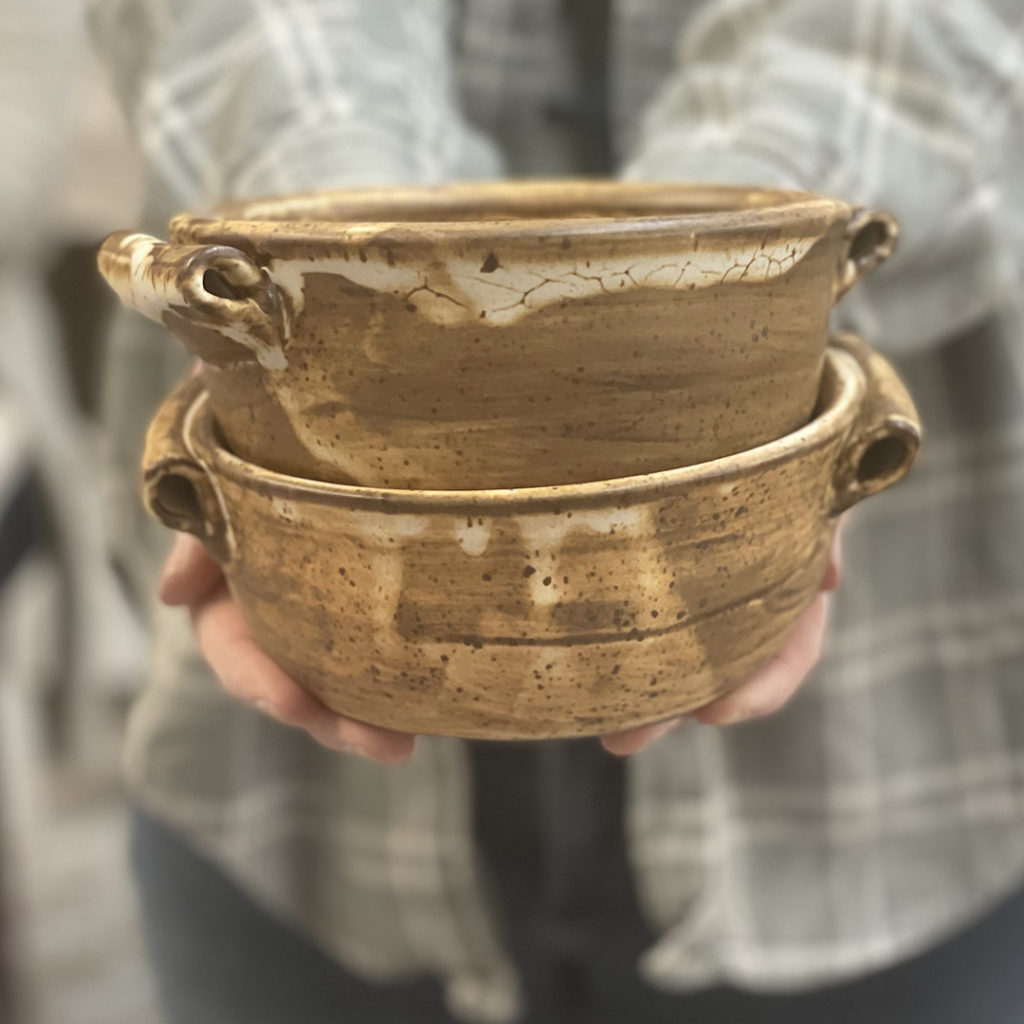
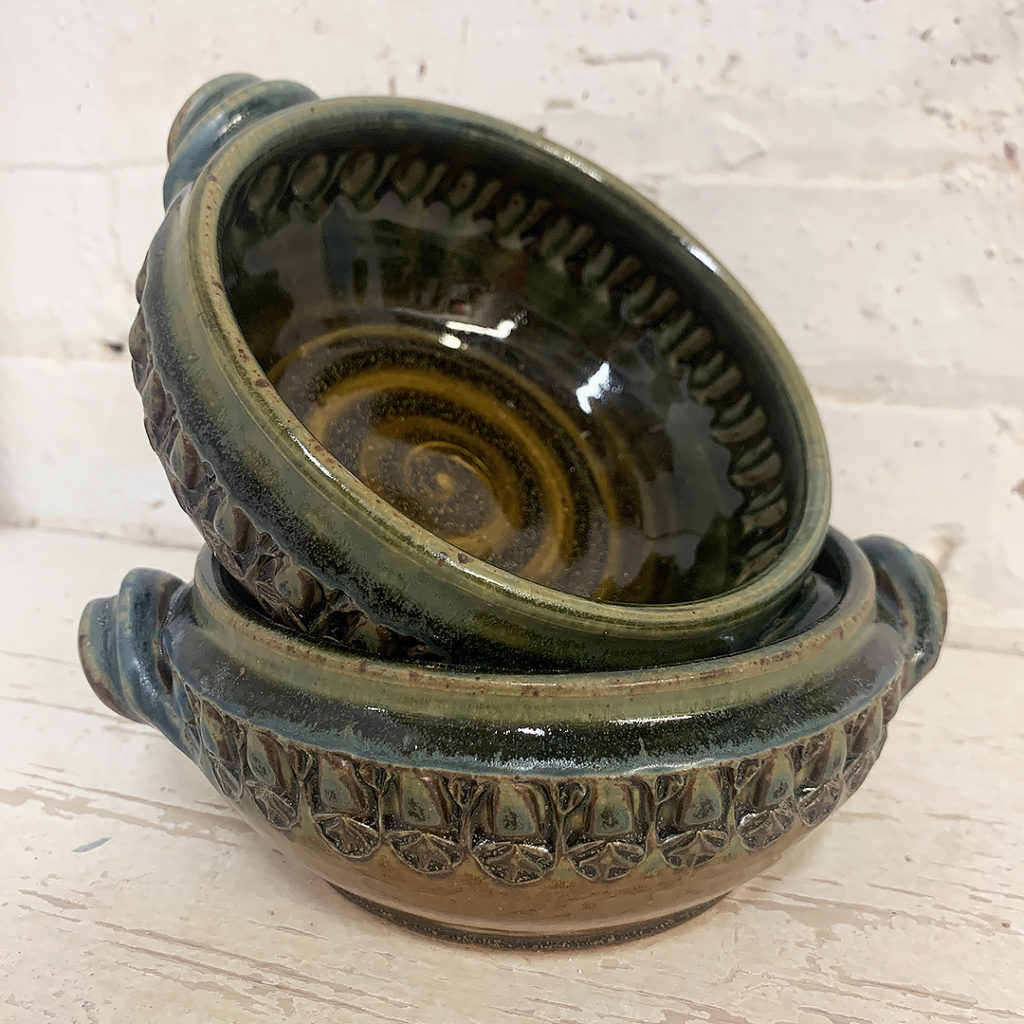
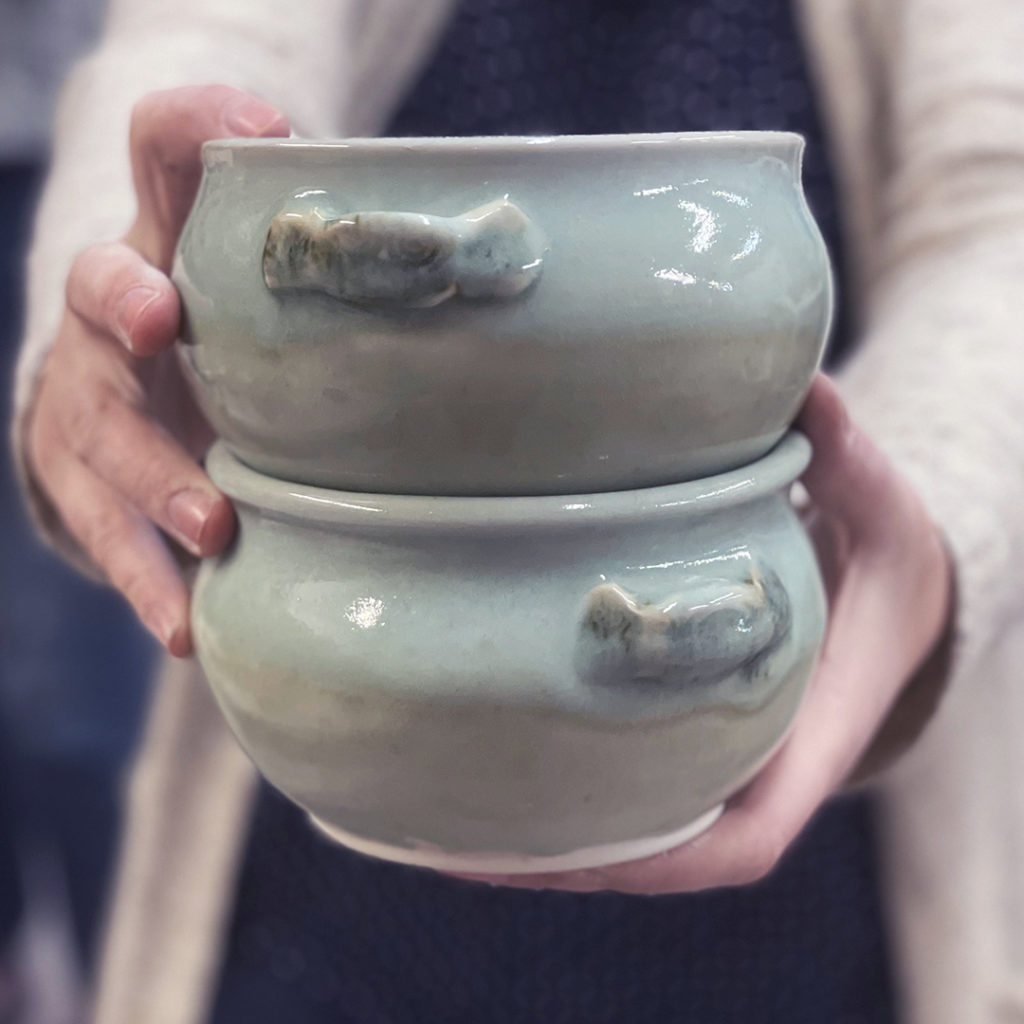
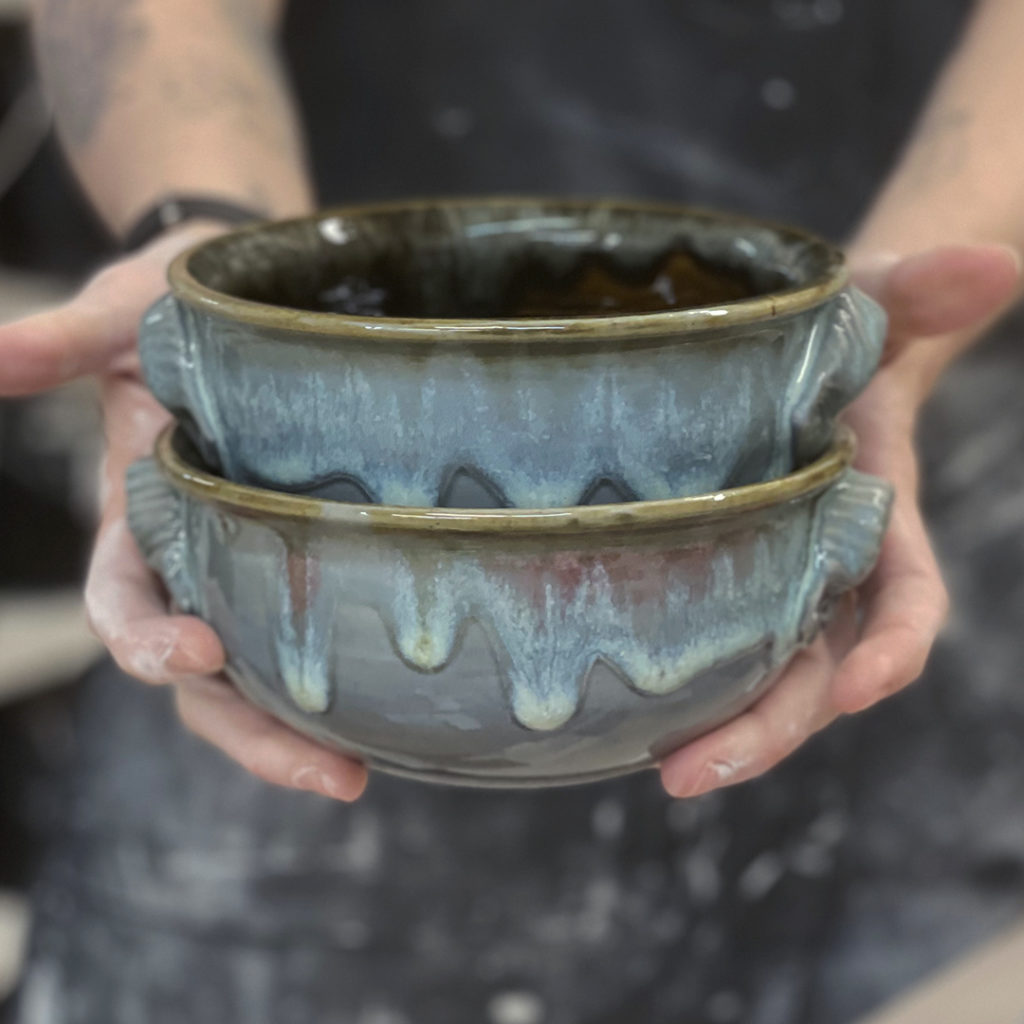
Last night in my Intermediate Wheelthrowing class, we celebrated the end of another class session with a fun “trading-exchanging-stealing” game with matching soup crocks. One of them even came with an onion & the recipe for French Onion Soup!!!


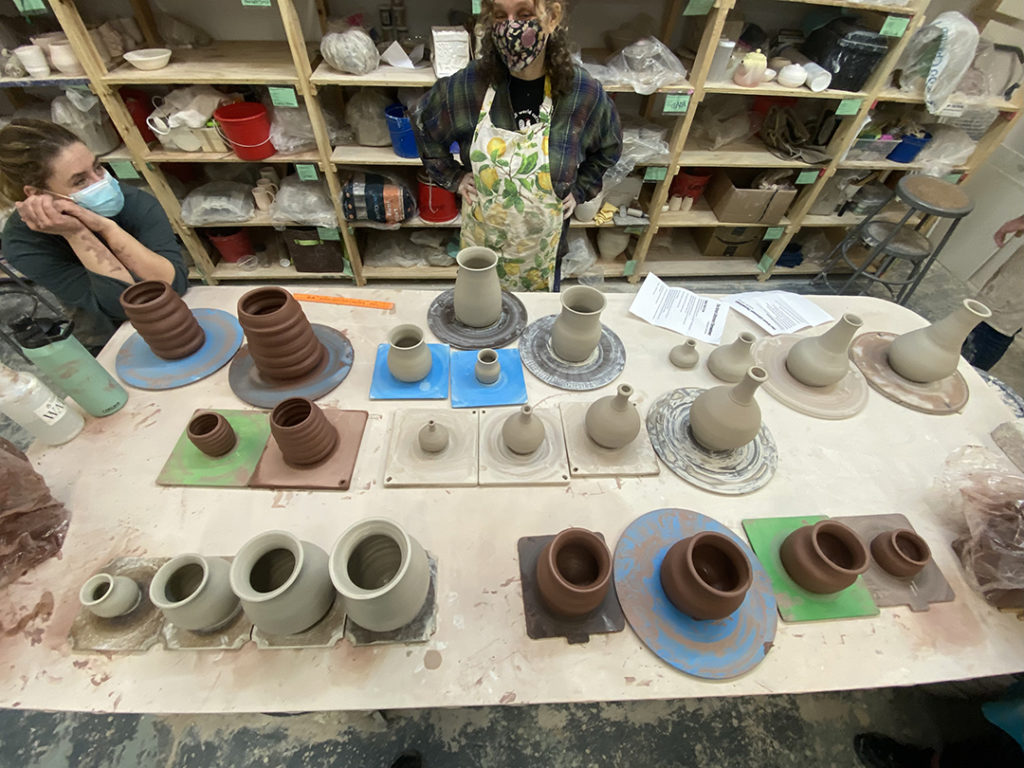
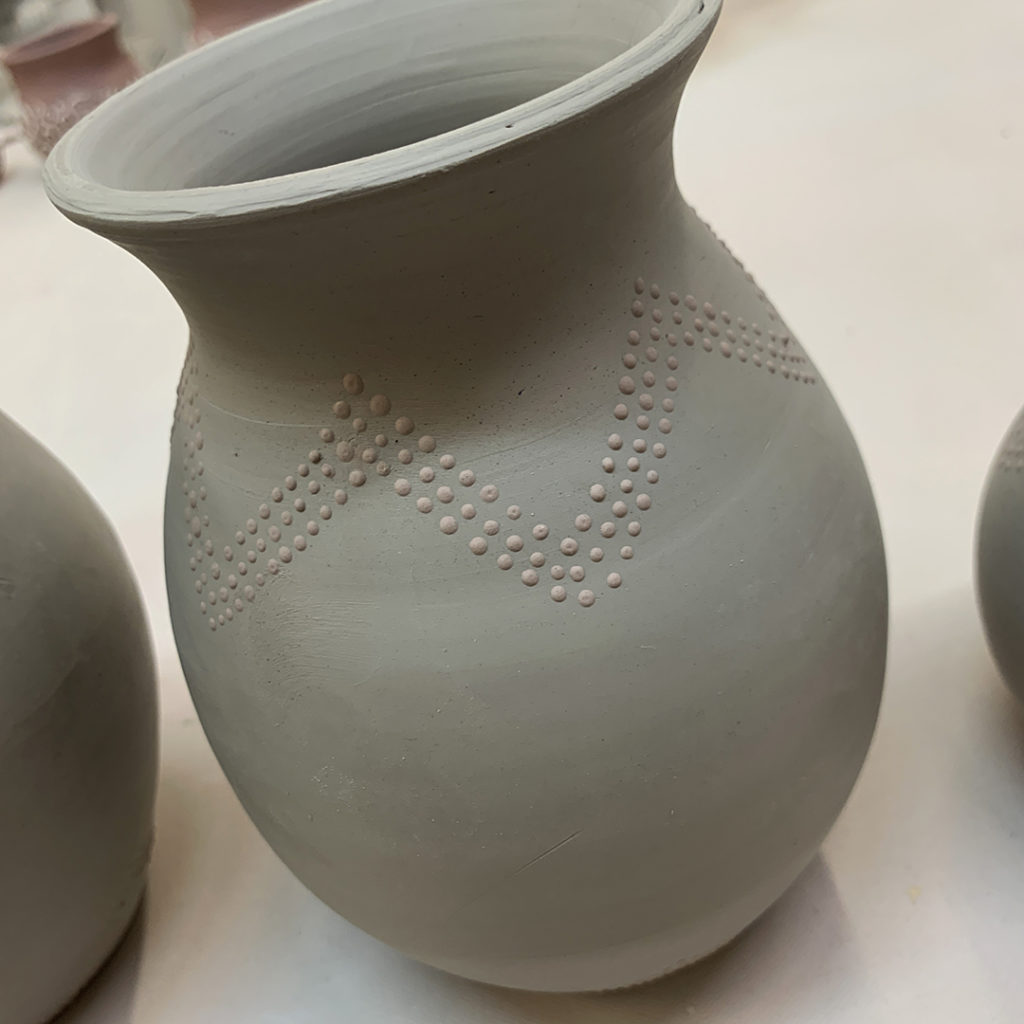
While I was in St. Louis this week, my LILLSTREET THROWDOWN class went on without me… thanks to my sub Lisa… and my pre-determined wheelthrowing challenges! This week they had to make their own version of a “perfect” seven-inch cylinder! Not realizing until later that they would also have to recreate that same “perfect” vase proportionately at 5-inches tall… and them again at 3-inches tall… and one more time at 9-inches! Looks like they killed it!!!


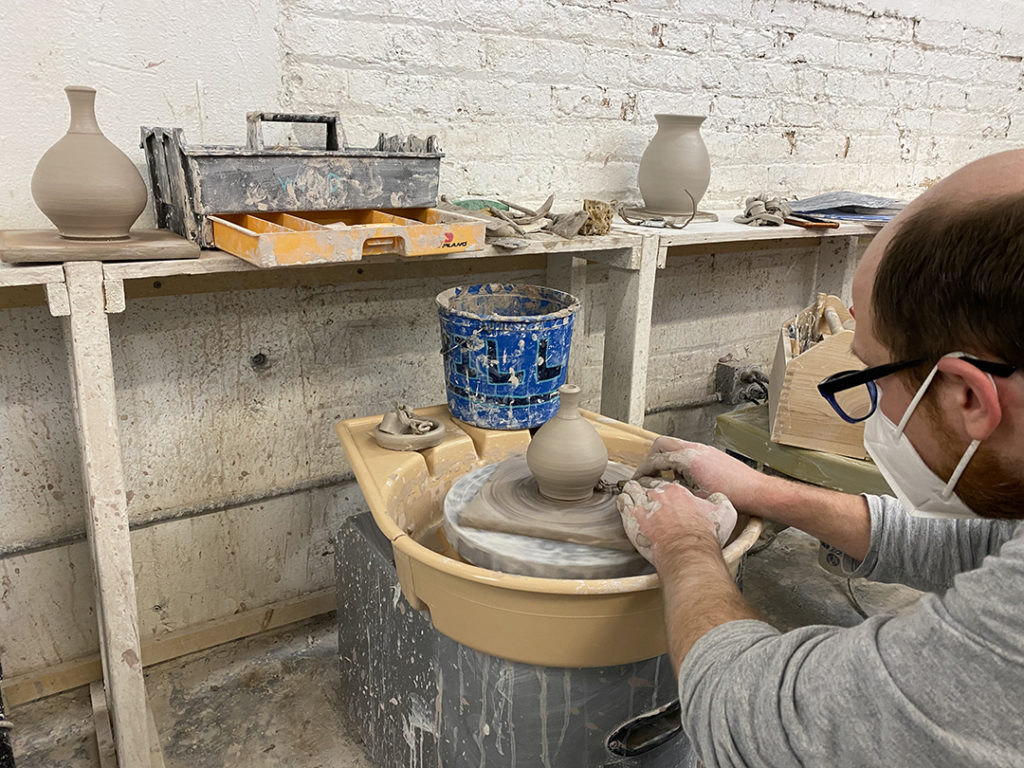
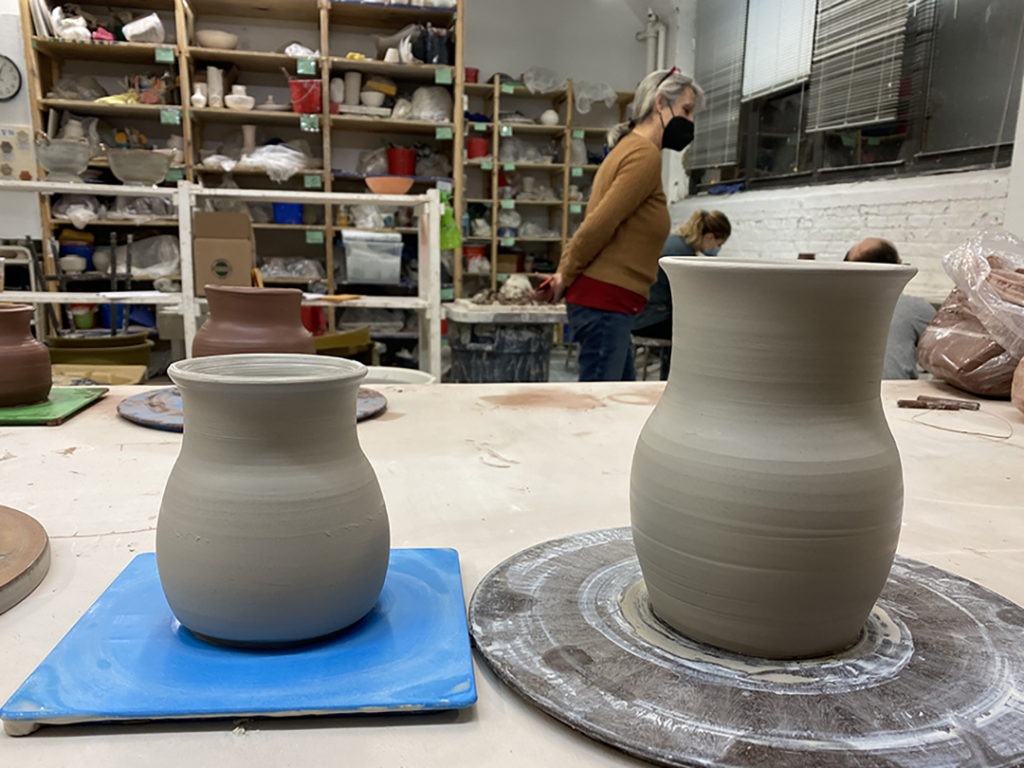
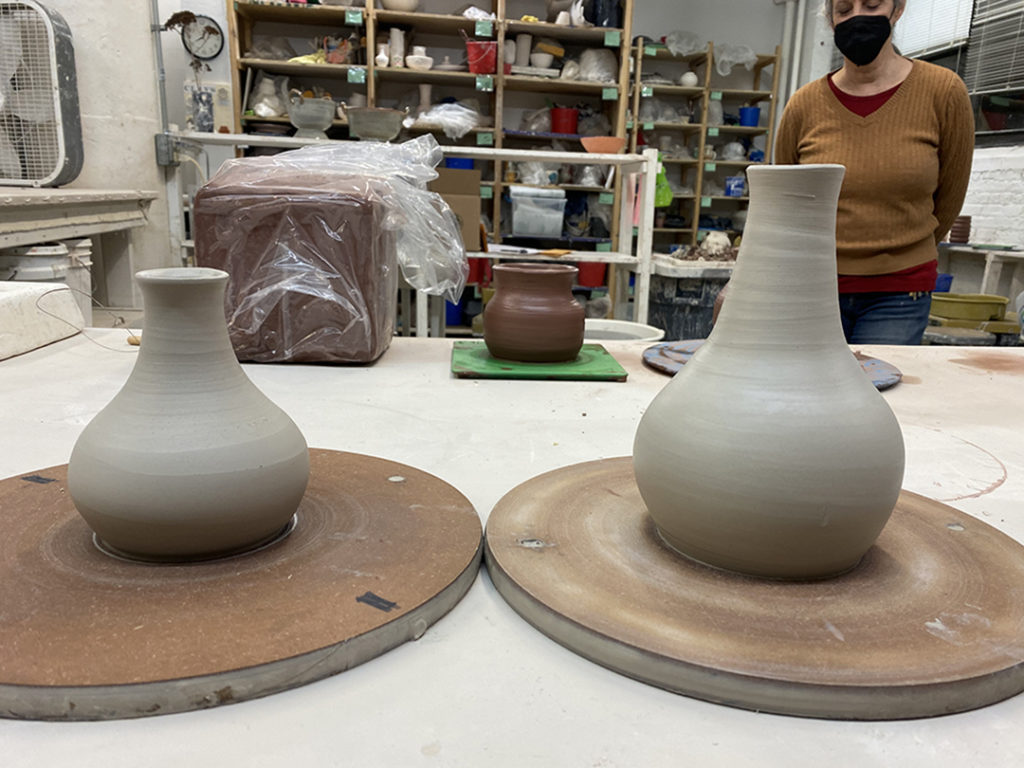


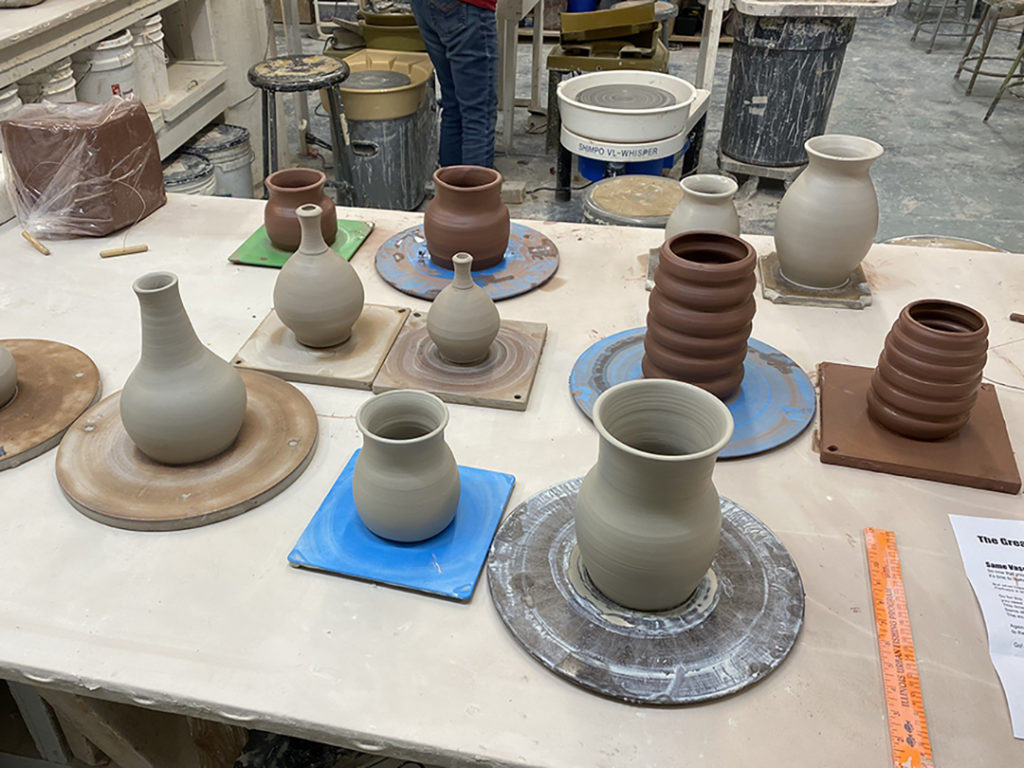

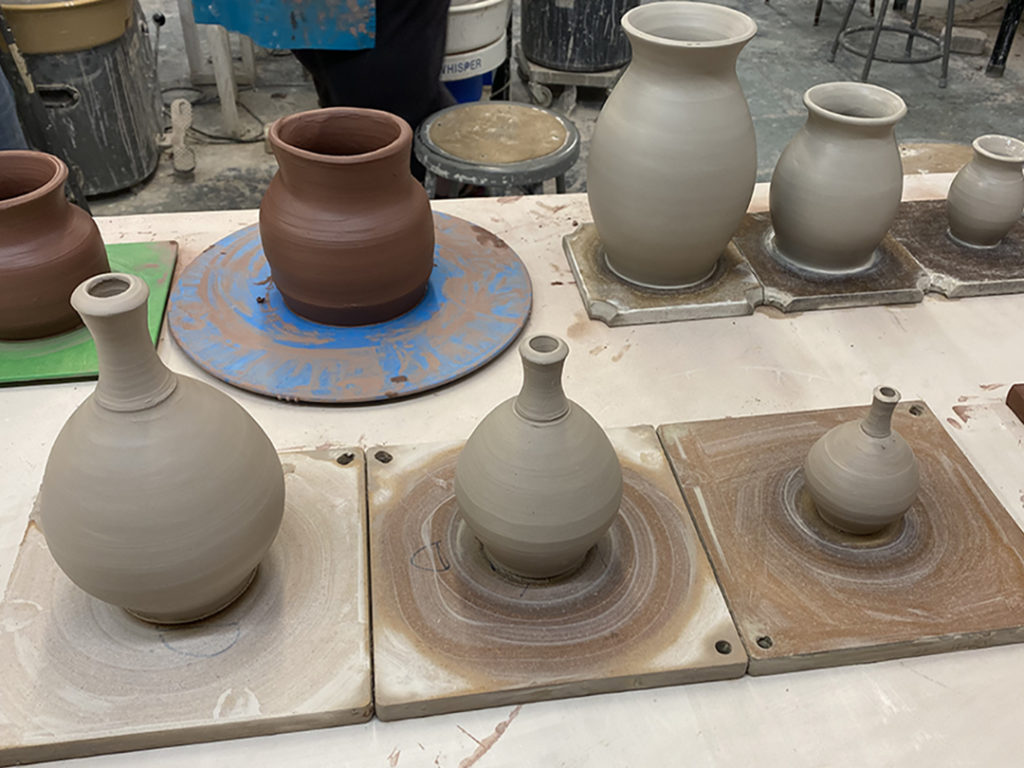

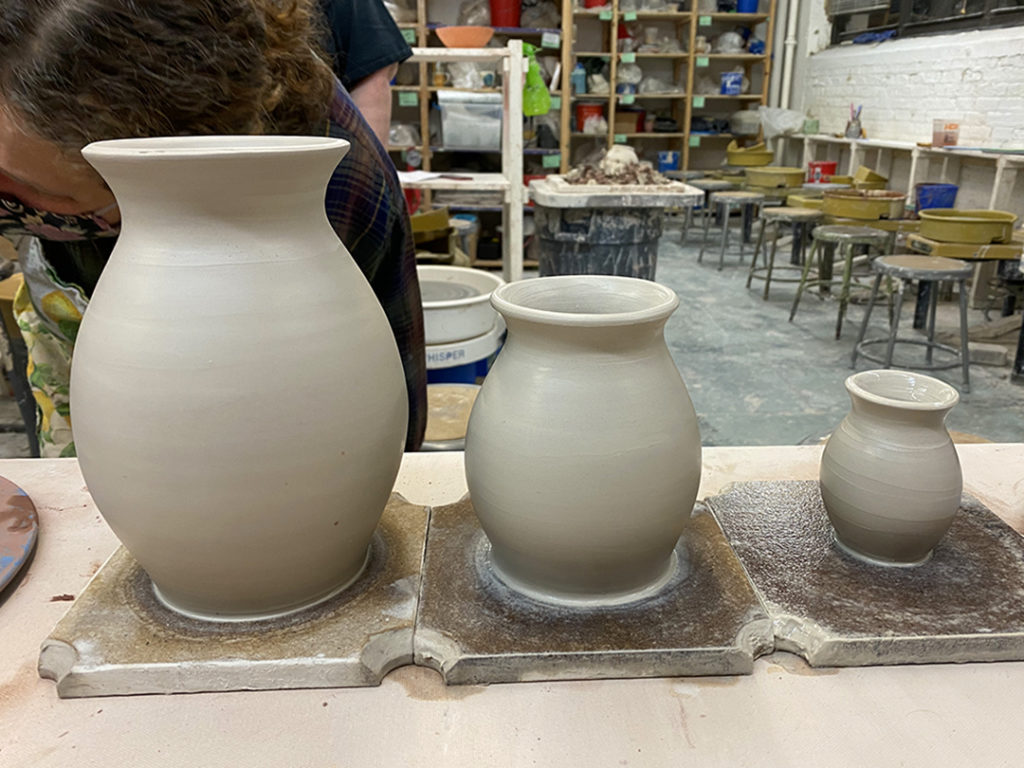

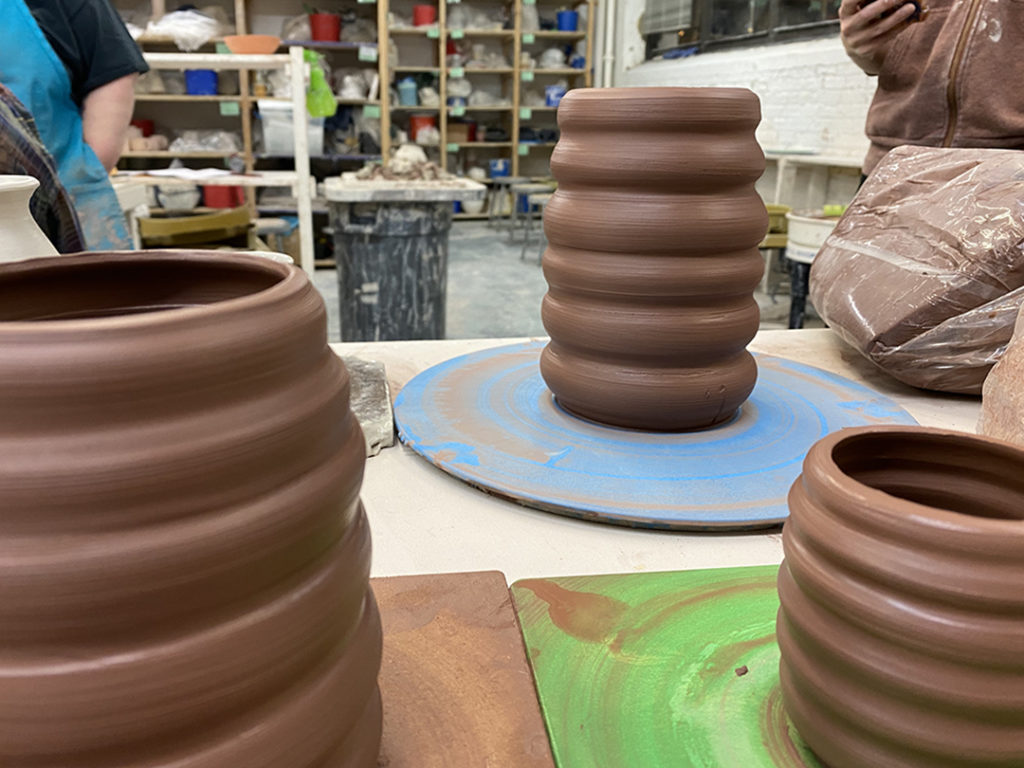


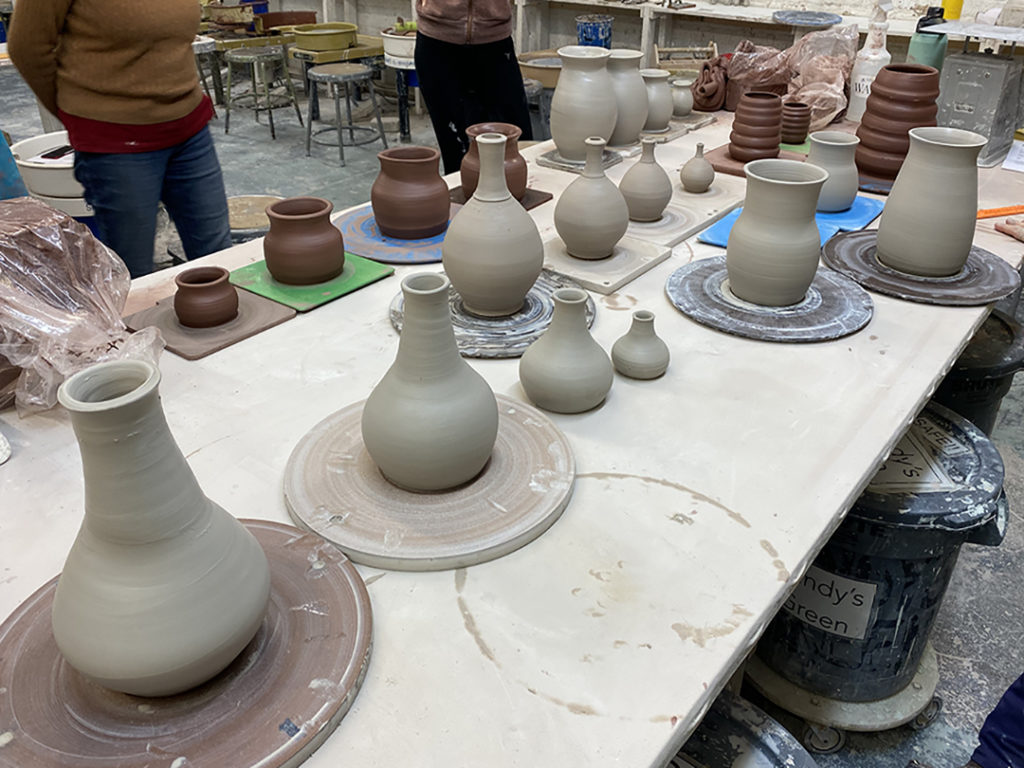
And I can’t wait to see them next week… when they need to bring back all four vases with “matching” surface decoration using SLIP TRAILING as their primary technique!
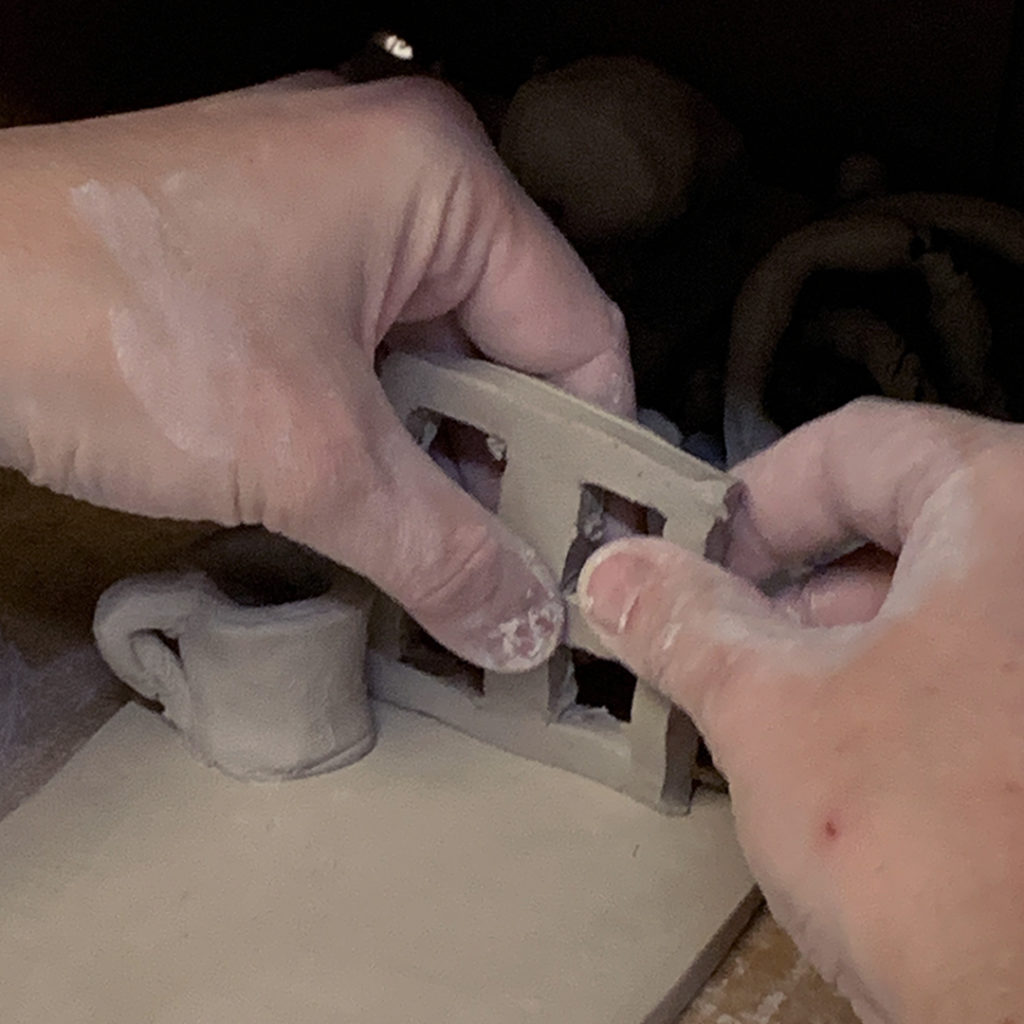
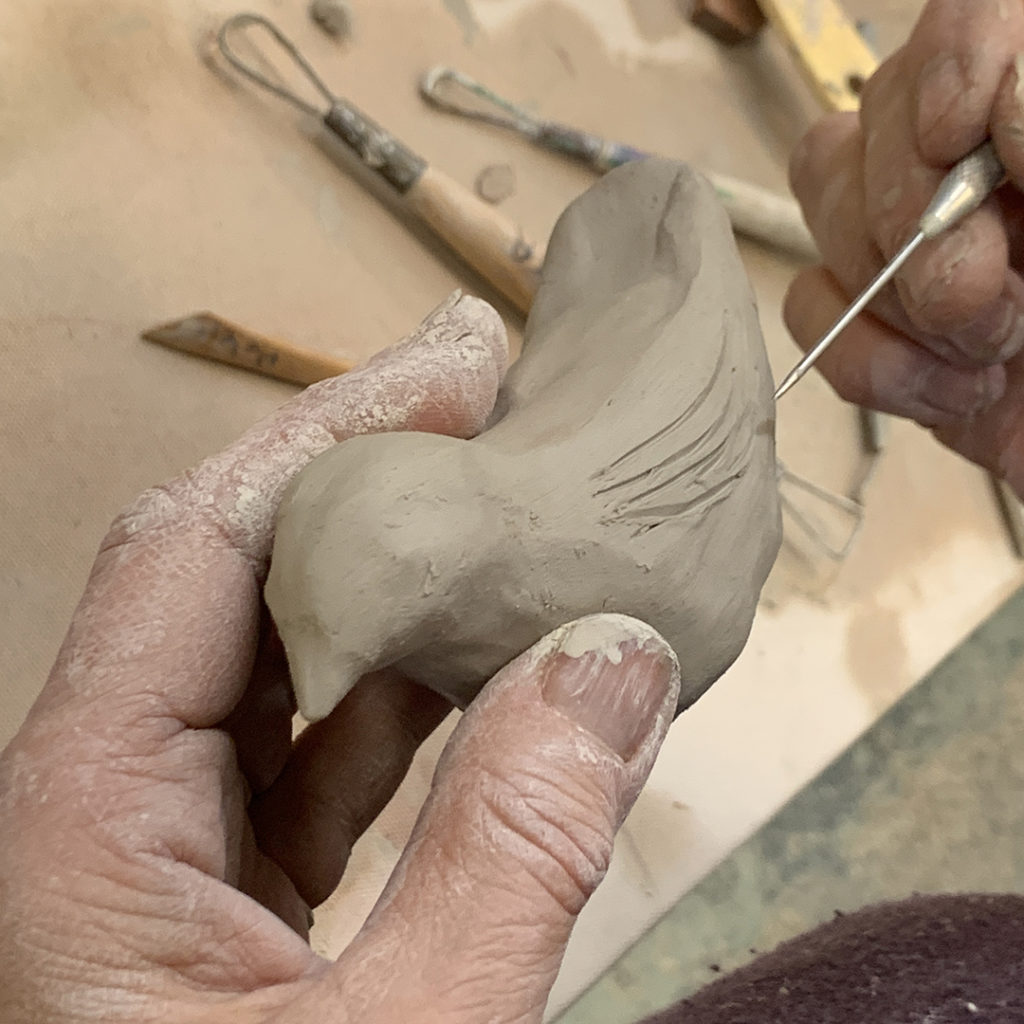
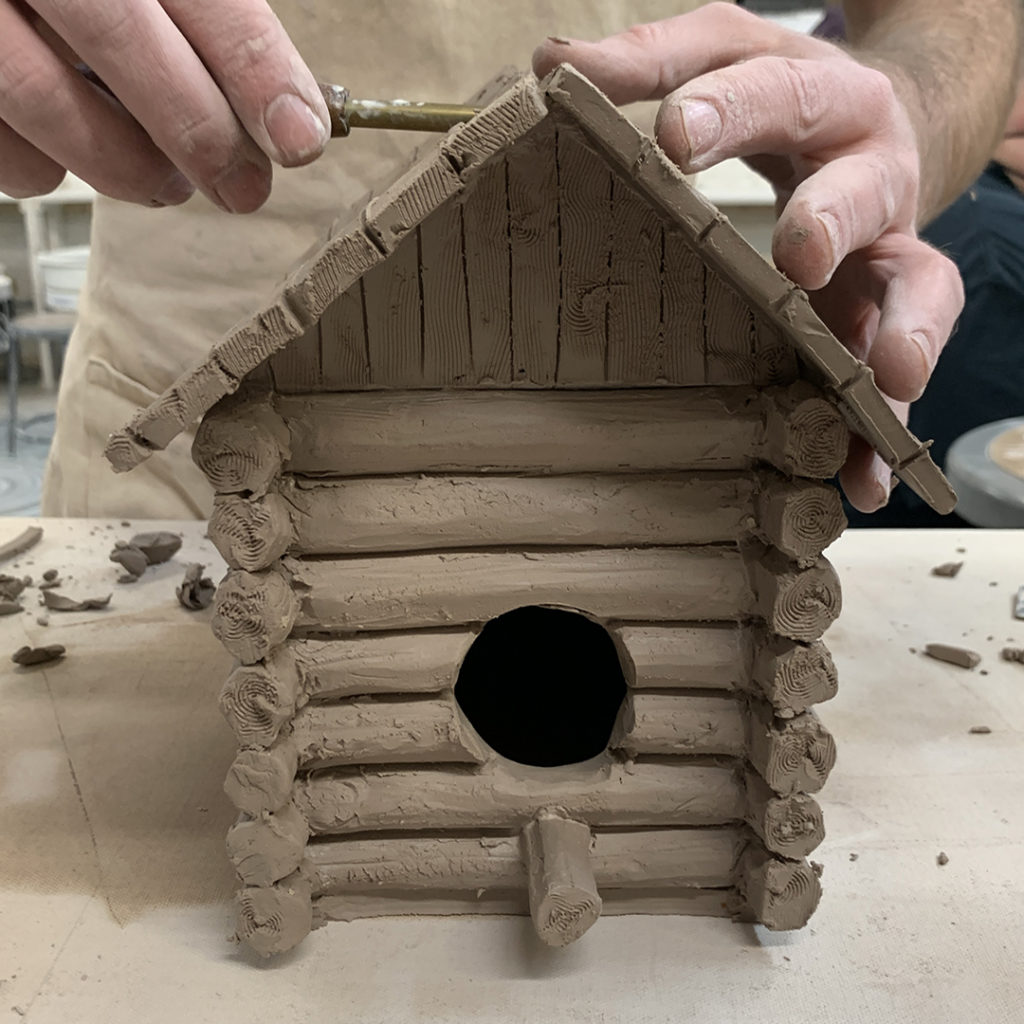
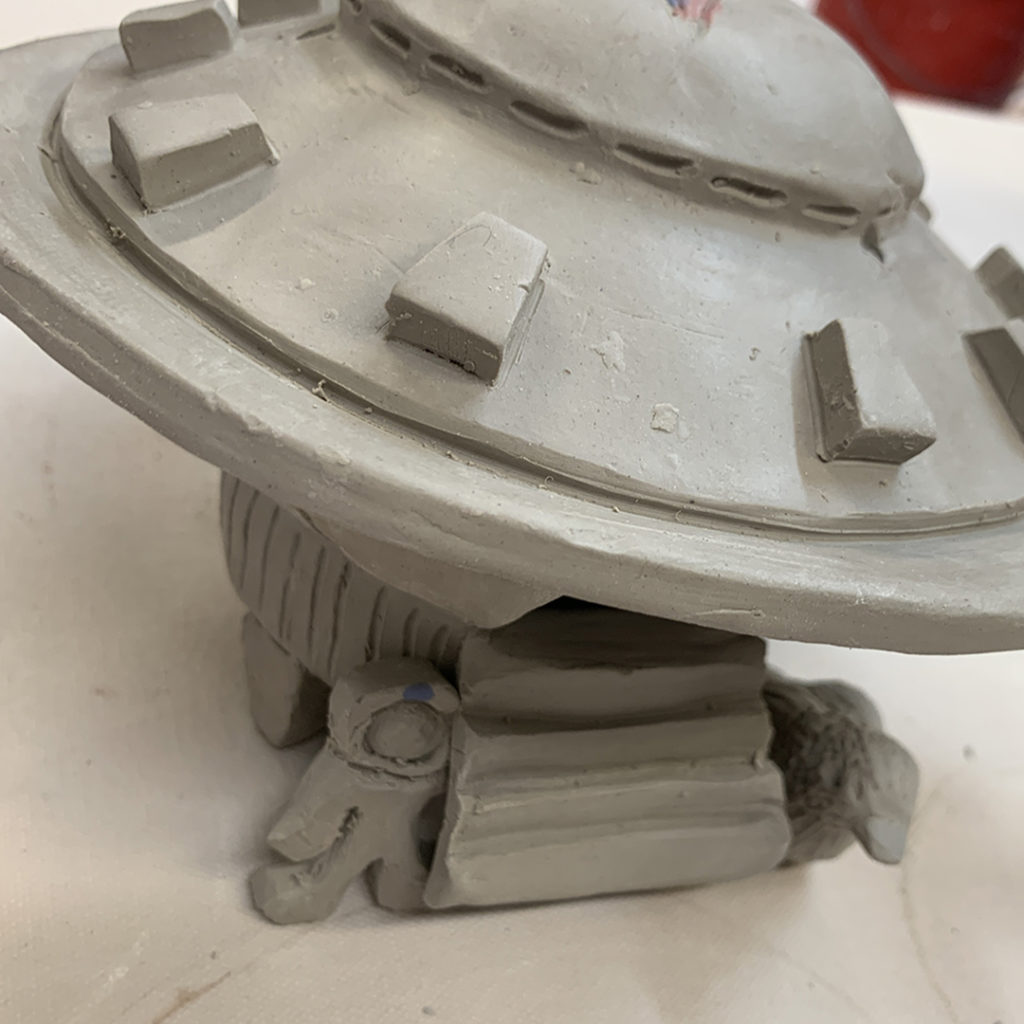
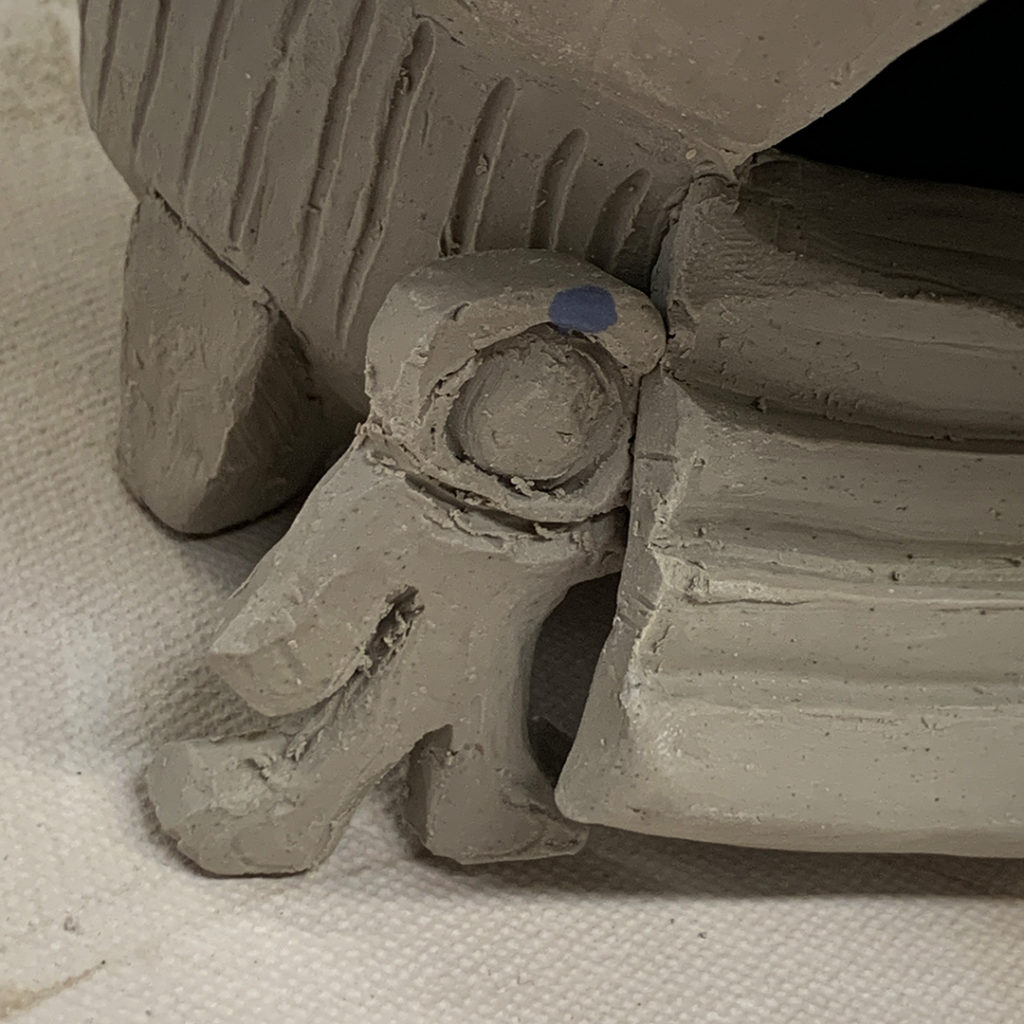
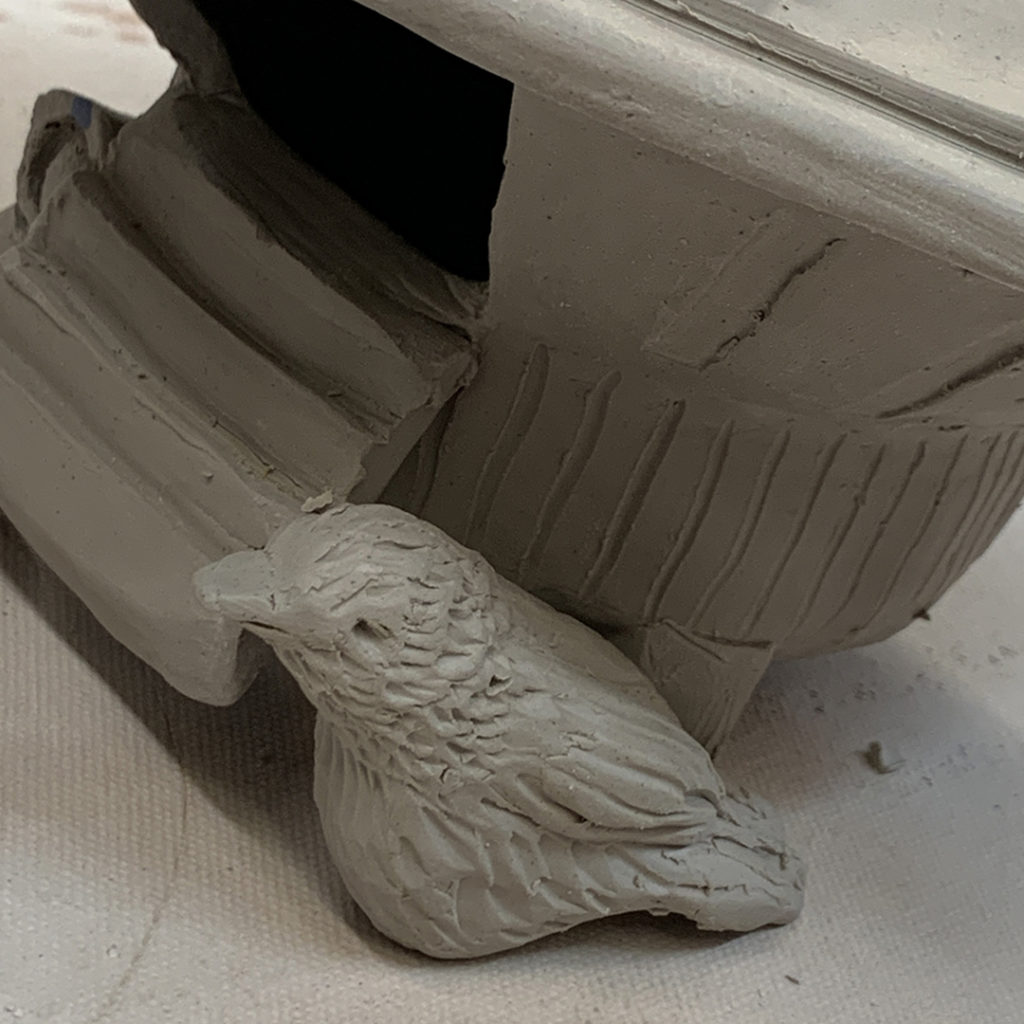
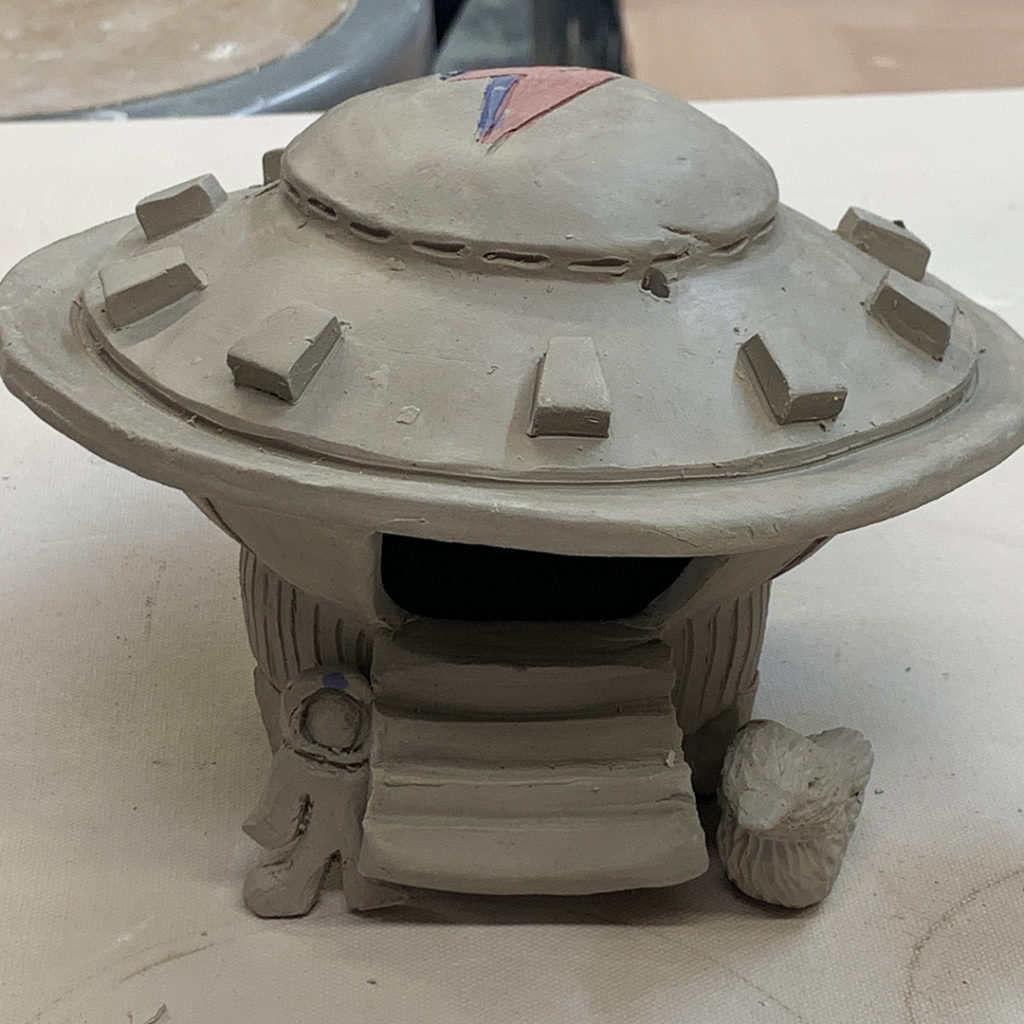
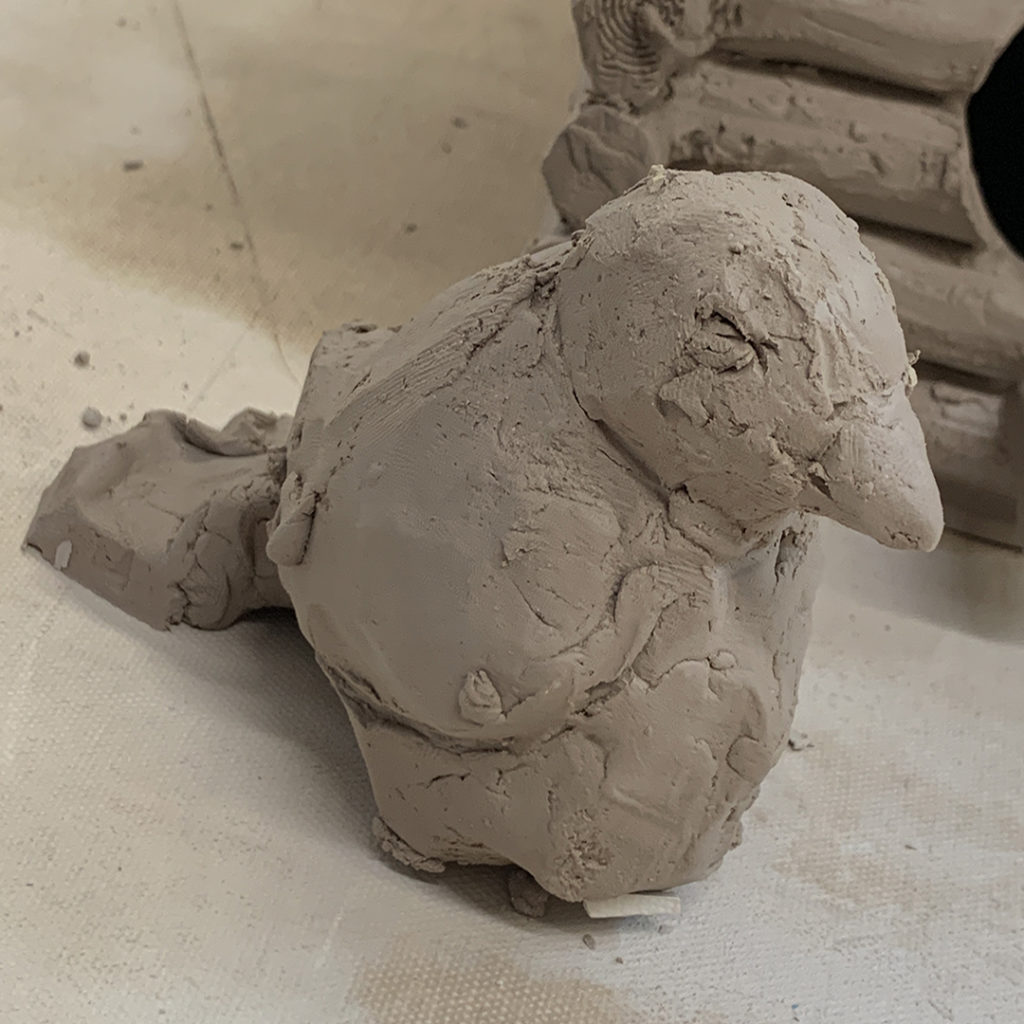
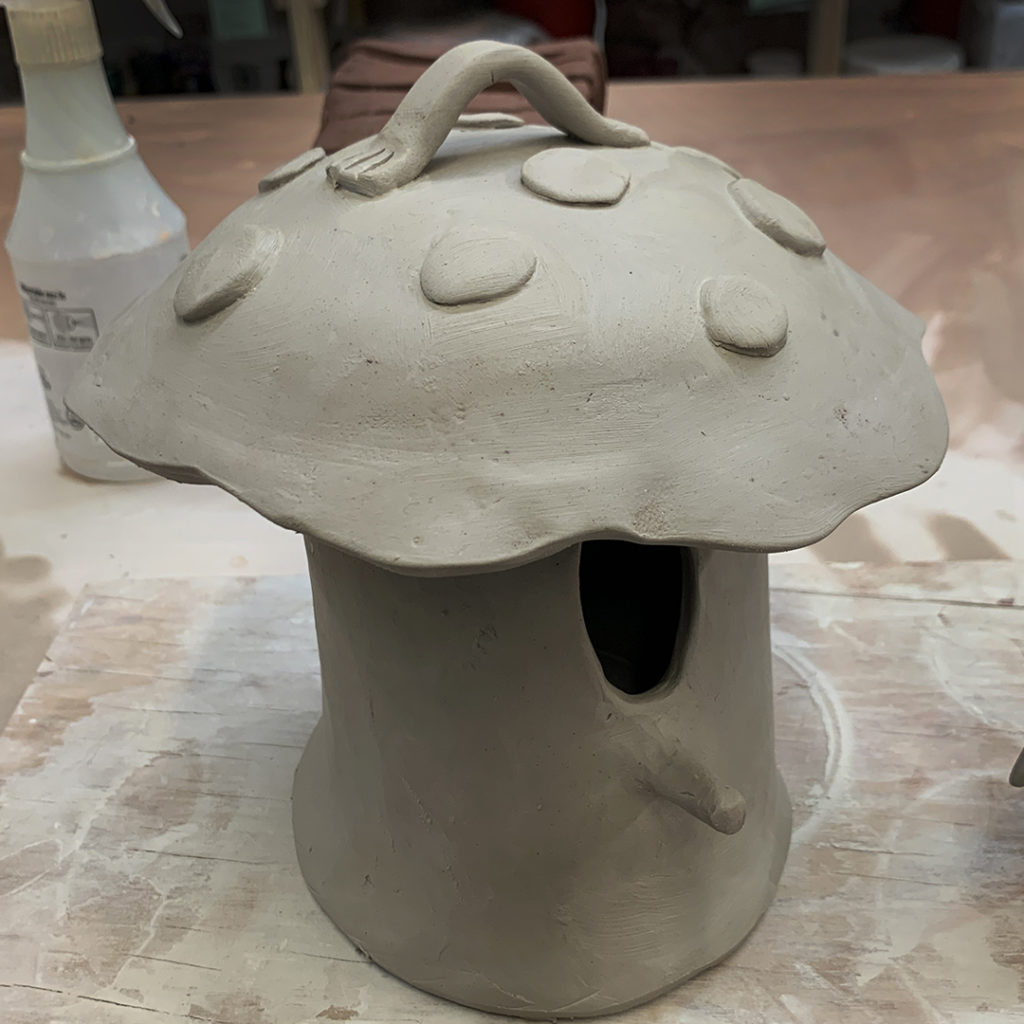
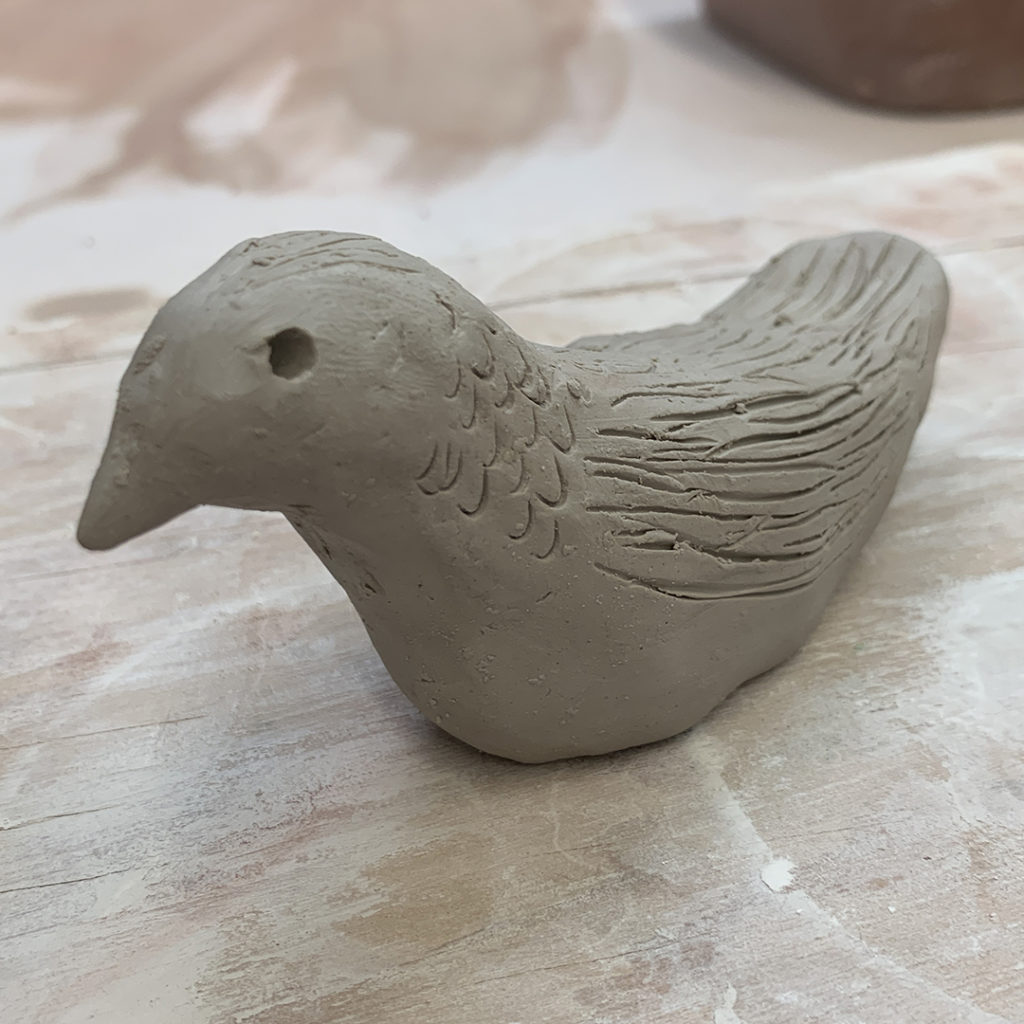
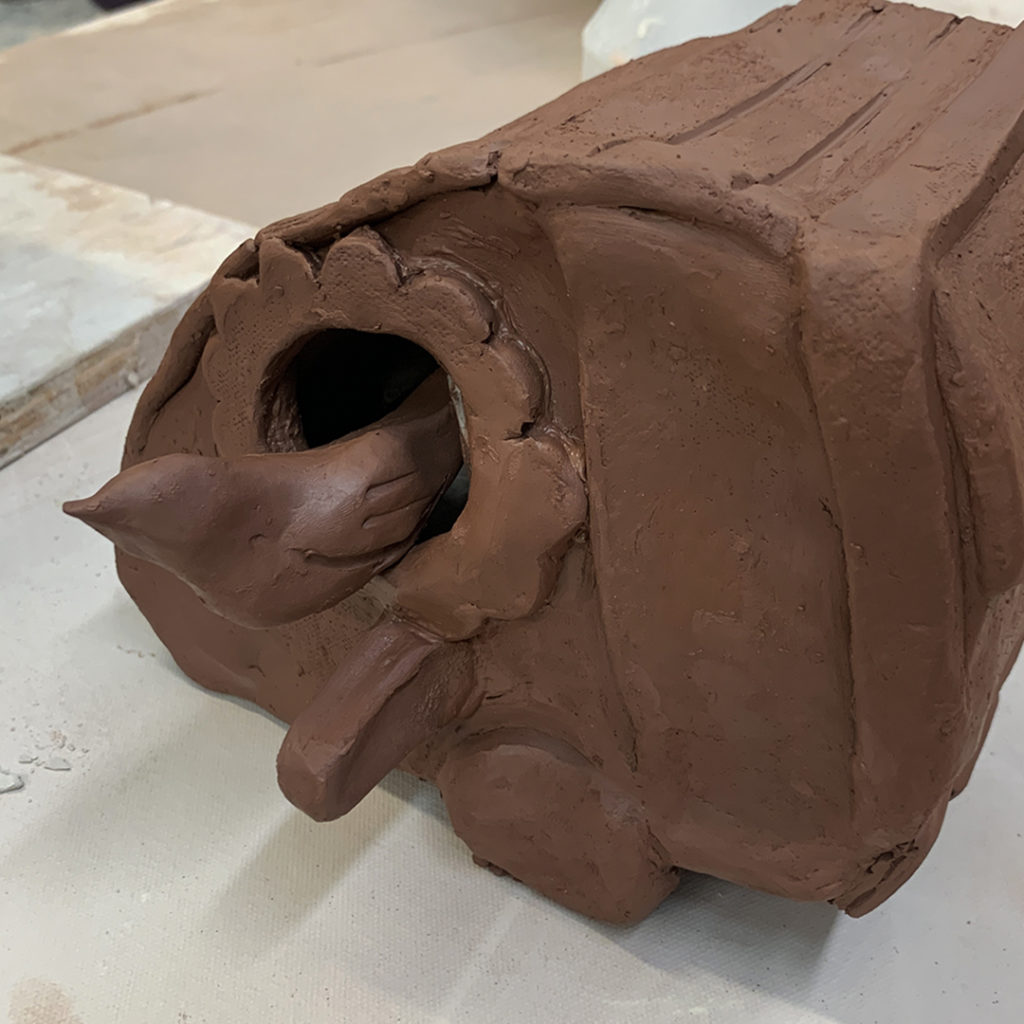
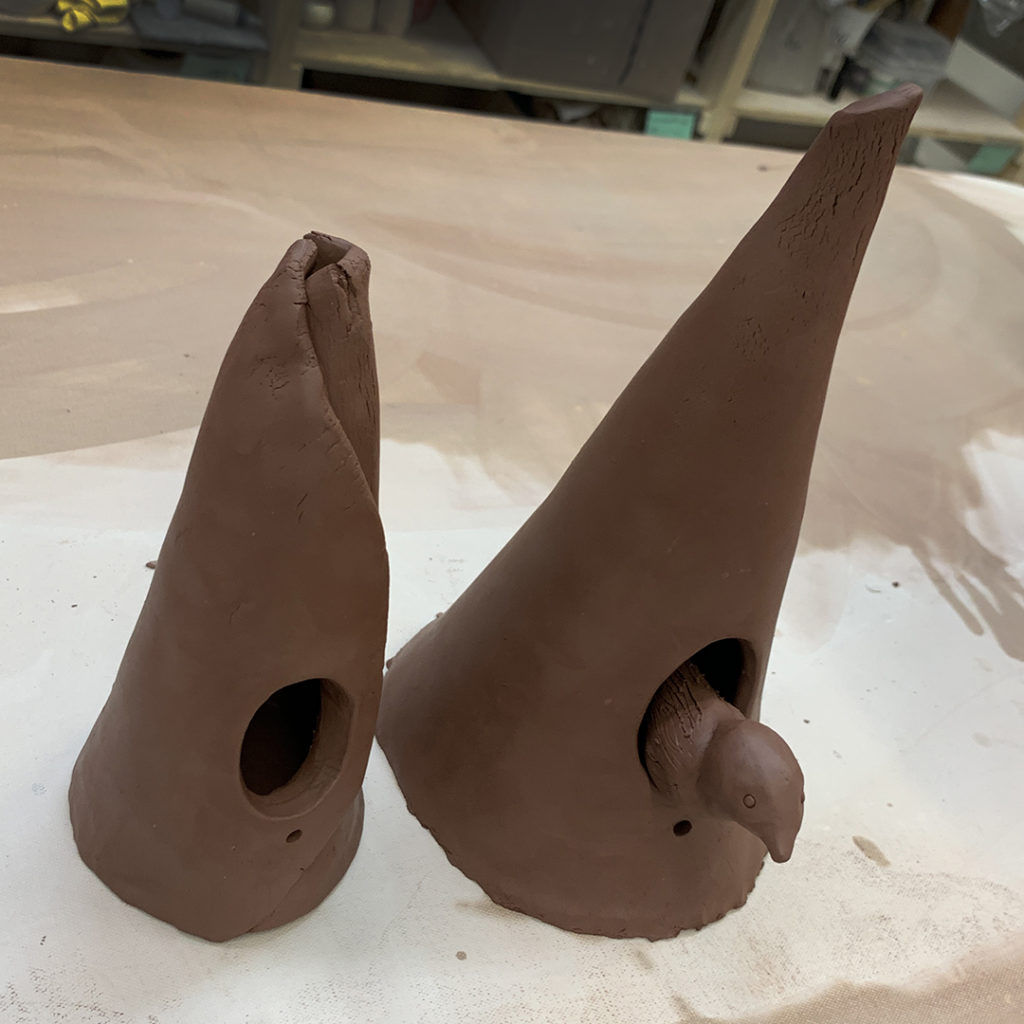
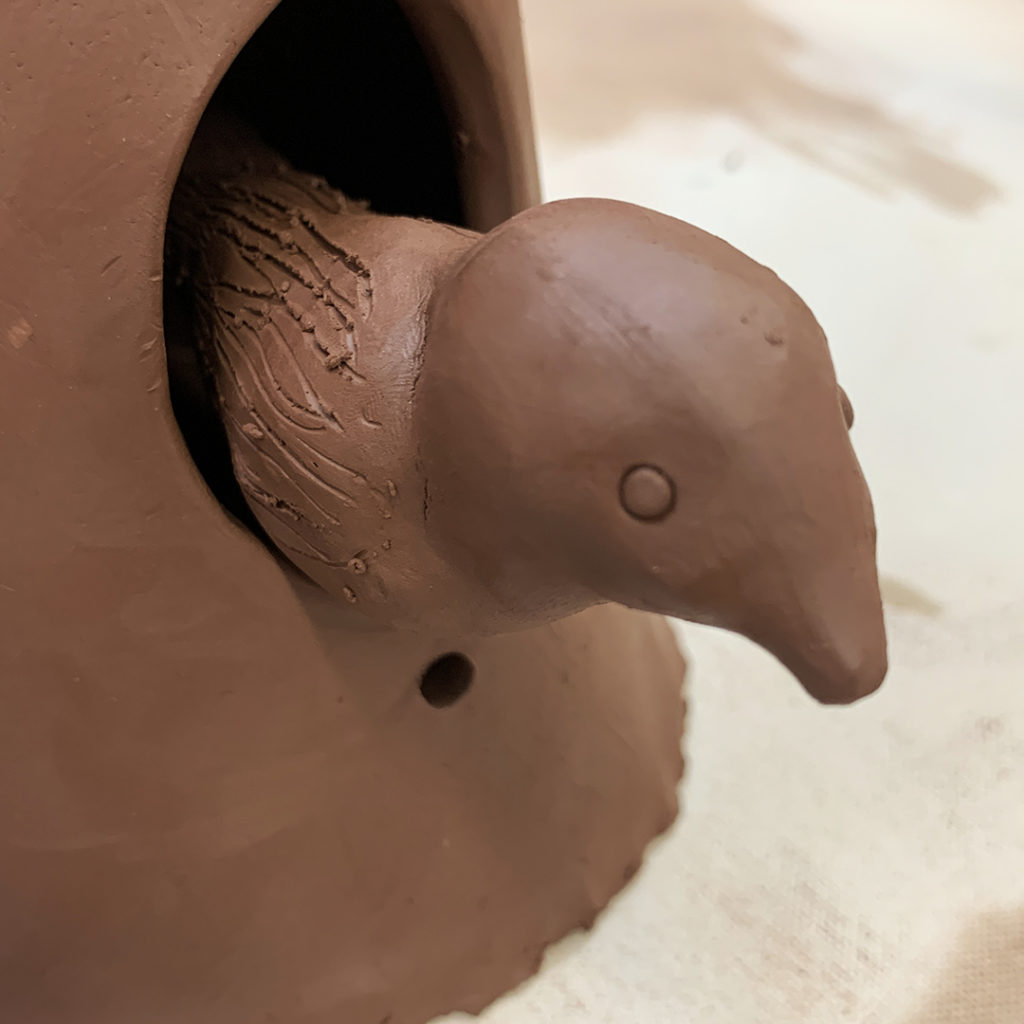
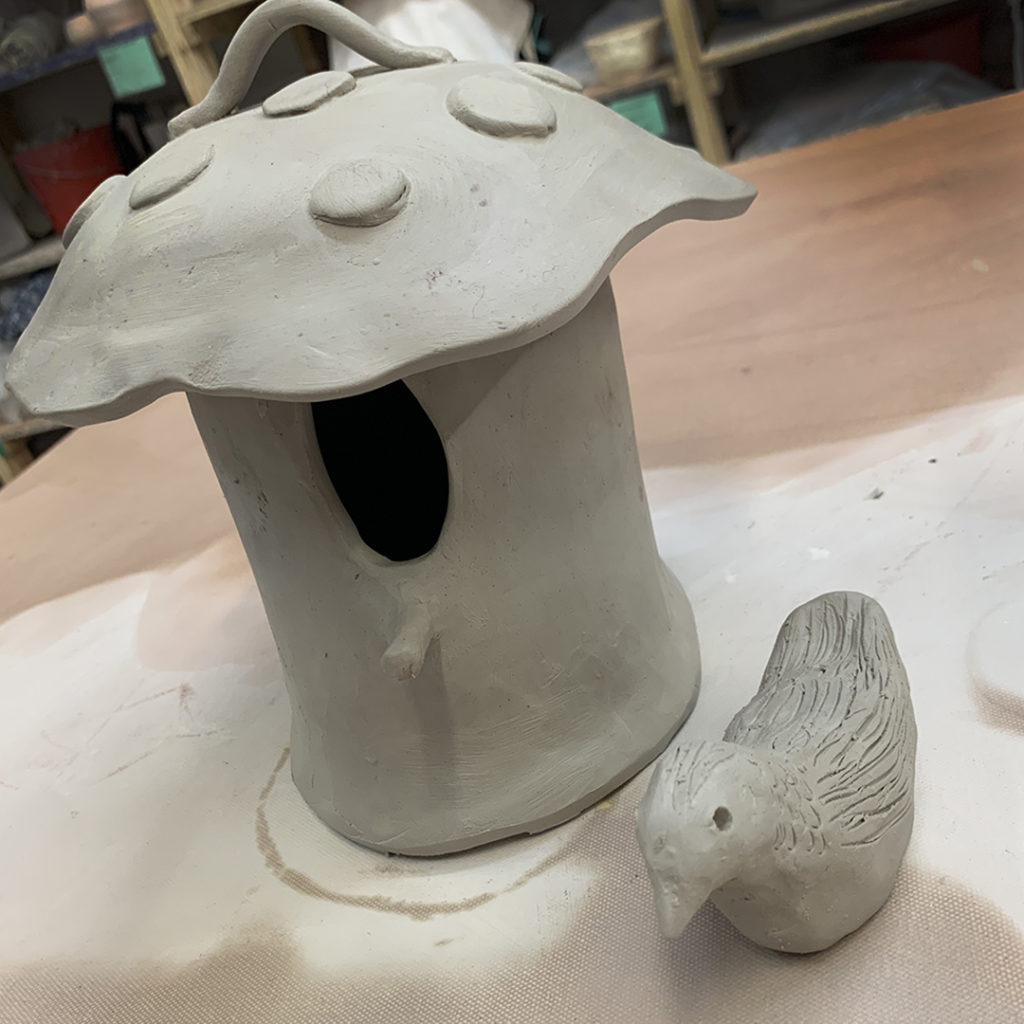
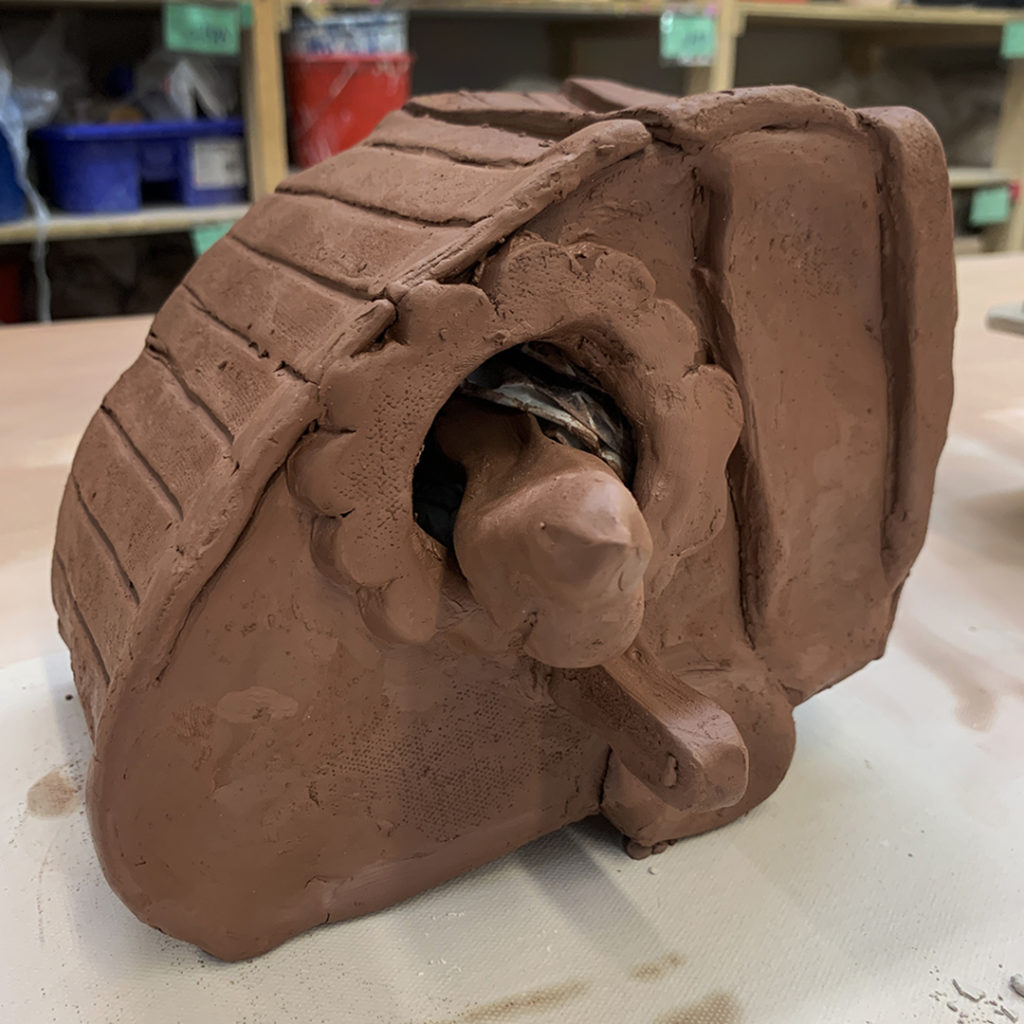
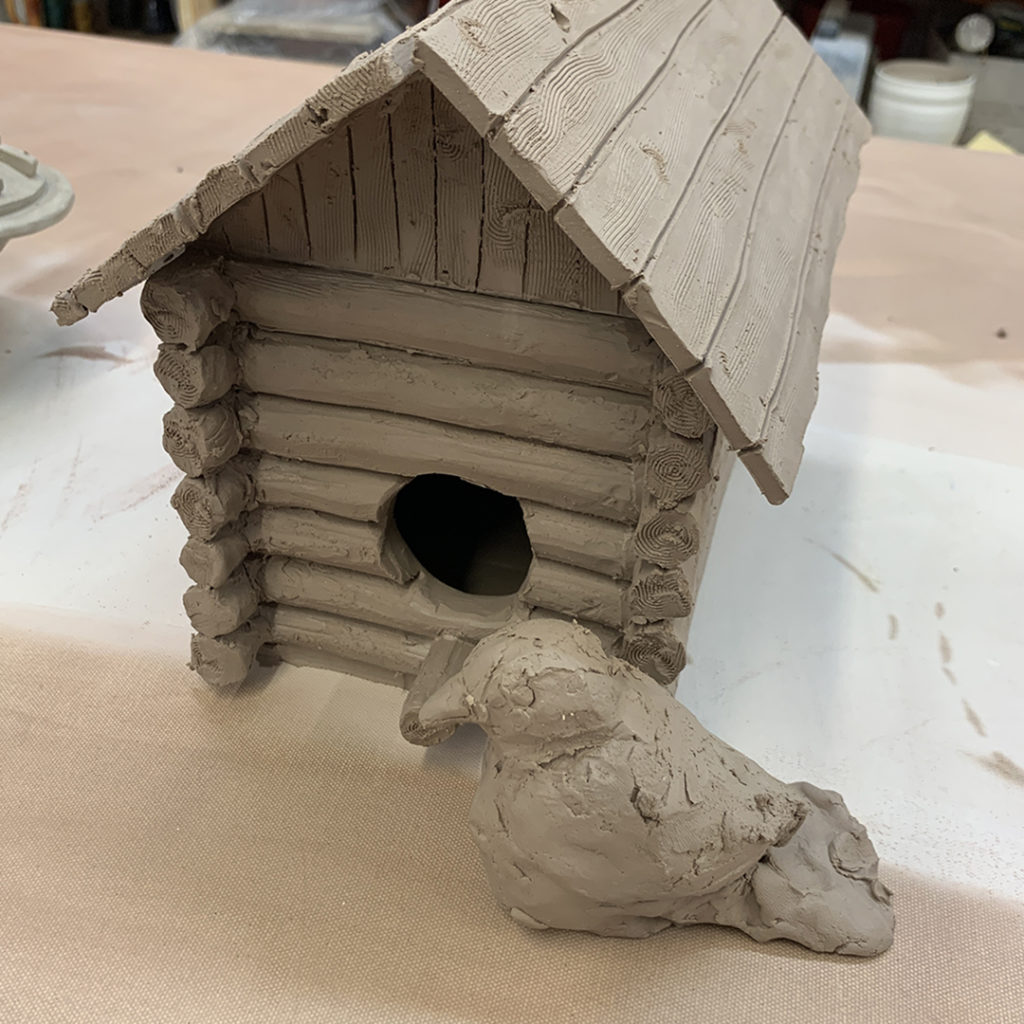
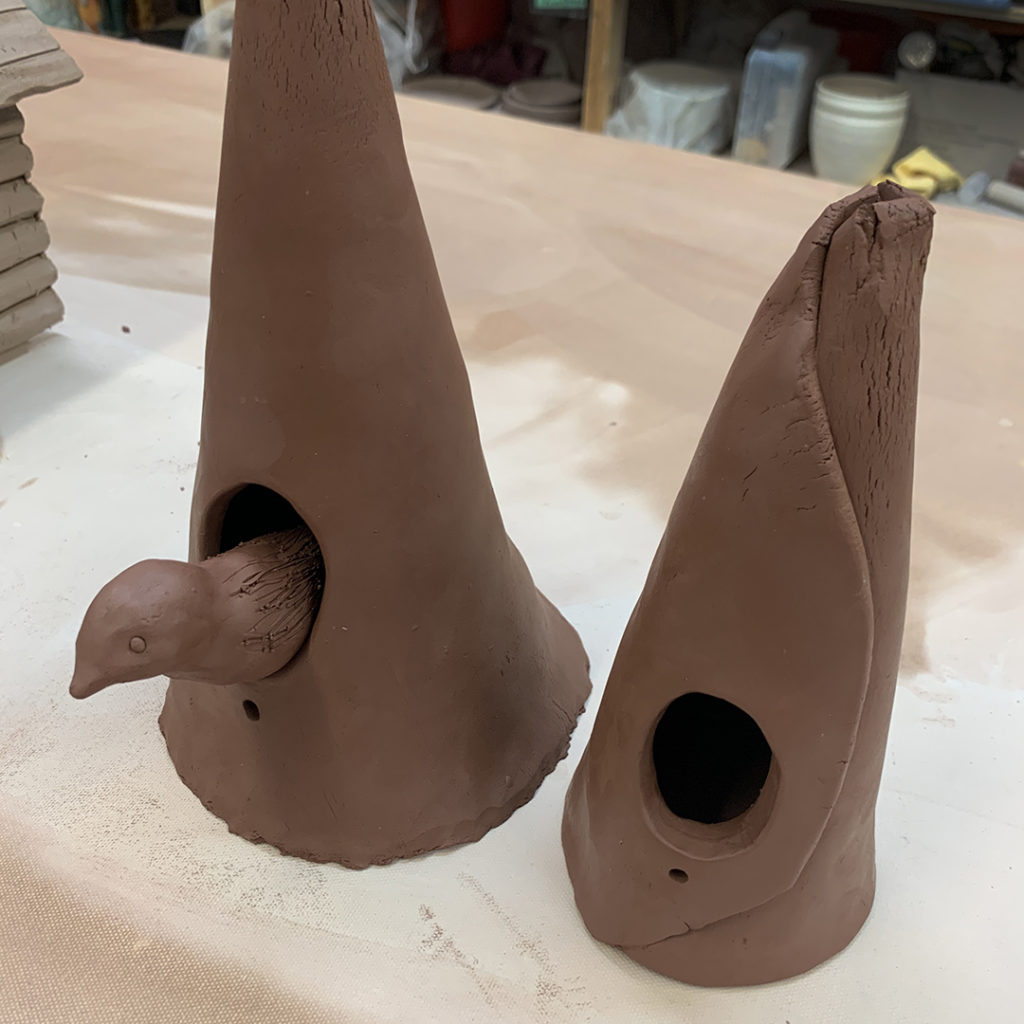
This week during our LILLSTREET THROWDOWN class, my students tackled another challenge… handbuilt birdhouses!!! They had just about 2-1/2 hours to complete their projects.
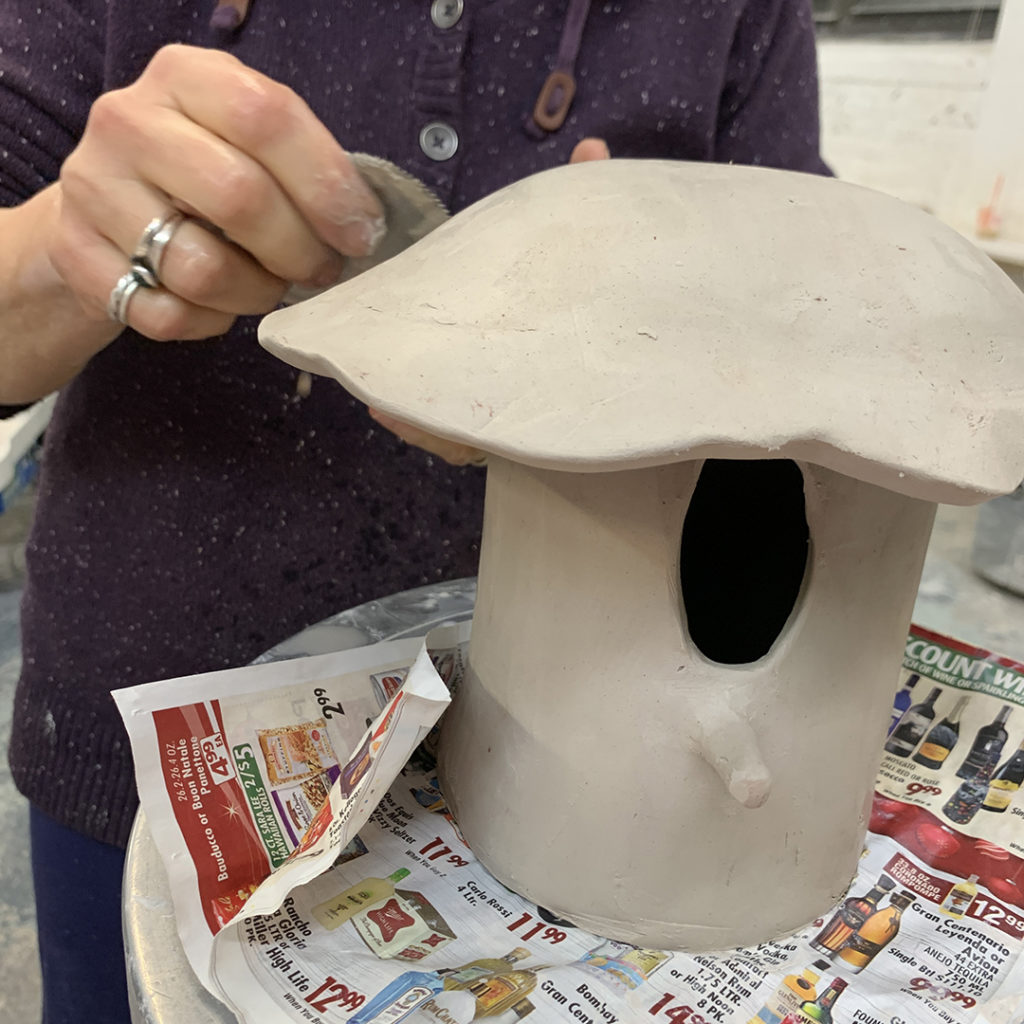
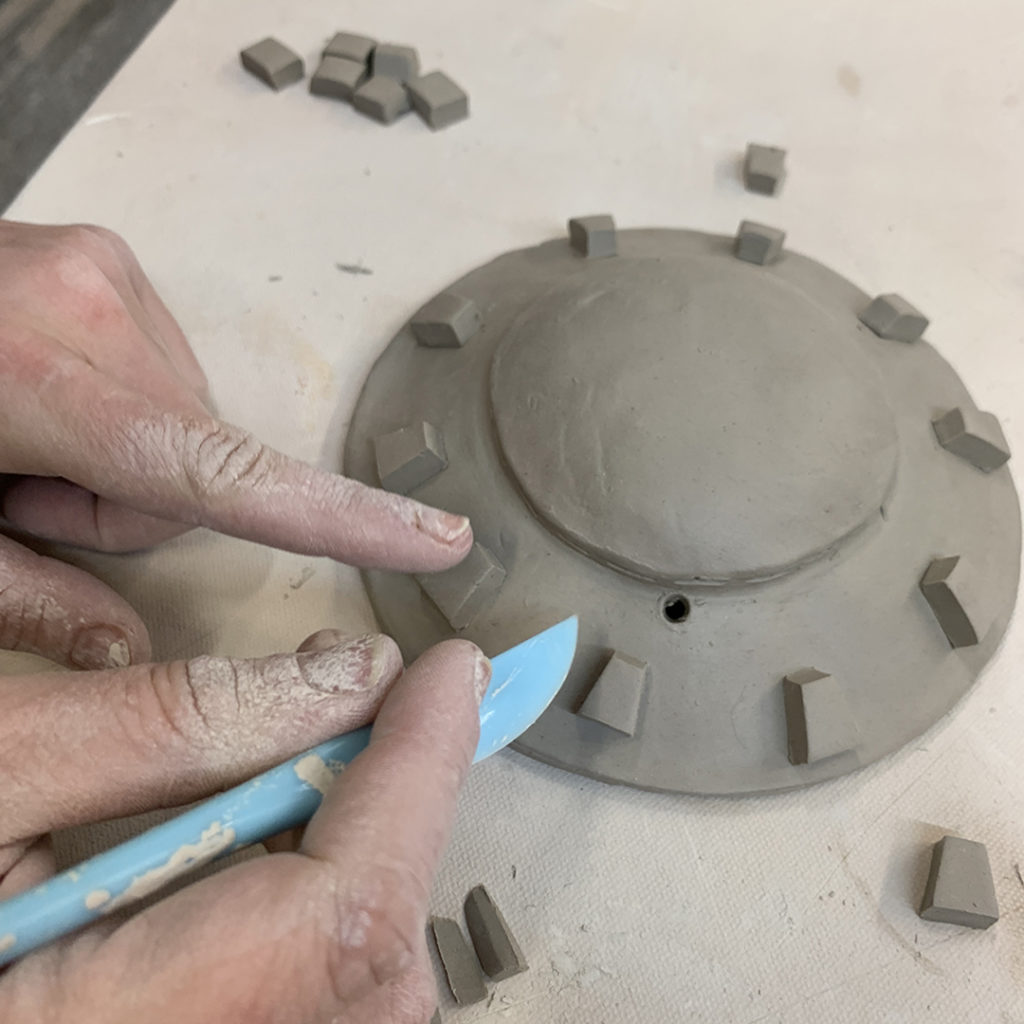
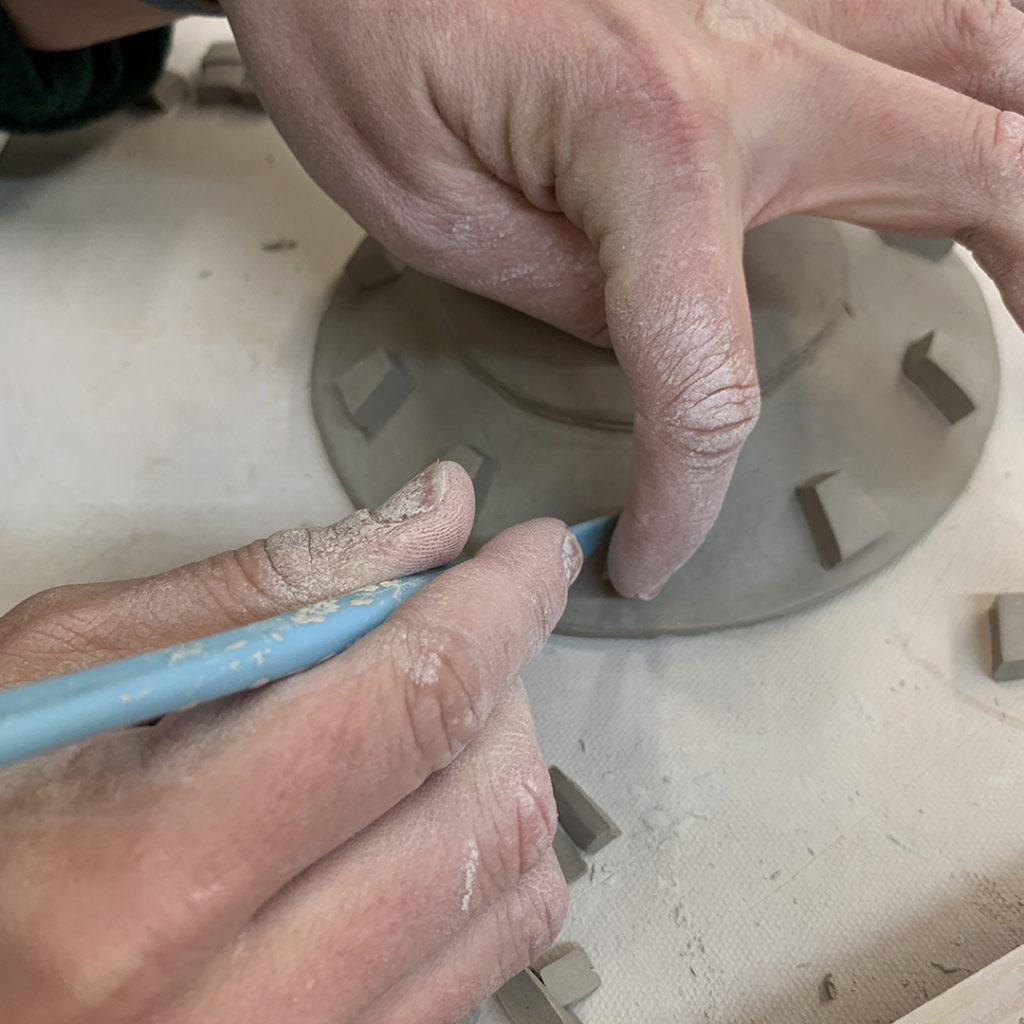

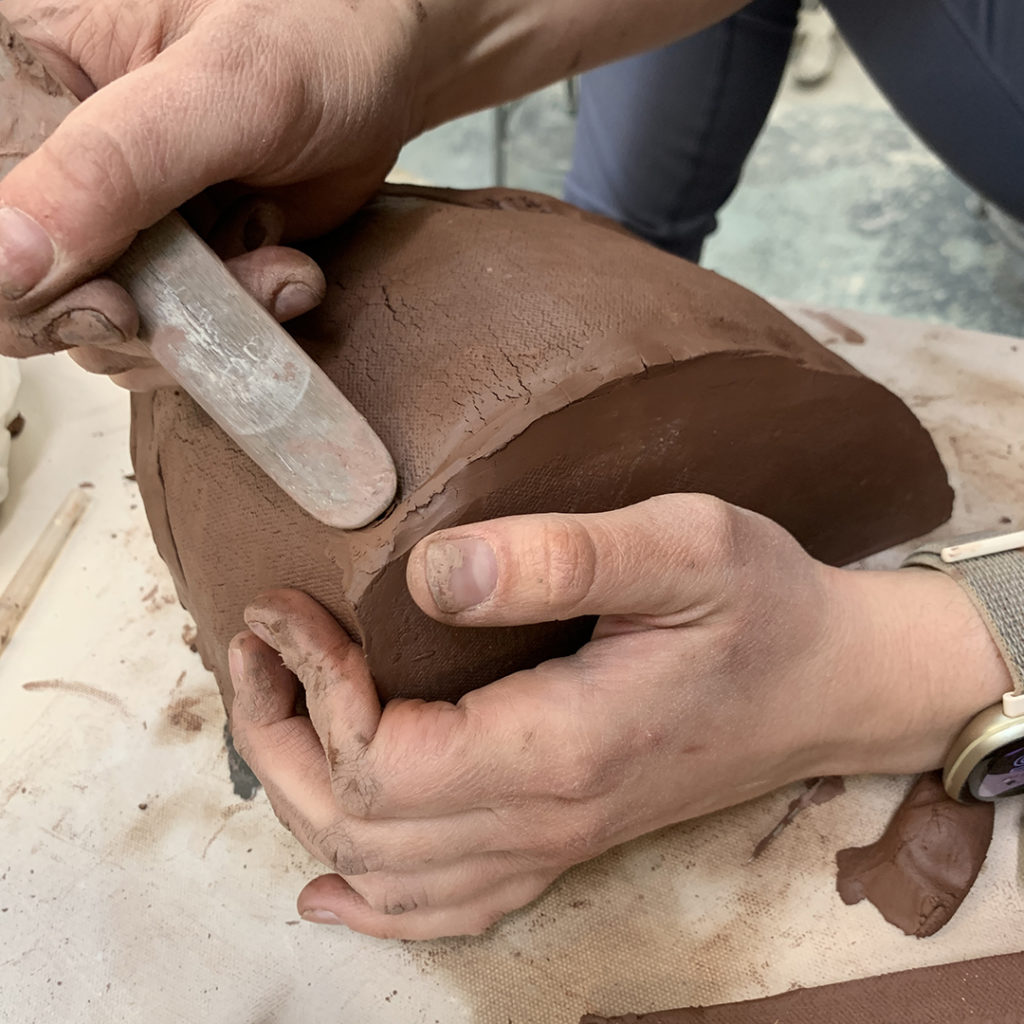
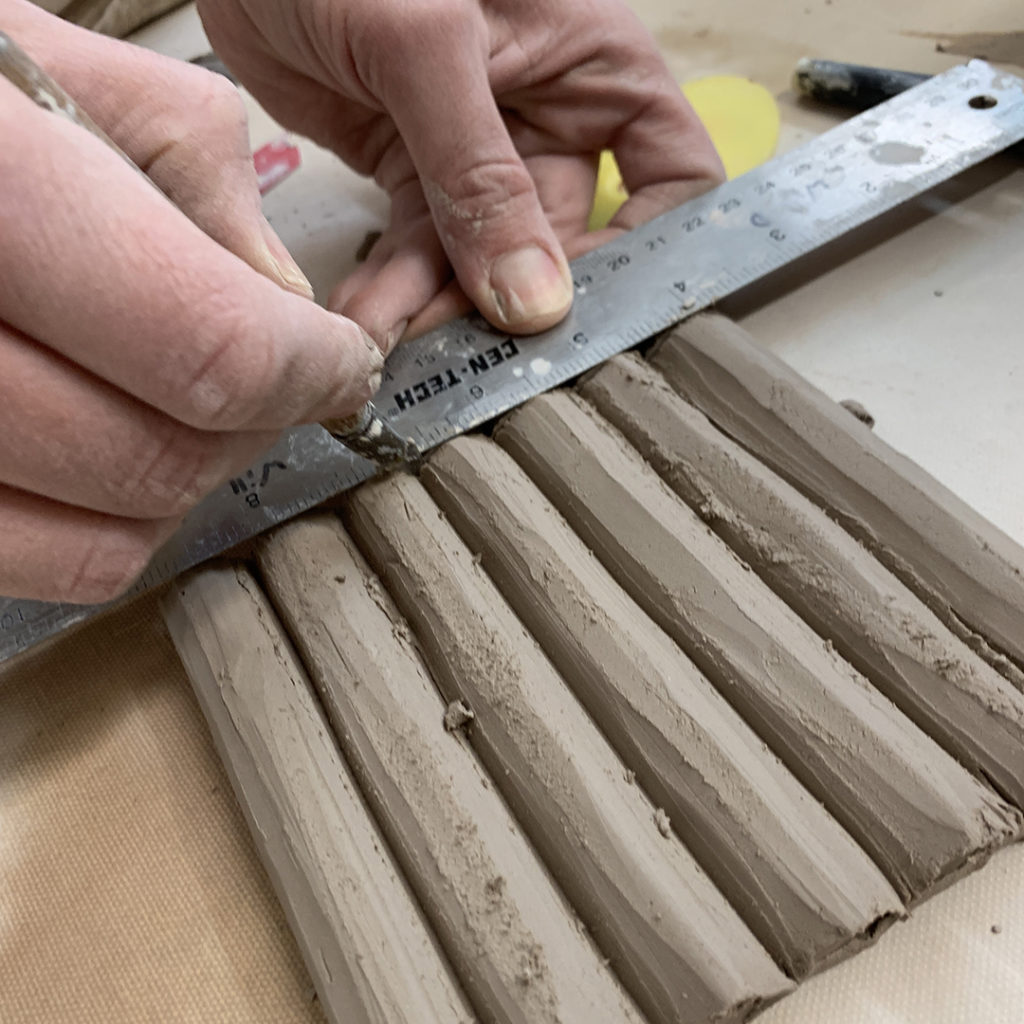

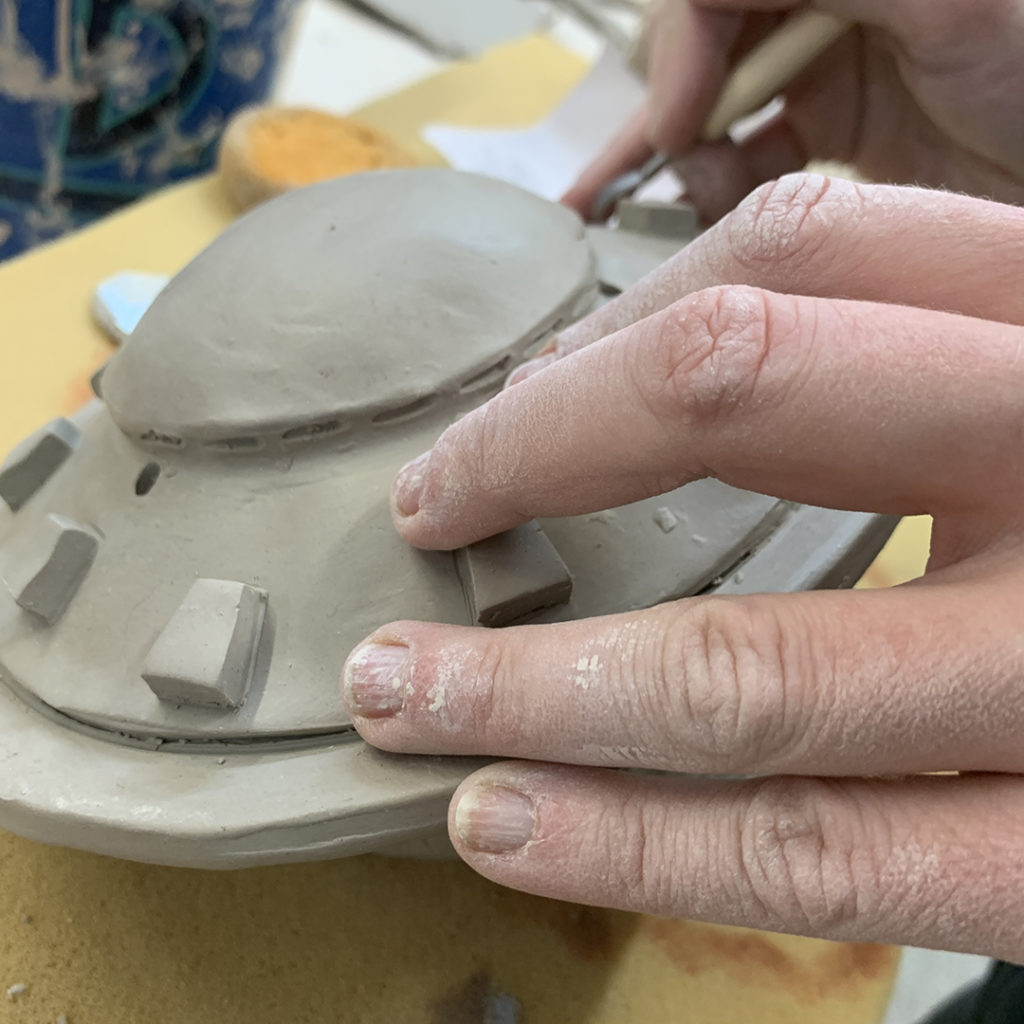
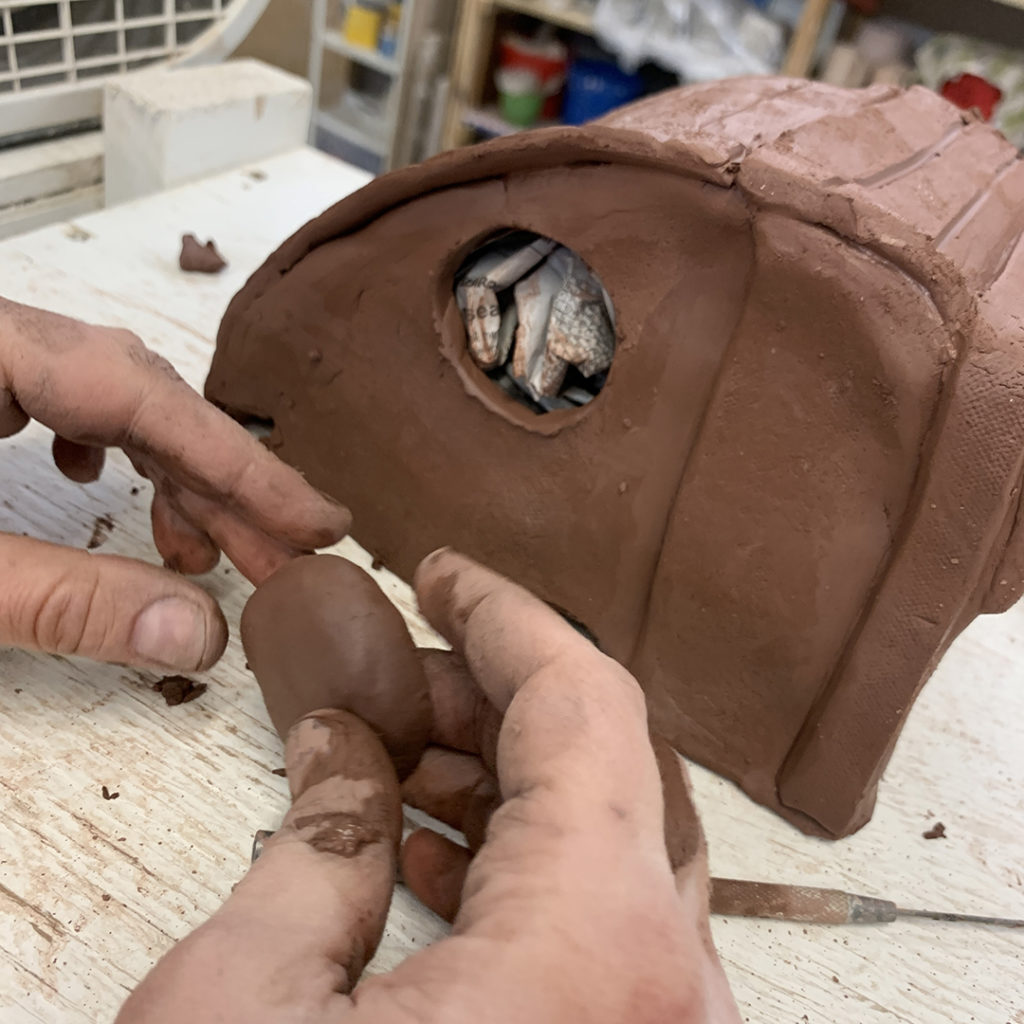

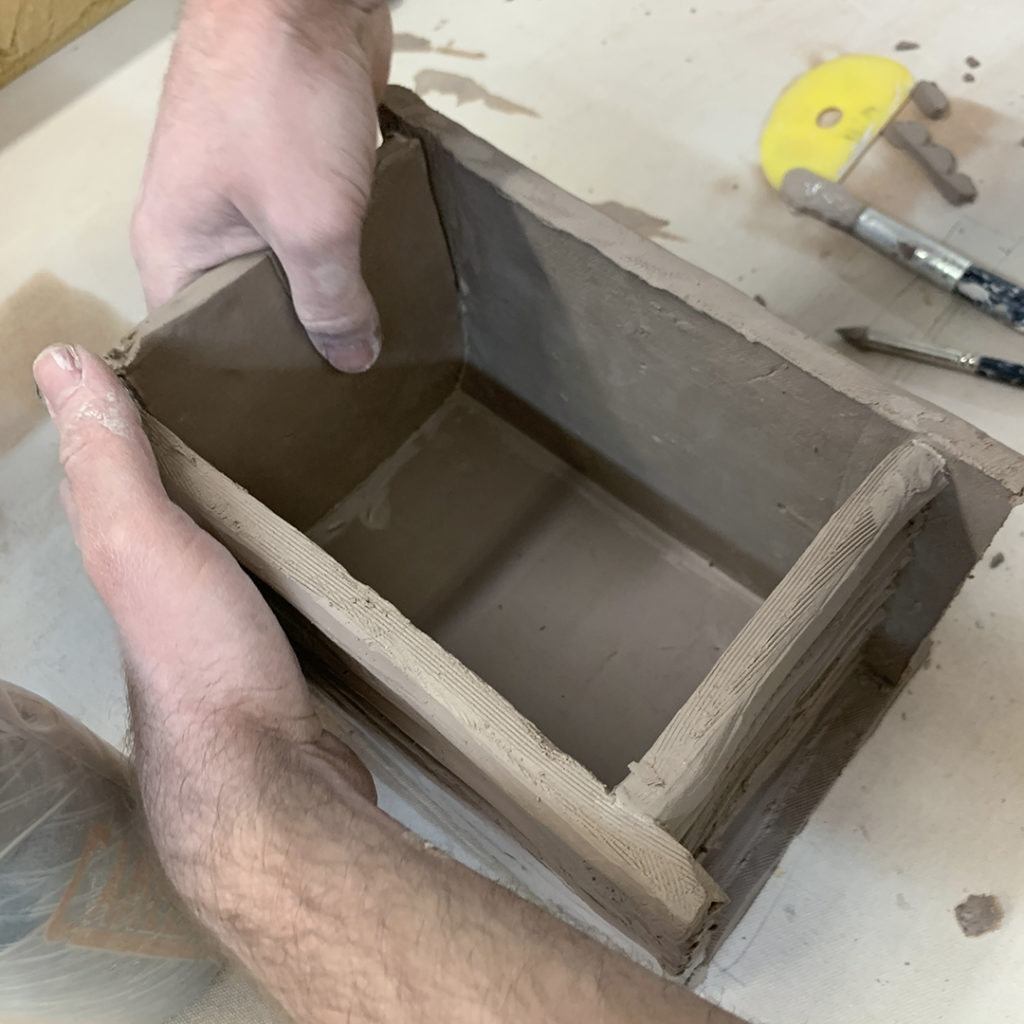
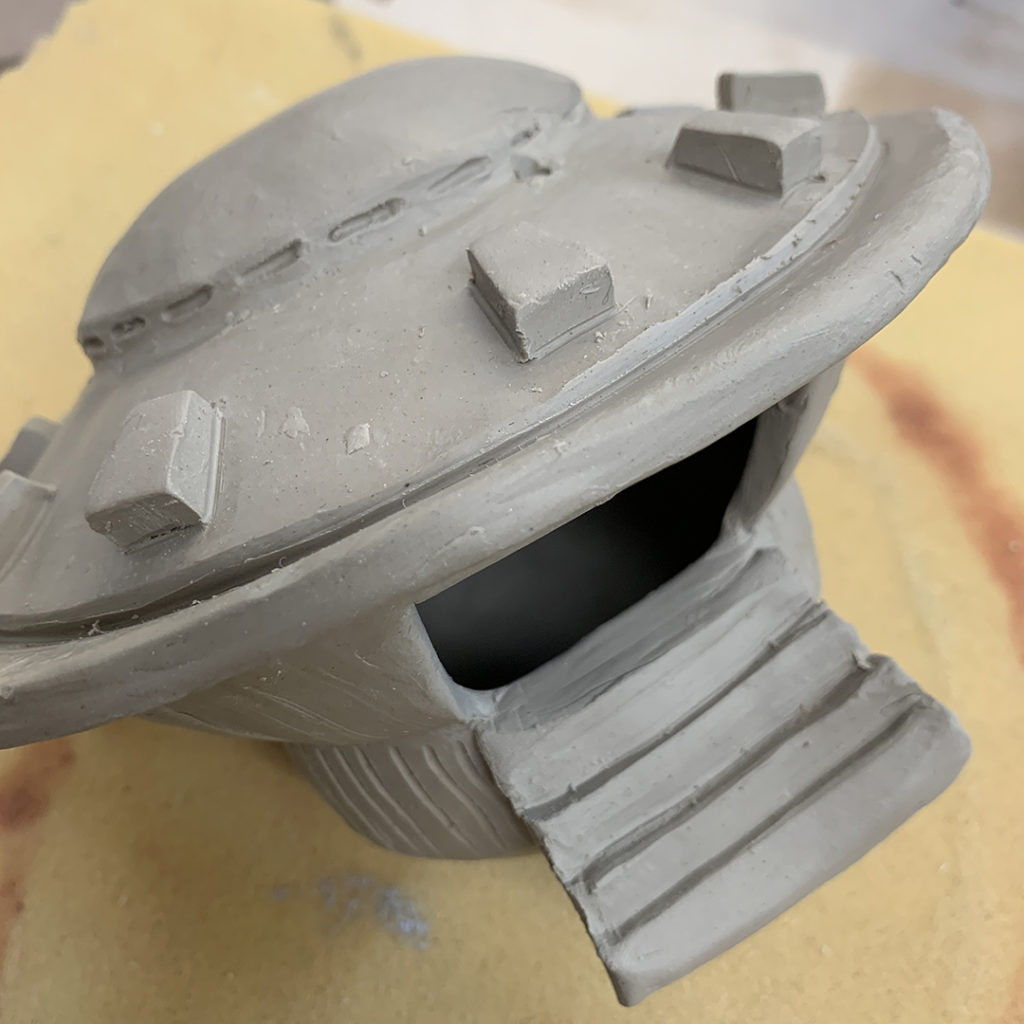
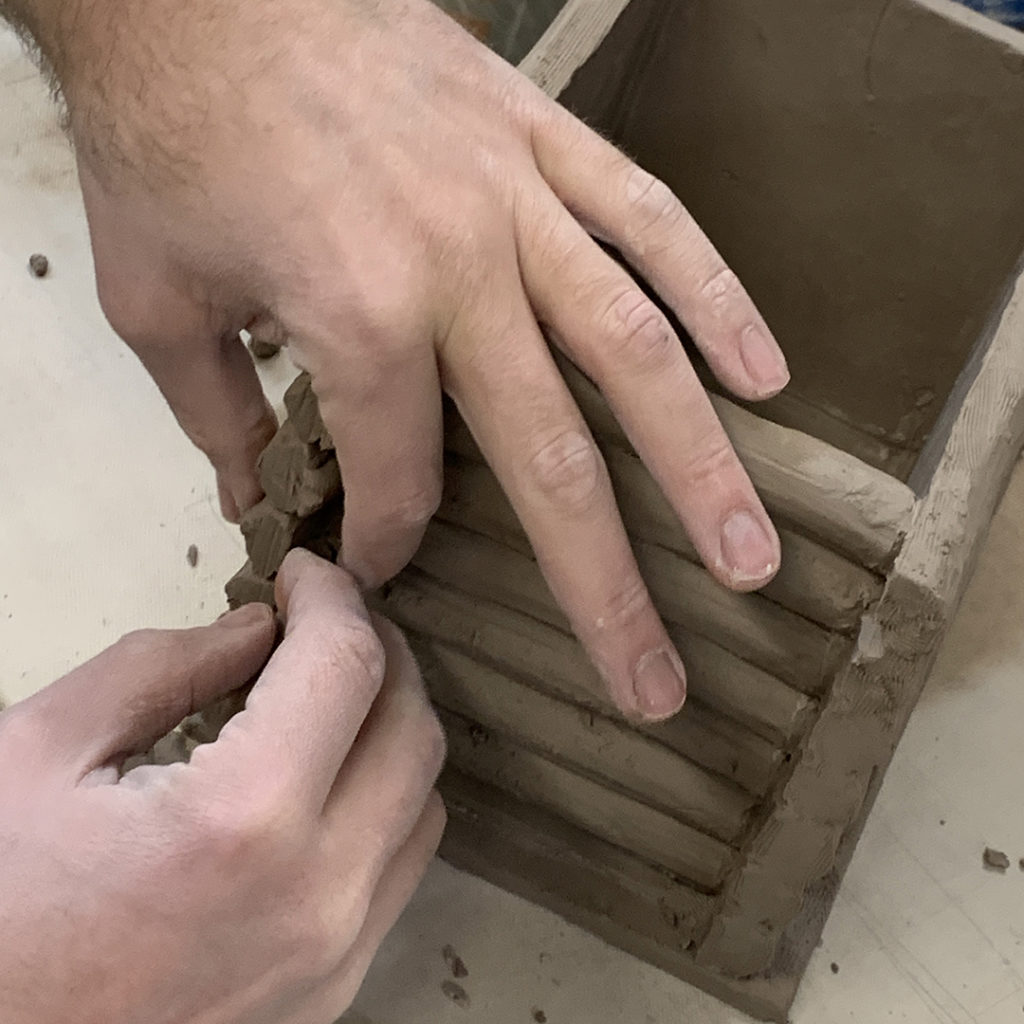
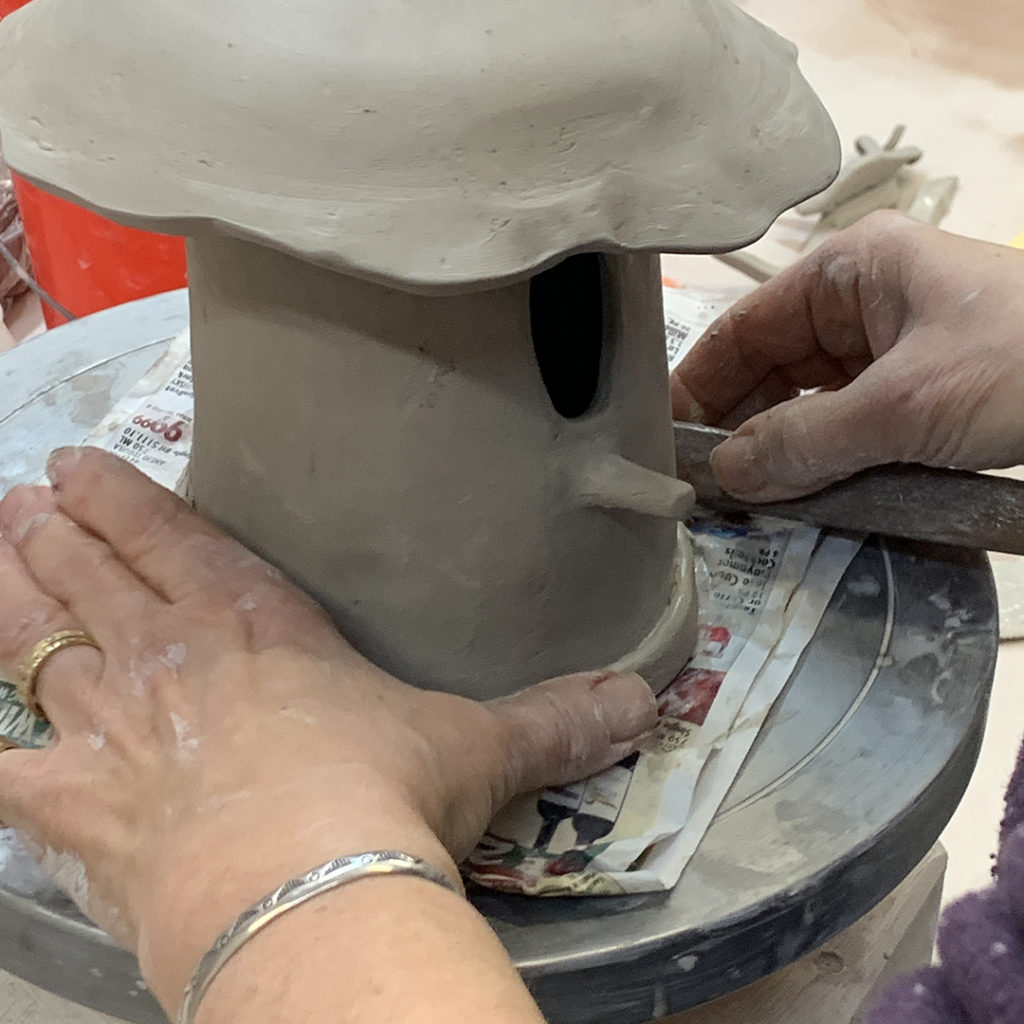
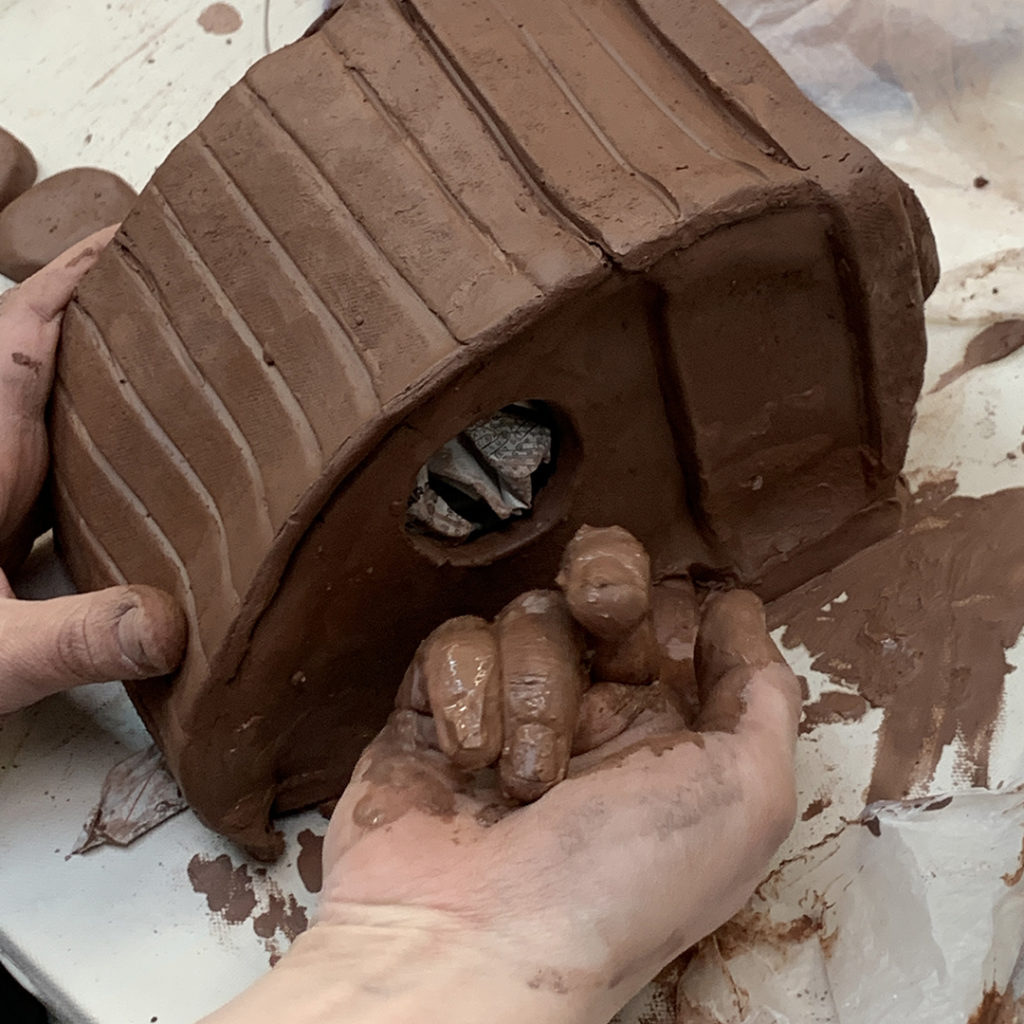
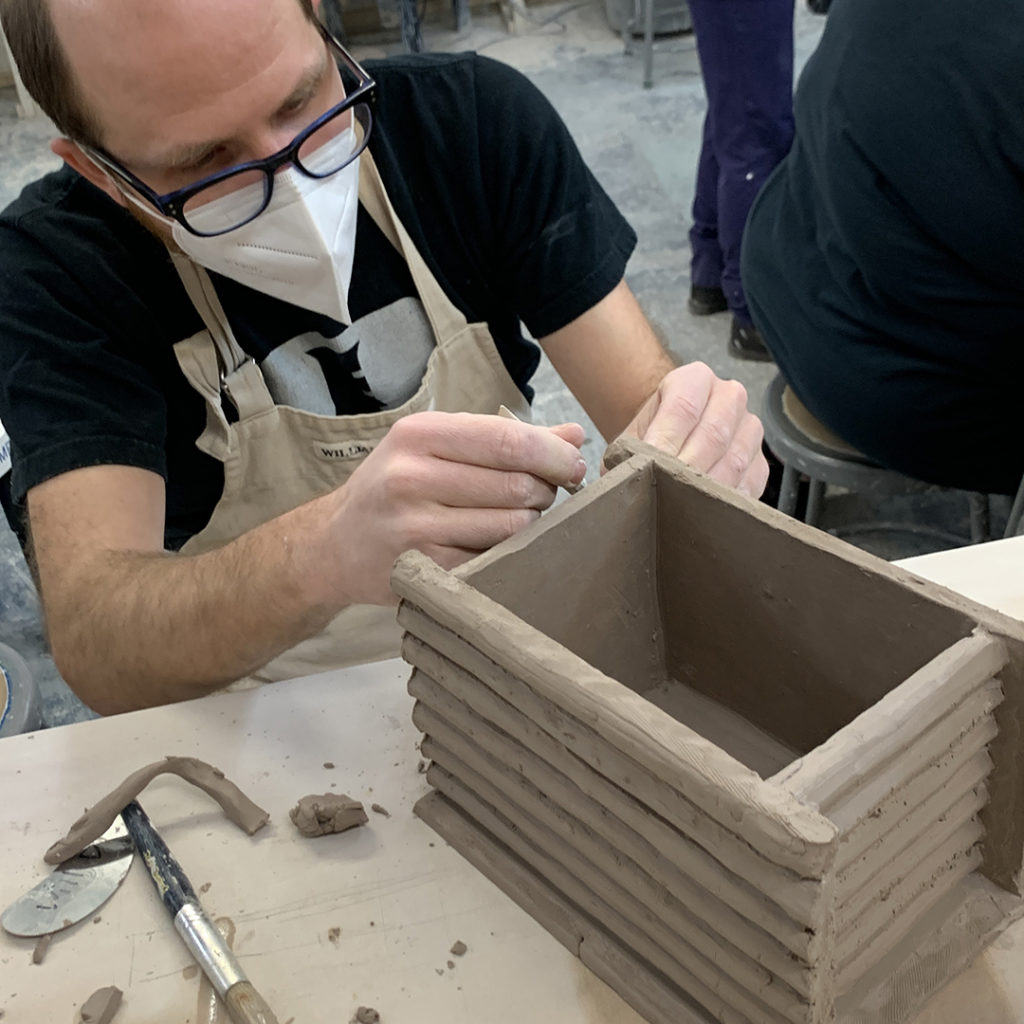
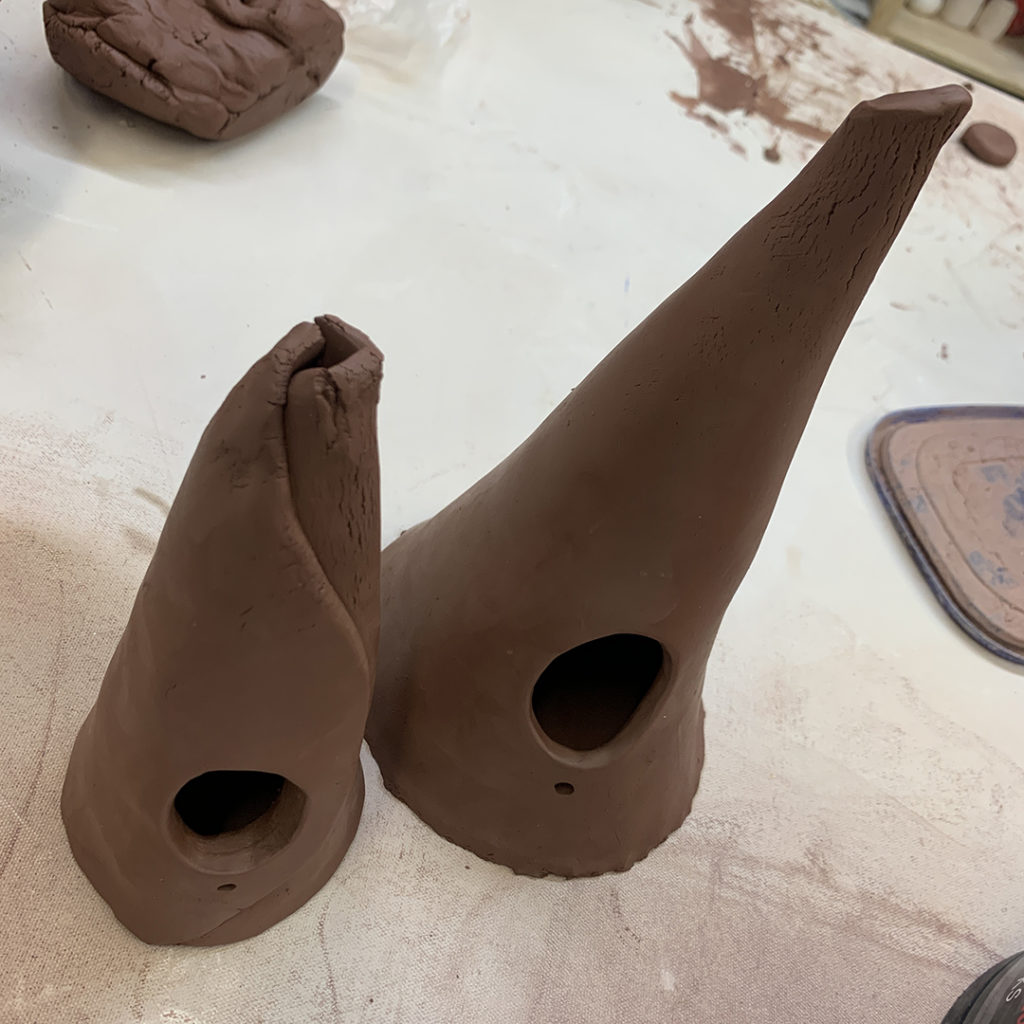

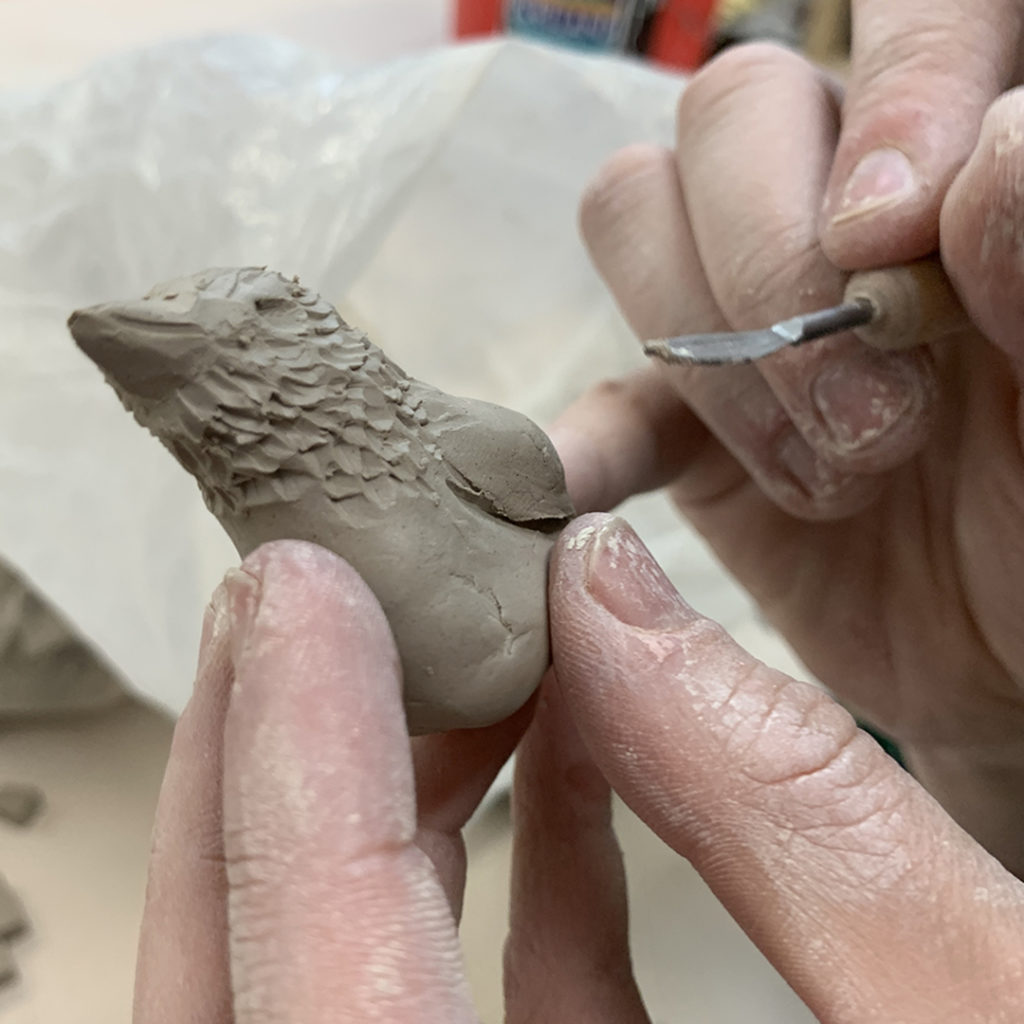
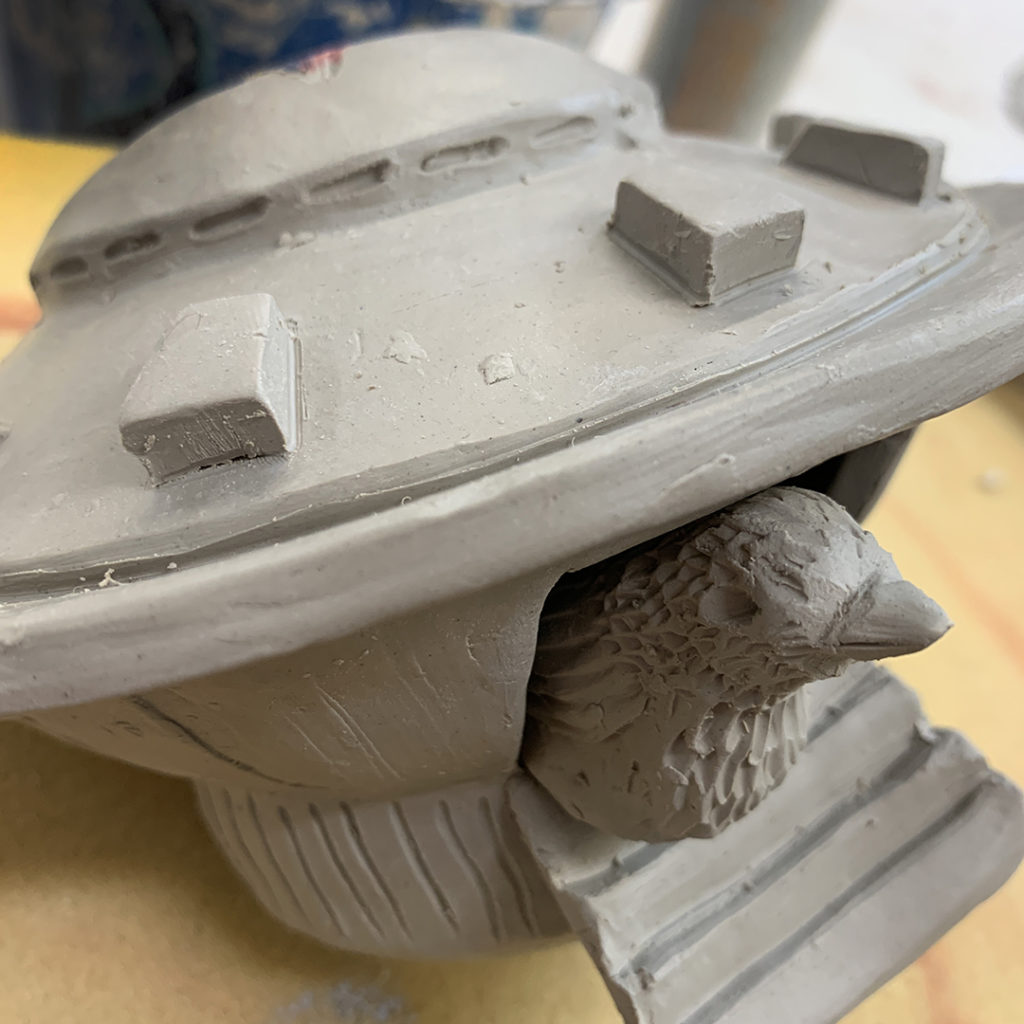
And, as if that weren’t tough enough… about 30 minutes before the deadline, they found out they needed to make a bird that would fit into their houses too!!!


|
Gary Jackson: Fire When Ready Pottery
Lillstreet Studios ∙ 4401 North Ravenswood, Chicago, Illinois 60640 ∙ 773-307-8664 gary@firewhenreadypottery.com |