02.07.2023
So we had another “yellow towel situation” in class tonight. I was sharing another package of THE MOST OREOs… but then Carly showed up & pushed us over the top!!! My students are the best!!!

Gary Jackson: Fire When Ready Pottery
A Chicago potter’s somewhat slanted view of clay & play |
So we had another “yellow towel situation” in class tonight. I was sharing another package of THE MOST OREOs… but then Carly showed up & pushed us over the top!!! My students are the best!!!

Now that all of my students have their “assignment”… I can finally reveal what was in all those white envelopes last week… and the final “Big Build” project for my GREAT LILLSTREET THROWDOWN class! It’s about “time”!
So they each chose a white envelope which revealed a famous cartoon show. And then they found out what they had to do with it… “time” for the project info!
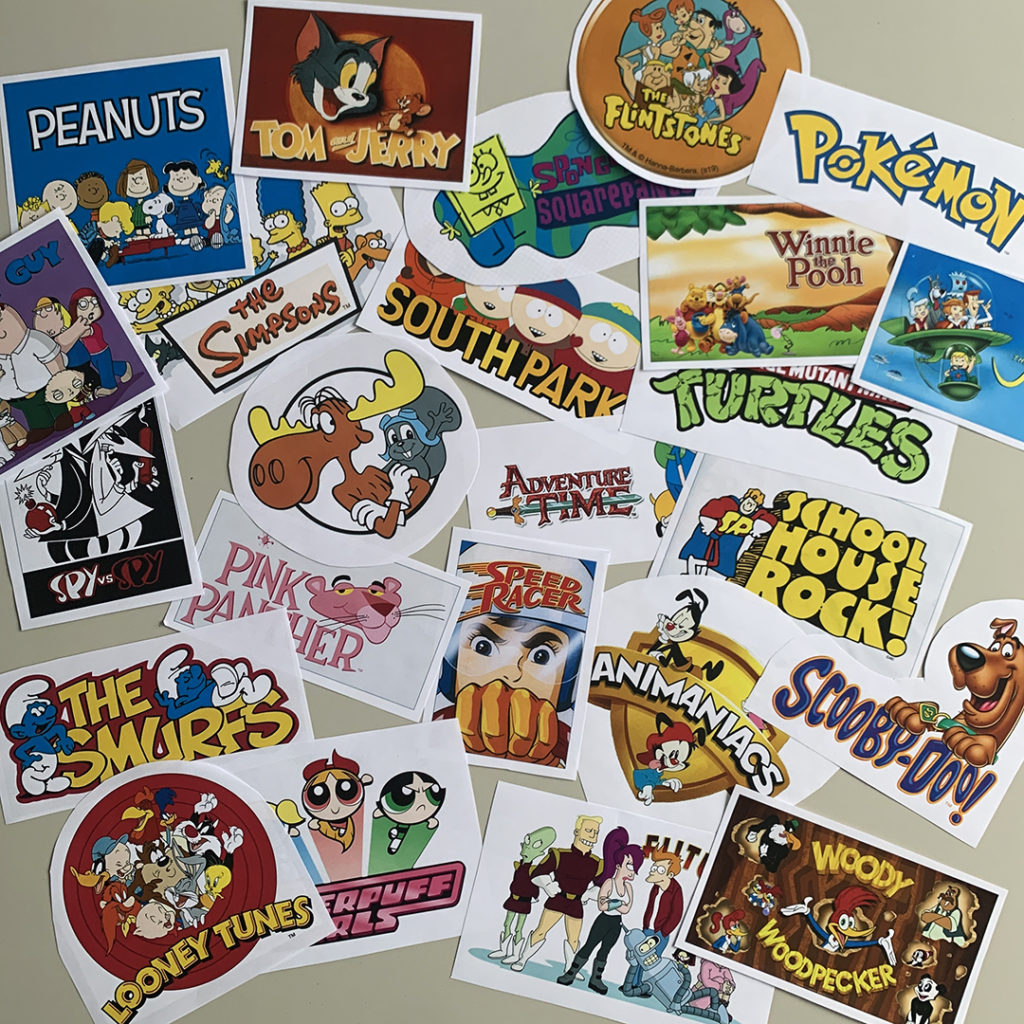
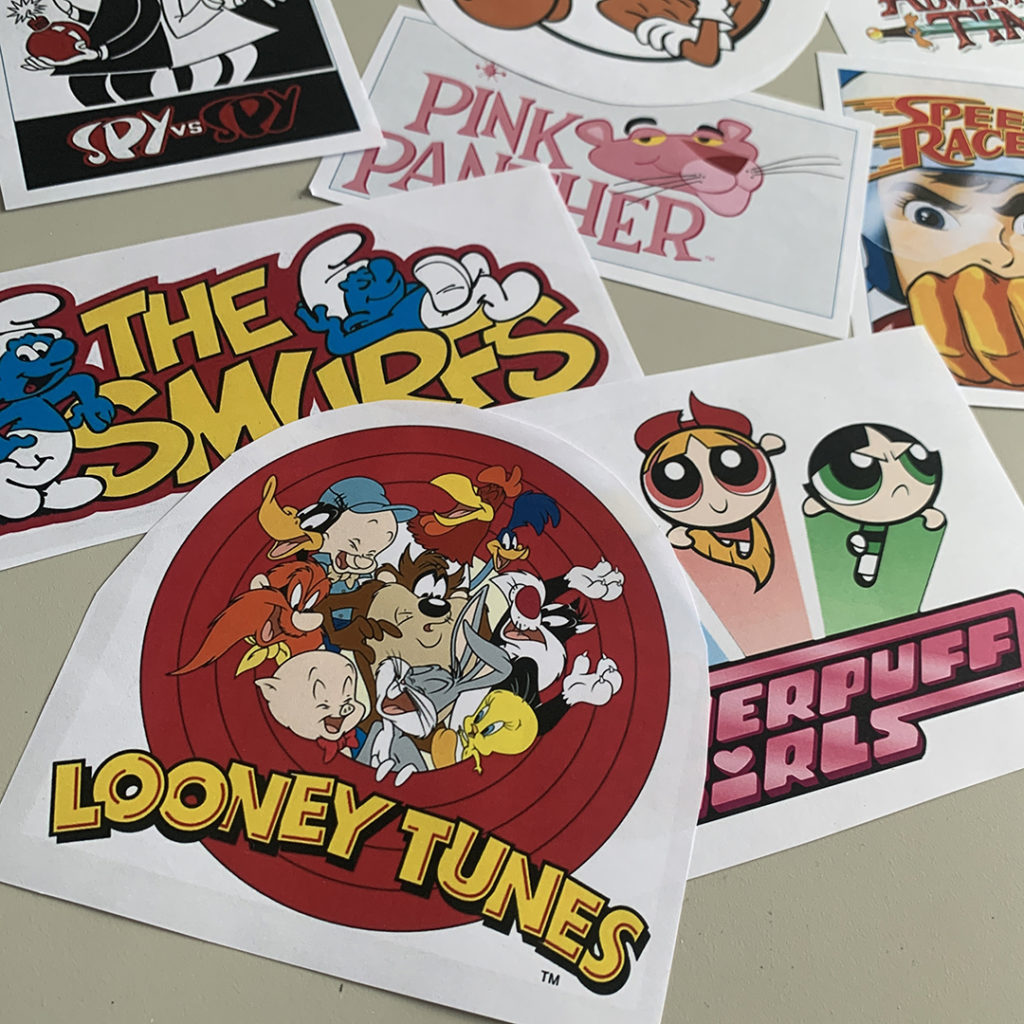

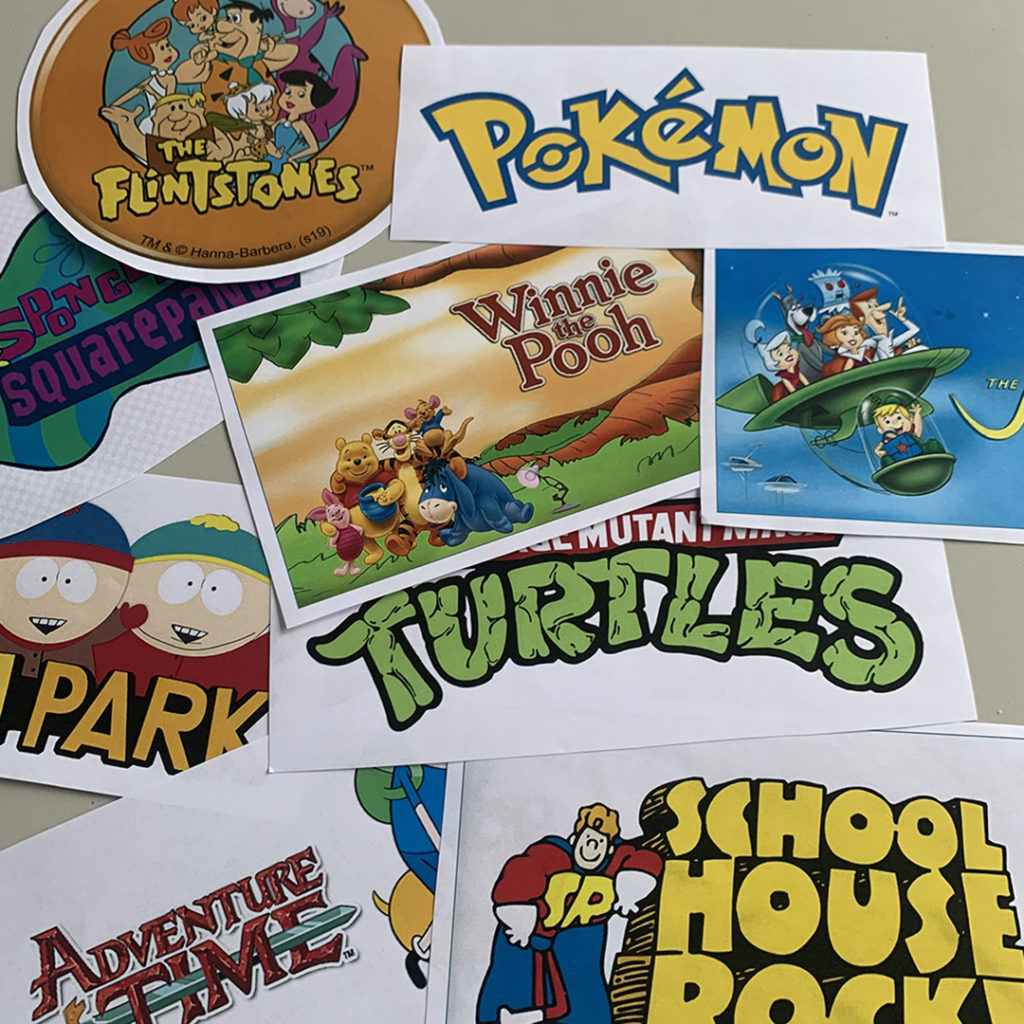

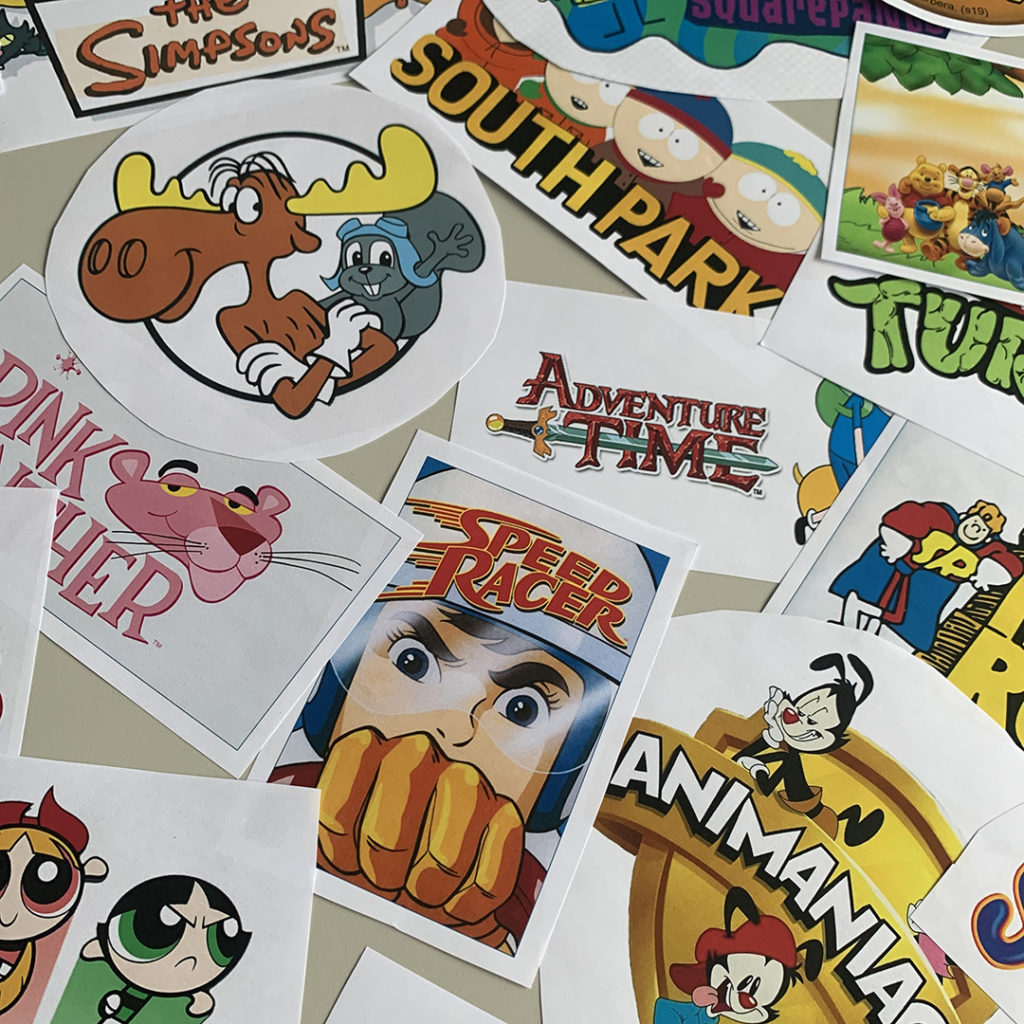
Turns out it’s “time” for them to build a working CLOCK!!!
And oh but wait there’s more… their clock has to be based on the cartoon that they chose. They can choose any elements from their cartoon… actual characters, logo, colors, vibe, style, environment, etc. … as long as it’s indicative of the cartoon!!! The goal is for them all to have this “Big Build” CLOCK done, glazed & working for their final critique in Week 10 of class! Not a “minute” to spare!
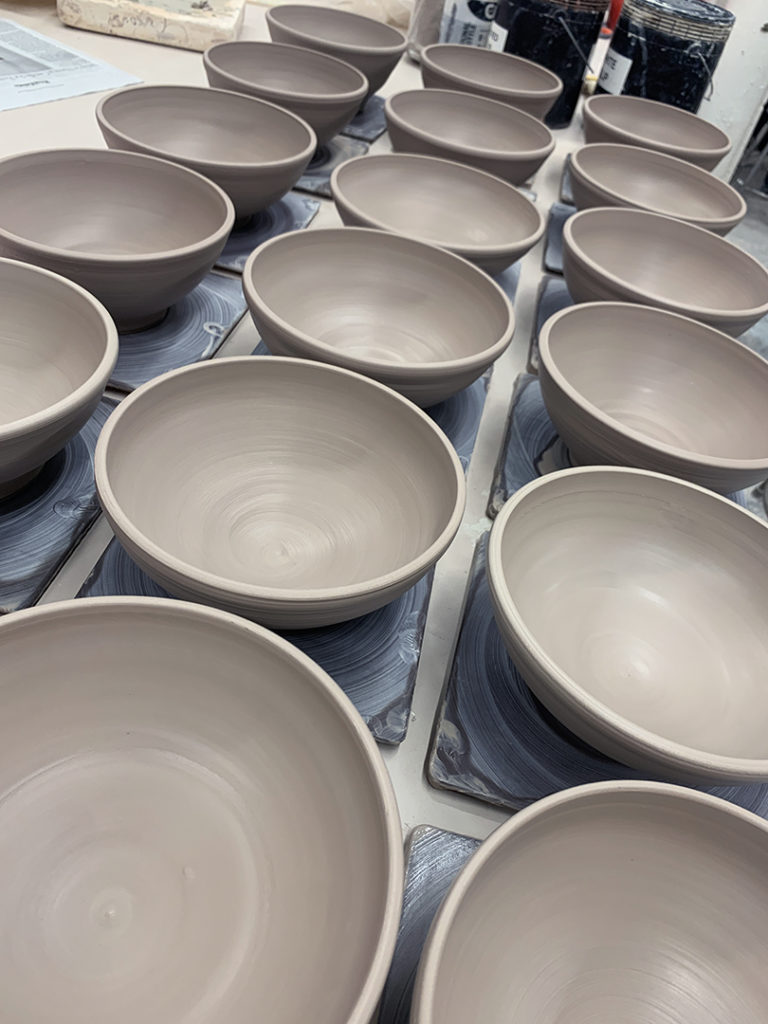
Well, it’s that time of the session… time to show my Beginner’s how to throw a bowl on purpose instead of a cylinder gone bad. So I started class with a demo on how to make a bowl with a nice even curve through the interior… with no flat bottoms, no corners, no beginner bumps or identations. I remind them that they need to throw the interior of the bowl as smooth as they can… and then we’ll trim the exterior later to “match” the inside curve.
After I did my first demo… they all went back to their wheels to give it a go! And I might have thrown “a few” more…
When I finished throwing my demo bowls, we reassembled for Part Two of the demo. A little fun in how we can alter & decorate the bowls. Trying to give them a few tips, tricks & techniques to make their pottery more of “their own” instead of the round thing the wheel made for them. How to put their own creativity into their work. I stressed that they don;t need to do any of these techniques… but please feel free to PLAY more with your clay!!! And that bowls don’t always need to be round!!!
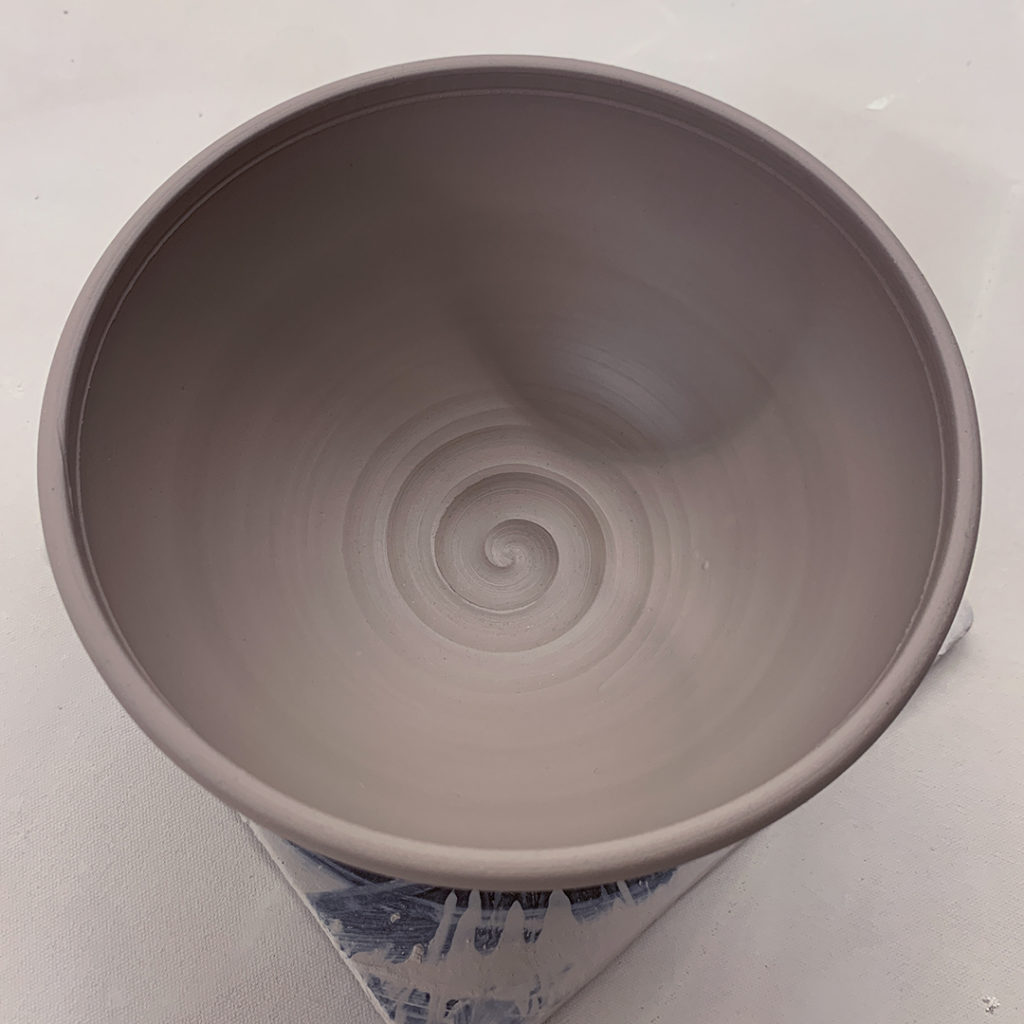
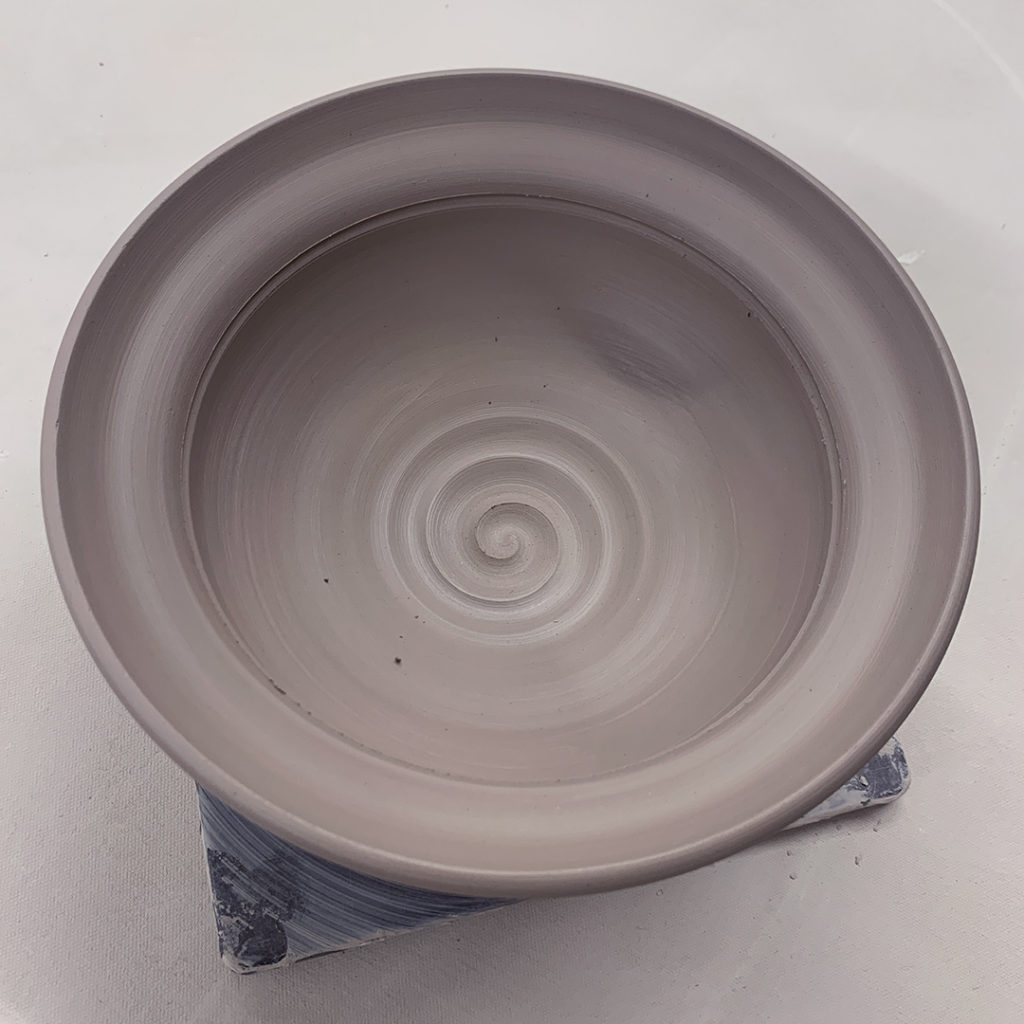
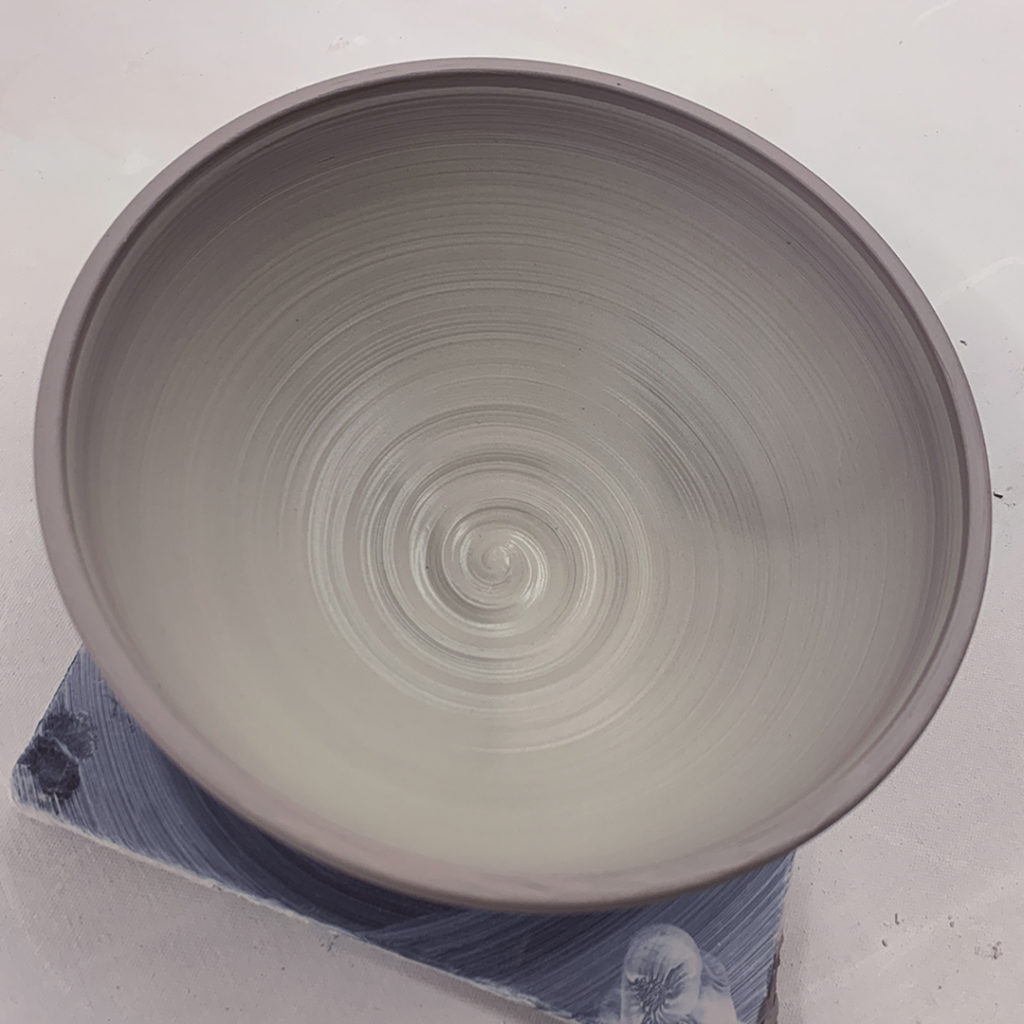
Bowl #1 – Plain
This was the first one… the “control” bowl… so we left it plain for comparison.
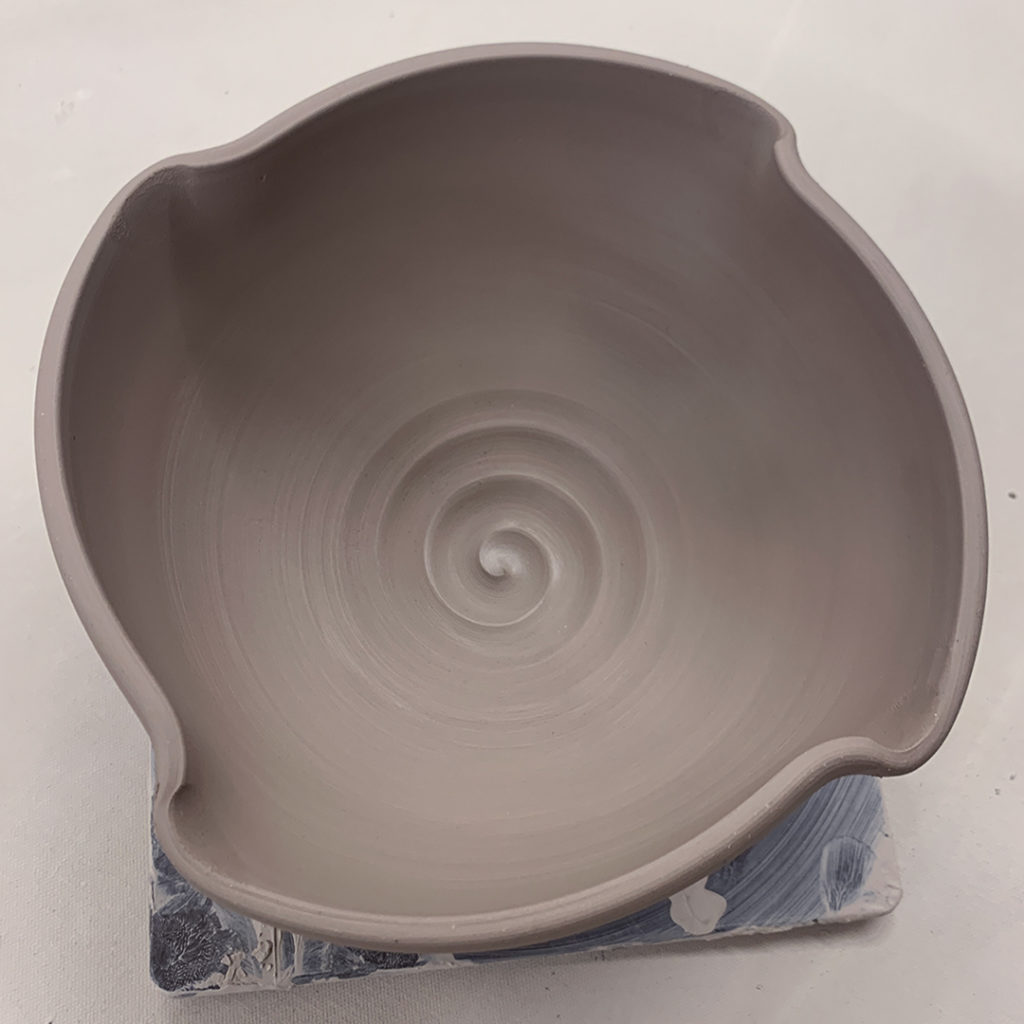
Bowl #2 – Four Fluted Edges
With a simple finger flick, I made four fluted areas. One finger inside, one finger outside… pinch & twist.
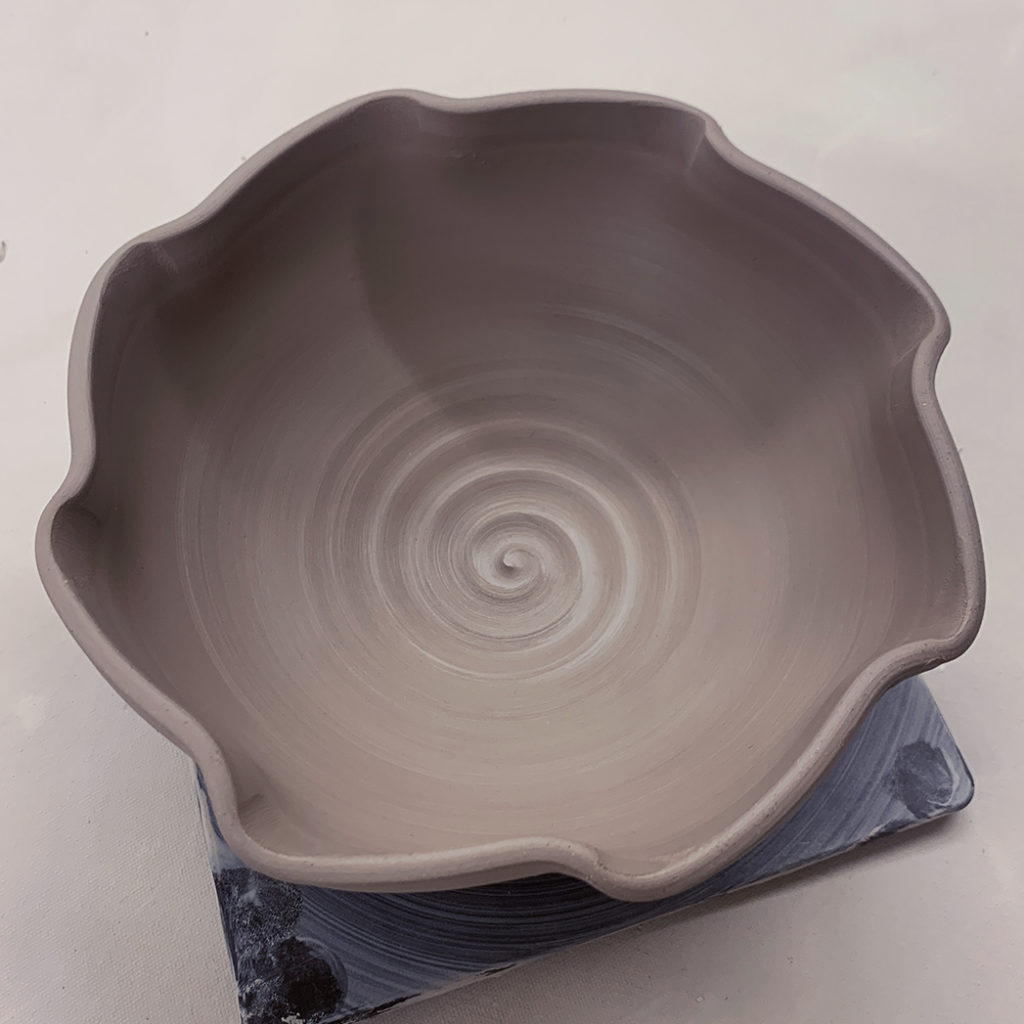
Bowl #3 – Eight Fluted Edges
And if four are nice, maybe eight are even nicer!
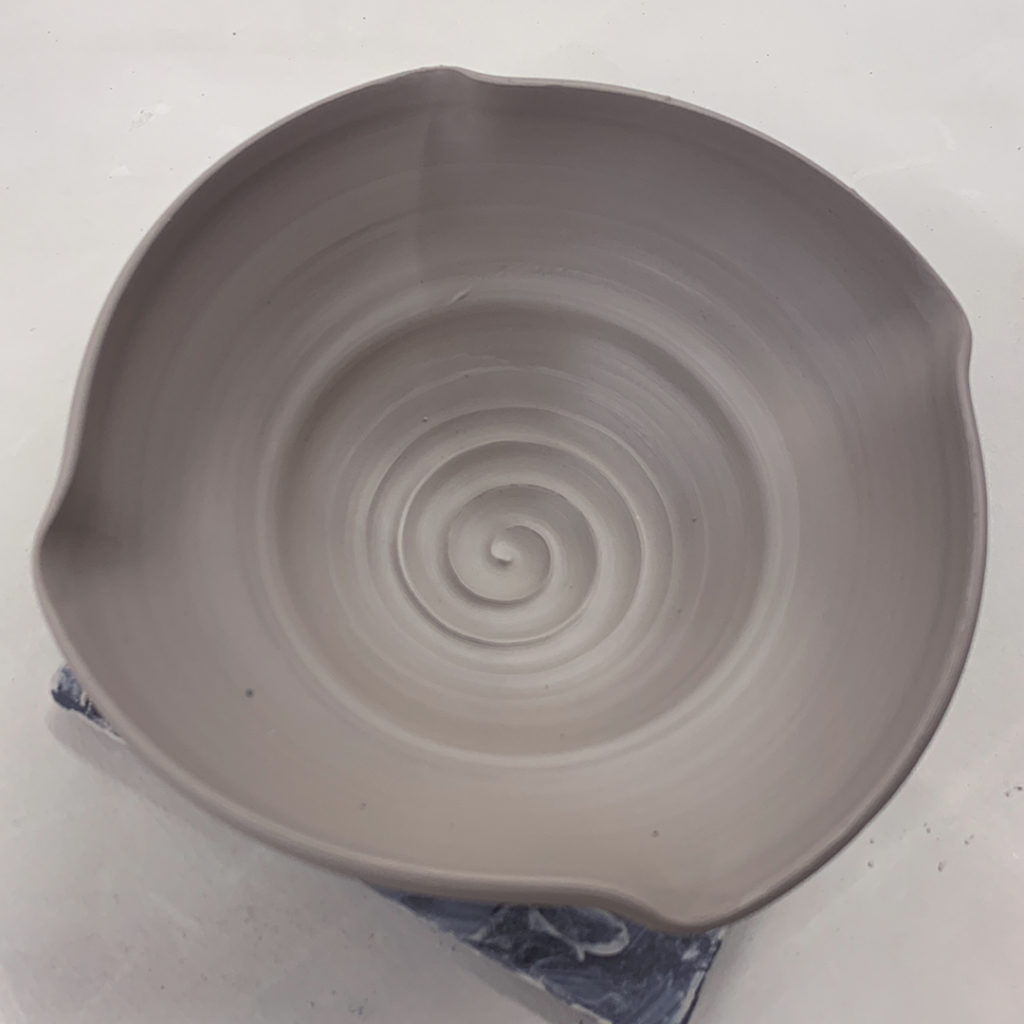
Bowl #4 – Flared Flange
With one finger stationary on the exterior, I just flared out the top edge over that outside finger… and curved it up just a little.
Bowl #5 – Wider Flange & Fluted Edges
Combining a flared flange… but deeper now… with some fluted edges for fun!
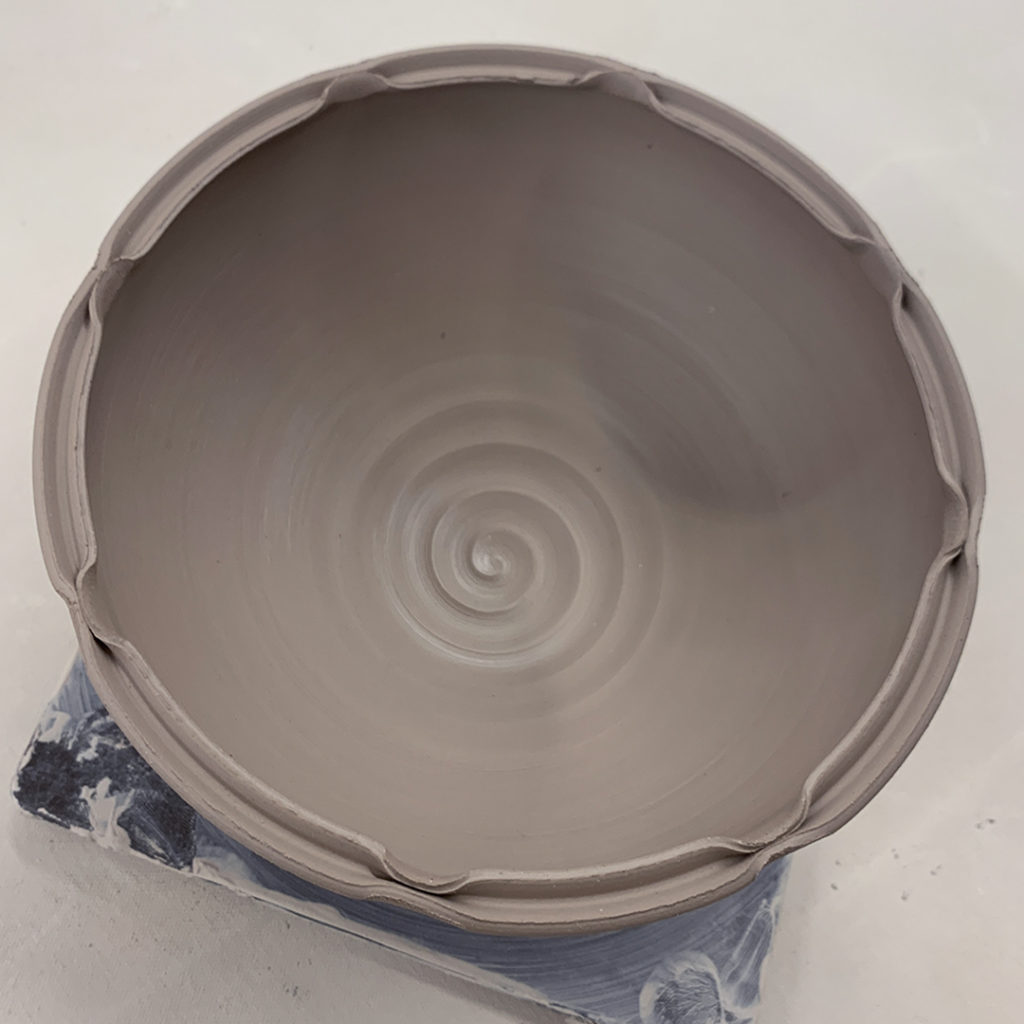
Bowl #6 – Split Rim with Pinches
With my wooden knife, I used the pointed tip to split the rim of the bowl. And then I pinched it back together in eight places.
Bowl #7 – Split Rim, Pinched & Curved
Same idea as the previous split-rim bowl… but this time I curved it outwards in between the pinches.
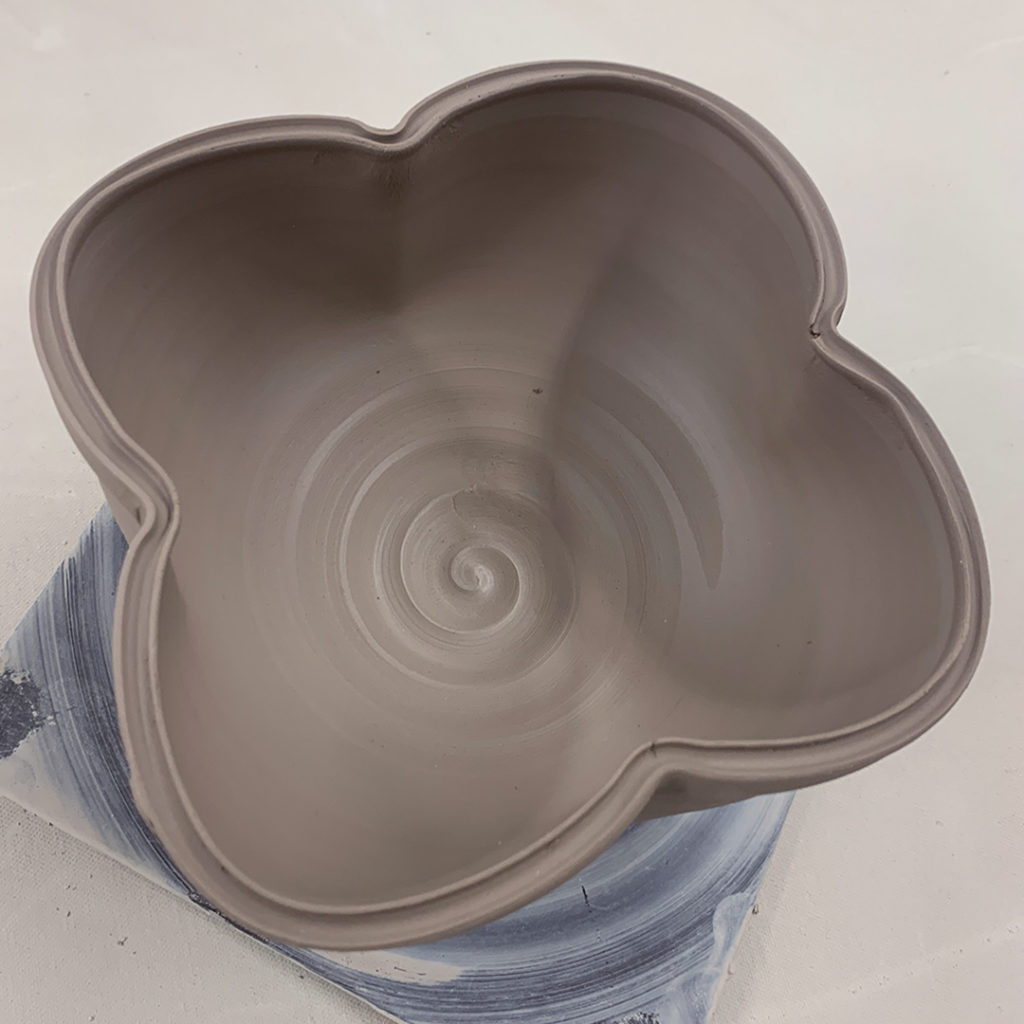
Bowl #8 – Split Rim Quatrefoil
After splitting the rim, I used the side of my wood knife to press it inwards in four places… no one ever said a bowl HAS TO BE ROUND?!!!
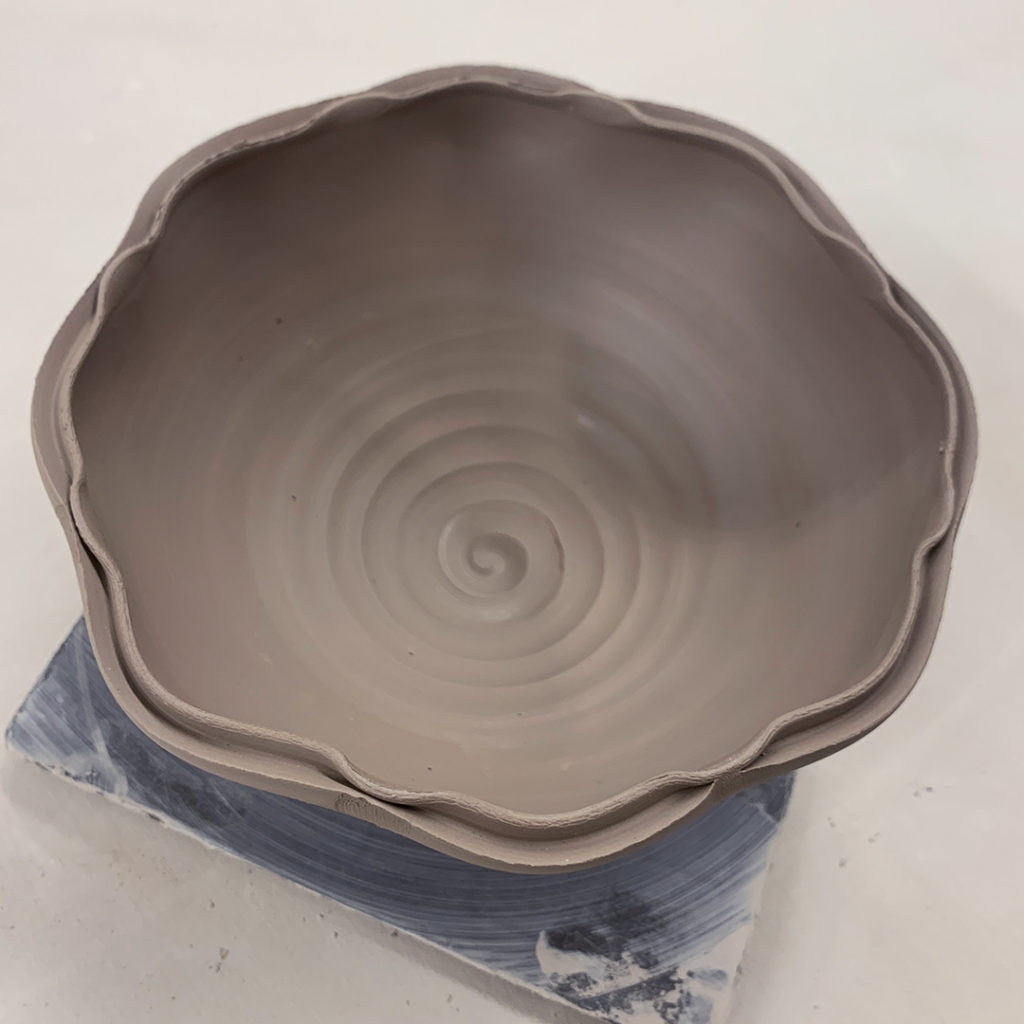
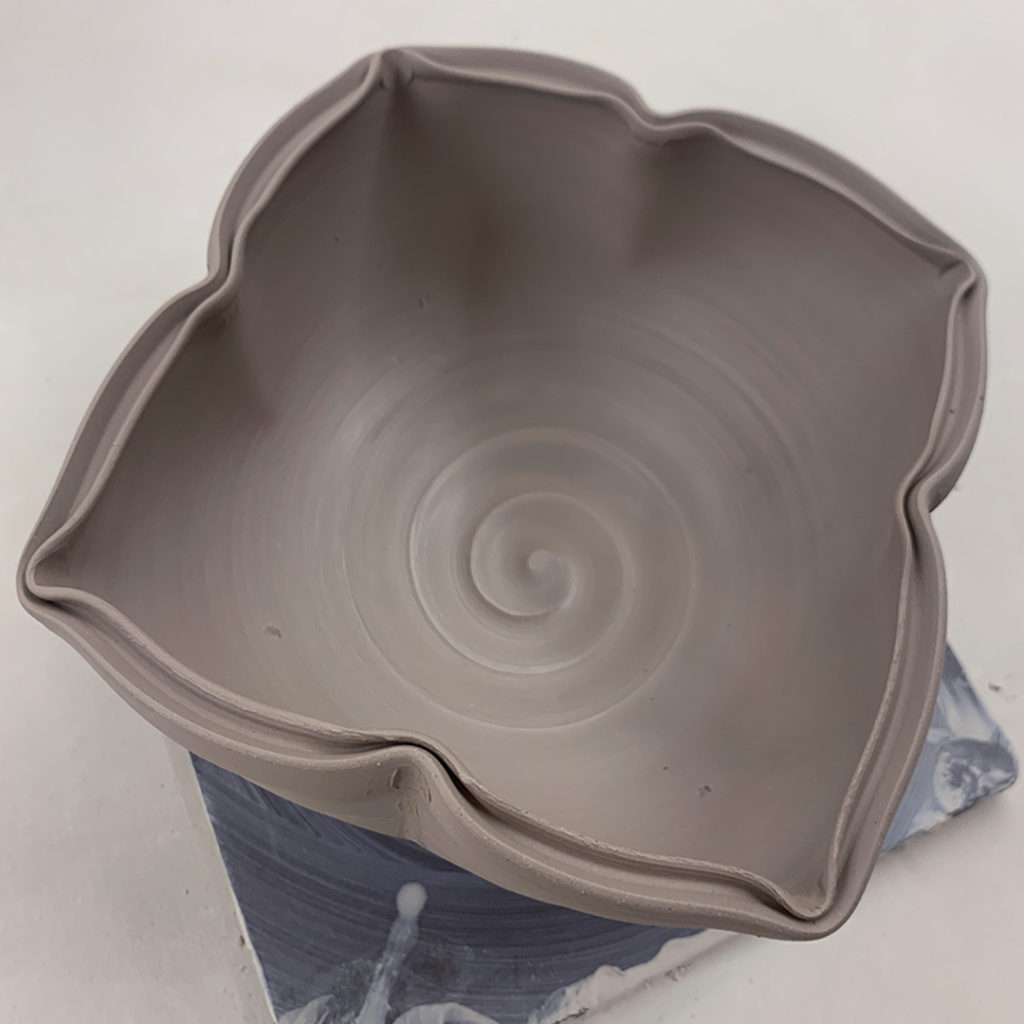
Bowl #9 – Quatrefoil Pressed Outward to Lotus
Same as Bowl #8… but this time I used the same edge of my wooden knife to press outward in between the inward pinches… kinda squaring-up the bowl.
At this point, I introduced using colored slip as an option for surface decoration. I explained that it is basically a “skin” of colored clay that you can paint on to change the color of the surface of your clay. You can cover it all, cover parts of it or paint patterns & pictures!
Bowl #10 – White Slip Coverage
I just painted the interior of this bowl with a simple layer of white slip to demonstrate how it will look different after glazing. Same glaze color.. . but lighter on the inside, darker on the outside.
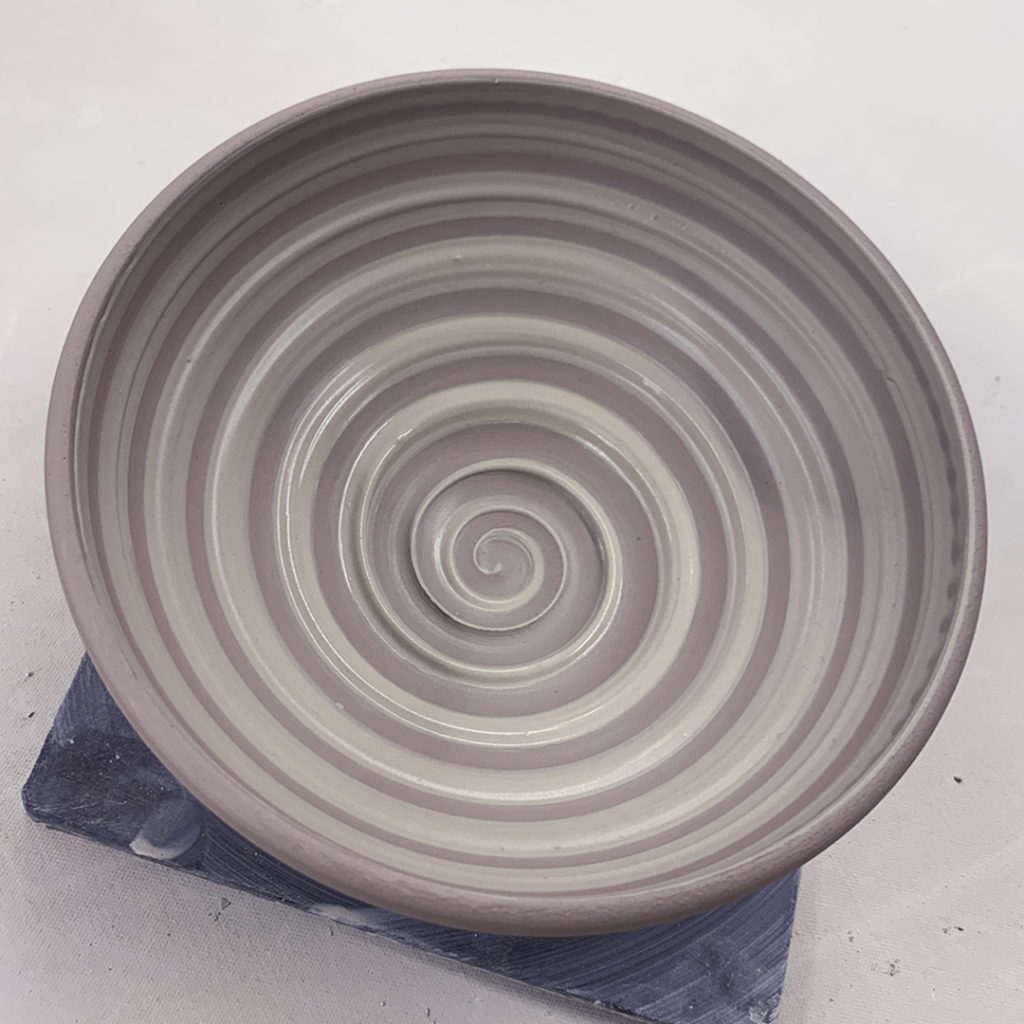
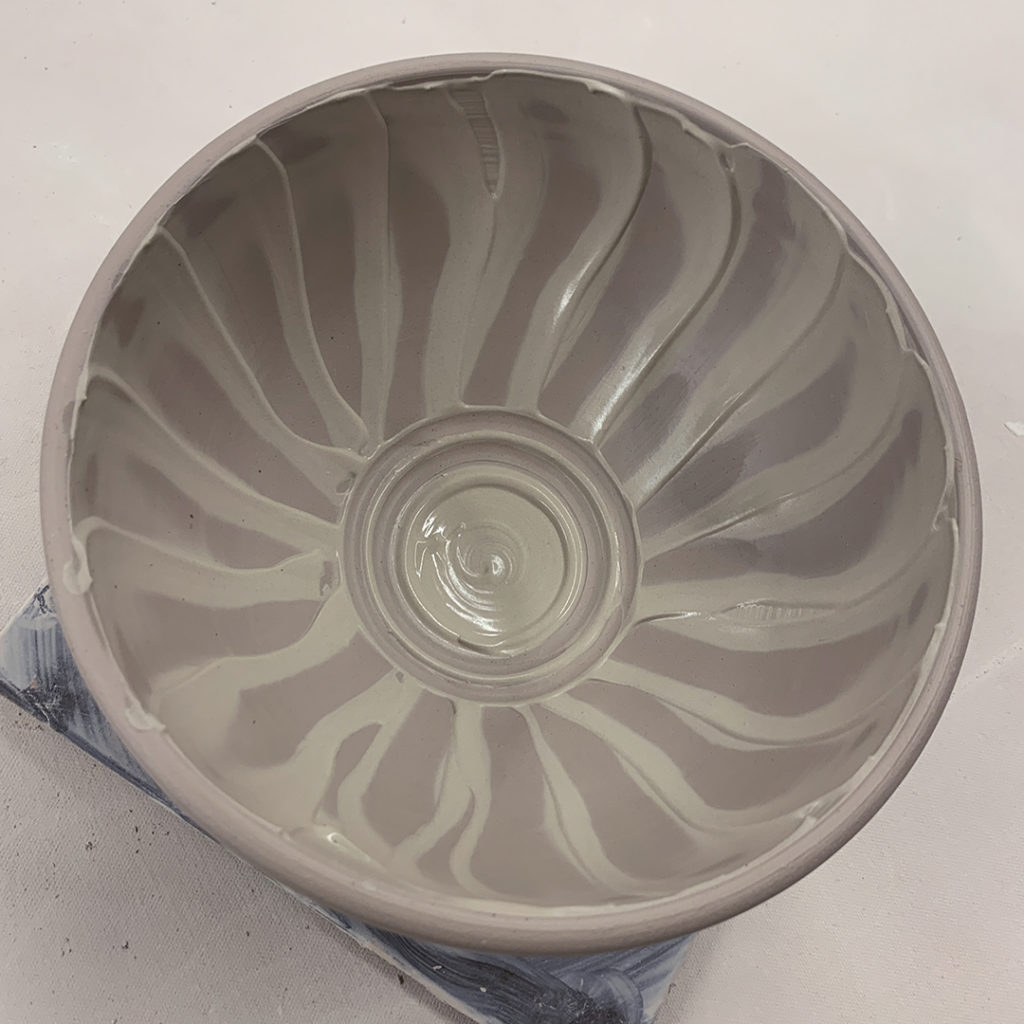
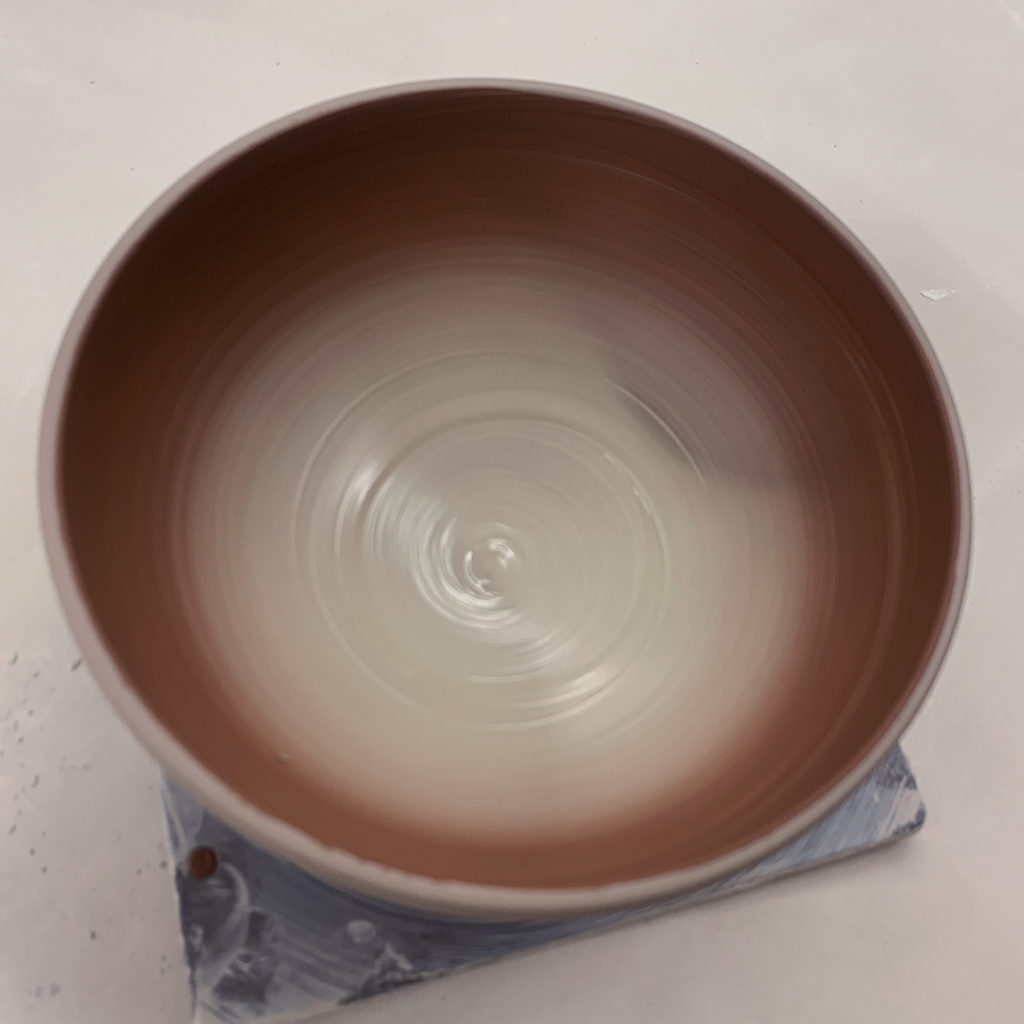
Bowl #11 – White Slip Spiral
A solid coat of white slip, then dragging the rounded end of my wooden knife through while the bowl was spinning on the wheel.
Bowl #12 – White Slip Banding
Horizontal banding… leaving a wide space that “might” be carved with a pattern later?! A solid color layer, then removed by dragging the rounded end of my wooden knife through in bands.

Bowl #13 – White Slip Squiggles
A thick layer of white slip, then a little finger-painting… squiggling back & forth as the wheel turns.
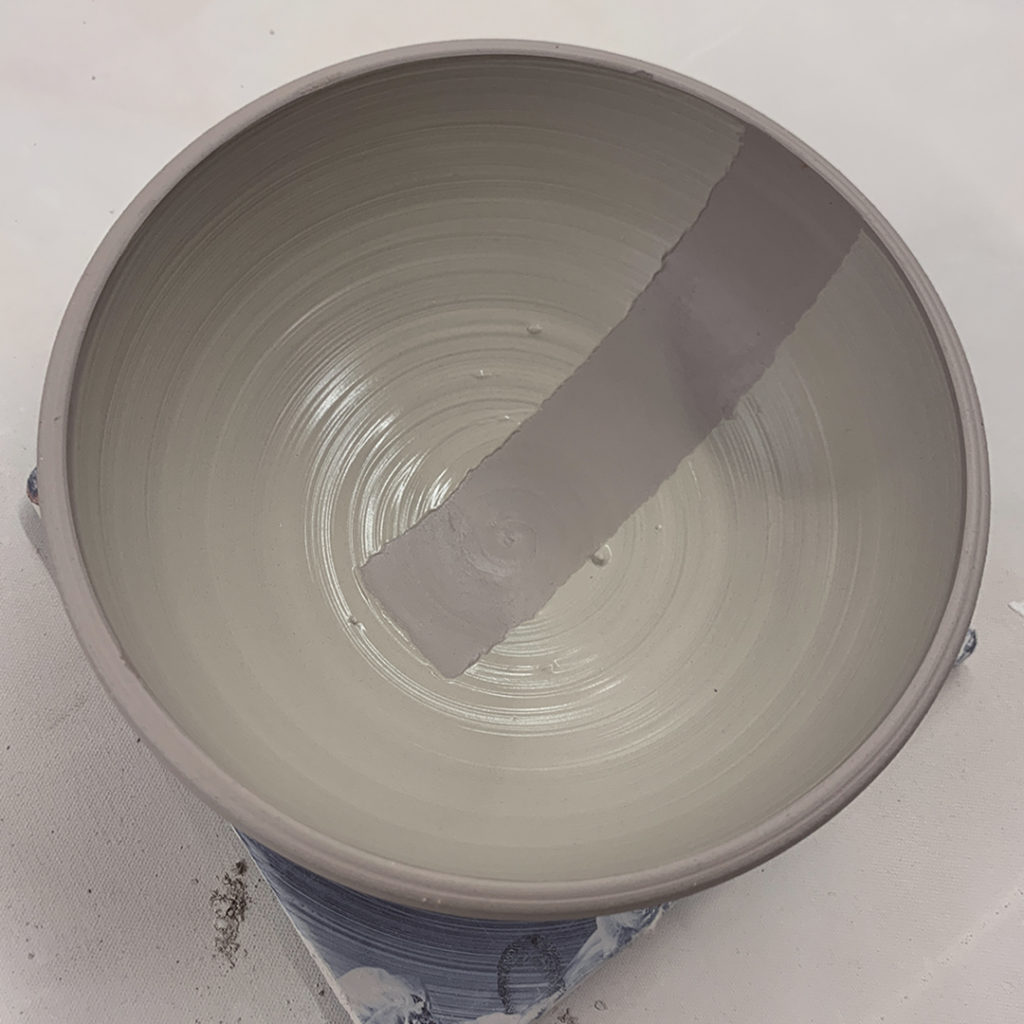
Bowl #14 – White Slip Stencil
With a torn edge of newspaper… I wet it then carefully pressed it onto the surface of the bowl. Carefully sealing down the edges by brushing white slip over the edges… and them covering the whole bowl surface. Once covered, I gently peeled away the newspaper to reveal the deckle-edge rectangle.
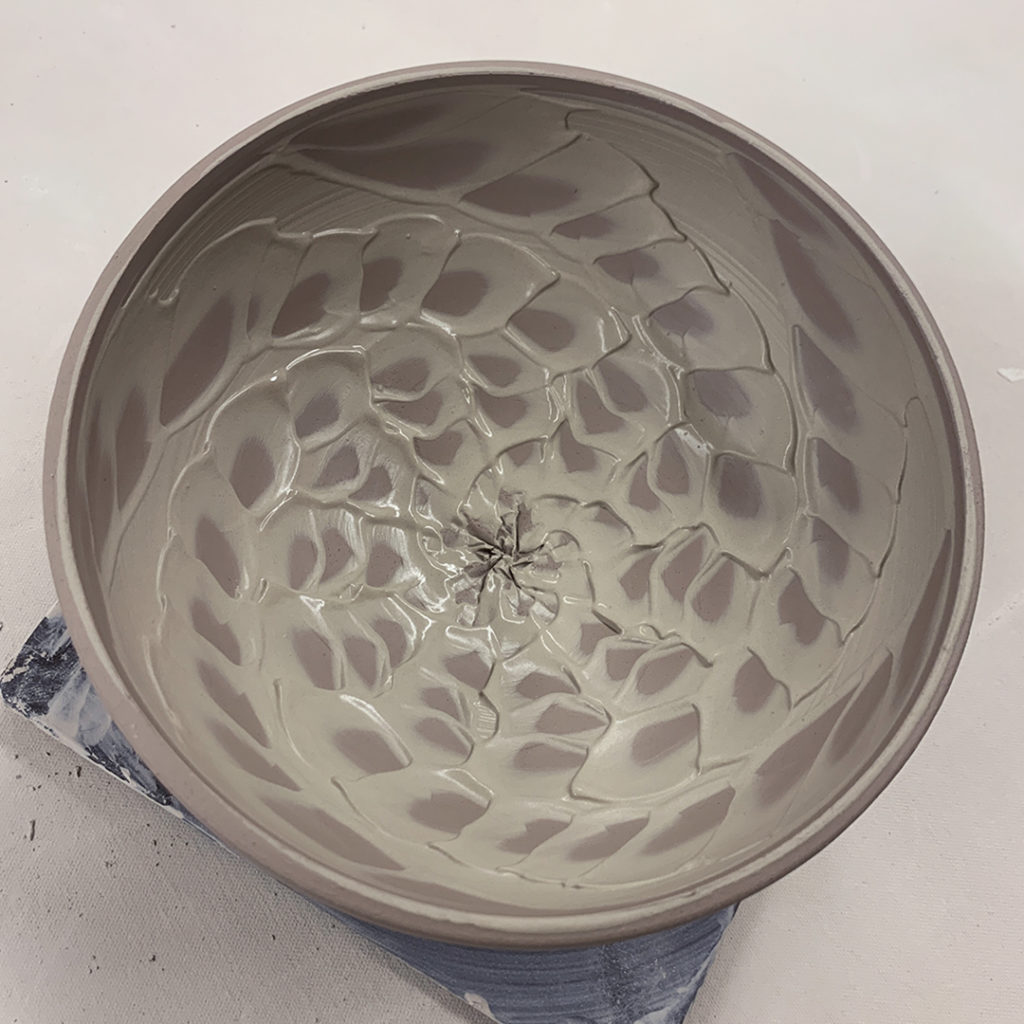
Bowl #15 – White Slip Chattering
After a thick coat of white slip, I did some rhythmic chattering through the slip with a green plastic rib. Gently tapping up & down, and up & outwards at the same time while the wheel is spinning.
Bowl #16 – Dragged Thru White Slip
With the edge of a green rib, I gently dragged through the slip vertically… and then did a little center circle to even out the bottom where the squiggles started.
Bowl #17 – Ombre Blended Slip
With a layer of white slip, I added a layer of iron red slip for a smooth ombre blend.
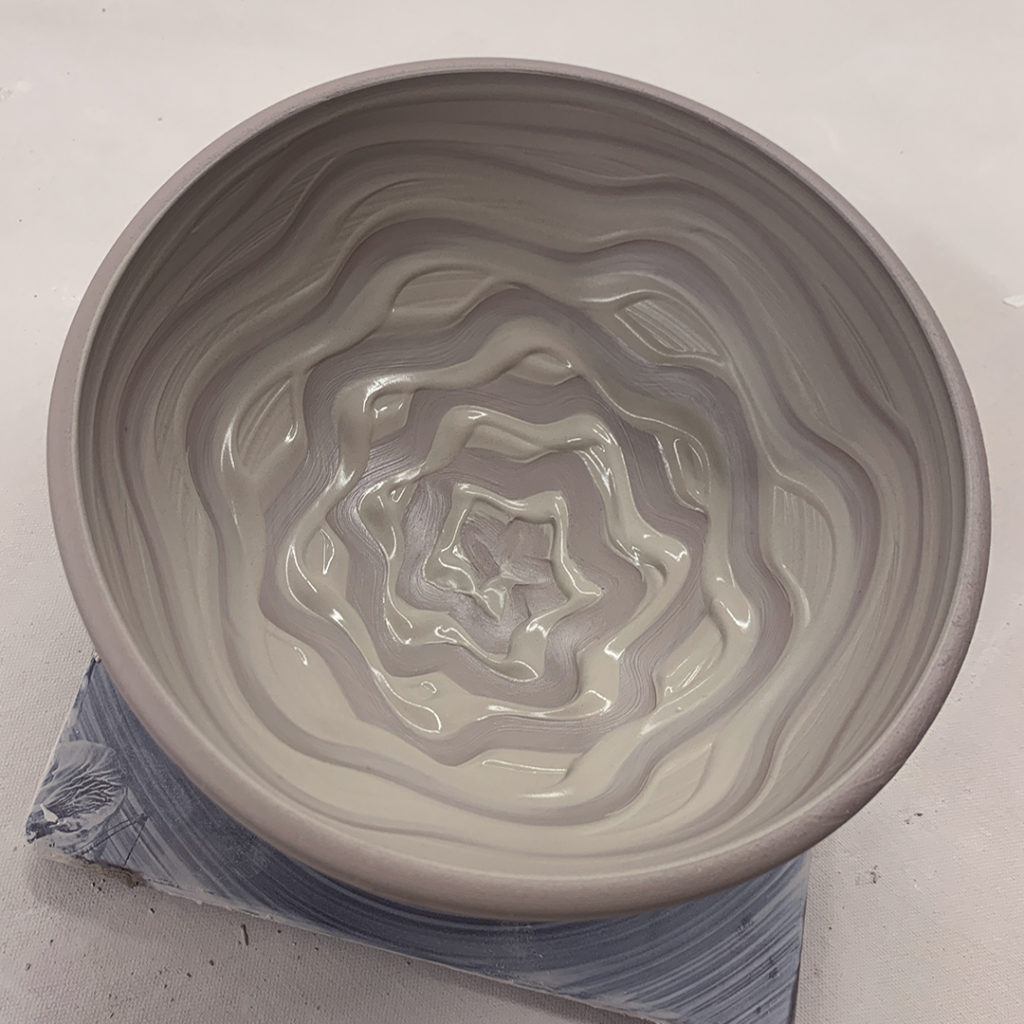
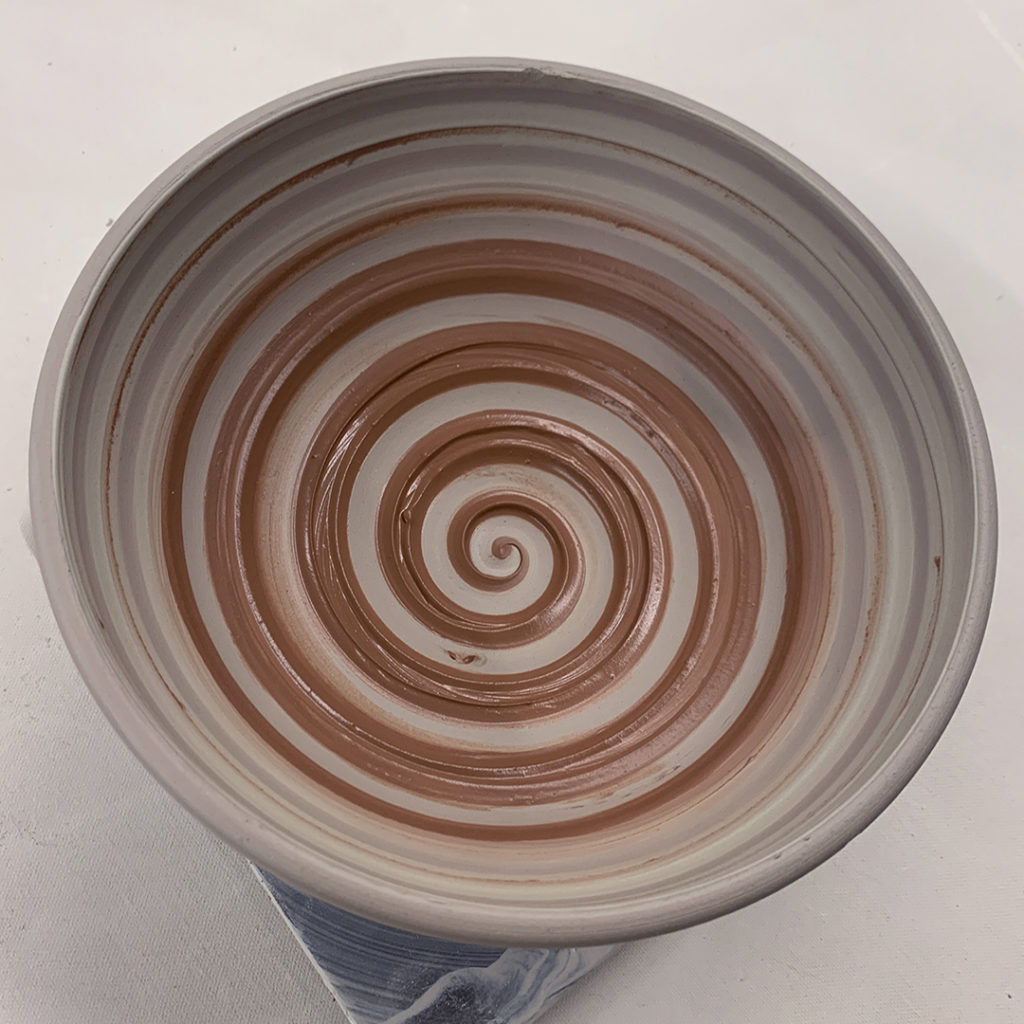
Bowl #18 – Ombre Spiral
After making the same ombre blend as Bowl #17, I dragged the rounded end of my wooden knife through both slips to make the spiral while the wheel was spinning.
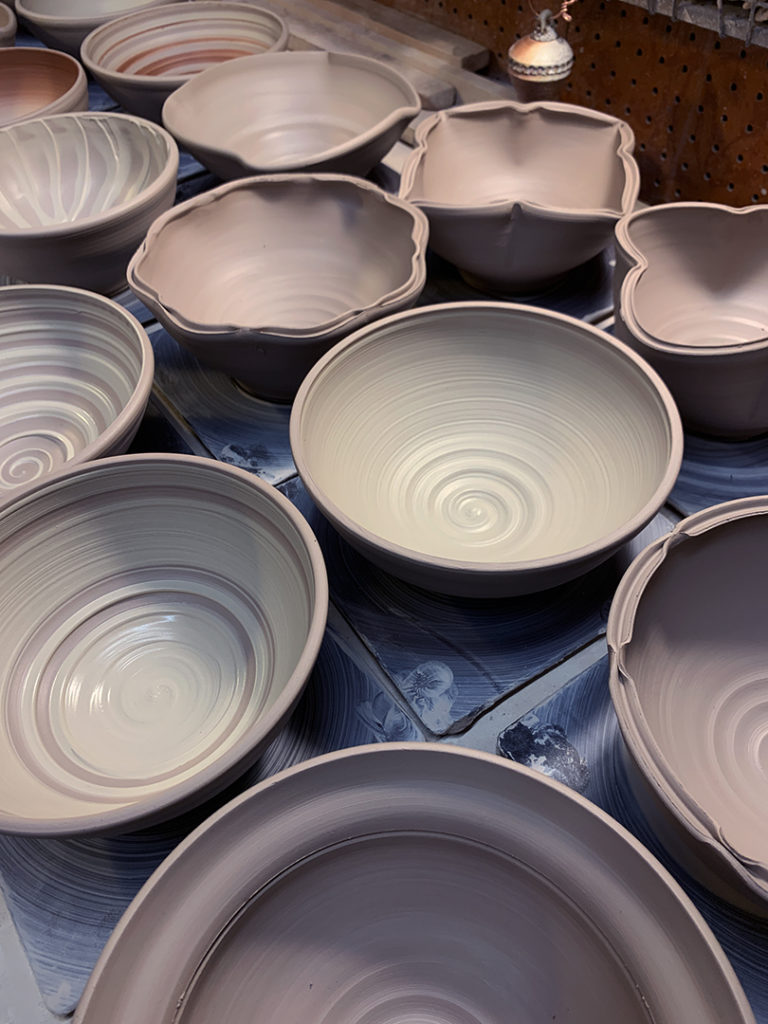
So for now they’re all up in my studio ready to go under plastic wrap for the night. I’ll keep them covered so they can dry slowly to leather-hard… and then there might be some stamping, detailing & addition. Maybe… just maybe…
We ended out LILLSTREET THROWDOWN class Thursday night with a table full of envelopes. And you know I love a good game.. so it was a “White Envelope, White Elephant Game” of picking, trading & stealing! Once they picked an envelope, they opened it to see their clue… but there was a lot of “stealing” going on. Inside the envelopes were categories for their upcoming “Big Build” project challenge.
After they each had their chosen clue…
it was time to reveal their “Big Build”… which was…

C’mon… you don’t think I would reveal it quite so quickly, right?!
There were a couple people missing from class, so once they get their “assignments”… then it’s time to share more details about their very challenging project.
But only when the “time” is right!!!

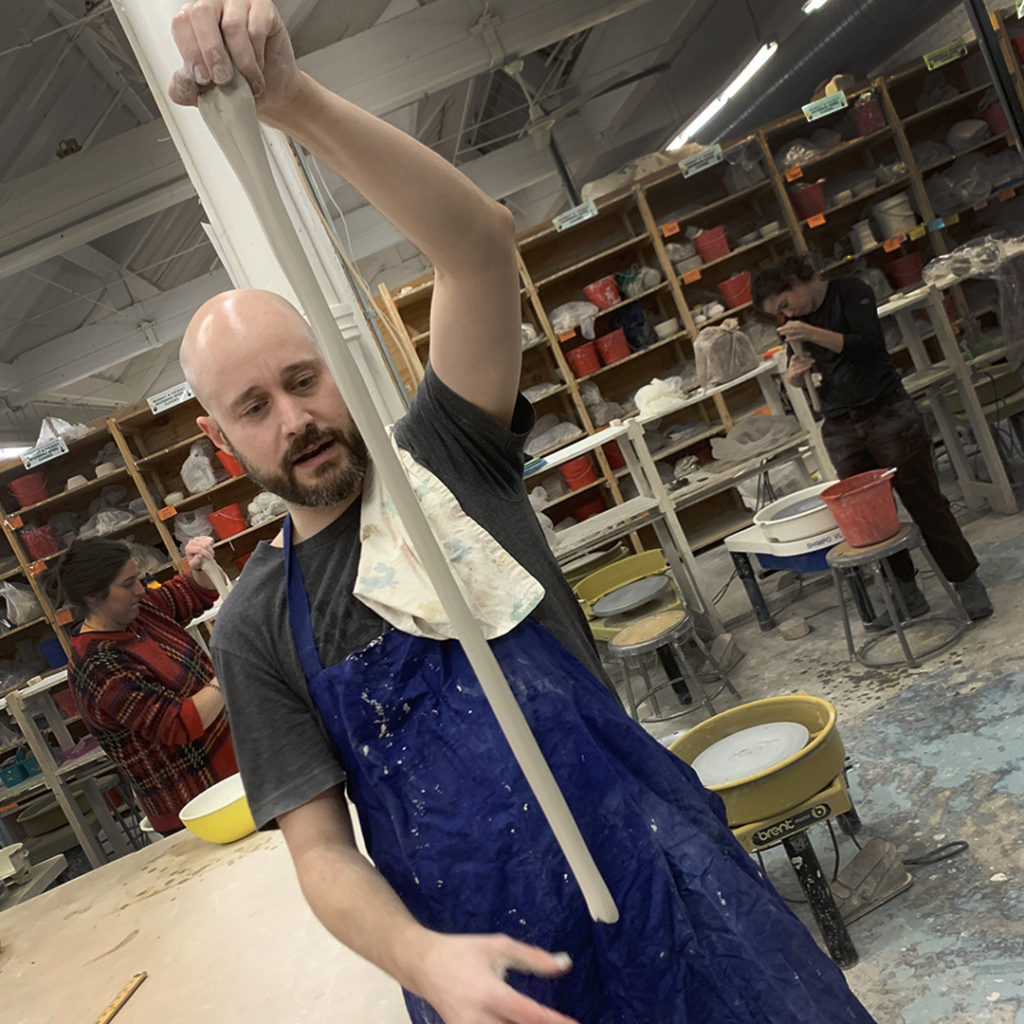
The fifth challenge this week for my LILLSTREET THROWDOWN students was to roll the longest coil possible with one & a half pounds of clay. Same rules apply… if a piece breaks off, you can continue to roll the longer piece, but they could not squish it back on! Congrats to to Katie, Aaron & Claire who rolled their coils longer than the table… and had to make the bend!


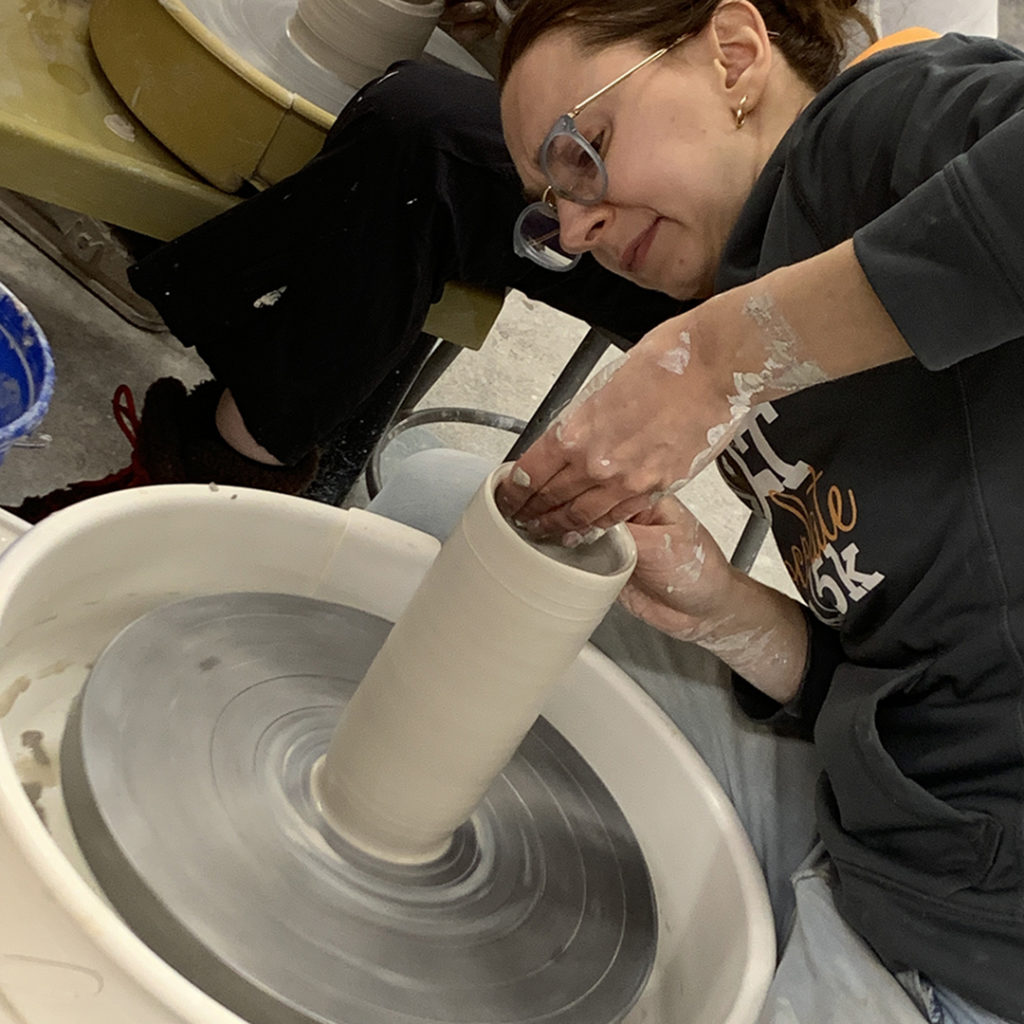
After a couple handbuilding challenges, it was time for my THROWDOWN class to get back on the wheel. This time it was “tallest” wheelthrown cylinder with two pounds of clay! With a nice even rim… no pinching, stretching or adding onto the top to make it taller! Congrats to Claire, Katie & Alex for their tallest cylinders!


The next challenge my LILLSTREET THROWDOWN students took on this week was pulling handles the traditional way. With a pound & a half of clay, the challenge was to pull the longest handle possible. And again, it any part breaks off they could continue pulling with whatever was left in their holding hand… but they could not squish the broken piece back on. The three with the longest handles after 10 minutes got the points!!! Congrats to Ashley, Brittany & Autum (tied) and Angela!!!
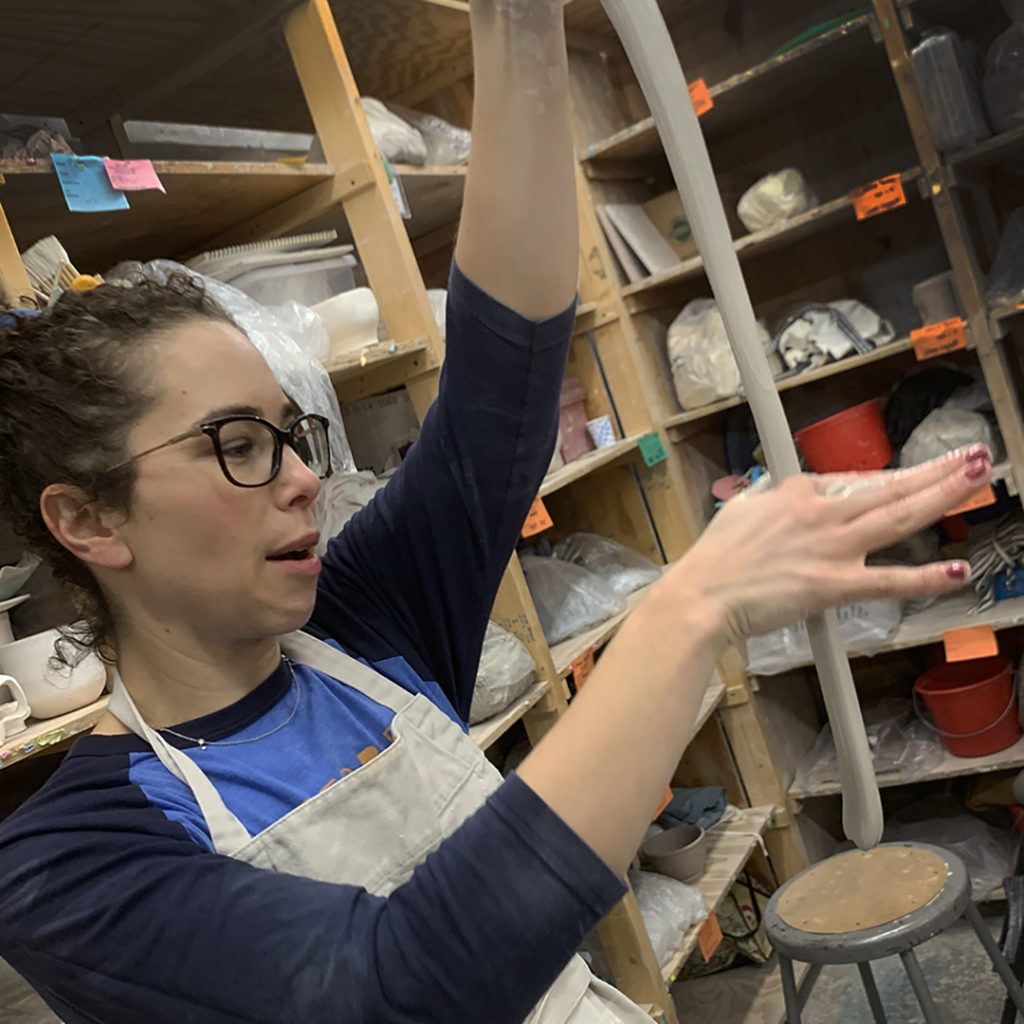


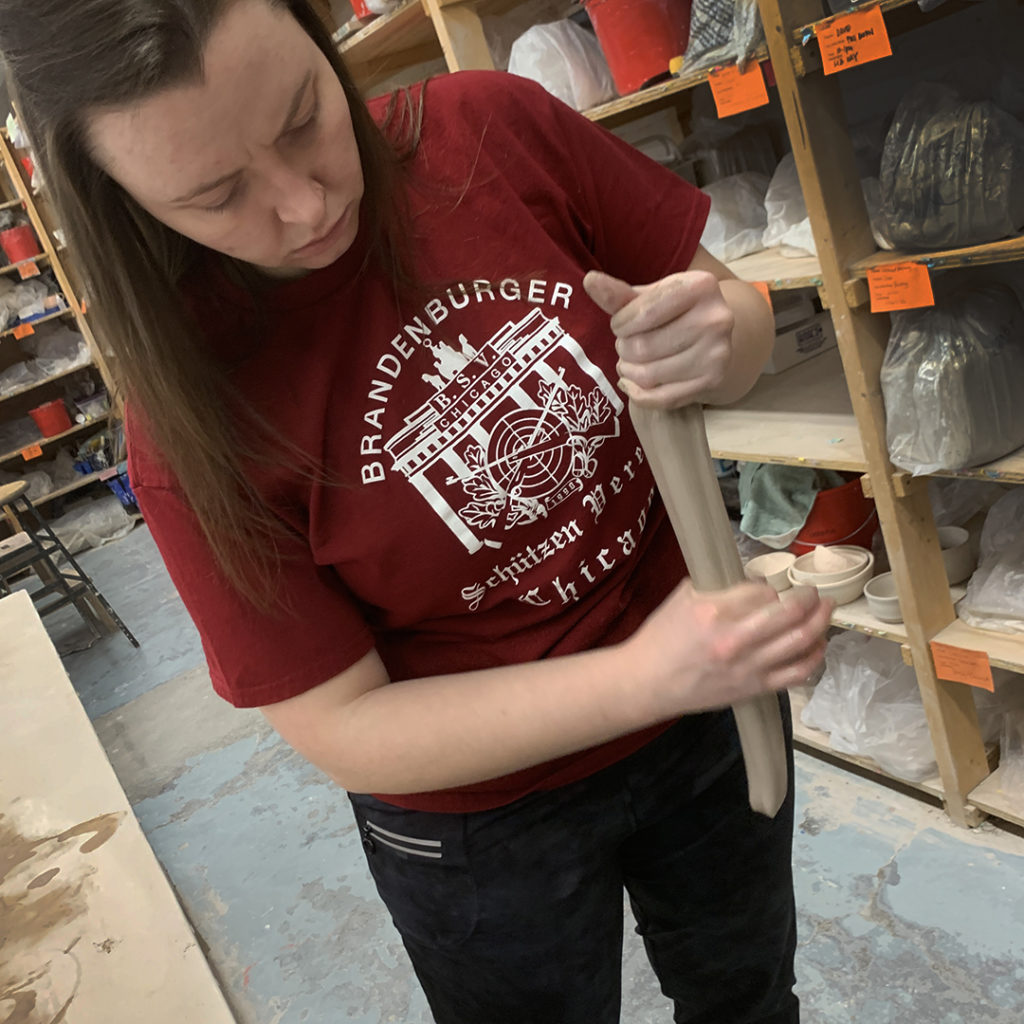
And yes… sadly, Aaron’s very long handle broke as he pulled it one step too far… and there was no coming back from it!!!
This past week during the GREAT LILLSTREET THROWDOWN, we started with a “blind weighing” of clay challenge… where they each had to cut off four pieces of clay without the benefit of a scale. After they had guessed at the right weights, we checked them on the scale and rated them on the variance! The three people closest to the correct weights got the points!
Once they had the four balls of clay “correct”… we started with some basic handbuilding skills! First up… pulling the largest slab of clay on the table. No slab roller. No rolling pins. Just the largest continuous slab… and if a piece broke off, they were not allowed to squish it back on! Let gravity do the work… stretch that clay thin & wide!!!


Now with serving cutlery, my GREAT LILLSTREET THROWDOWN class put their new serving bowl sets together for critique & judging. It was so great to see how they all came together. Some people focused more on the basics of their sets & how the pieces all work together… while others relied more on surface decoration techniques to pull it all together. I can’t wait to see how these sets turn out… as their final “judging” will be in Week 9 of class after they’re all glazed!!!


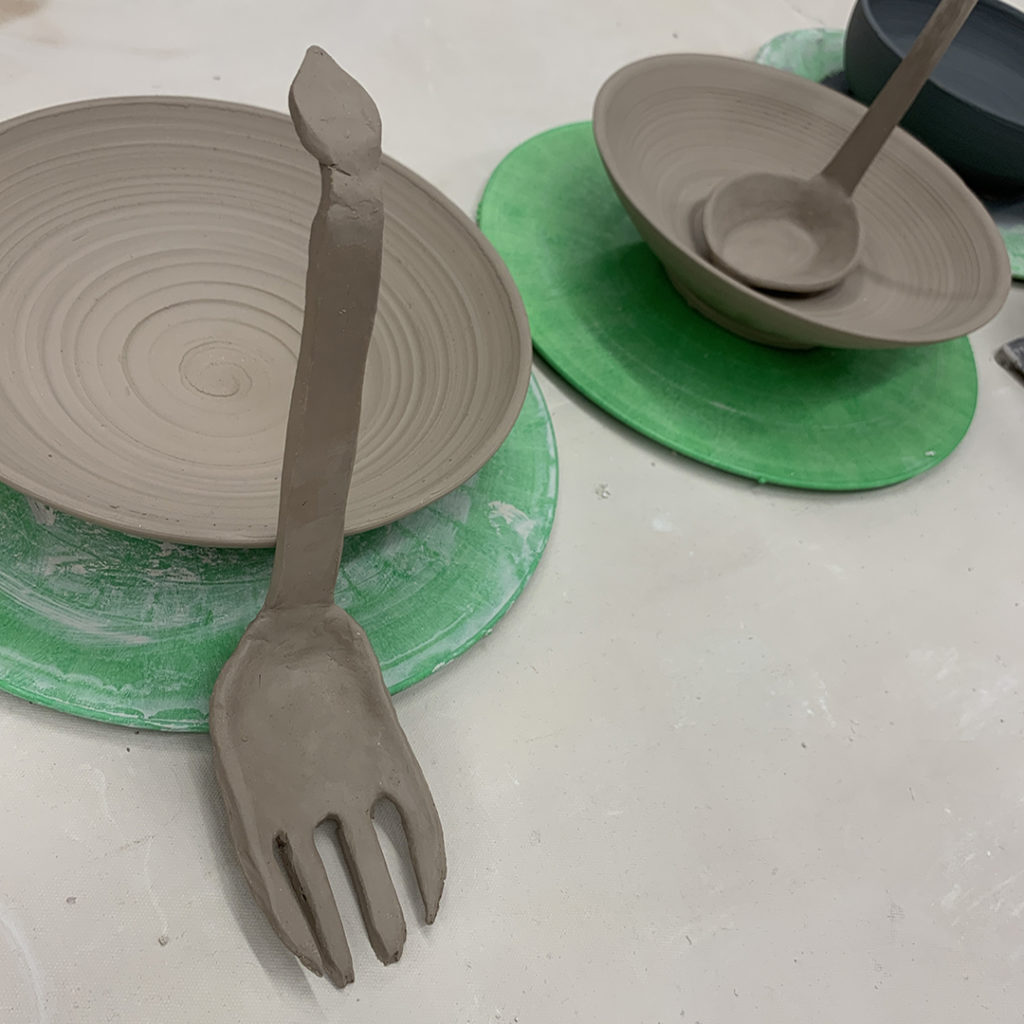
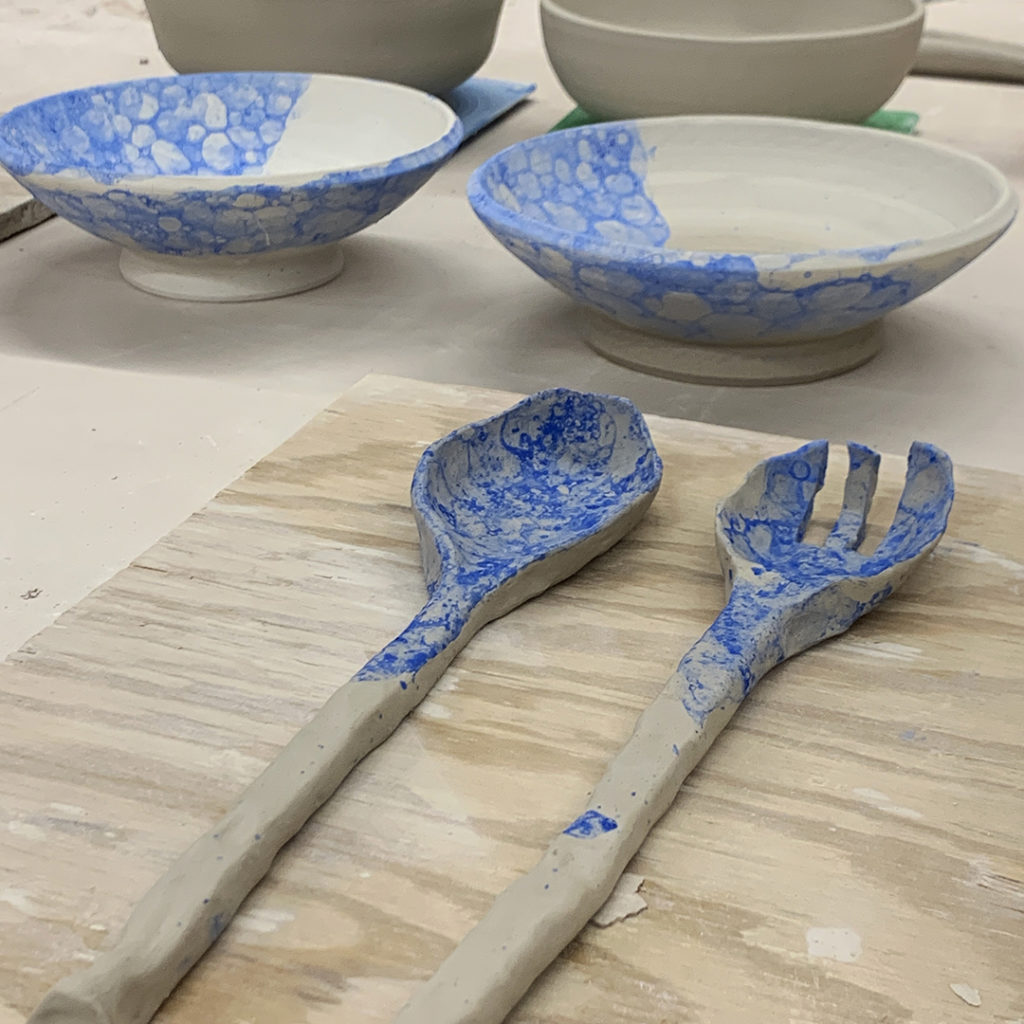


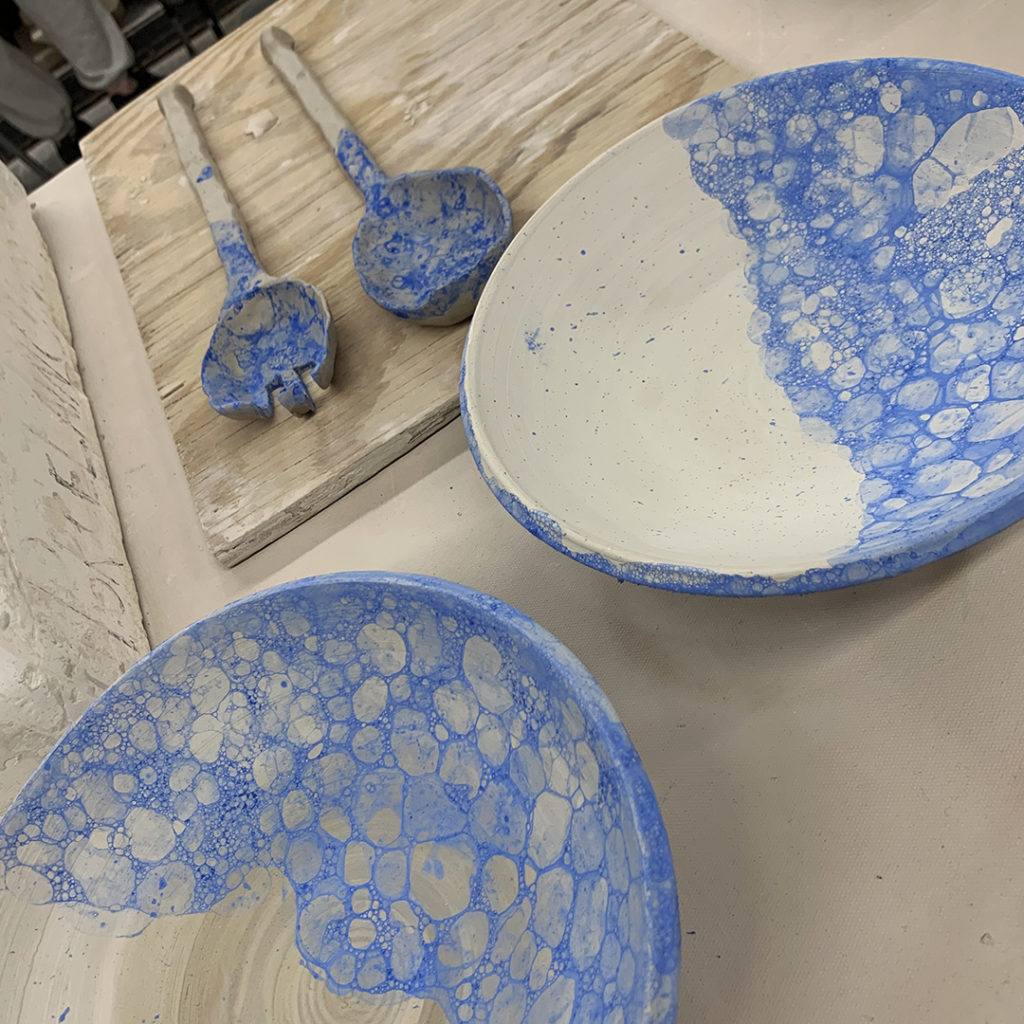

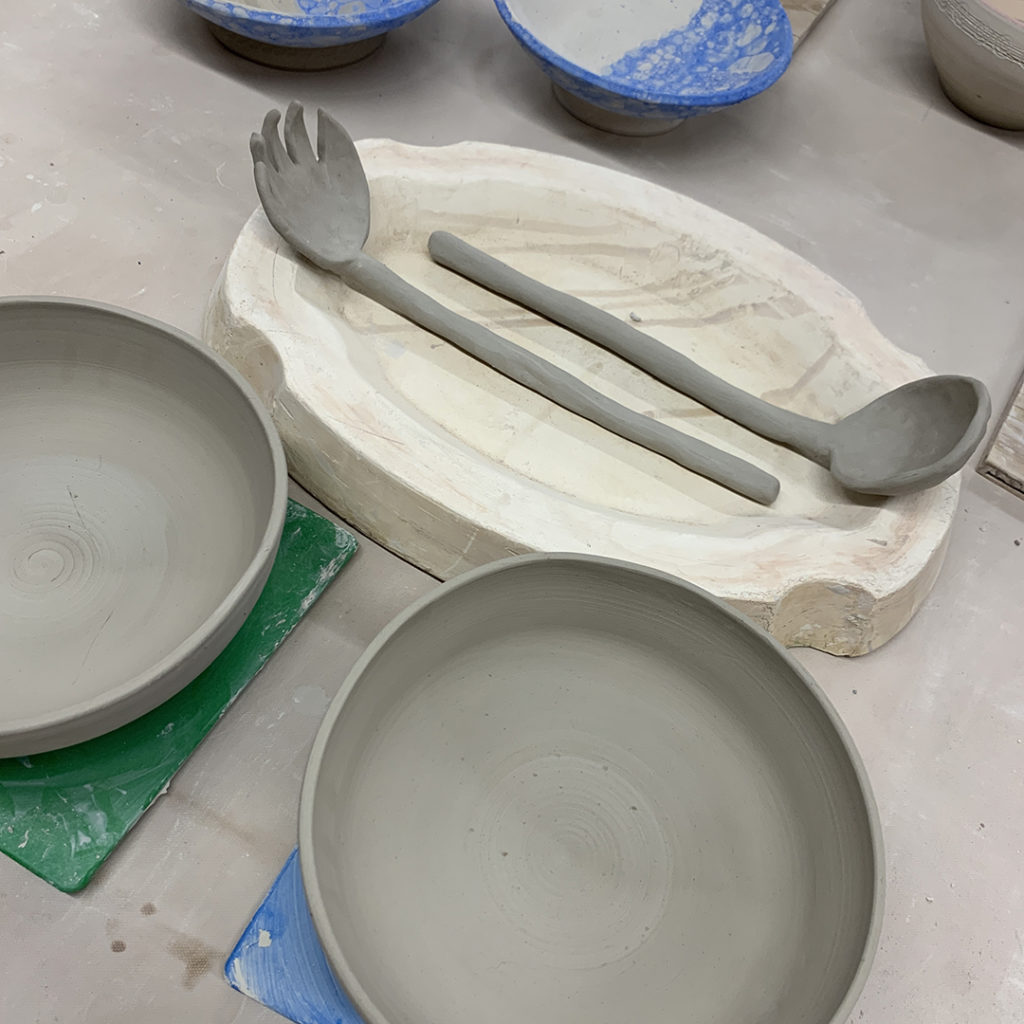

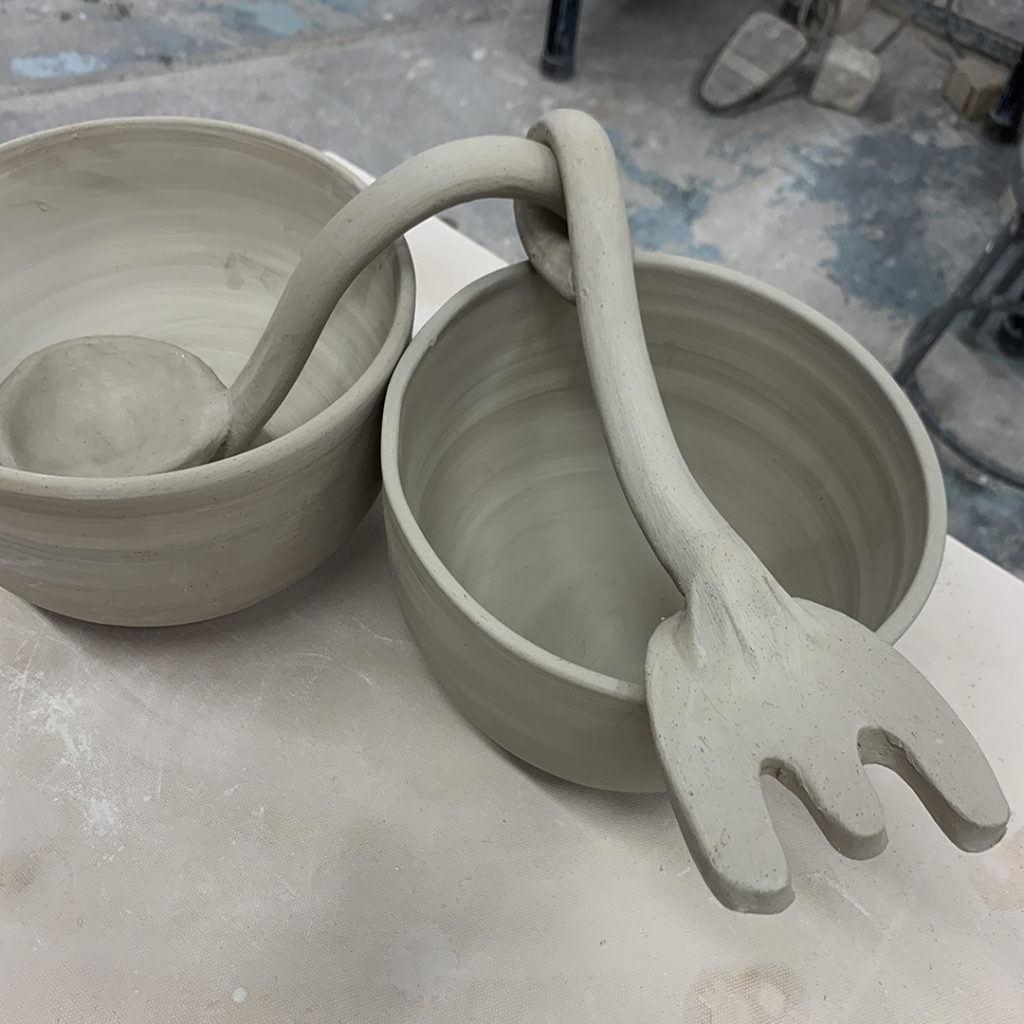

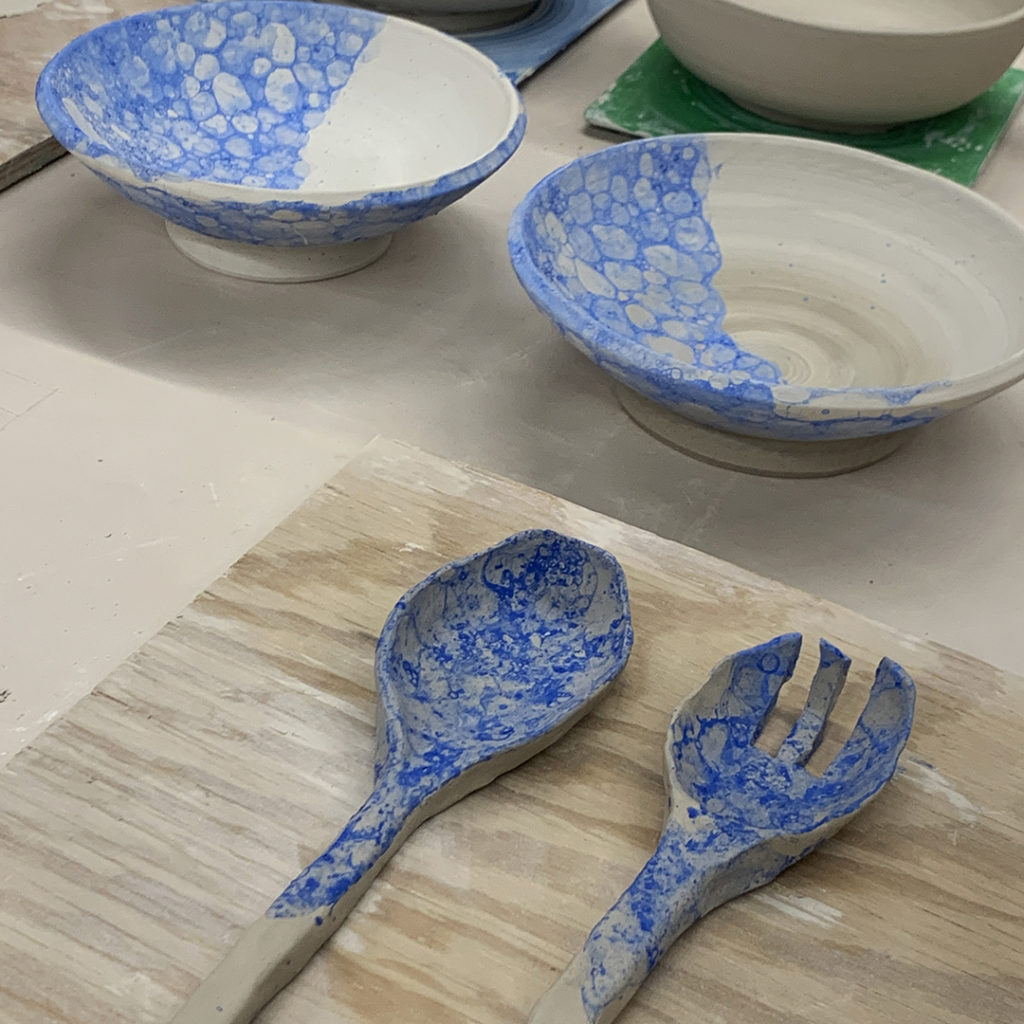
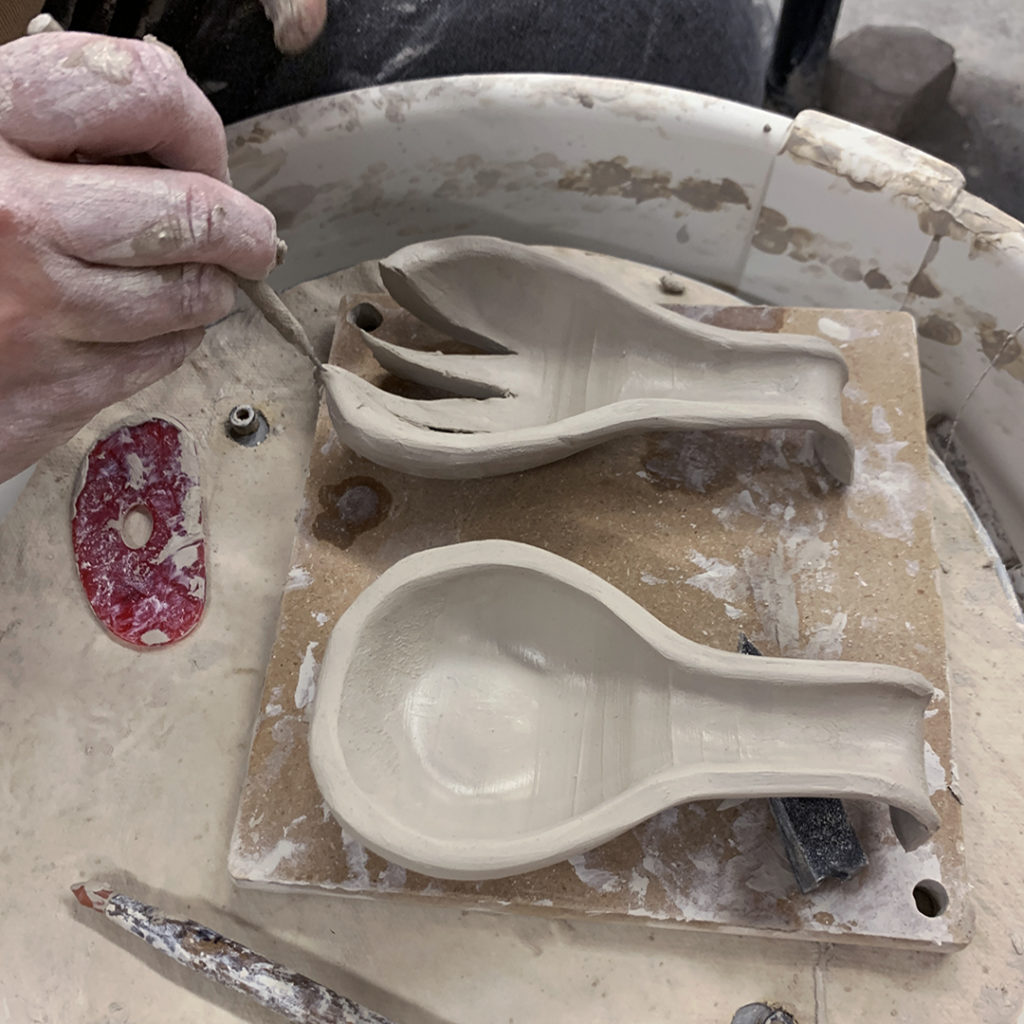
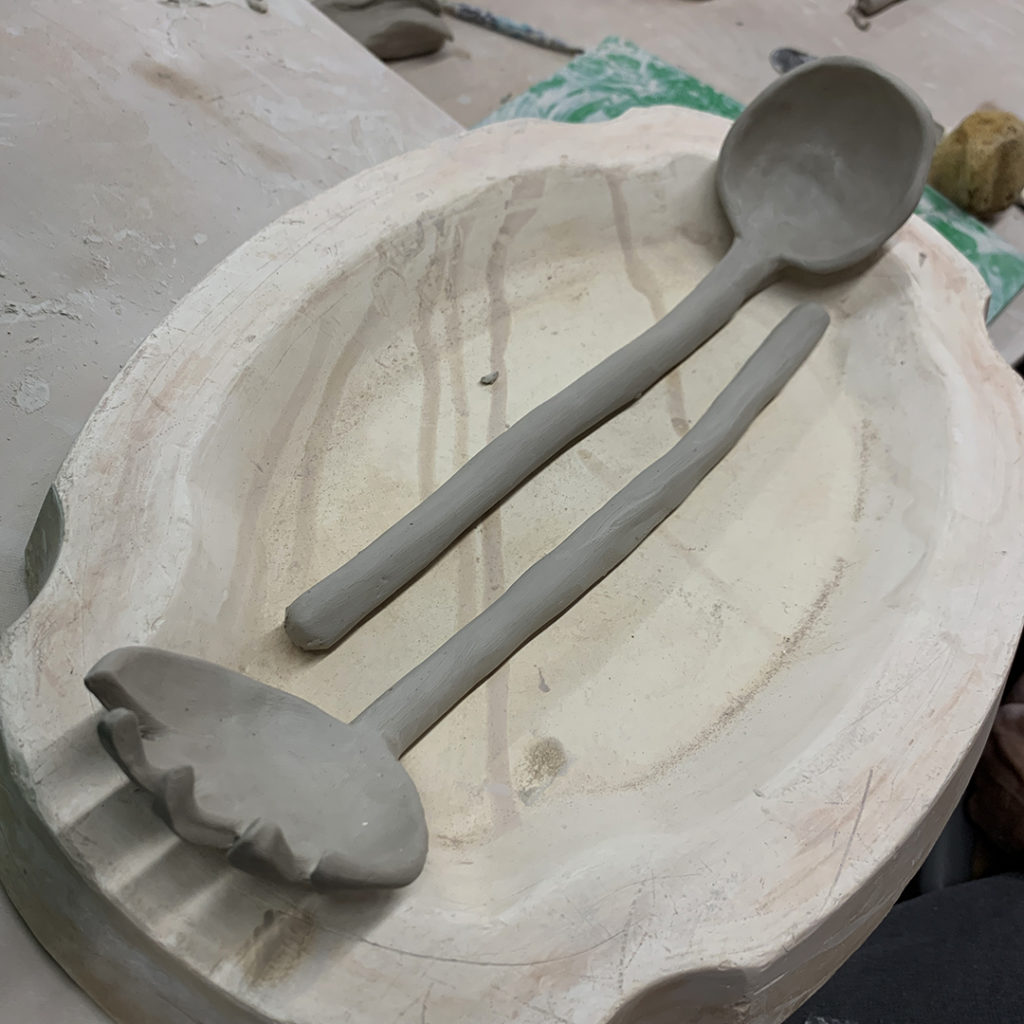
And oh, but wait there’s more… after making their serving spoons, my THROWDOWN class was surprised with another challenge… to make a serving fork that goes with the serving spoon!!! And, works well with the two original serving bowl set.
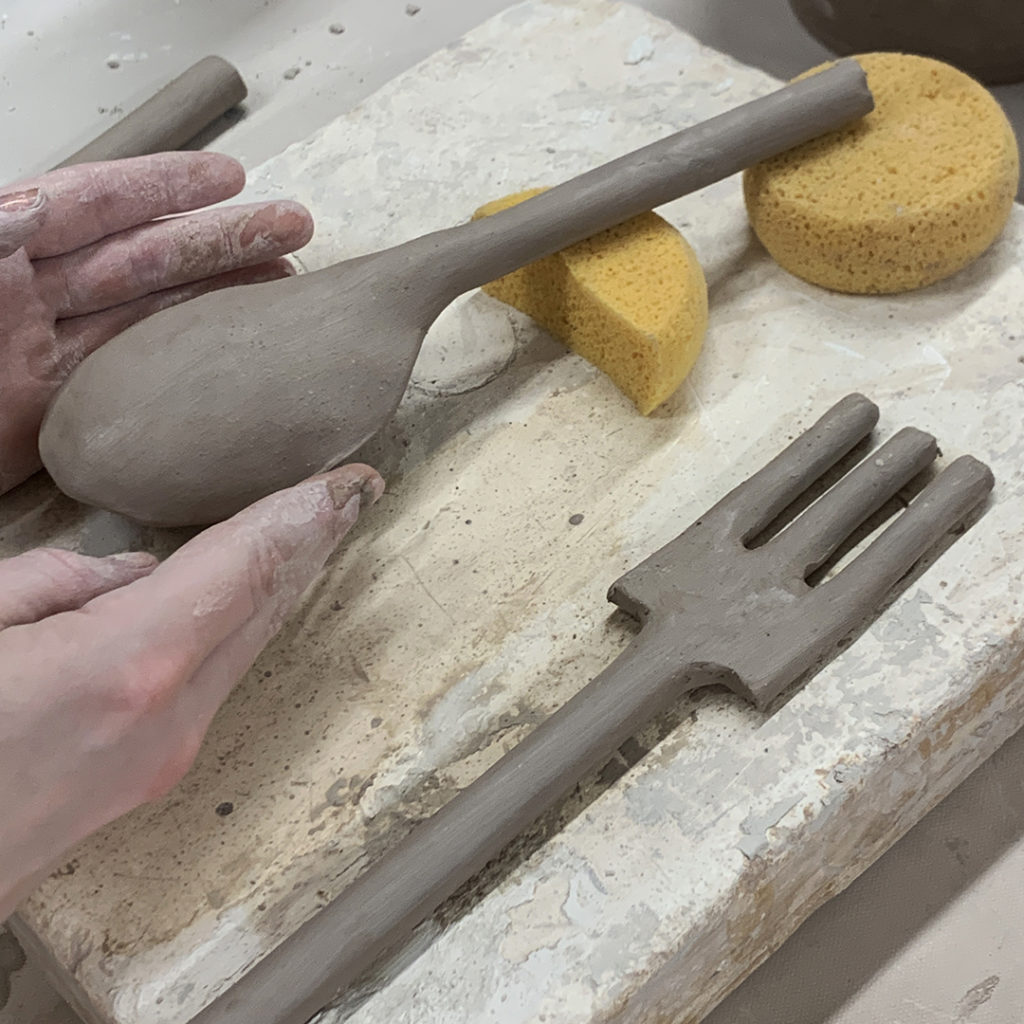
Again, most of them made handbuilt forks… but it was Libby who tackled the challenge by throwing a small “bottle” on the wheel and then cutting it in half vertically! Brilliant Libby!!!


|
Gary Jackson: Fire When Ready Pottery
Lillstreet Studios ∙ 4401 North Ravenswood, Chicago, Illinois 60640 ∙ 773-307-8664 gary@firewhenreadypottery.com |