06.13.2024
Categories: classes, surface decoration
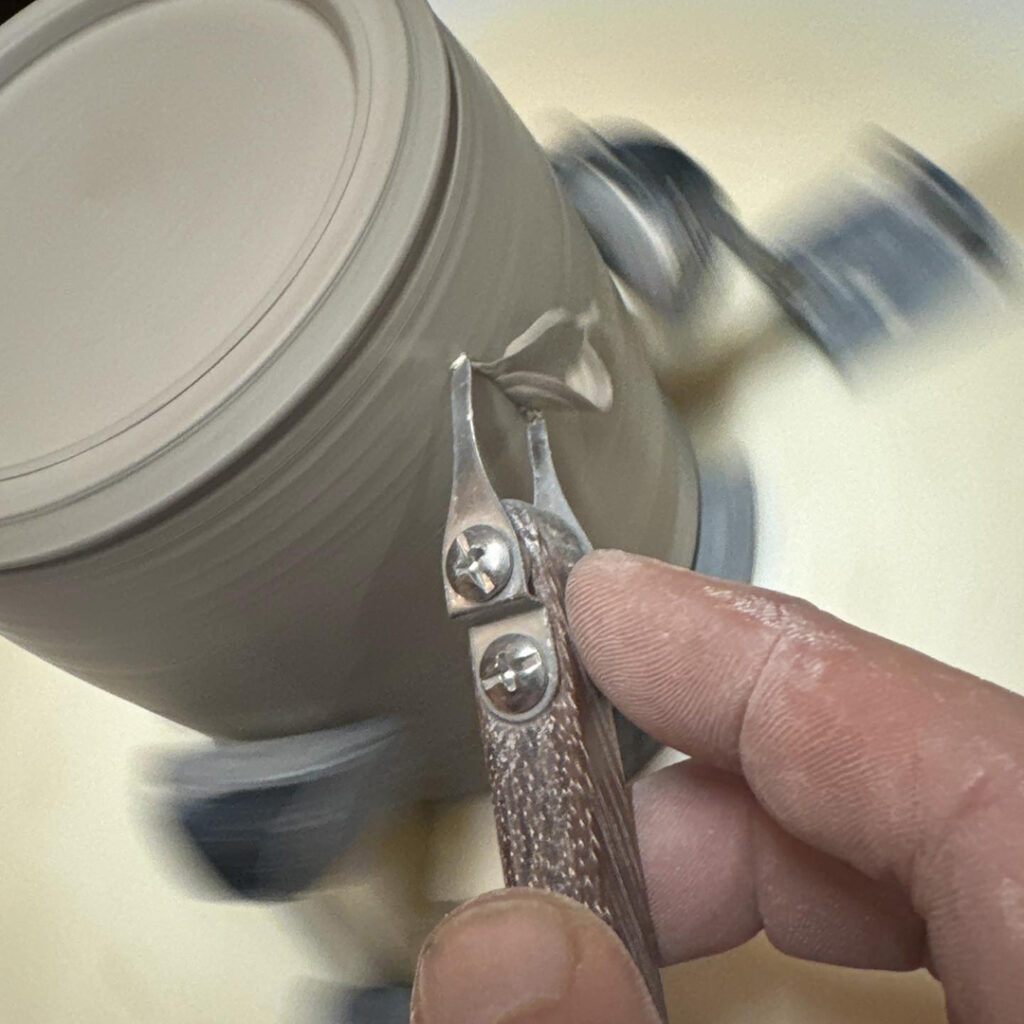
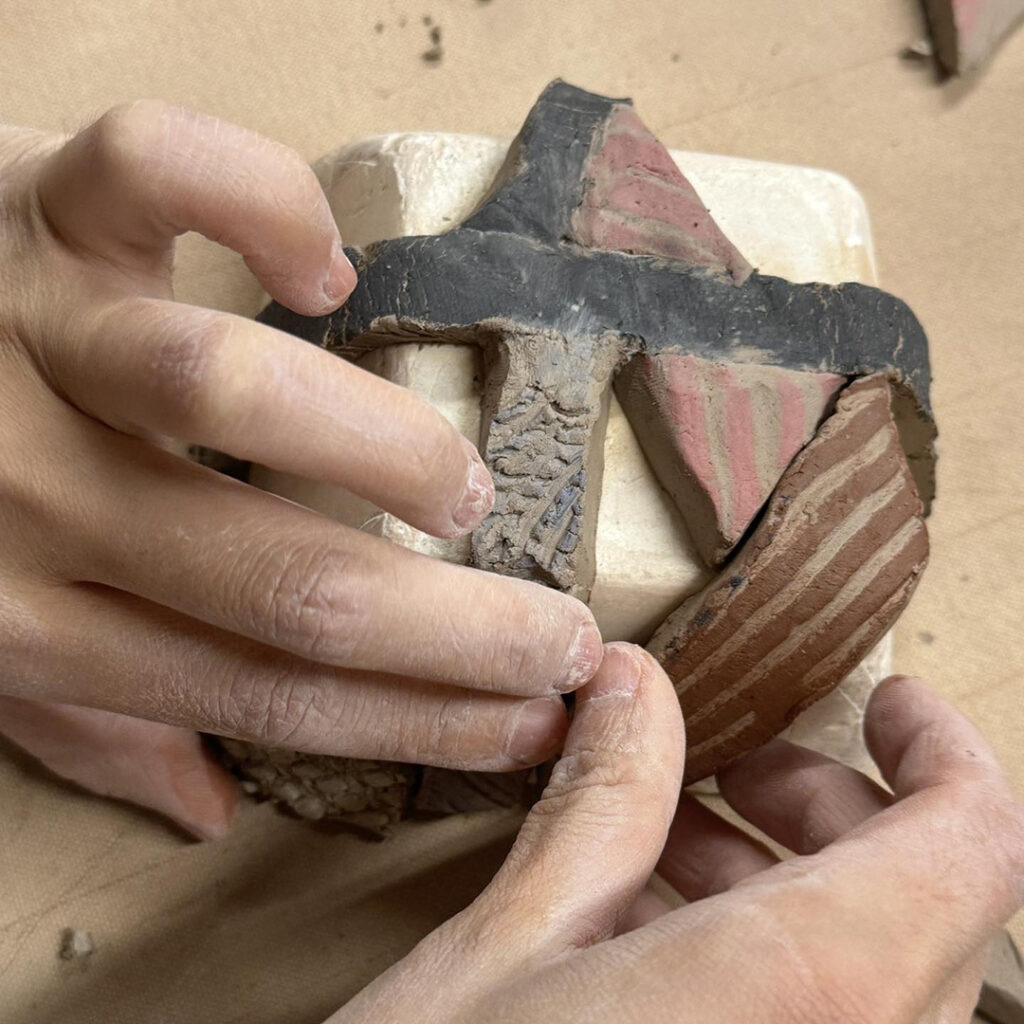
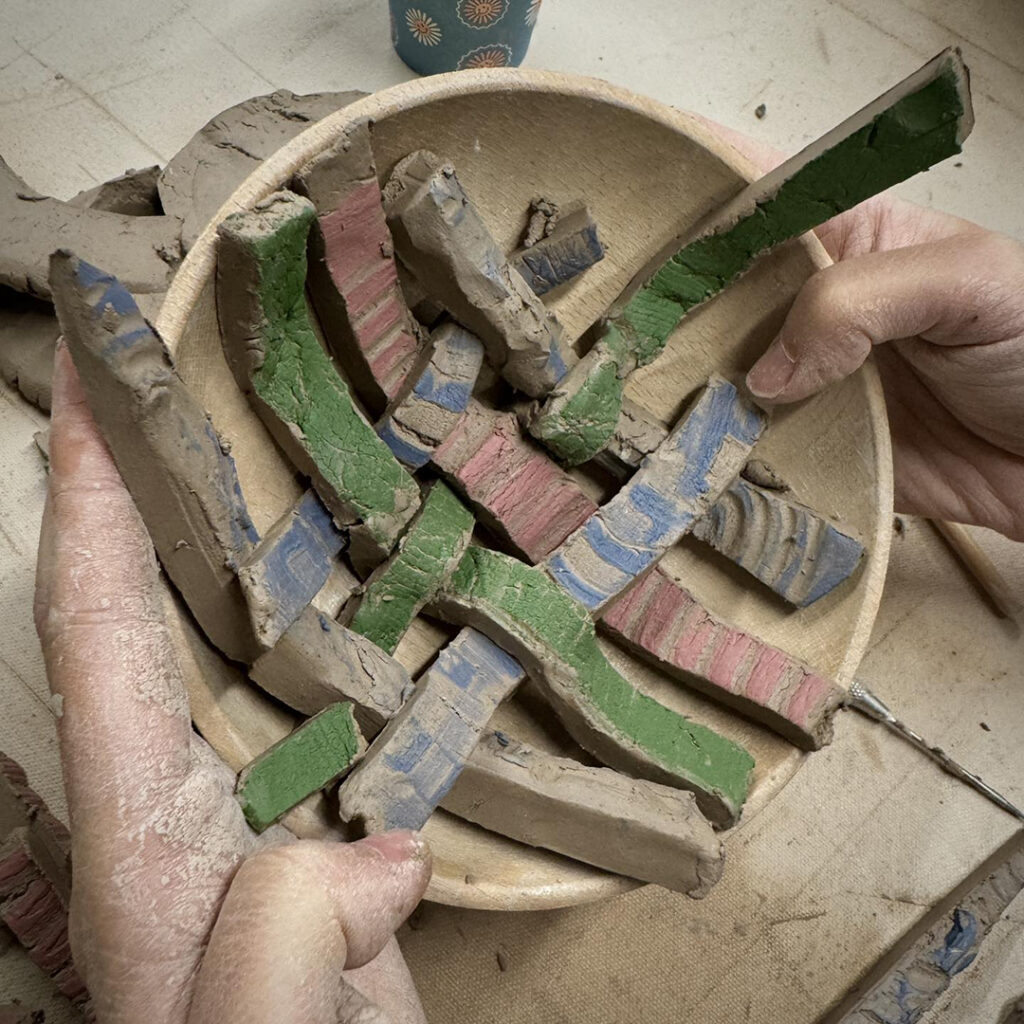
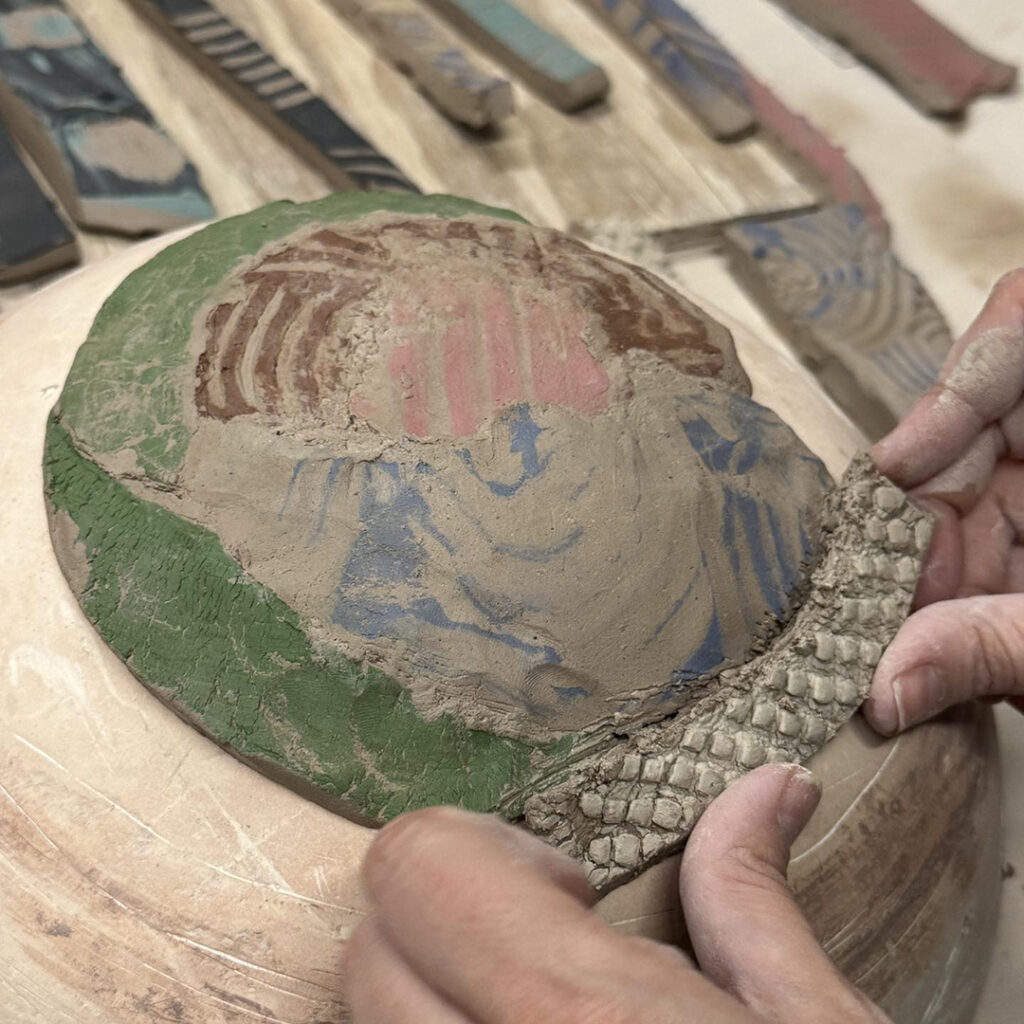
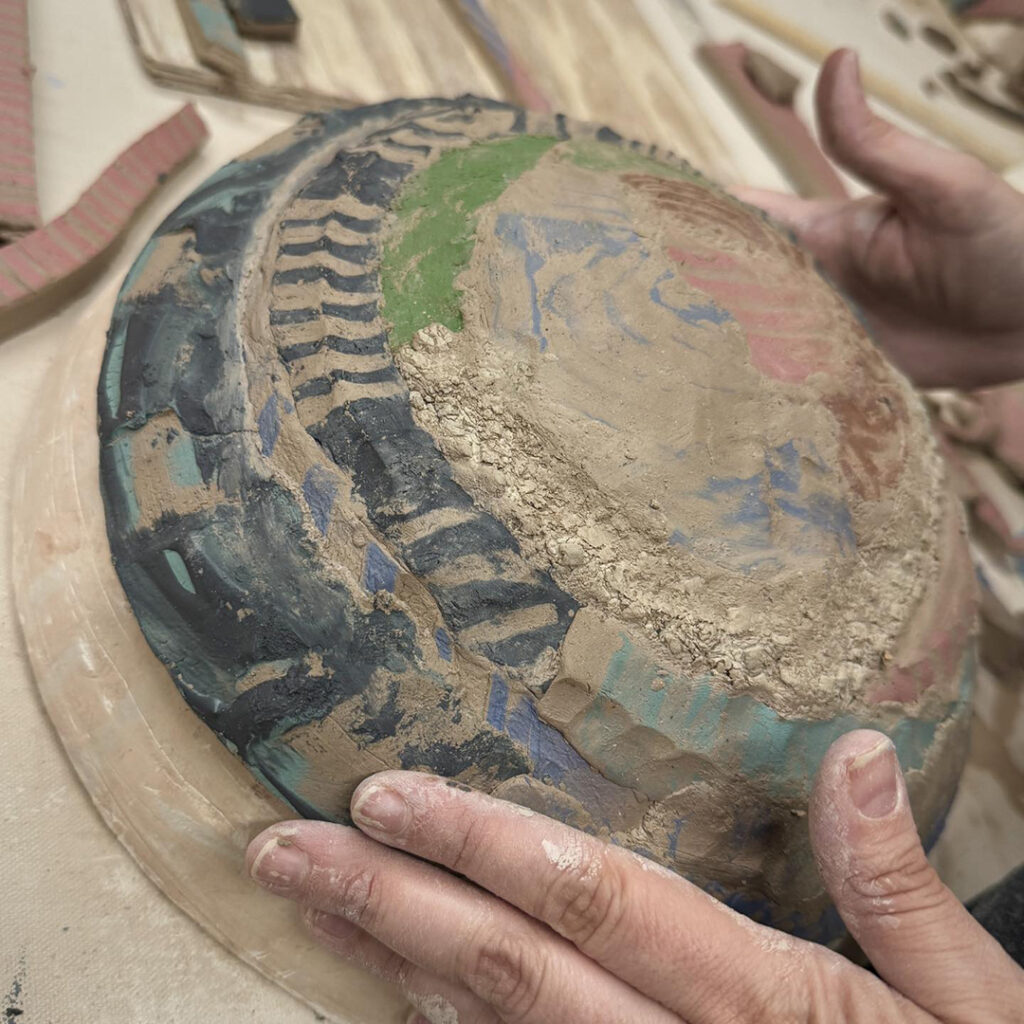
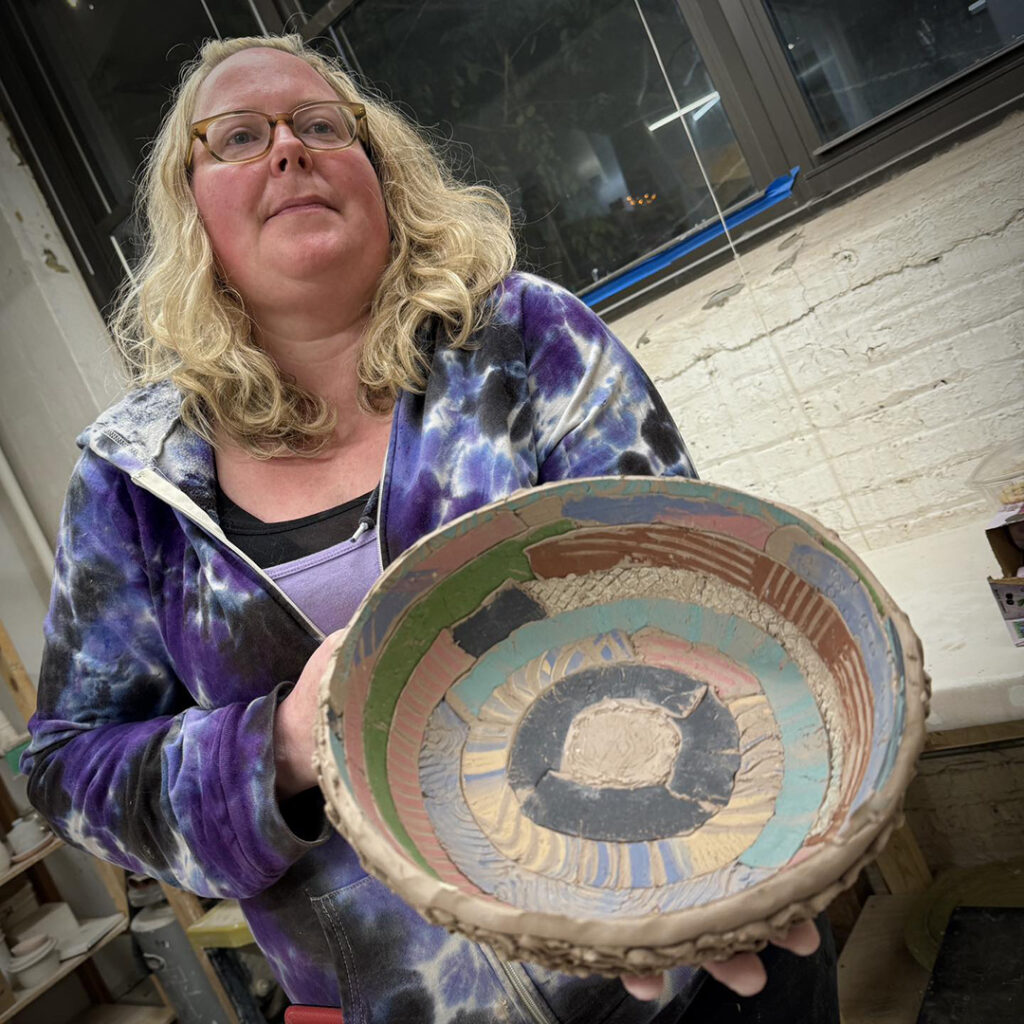
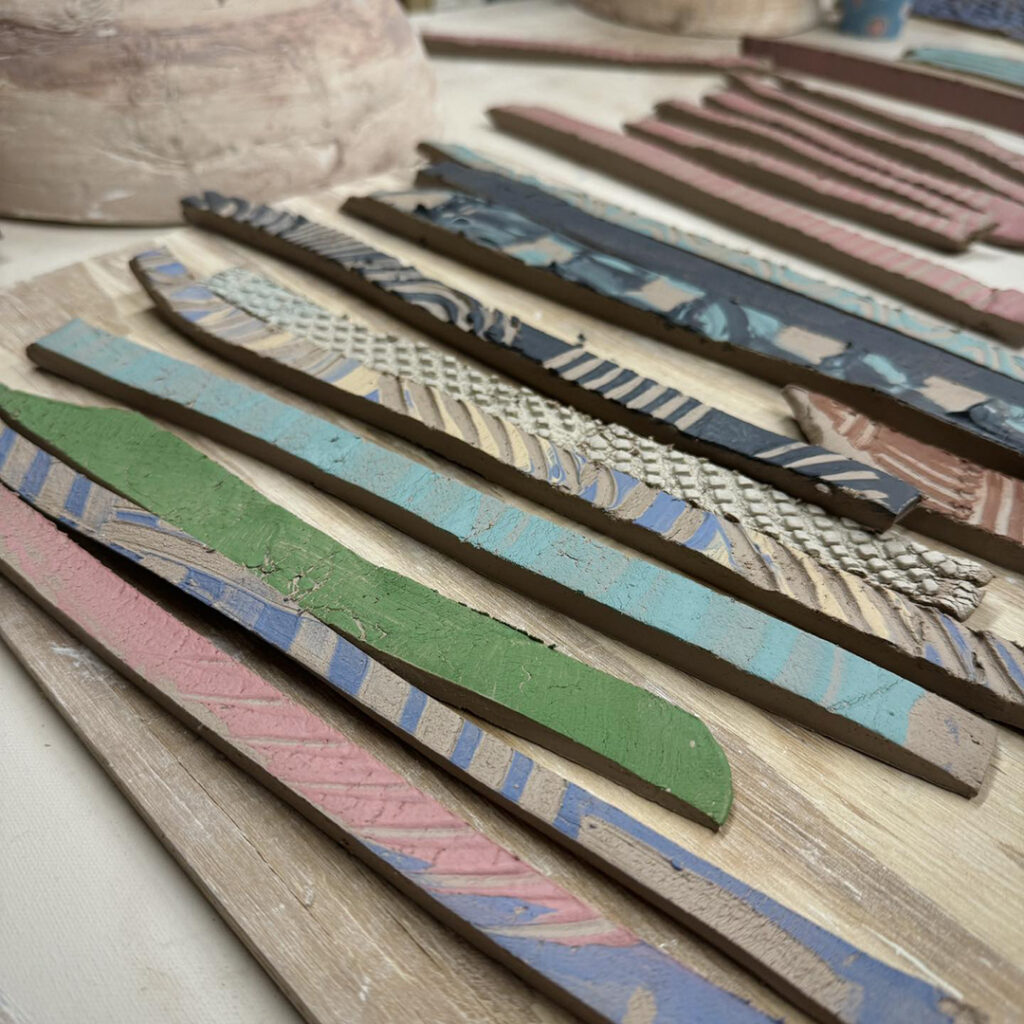
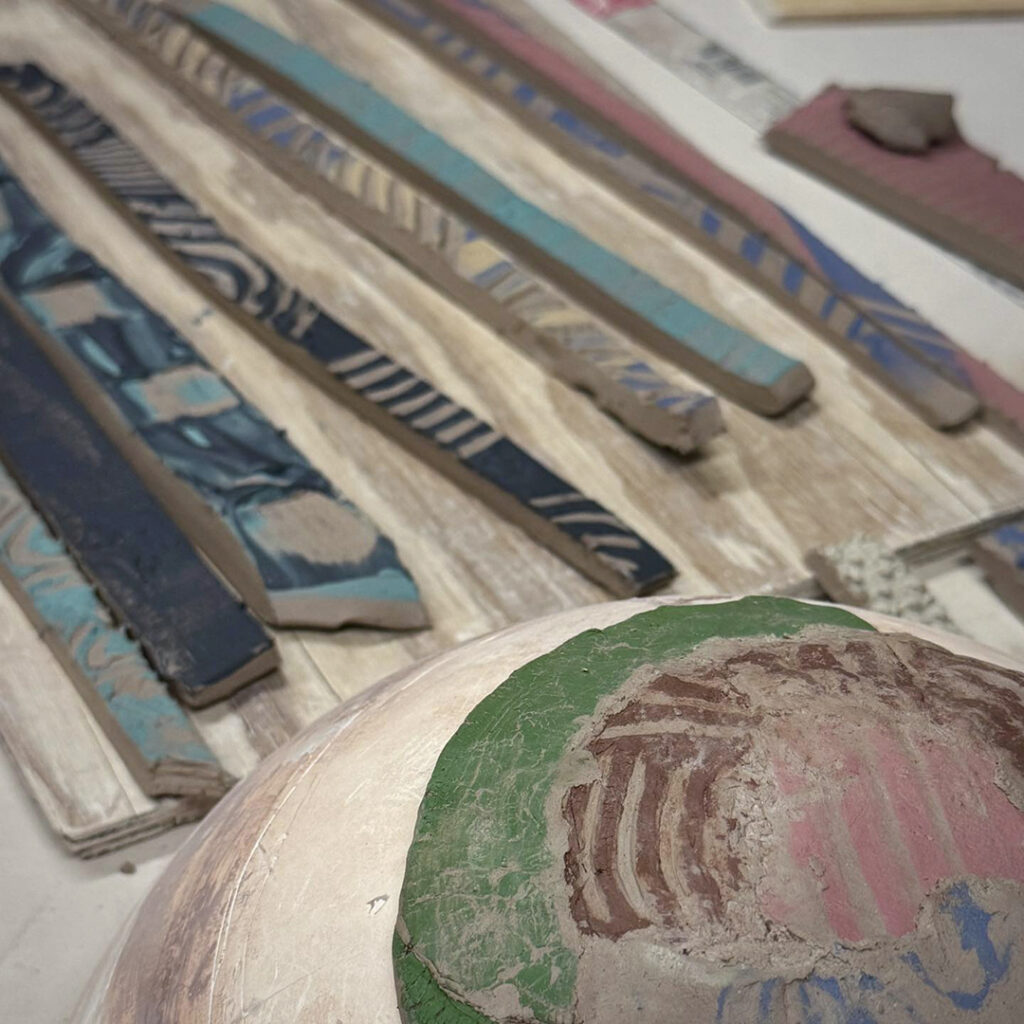
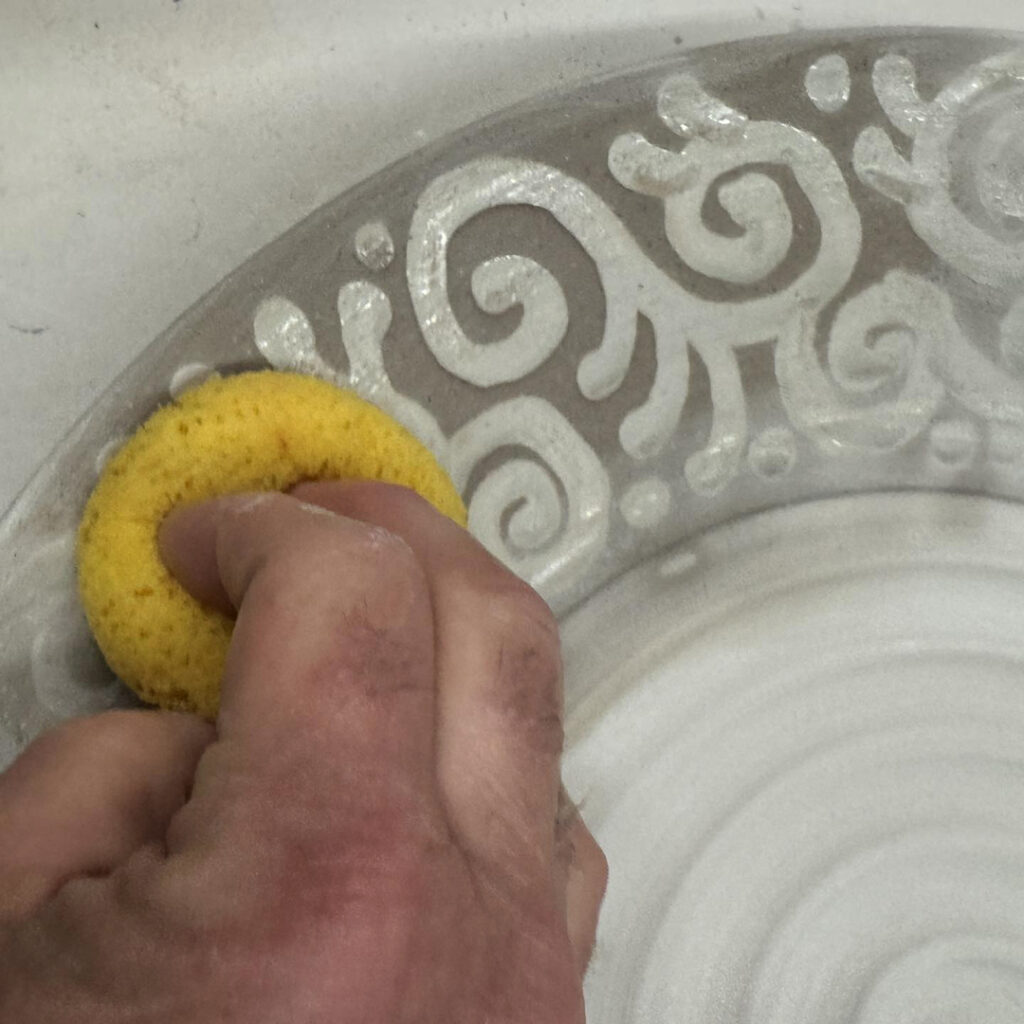
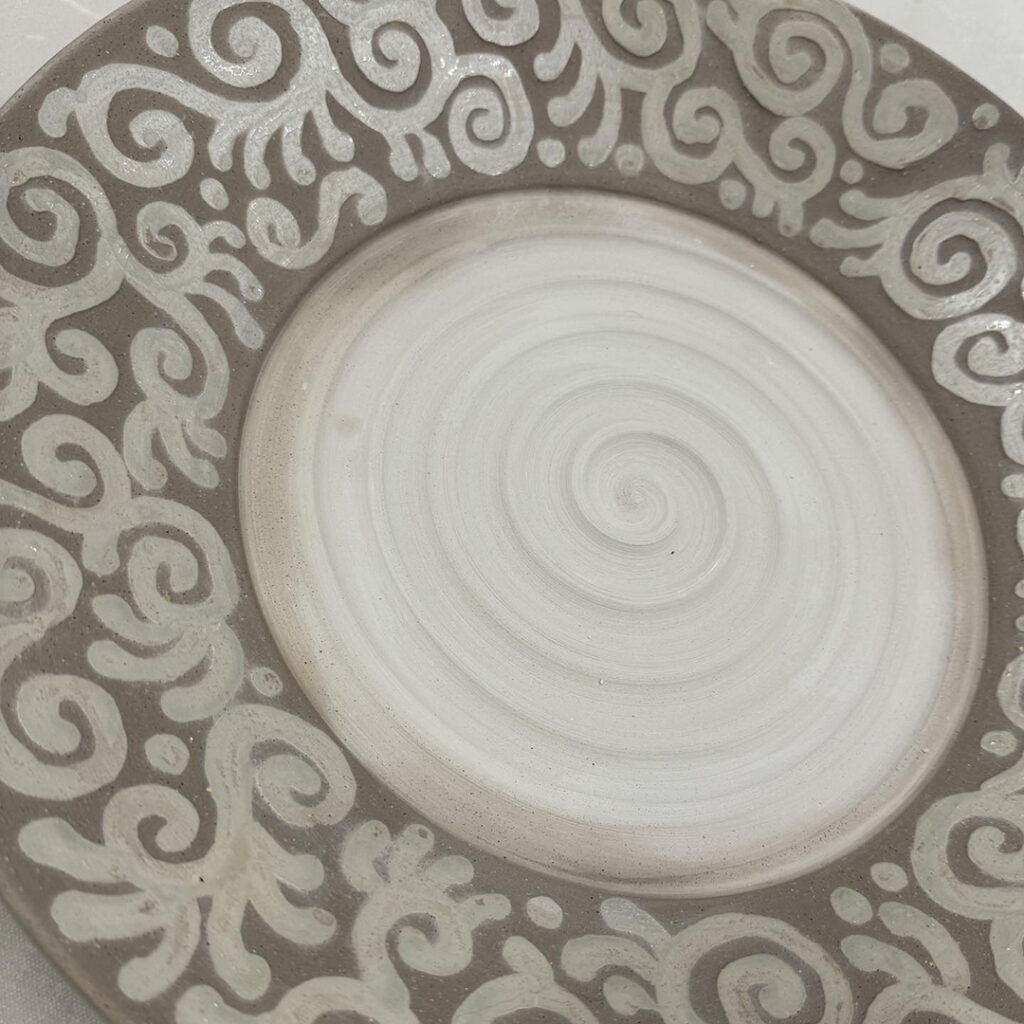
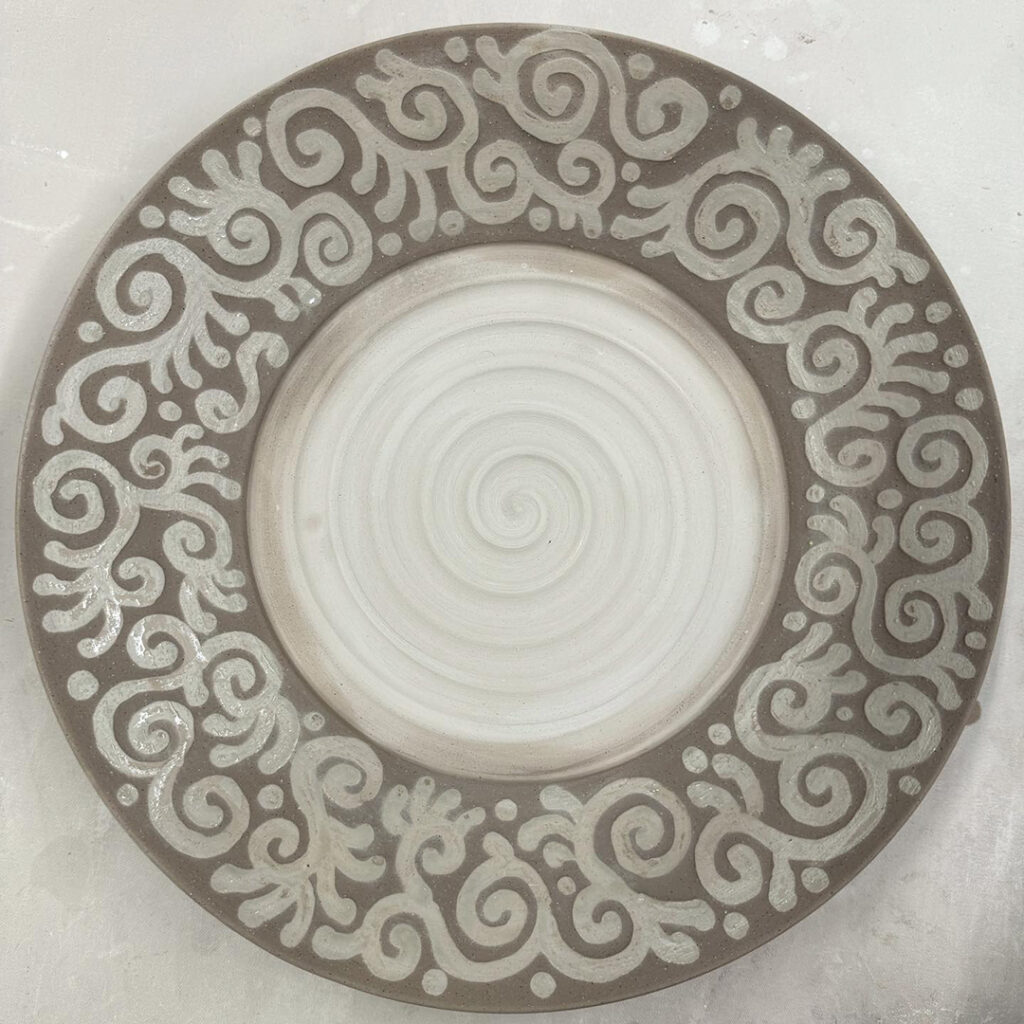
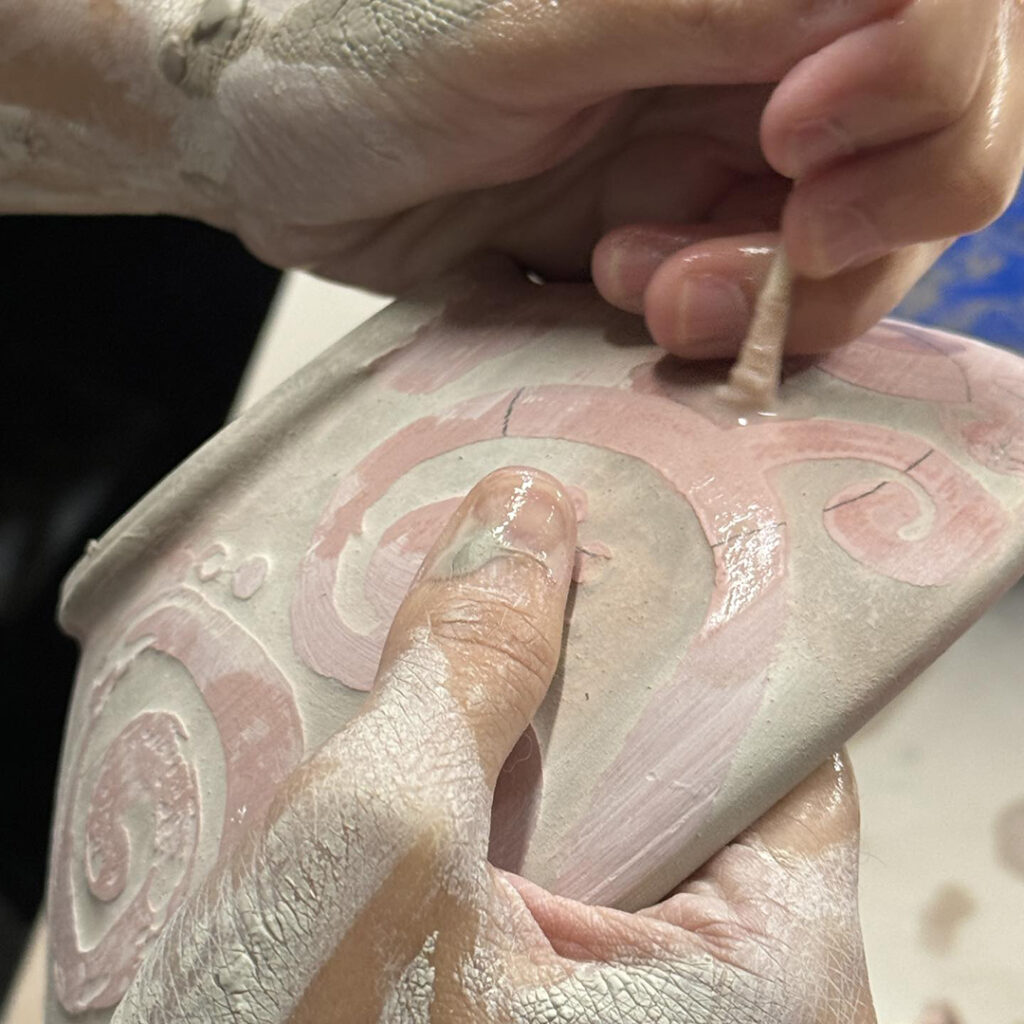
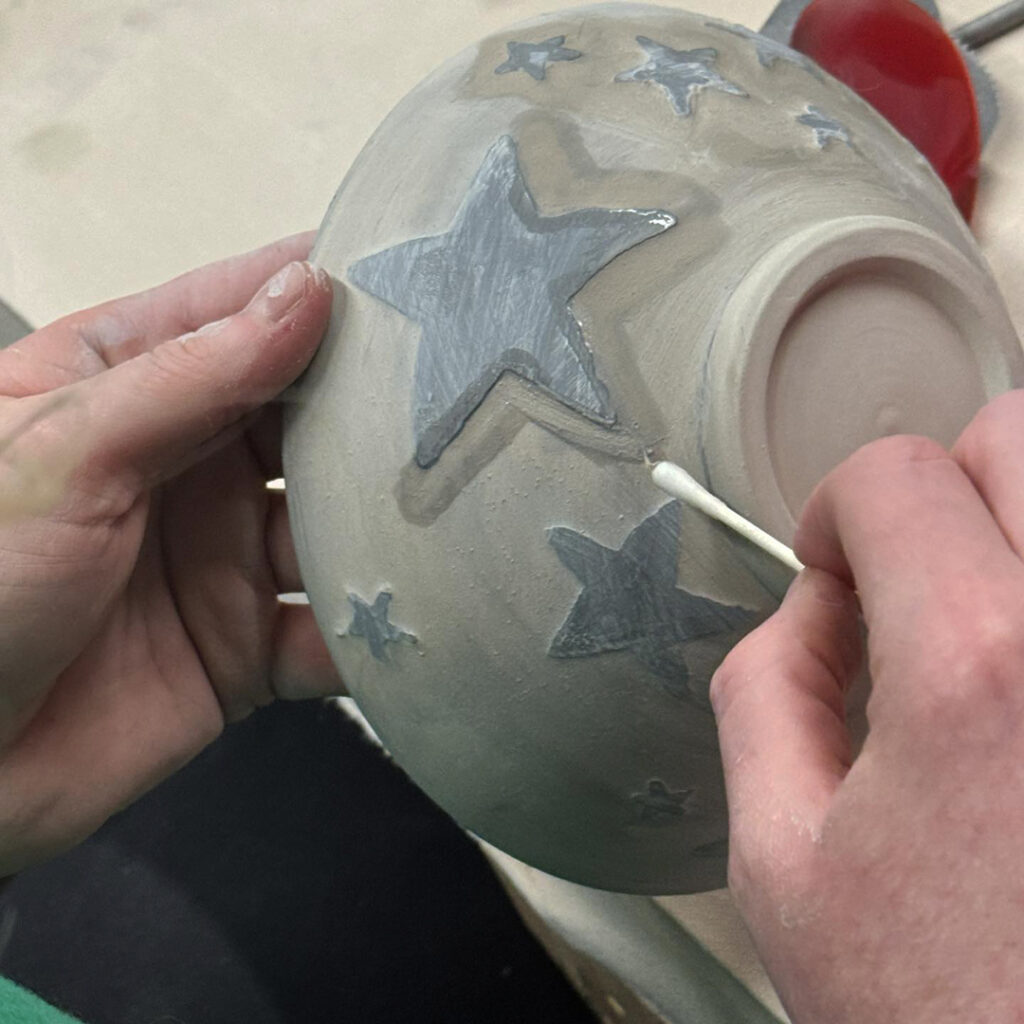
The next step of our “mishima” class was to paint the entire exterior with underglaze when the carving of patterns was done. Idea being that the underglaze will fill all of the carved lines… but just sit on top of the wax resist in areas where there is no carving.