09.01.2025
After a long day of hiking & sightseeing… what better way to cap it off than with some chocolate ice cream?! Even better when served in handmade pottery!!!

Gary Jackson: Fire When Ready Pottery
A Chicago potter’s somewhat slanted view of clay & play |
After a long day of hiking & sightseeing… what better way to cap it off than with some chocolate ice cream?! Even better when served in handmade pottery!!!
Spent today playing hooky with my cousin Kim. We had a lot of great adventures & laughs along the way. We ended up at her place… where I saw her peach tree FULL of peaches. Too many peaches? Is there such a thing?… yes! They were EVERYWHERE!!! I can’t even imagine stepping out my back door to find hundreds of peaches at arms length. Crazy!!!
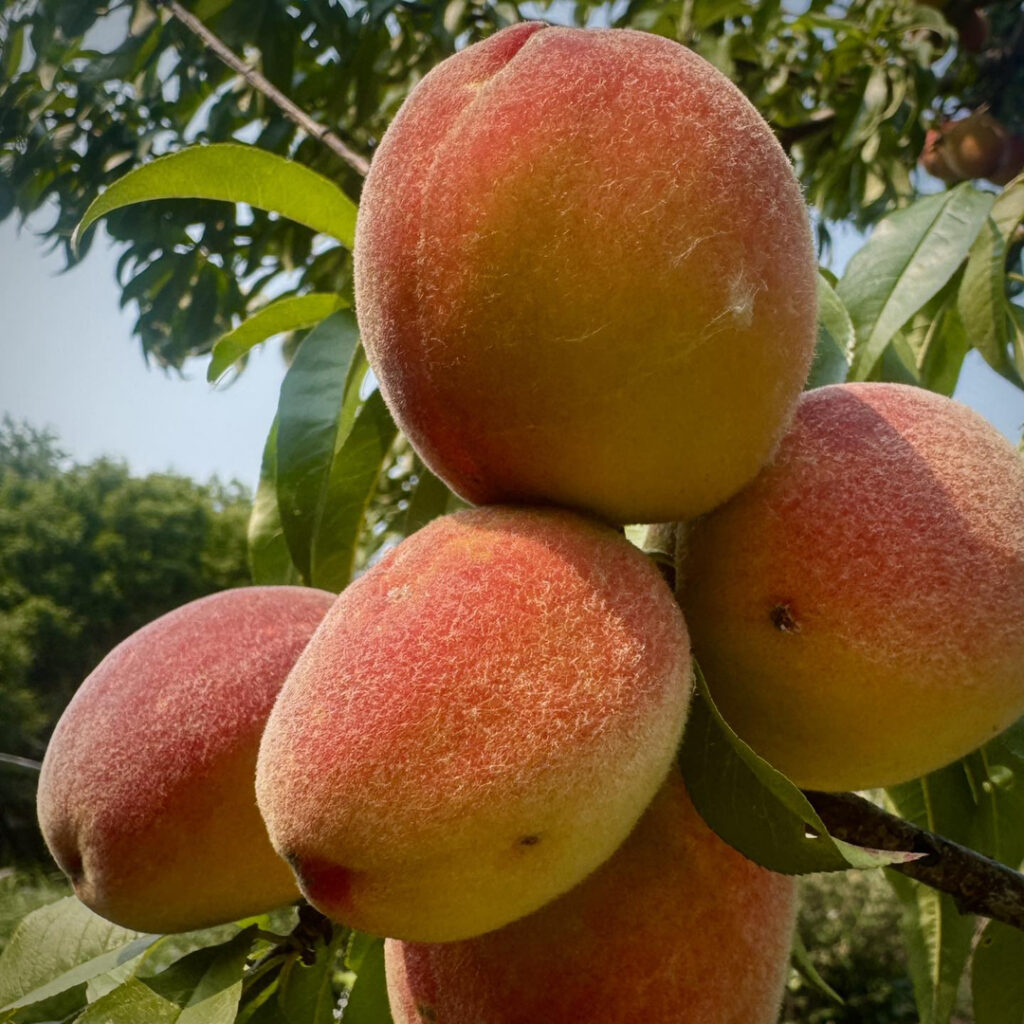
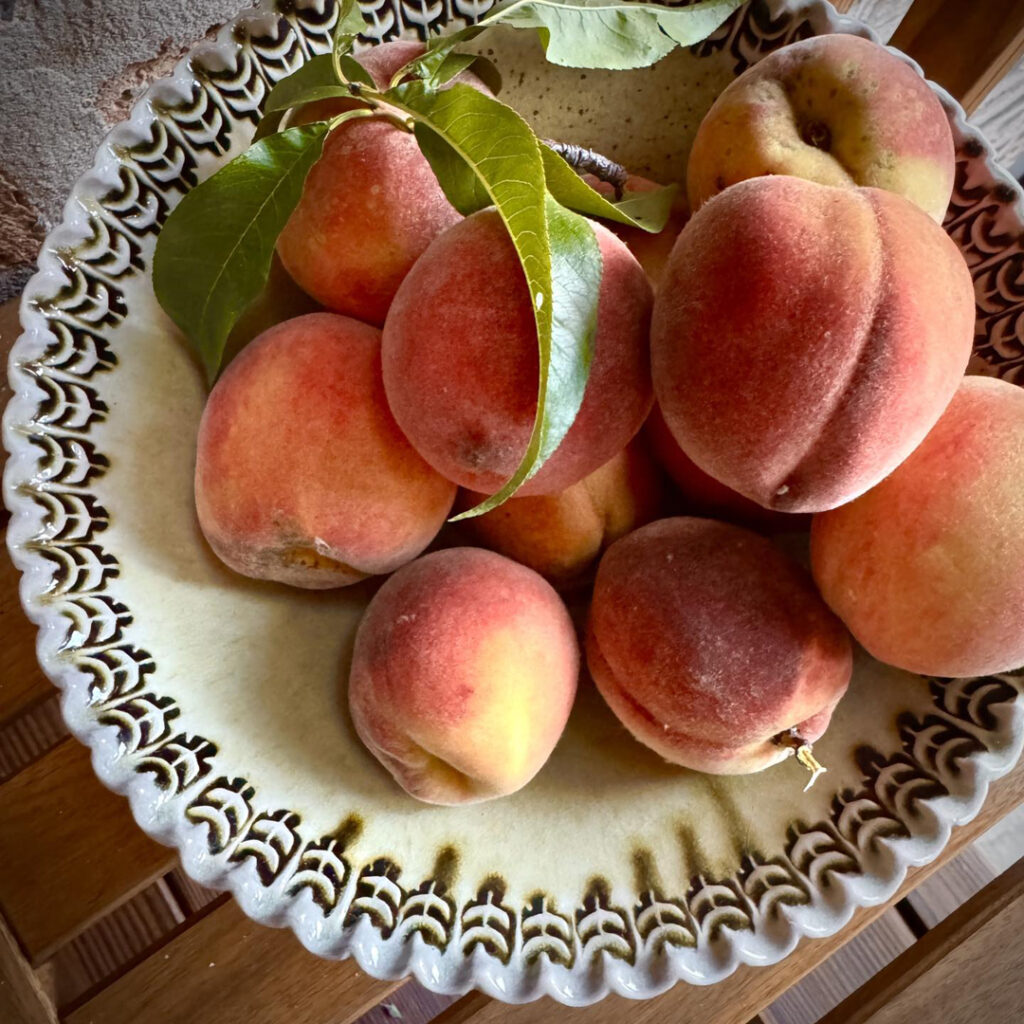
And yes… of course she sent me home with a bunch of homegrown peaches!!! So yummy!!!
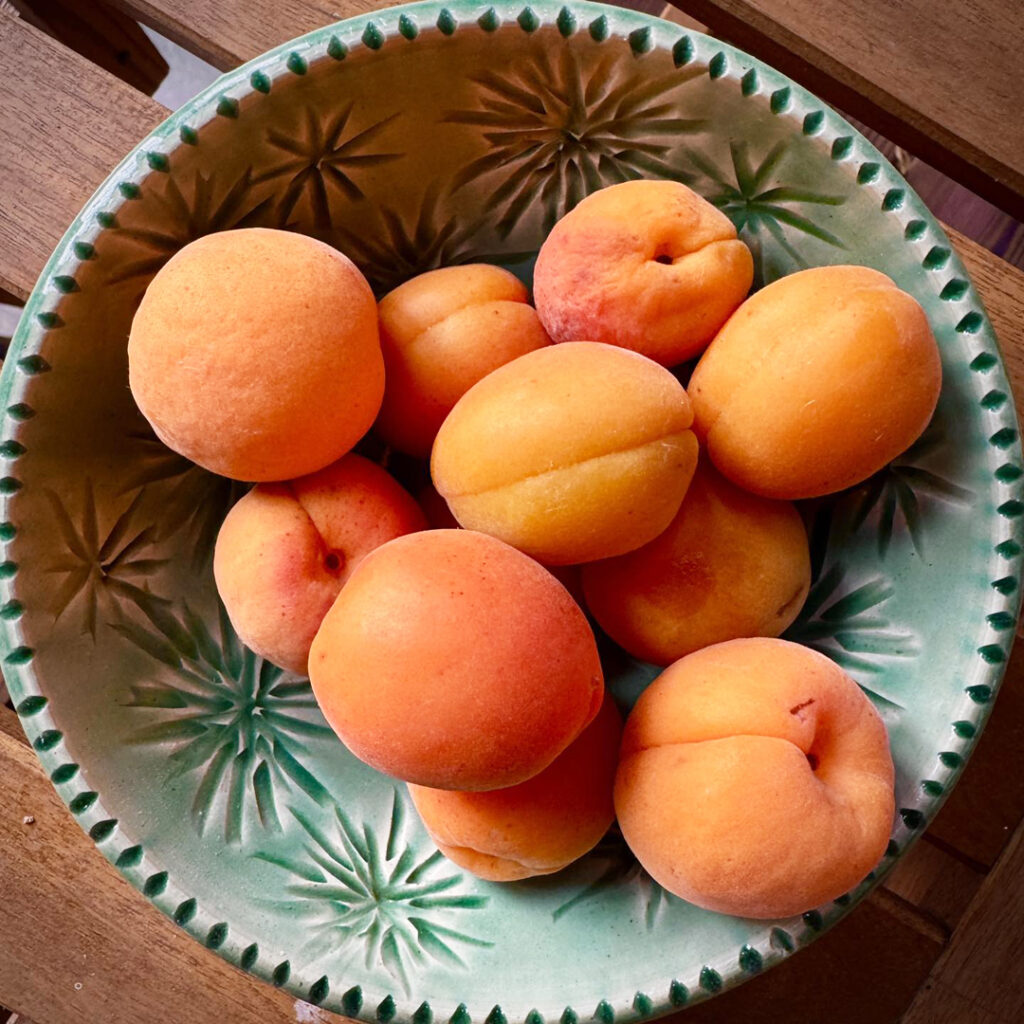
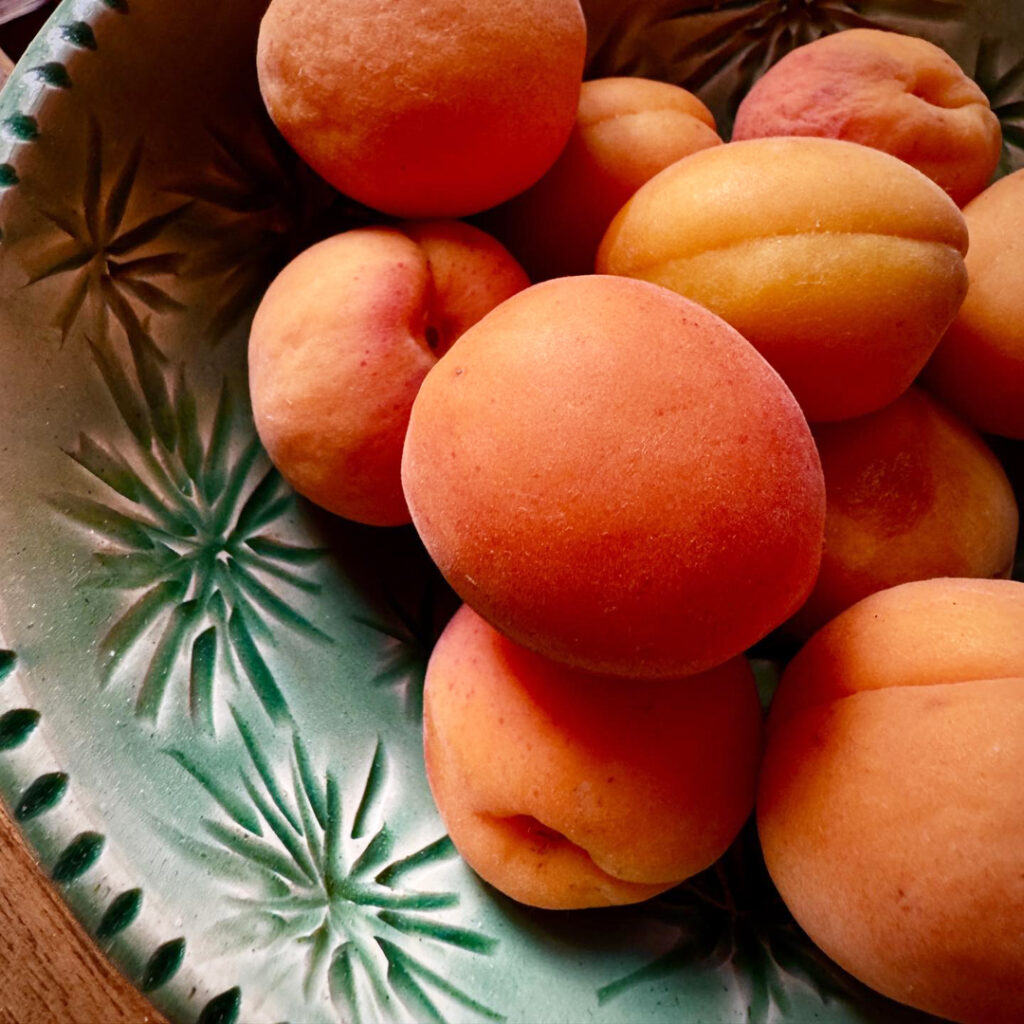
With yesterday’s Farmers Market…
I came home with some sweet little fresh apricots.
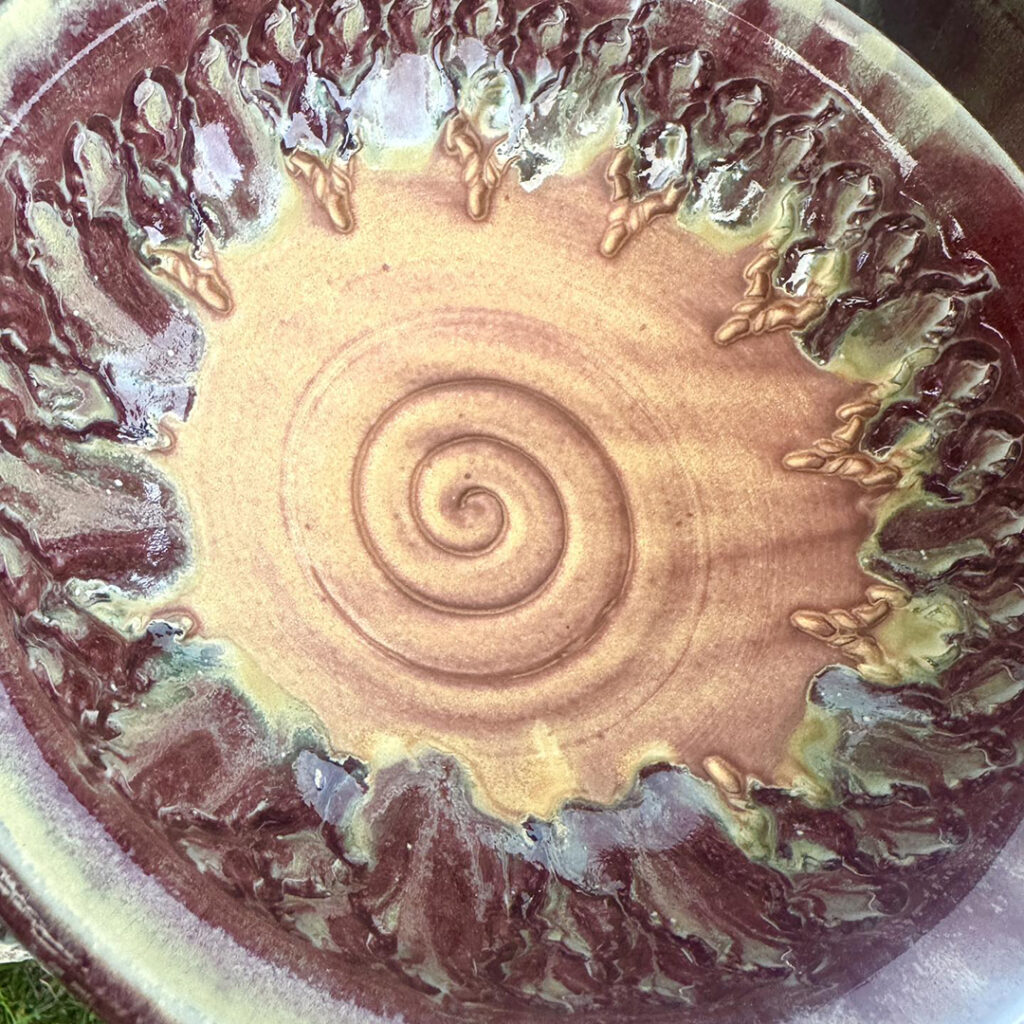
Luckily I have a cute little carved bowl perfect for them!
Mental note to self… Yummy, but I think I prefer my apricots dried!
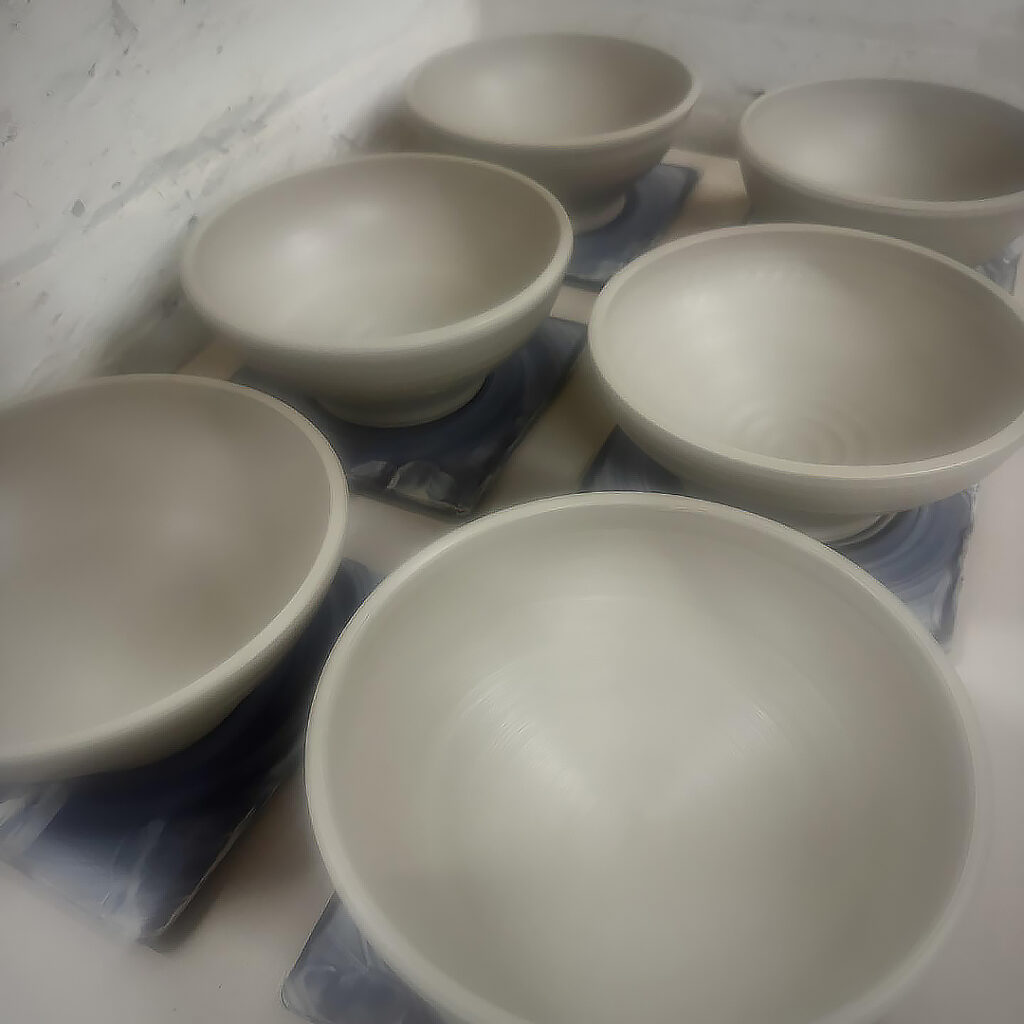
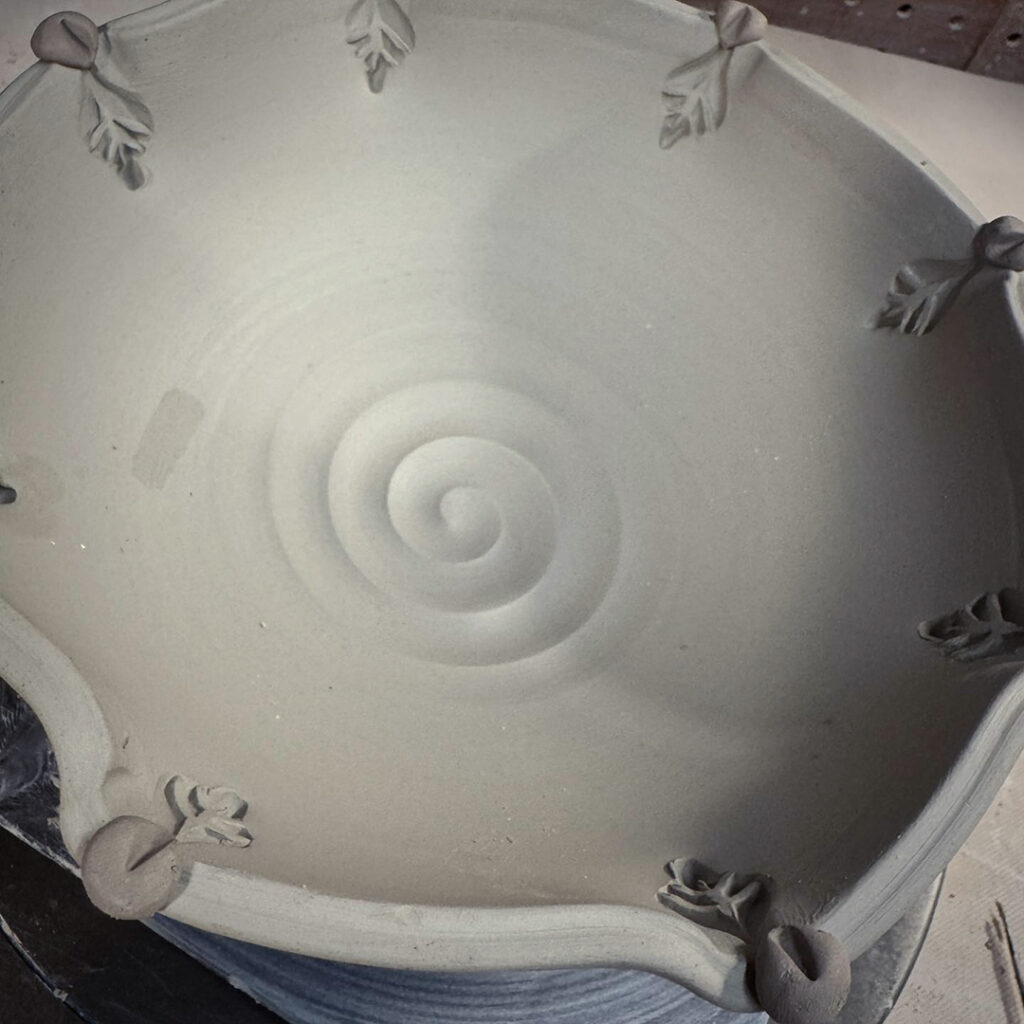
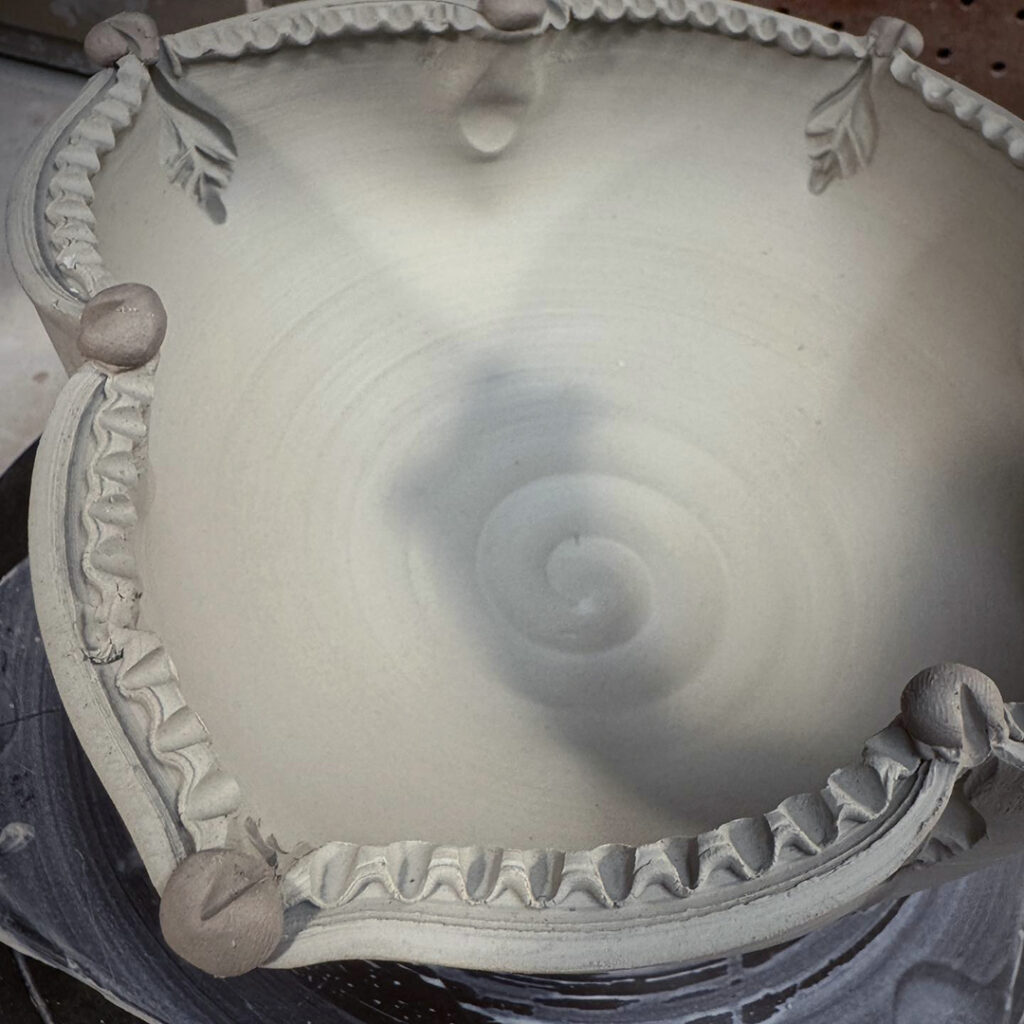
After a full day of Summer Camp… I also taught again tonight subbing for a Beginning Wheel class. Without a plan, we went with a “demo-on-demand” for some not-so-basic bowls demo… and lidded jars… and making stamps. It was a full night of demos!!!
Sorry about the blurry photo… smudge on the lens!
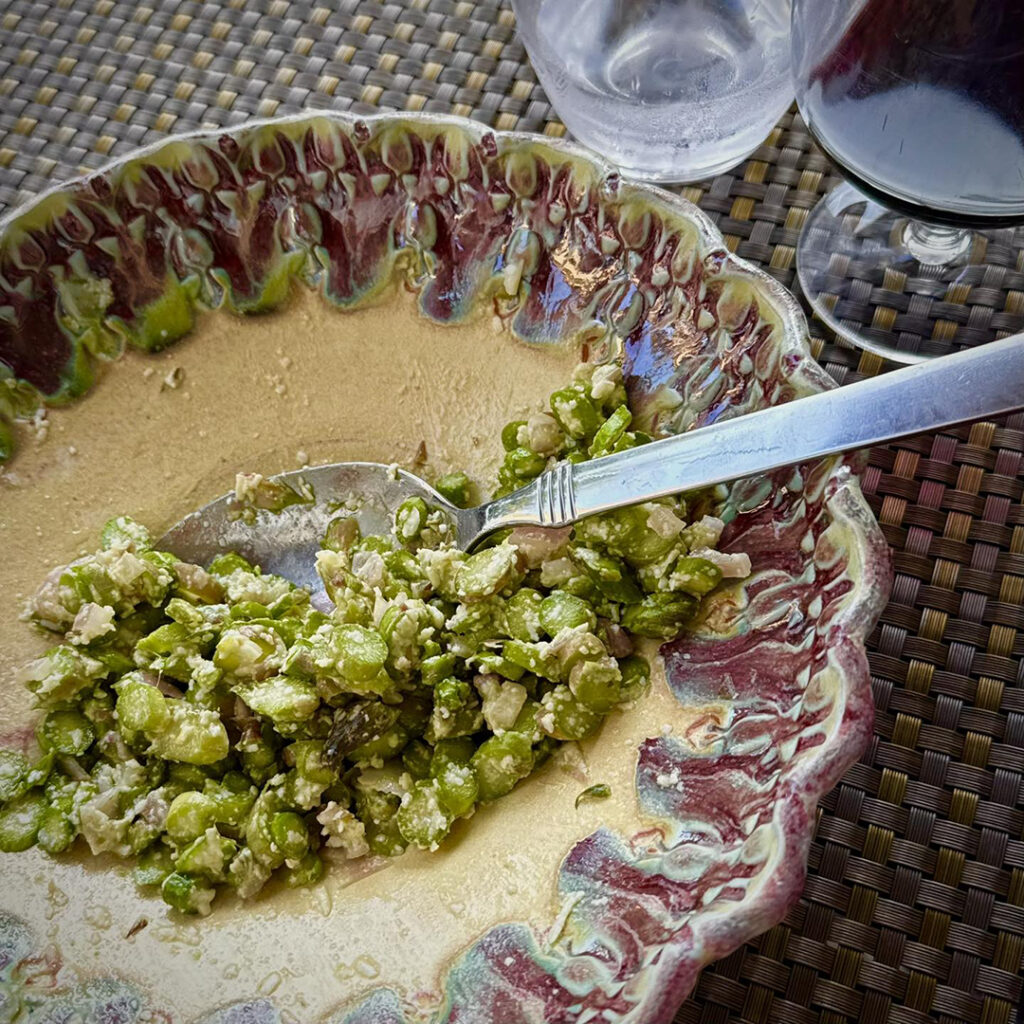
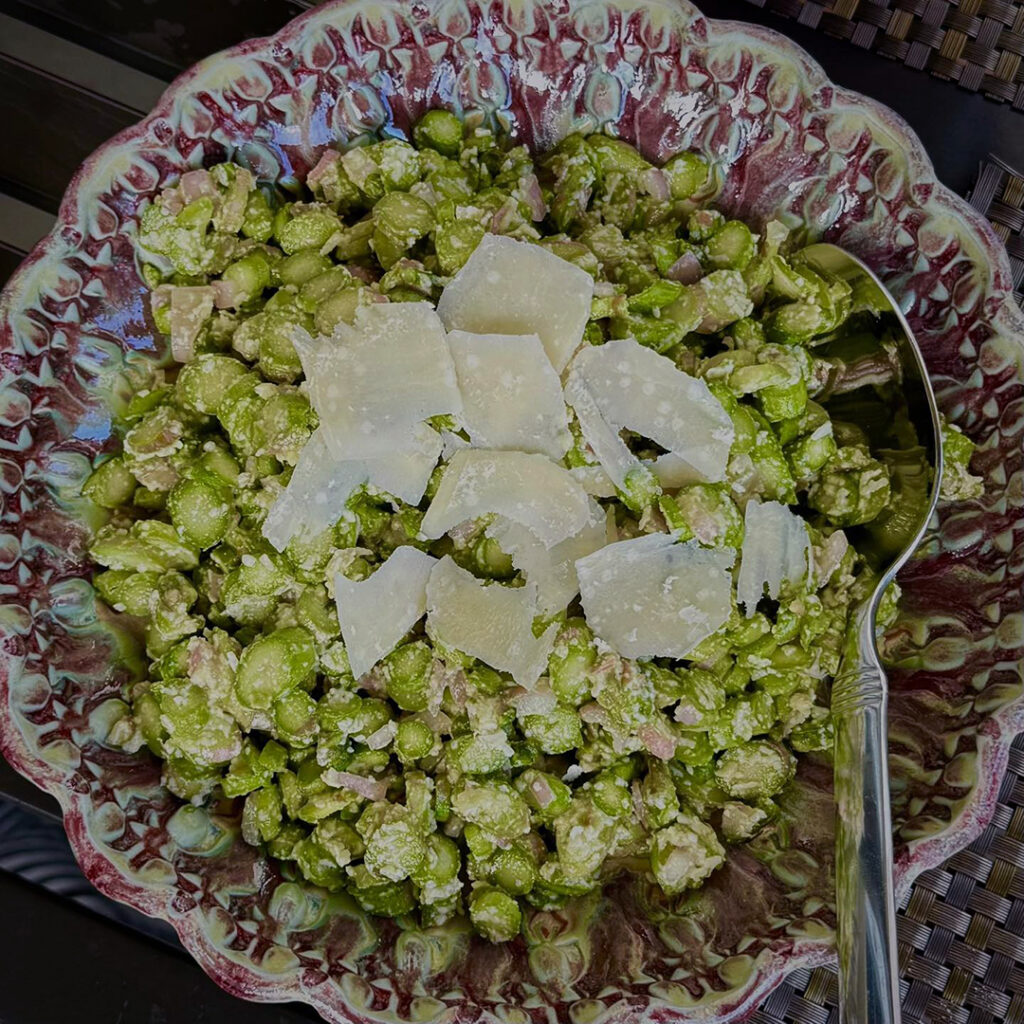
Looks like Jenn & John are enjoying the new bowl they got at the GLENVIEW SUMMER ART FAIR. Putting it to use right away with a raw asparagus salad with onions & cheese. Thanks for sharing Jenn!
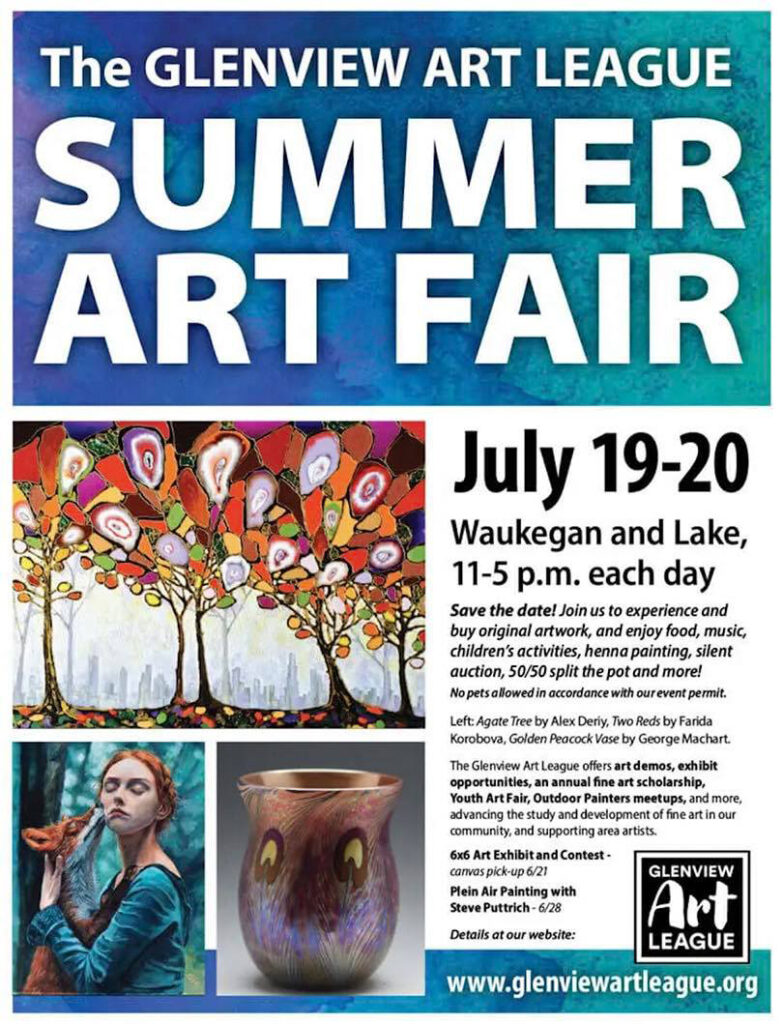
It’s Day Two of the GLENVIEW SUMMER ART FAIR!!! We had a little drizzly rain pass through earlier this morning. So now we’re hoping it’s just dry & cloudy for the rest of the show. C’mon out to Glenview to say hello… I’m in Booth 31 until 5:00pm!

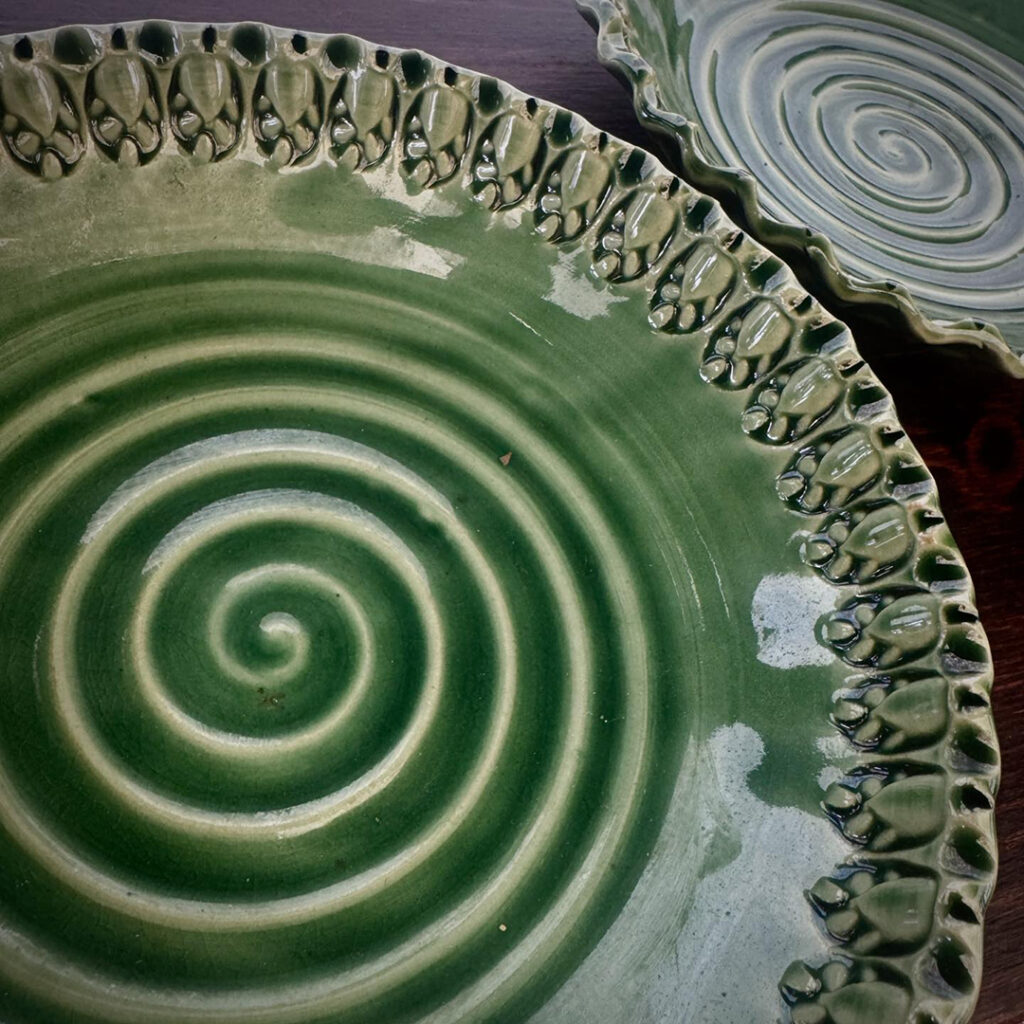


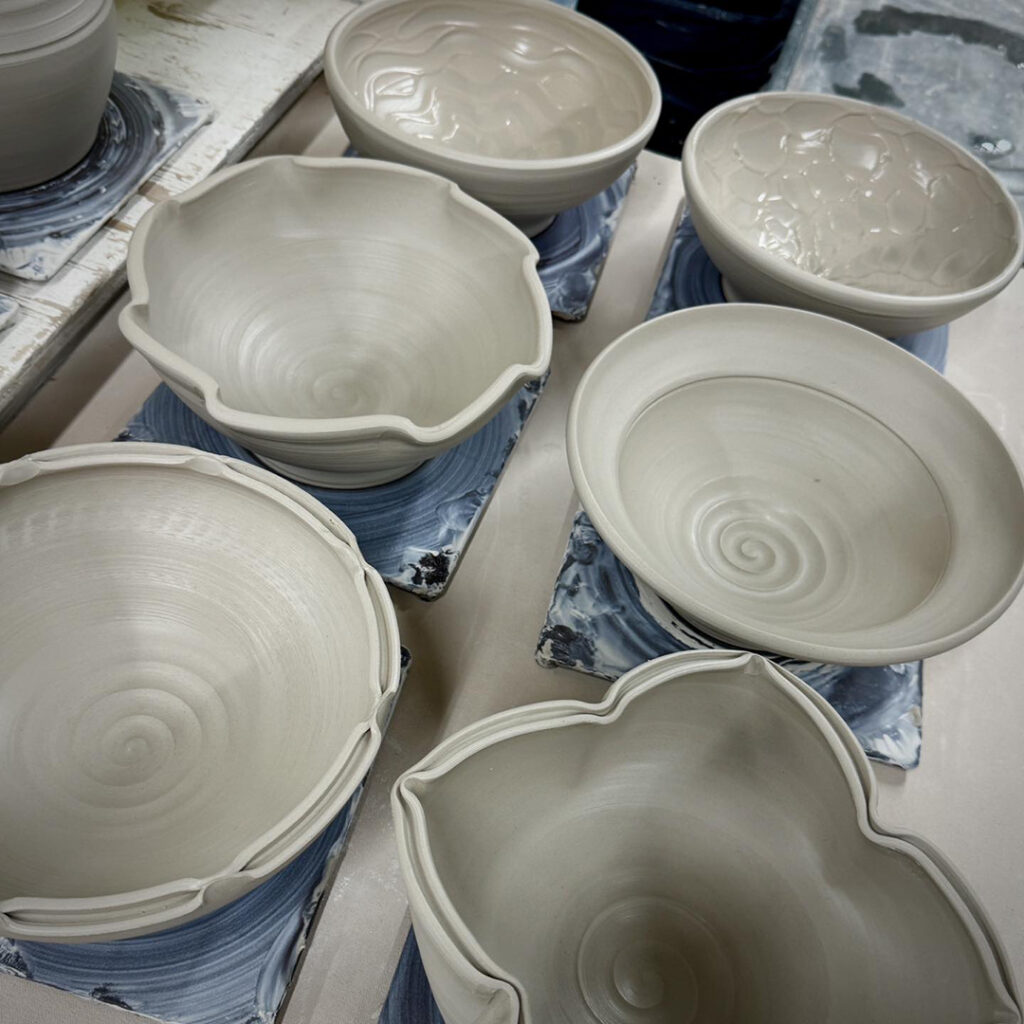
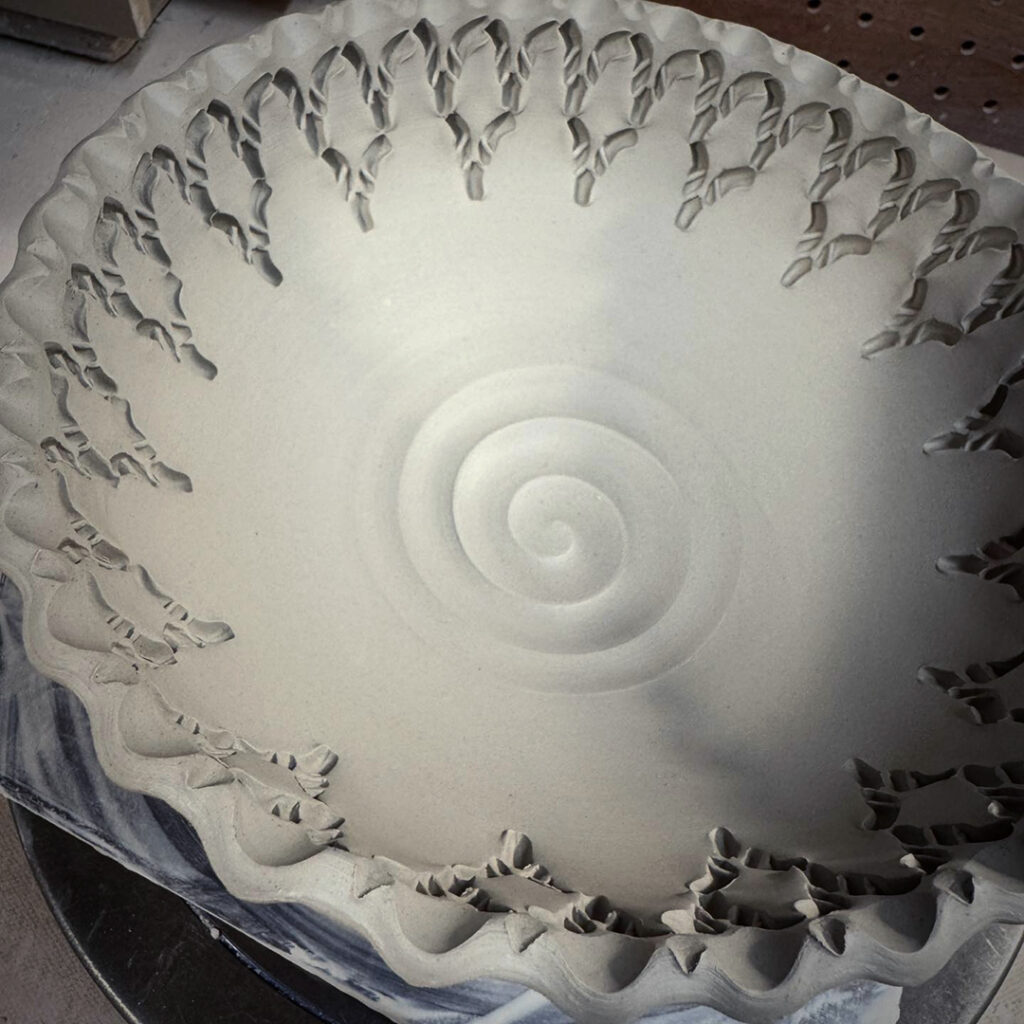
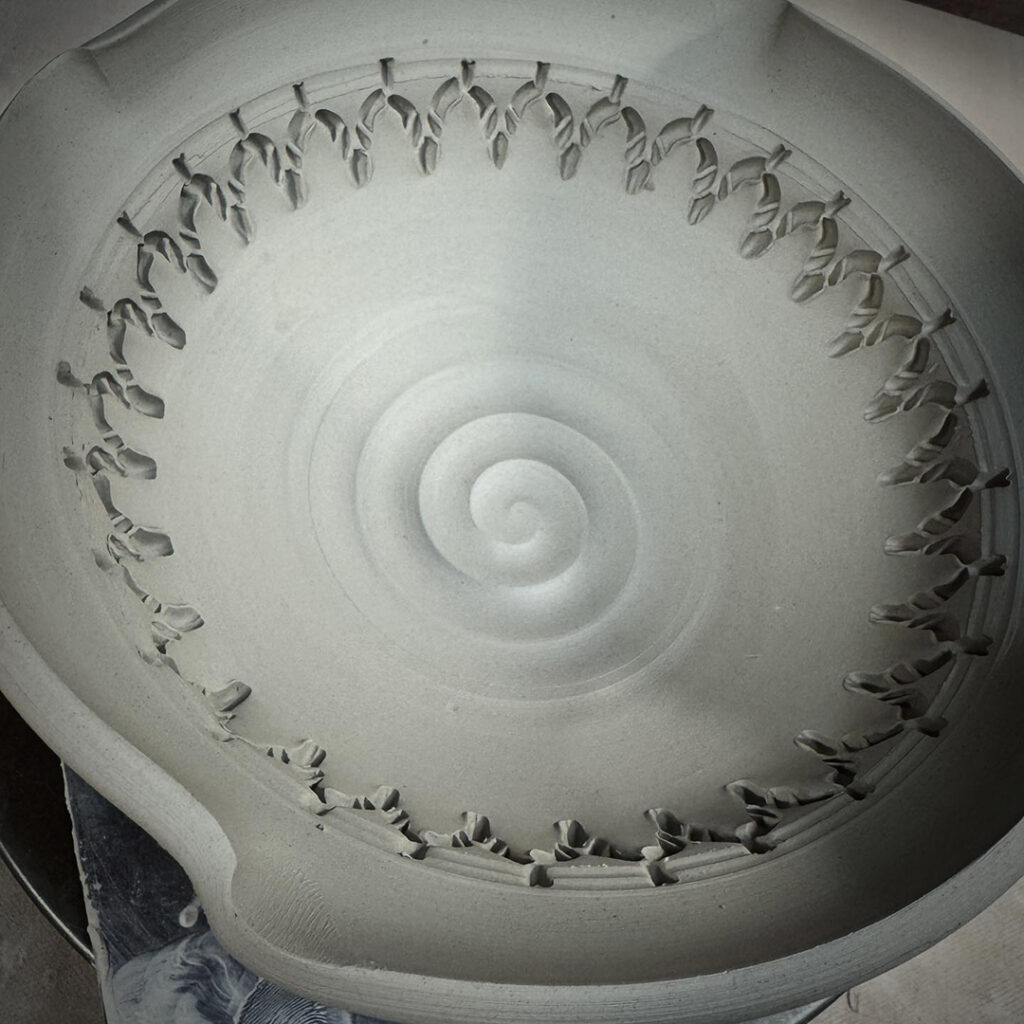
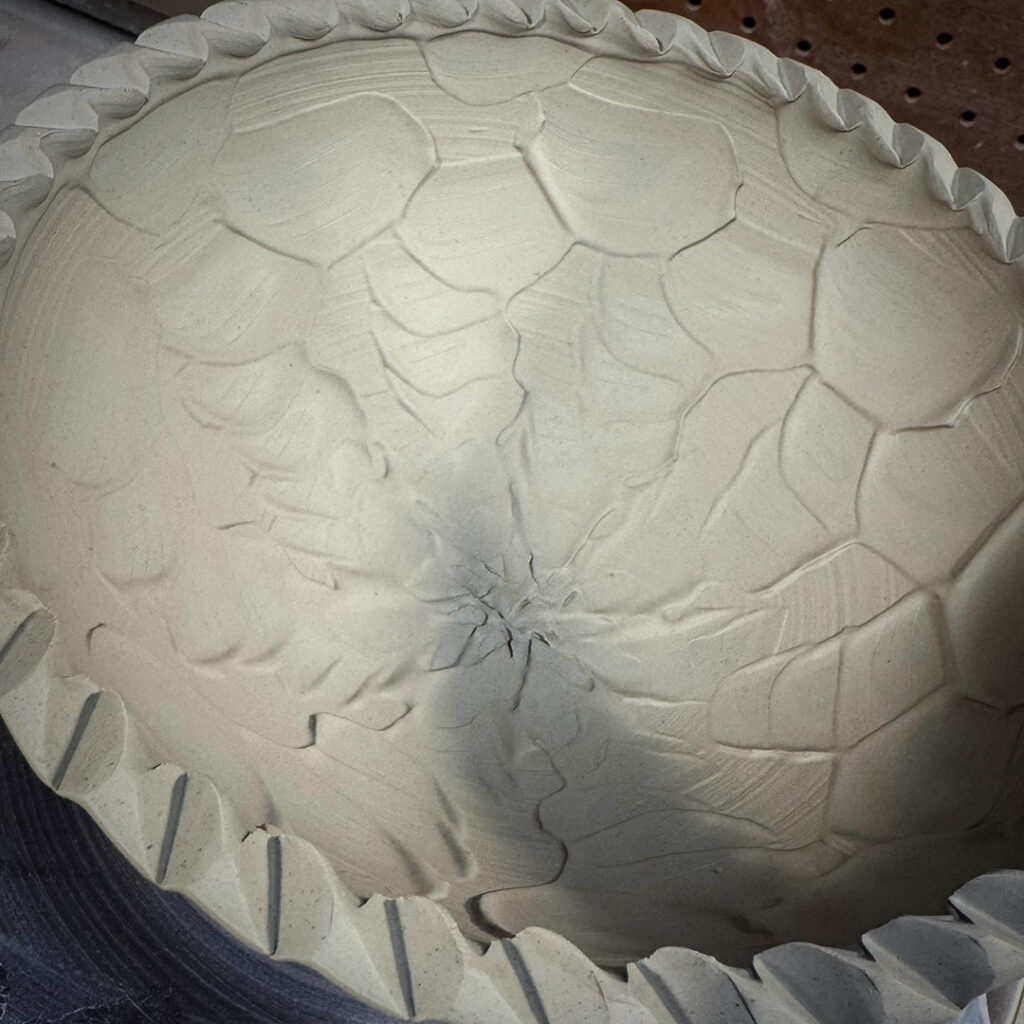
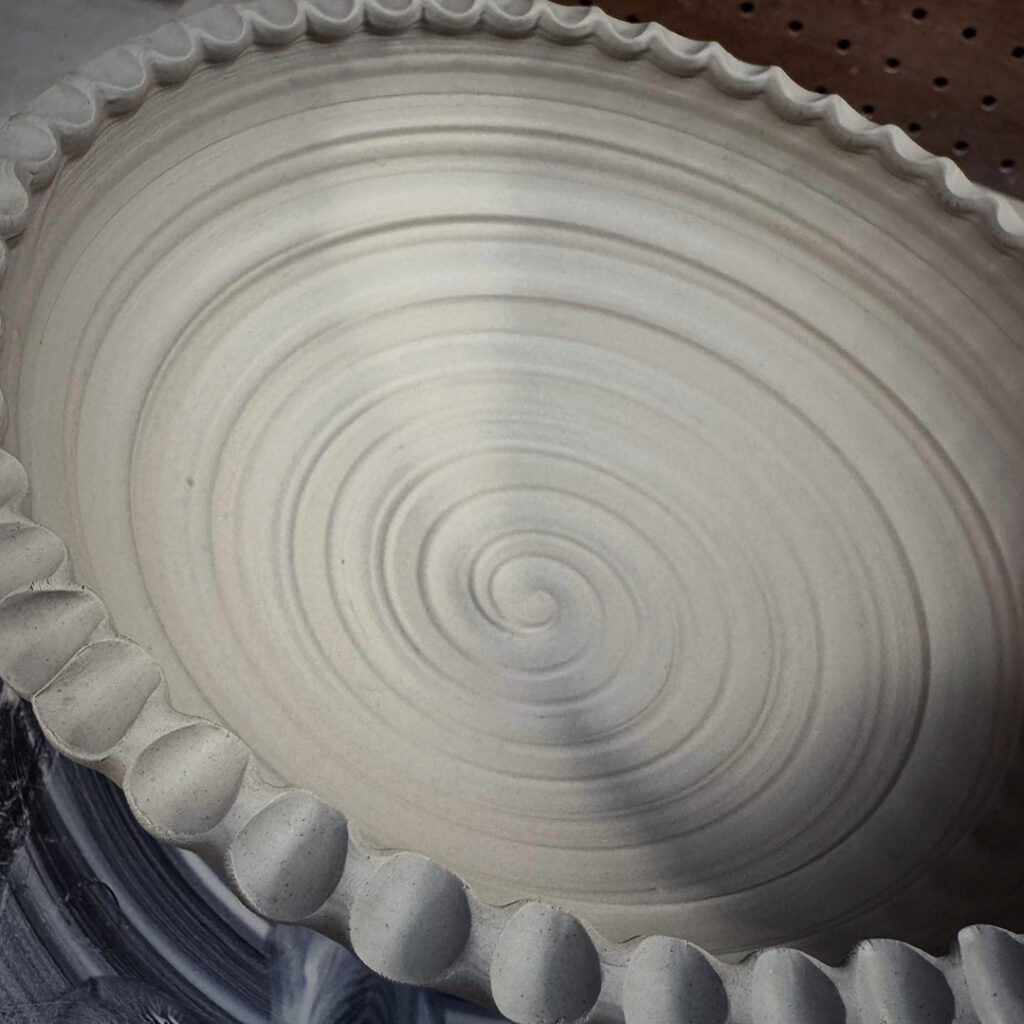
Just a little carving with my favorite tool from DiamondCore Tools! Another bowl from last week’s class demo… now carving patterns through ombré blended slips. More is more… right???
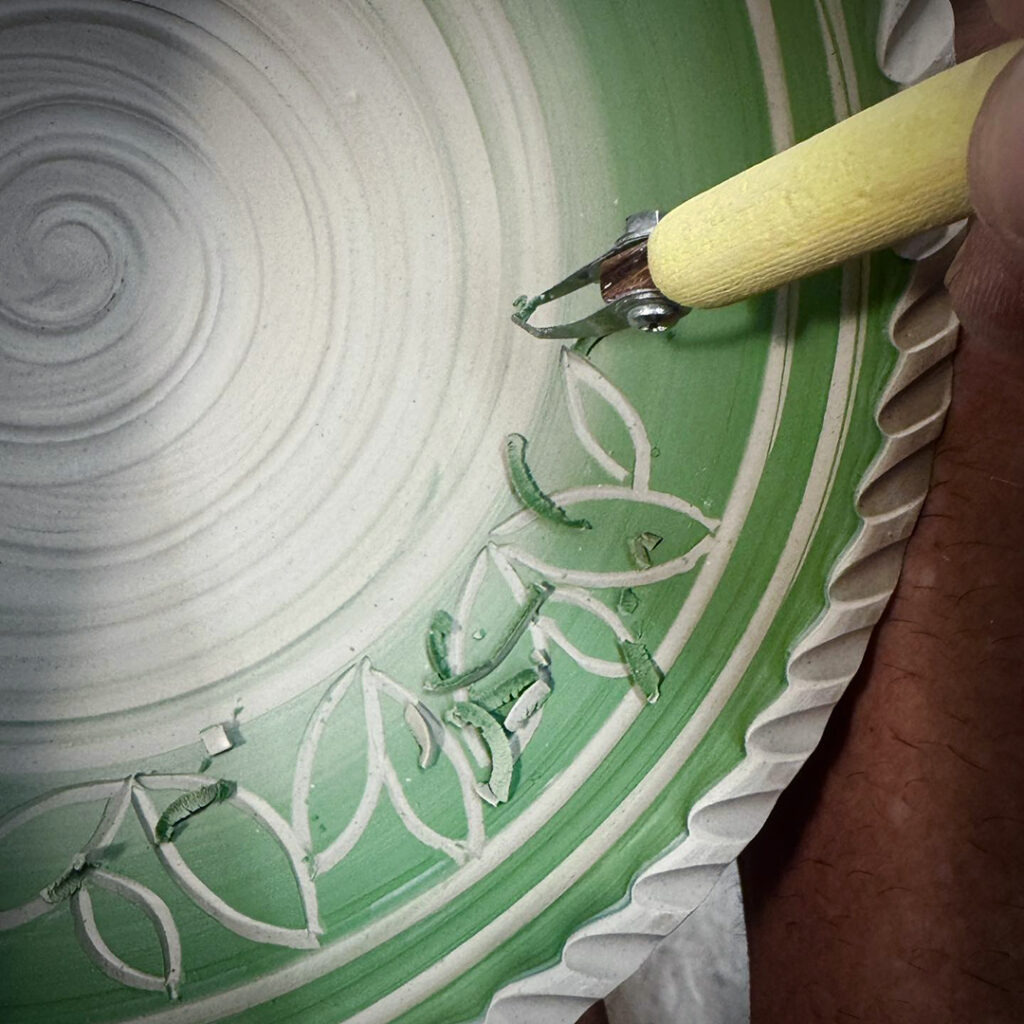
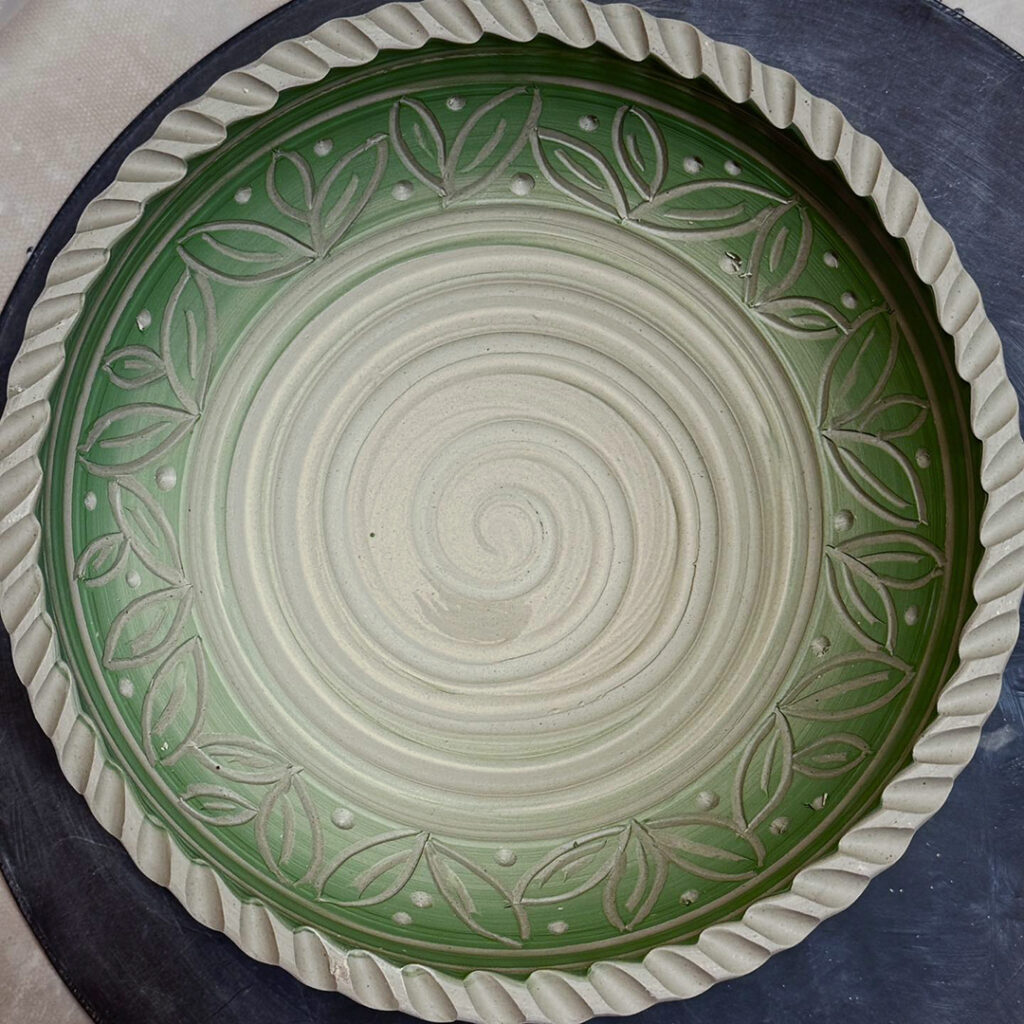
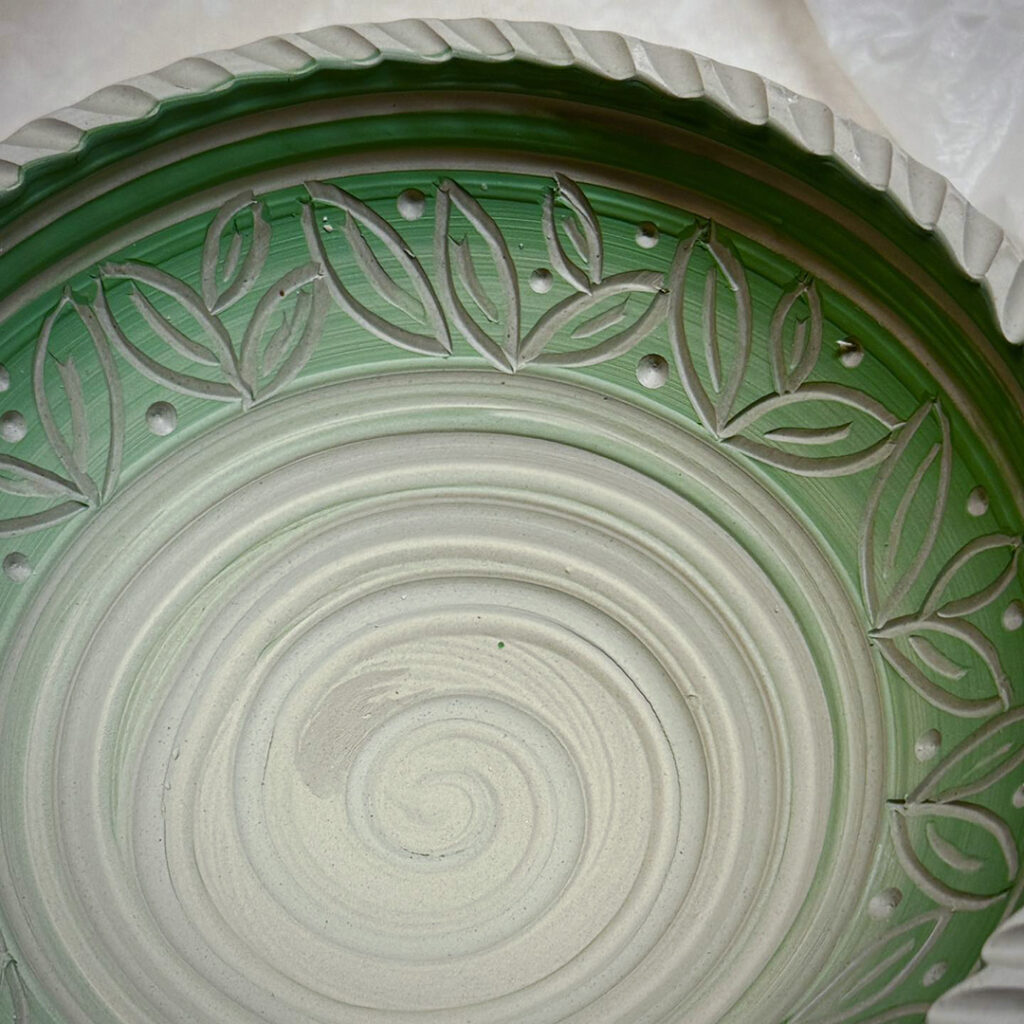
Another bowl in need of some more carving. I mean, there was a solid band of slip screamin’ out for a little sumthin’-sumthin’!!! So I did a bit more carving here too… after camp & before class tonight!
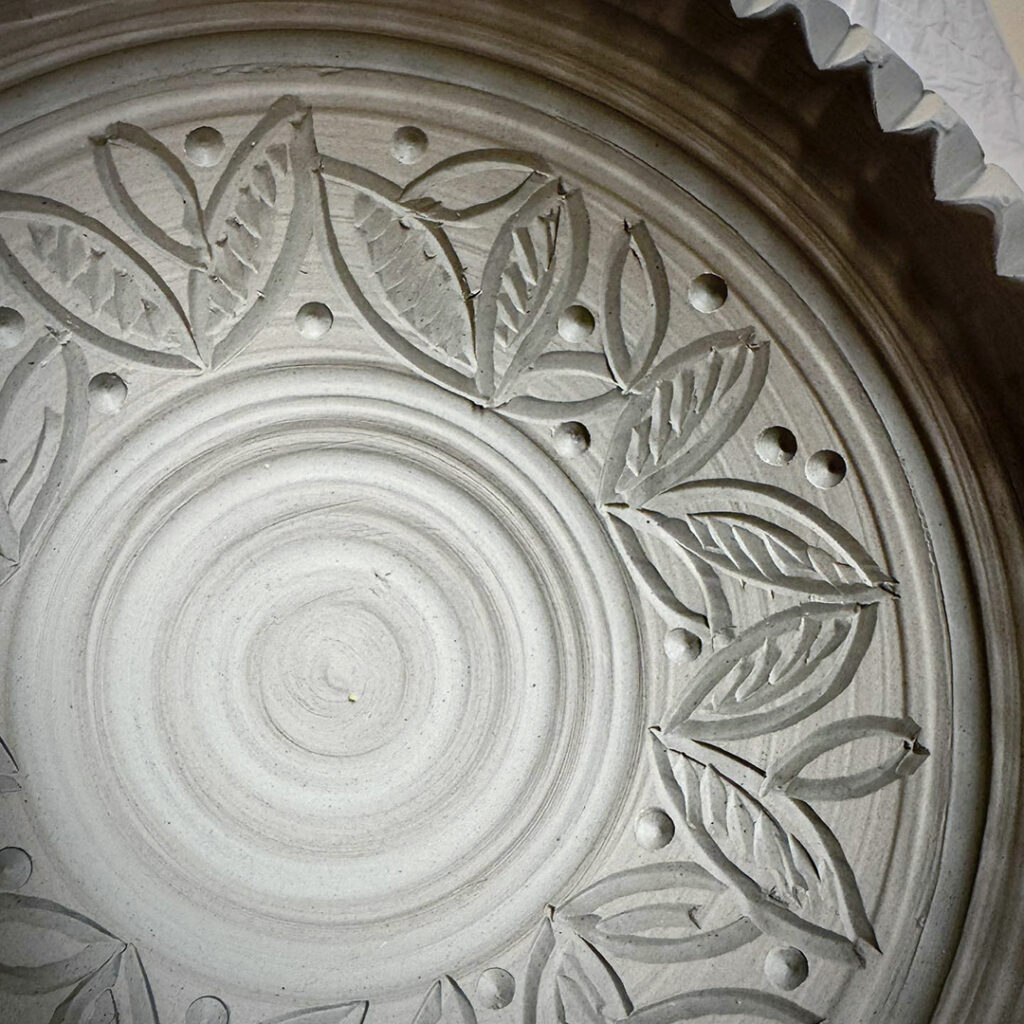
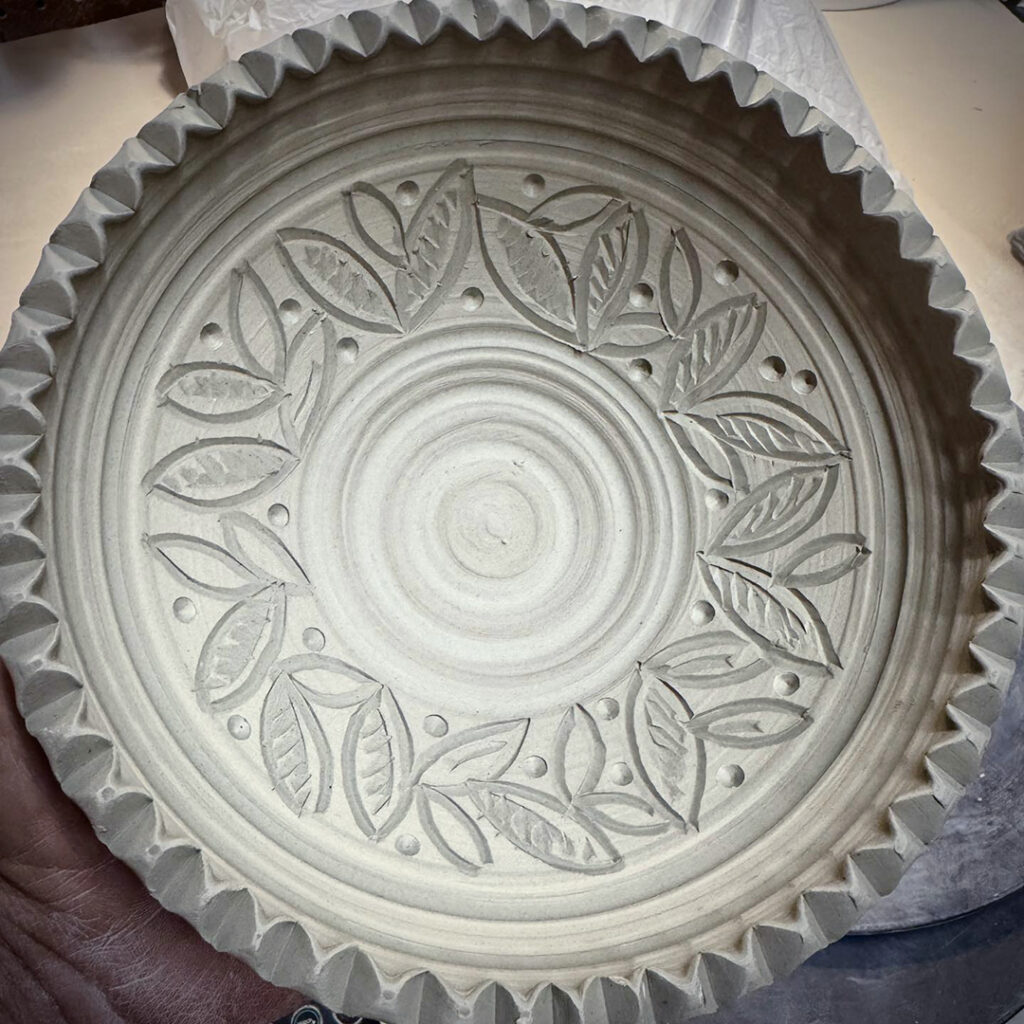
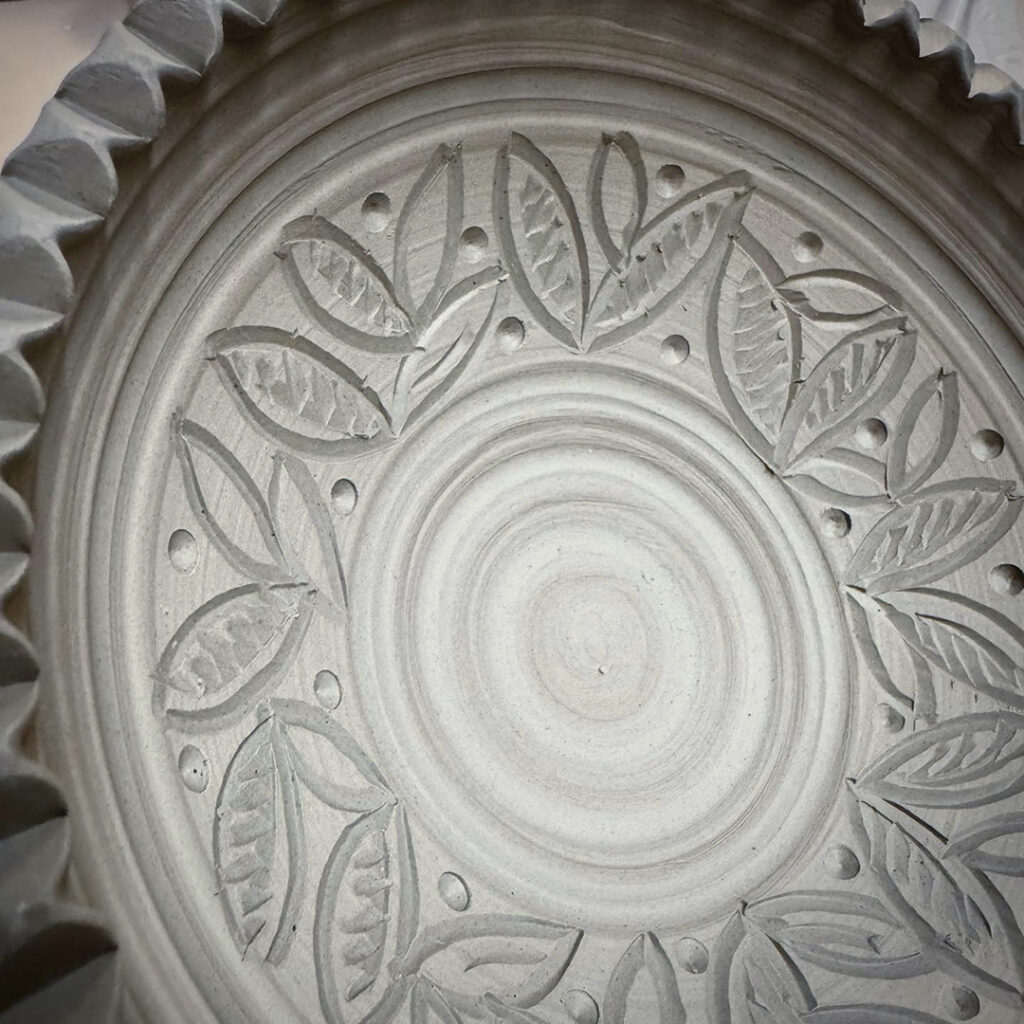
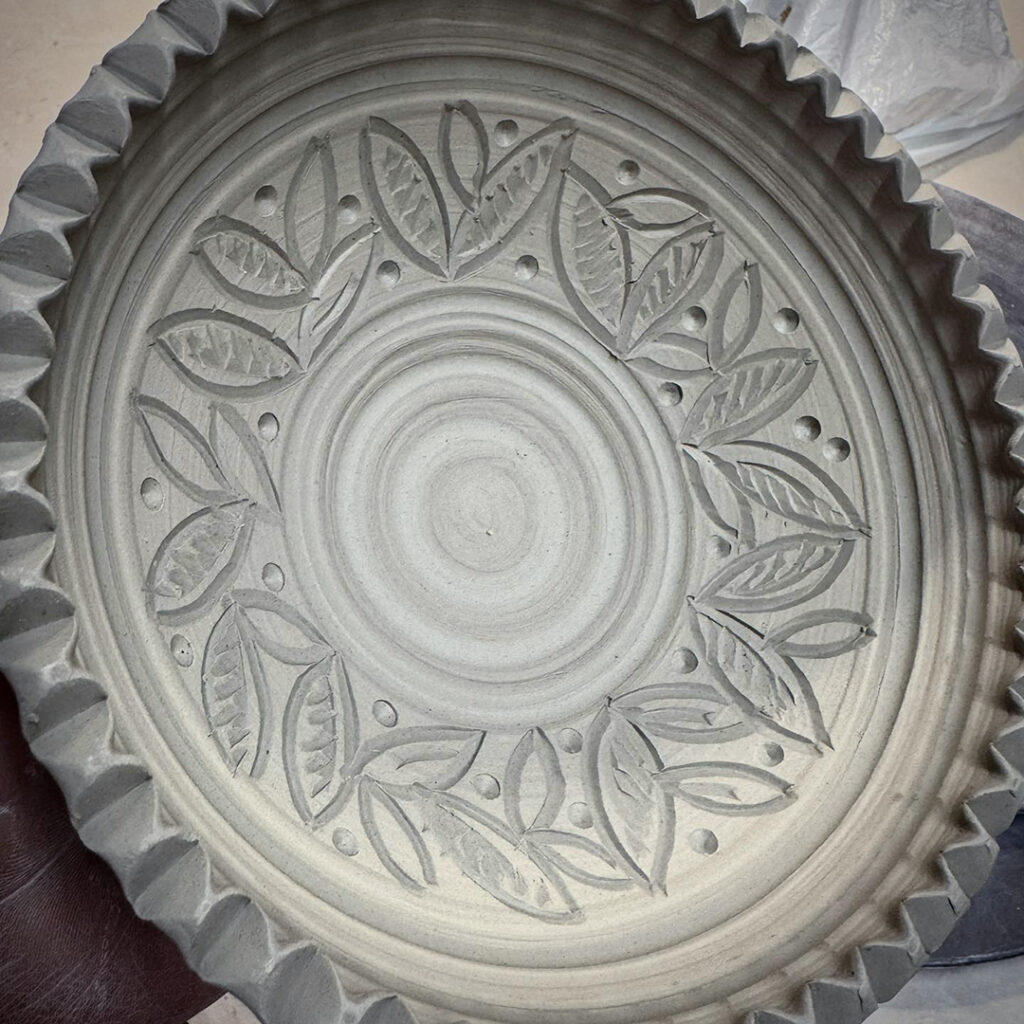
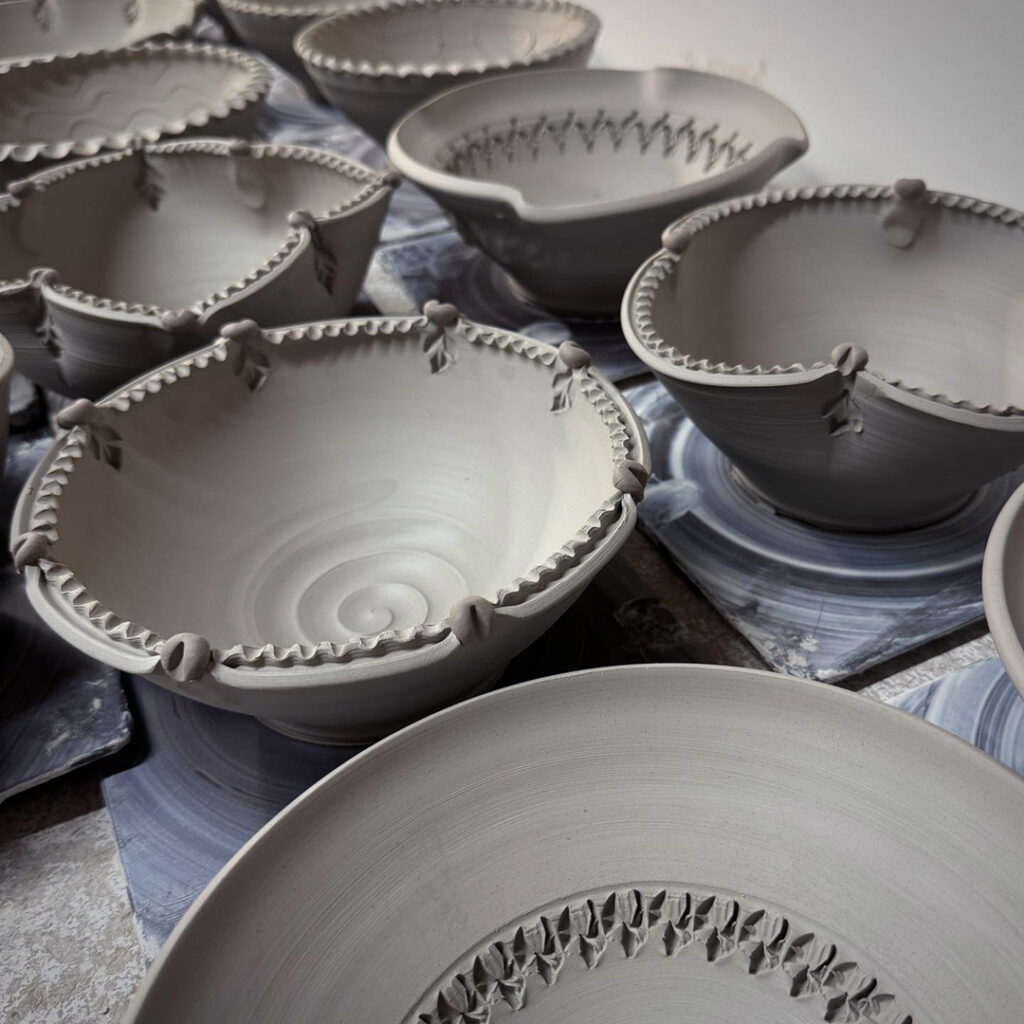
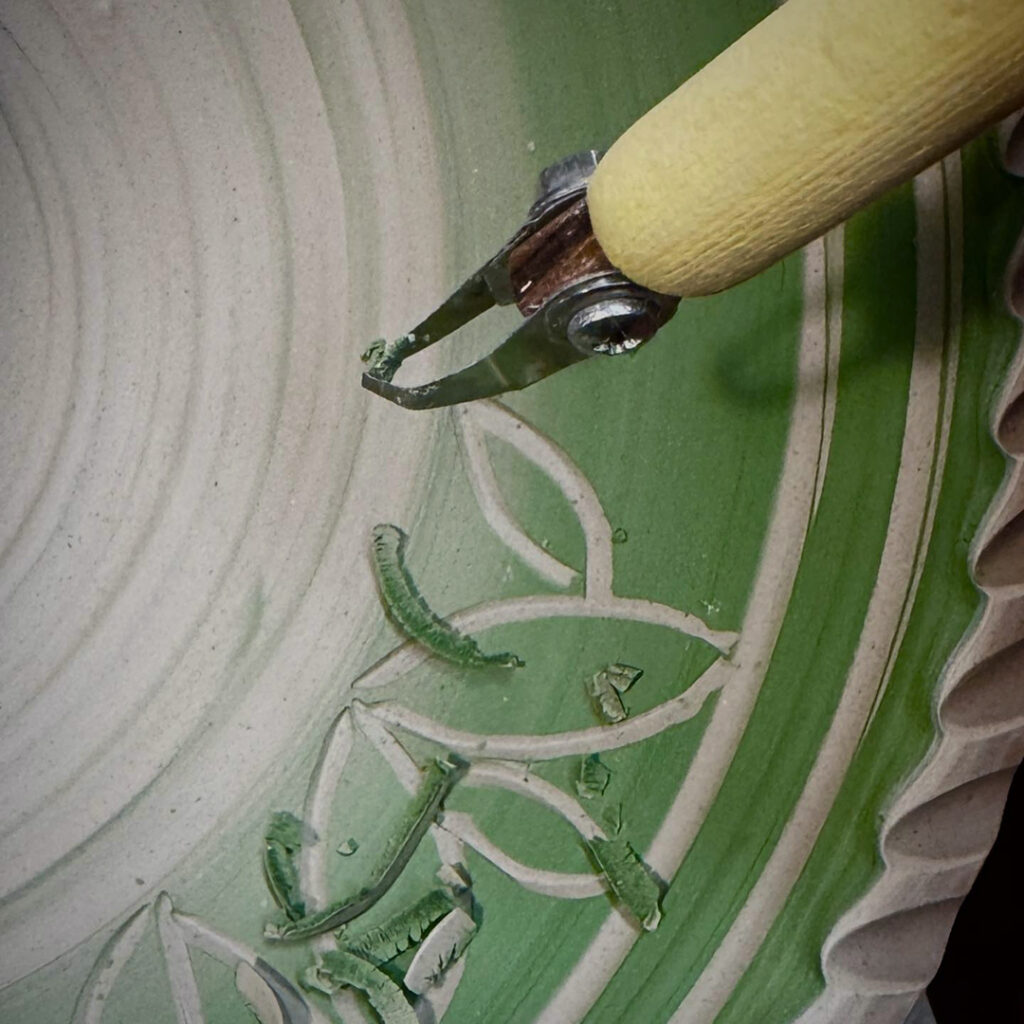
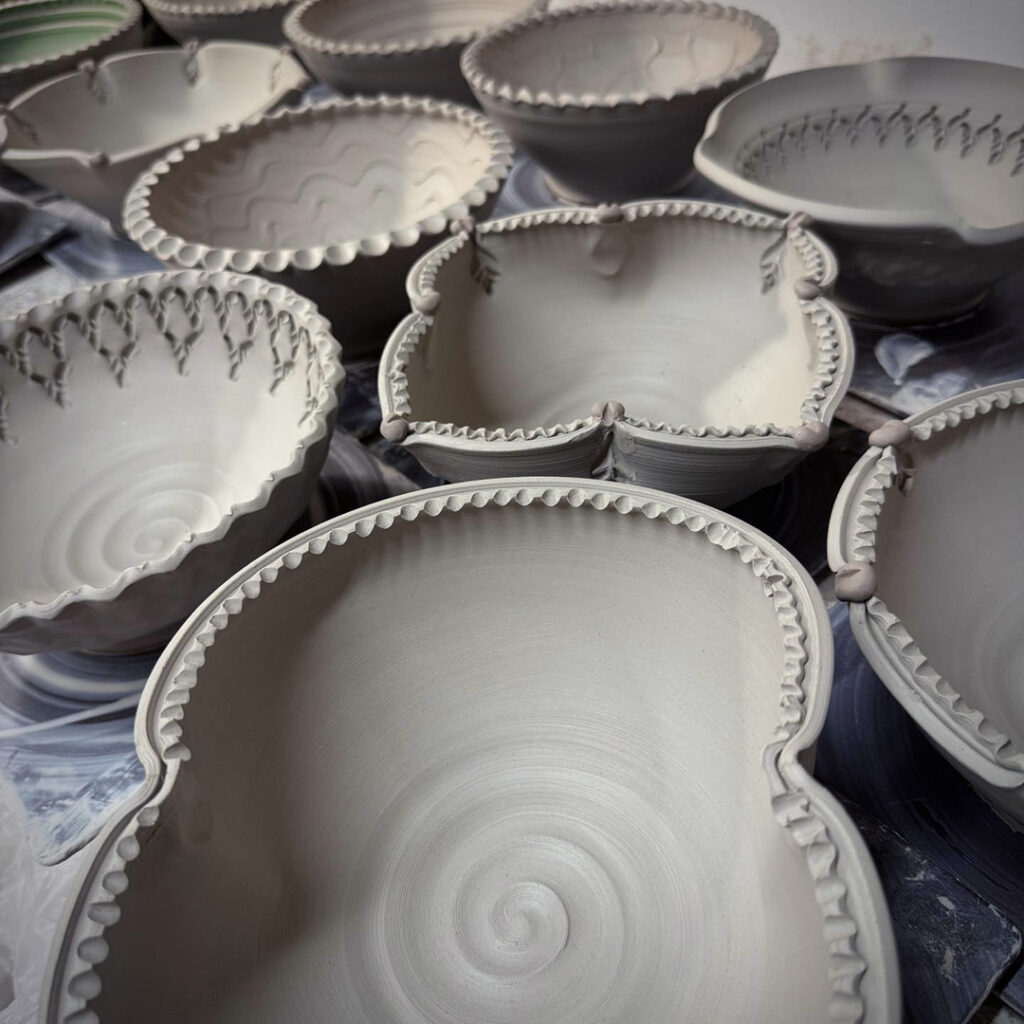
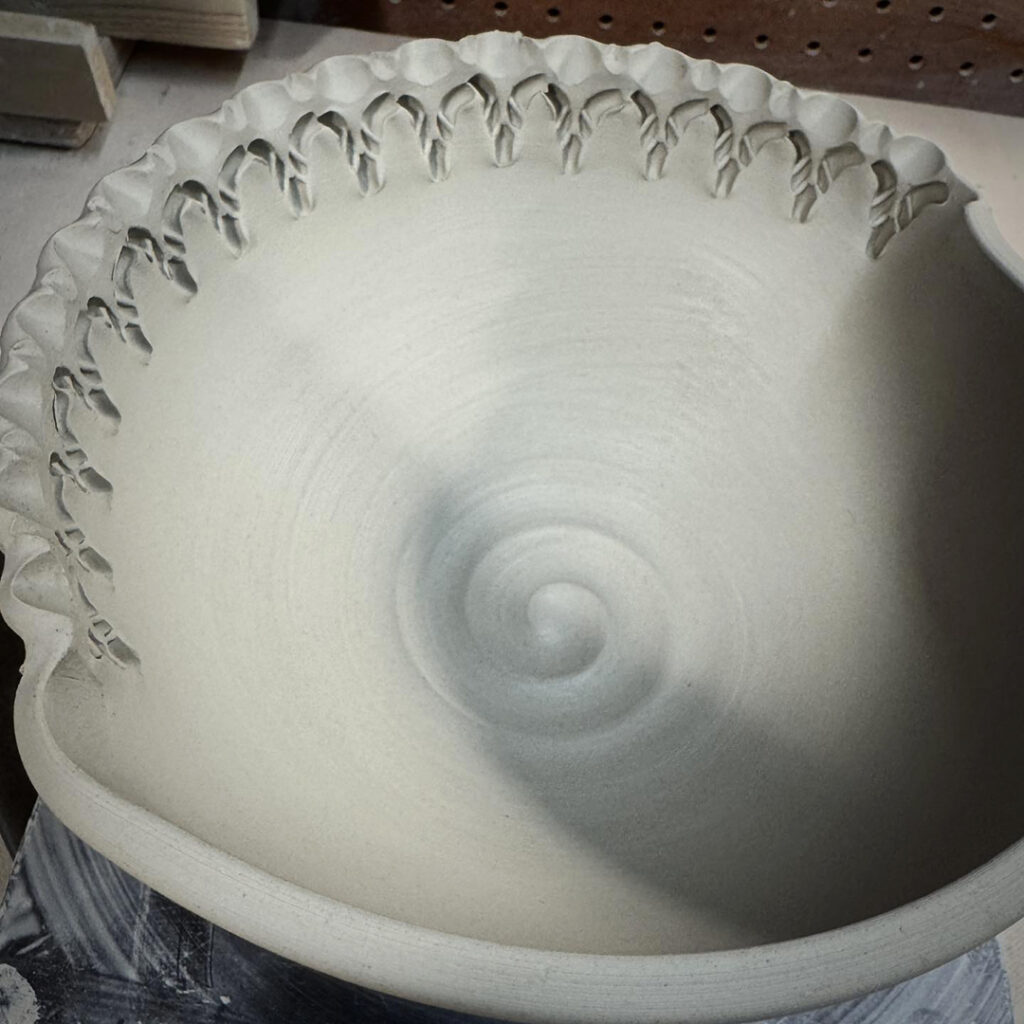
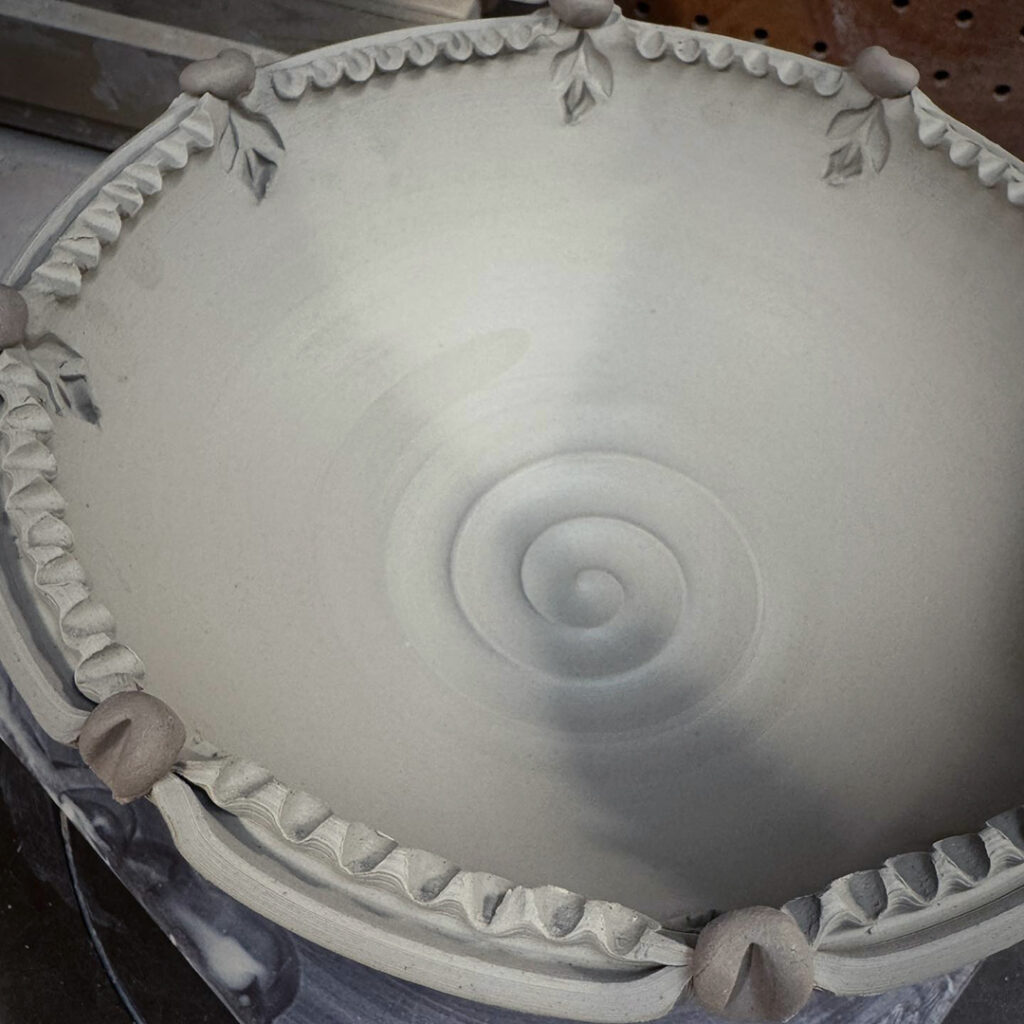
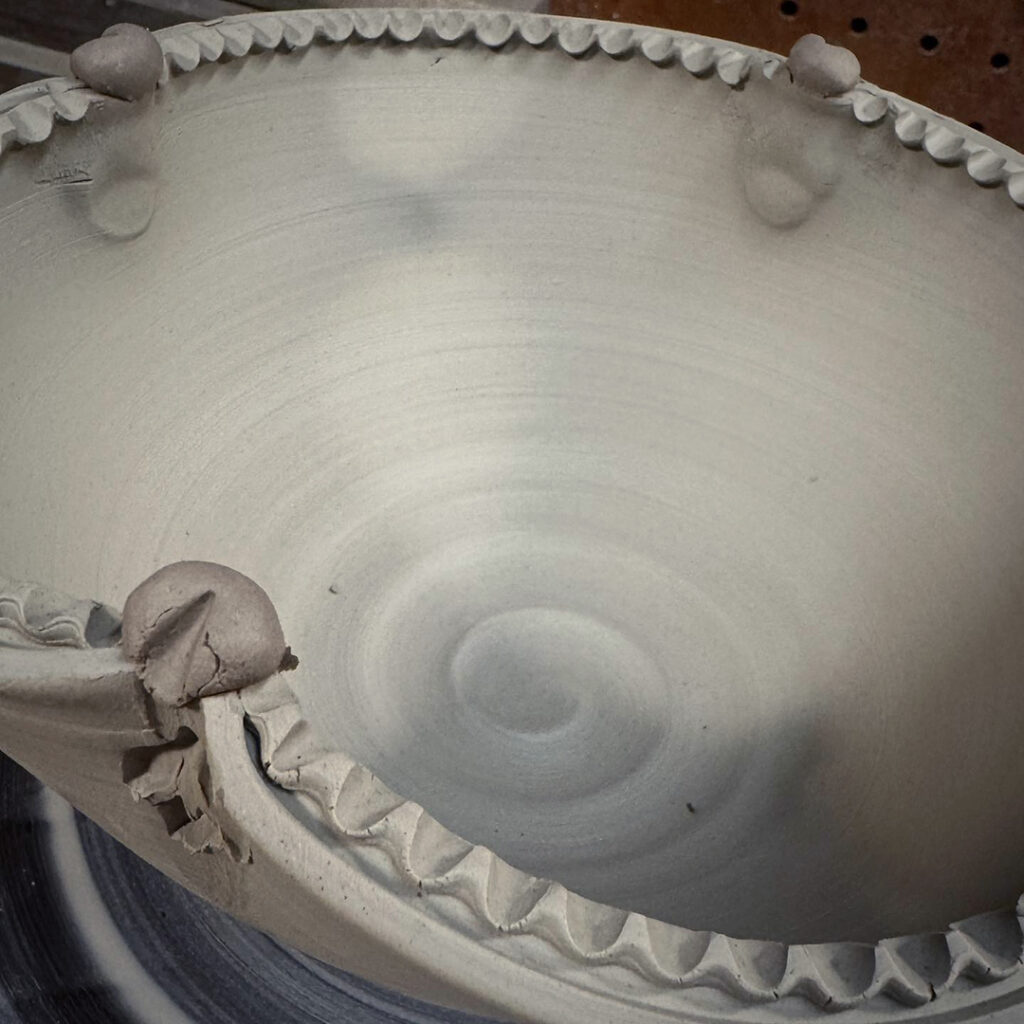
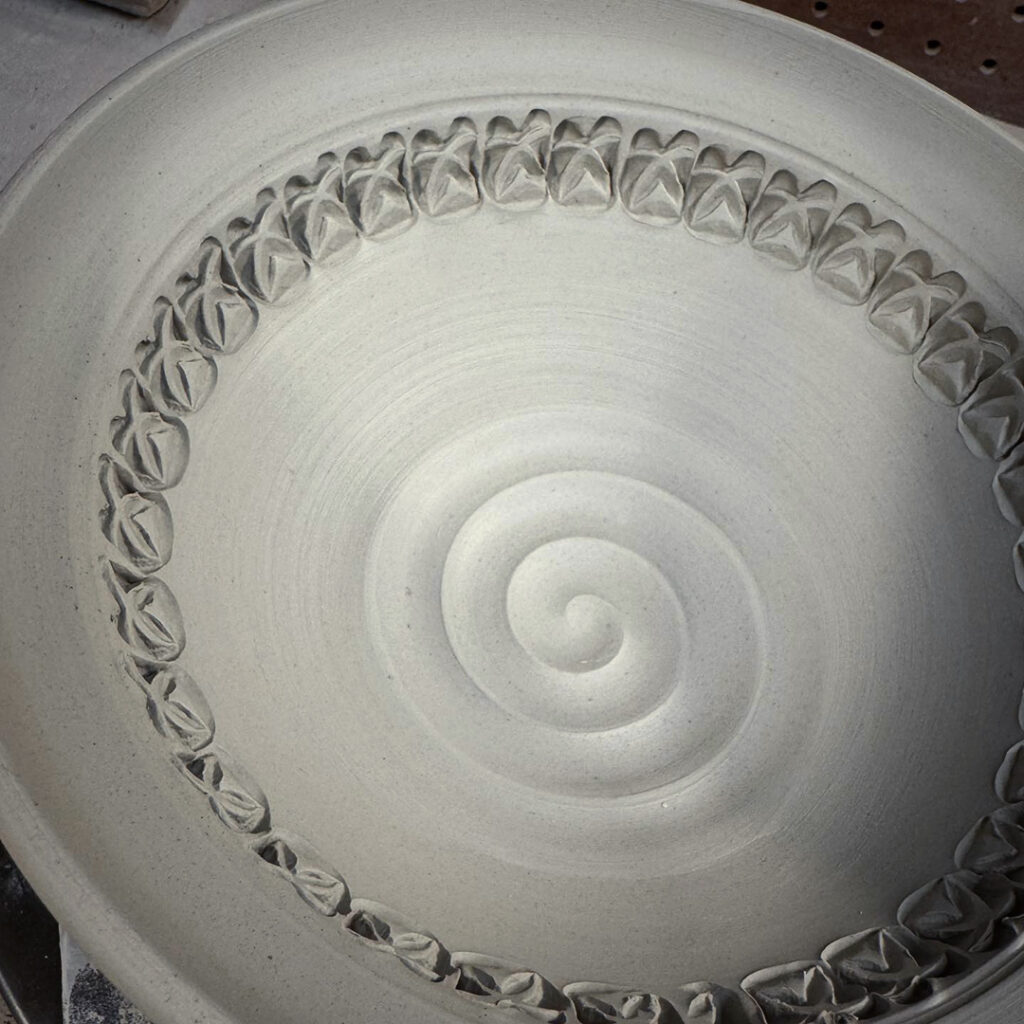
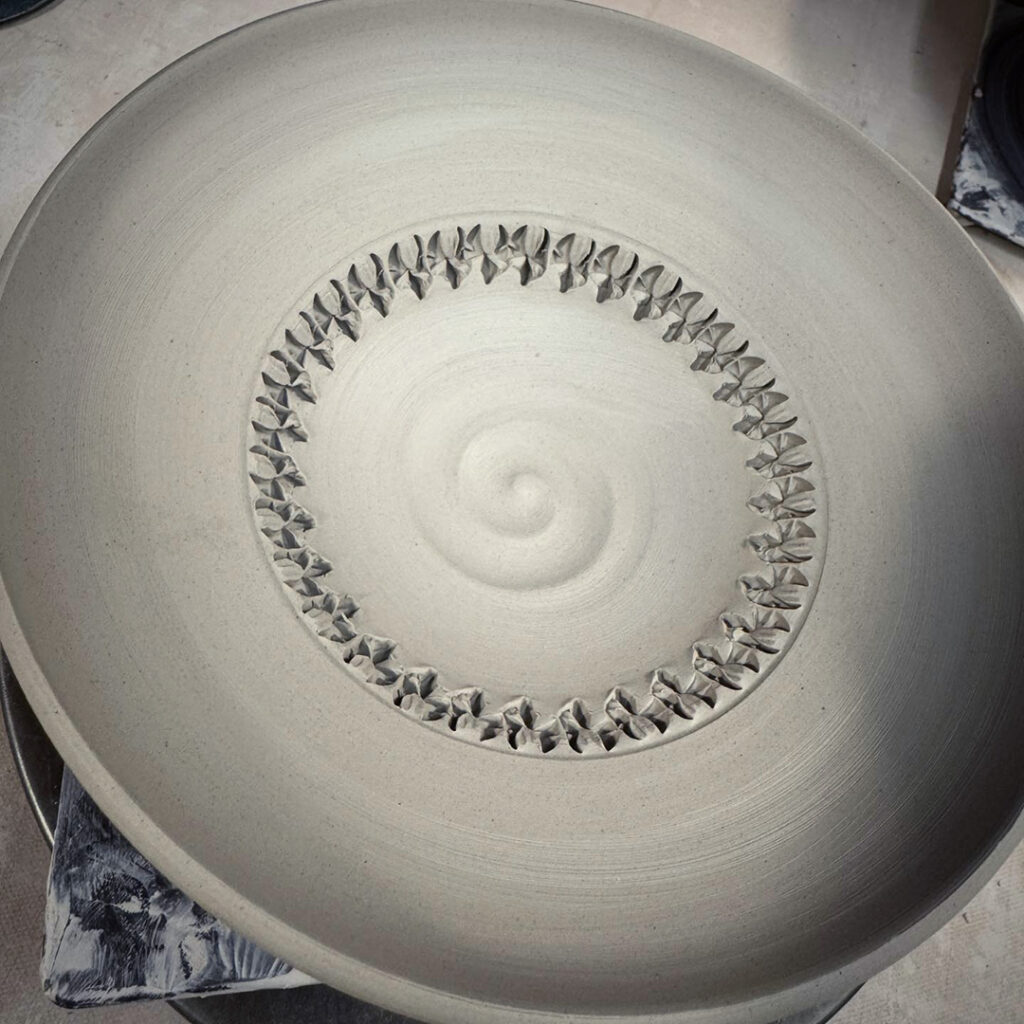
Just a little early morning stamping session in the studio. Adding a bit more detail & texture to my already “not-so-basic” bowls from last week’s class demo! You know my motto… MORE IS MORE!!!
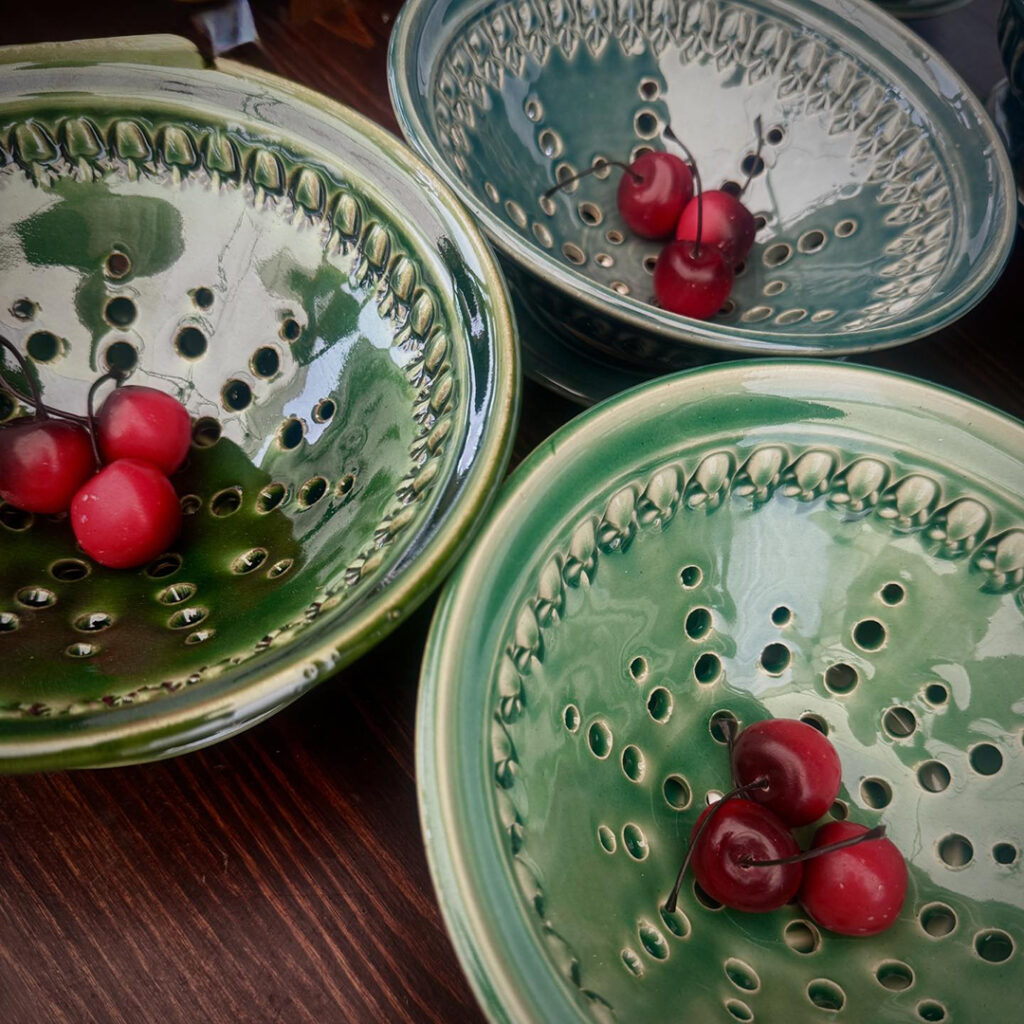
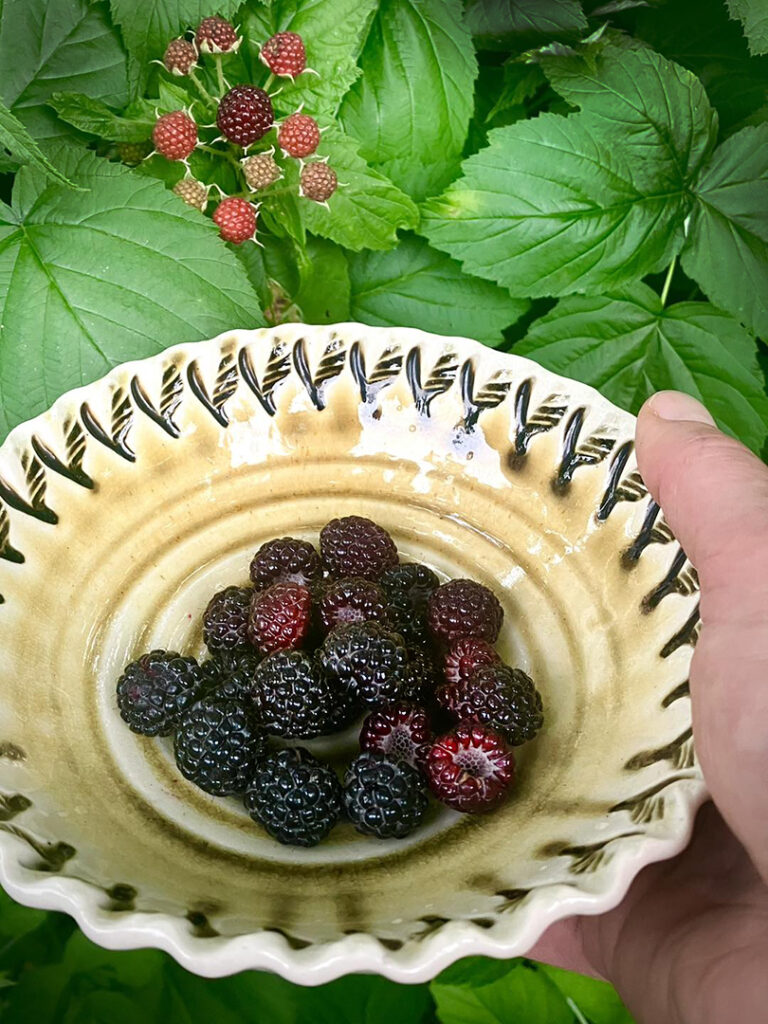
Looks like it’s the start of a “berry” good day… with Kristy picking some fresh berries from her yard with her favorite “berry-picking bowl.”
|
Gary Jackson: Fire When Ready Pottery
Lillstreet Studios ∙ 4401 North Ravenswood, Chicago, Illinois 60640 ∙ 773-307-8664 gary@firewhenreadypottery.com |