Gary Jackson: Fire When Ready Pottery
A Chicago potter’s somewhat slanted view of clay & play
Categories: bowls, classes, wheelthrowing

This week in my Beginning & Advanced Beginning Wheelthrowing class, we discussed making bowls on purpose and NOT cylinders gone bad. We talked about how they need to start making the bowl curve inside their bowl right form the very start. And that they should be looking for a nicely rounded interior… and NOT a flat bottom, corners and a curved side like a cylinder gone bad!!!

After the first bowl demo, I sent my students back to their wheels so they could start throwing some nicely rounded bowls. And then I went back to my wheel to make “a few” more bowls…

And then we re-grouped and talked about how I believe the wheel does most of the work making a nice round bowl. But it’s up to each student to make that bowl their own… employing some quick tricks & techniques to make their bowls new & different… and a bit more “stylish” than the others!

So here are the “tricks” that I showed them all…

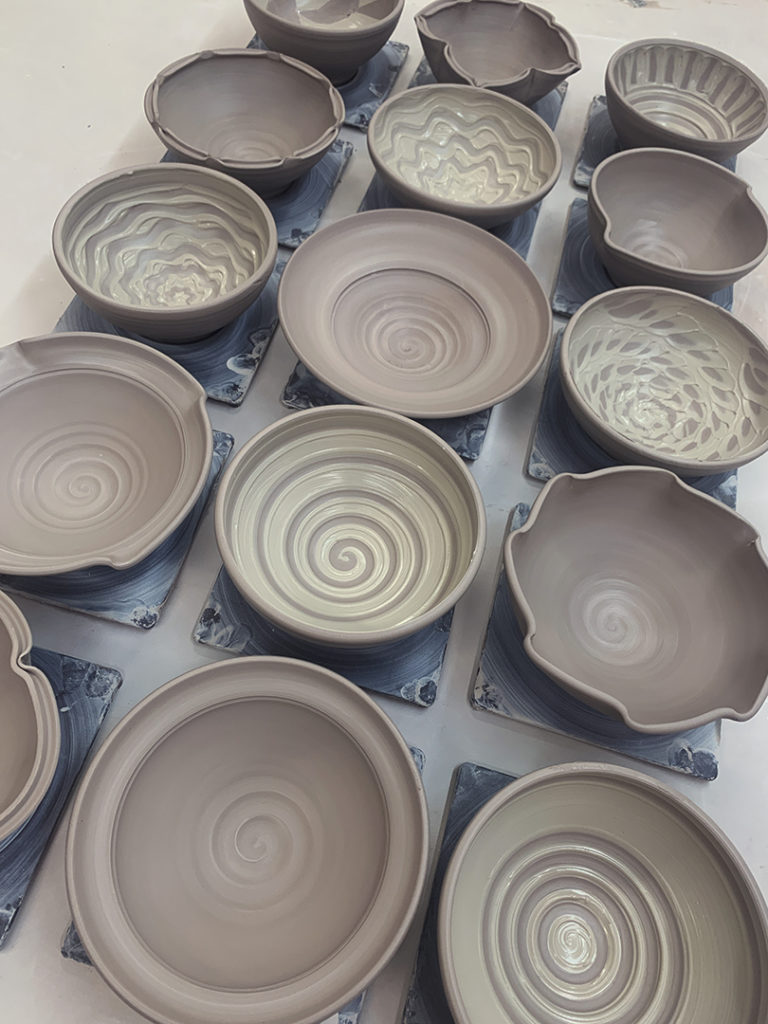
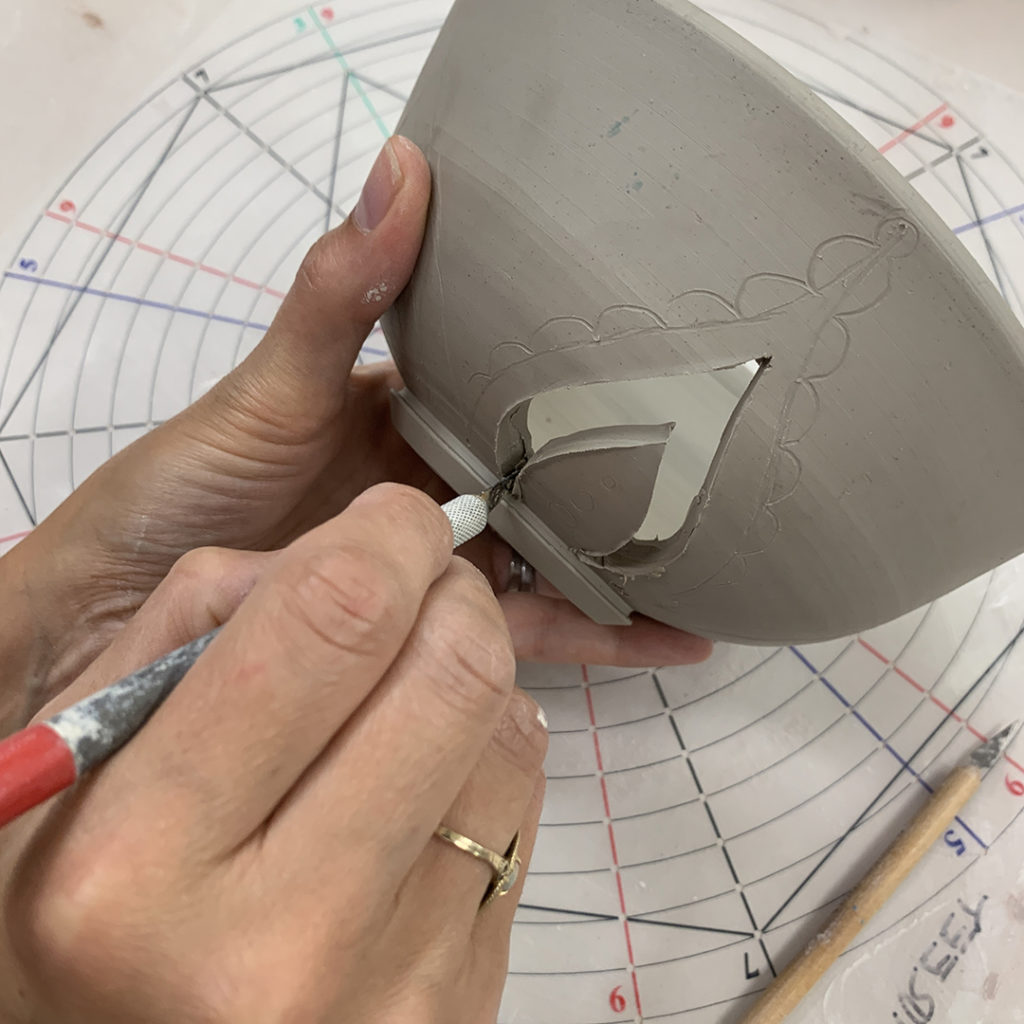
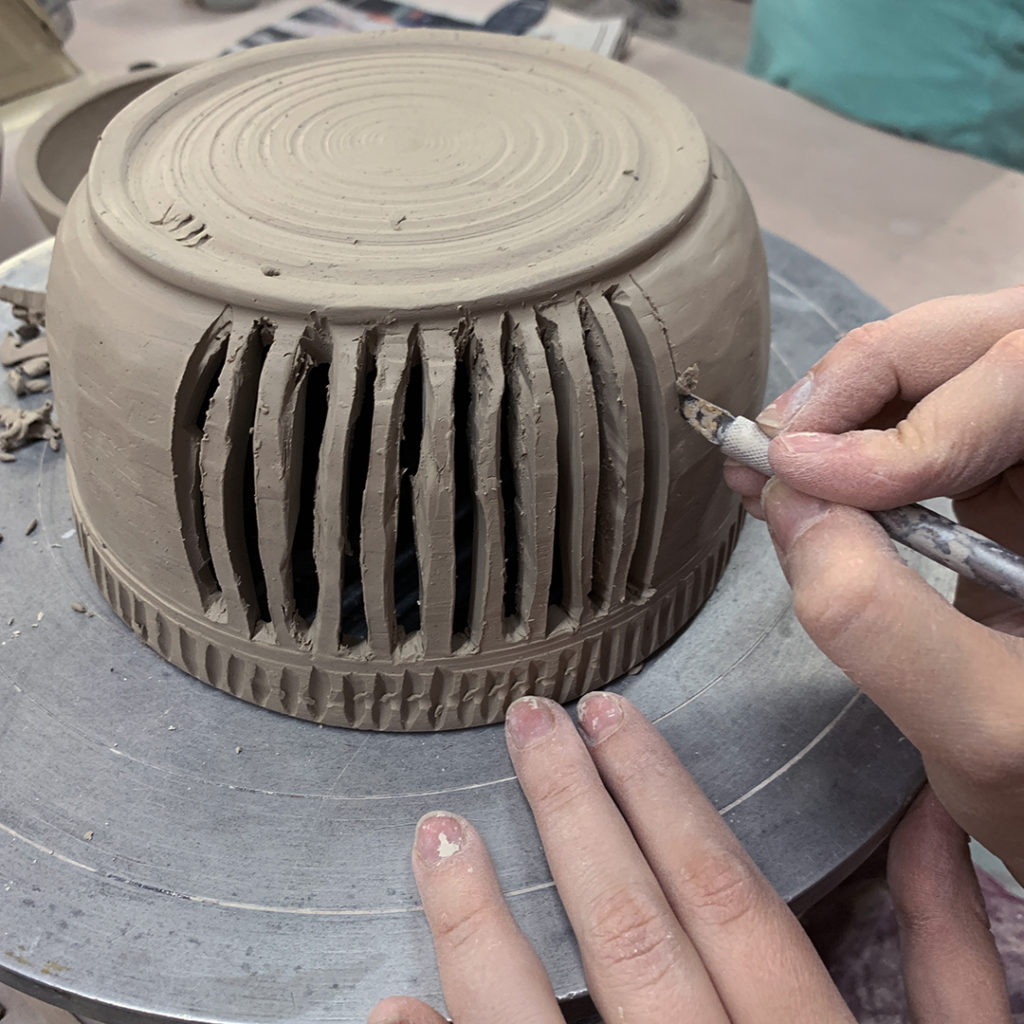
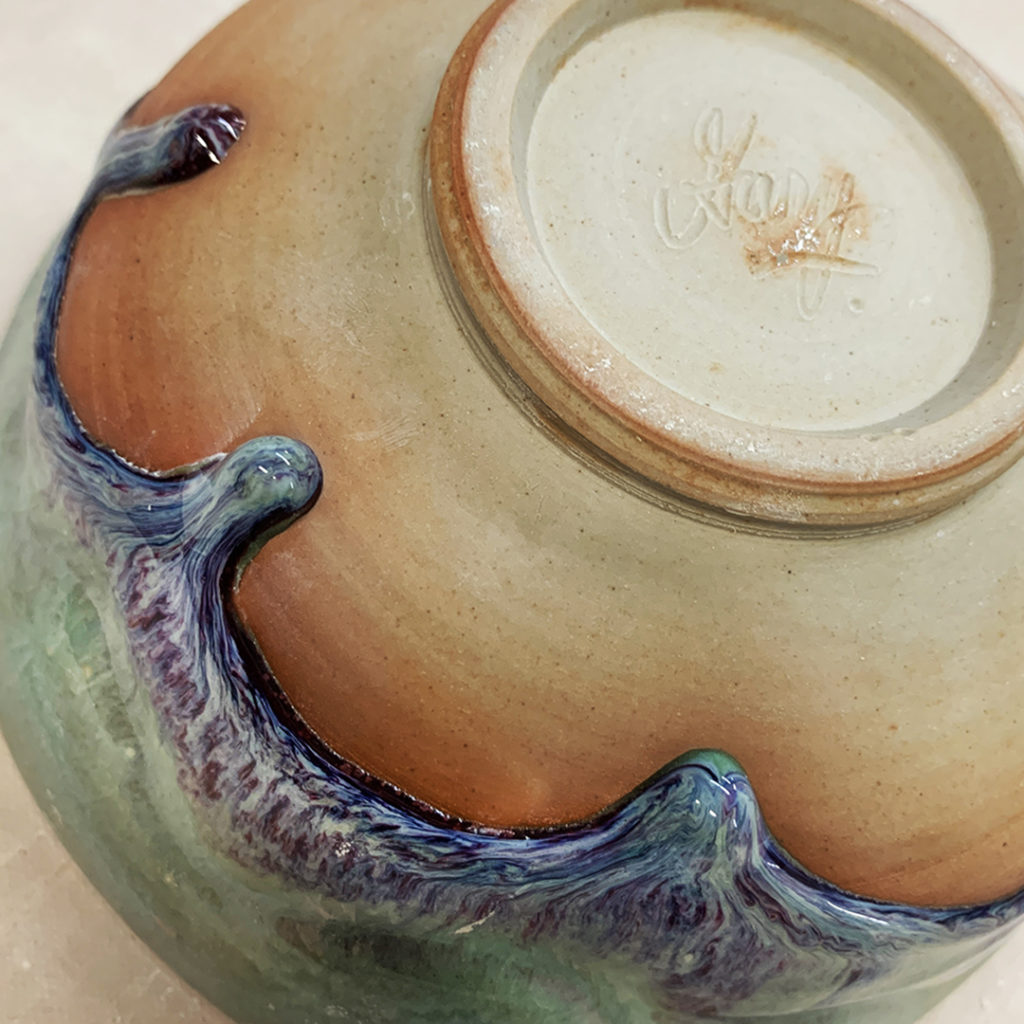
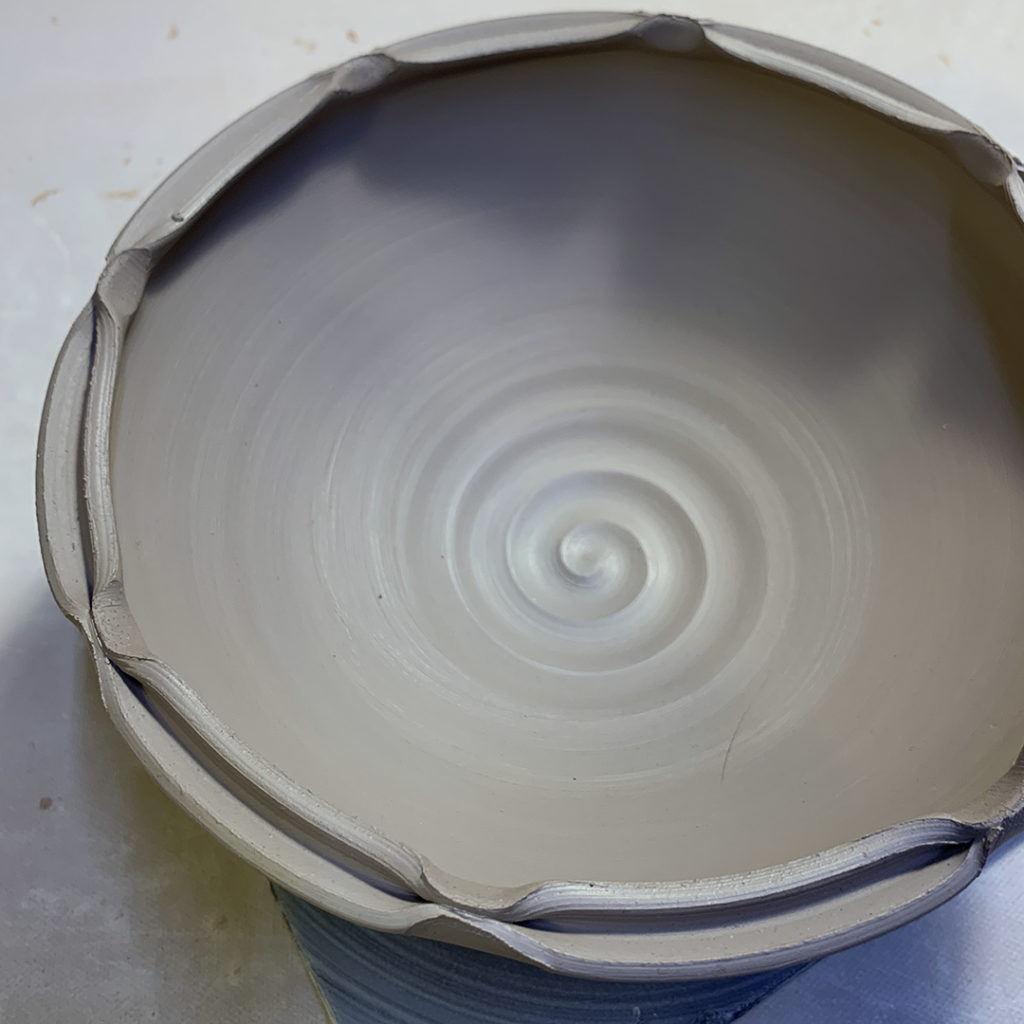
BOWL #1 – two fluted edges… gently asymmetrical.

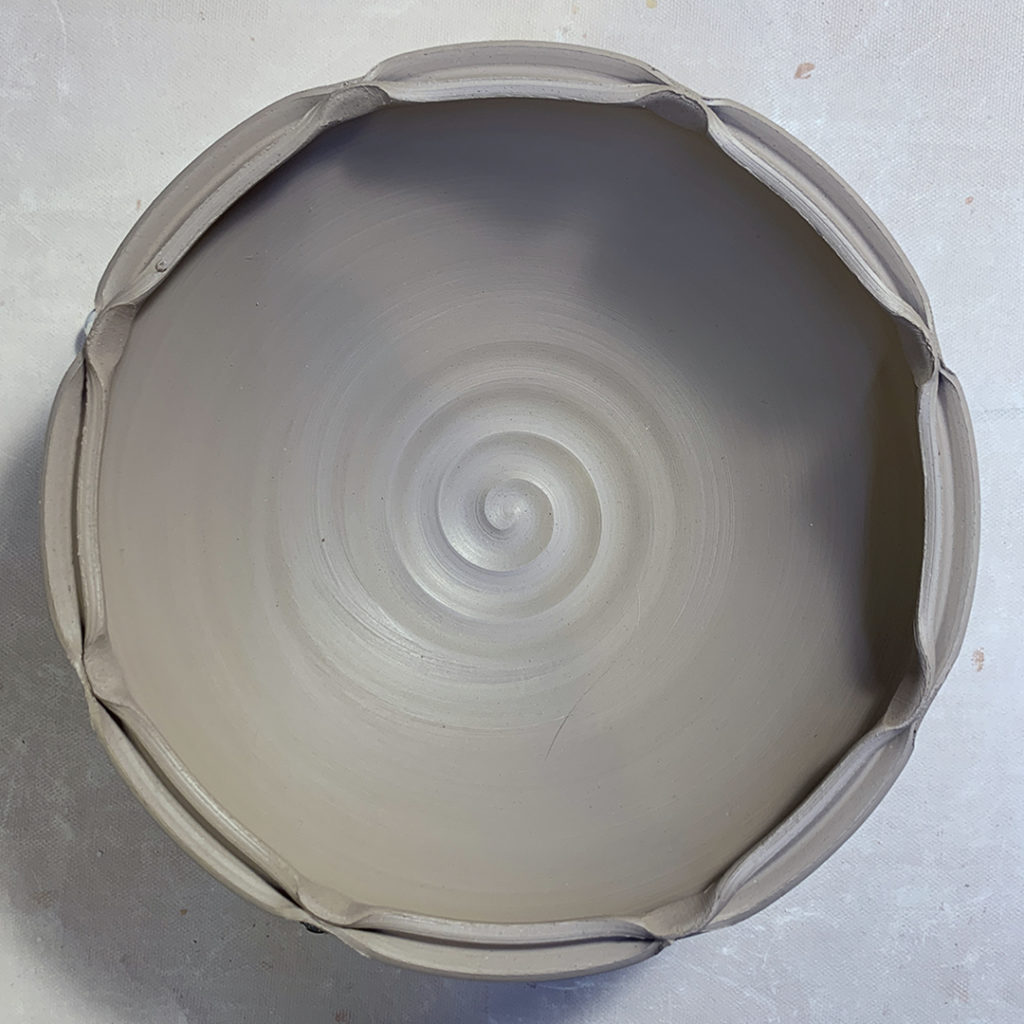
BOWL #2 – if two fluted edges are nice, EIGHT might even better?!

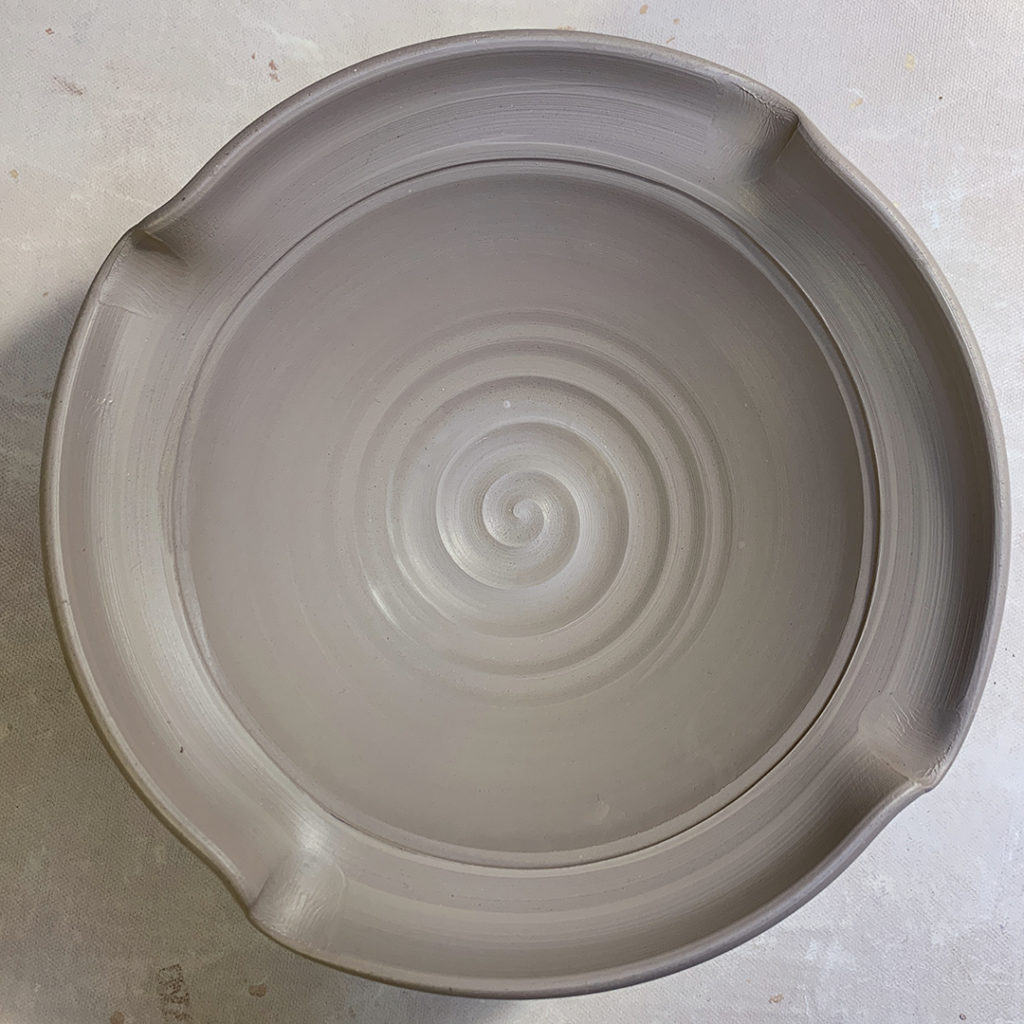
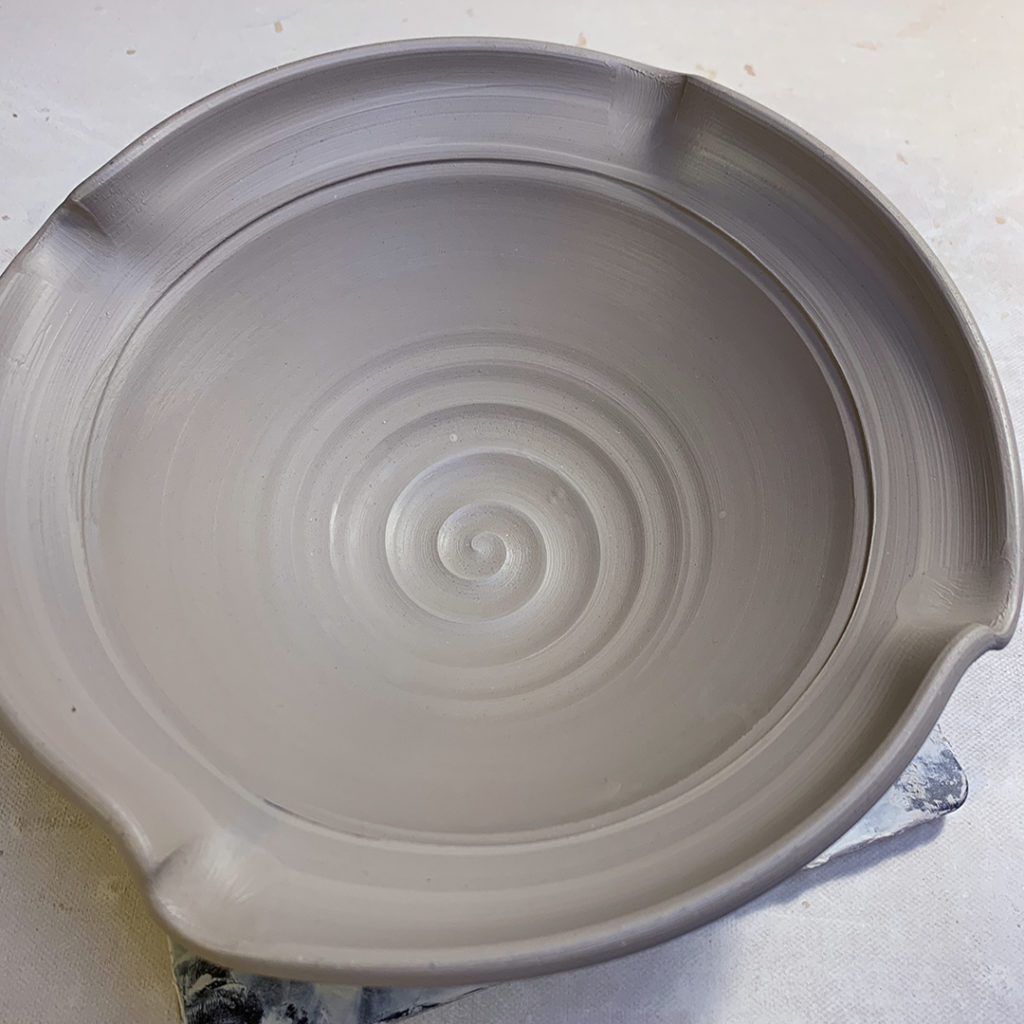
BOWL #3 – a flared flange… approximately 1″ rim

BOWL #4 – if one inch is good, maybe three or four inches are even better?!

BOWL #5 – combined flared flange with four flouted edges

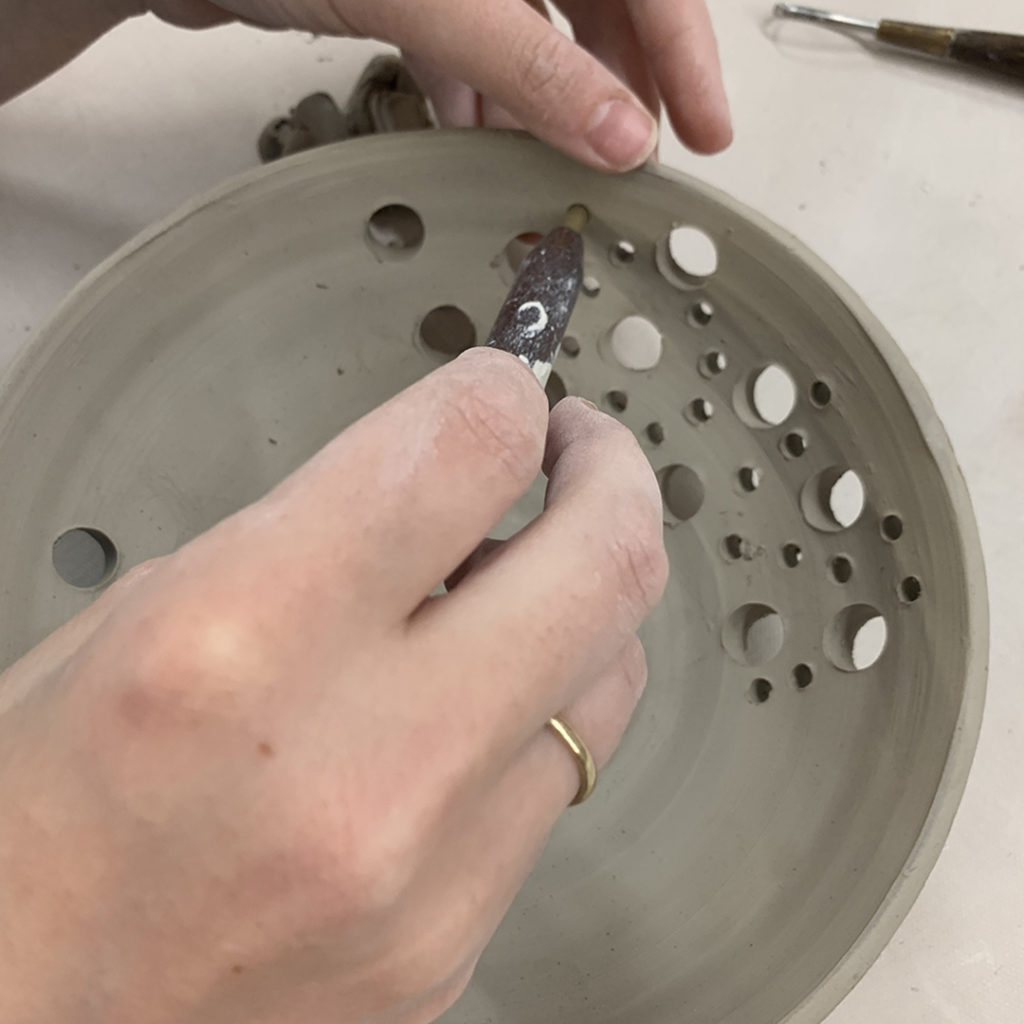
BOWL #6 – a split rim pinched back together in eight places

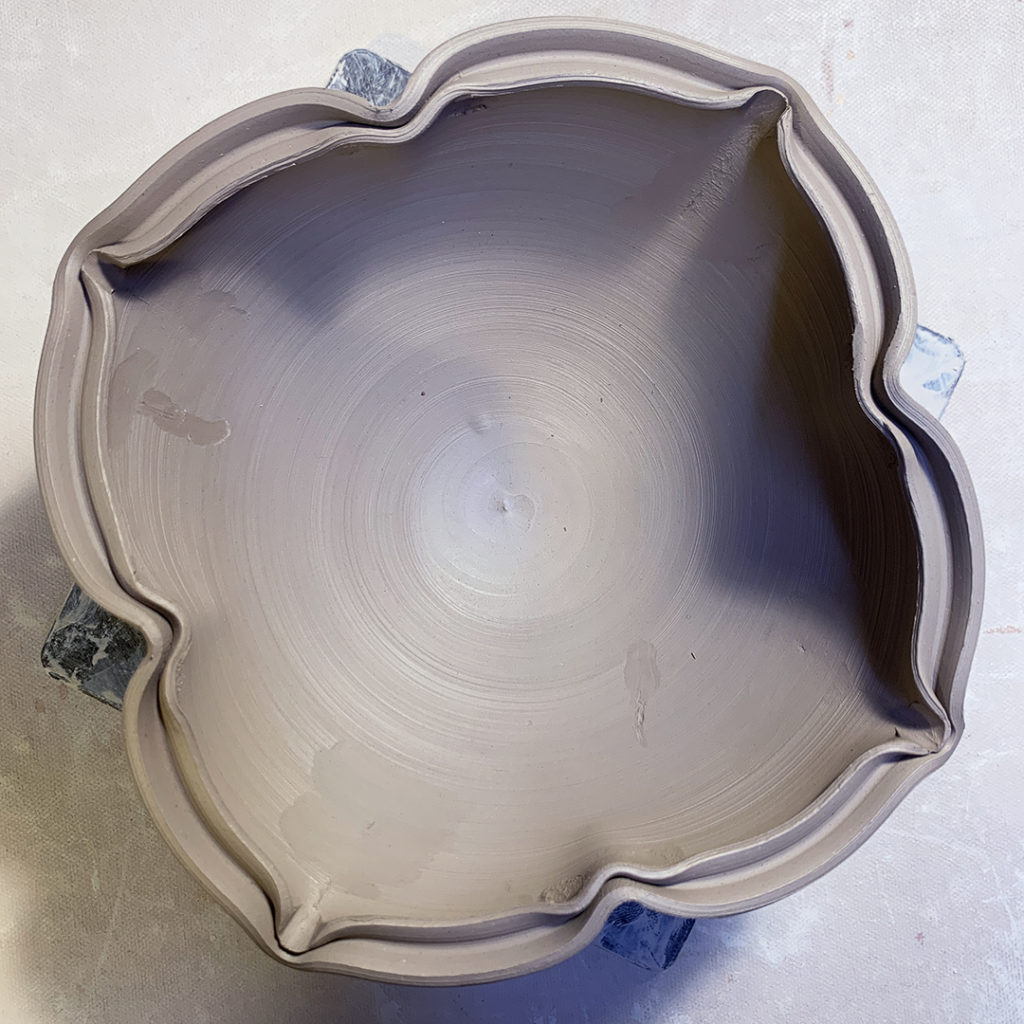
BOWL #7 – a split rim dented-in at four places

BOWL #8 – a split rim bowl dented-in at four places & dented-out at four places… kinda giving it a “lotus” shape?!

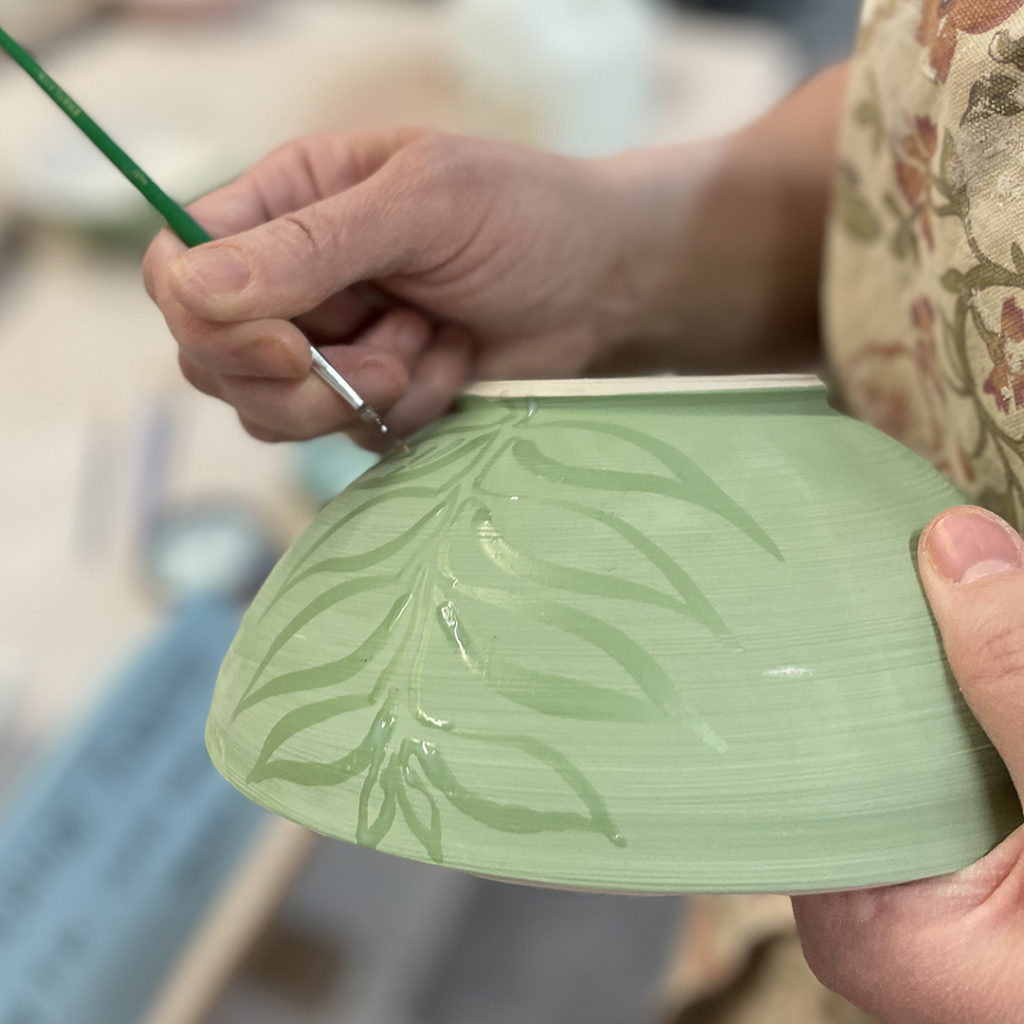
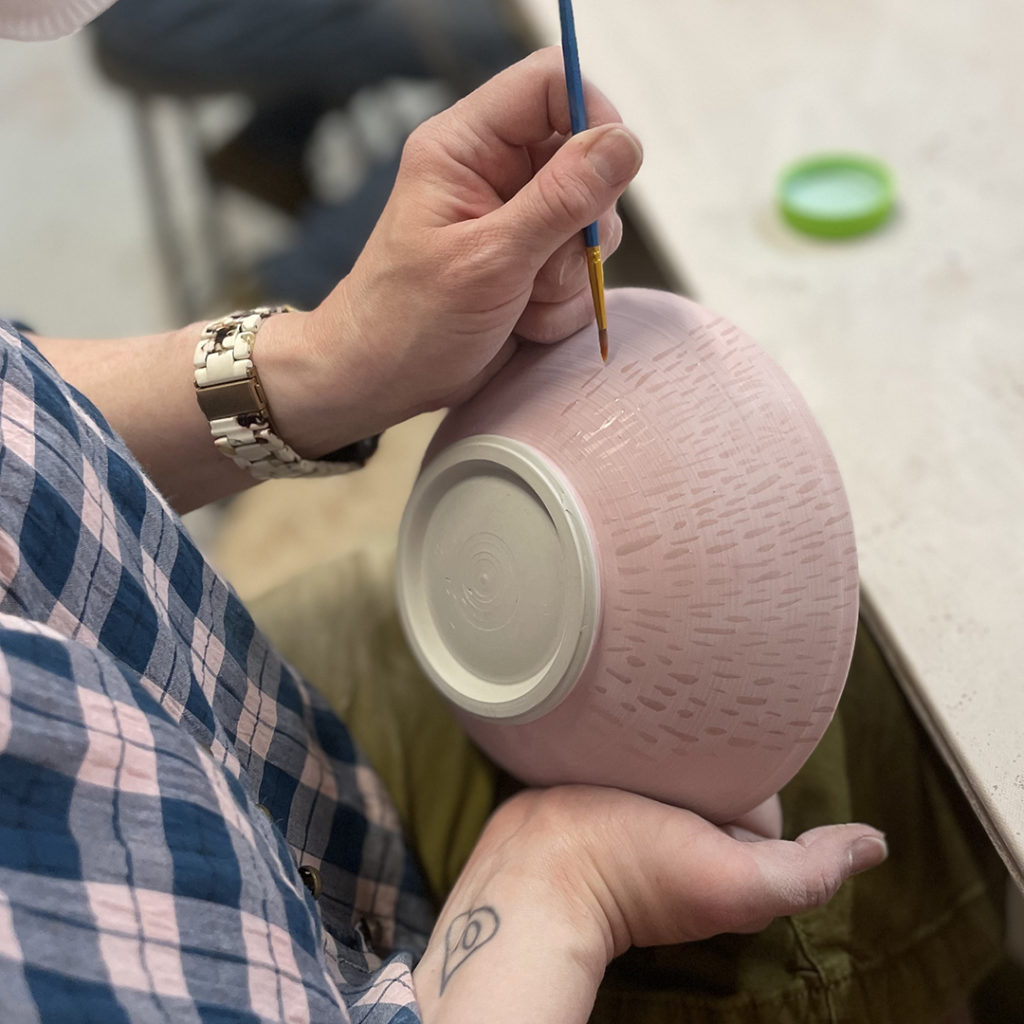
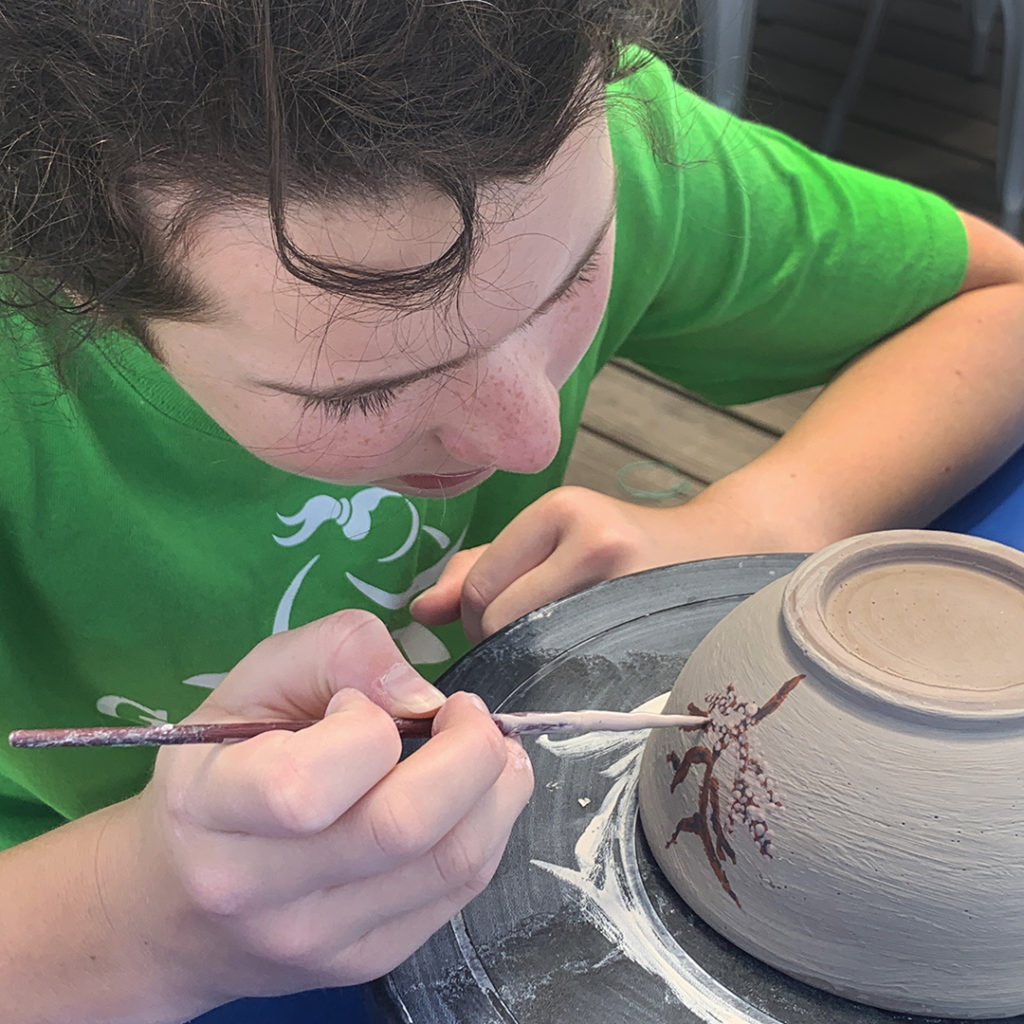
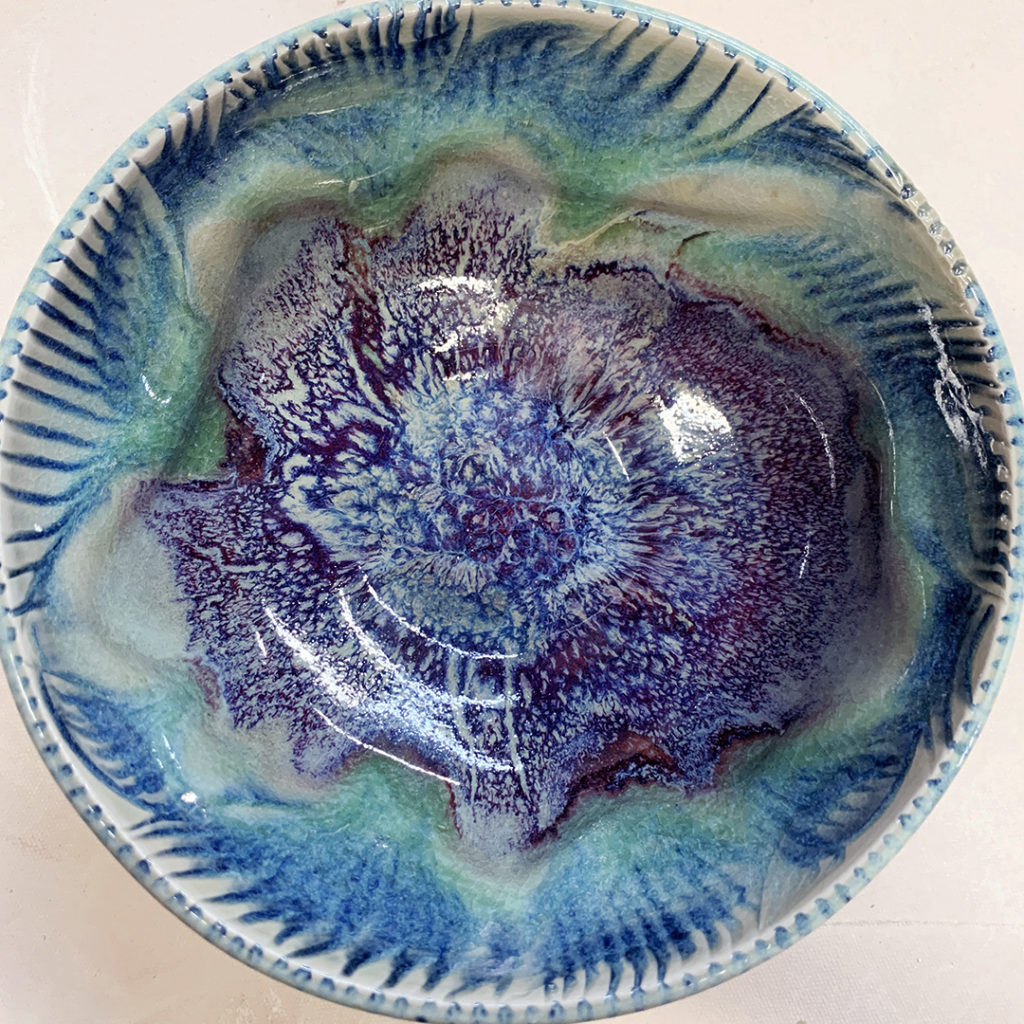
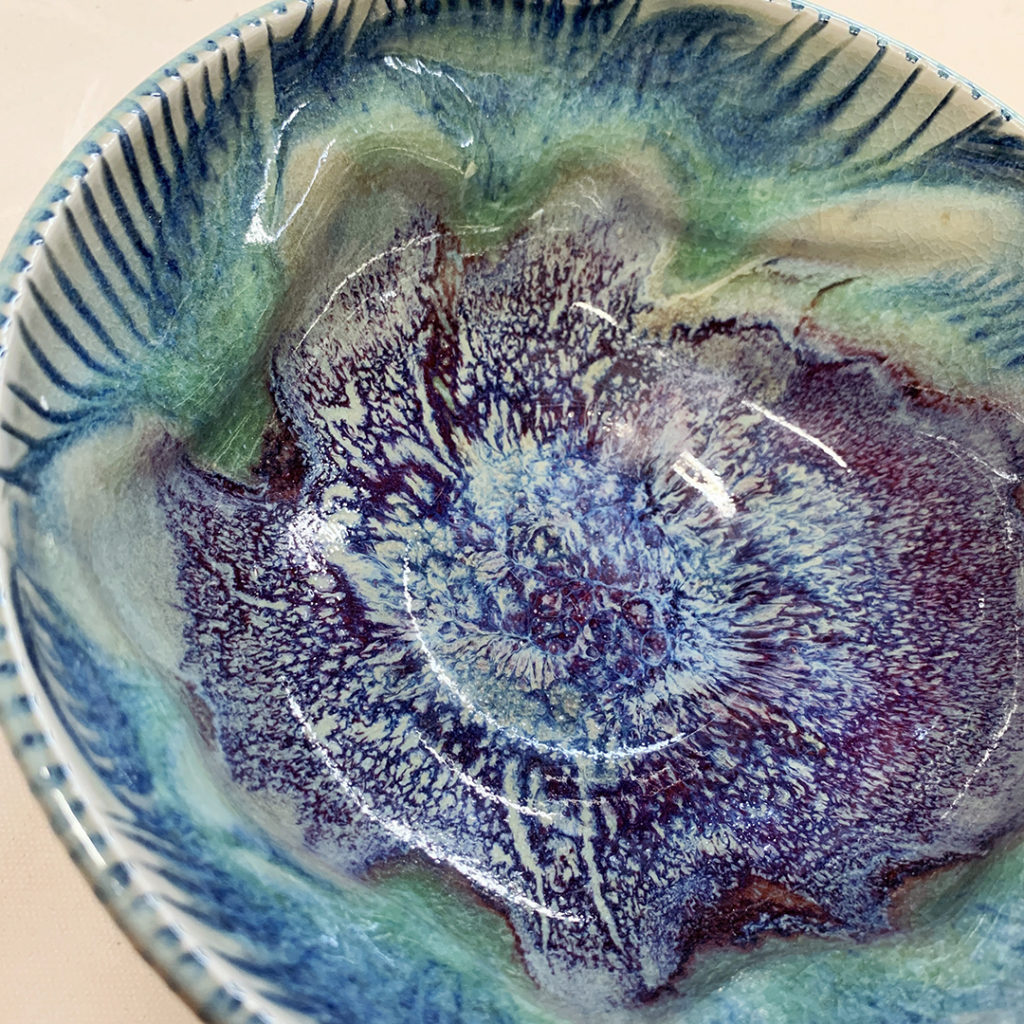
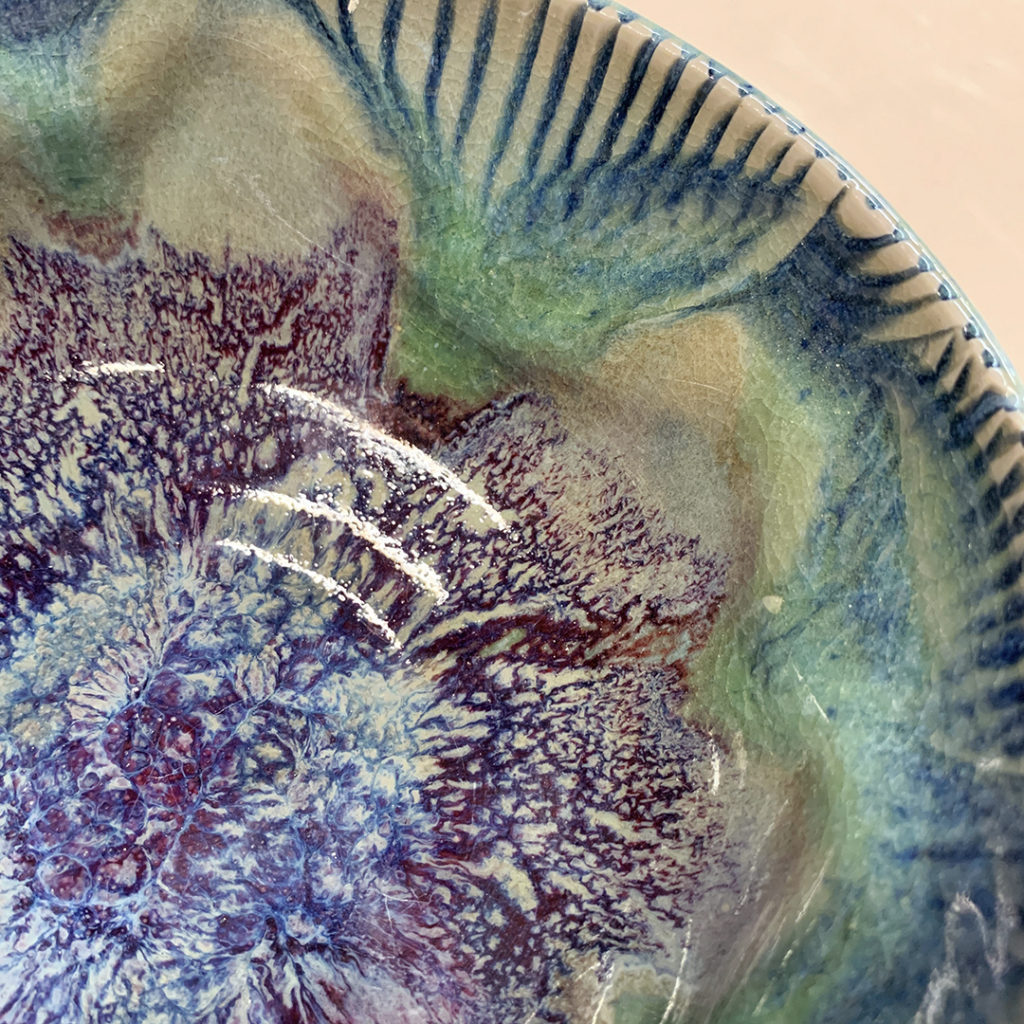
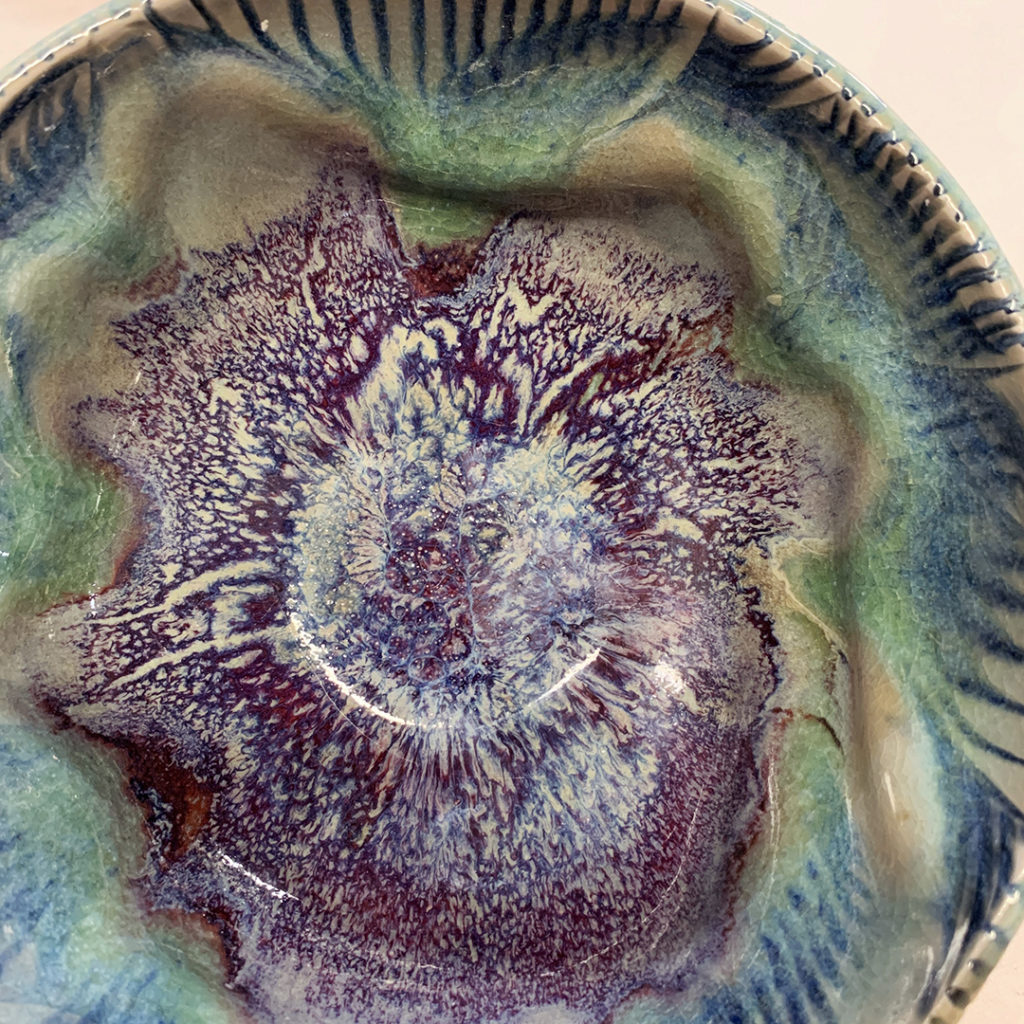
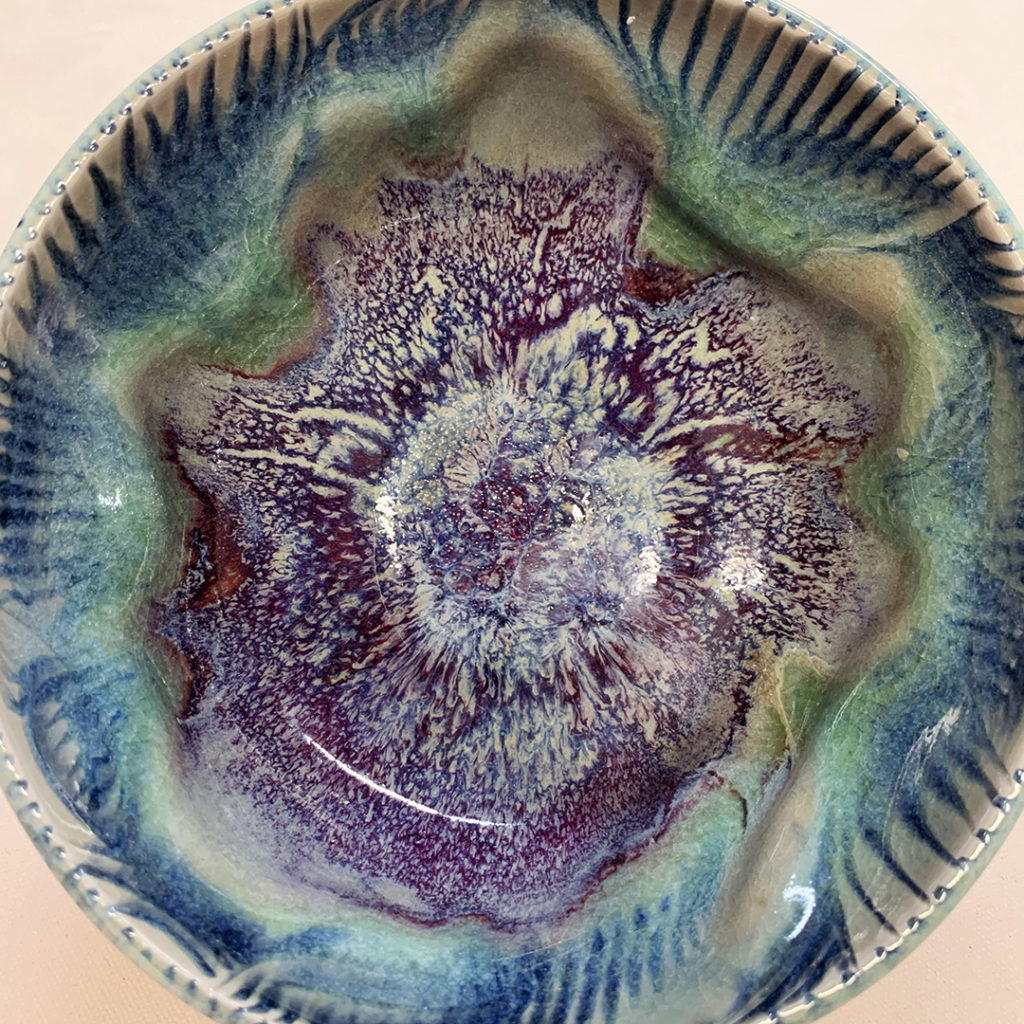
So after altering some rims, I decided to introduce colored slips as another possibility for decorating their bowls. I decided to use white slip for my demo purposes… but any choice of colored slips would have worked.

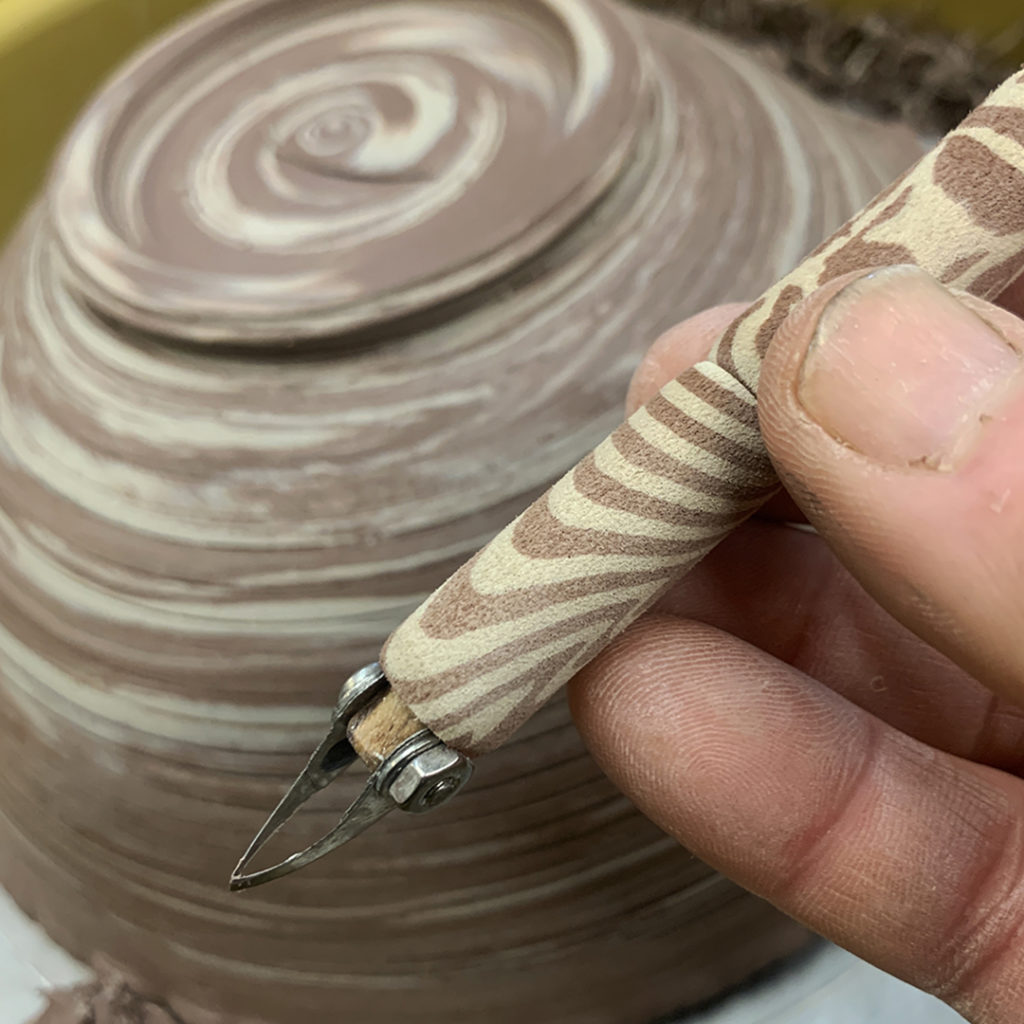
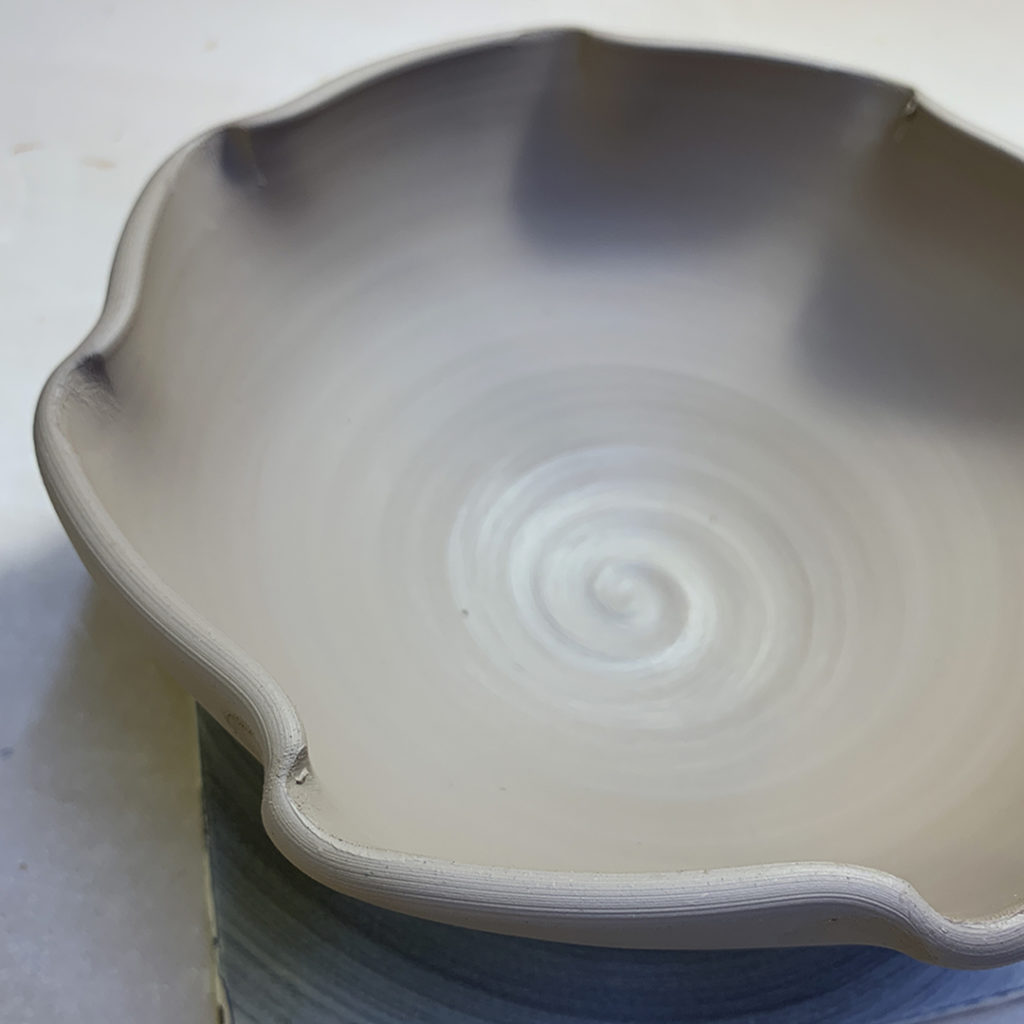
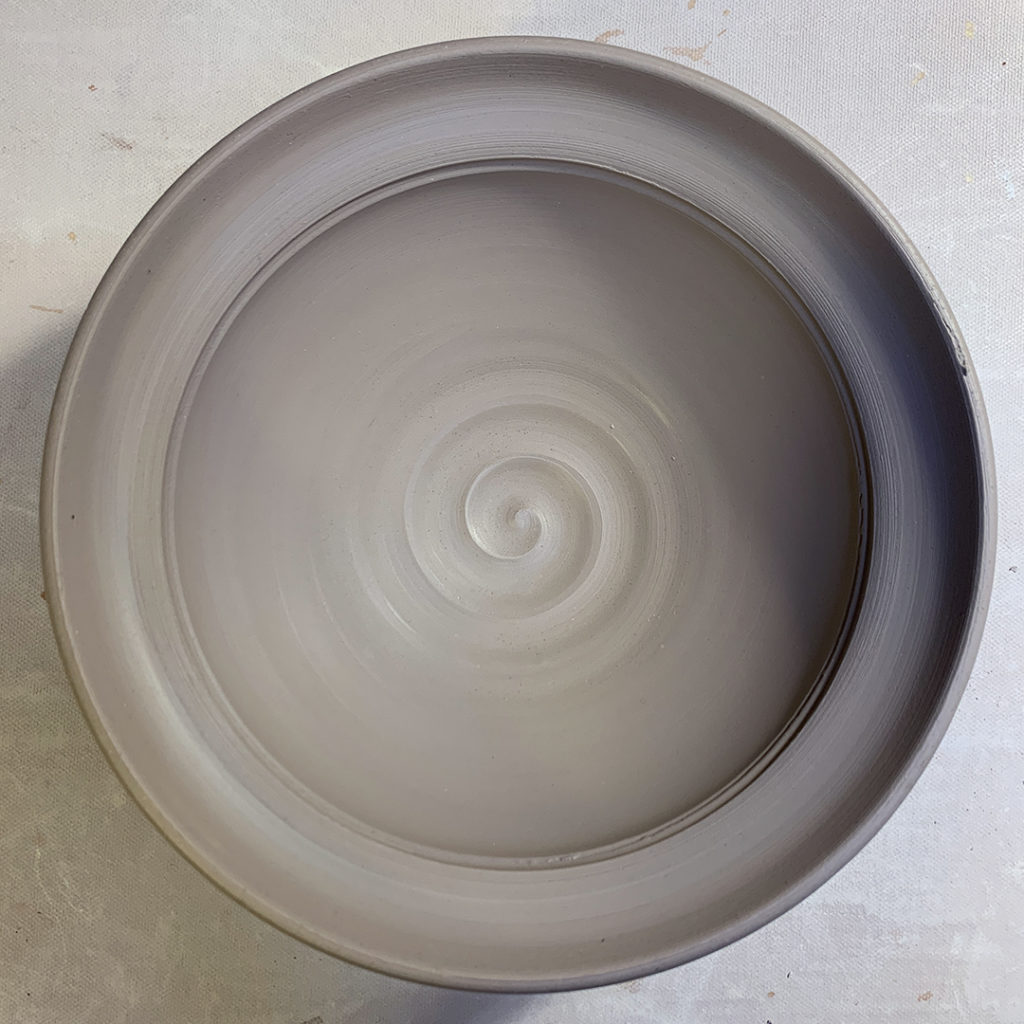
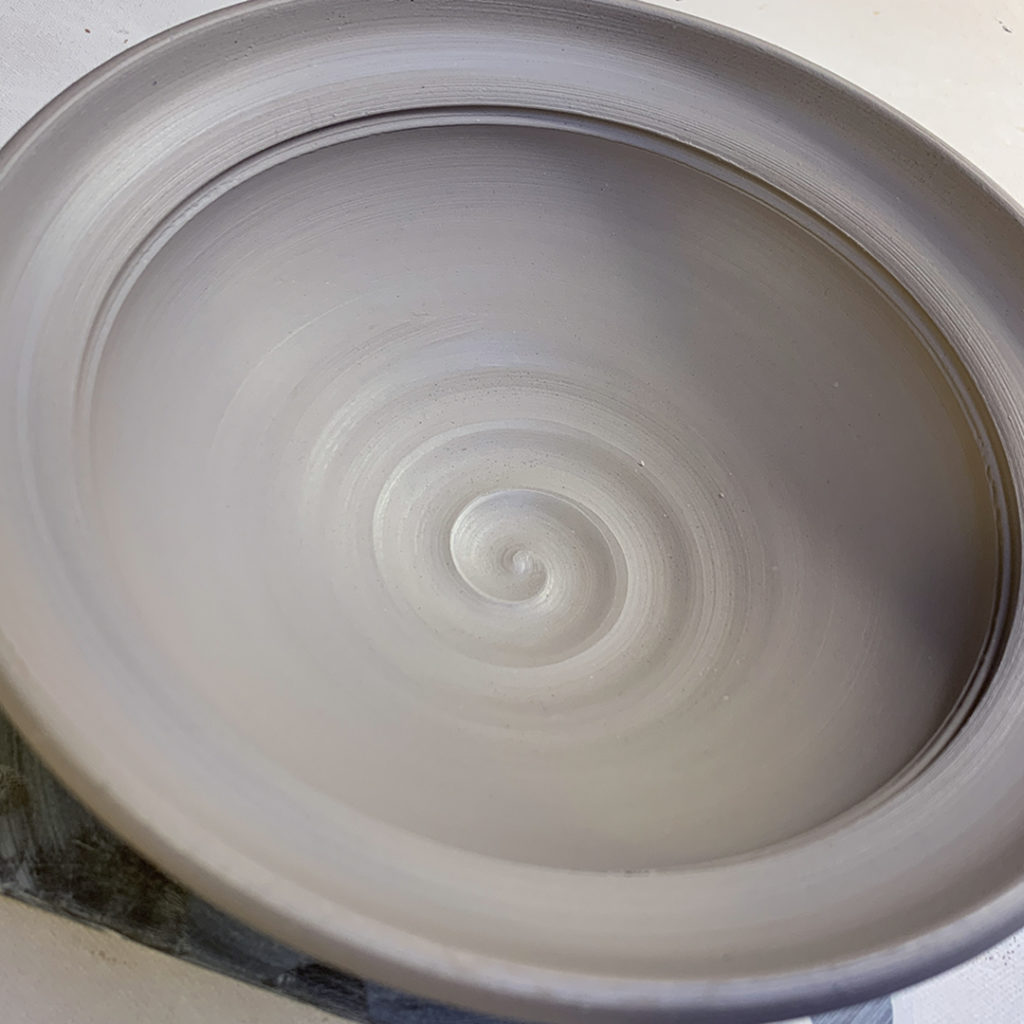
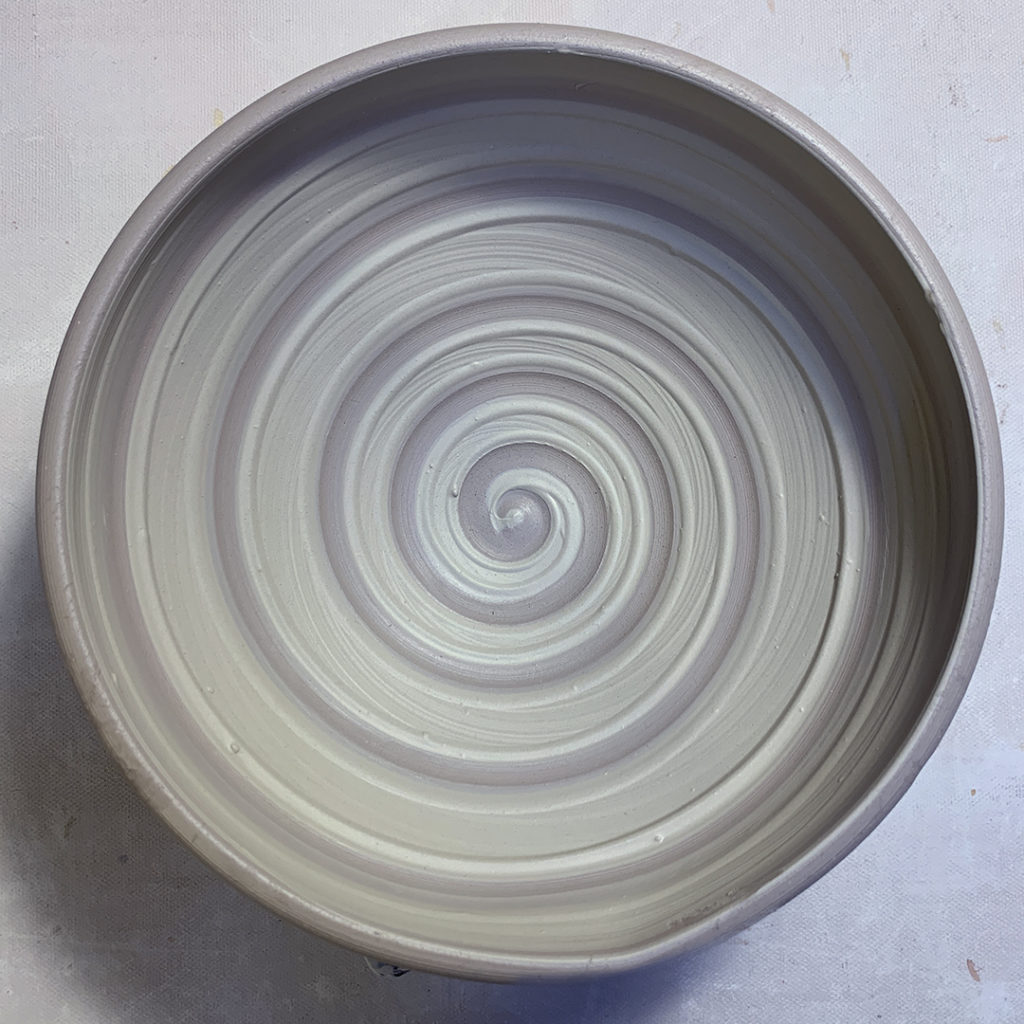
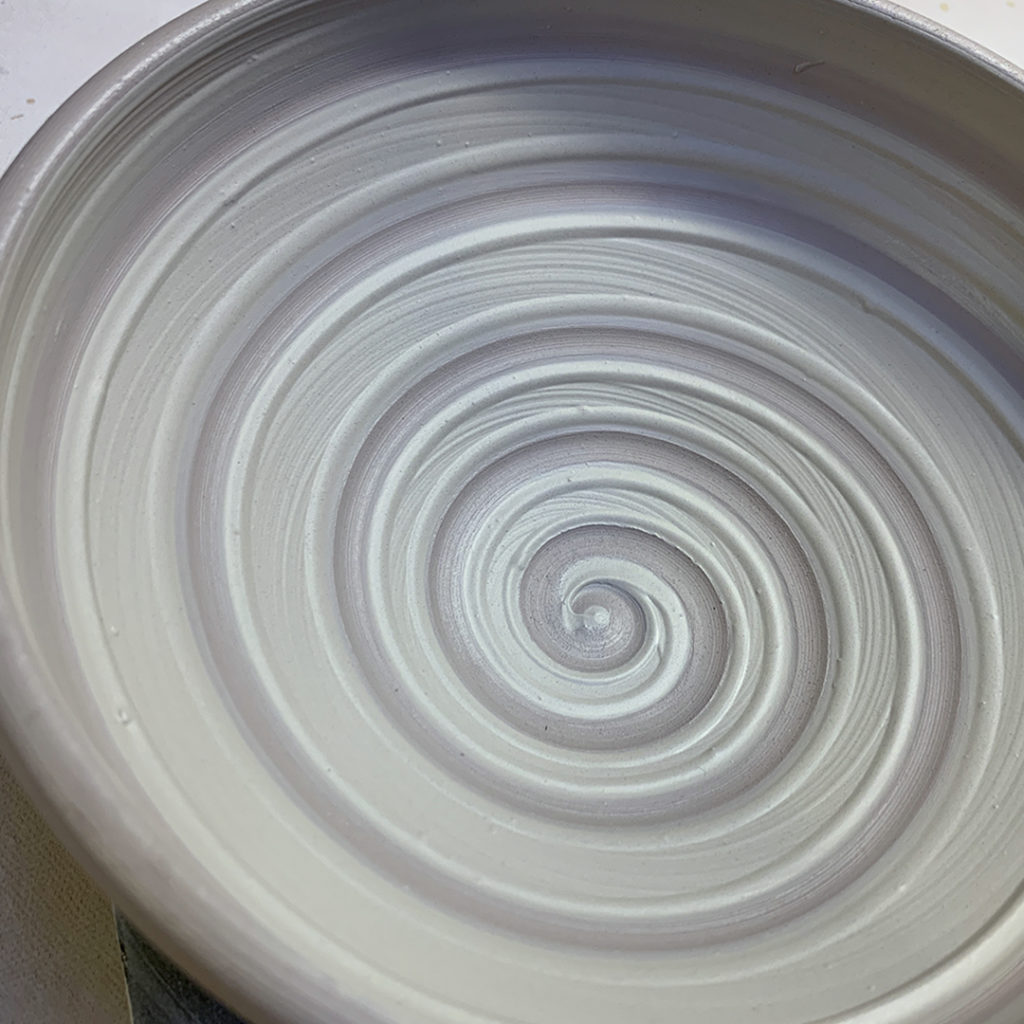
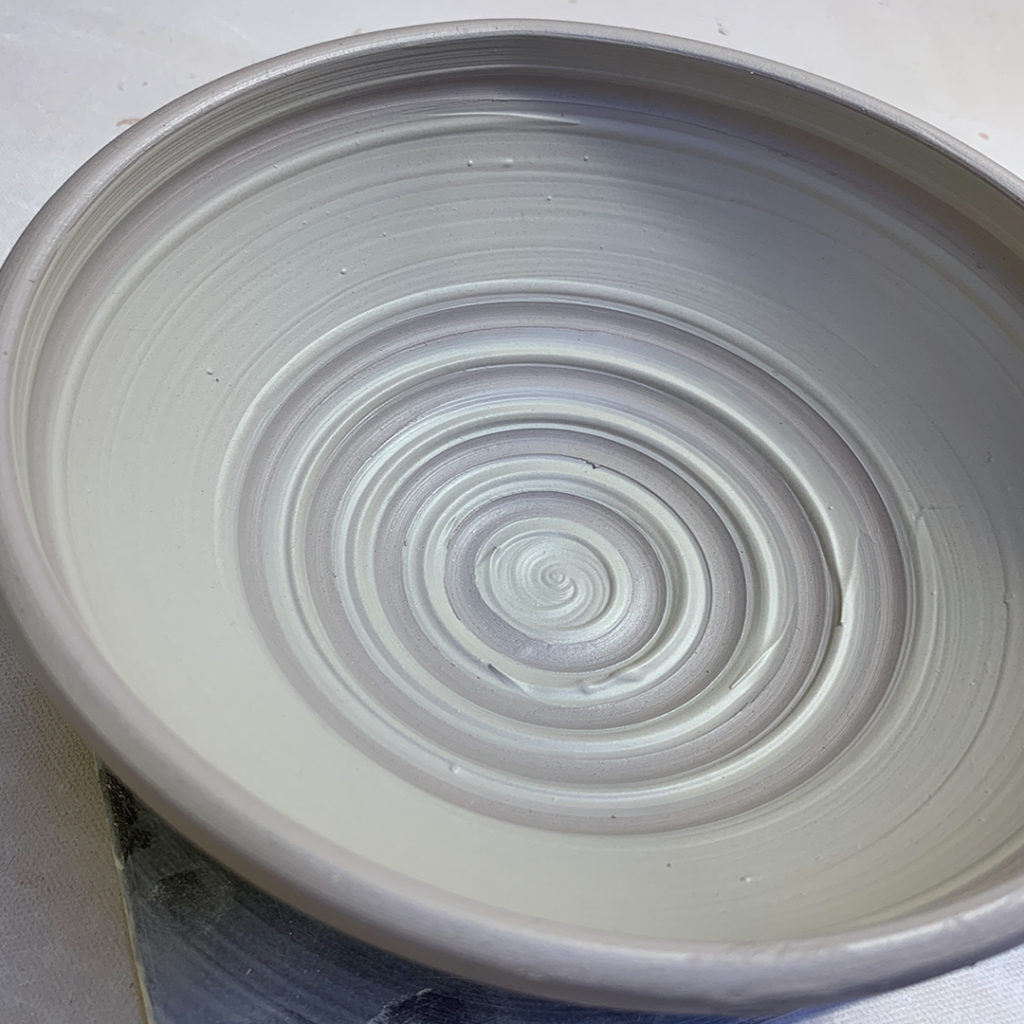
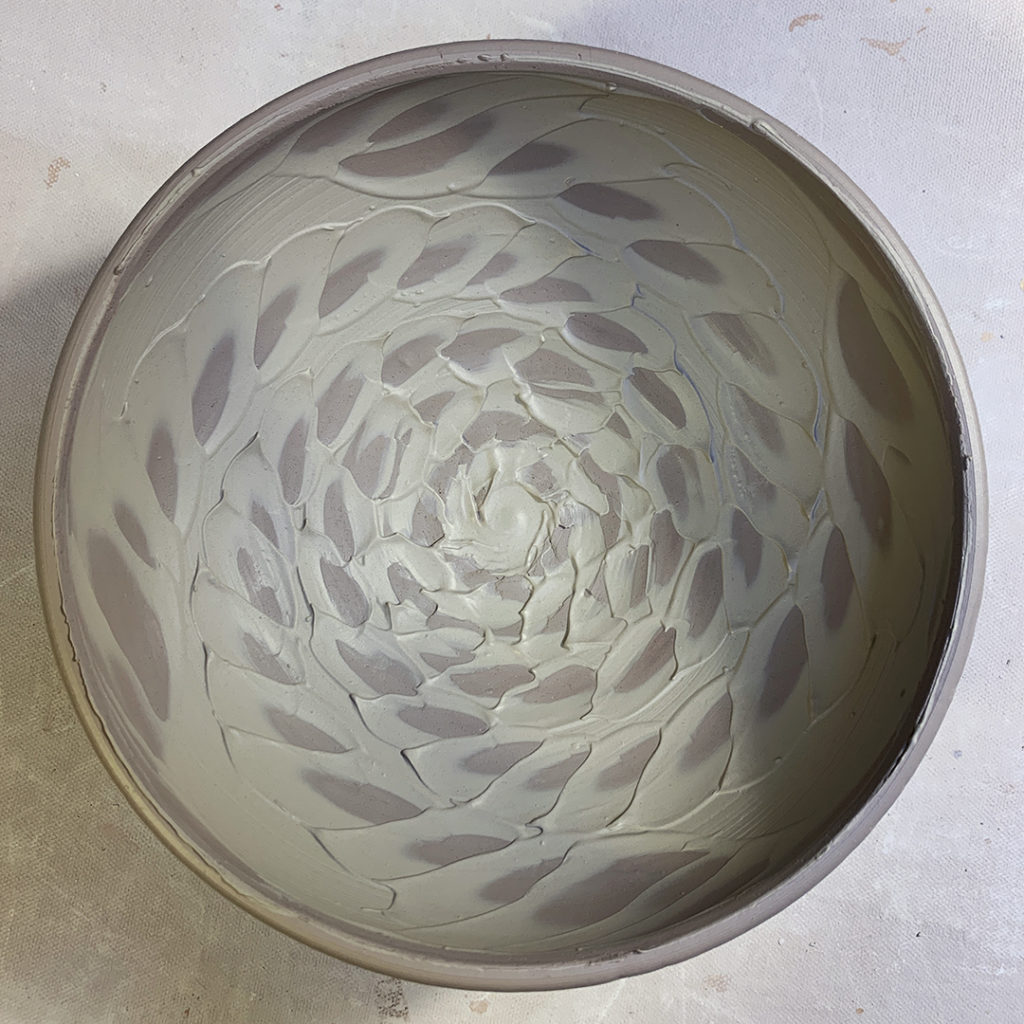
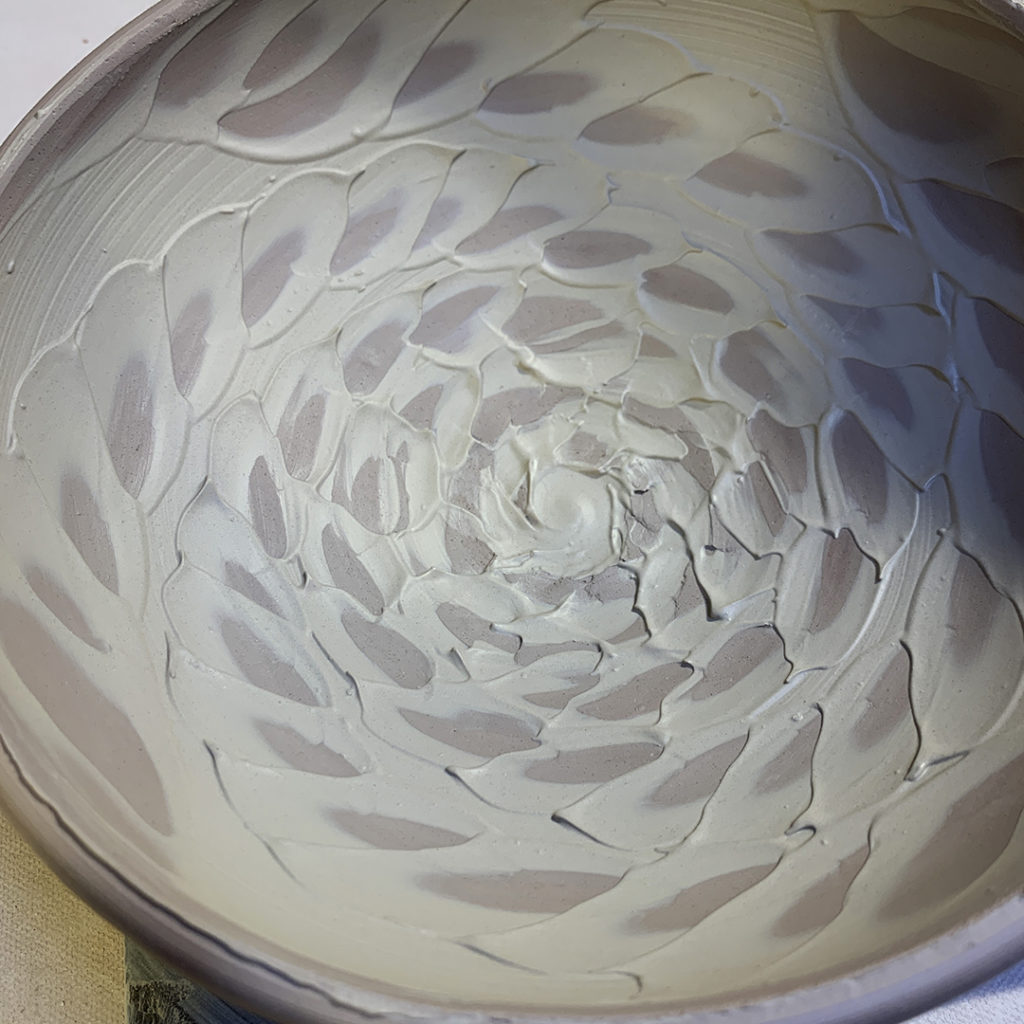
BOWL #9 – thick white slip with a spiral dragged through to reveal the color of the clay body.

BOWL #10 – thick white slip with some banded stripes dragged through.

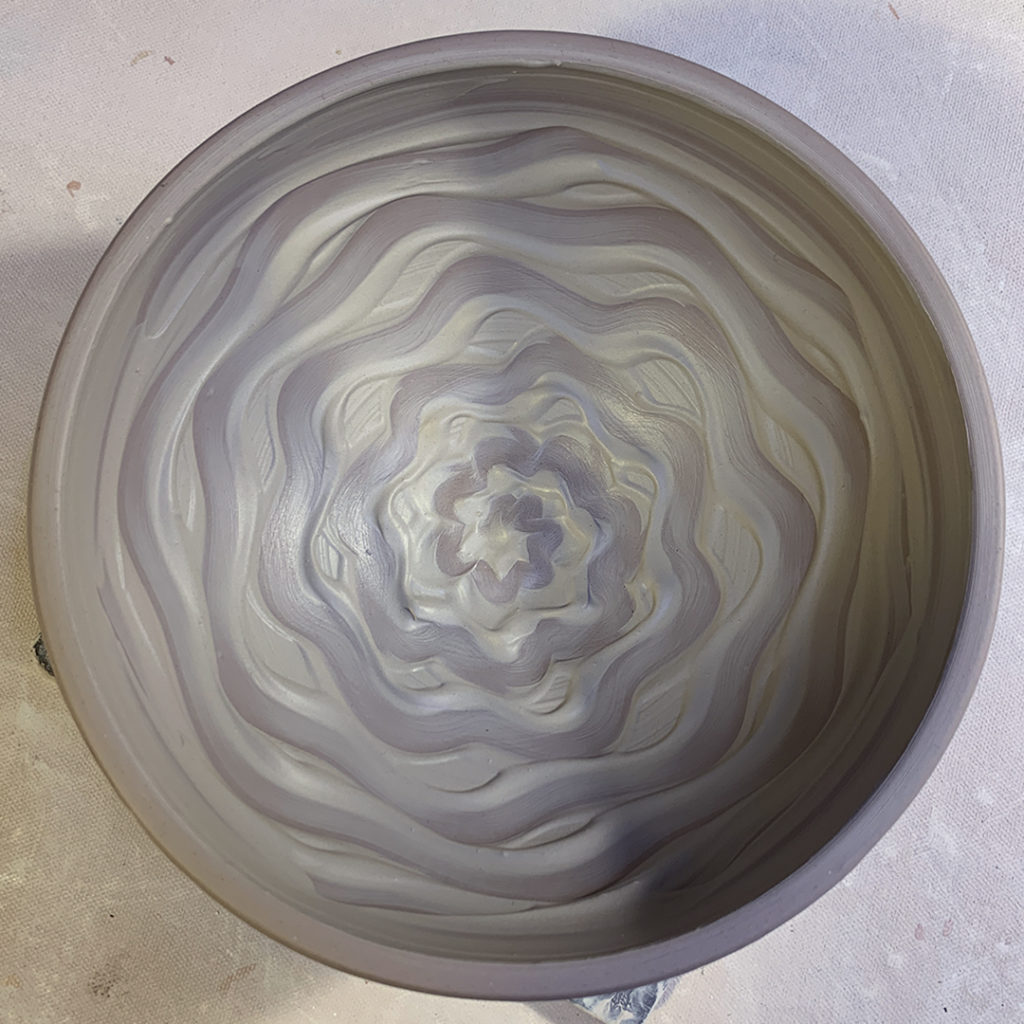
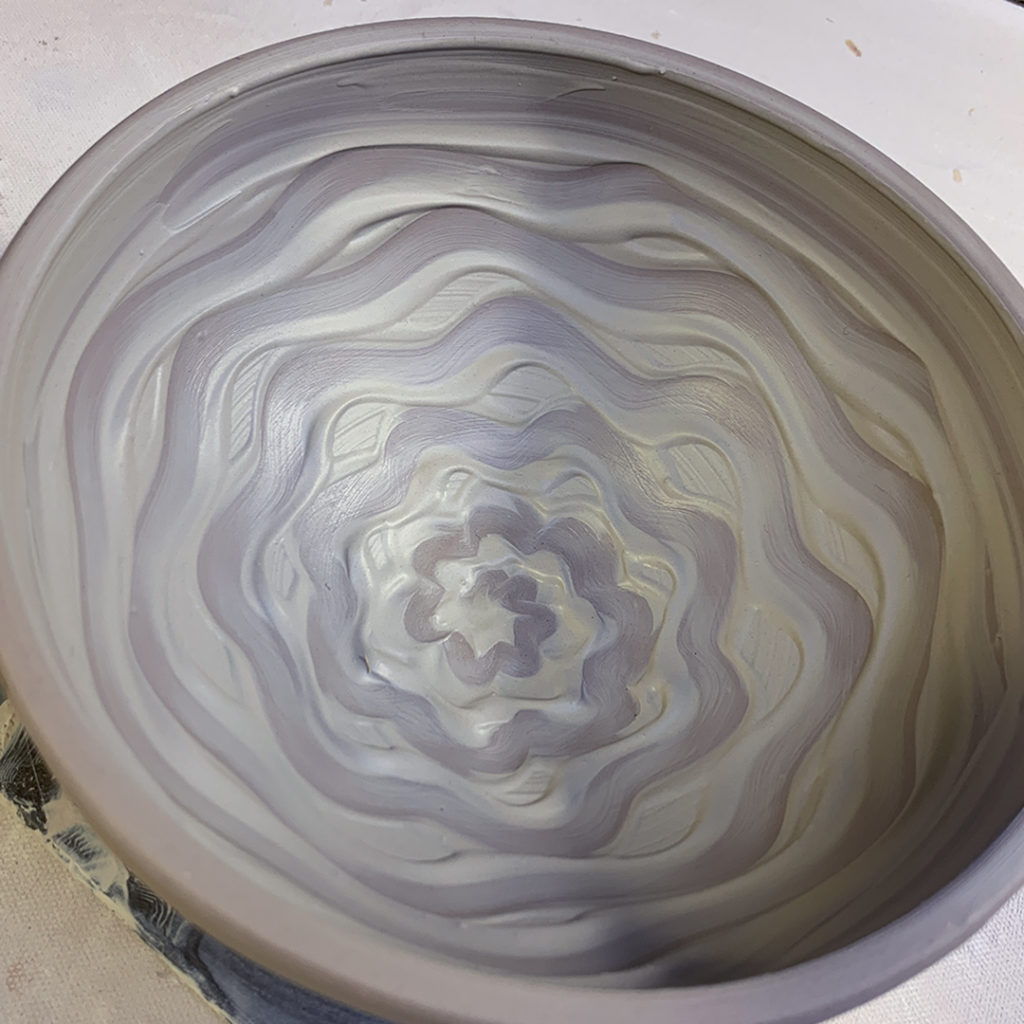
BOWL #11 – thick white slip with some groovy finger squiggles.
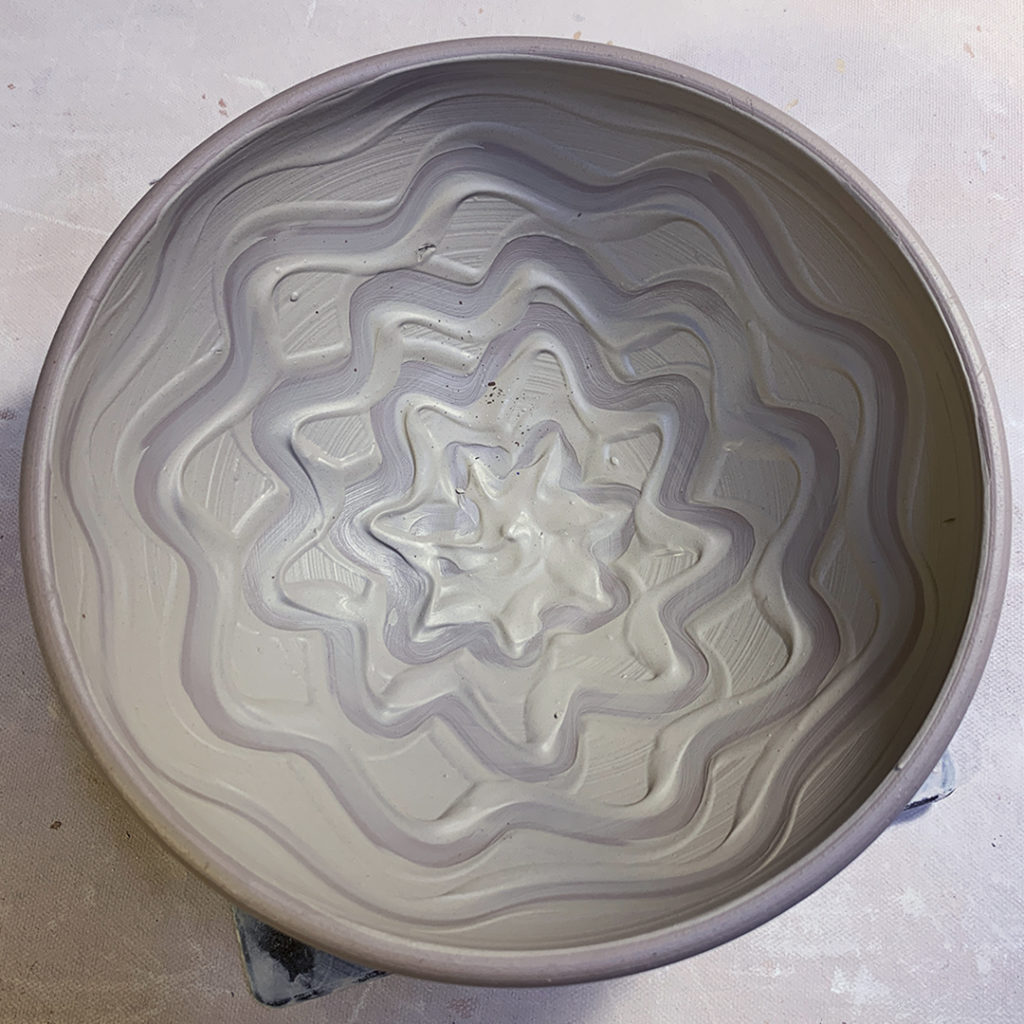
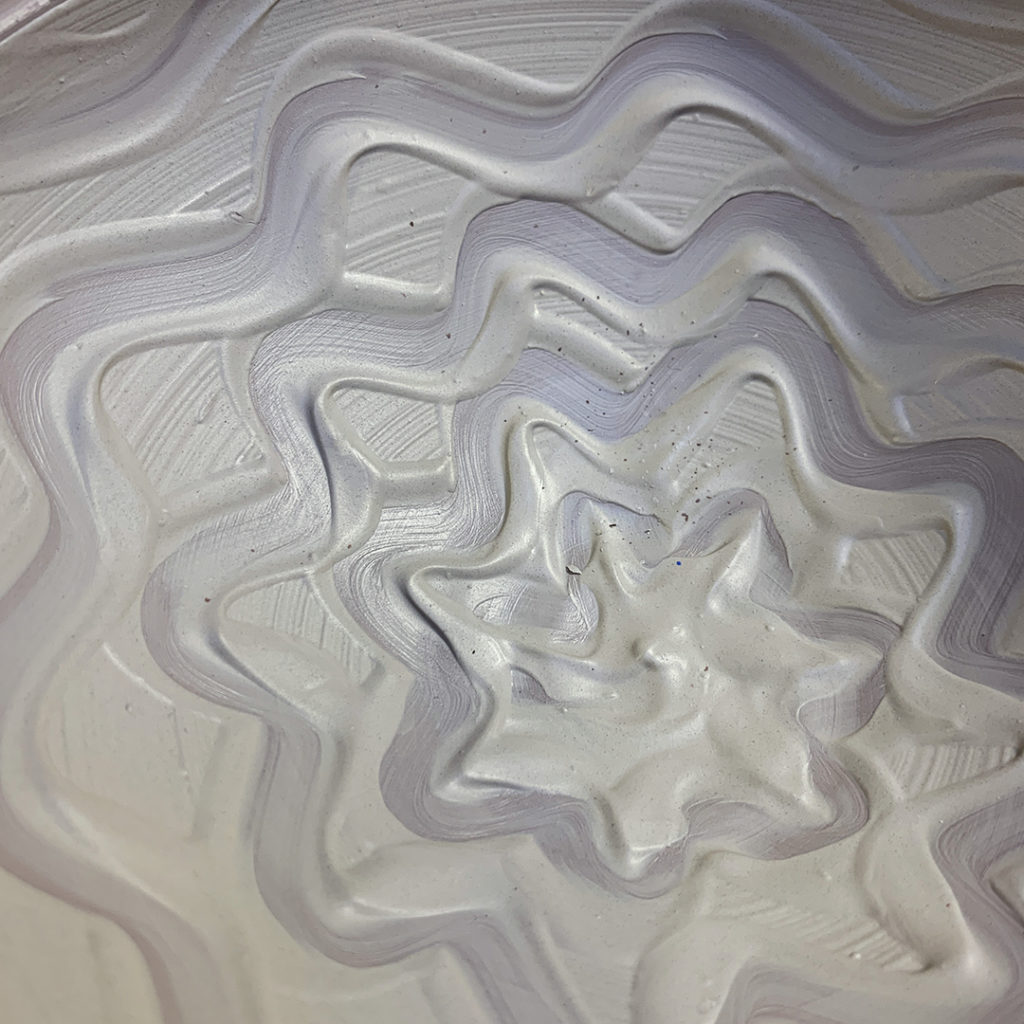
BOWL #12back by popular demand… another one thick white slip with some groovy finger squiggles… a little closer together than the first one!

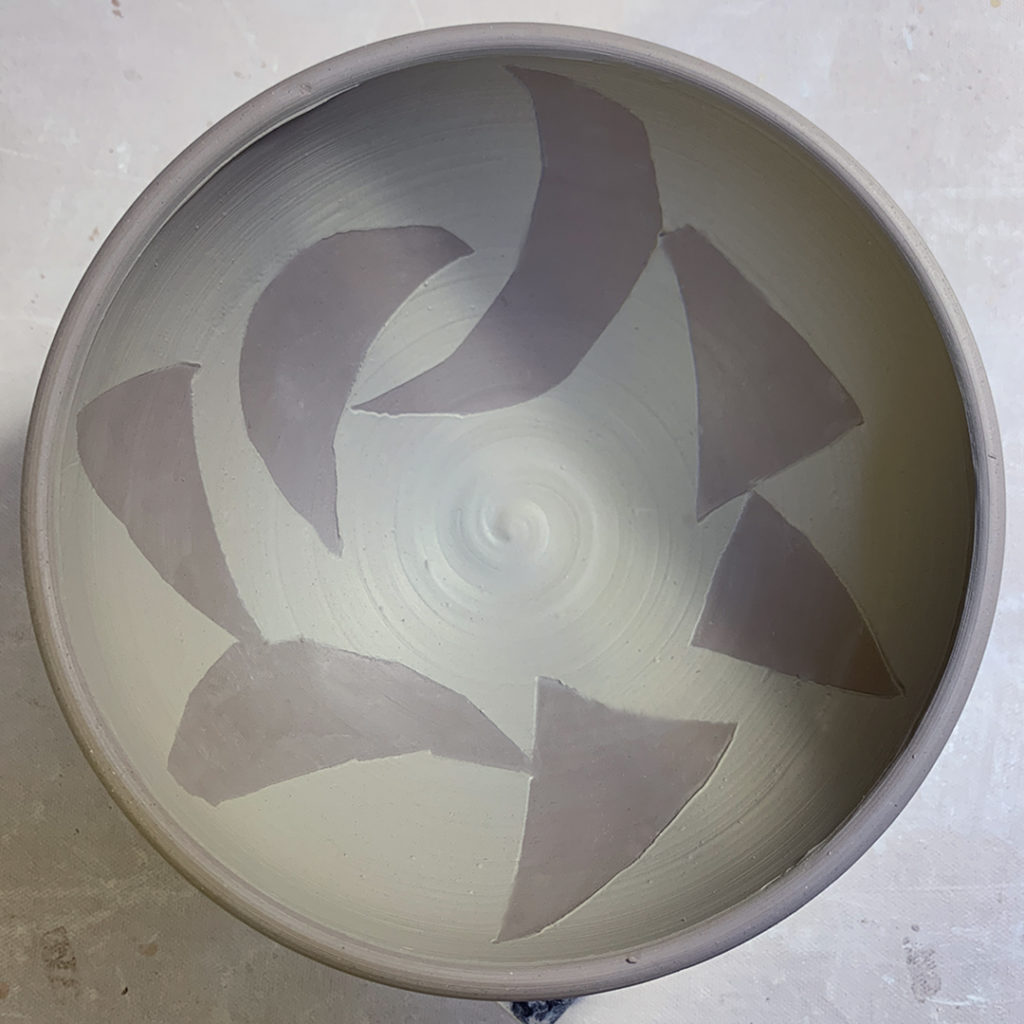
BOWL #13 – newspaper pieces cut out, applied with a bit of water, and then covered with white slip… and then gently pulled out to reveal the original clay body under the newspaper stencils.

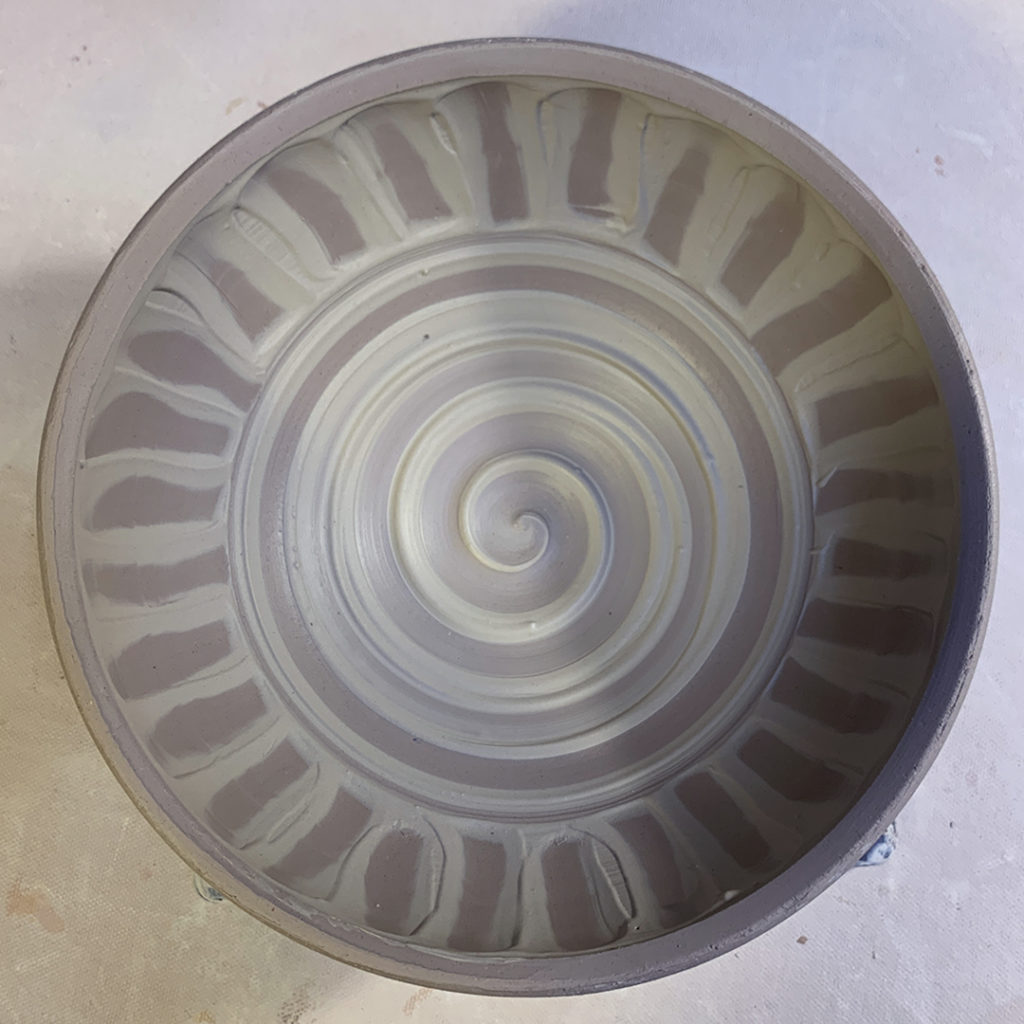
BOWL #14 – thick slip with vertical “swipes” made with a rubber rib, and then a spiral dragged through the middle section.

BOWL #15 – thick white slip chattered with a plastic rib… rhythmic tapping of the rib through the slip while the wheel is spinning.

So for now, my new “not-so-basic” bowls are all decorated from my class demos… and under plastic for the night. I want to keep them wet because there “just might be” some more stamping & decorating to be done! Remember, MORE IS MORE!!!

Categories: bowls, food, friends

Looks like my pal Pam is having a healthy lunch at her desk today… a nice green salad in a nice green bowl! Thanks for sharing Pam!

Categories: bowls, challenge, classes

Things are coming out of the kiln… like this beautiful bowl that Kristen made in my Tuesday night class last session!

During Week 9 of that class, we did a bowl carving challenge… where they had to take away at least half of the clay weight of the bowl… and THIS is Kristen’s bowl that separated into two parts. Luckily, the patching fix we did in class held together and it has survived the glaze firing… and it’s STUNNING!!! Well done Kristen… good save!

Categories: bowls, food

Well, apparently it’s garlic scape season!!! Yes, that weird little squiggly part that grows up amongst the leaves of a garlic plant is actually edible… and very garlicy! I was introduced to them last year… but it looks like Kristy in Stevens Point has just upped the game with this beautiful Garlic Scape Pesto & Pasta dinner!

Categories: bowls, classes, surface decoration

A few weeks back, during my SURFACE DECORATION class, my students tackled Water Etching with Catherine Tweedie! I was out-of-town for the Minnesota Pottery Tour… and Catherine is always my number one choice for a class sub. And in this case, it worked out perfect. As she was available to sub for me when I needed her to… AND she is the master of water etching so she was the perfect replacement to fill-in while I was gone.

Prior to class, I had pre-made several bowls for my students to play with. I threw them, trimmed them, and added a layer of colored slip on the exterior of most of them.

Catherine brought the bowls down to class as a surprise for them to work on… GIDDY-UP!

Catherine started by showing them how to paint wax resist patterns on the bone-dry bowls.

And then when the wax resist is dry, they started to wipe-away the unprotected surfaces with COLD water! Gently wiping the colored slip away… leaving the wax protected areas intact. The more you wipe away, the more difference in depth you start to see. Eventually you can see and feel a crisp edge around the waxed patterns.

I kinda feel bad that I missed such a great water etching demo by Catherine!… but I will say, it was more than worth it with the Minnesota Pottery Tour! Looks like I left my students in good hands… and they made some really cool patterns on the bowls.

Categories: bowls, craftsmanship, summer camp, surface decoration

Yesterday, one of my Summer Campers was so focused on finishing her wheelthrowing project, that she brought it upstairs to the rooftop to finish it during our lunch break. So while the other kids entertained themselves & played games… a lot of colored slip painting was happening to make her new ramen bowl more “authentic” with a branch of cherry blossoms painted on the side.

Categories: bowls, food

The perfect combination… beautiful homegrown blueberries & a handmade stamped & glazed bowl to hold them… and “frame” them perfectly! Thanks Jody for sharing your blueberry harvest with us!

Categories: bowls, challenge, classes

When I started the last session with my Beginners & Advanced Beginners, there was a request for a “challenge project” of some sort. We discussed some options… and I added a challenge to the syllabus for Week 9.

The project turned out to be a “carved cut-out” challenge to take out parts of their bowls. They had to start with a well-trimmed leatherhard bowl. We then weighed their bowls and wrote down the weights. And then I threw out the “real” challenge…

They had to take their bowl and carve away some of the sides to make a “basket-like” bowl… that weighs LESS THAN HALF of the original weight. Keeping in mind that they needed to keep the rim & foot ring intact. I suggested a few tips, and offered them a few tools to borrow… even some of my cherished DiamondCore Carving Tools!… and then they just jumped right in. I LOVED seeing them tackle the challenge with such zeal & enthusiasm… you would never know that this group are still considered “beginner” wheelthrowers!

However…
One of my students got a little too focused on the pattern… and not enough on the actual structure of the bowl. Carving… carving… carving… until the two pieces just came apart. The top came right off of the bottom. Luckily, with a bit of scoring & slipping…. and some well-placed “dots”… I think Kristen saved it to live another day! Fingers crossed…

And I’m COMPLETELY enamored with the shadows that these bowls are making! Most of them came pretty close to the “half-of-the-weight” carved away challenge… just a few ounces away. But it was the excitement & adventure they all went through that really made my night!!!

Categories: bowls, classes, tools

During last week’s SURFACE DECORATION class, I was getting ready to do some carving on my marbled demo bowl… when I noticed that my DiamondCore Tools was pretty much matching the bowl!!! Like a bit of camouflage for the carving tool?!

Categories: artists, bowls, collaborations, glaze

SHE KILLED IT AGAIN!!!

Yes, Chelsea the “Queen of Glaze” worked her magic one more time!!! This second bowl is just as stunning as that first bowl… I kinda wish I had more bowls for her to glaze! As glazing is my least favorite part of the pottery process.

So here’s Chelsea’s “recipe” that made this magic happen… 1- Galaxy Black inlaid in the carvings and wiped back. 2- dipped in Chun Blue. 3- some Coleman Apple Green on the ridges. 4- some Rutile Blue. 5- Finished with some Cohen’s Red swirled in the bottom. Of course there is not guarantee that Chelsea’s “magic” will work exactly the same way for anyone else!!!

If you want to see more of Chelsea’s glaze magic, she will also be part of the NORTHERN ILLINOIS POTTERY TOUR at the Aurora stop!