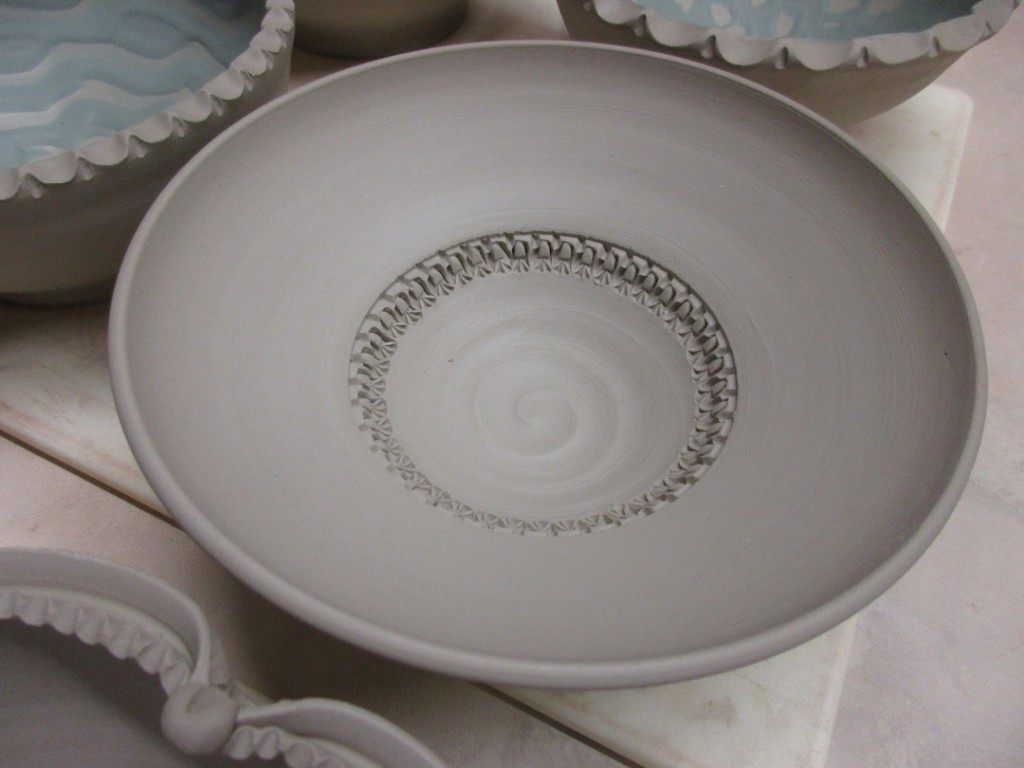
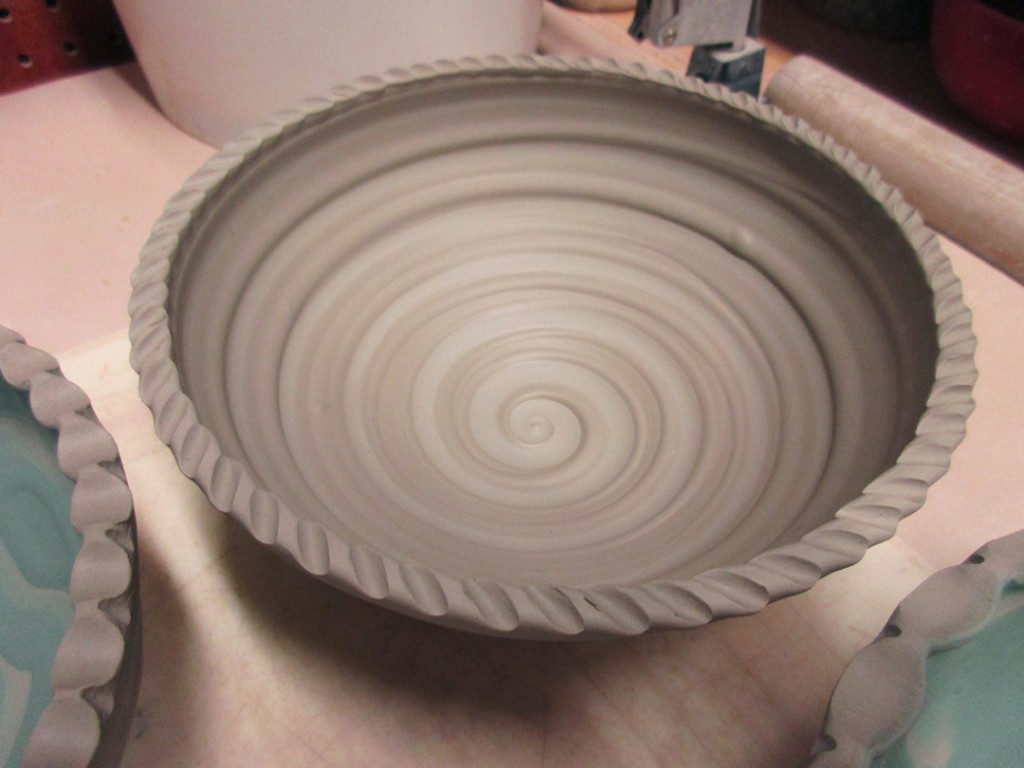
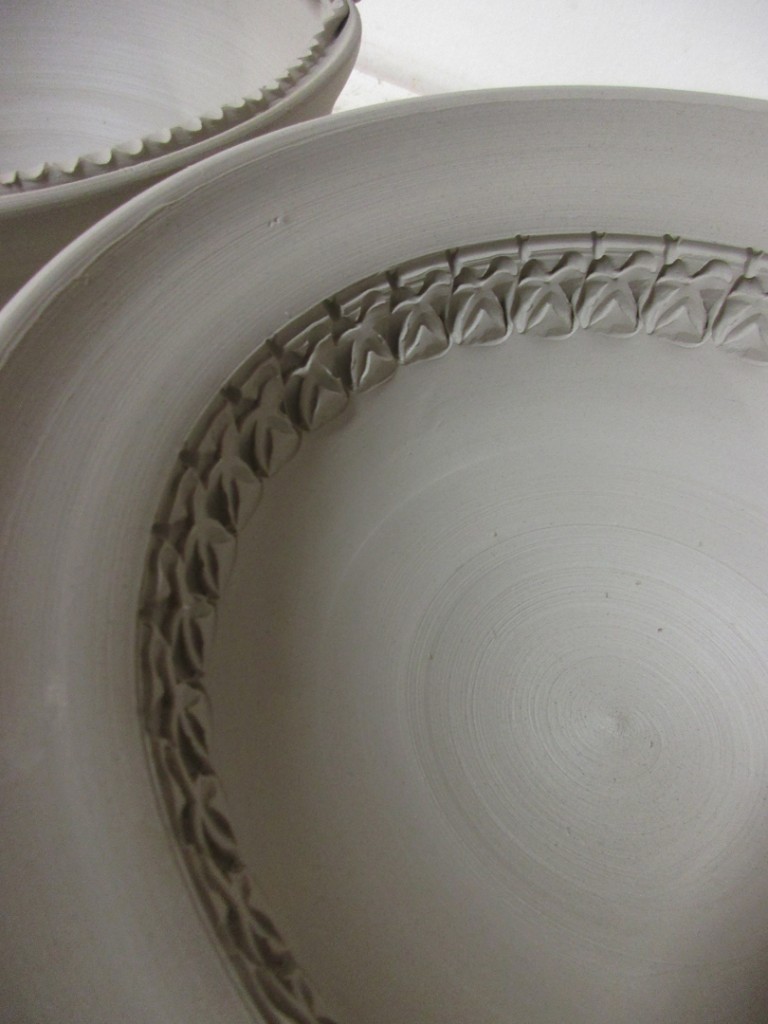
Tuesday night in my Beginning & Advanced Beginning Wheelthrowing pottery class, we finally tackled throwing bowls on purpose instead of a cylinder gone bad! With a nice smooth curved interior, and now stair-stepped, beginner’s ledge. No indentation that ruins that perfect curve. So we talked about how to throw the inside of the shape, knowing that you can trim the outside to match. And how to use a plastic rib on the inside to refine the curve and make it nice and smooth. Okay “smooth”… my students know how much I love a good spiral… so we kind of laugh about the swirl that I add back into the bottom of the bowl after it was smoothed out by the rib.
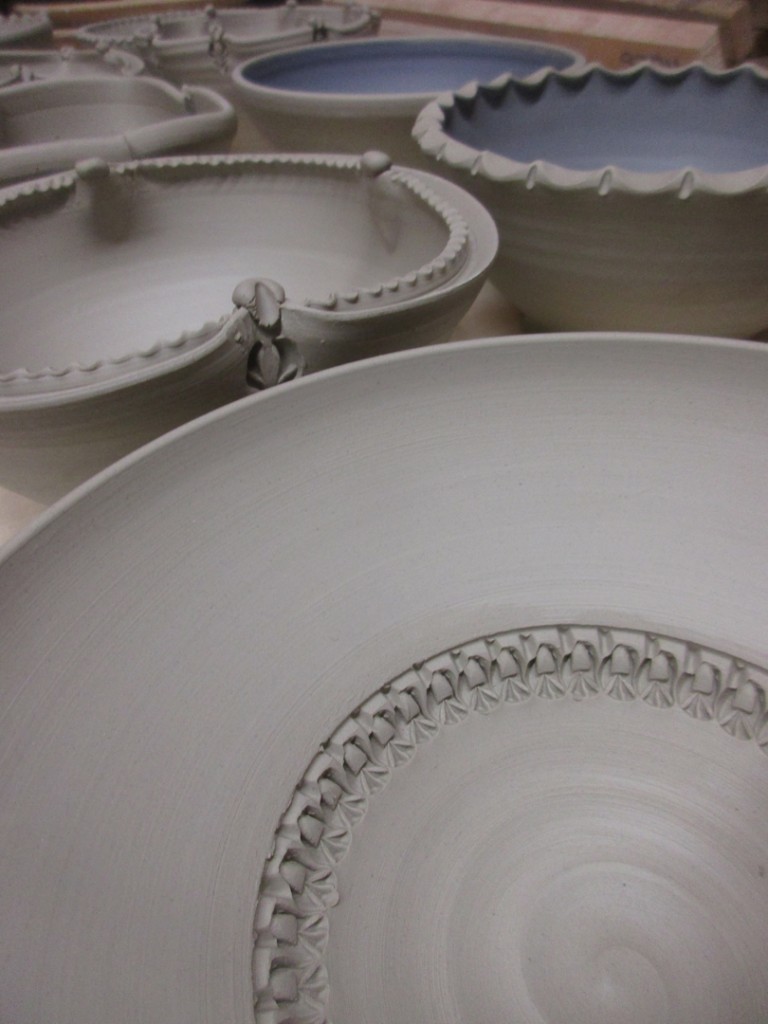
After they learned on to make a “bowl on purpose”… they then went back to their wheels to throw some bowls! And I stayed at my demo wheel to throw a “few” more… a full bag of reclaim to make sixteen basic bowls. When I had thrown them all, I called them all back to Part Two of the demo. Because the second part was the decorating & altering all of the bowls to make them not-so-basic anymore!
Bowl #1 – Two simple flutes on opposite sides… easy & cute.

Bowl #2 – And if two flutes are good… maybe eight would be better?
Plus we talked about how important it was to really “commit” and be deliberate in the fluting.
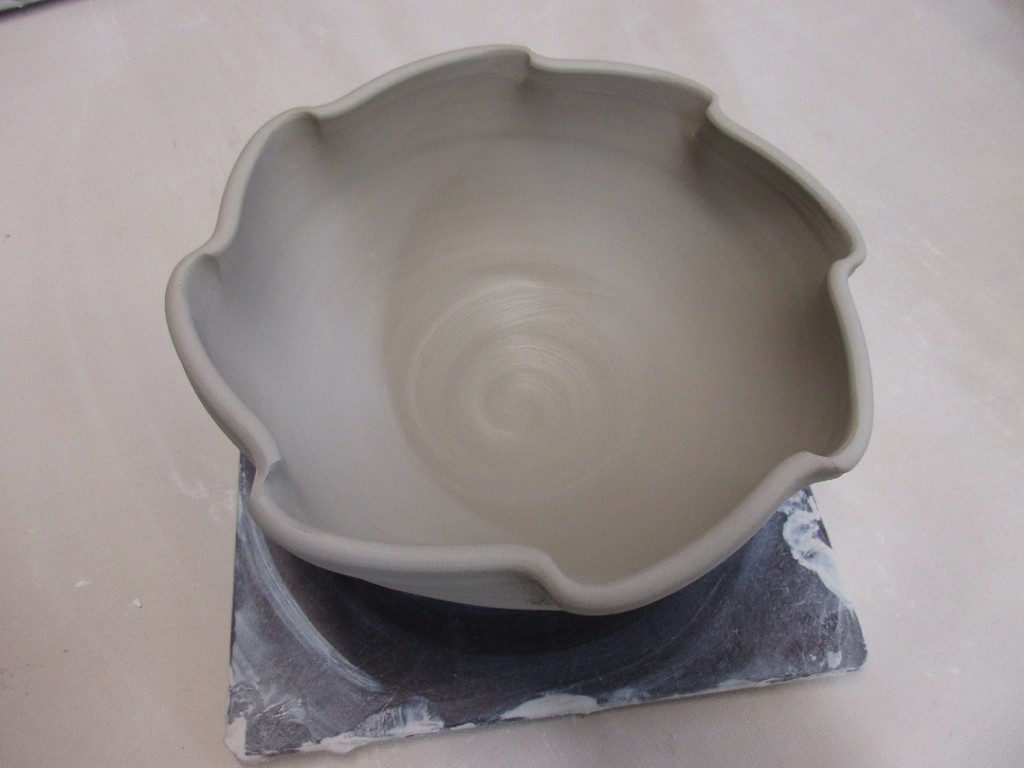
Bowl #3 – A thin flange flared out… just bending the top over a finger held stable on the outside.

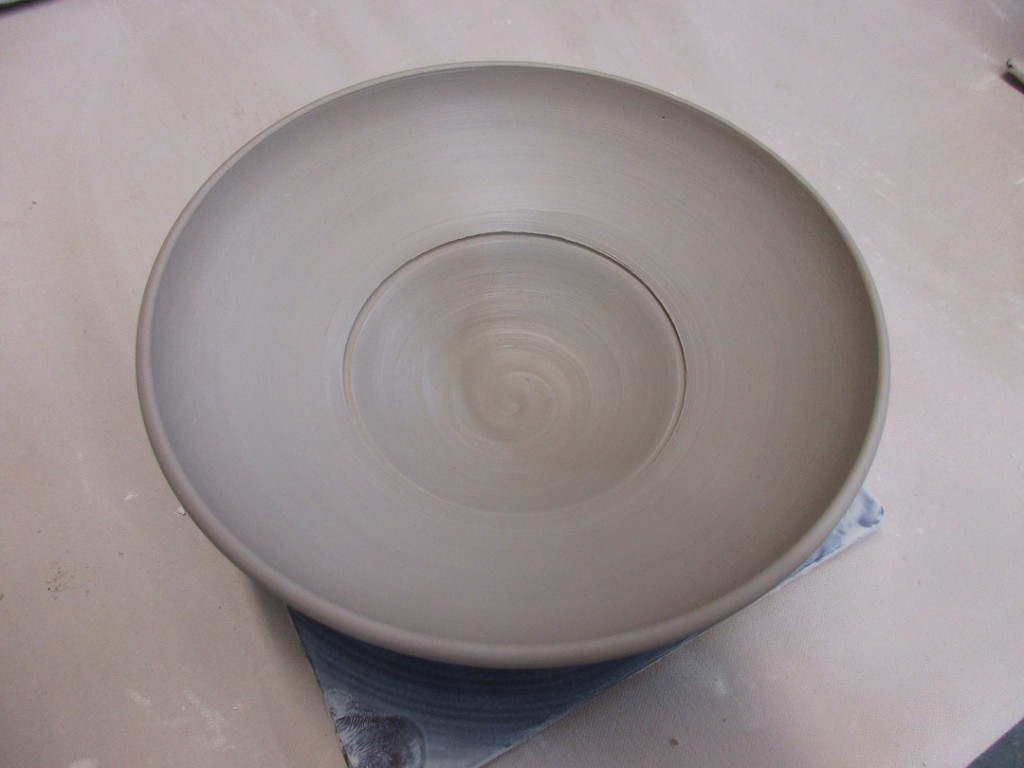
Bowl #4 – And if a bot of a flange is good… bigger might be better?!
You know this bowl… that fancy restaurant bowl where they charge a fortune for one scoop of fancy food in the bottom of a big bowl… kinda like this!
Bowl #5 – And then it was time to combine the flute and the flange. We’ve already done two flutes, and eight flutes… so this one we went for four!

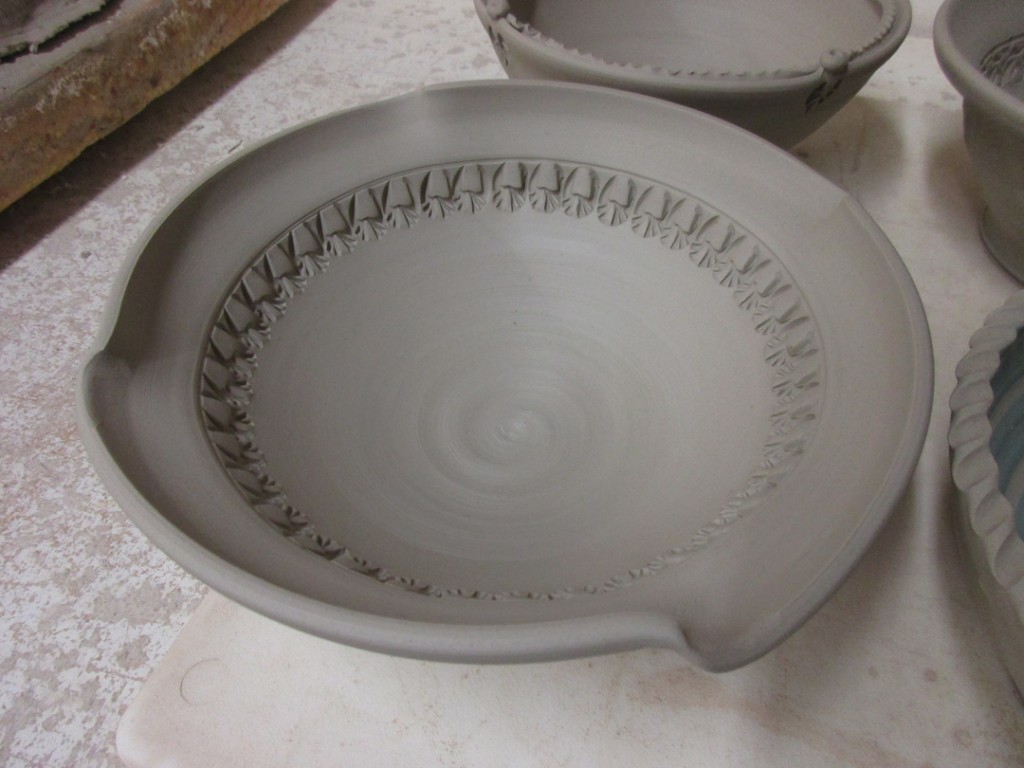
Bowl #6 – I showed my students how to split the rim with the pointed tip of their wooden knife. Makes a nice place for some glaze to pool and do some cool effects. Sure, I could have left it open and even all the way around… but I think the little pinches are a bit cuter!

Bowl #7 – And then since we were all enamored with the split-rim trick… we did a bit of fluting and talking about how bowls don’t always need to stay perfectly round!

Bowl #8 – After doing four flutes inward on a split-rim bowl… we decided to go four in and four out. Creating a bit of a lotus curved pattern.

So after doing some altering of the bowls, I then introduced colored slip to the group. And we discussed how it is actually “colored clay” which kind of creates a new “colored skin” to the pot.
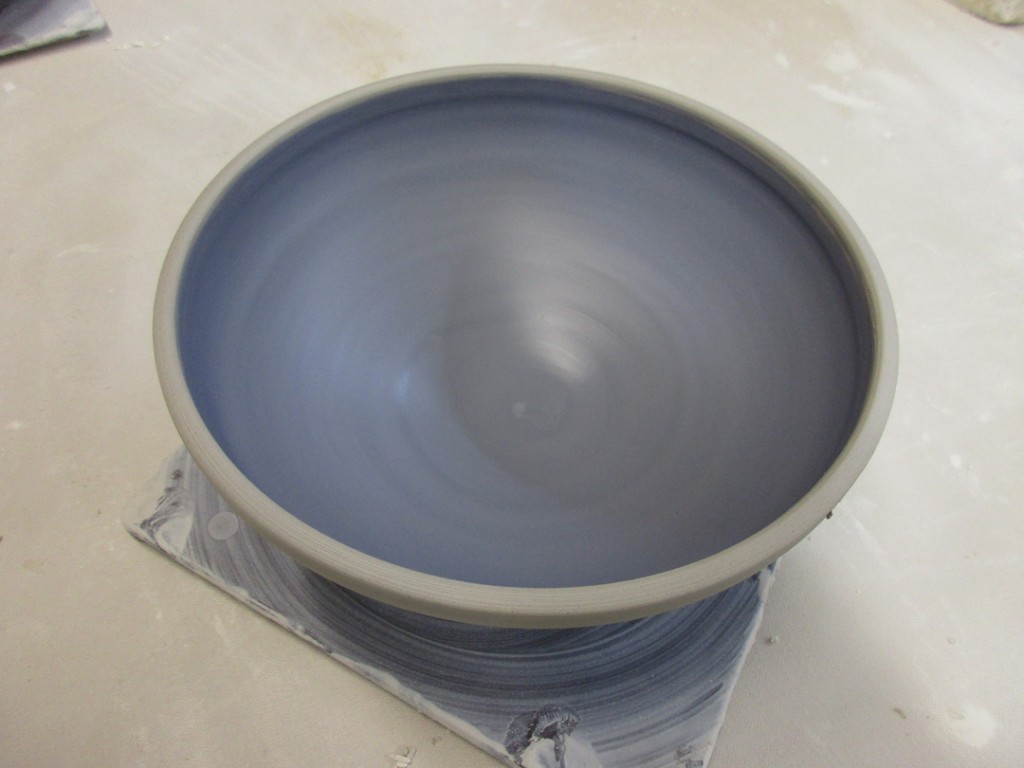
Bowl #9 – The first one was just a layer of mazzerine blue slip painted evenly across the interior. We discussed how much harder this effect would be if they tried to do it with a glaze bucket. Getting that perfectly even edge, crisp & clean, creating a tow-tome bowl now easier than doing it in a glaze bucket!
Bowl #10 – The mazzerine blue slip was a bit too thin and wouldn’t hold its “shape”… so I switched to a thick white slip. I coated the interior of the bowl and then dragged the curved end of my wooden knife through the slip while it was spinning. It makes a great pattern & texture revealing the clay body color along the way. Unfortunately, the white slip wasn’t really showing up all that well… a darker color with a bit more contrast would show up better!


Bowl #11 – One of the students asked if you could mix or blend colors… so we did.
A bit of an ombre blend of the white & mazzerine blue slips.

Bowl #12 – So while we were doing the ombre blend, one of my teaching assistants grabbed a container of thicker green slip. So we were back in business… and re-did the spiral bowl with a lot more color contrast.


Bowl #13 – And since the thicker green slip was holding its place so much better, we carried on with it. This time with a full layer of green slip and then a wavy finger squiggle through it while it was rotating.
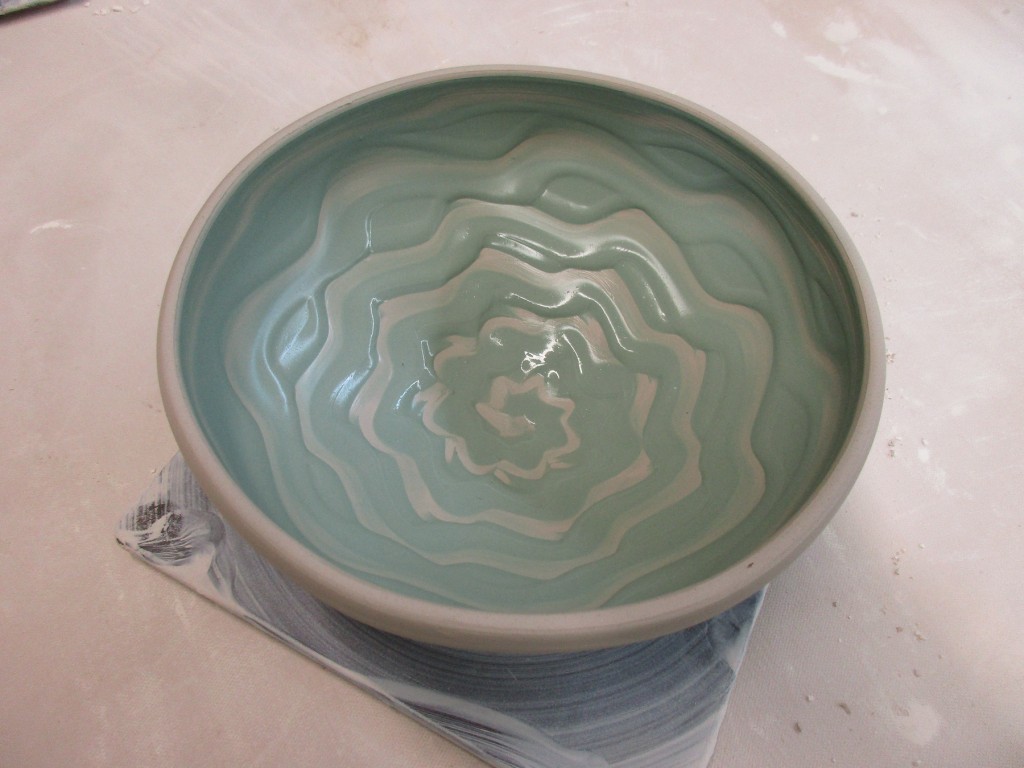
Bowl #14 – Again with a layer of thick green slip, and then some rhythmic chattering with a plastic rib. Tapping the moving up at the same time while it’s rotating.
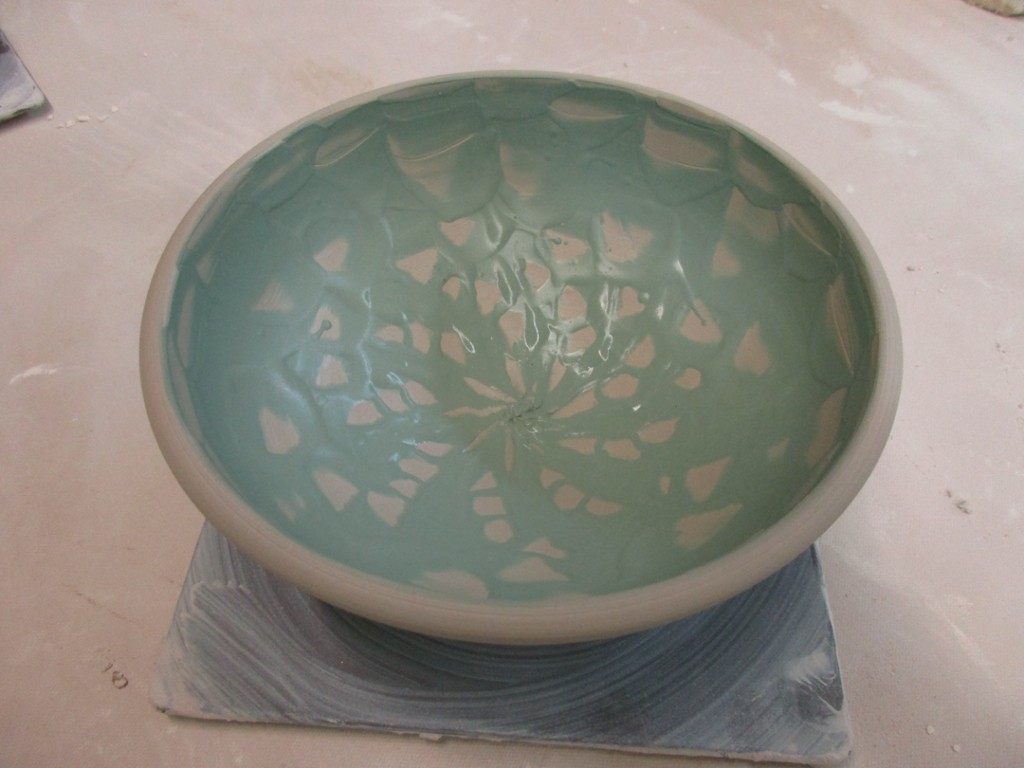
Bowl #15 – This time we switched from the paintbrush.. and made a spiral with a squeeze bottle filled with colored slip. And you know I love a good spiral.

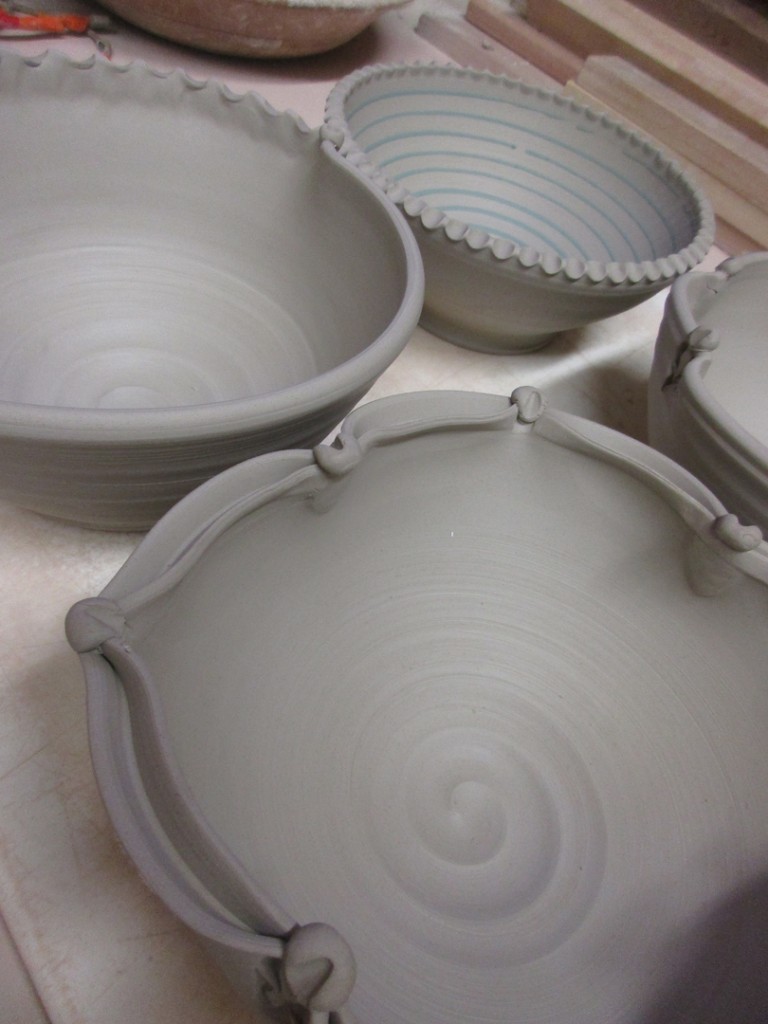
Bowl #16 – With just one bowl left, we ditched the slip and went with a bit of a de-constructed look. I literally cut through the side of the bowl in four places, then pulled them in and overlapped the edges. With a bit of scoring & slipping to hold them together… my “plan” is to add a decorated screw head on each overlap to “hold it together.”

So by the end of class, we had sixteen bowls. Each of them started pretty much the same and very basic. But after some quick tricks & techniques, we made each fo them look a lot different. With so much more style and charm. But the main goal of my demo is to encourage my students to just play more. To not look at every pot they make as being quite so precious. Make more pots… more practice.. more things to experiment with. More fun too!!!

So for now they’re wrapped up under plastic for the night…
for tomorrow night I’ll come back in and do a bit more “detailing”
o make them even more fun.
Save
Save


