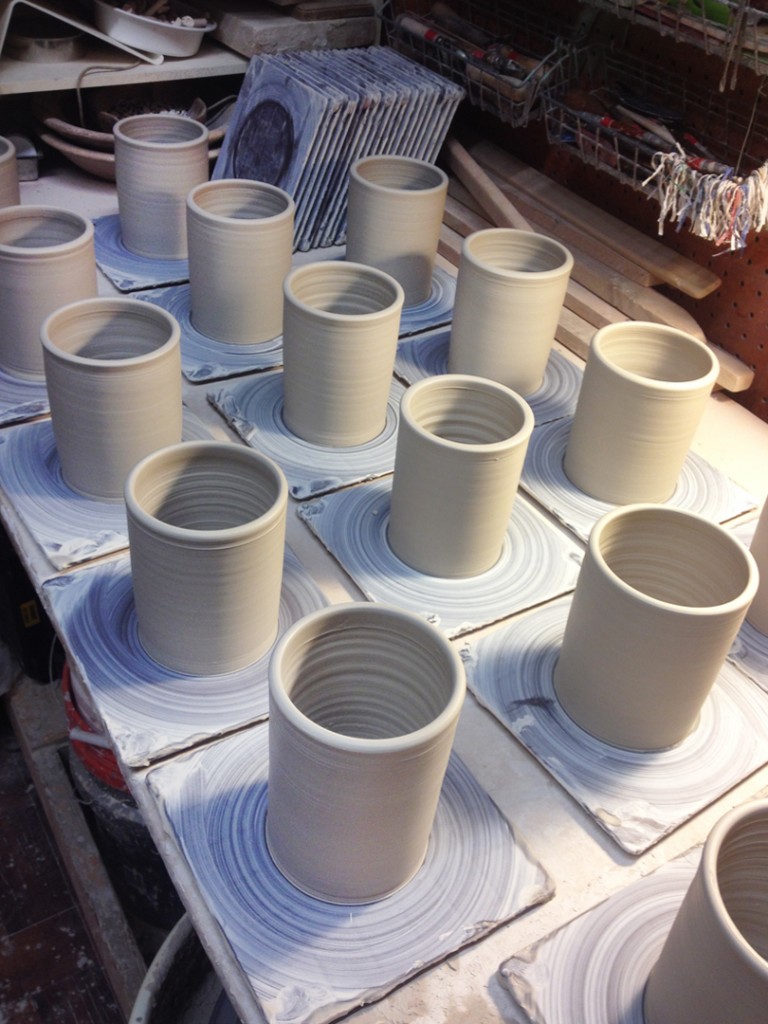
It’s been a productive day! This time with another batch of basic cylinders…
can’t wait to see what these turn into?! So much potential in a plain cylinder.
Cuz’ you just can’t leave them like this, right?!
Gary Jackson: Fire When Ready Pottery
A Chicago potter’s somewhat slanted view of clay & play |
It’s been a productive day! This time with another batch of basic cylinders…
can’t wait to see what these turn into?! So much potential in a plain cylinder.
Cuz’ you just can’t leave them like this, right?!

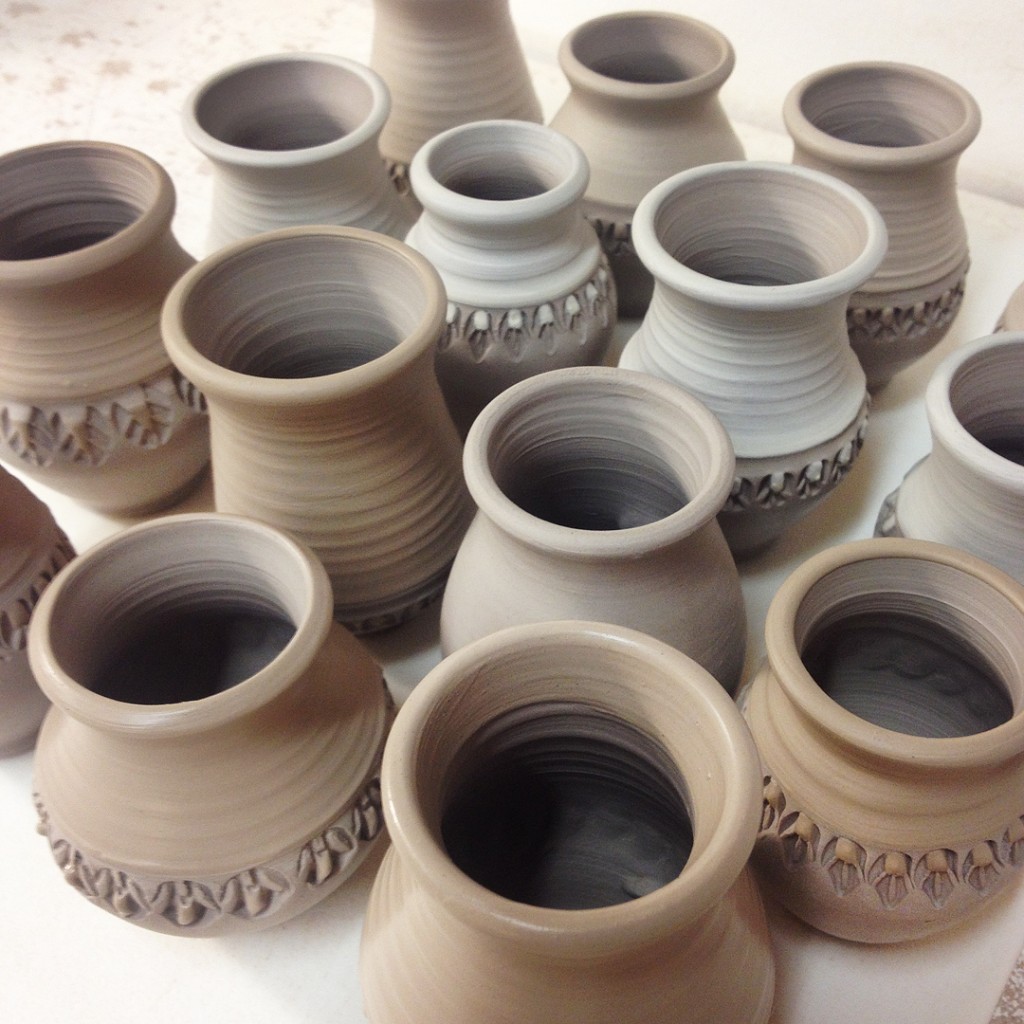
And now they’re even starting to look a bit like ornaments… as I just did some stamping & trimmed off of the “stump.” Next I need to handbuild caps & rings to hang them from!!!

These little cuties got even cuter (if that’s even possible)
with mini stamps & tiny accents of colored slip!
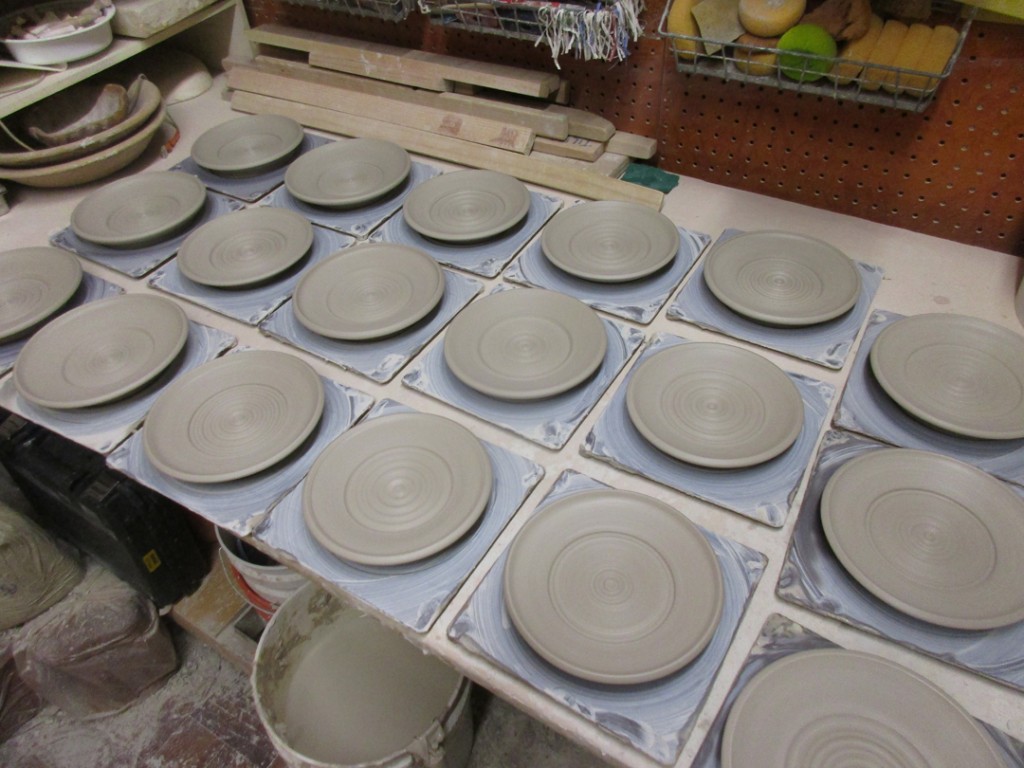
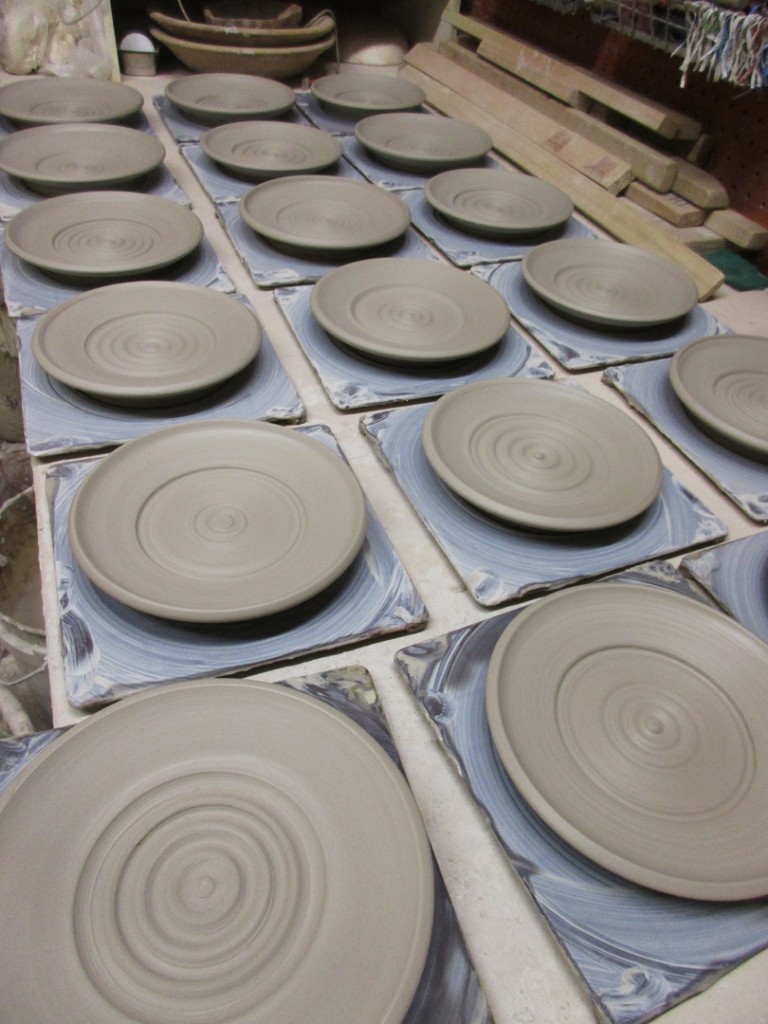
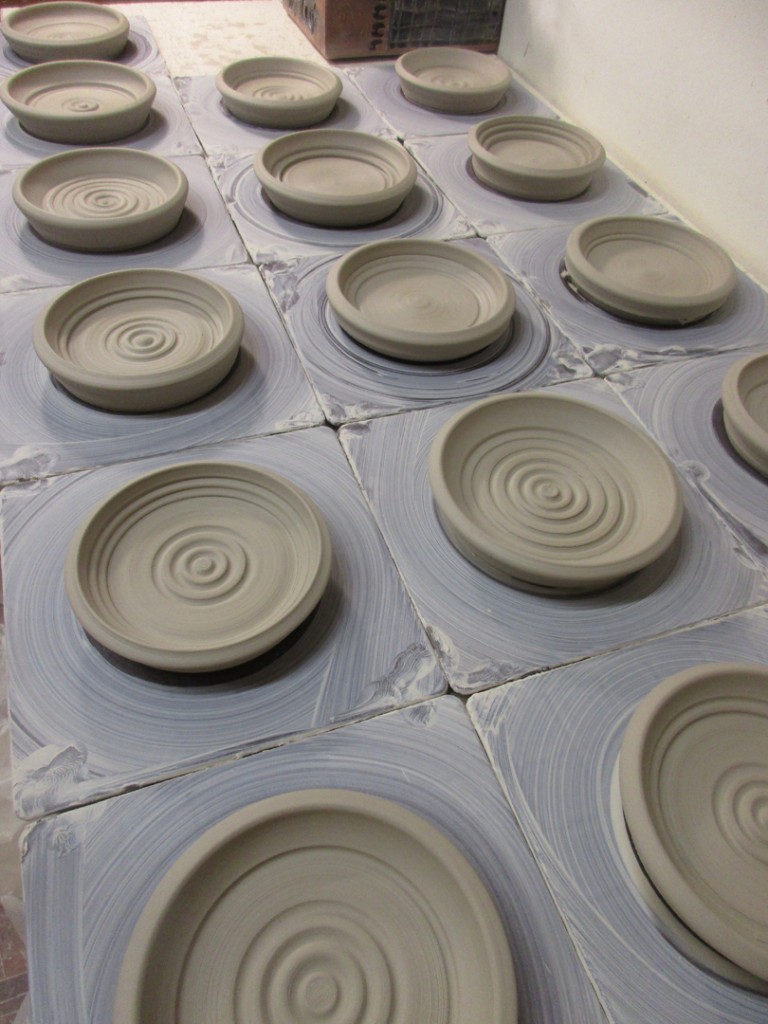
Apparently it’s all about small plates & dishes today?!…
otherwise those berry bowls & flower pots would just leak all over the place?!
And that would be no bueno!
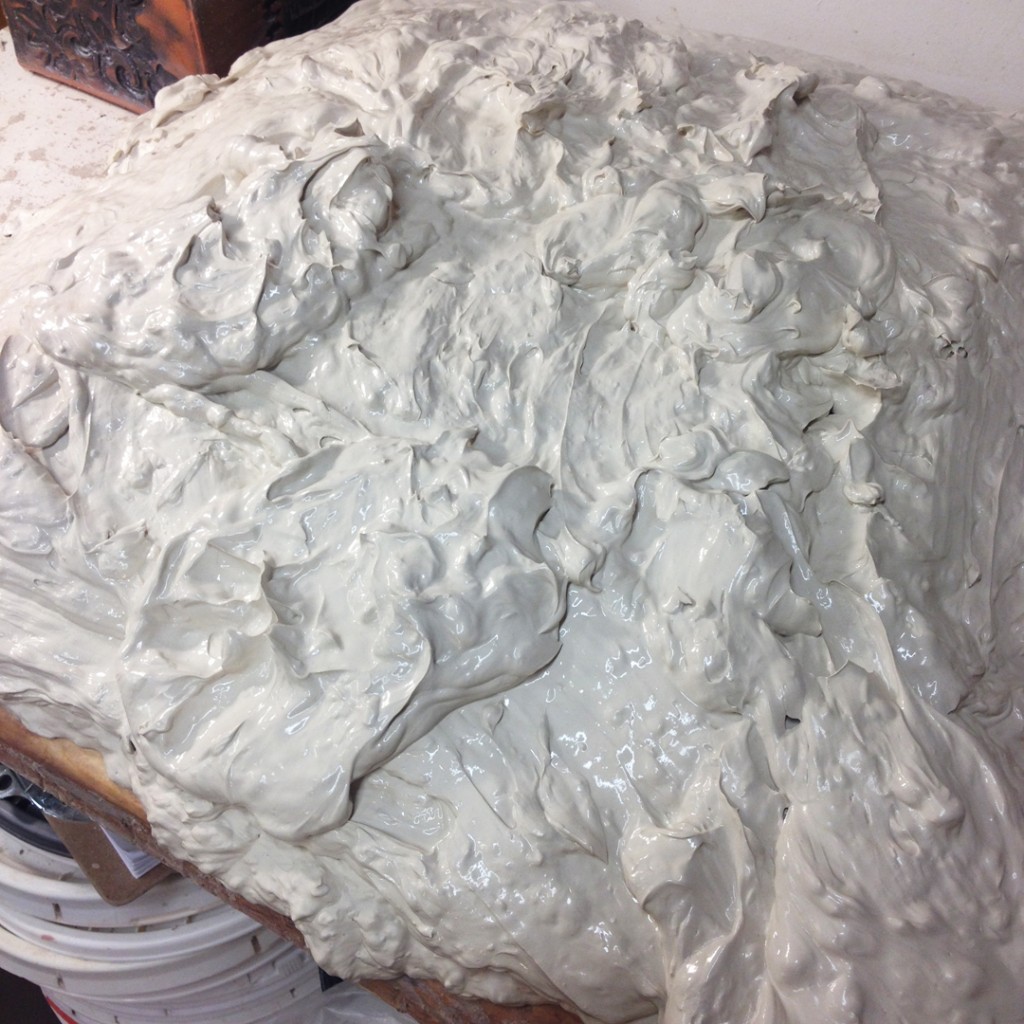
Another pile of slop! This time it’s a creamy blend of porcelain reclaim sitting on my plaster bat. Should be ready to wedge in a day or so… and then it’s FREE CLAY ready to go!!!

Adding some colored flashing slips to help accent my berry bowls prior to bisque firing. If all goes as planned, these slip colors will become more vibrant and show some flashing effects after soda-firing.

Fresh from the bisque kiln… my latest batch of NEW STAMPS!!!
So now I can give them each a little test-run to see which ones I love….
and which ones I’ll learn to love!

And yes, I do write my name on the side of all my stamps… as they have a tendency to “travel” down to the classrooms on occasion for demos and such. And I’d kinda like to get them back when I’m done demo-ing, right?
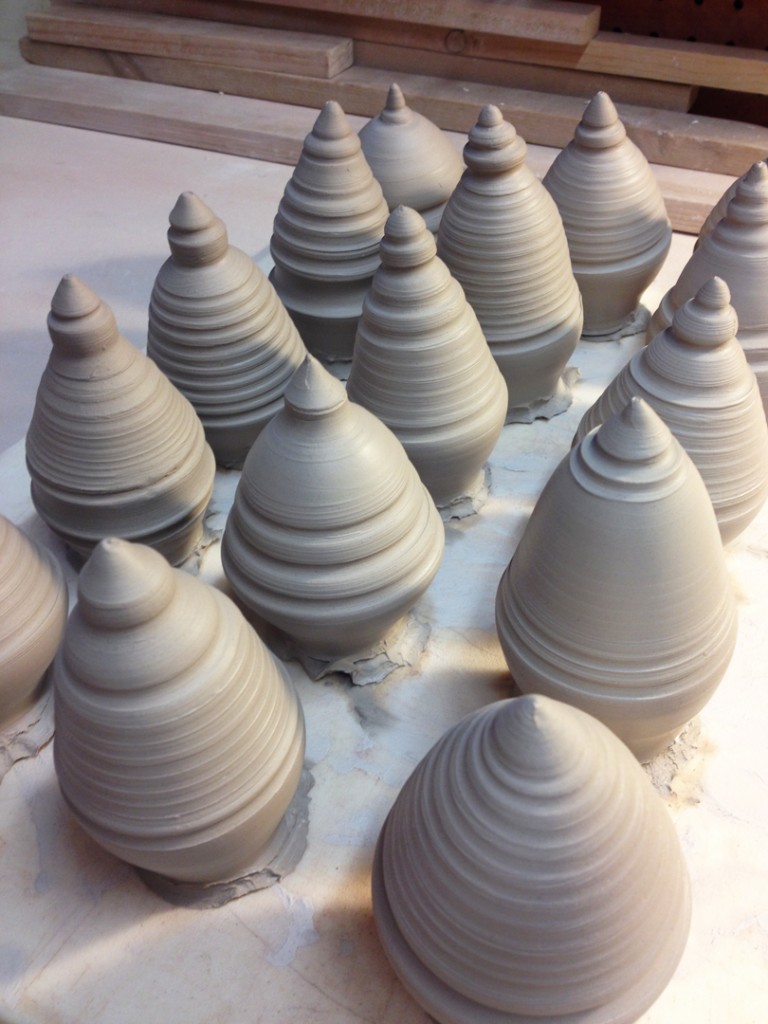
Sure, the holidays SEEM far away… but it’s always fun
to make a few ornaments & mini’s on a wet & soggy rainy day!
Plus, there’s only 308 days until Christmas!!! Giddy-up!!!


Berry bowls here we come!!!
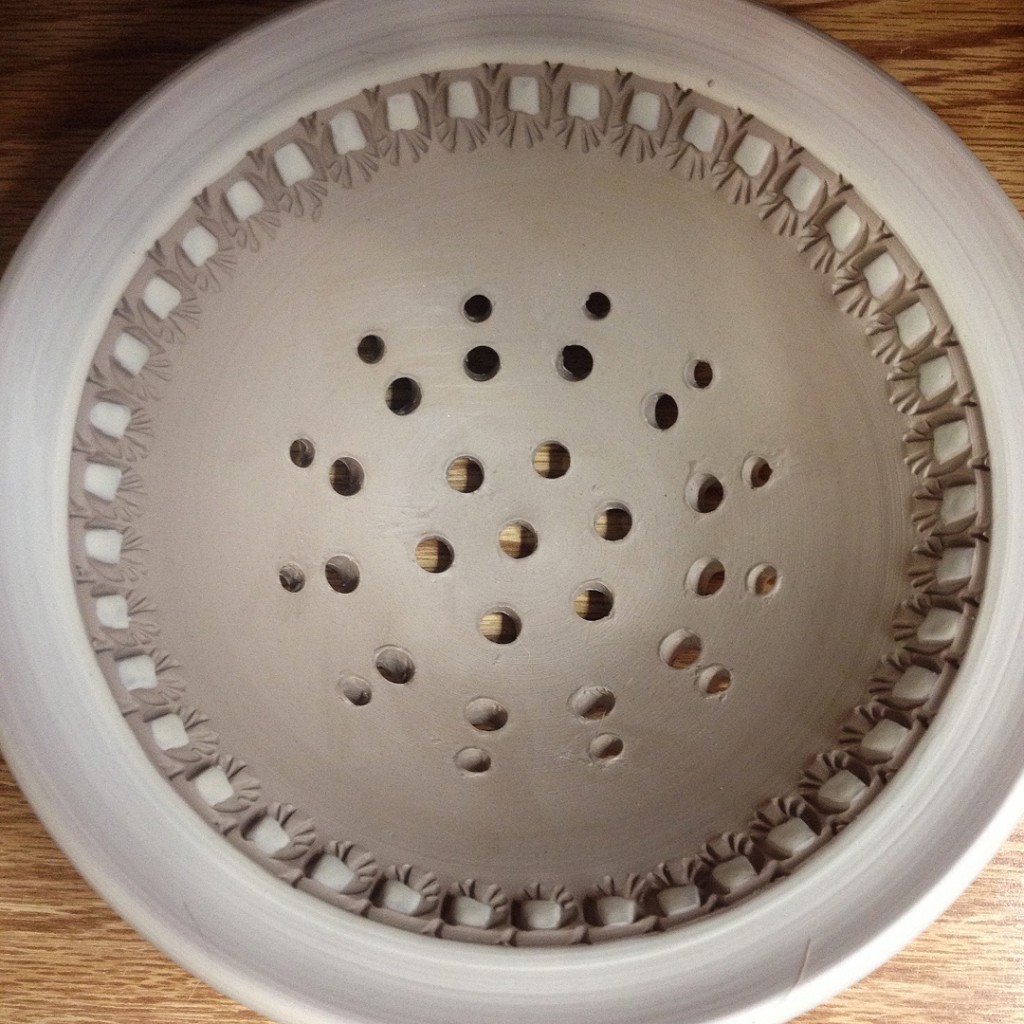
And who doesn’t want to play with power tools in the studio? The quicker & cleaner way to drill holes in bowls is with an actual power drill. Go figure!
So I start by marking where the holes will go with my MKM Decorating Disks. They help even space out the holes so you know where to drill. Then you just let it rip!!!

The clay will fly up and leave behind some burrs which are easy to brush off after they dry a bit. A couple minutes and a stiff paintbrush… and maybe a bit of smoothing.
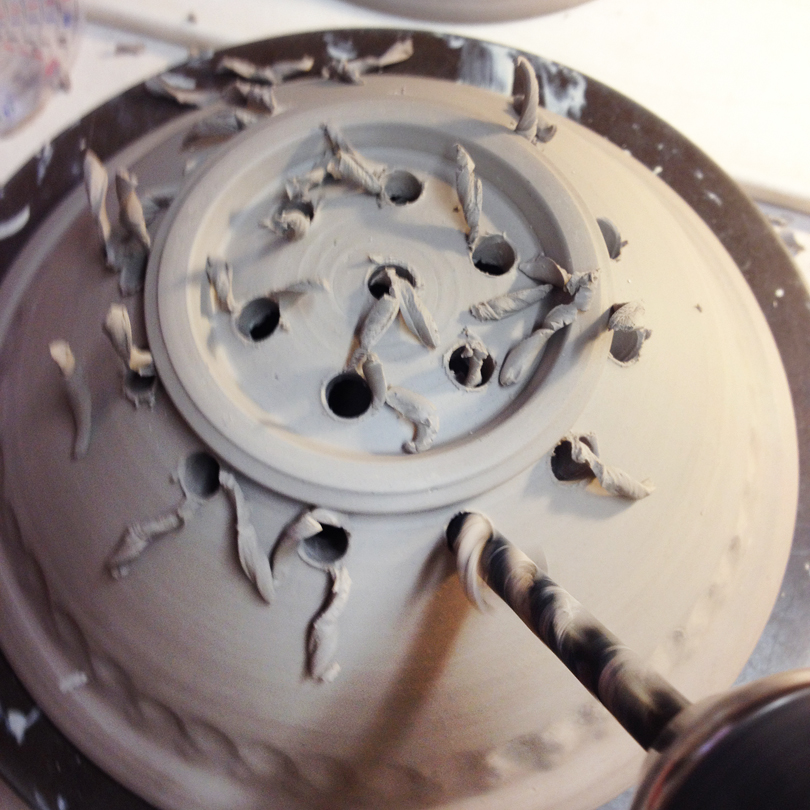
With a little brushing & smoothing, your berry bowls will be done in no time! So much faster & easier than cutting them out by hand. So much so… that this power drill tip was actually featured in Ceramics Monthly!!! Click here to see the article!

My Mom was busy this weekend apparently… and she cranked out three new pottery aprons!!! I’ve posted her handmade specialized potter’s aprons here on my blog. There are pictures of her current inventory and full instructions on how to claim yours!!! Limited to quantities on hand… so grab ’em quick!
Click here to see the full inventory and instructions.
Or you can always click on the “Handmade Pottery Aprons” tab
in the right column at any time to see her current inventory.
In case you’re wondering… here are the three new ones!


|
Gary Jackson: Fire When Ready Pottery
Lillstreet Studios ∙ 4401 North Ravenswood, Chicago, Illinois 60640 ∙ 773-307-8664 gary@firewhenreadypottery.com |