Wonderful Spring colors blooming all around.
Too bad these flowery days are so short lived.


Gary Jackson: Fire When Ready Pottery
A Chicago potter’s somewhat slanted view of clay & play |
Wonderful Spring colors blooming all around.
Too bad these flowery days are so short lived.


Tonight was a wonderful night under the White Big Top.
Located down in the south parking lot of Soldier Field is a temporary white tent..
and it’s HUGE!!! Much larger than the tent they had a few years back when CAVALIA
first came to Chicago. I saw the show then and was instantly mesmerized. I sadly assumed it was a one-time show… so imaging my surprise & excitement when I saw they were returning to Chicago with a new show!!!
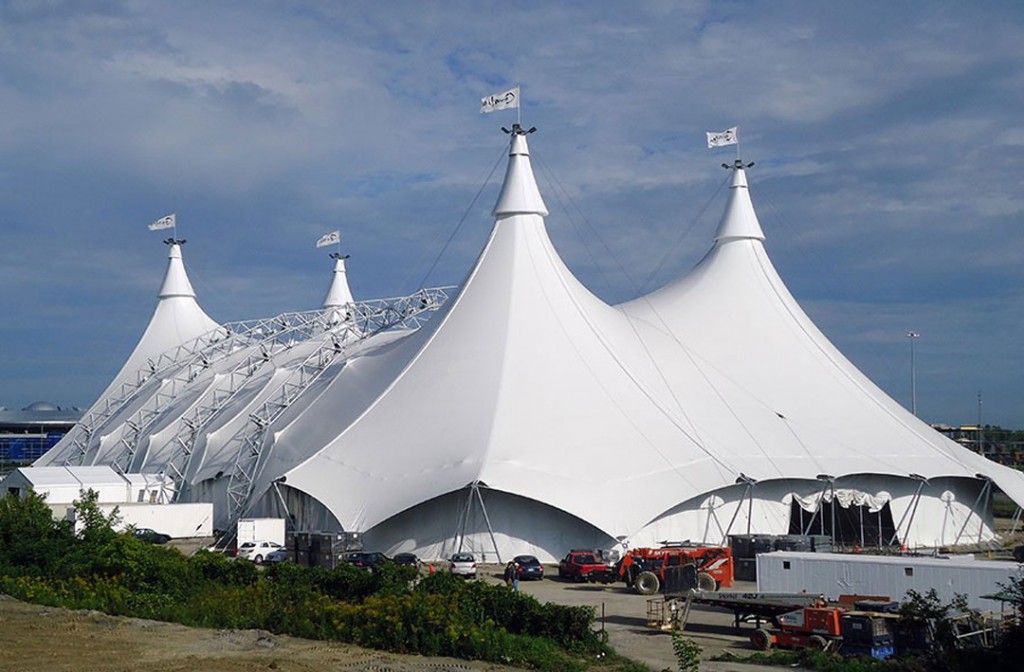
And it’s got to be that big to house a show this HUGE!!!
You should know by now that I’m a card-carrying Cirque du Soleil geek.
And while this is NOT a Cirque show, it is definitely very reminiscent of their splendor.
Think of it as Cirque du Soleil with a herd of horses running free!!!
Click here to see the official trailer for CAVALIA’s ODYSSEO.

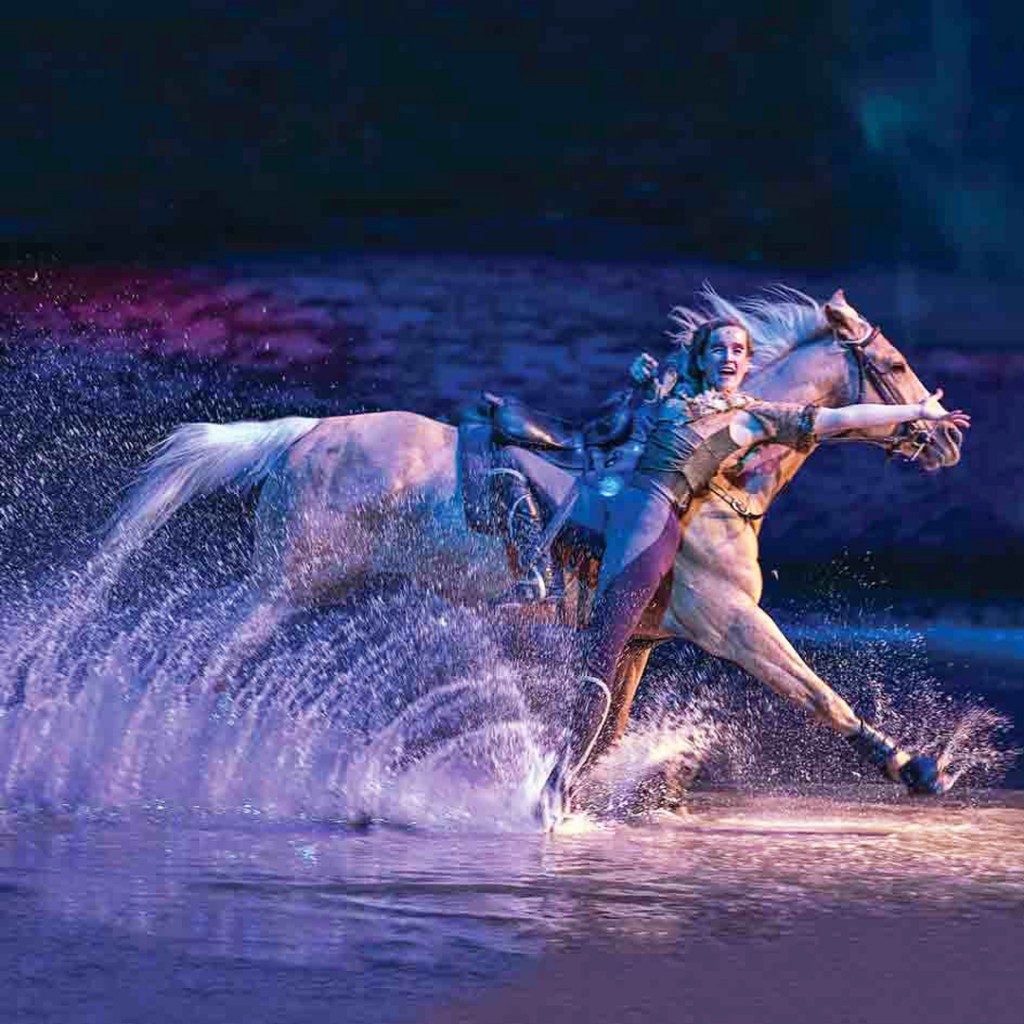
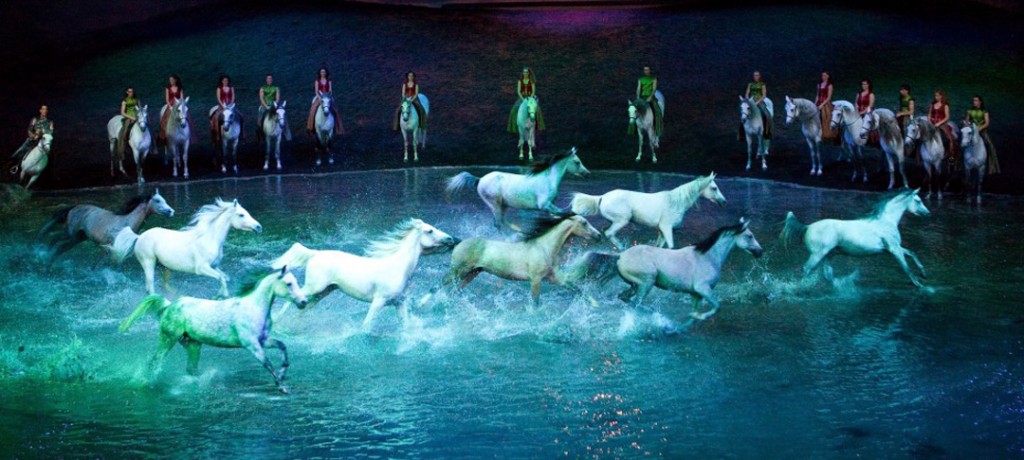
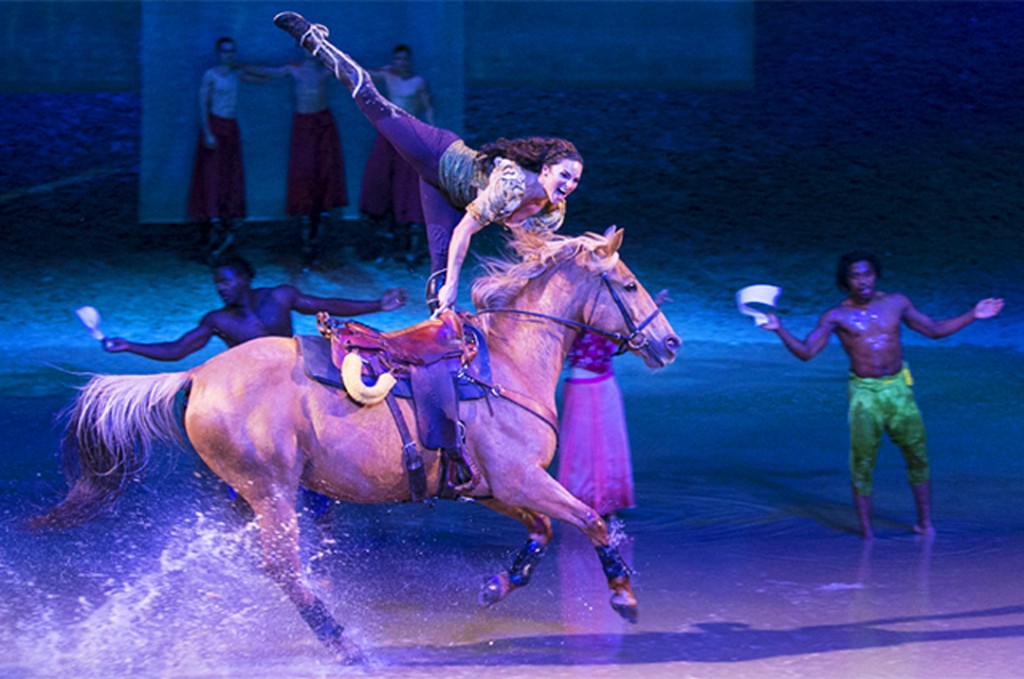
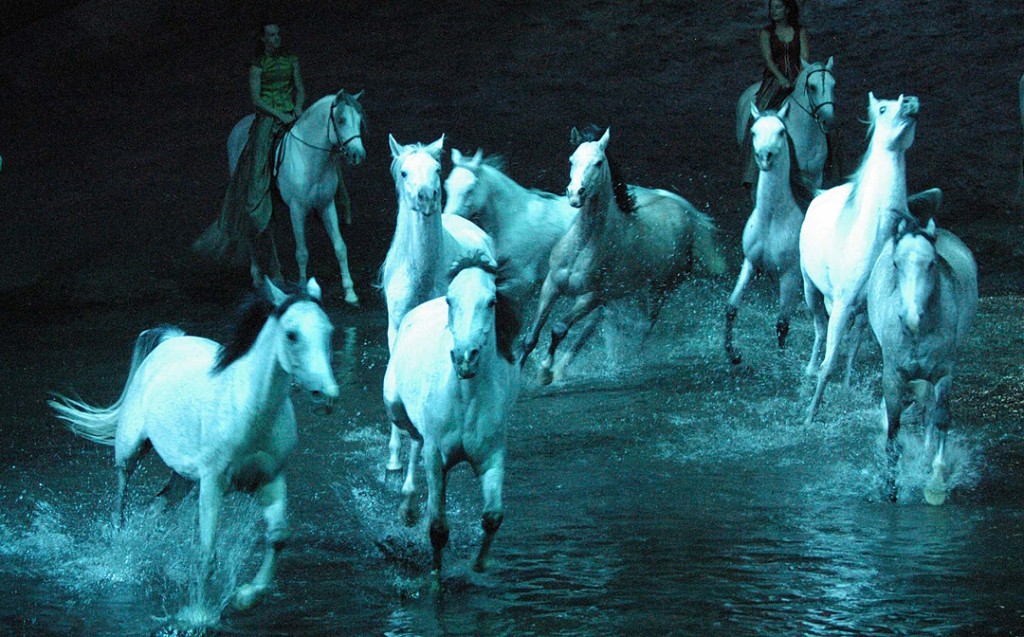
It’s an amazingly beautiful and mesmerizing evening. The live band and singer were captivating while each of the acts were amazing. The colors, the costumes, the complete package. The horses are amazing in all their regal glory. Somehow they “perform” just as much as the human performers. They dance, prance and turn on cue. Somehow these “wild” horses storm the stage racing at full speed… and then a moment later are gentle, clam & graceful. It’s amazing to watch how well trained the horses are. And even more touching that you can actually see how much the trainers love their horses… and even better, that you can literally see how much the horses LOVE their trainers. Seriously. You can see the bond, the trust and the love of working together among the entire cast… human and equine!!!
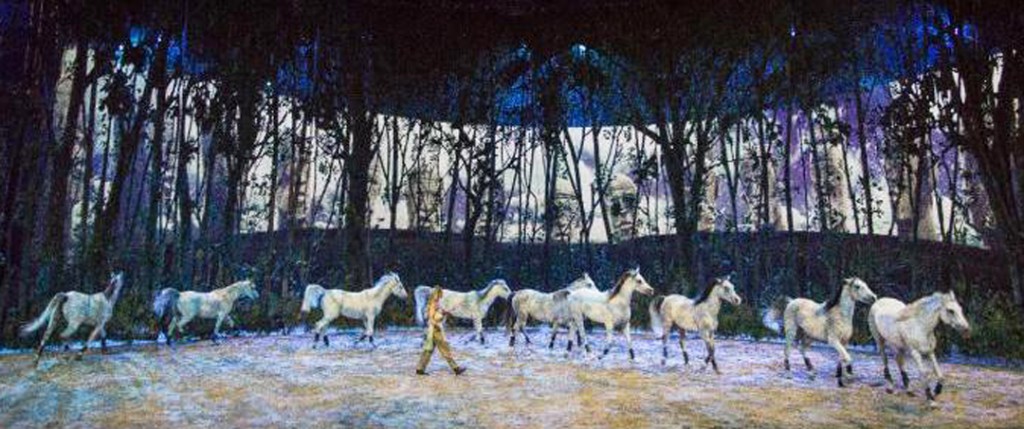
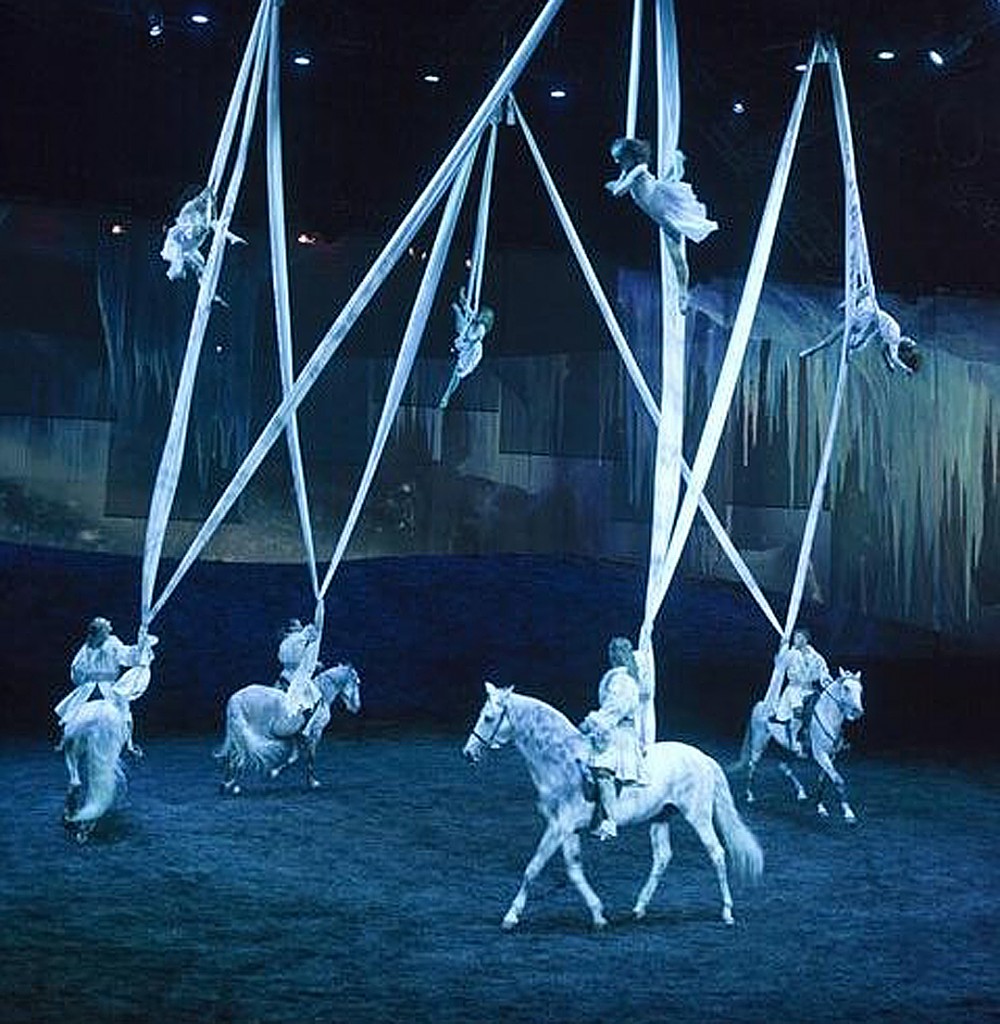
Sure, there are acrobatic acts much like a more traditional Cirque du Soleil show…
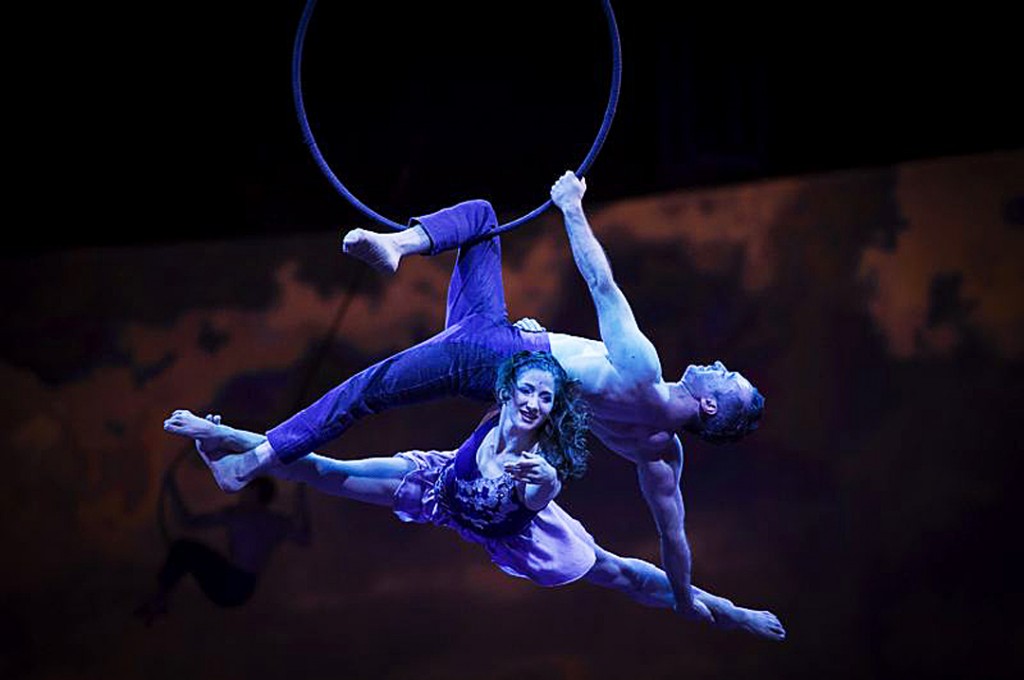
But then there’s also horse galloping and trick riders flying all over the place.
Oh wait, and did I mention the water?!!!
For a bit more insight about the creator and the show from behind the scenes, click here for a very insightful CAVALIA video on YouTube.



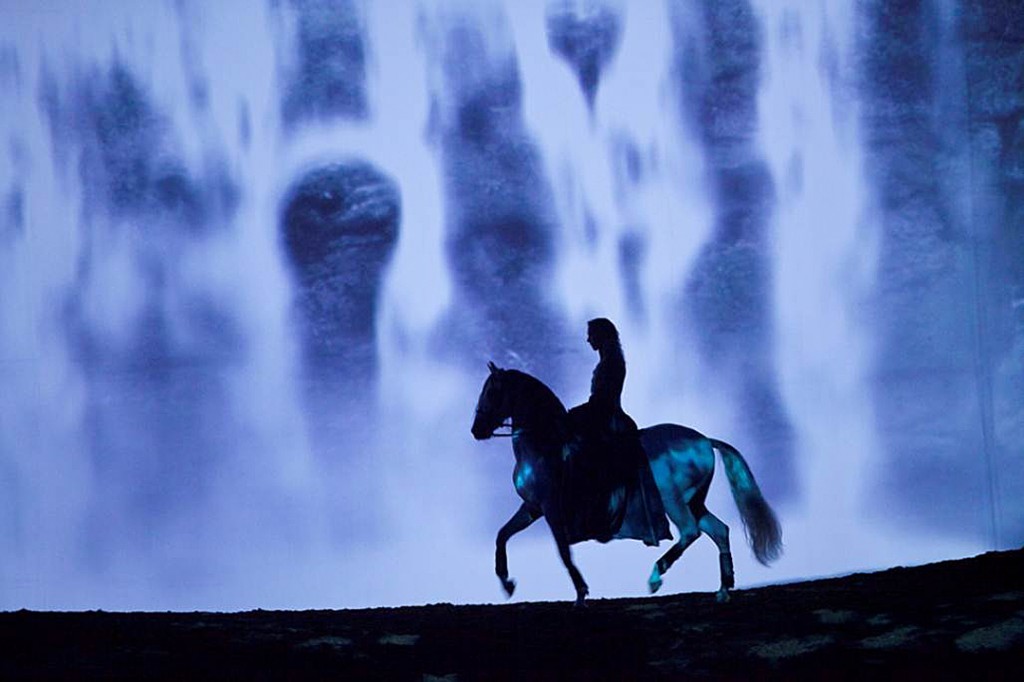
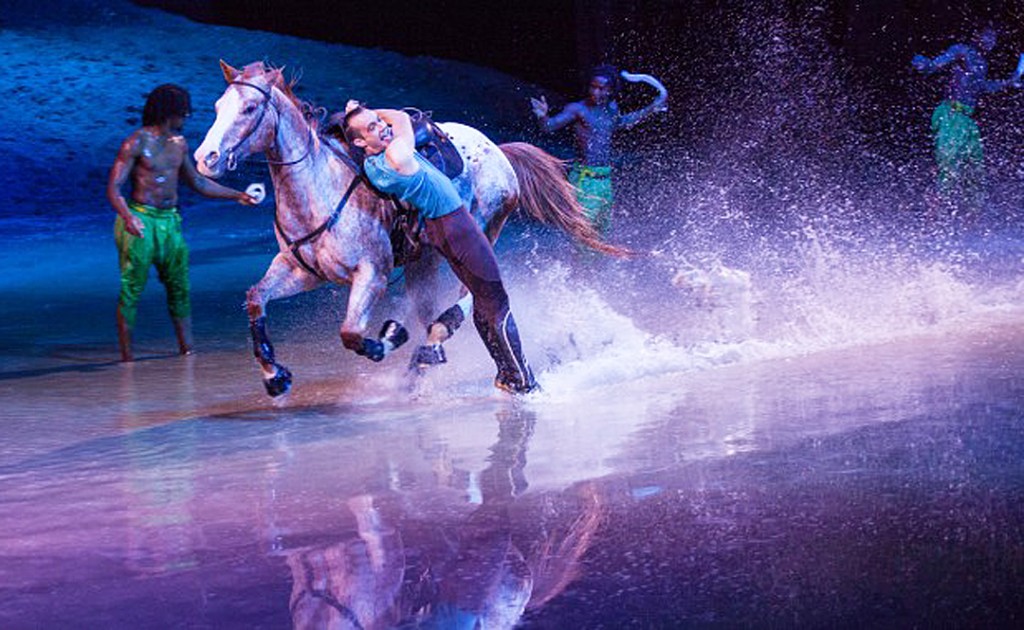
And while the show is AMAZING!!!
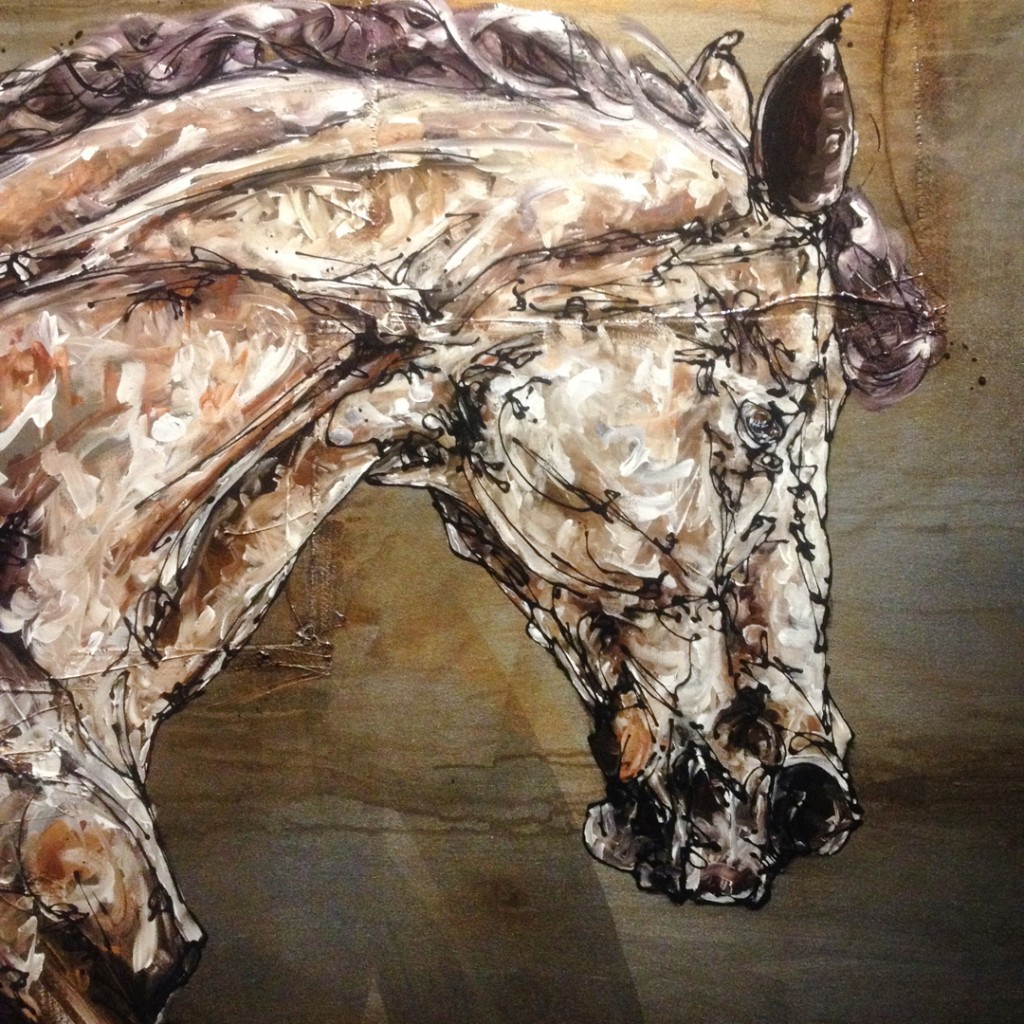
They also host a wide collection of horse sculptures and paintings.
A veritable art gallery… like the CAVALIA theatrical spectacle weren’t enough!!!
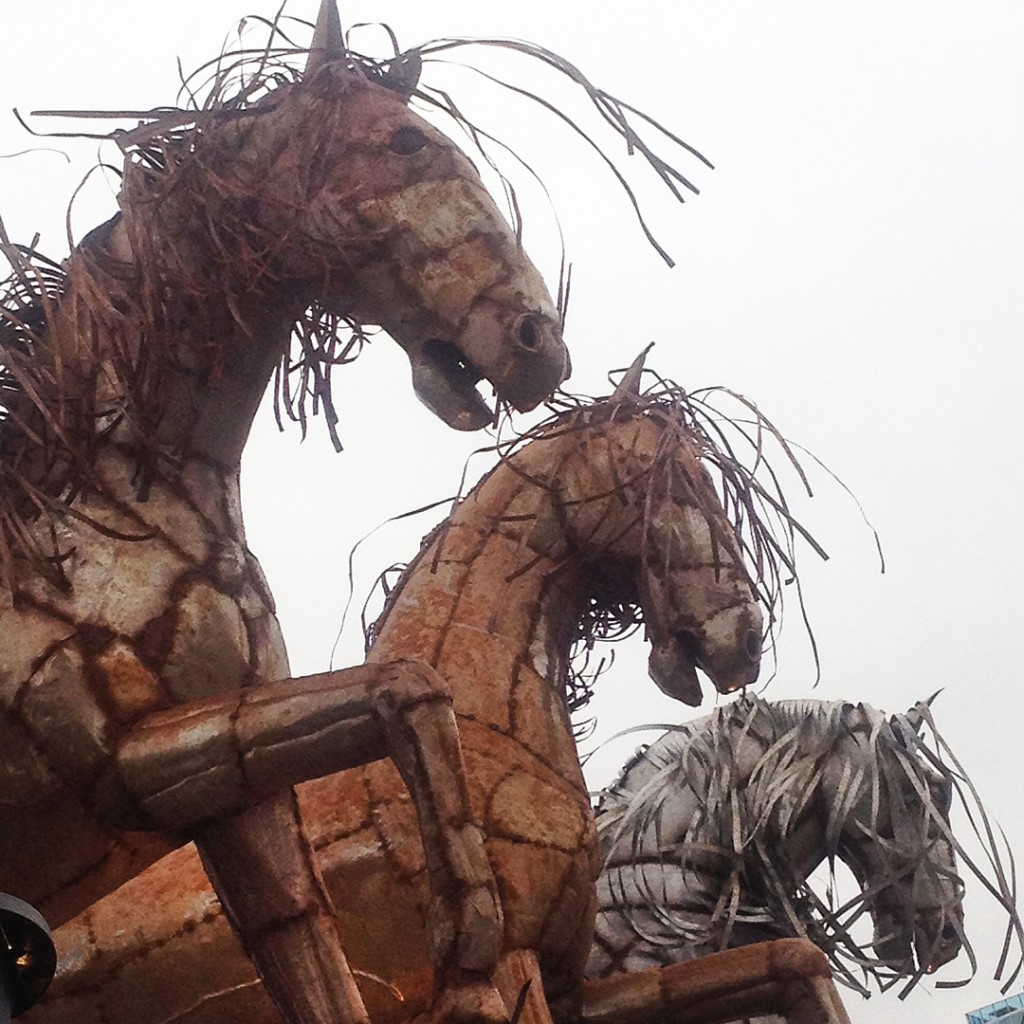
And you know how I LOVE rusty metal….
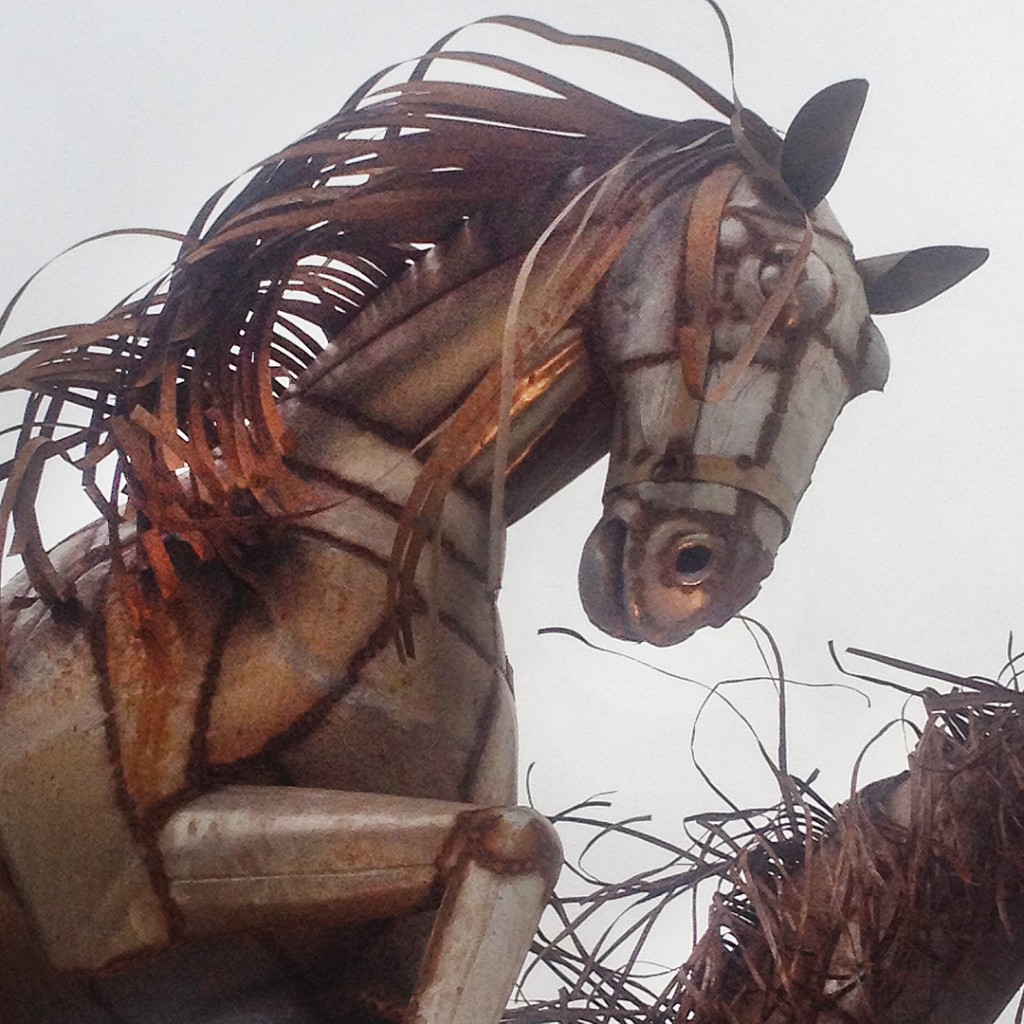

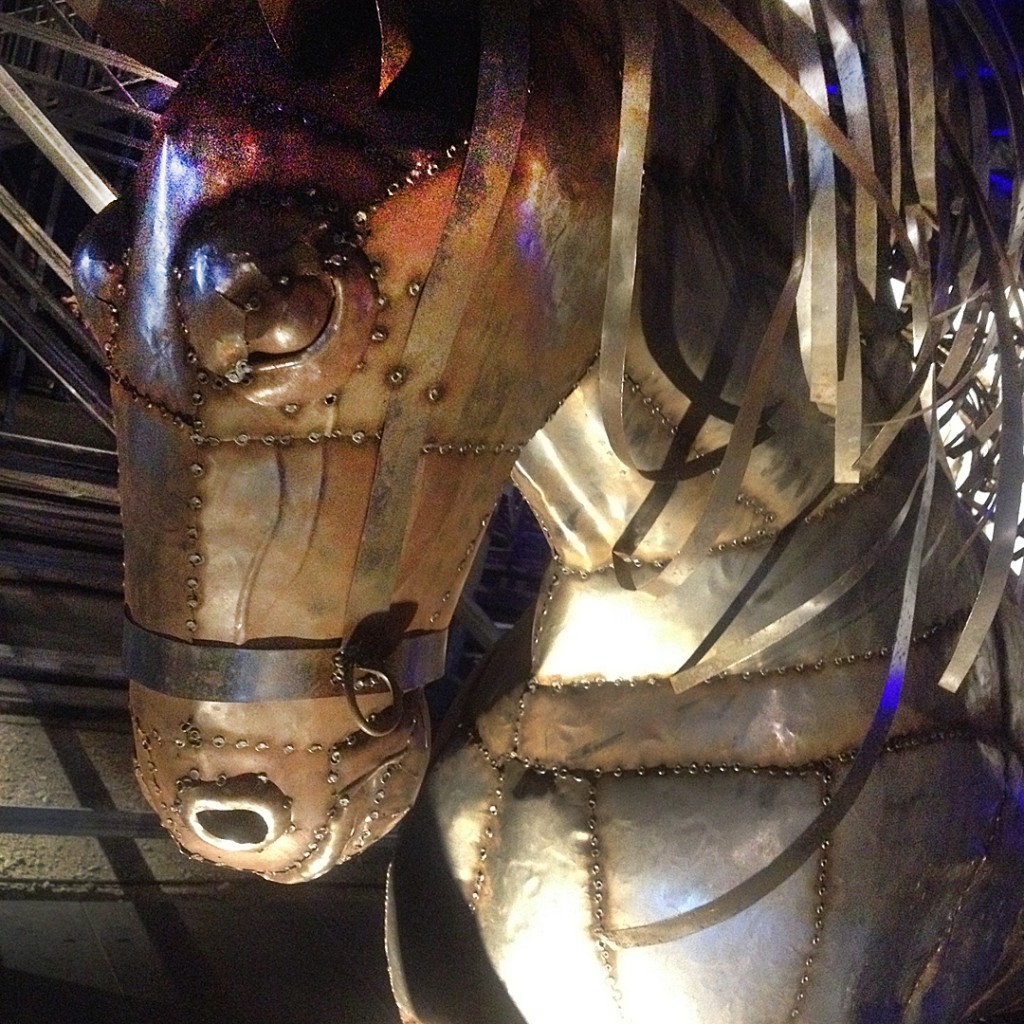
In addition to the metal sculpture horses,they also had a wide collection of incredible horse paintings. I loved the gestural line quality of these beauties by Sebastien Larochelle…

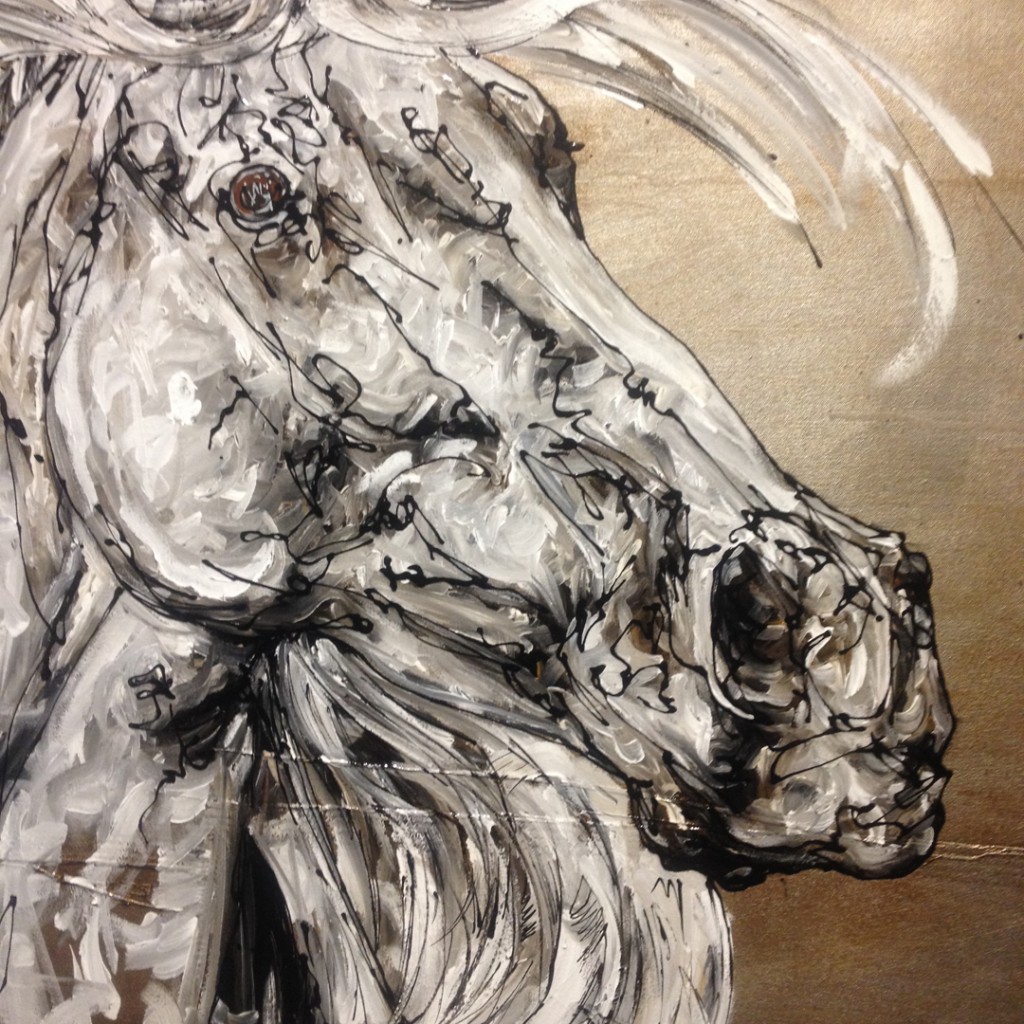
And my favorite painting by Lea Riviere…

Overall, an amazing night of equine beauty.
It’s all of the spectacle drama and beauty of Cirque du Soleil AND horses!!!
If you EVER have a chance to see CAVALIA live under the Big Top… by all means do!!!
This is my favorite demo of every session of classes. It’s so much fun to teach my students how to make a bowl on purpose, instead of it just being a cylinder gone bad! So the first part of the demo is making bowls on purpose. We talk about techniques and downfalls. They go back to make some bowls, while I sit at my wheel and quickly throw some more bowls… a whole bag’s worth!!! When I finished all eighteen bowls, we reconvene and start doing some alterations to the bowls.
My goal for this second part of the demo is to get them over-the-hump, and encourage them to try different things to make their bowls more individual. And that the clay is not precious. Have fun. Make something. And if it doesn’t work out… just squish it up and do it again!!! So here are my eighteen quick tricks that I showed my class. Remember, we started with 18Â very similar plain round bowls. And then some quick flicks & tricks… and now we have 18 completely different bowls.
Bowl #1 – Simple fluted twists. One finger inside, one finger outside, side-by-side. A bit of a pinch and a twist. Four times… aligned with the corners of the square bat for even spacing.
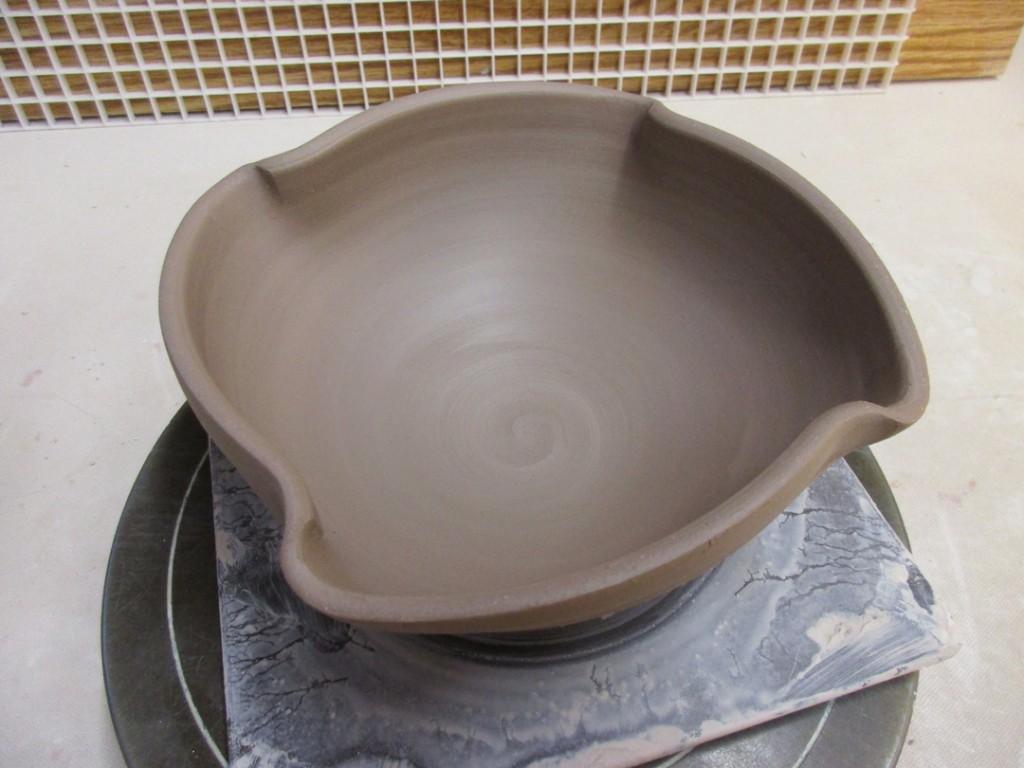
Bowl #2 – And is four fluted points are good… maybe eight are even better?!

Bowl #3 – Then I gently bent the rim out on over to create a flattened flange around the edge. The outside finger stays pretty stationary while the inside fingers gently press the rim outwards over that outside finger. And I like to add in a little groove line just inside the flange… like a nice way to show the delineation between the interior & exterior.
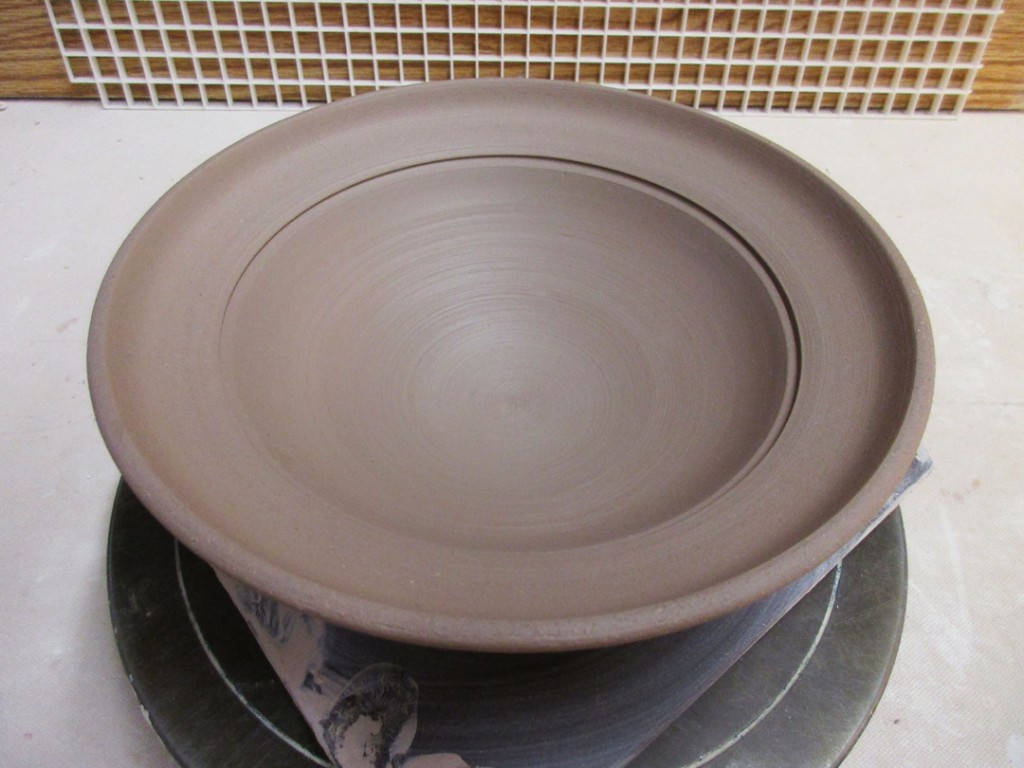
Bowl #4 – And if a thin flange is good, maybe a wider flange is even better?! Kinda like that bowl they serve in fancy restaurants with one small dollop of food in the bottom and charge a ton of money!!!
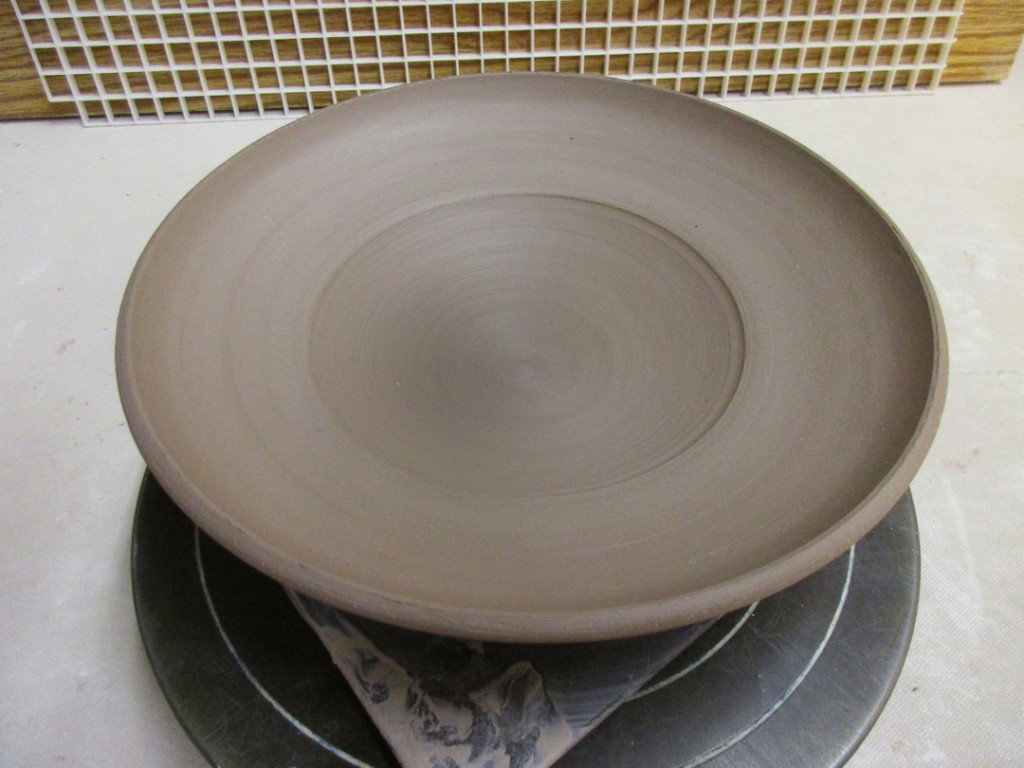
Bowl #5 – Then we combined the two – the flattened flange and fluted rim.
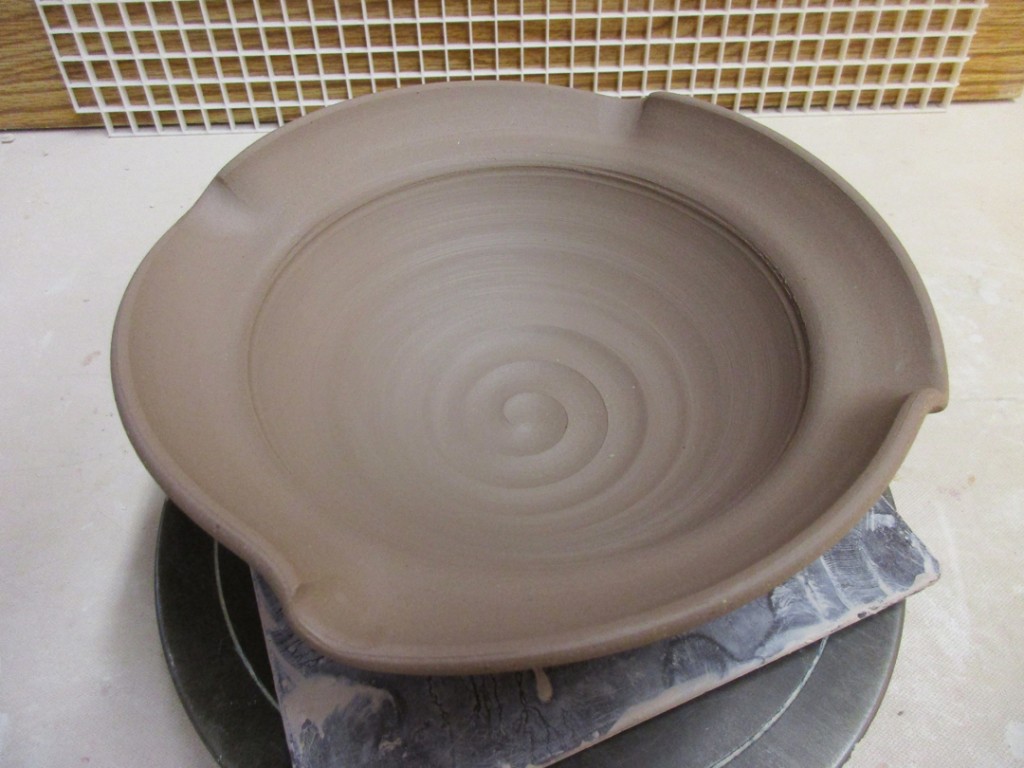
Bowl #6 – Next up was splitting the rim with the point of my wooden knife. I use my left hand with thumb & forefinger gently “pressing” the rim for support, while my right hand has the knife gently pressing the point into the rim. Press down slowly while the wheel is spinning asnd watch the rim split open. And then I like to pinch it back in a few spaces for a bit of fun.
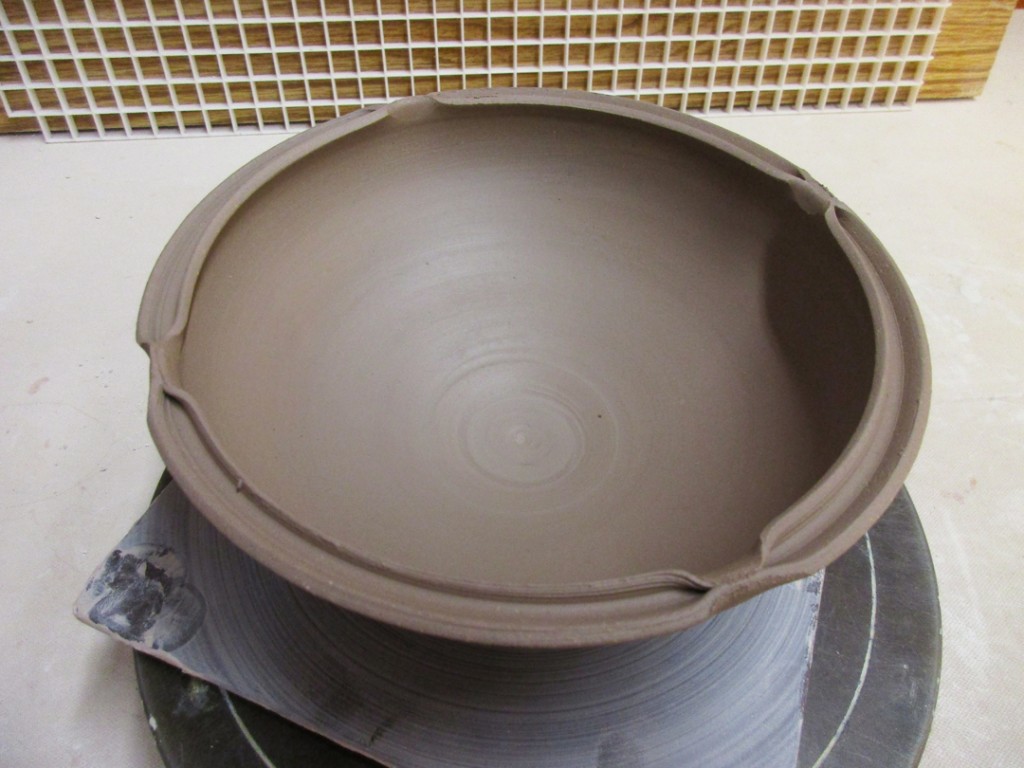
Bowl #7 – Another split rim pinched together in four spaces. But then the I pressed the other four spaces outwards which kind of squared off the bowl… so why not “force” it to be even square-er?!!!

Bowl #8 – Okay, so we’ll place this bowl in the category of not all demo’s work.
I started by splitting the rim a little deeper & wider then before. And then I took the wooden end of a big loop trimming tool to press indentations outward on the split rim. And on the very first one… the wooden handle literally STUCK to the clay!!! I mis-estimated the wetness of the rim… and the thinness of the split rim. The tool stuck and when I tried to force it away it ripped half of the split rim off with the tool. Not good. So we all had a bit of a laugh as I once again proclaimed my mantra… “It’s just clay.” So I pulled off the other half of the split rim and smoothed it out a bit. And then tried to come up with a new “plan” on the fly with an already dented bowl. Not so sure how this one will turn out… but it’s “just clay,” right?!!!
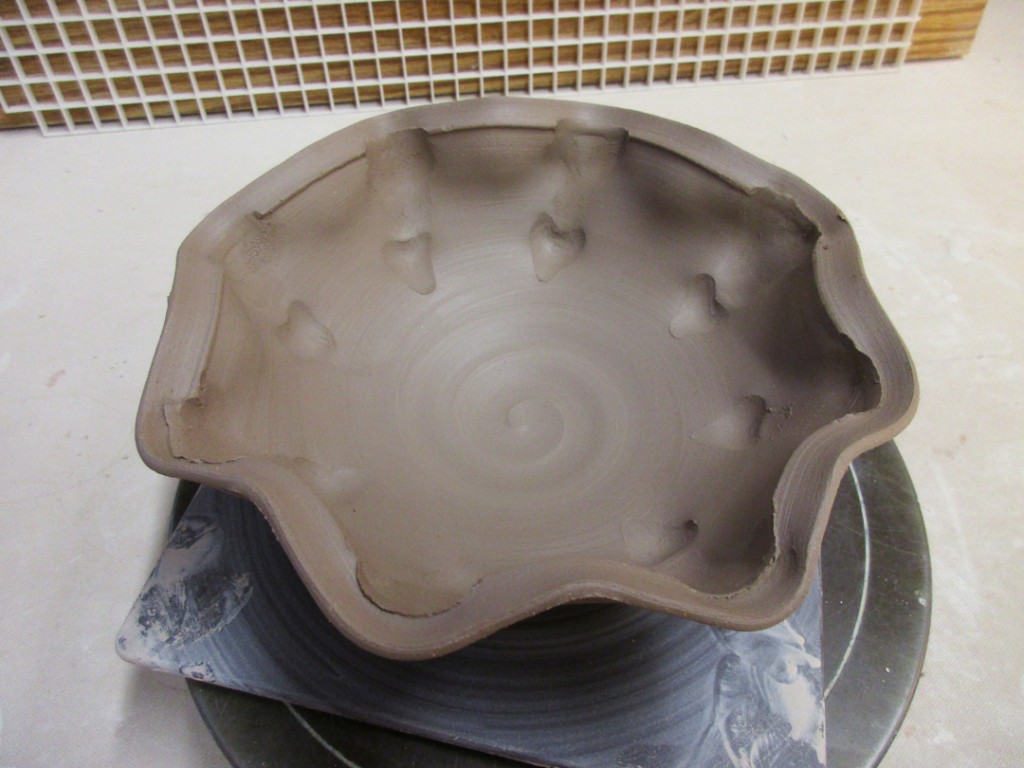
Bowl #9 – A simple indentation made in the bottom of the bowl with a metal dragonscale tool.
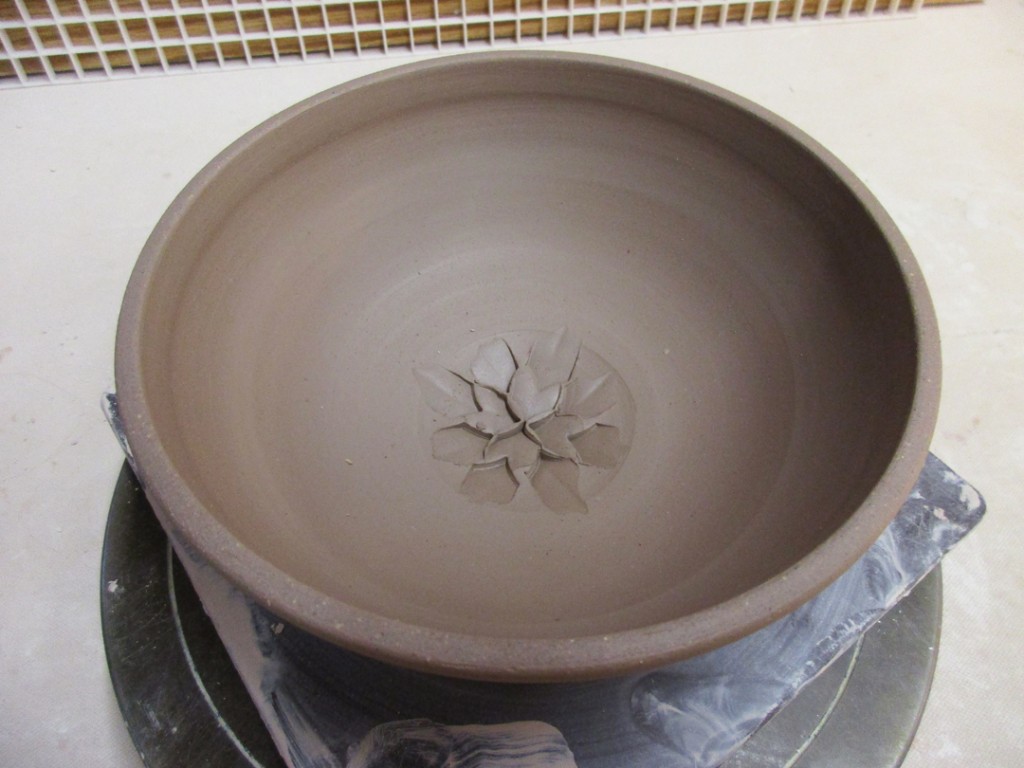
Bowl #10 – One of my students “scoffed” a bit when I did the indentation flower and said how easy it was. And since she was sitting at the wheel right next to me… I handed her a fresh bowl, the dragonscale tool, and told her to do something with it!!! It’s just clay. She balked a little, got a bit embarrassed, but when everyone cheered her on, Lucy ended up making this pretty incredible pattern in the bottom of her bowl. See?… sometimes it’s fun to be pushed out of your comfort zone… and look what beauty can came out of it!!!
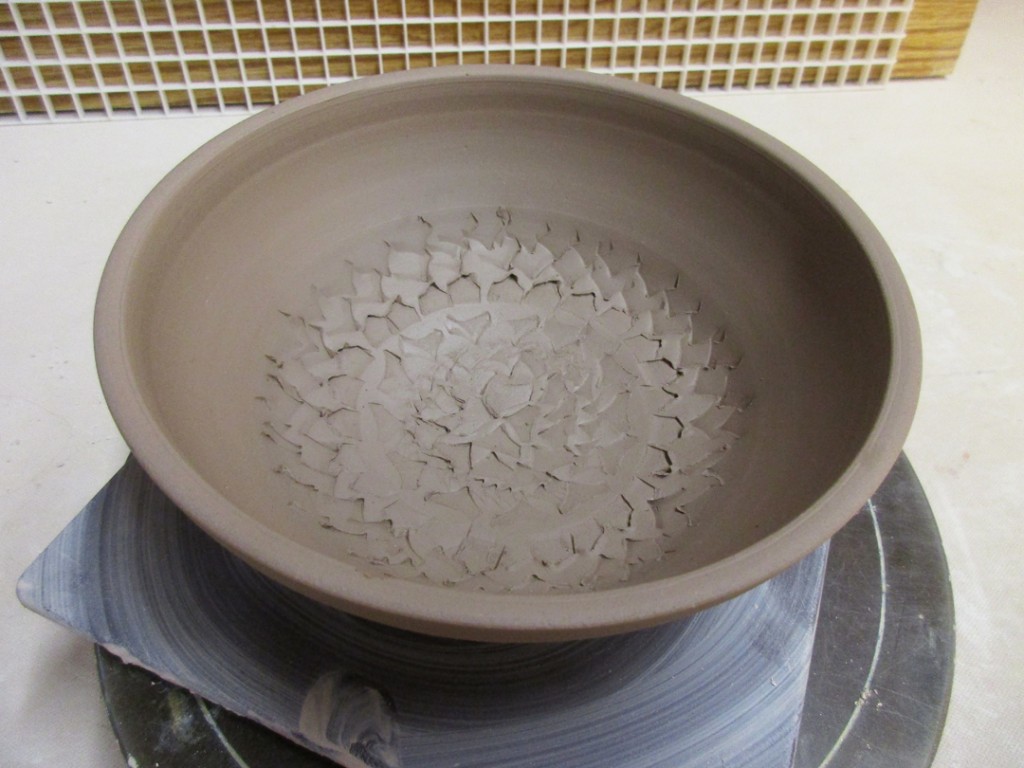
At this point it was time to introduce colored slip as a decorating option. A layer of colored clay painted onto the pot to give it some more color & texture. We talked about the difference between slip and glaze, and when it might be better to use one or the other.
Bowl #11 – A full coating of white slip on the inside of the bowl – and then a fun spiral dragged through the slip with the rounded end of my wooden knife. It’s fun to see the contrast between the lighter white slip and the darker clay body.
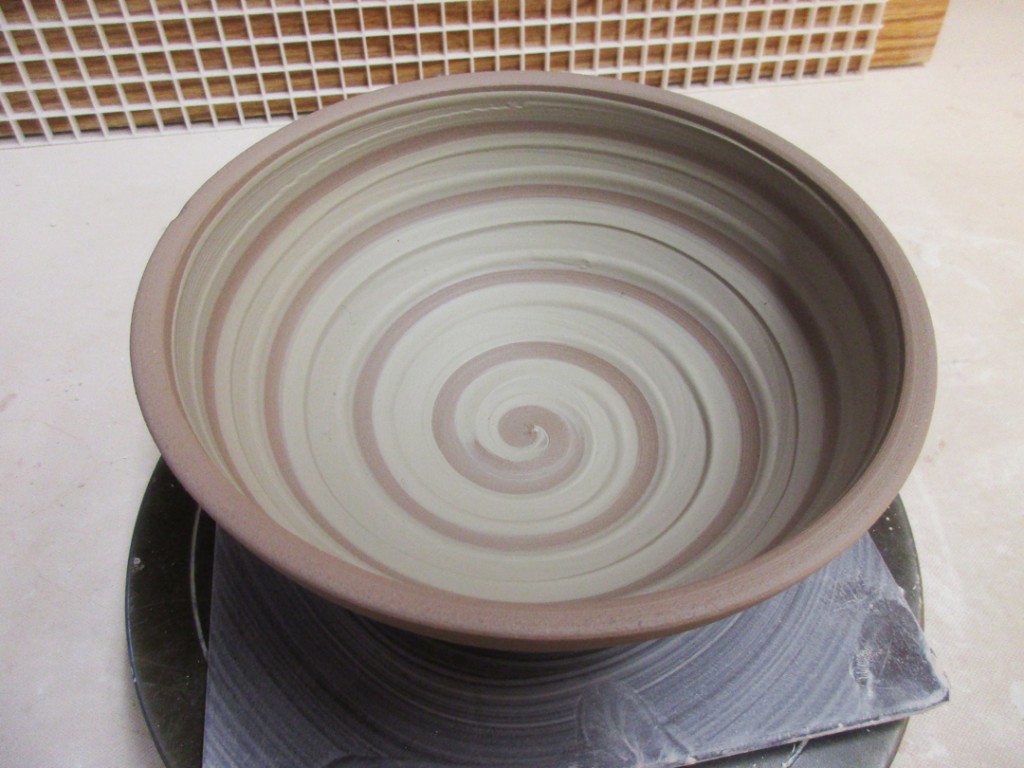
Bowl #12 – Same coating of white slip on the inside of the bowl but this time with horizontal banding instead of spiral.
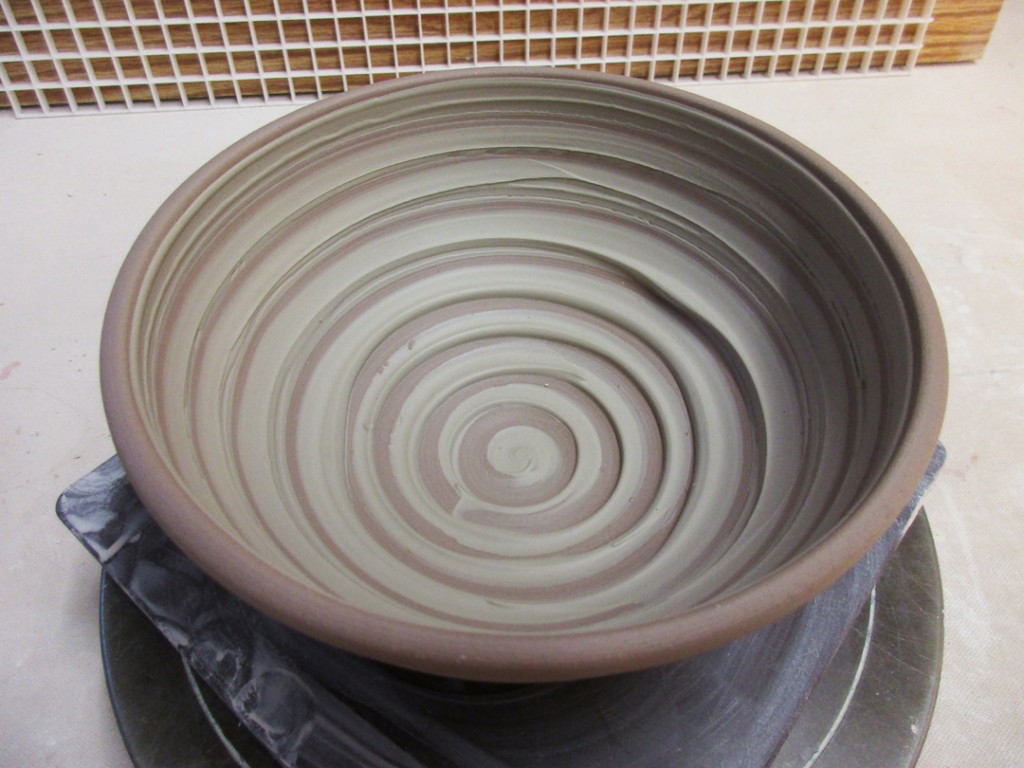
Bowl #13 – Tools are great… but so is finger painting. So for this one I made the layer of white slip a bit thicker than the others. And then I squiggled a couple fingers through it while the wheel was spinning. I love the undulating curves, the revealed clay color and the texture that will show up even better when glazed.
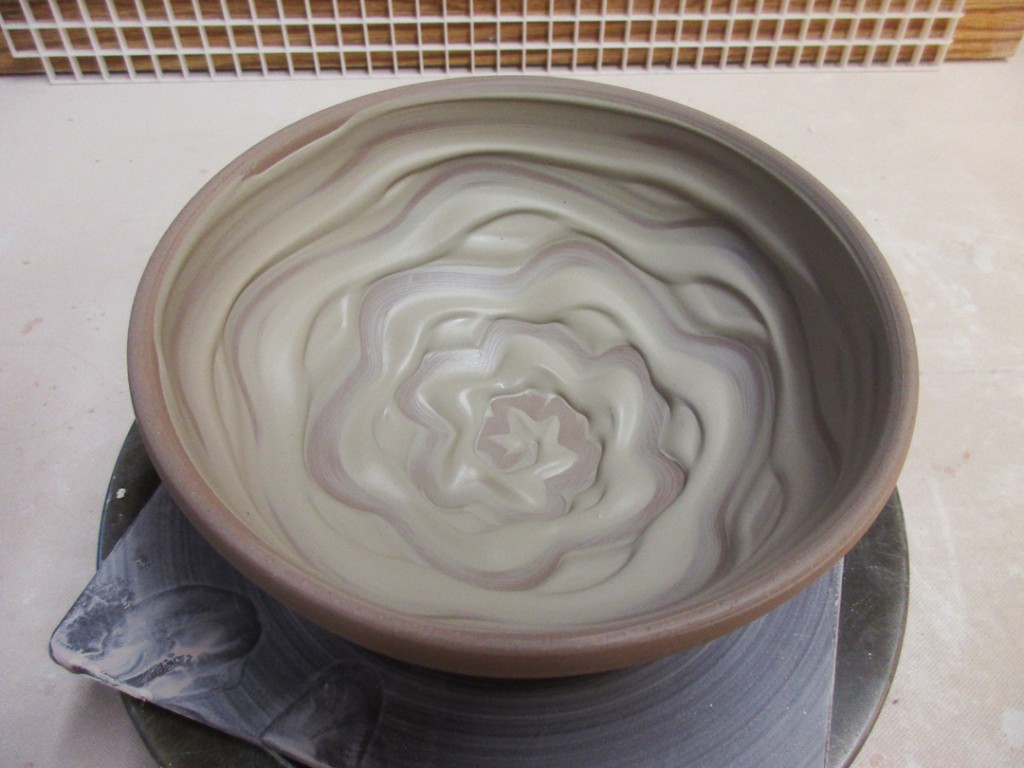

Bowl #14 – A layer of white slip to cover the entire interior of the bowl. And then a steady, rhytmic tapping of my plastic rib… tapping up & down, up & out, while the wheel is spinning. It’s a combination of all three that creates the pattern.
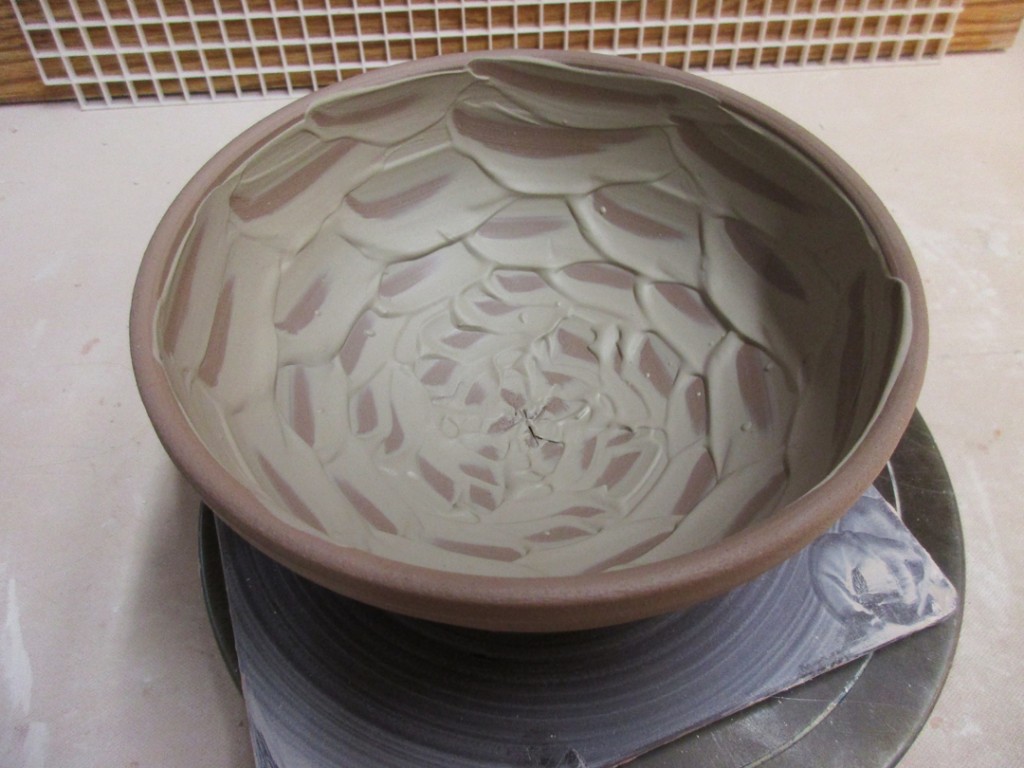
Bowl #15 – Okay, so I apparently forgot a bowl here?! Mwah, mwah, mwah…
And it’s a NICE one… trust me!!! It was another white slip with a tighter, angled chattered effect,
Bowl #16 -Instead of coating the bowl with white slip, this time I drew a spiral of slip white a squeeze bottle. My original intention was to have a perfect slip-trailed spiral. But the slip sputtered out a couple times. Ugh. So instead of trying to “fix” the splotches, I decides to do some gentle chattering through it… a very happy accident!!!
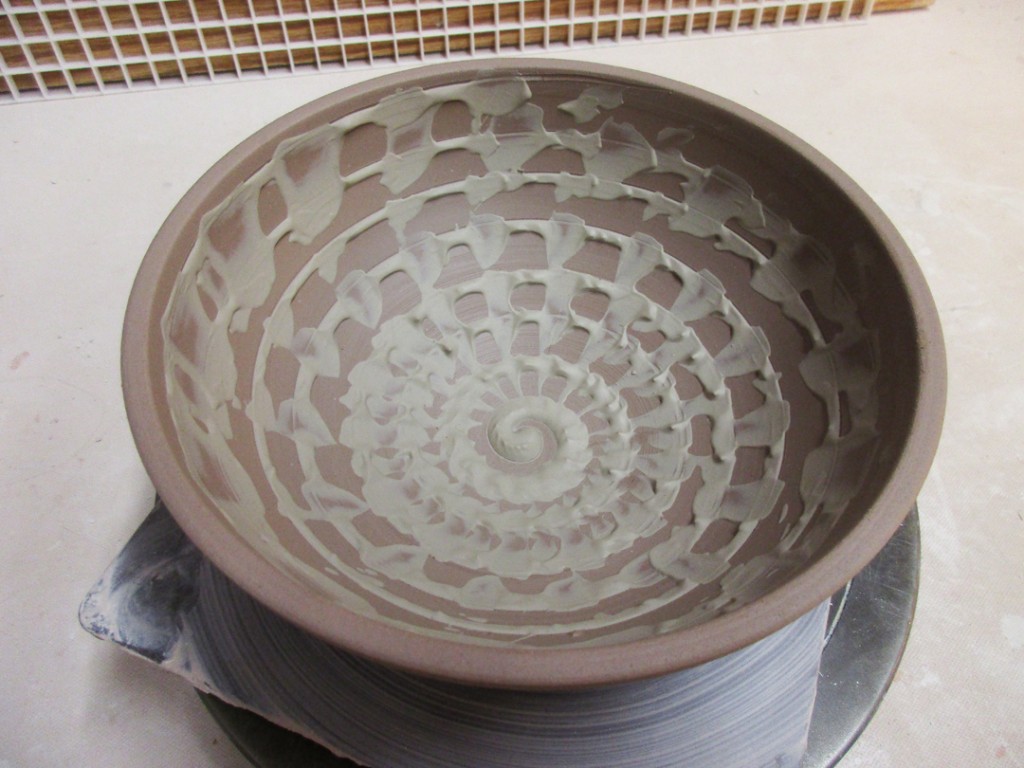
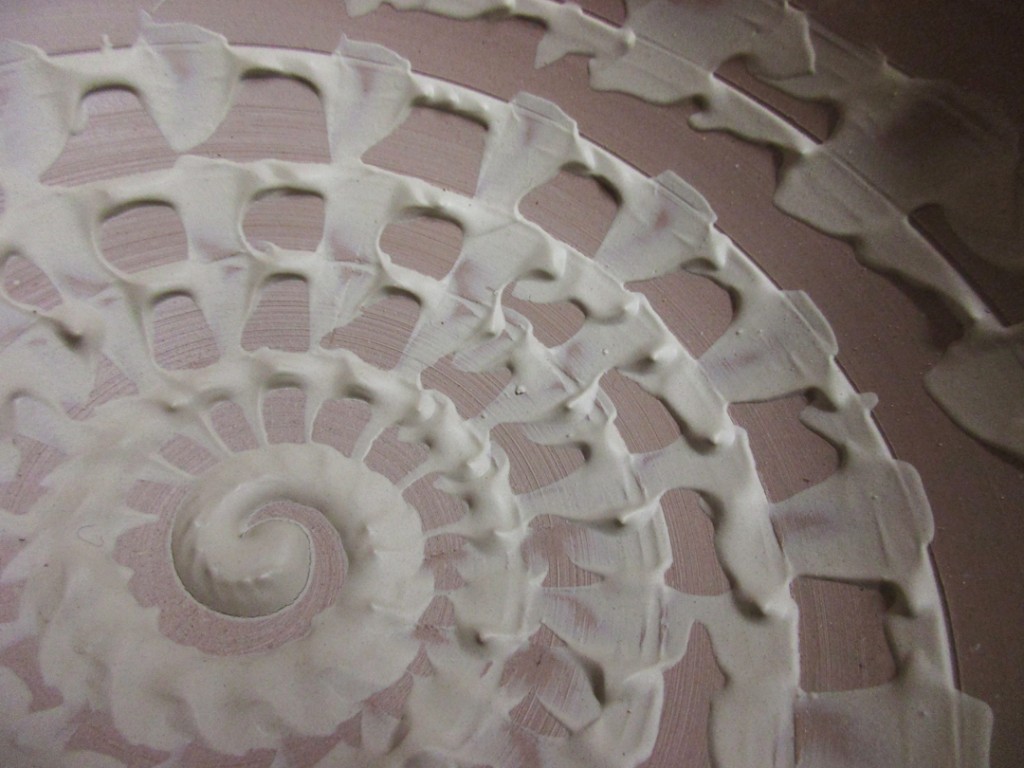
Bowl #17 – The other bowls have all had slip on the interior of the bowl, but for this one I put slip on the outer rim. I then drew some bands through the slip in concentric circles to the bowl. And then did some finger dragging outwards to get the contrast.

Bowl #18 – For our final bowl, I did a simple ombre blend of white slip with a black slip

So for now, all of the bowls are safe up in my studio under wraps. Of course I wish I could have shared these bowls a lot sooner…. but those darn Income Taxes got in the way. But now they’re done… I’ve breathed a small sigh of relief… and I hope these bowls were worth the wait.
A great night of food & fun at Macello’s with my friend Pam.
A perfect start to an evening of theatrical spectacle… with live horses!!!
Bright colored murals on the walls. Striking black & white prints.
And WONDERFUL wood-fired pizza with burrata… possibly my new favorite cheese?!!!


I love when my friendly customers share their Fire When Ready Pottery on Instagram. It’s so great to see your work being loved & used… especially on a cloudy & rainy day like today! Thanks for sharing Allison!

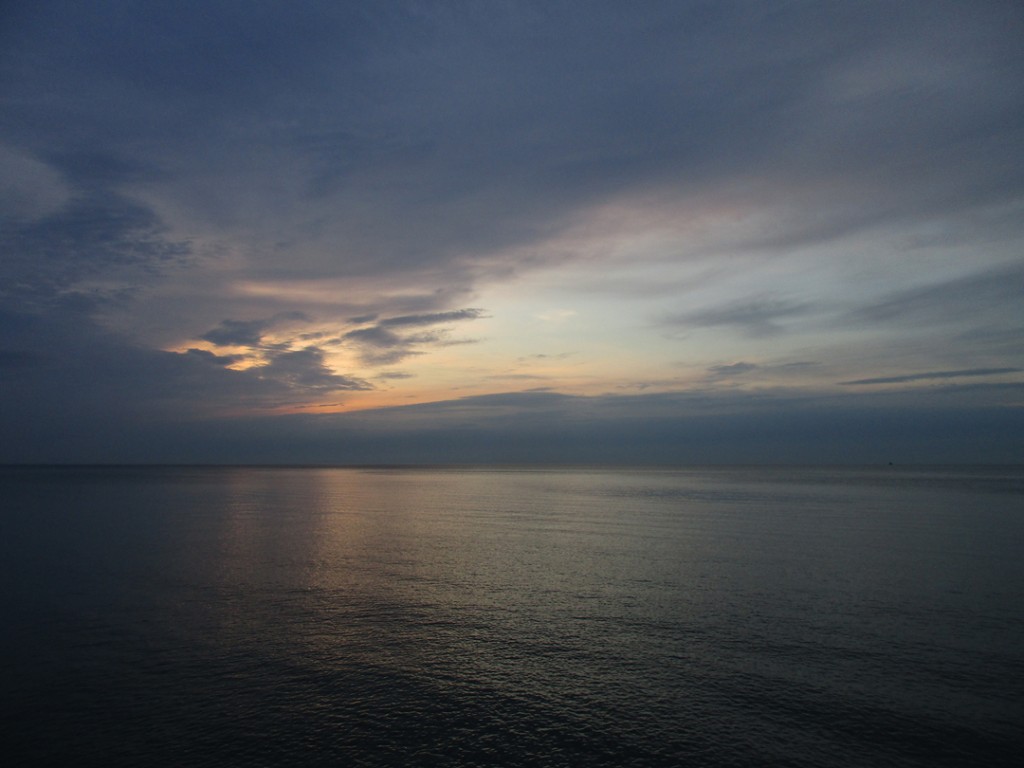
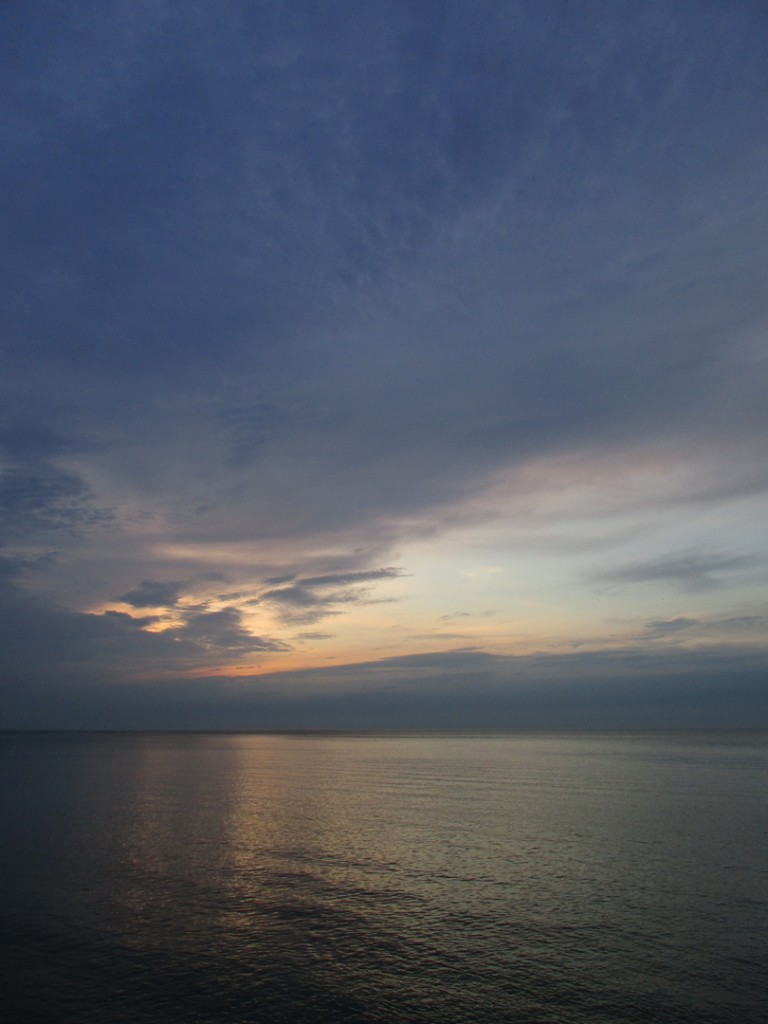
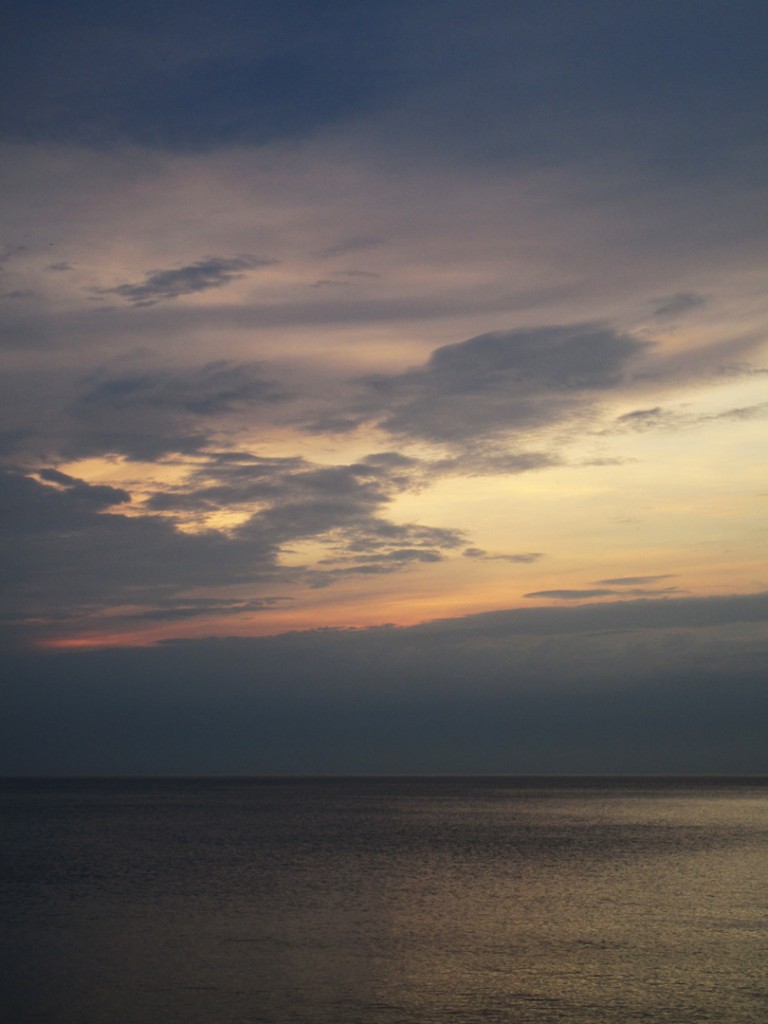
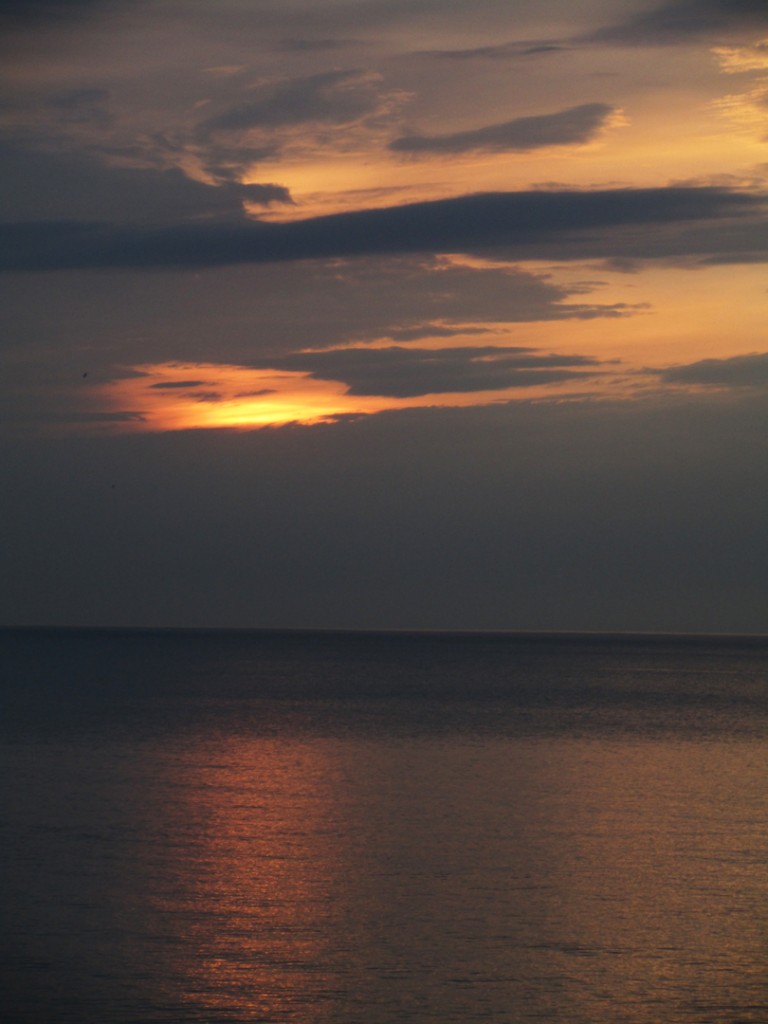
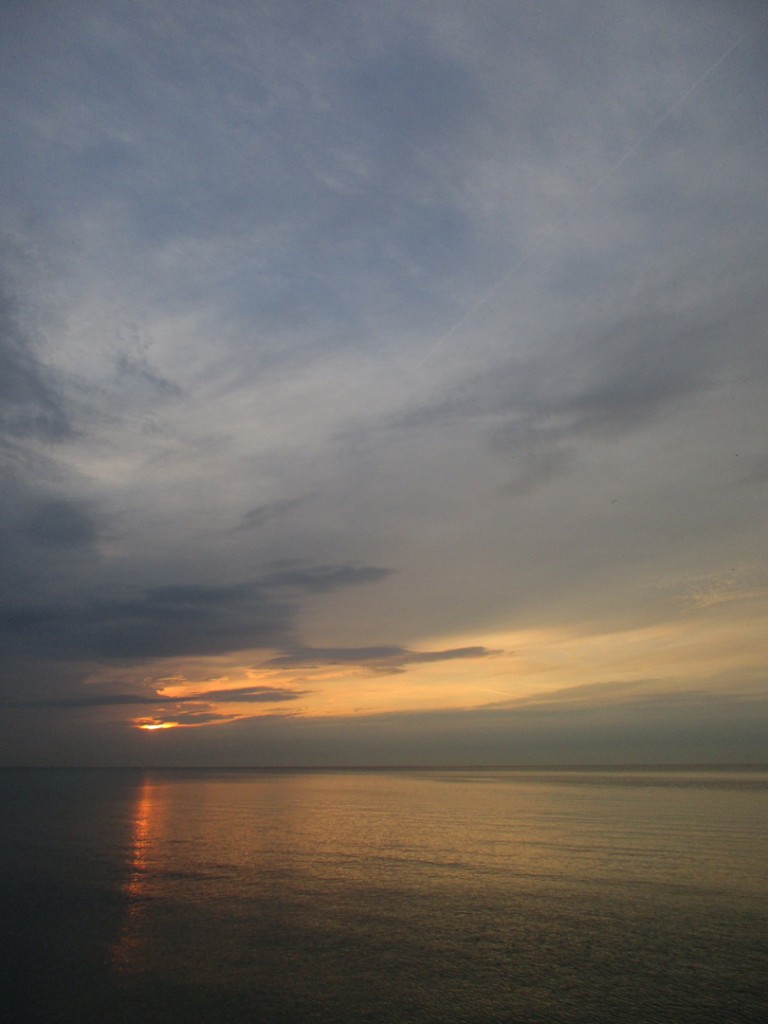
With a big post-Tax Day sigh, this morning was surprisingly warm & sweaty for my morning run along the lake. Cloudy skies with a brief splash of color before the clouds won out and the sun disappeared for the rest of the day. Back on track… and beginning the post-tax recovery! Cha-ching $$$. Let the “healing” begin…




Thank you TurboTax… for making this process not so impossible.
And the United States Government for making this painful as always to “giveaway” tons of cash at the end of a year where I’ve worked HARD to make a living… lots of pots, lots of teaching, lots of work. Sometimes makes you reconsider this “glamorous” life as self-employed artist.
But trust me, this feeling will dissipate… and things will be back to normal soon. It just STINGS a bit when you hit that “Send” button!!!
Ouch!
A good sunrise. Another bike ride. Some chocolate. And we’ll all feel a lot better…
Another year done. Moving forward!!!
While tonight’s class demo was throwing bowls, altering & decorating them, and I would LOVE to show you more photos of them right now… “someone” still needs to finish his taxes!!! One hour until the deadline… bowl photos & descriptions will have to wait. Sorry… trust me, I’d MUCH rather be talking about bowls!!!

My “Simply Soda” class also got to mix their first batch of slip EVER!!! They were quite excited going into it. I think until they realized it was just measuring & mixing. No magic. It was the pressing through the fine mesh sieve that did ’em in. Good team project though… and now they have another flashing slip color to play with! Butter Yellow!!! Thank you Nolan for sharing your recipe.
At least they got to play with power tools!!!


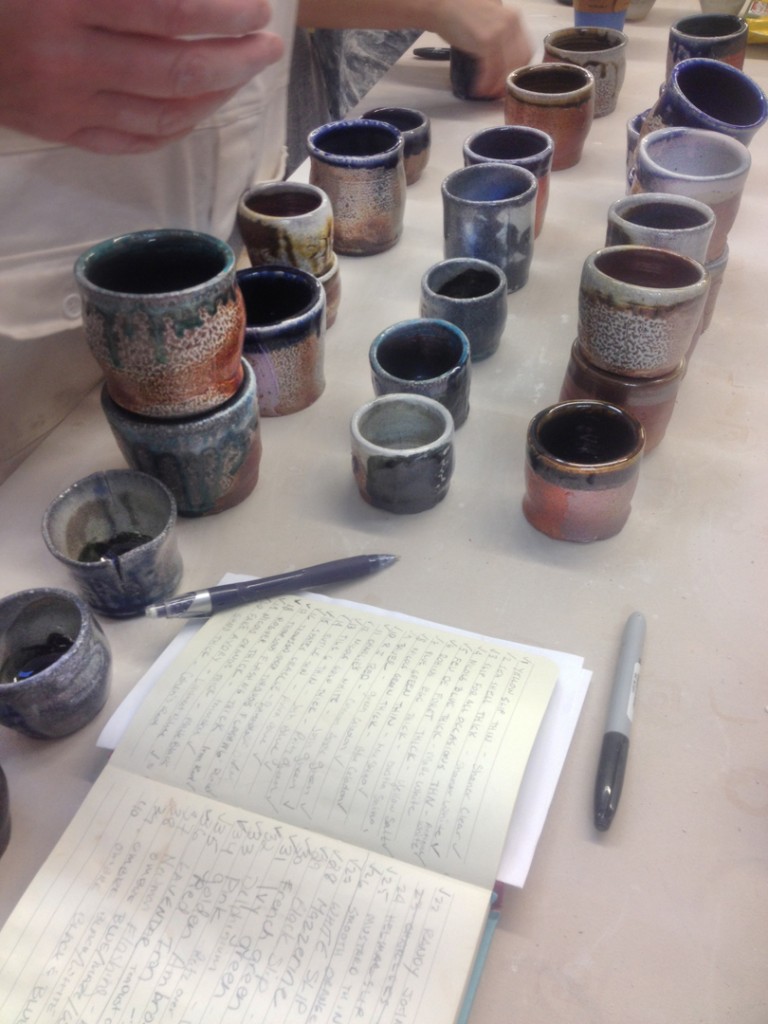
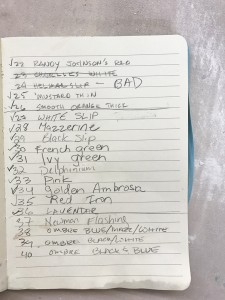
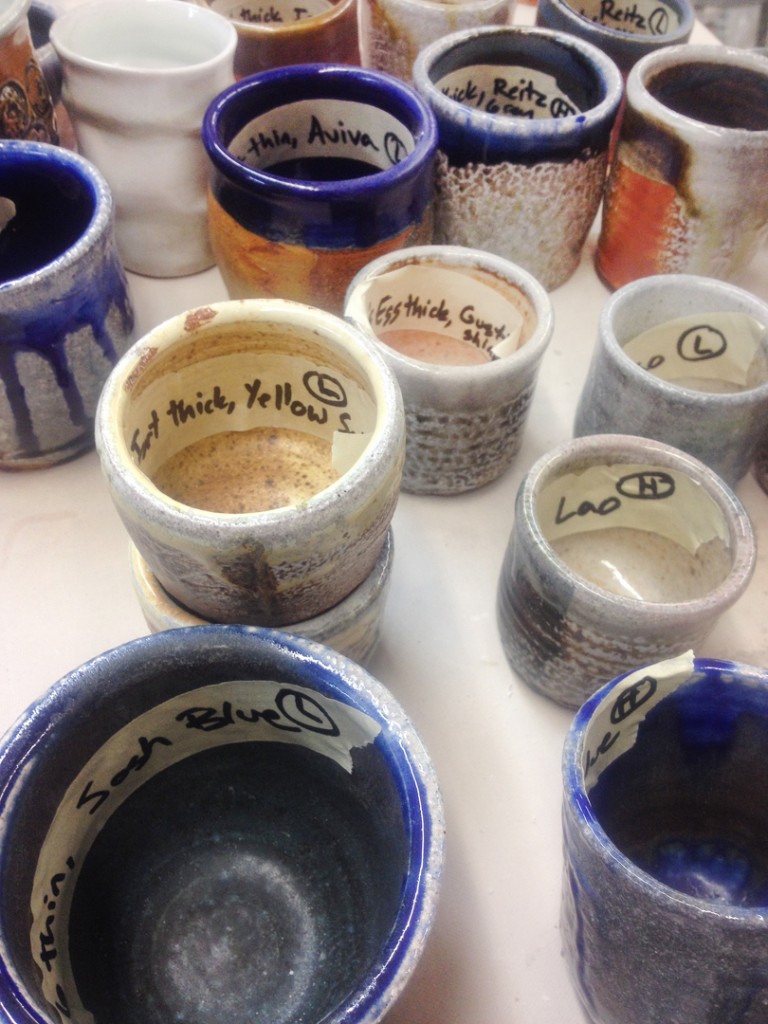
Last night my “Simply Soda” class got their first pieces back from the latest soda firing… albeit the sets of test tiles they made the first week. Lots of “information” for them to process with different slips, glazes and the variations from hi-soda to low-soda. Lots of organizing, comparing to the “legend”, labeling and admiring… some more than others!!!


|
Gary Jackson: Fire When Ready Pottery
Lillstreet Studios ∙ 4401 North Ravenswood, Chicago, Illinois 60640 ∙ 773-307-8664 gary@firewhenreadypottery.com |