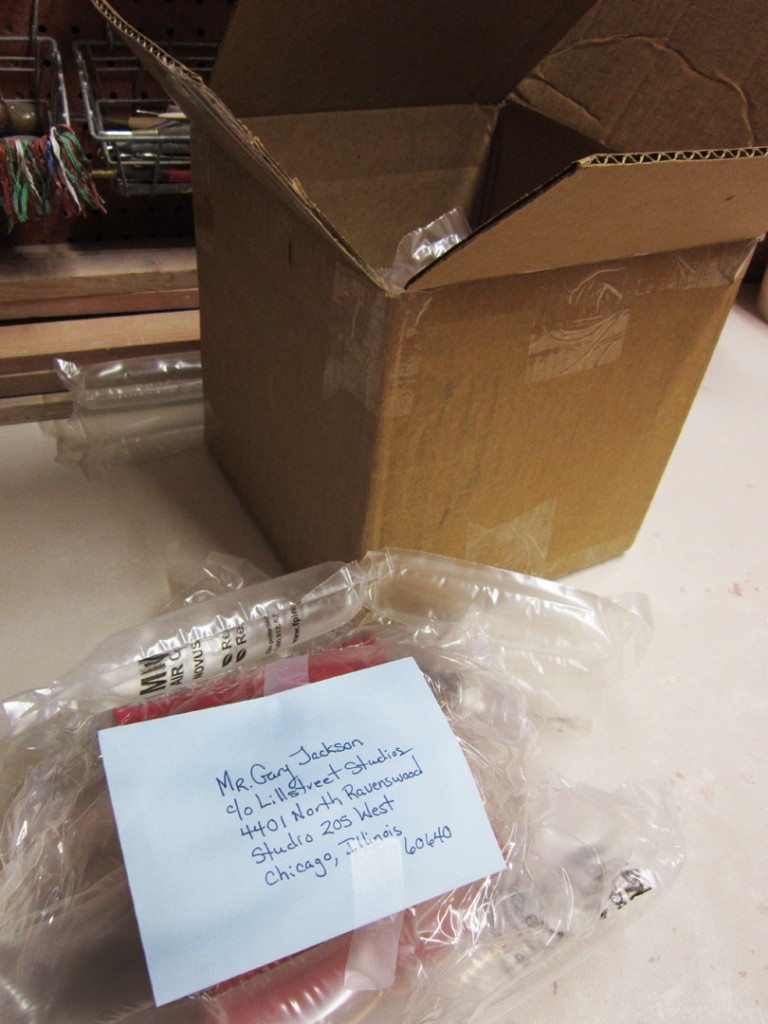
Tonight when I got into the studio, I was greeted by a little brown care package.
And who doesn’t love a good care package?!!! So I opened it up carefully…
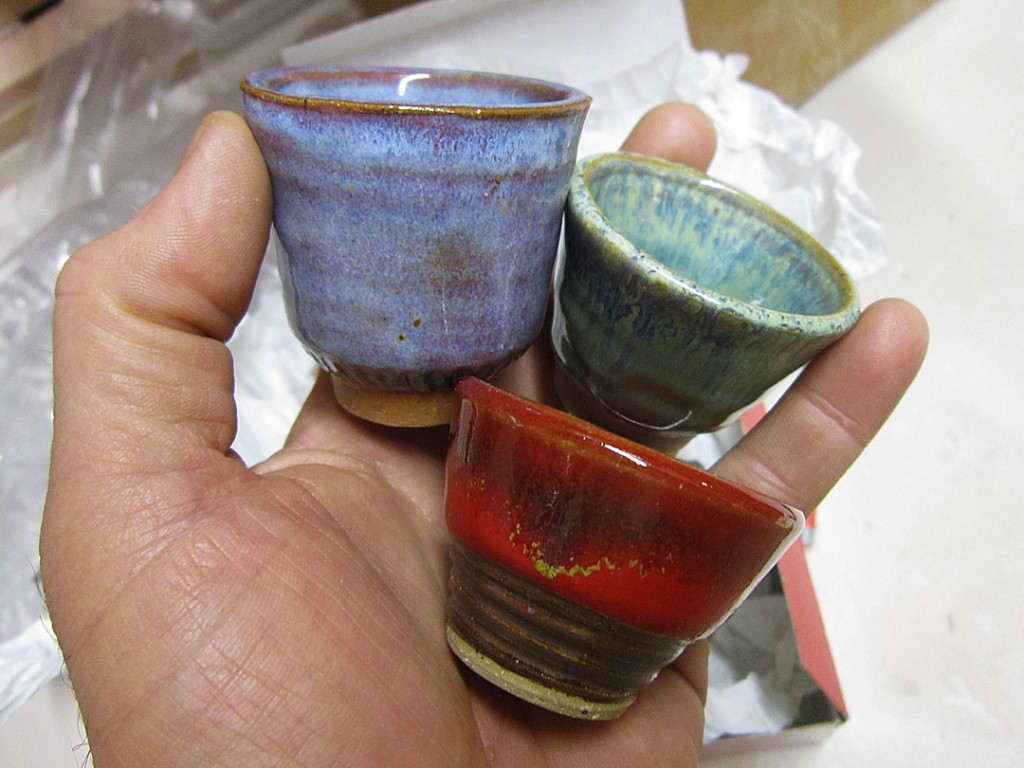
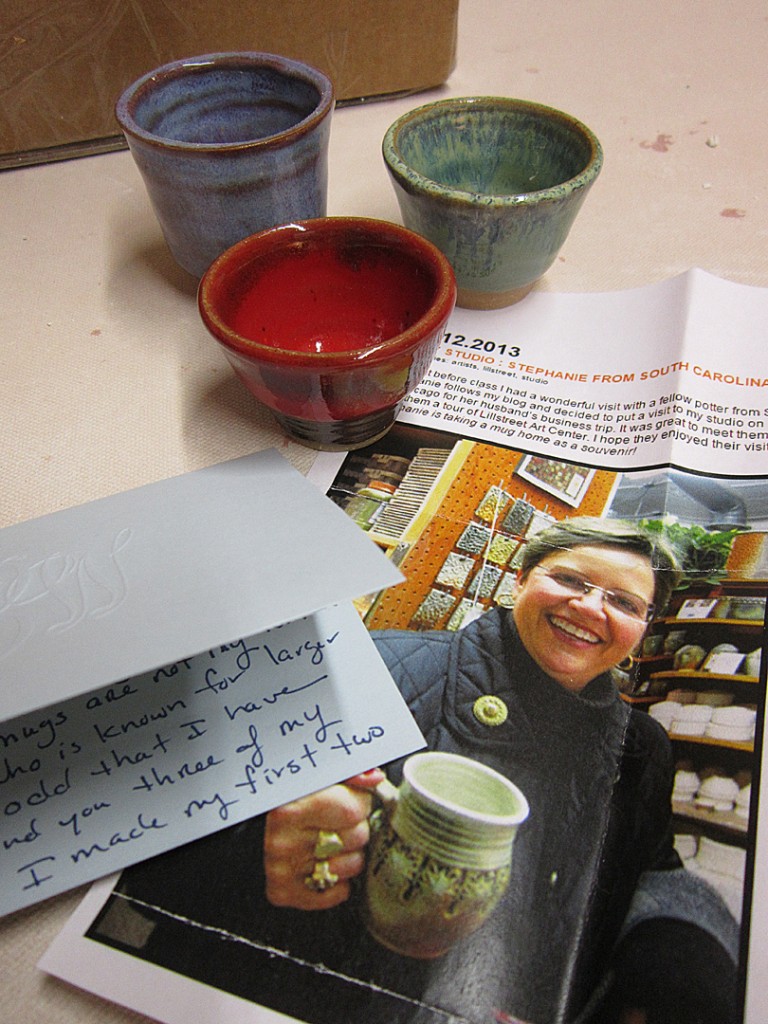
Inside I found three adorable little bowls… each a treasure! And a wonderful Thank You note from a “fan” who stopped by my studio over a year ago! Stephanie from South Carolina stopped by my studio in November 2013. I love showing off my studio, sharing ideas and giving people a tour of Lillstreet. Stephanie and her husband got the full tour… and she left with a souvenir mug. Little did I know that Stephanie would appreciate their visit SO much,, that over a year later she’s still thinking about it and felt the need to send me a gift. A wonderful surprise… albeit unnecessary!
Thank You Stephanie… I love your little bowls.
Cute little shapes with wonderful colors… especially the green… oh, and the RED!!!
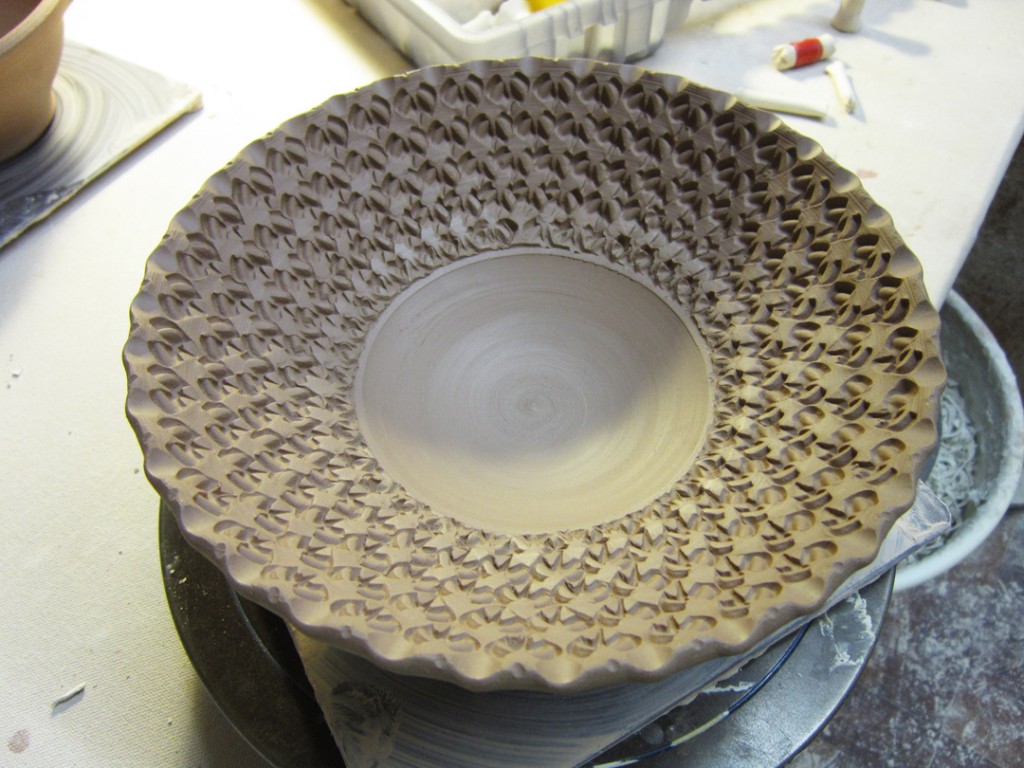
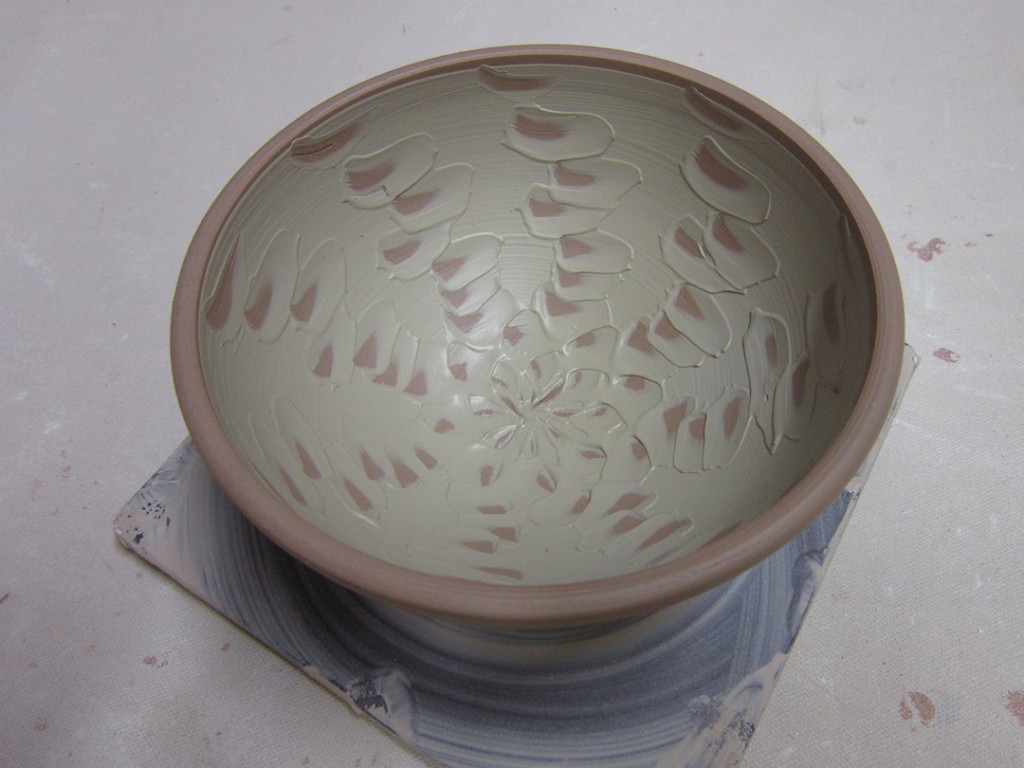
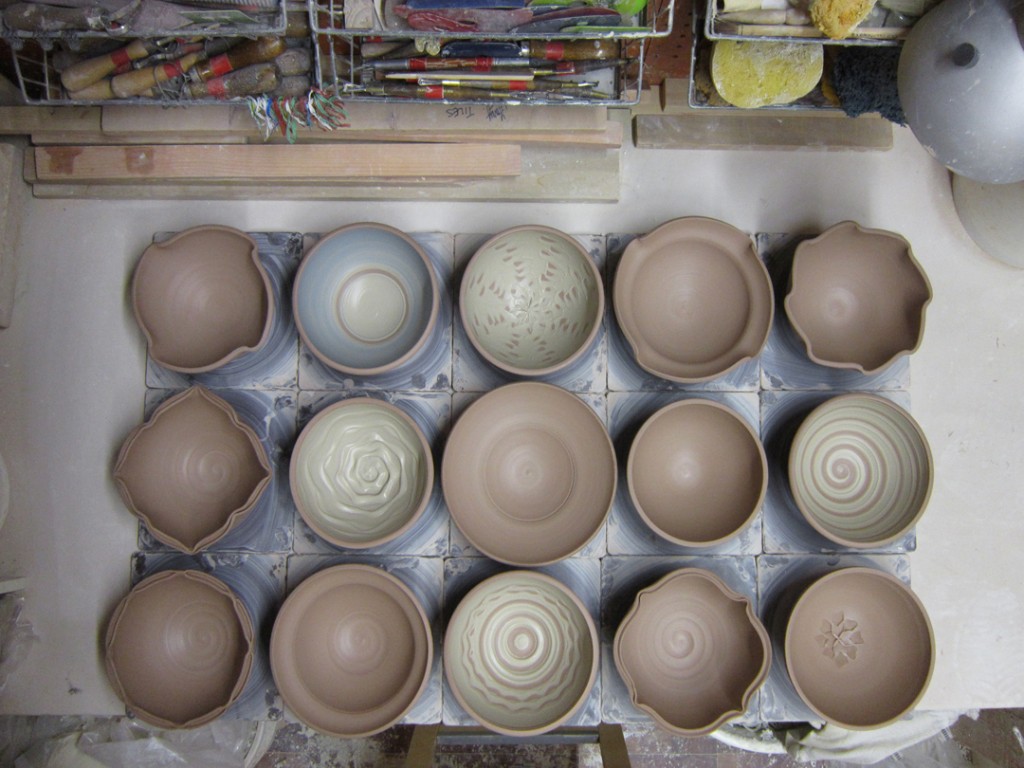
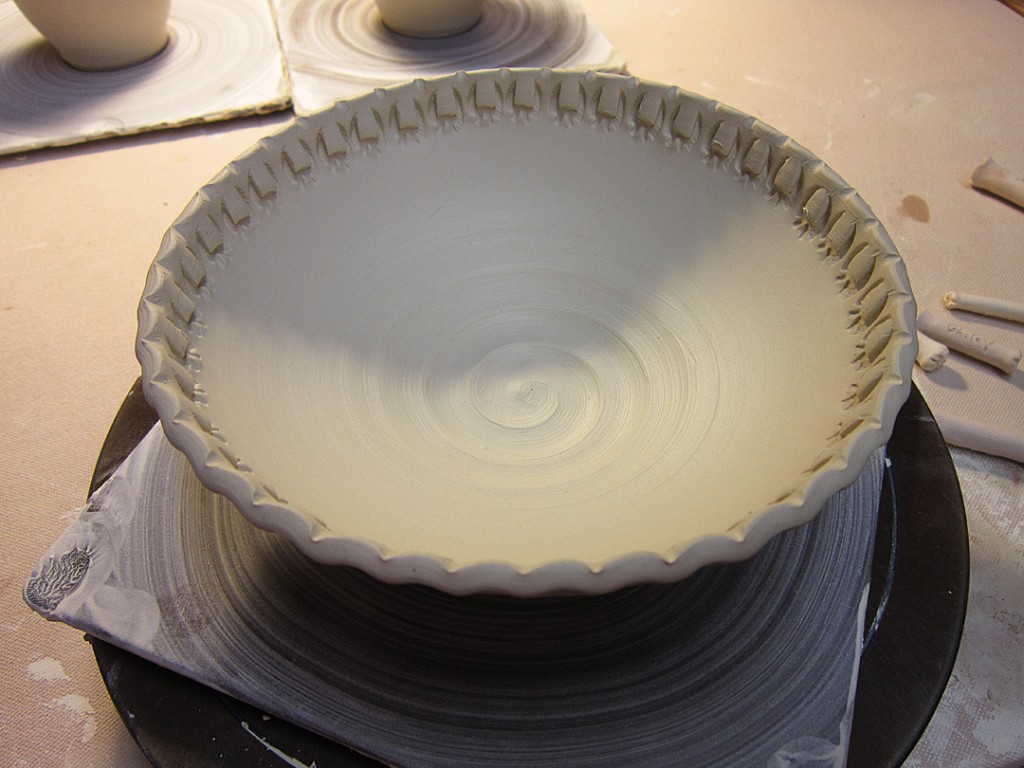
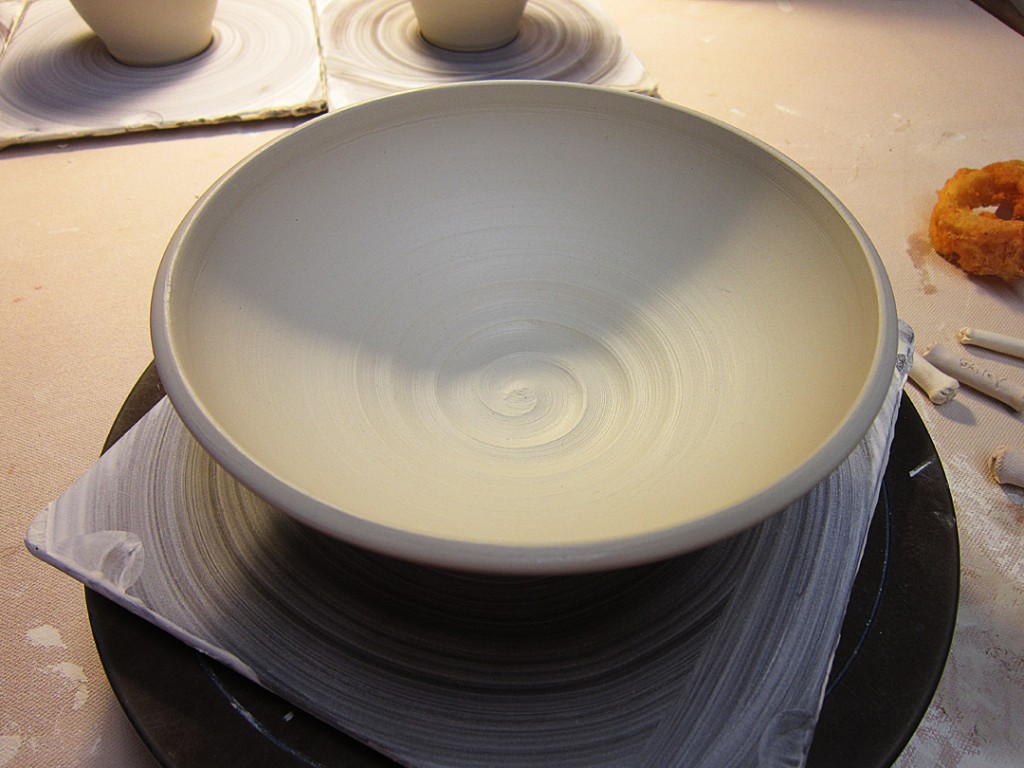
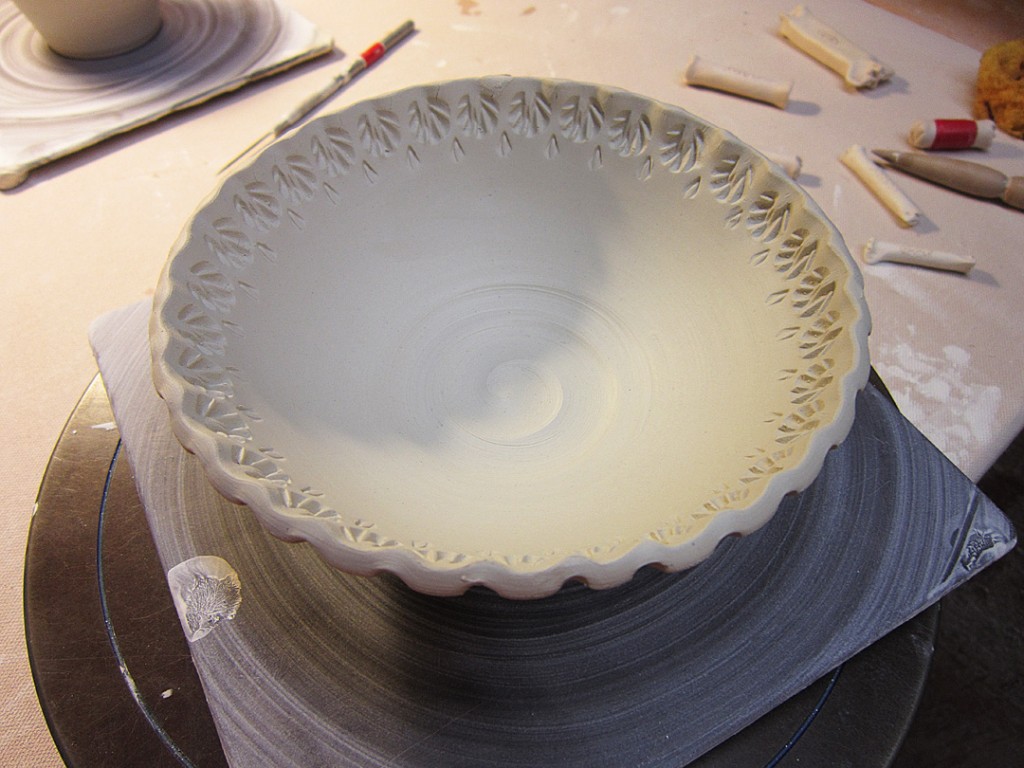
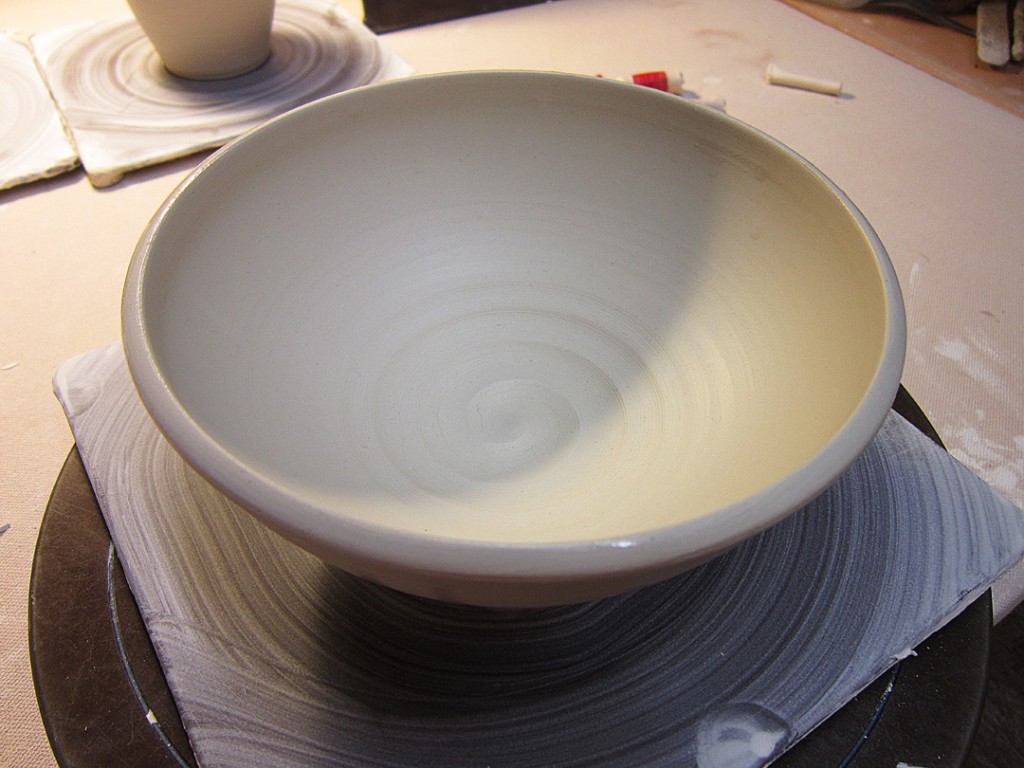
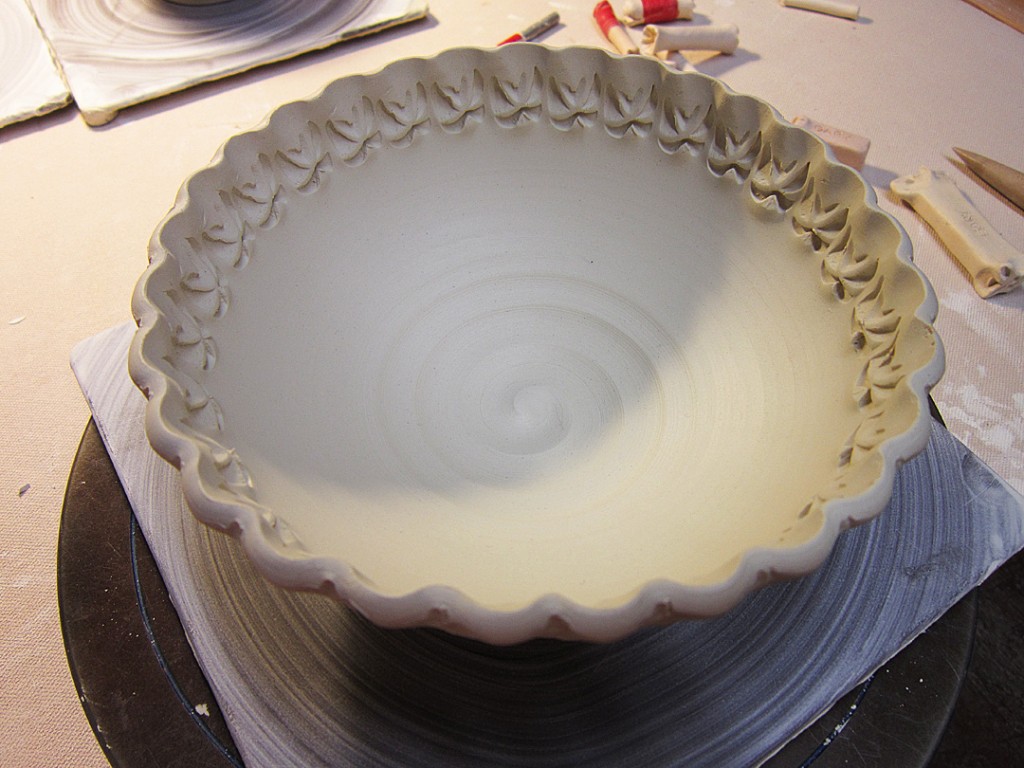
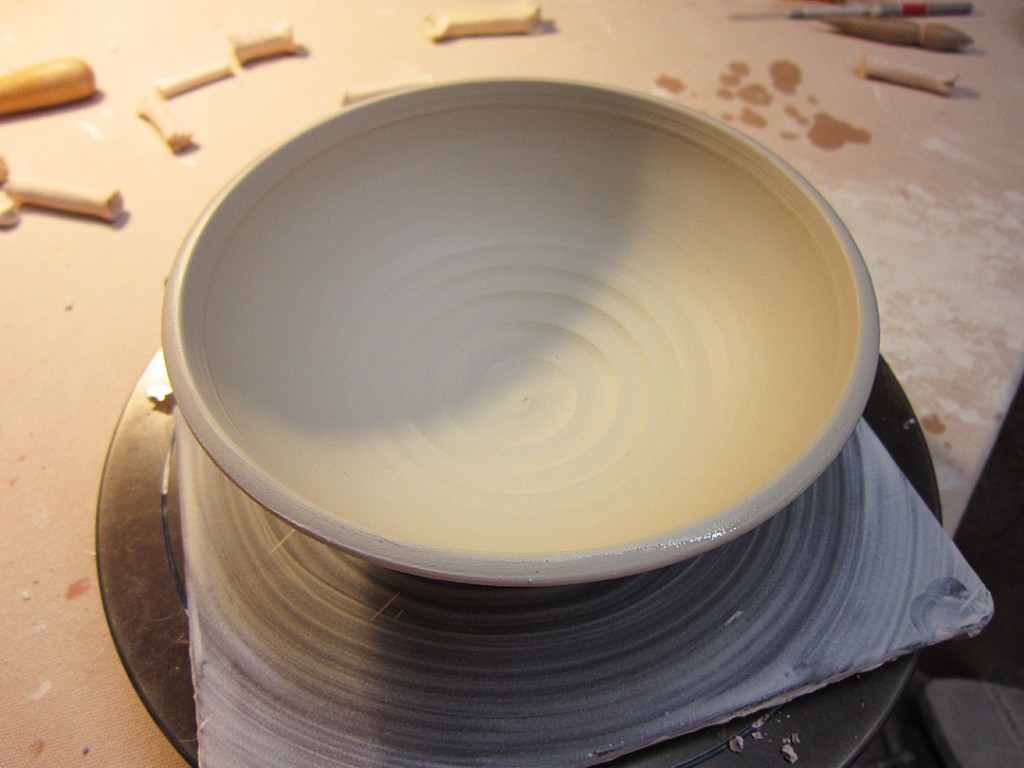
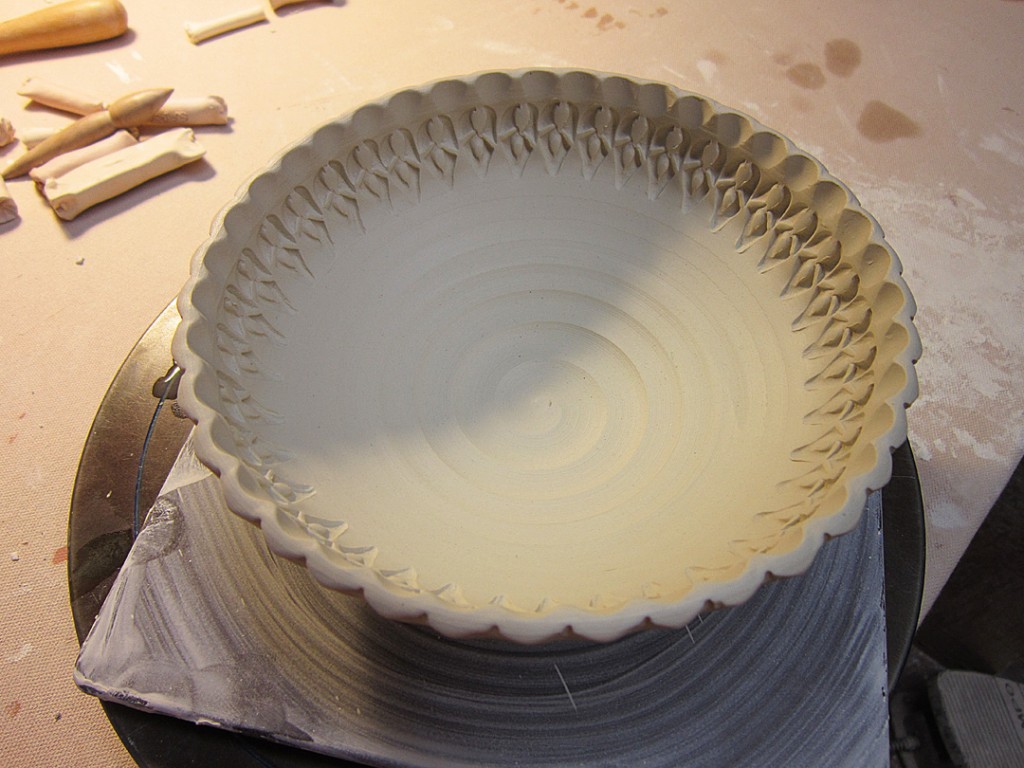
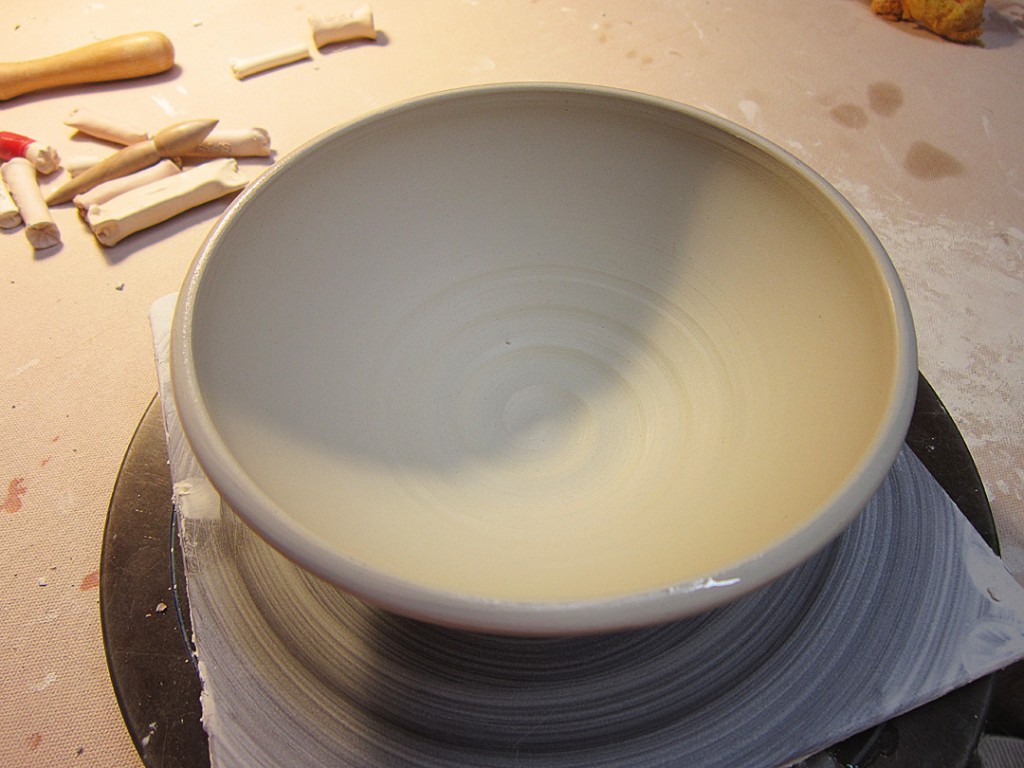
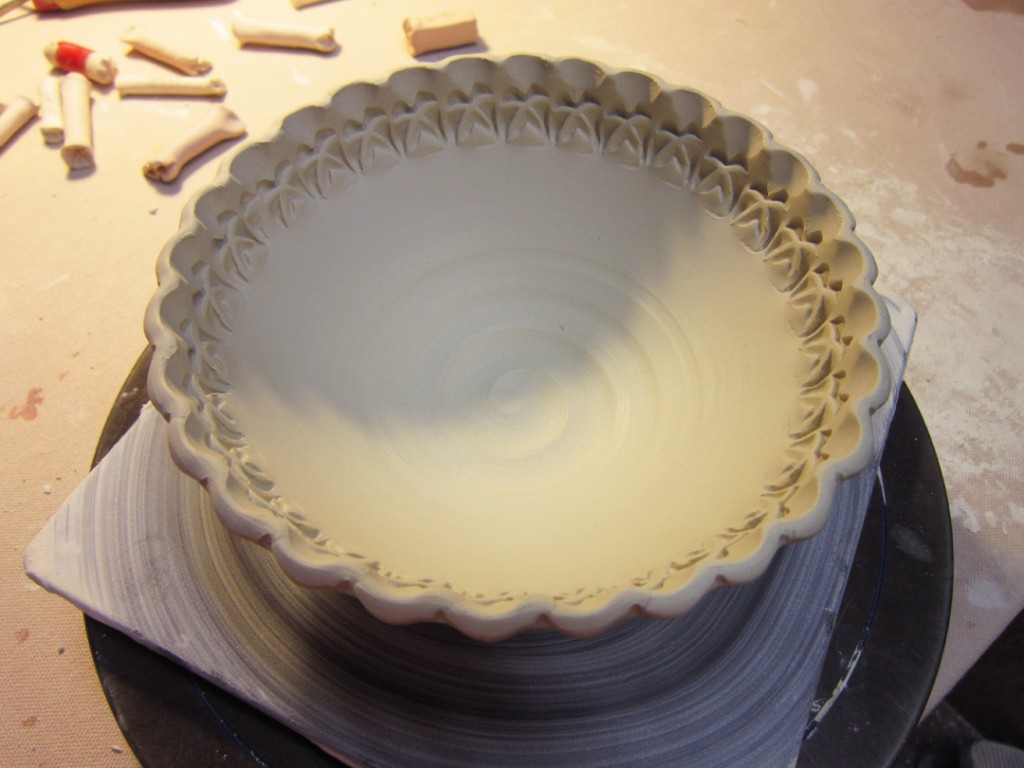
Tonight I came back into the studio to do some “detailing” on the bowls from last night’s class demo. Don’t get me wrong… there will be more detailing as they continue to stiffen up and I do some trimming.
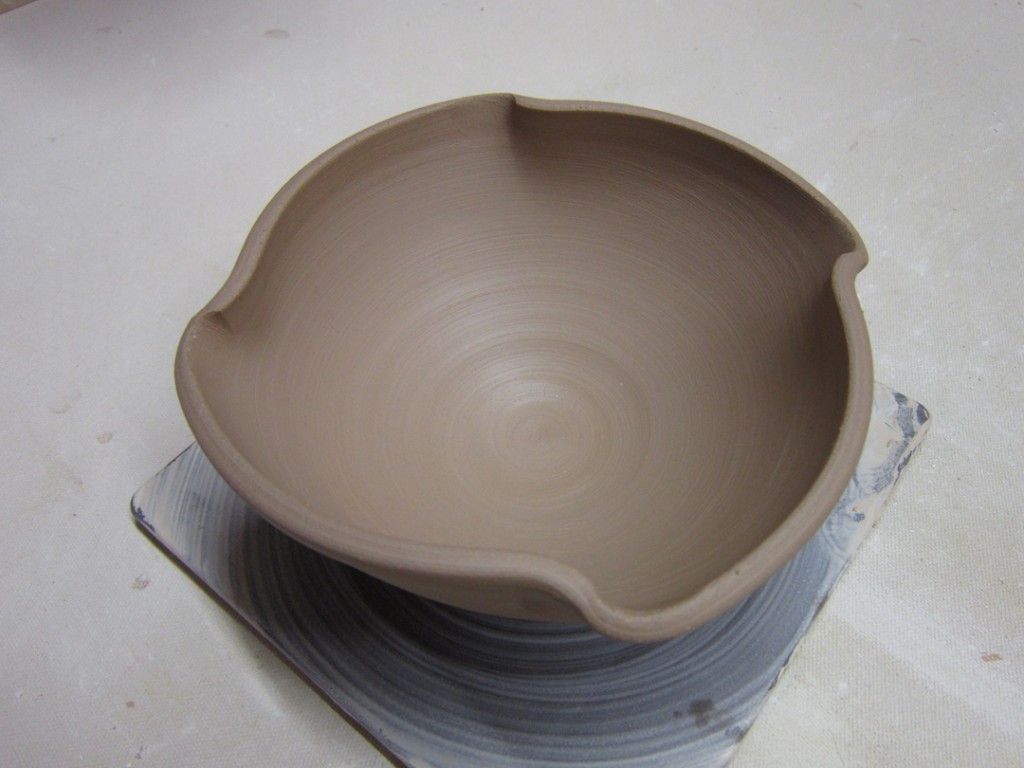
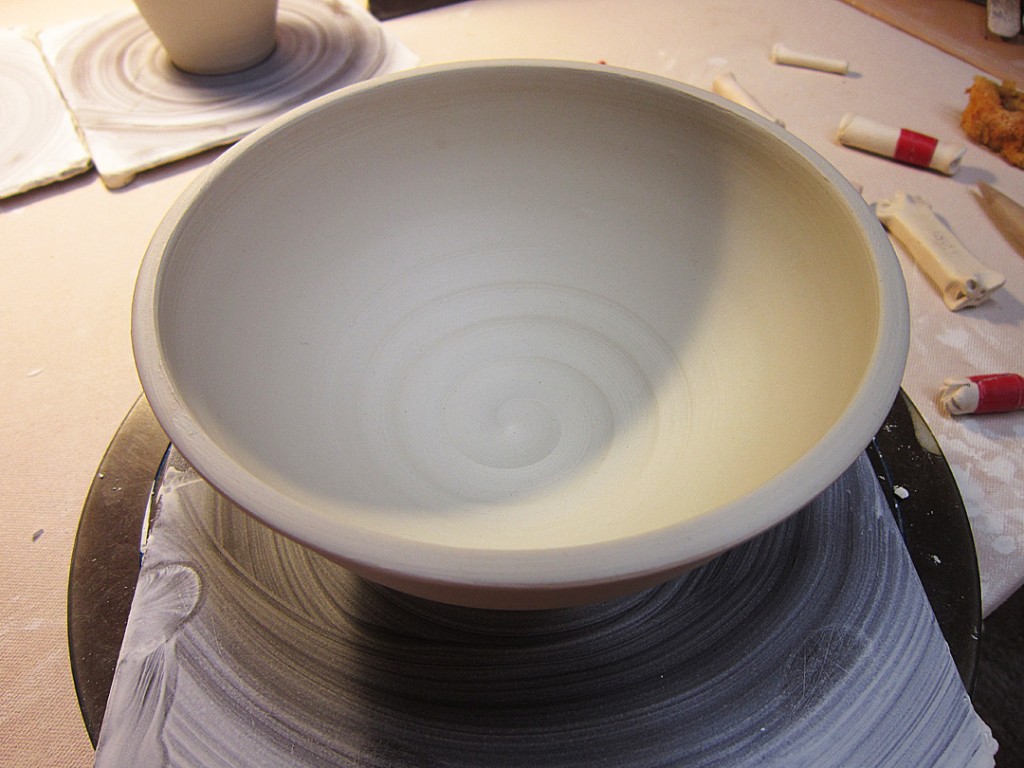
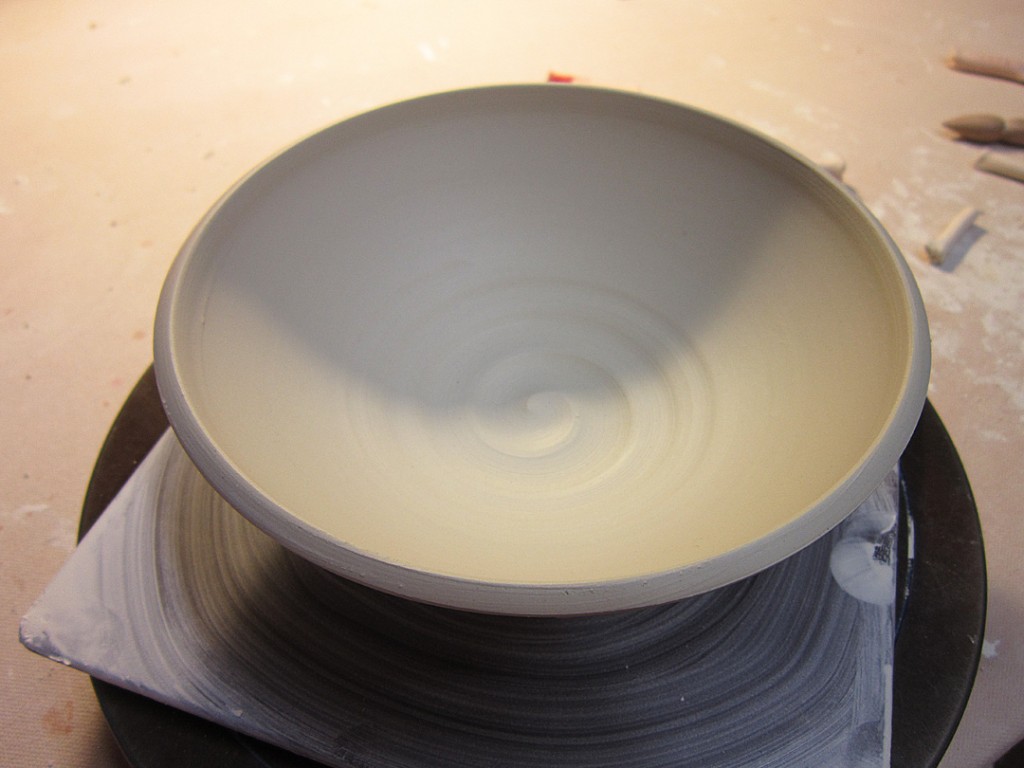
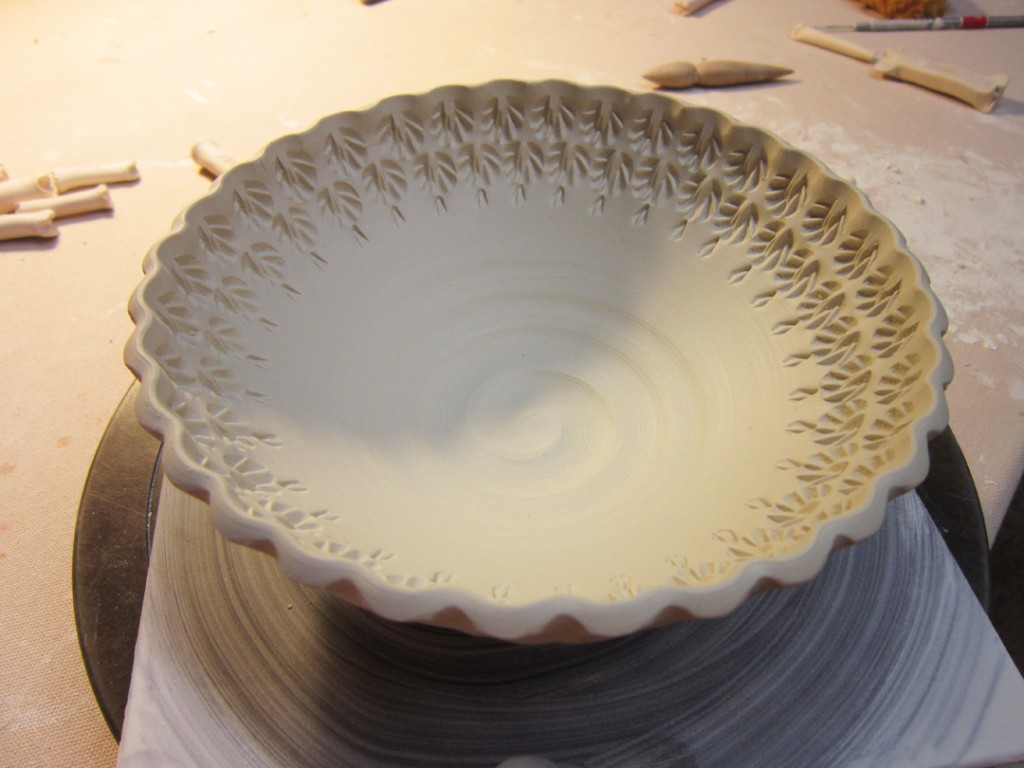
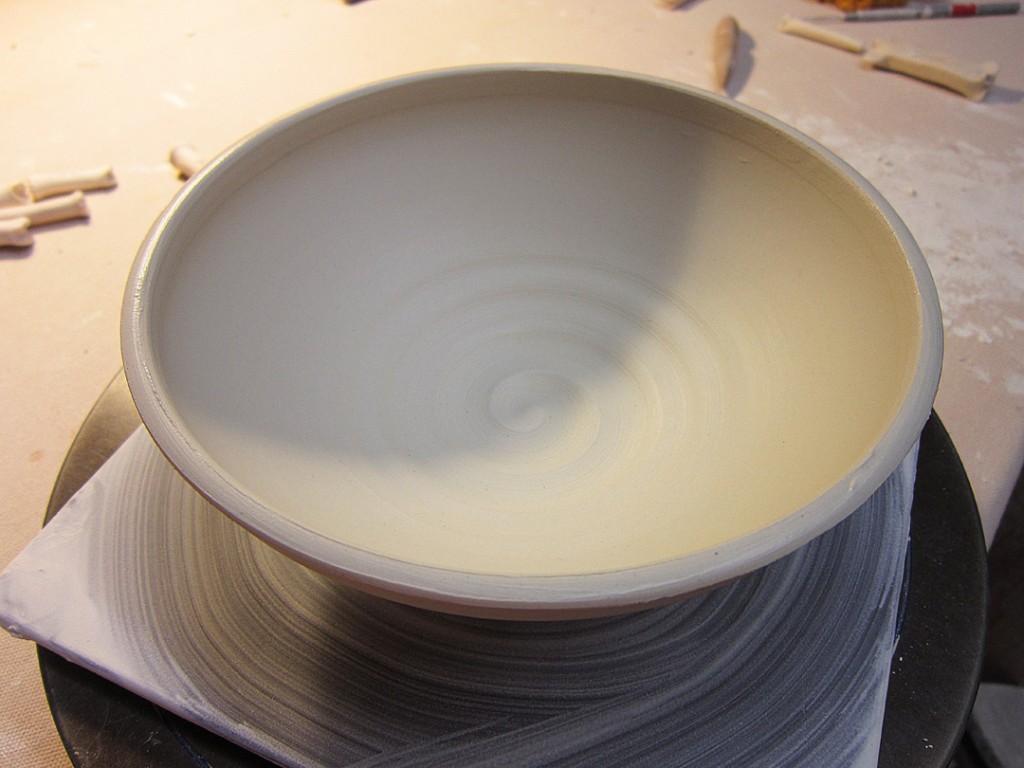
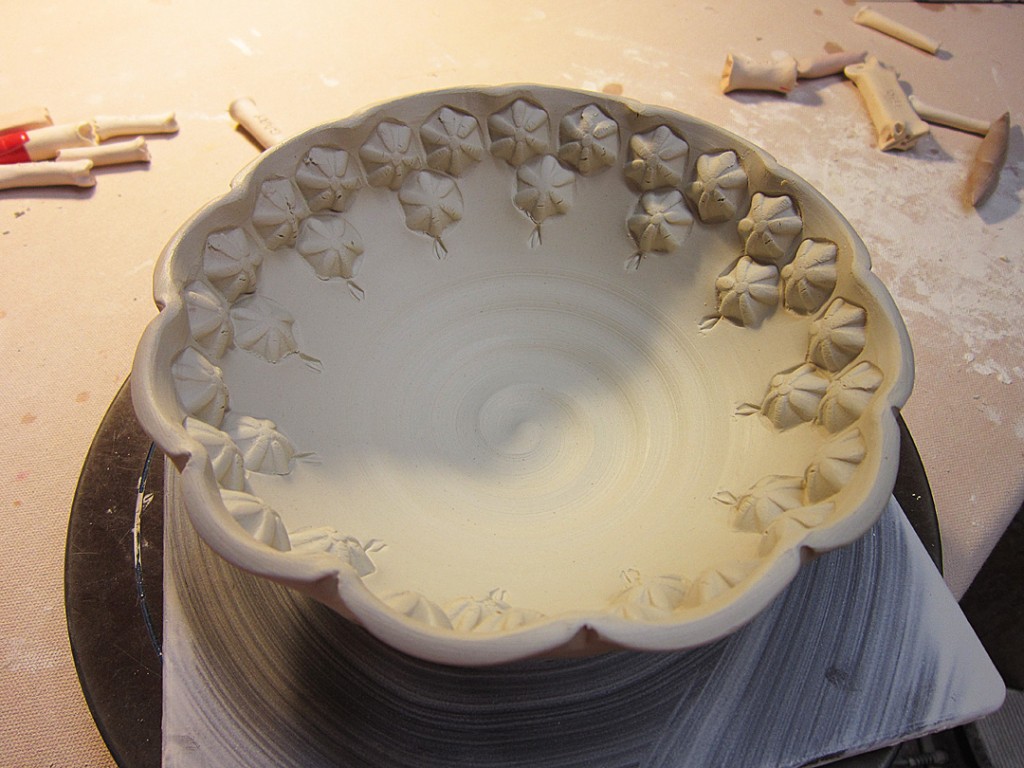
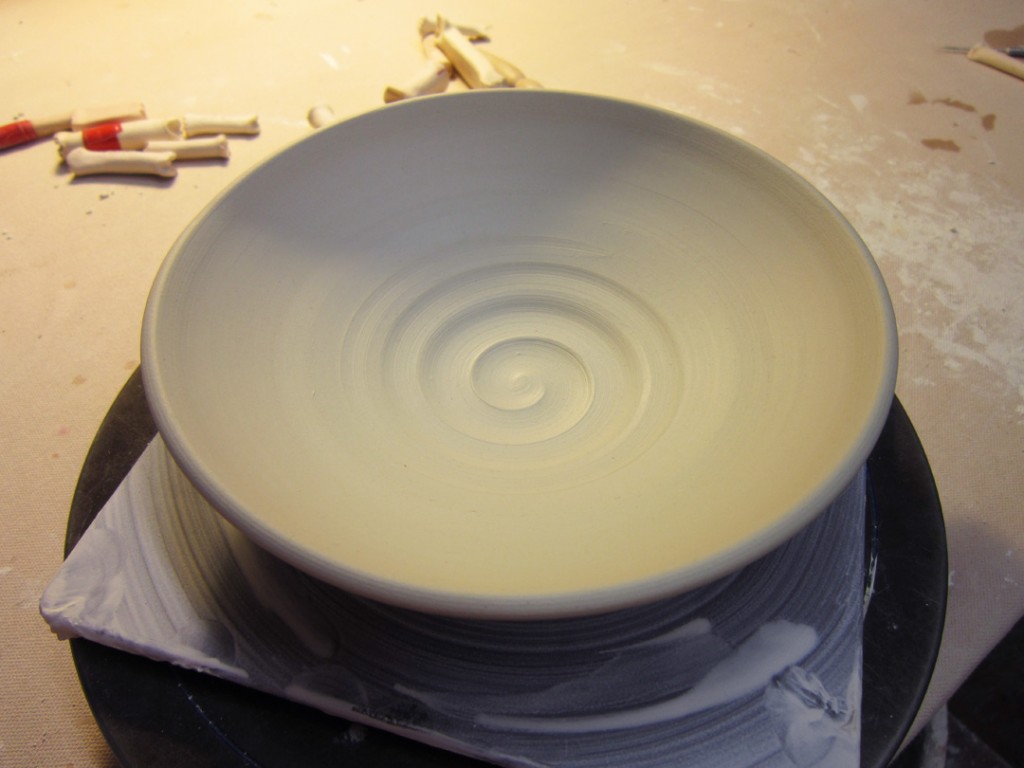
Bowl #1 – Okay, so you had to know that I couldn’t let a plain round bowl go through…
I just had to do something to make it special!!!
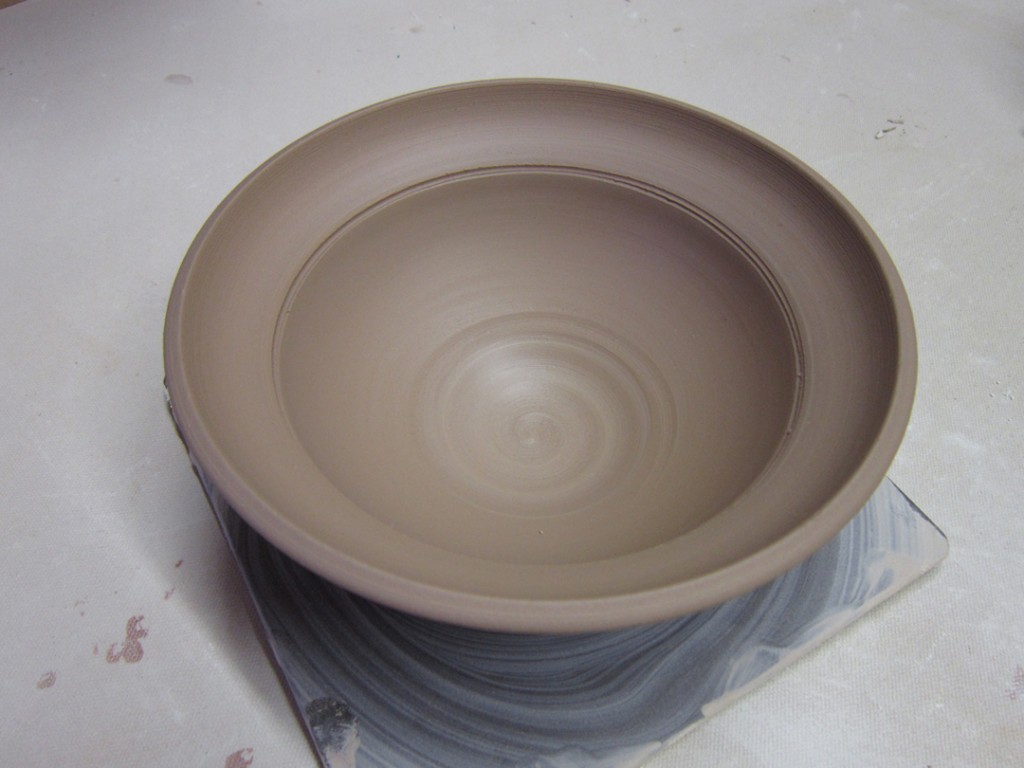
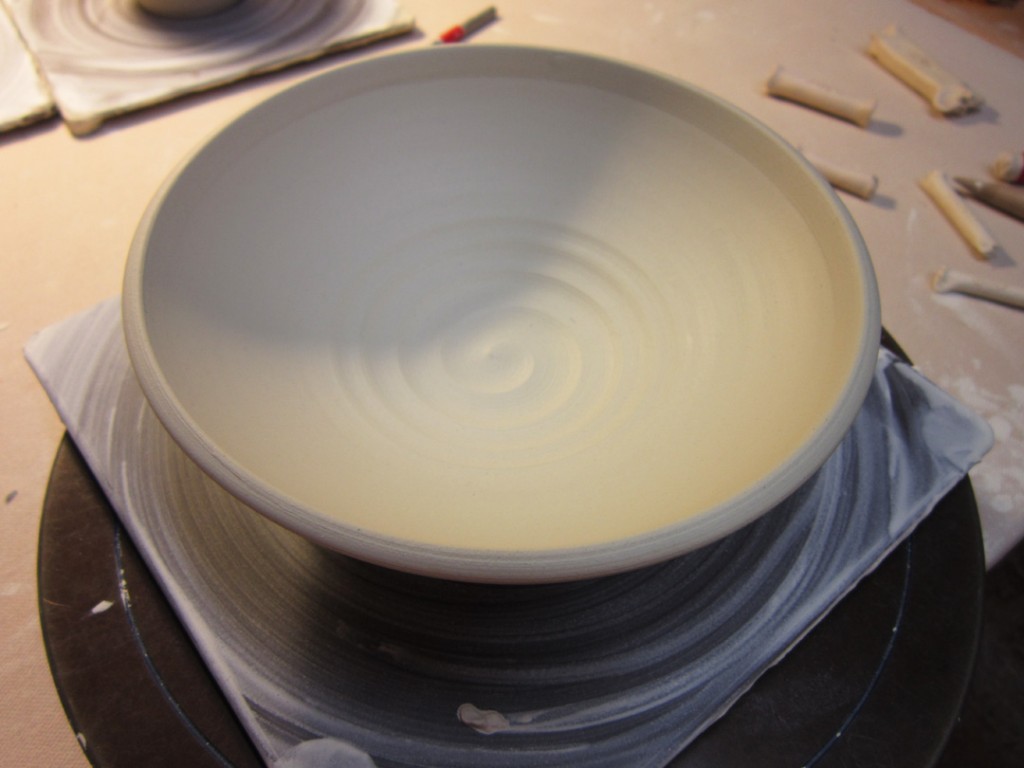
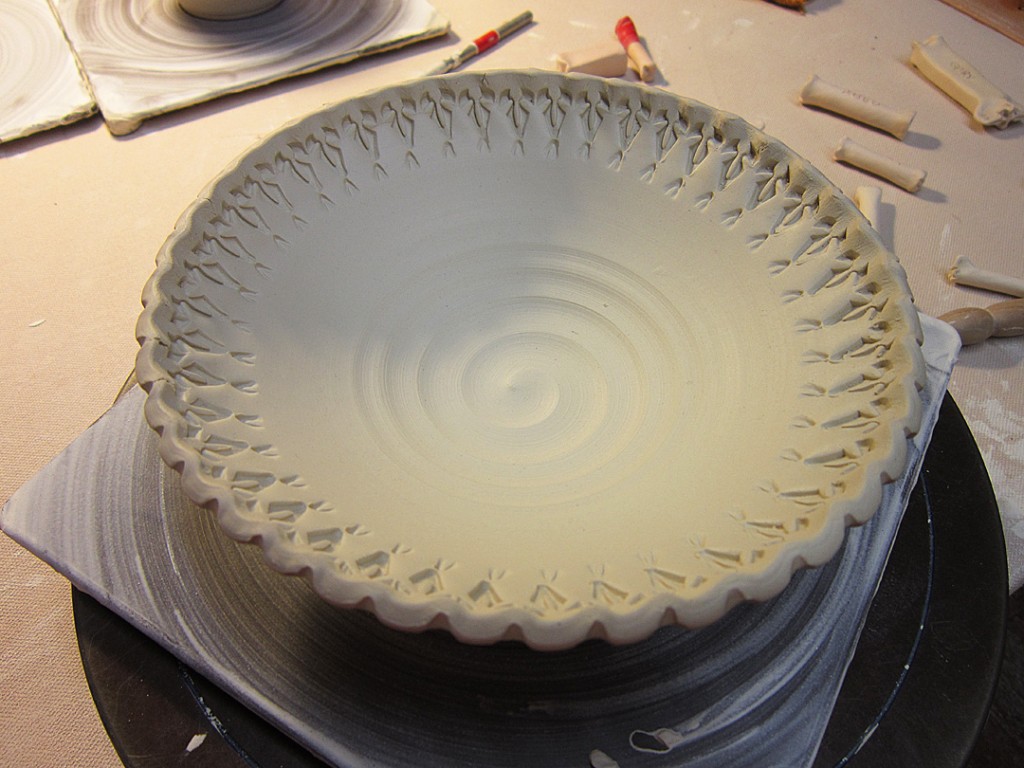
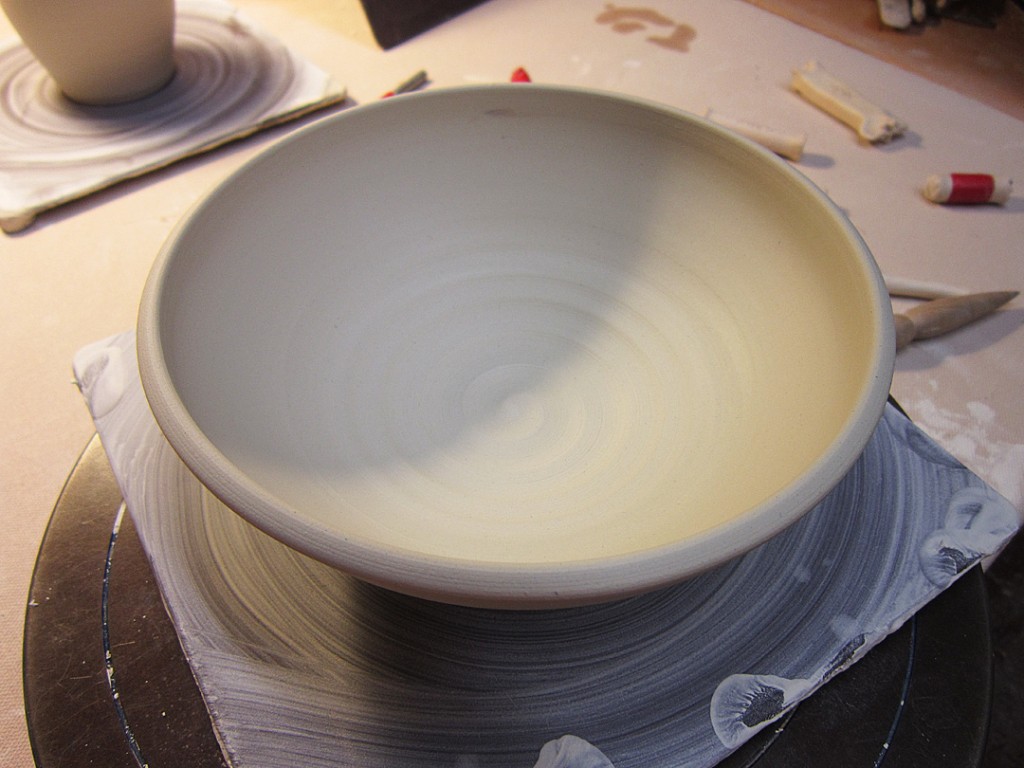
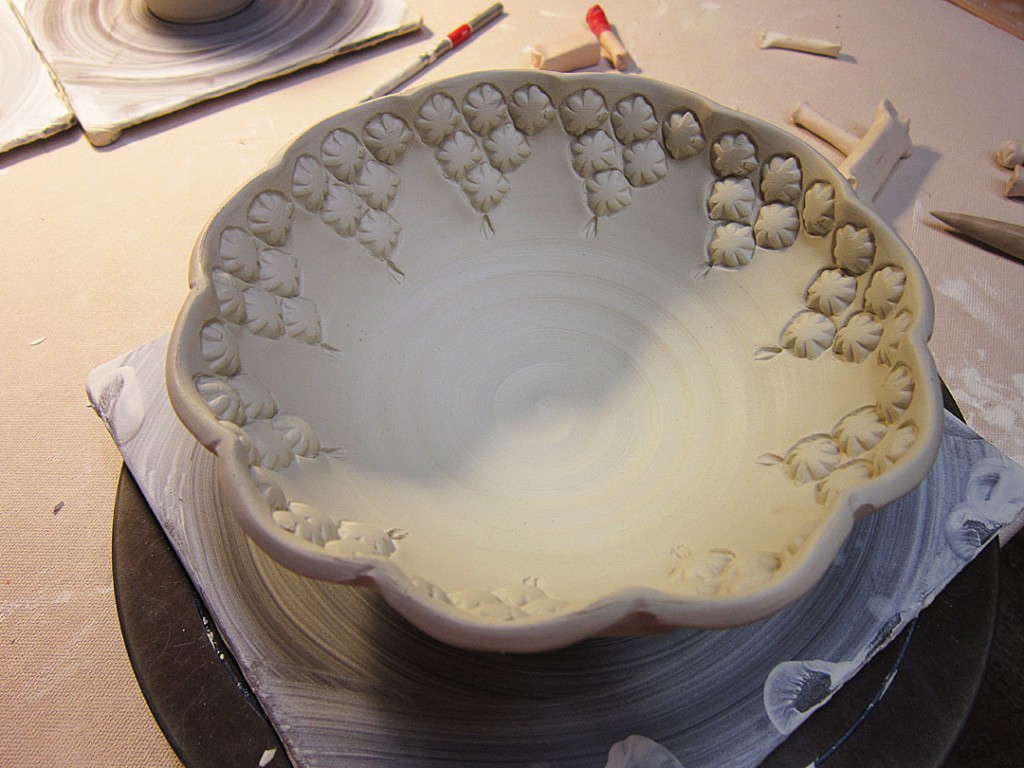
Bowl #4 – a simple row of stamps below the flared out rim.
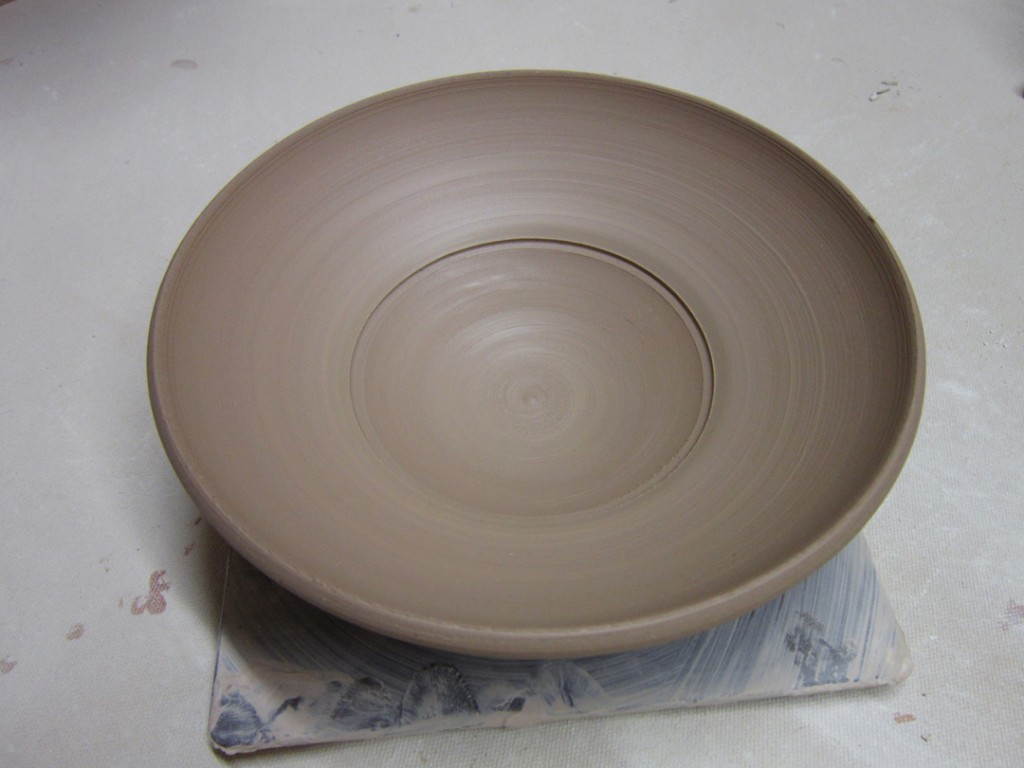
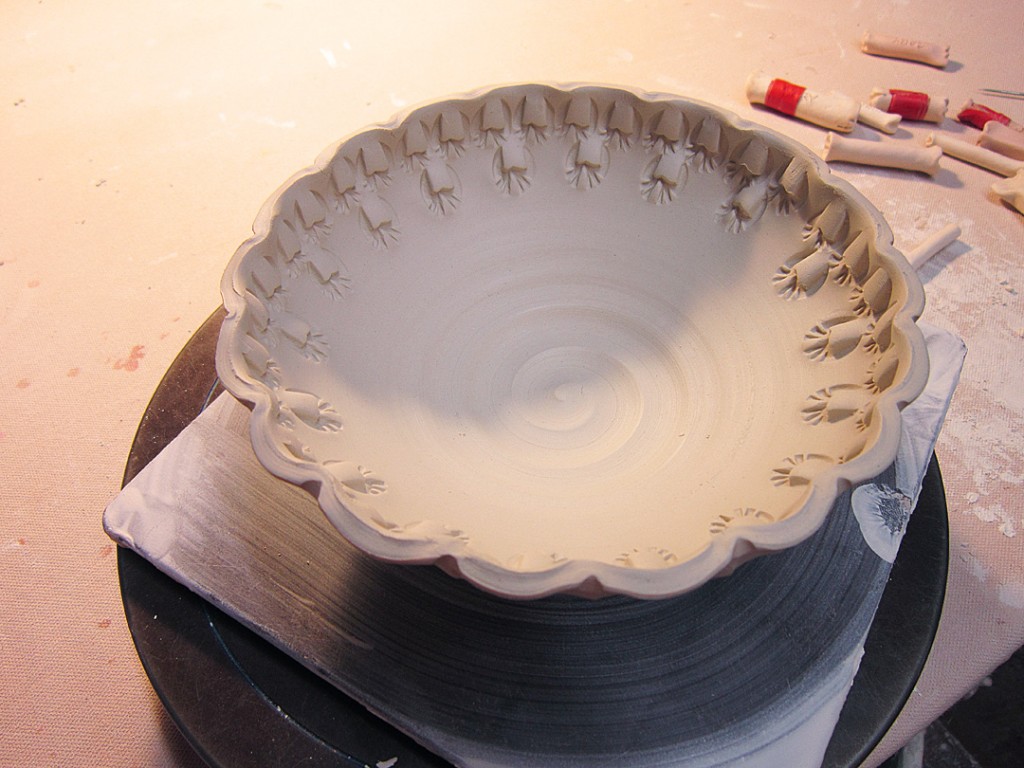
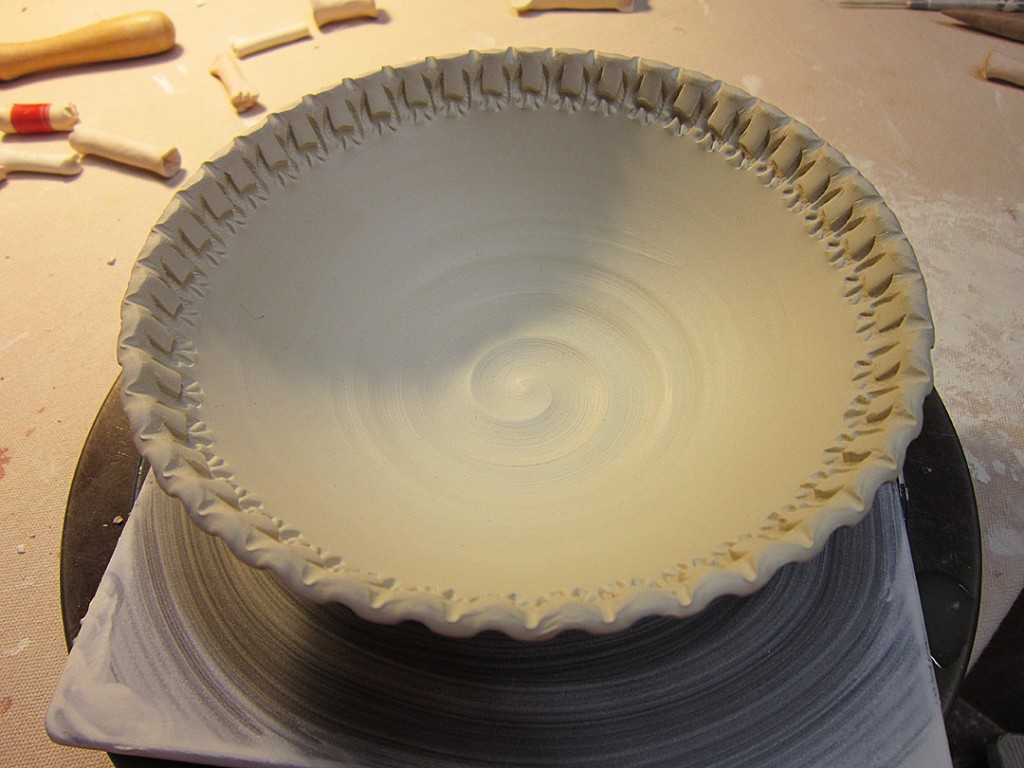
Bowl #5 – stamped detail on the entire wide flange area.
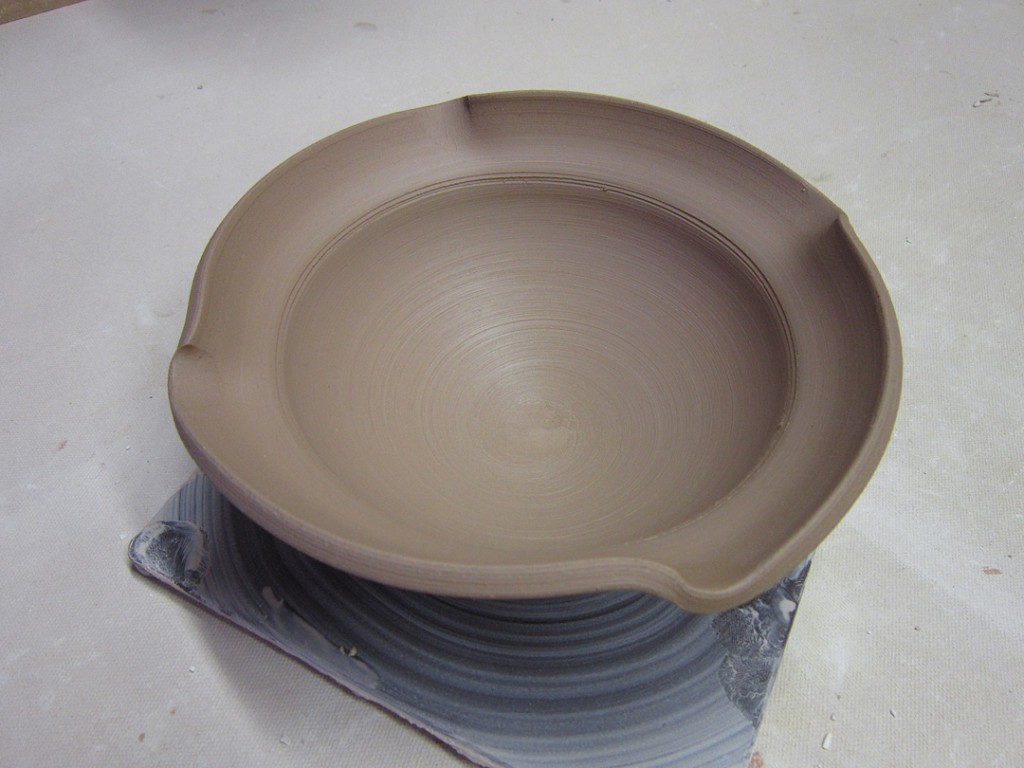
Bowl #6 – stamped detail just below the flared out rim.
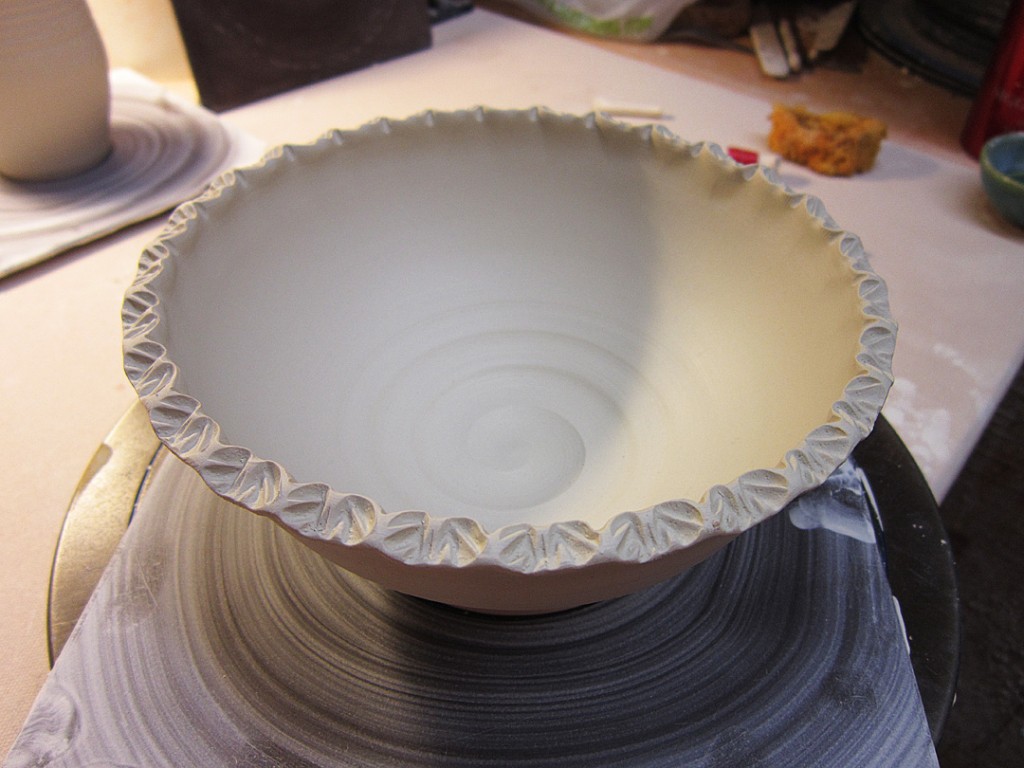
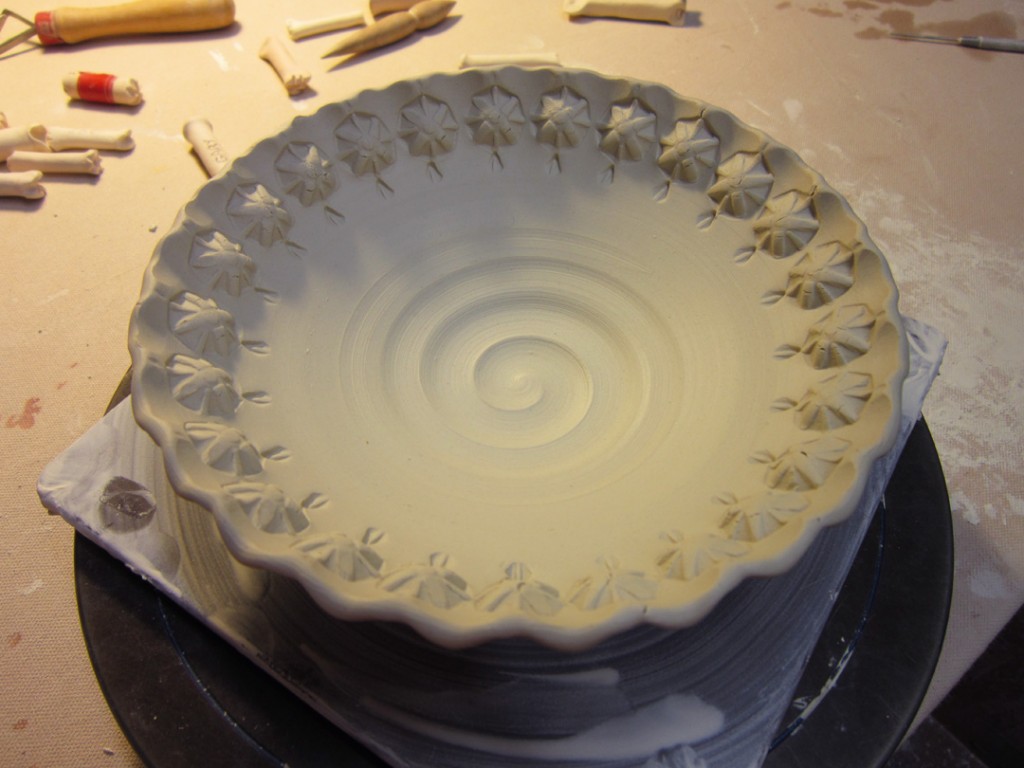
Bowl #15 – a stamped rim with geometric circles to mimic the banded circle in the middle.
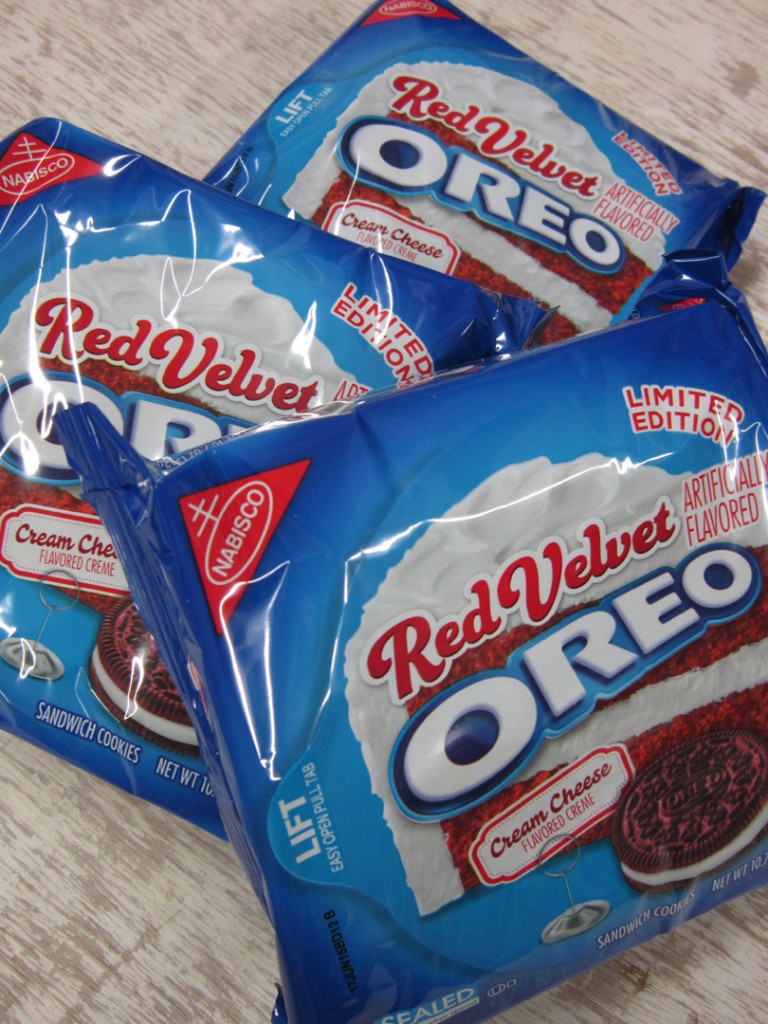
We had a very “sweet” pottery class tonight with the new flavor of Oreo’s!!!
RED VELVET.
In a word… YUM.
But c’mon Nabisco, why are the packages so much smaller?!
I needed to buy three packs of yumminess for my class!
And, oh but await there’s more… Nabisco has already announced the next new flavor.
S’MORES!!! And you know how much I love those gooey, melted marshmallow treats!
They claim they’ll be out in the next few months.
But even “sweeter”… one of my pottery students returned from her three-week vacation
through Southern Asia with souvenirs for me. OREO’s from THAILAND!!!
Thank you Patty for importing some more Oreo goodness!
Bowls on purpose… and NOT a cylinder gone bad.
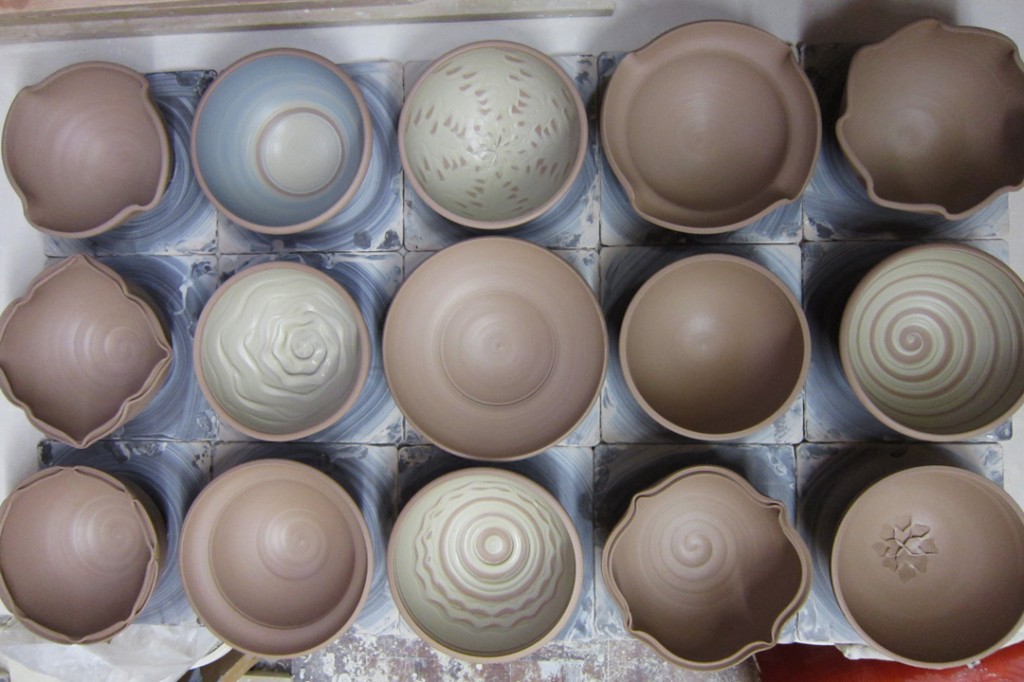
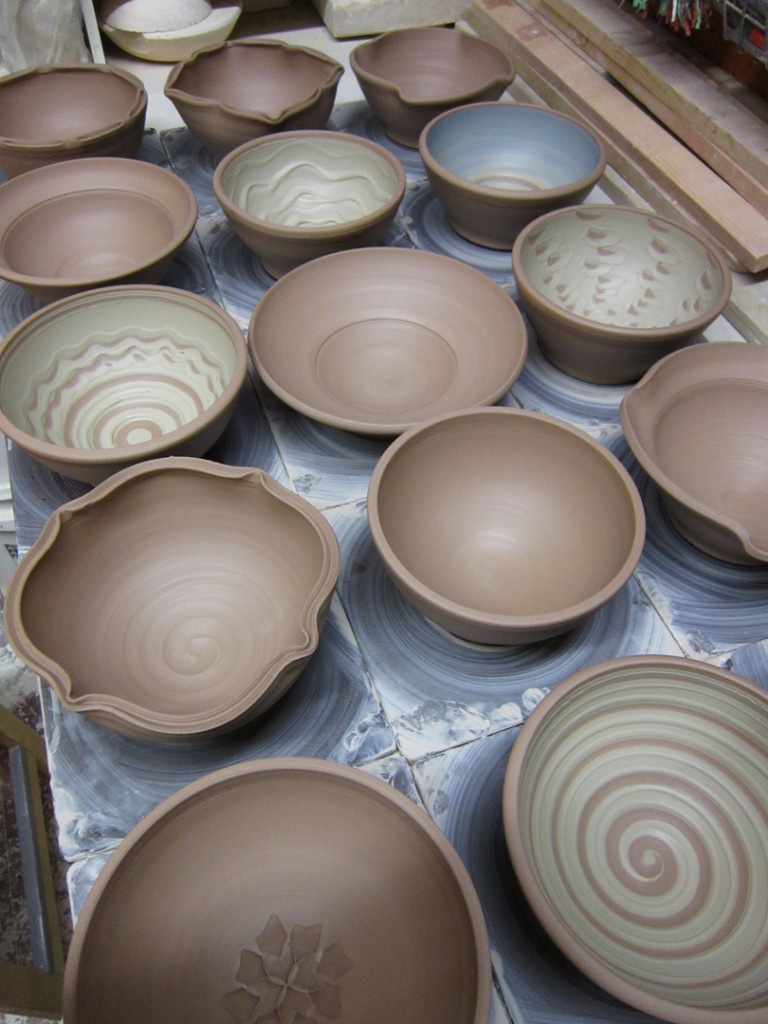
It’s “that” time in the class session for my students to start making REAL bowls on purpose. So tonight we did another demo on how to make a good, basic round bowl. But then the fun part is when I quickly throw a bunch of the “same” basic bowl. And then my students reconvene to see some quick tricks to change those basic bowls into a new & different bowl. Each one of the decoration techniques is quick & simple. Easy enough for any of my Beginners to tackle… and each took less than a minute to do!!!
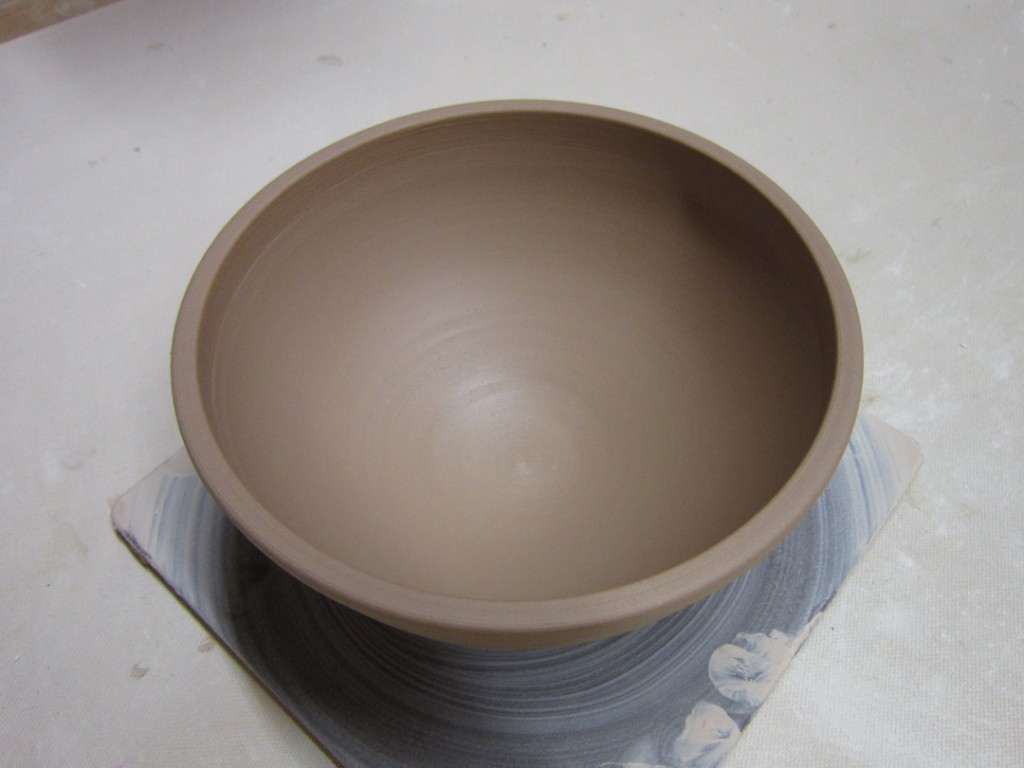
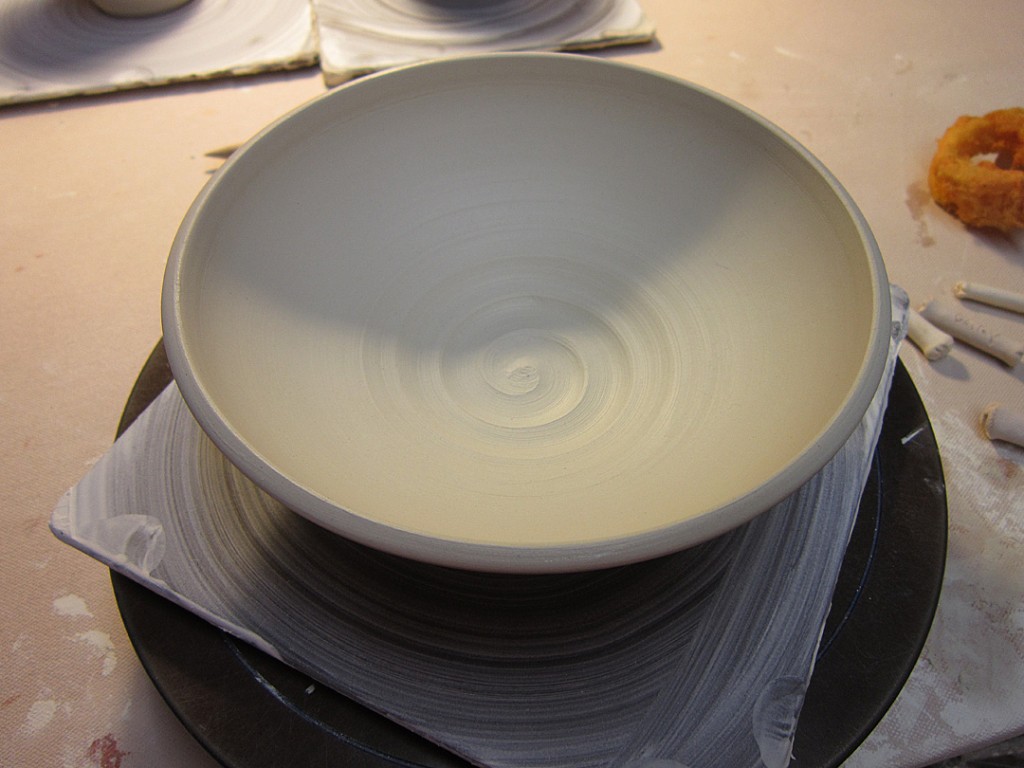
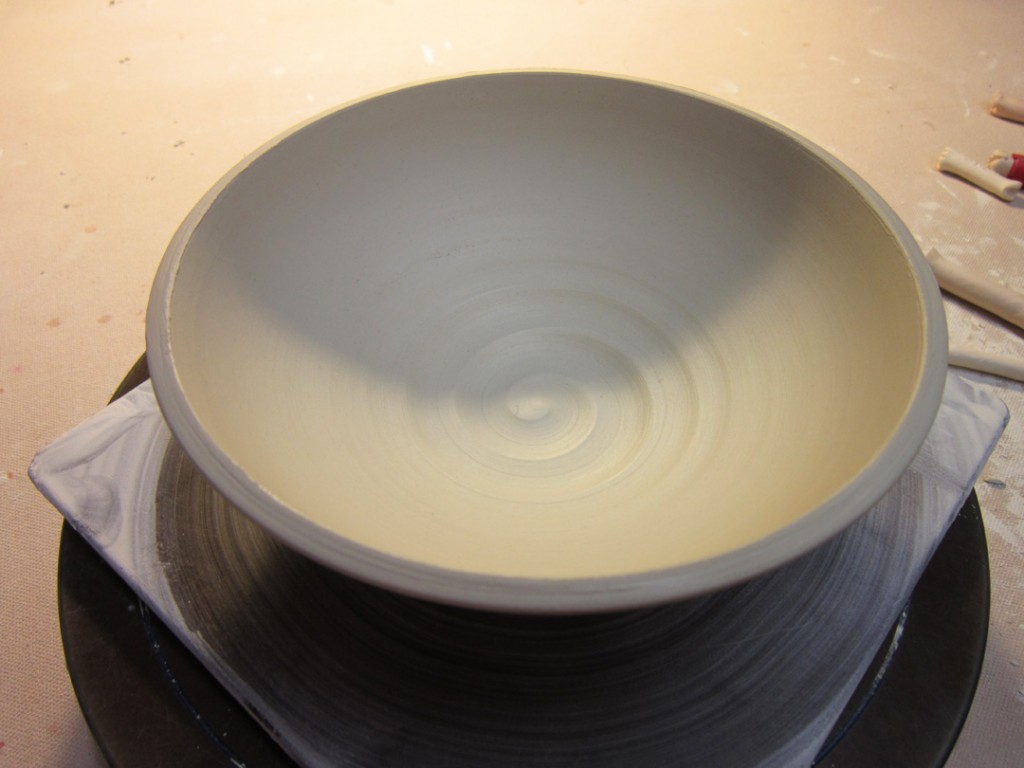
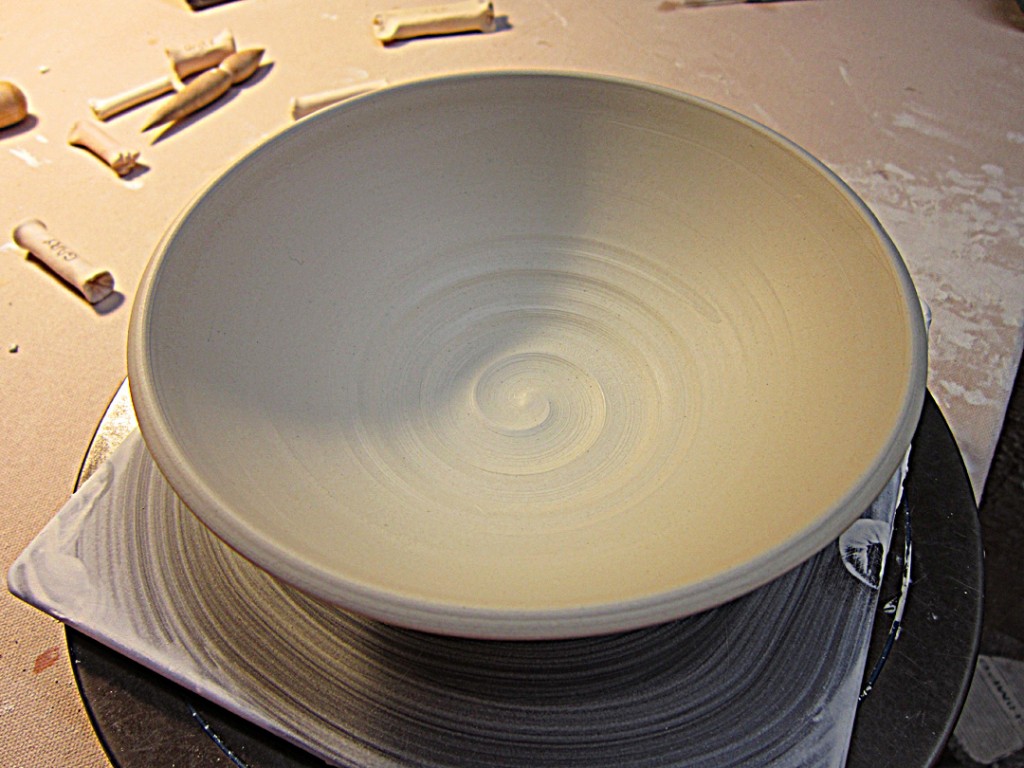
Bowl A – the prototype bowl… all of them started just like this. Plain & round.
Bowl #2 – A quick flick & twist, giving four fluted points along the rim.
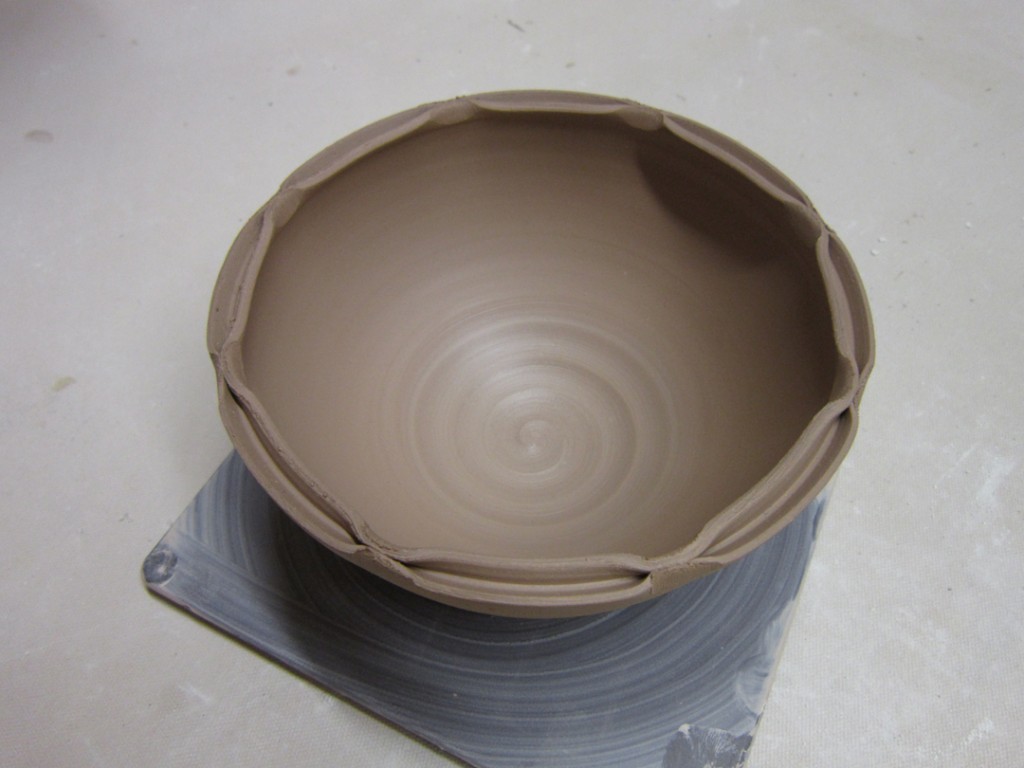
Bowl #3 – And if four fluted edges are good, are eight flutes TWICE as good???
Bowl #4 – This time we flared out the top of the rim.
Bowl #5 – And then flared out even more of the rim… more “canvas” to decorate later!
Bowl #6 – A combination of the flared out rim with the fluted edge detail.
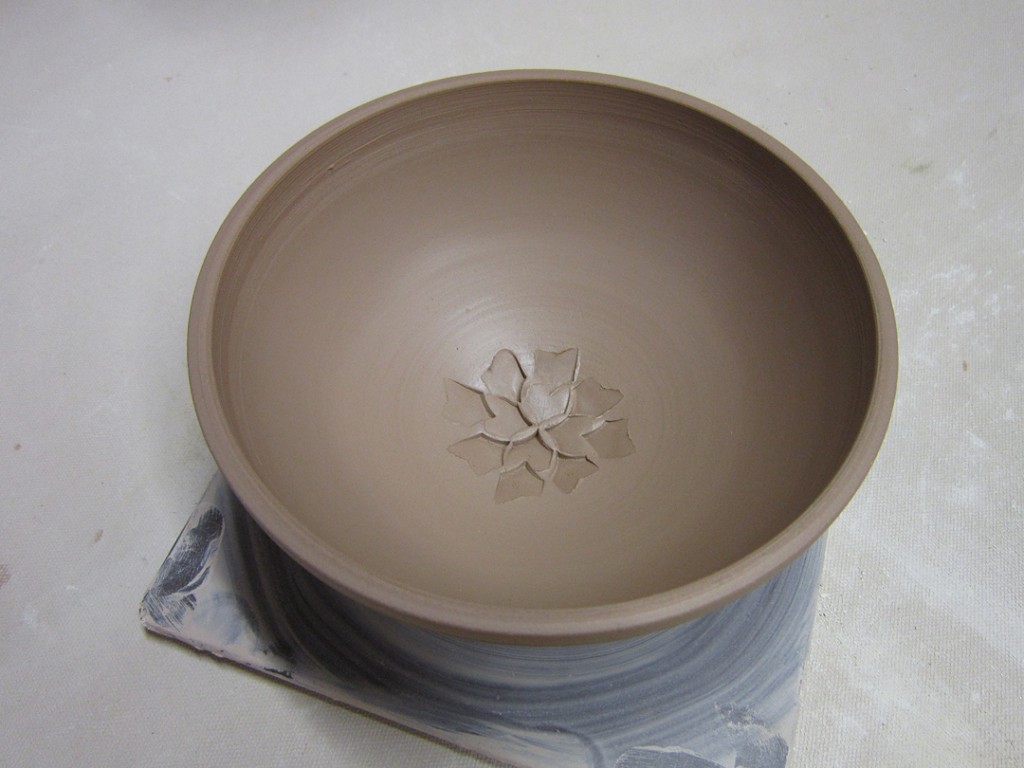
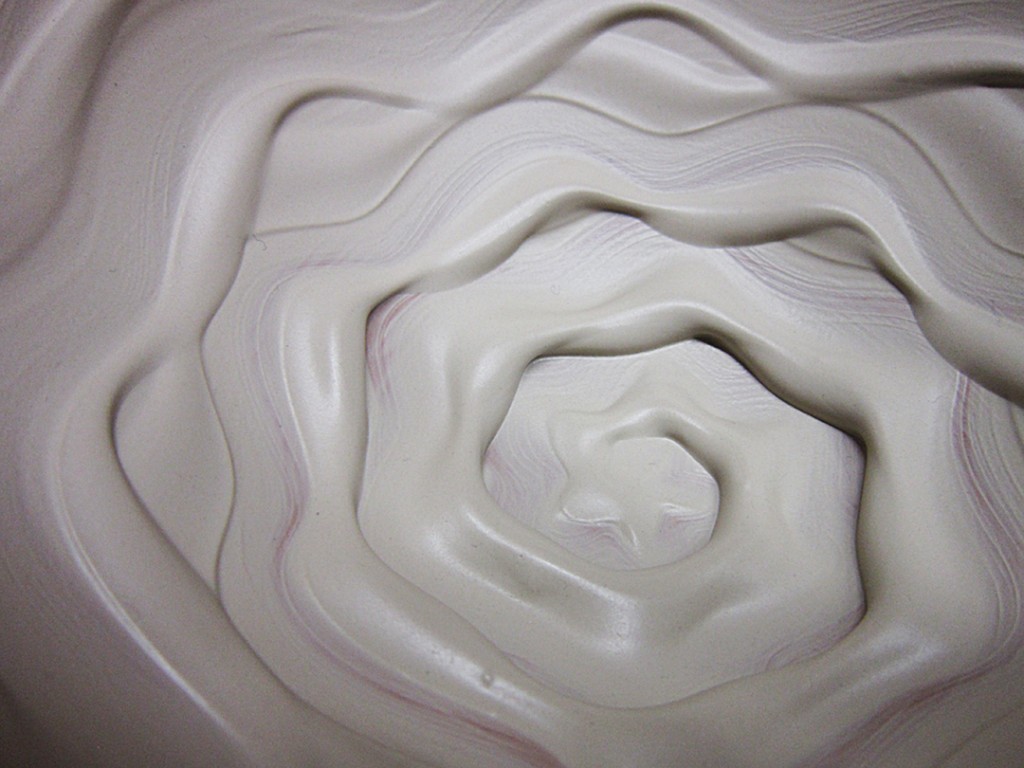
Bowl #7 – A fun little flower detail pressed into the bottom with a dragon-scale tool.
Bowl #8 – A split rim pinched back together in eight places.
Bowl #9 – A split rim fluted to give the round bowl a new shape.
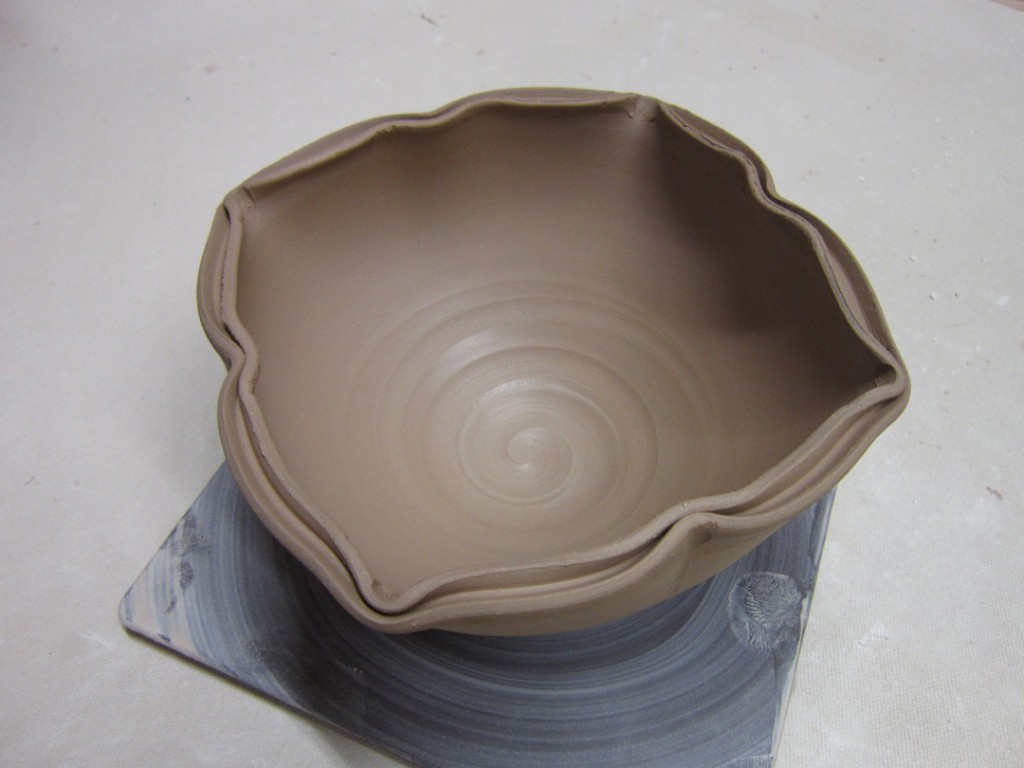
Bowl #10 – Another split rim with a lotus shape – curved out between notches.
And then I introduced colored slips as a decorative option… one more fun tool in the arsenal…
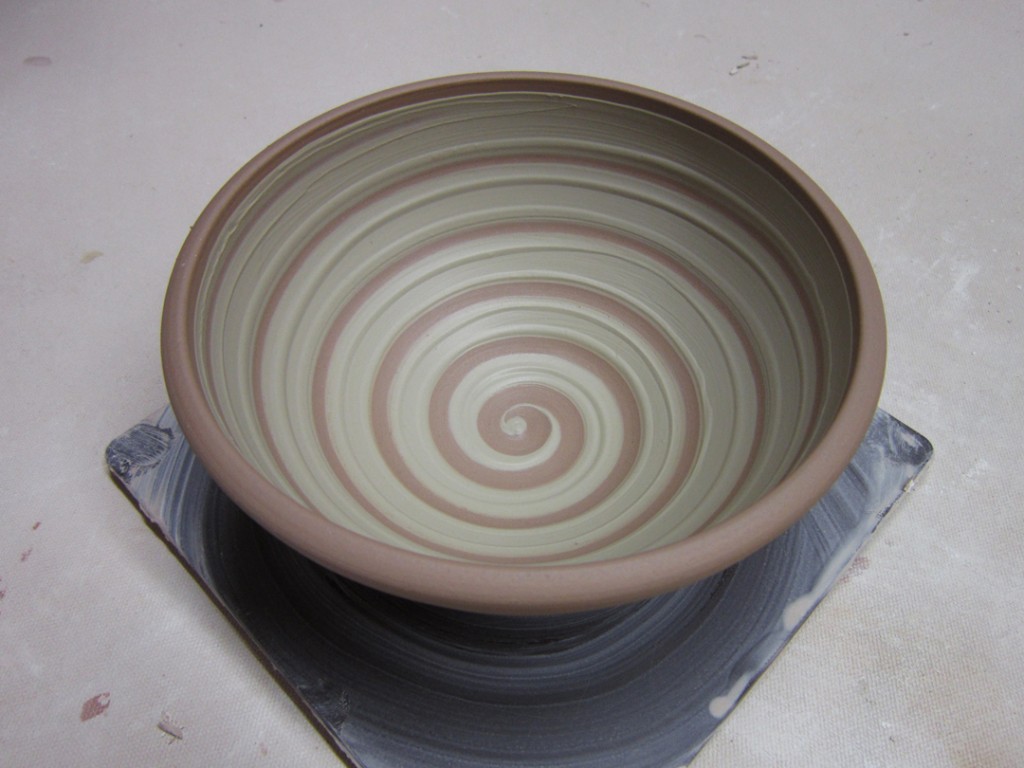
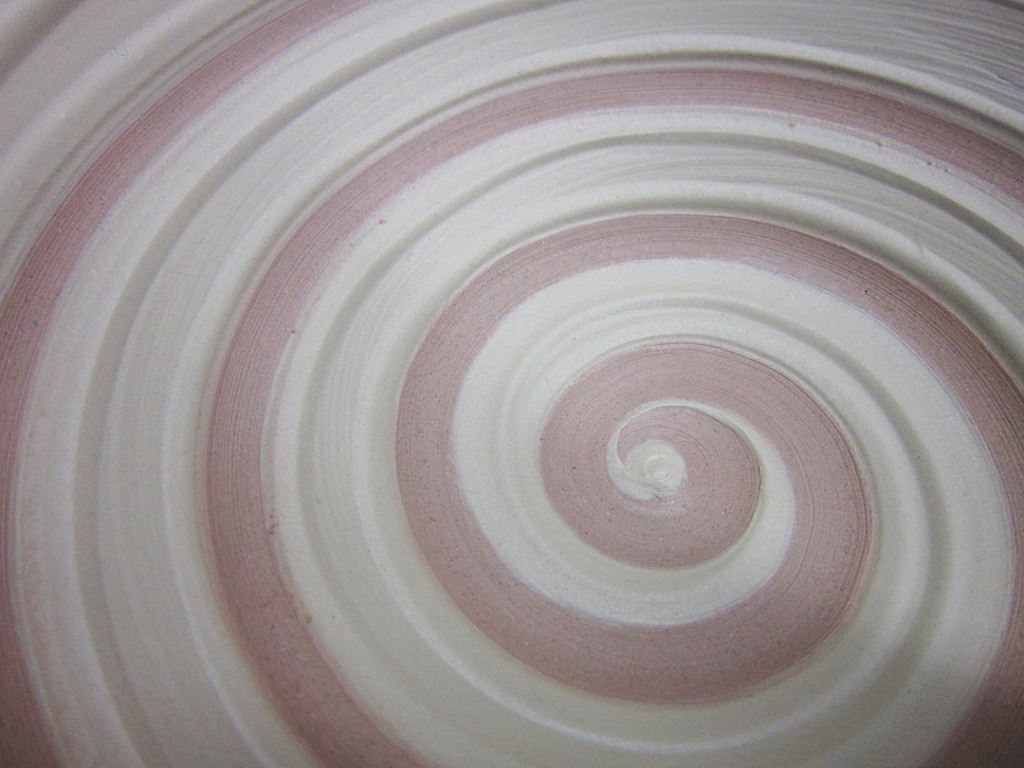
Bowl #11 – A simple layer of white slip, then a spiral dragged through with a rounded tool.
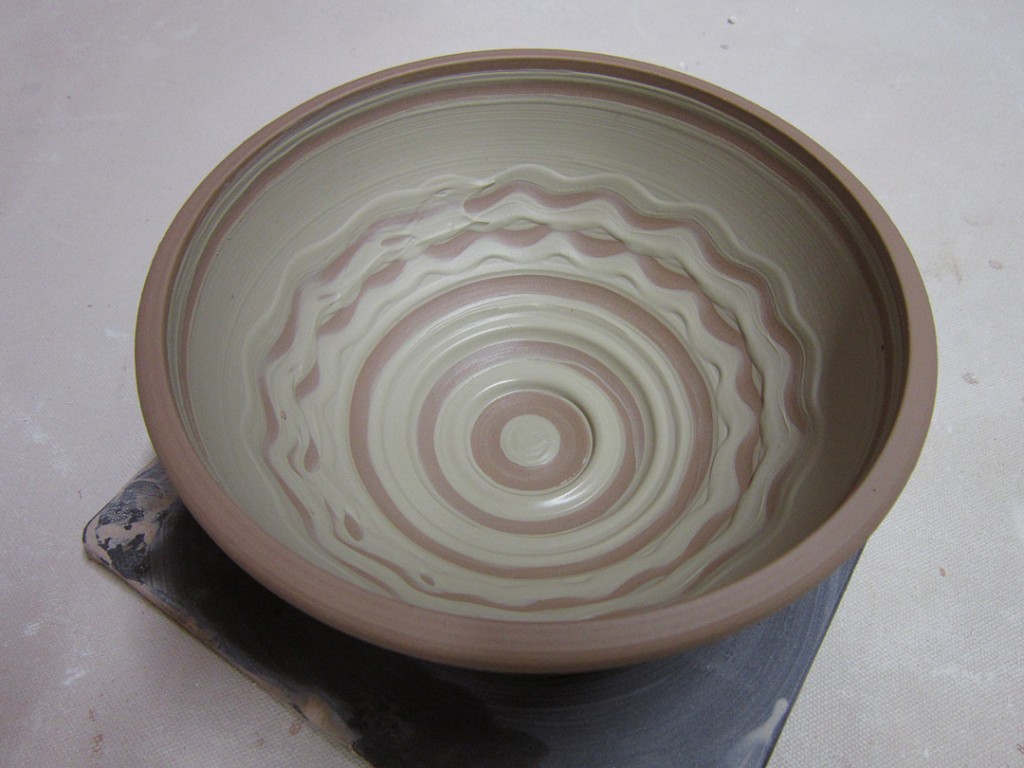
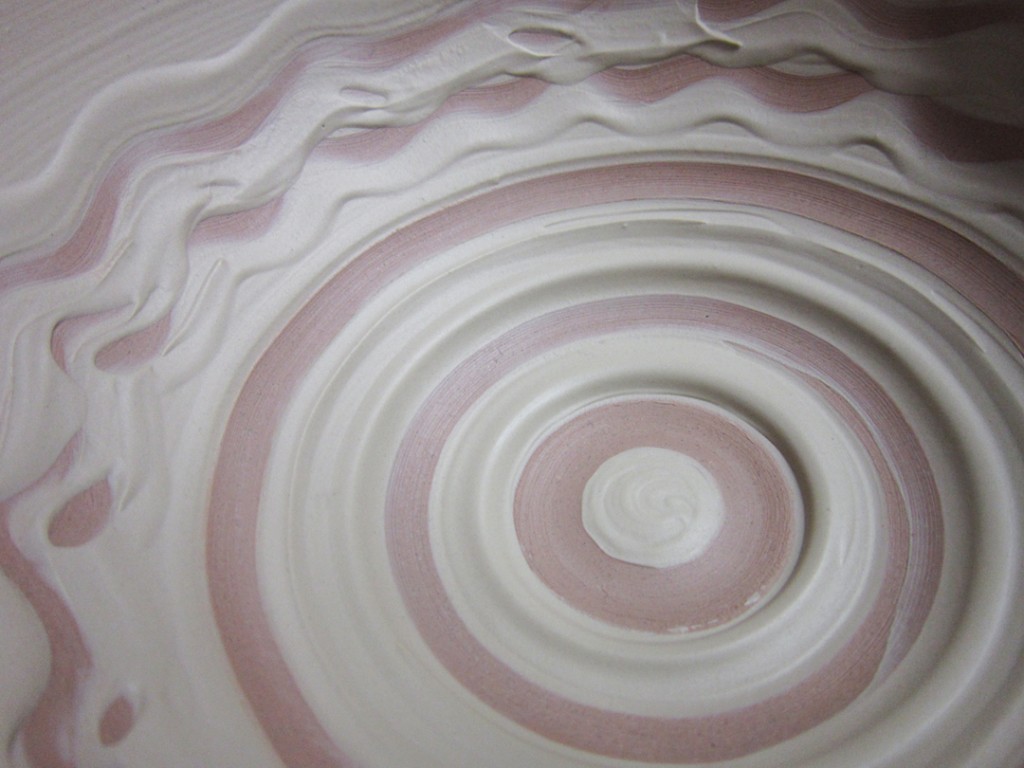
Bowl #12 – Another layer of white slip with bands & squiggles dragged through.
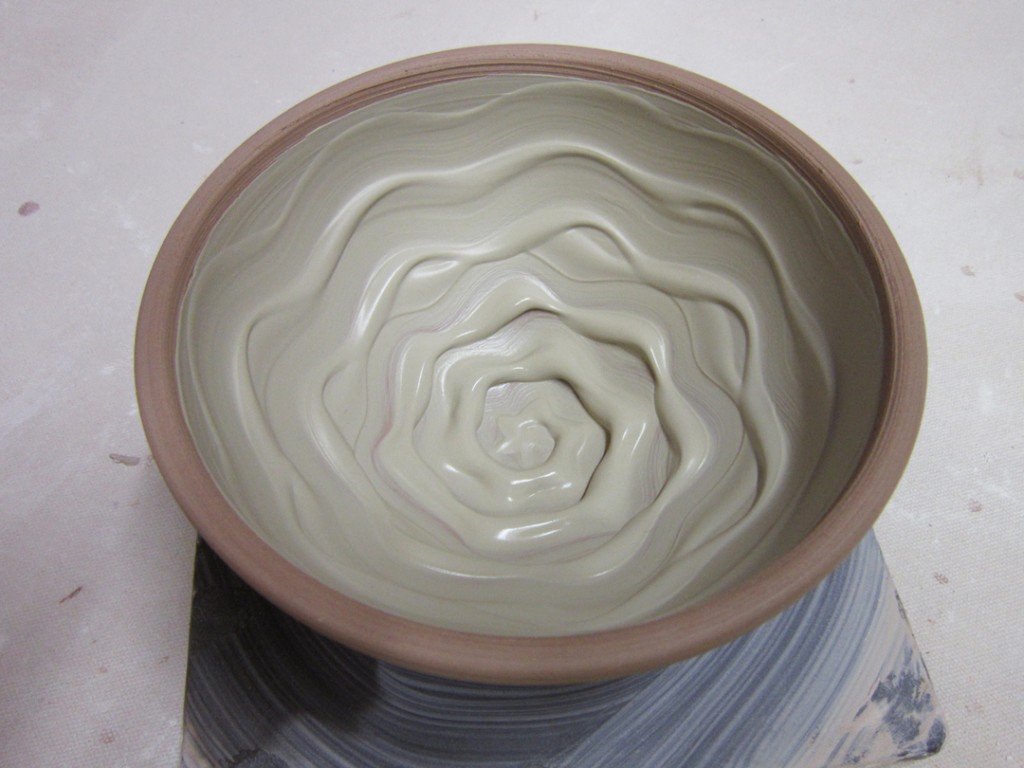
Bowl #13 – A much thicker layer of white slip squiggled with my finger!!!
Bowl #14 – A thinner layer of slip “chattered” with a plastic rib tool.
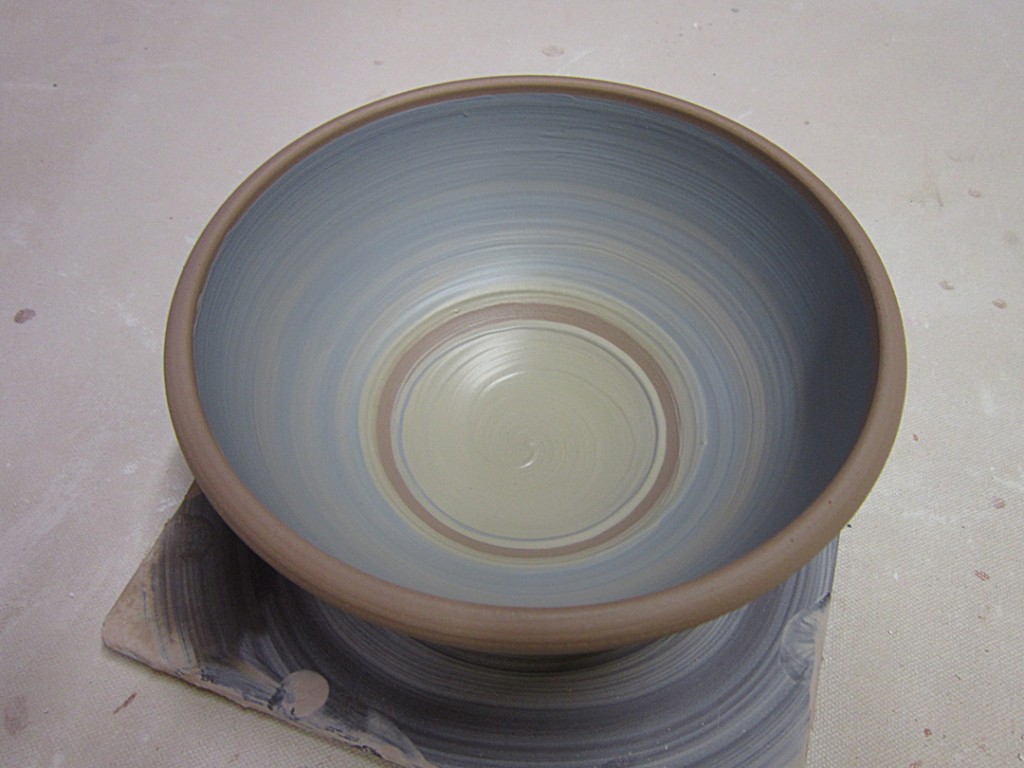
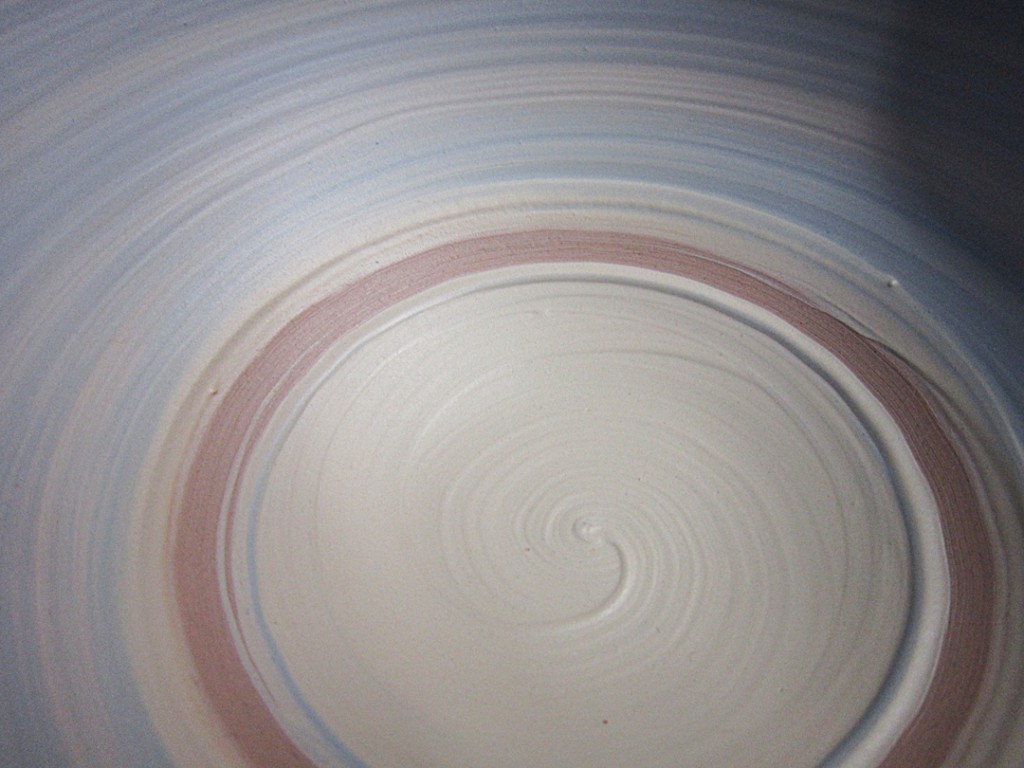
Bowl #15 – A two-tone ombre effect with white & blue slips.
And for now, they’re wrapped up for the night. Tomorrow I’ll come pack to them and do a little more detailing, stamping & refining. Remember, besides making better bowls… the main incentive for this demo is to get my students to start decorating their bowls. And to remember that they don’t need to be plain & round any more!!!
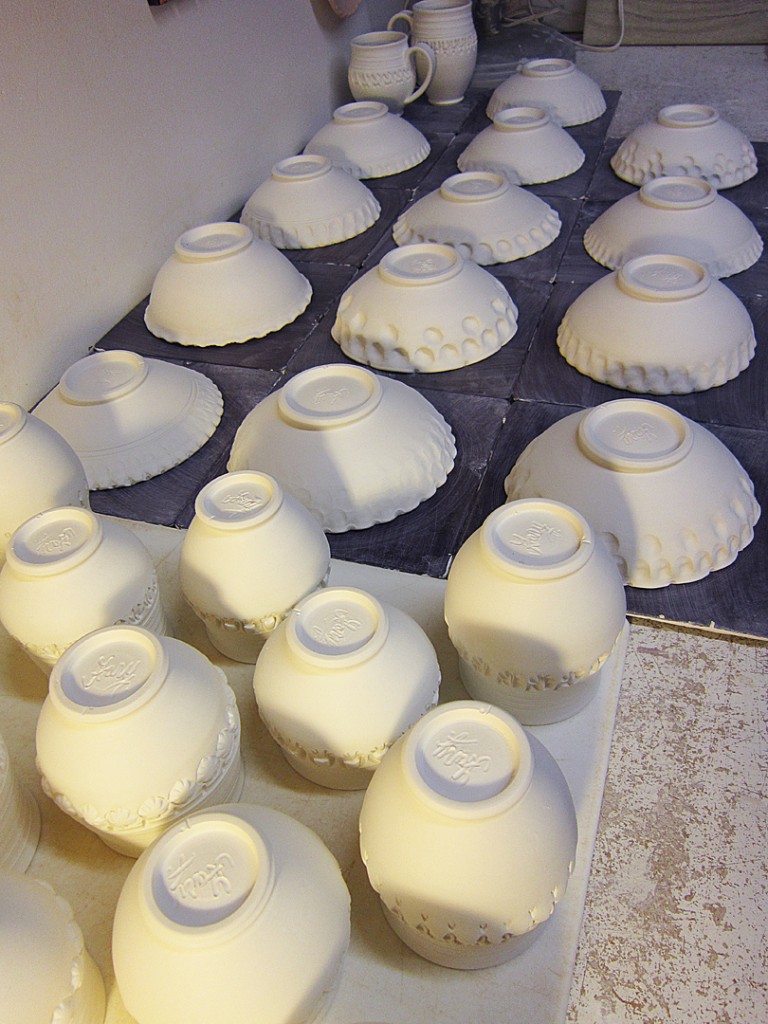
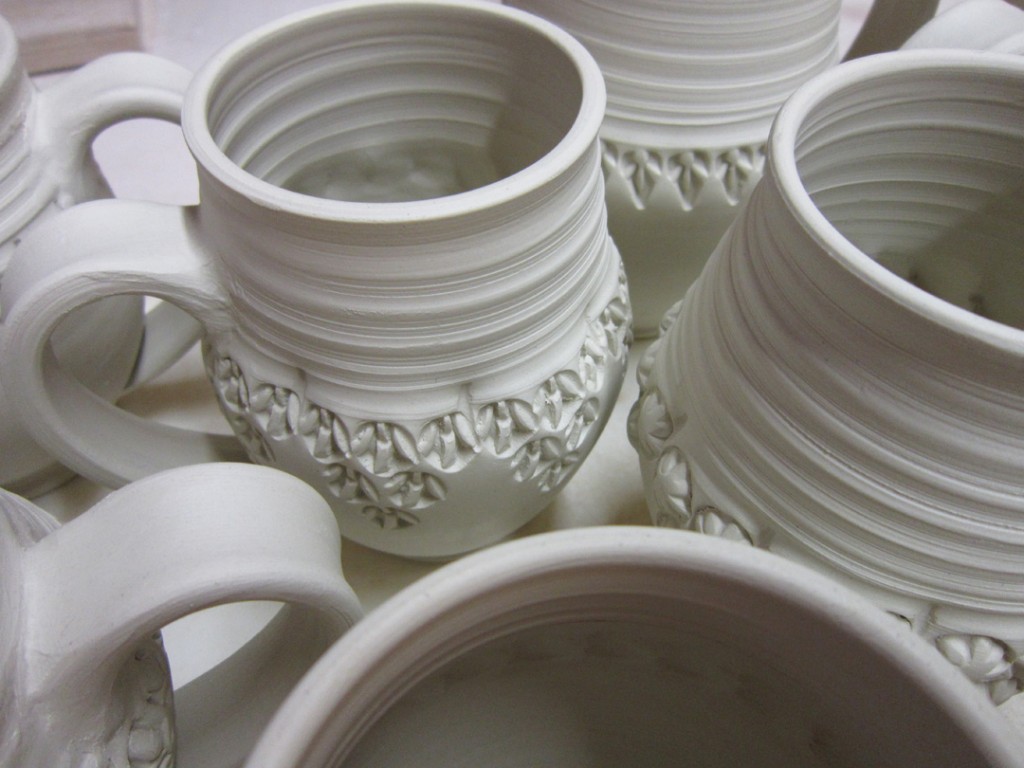
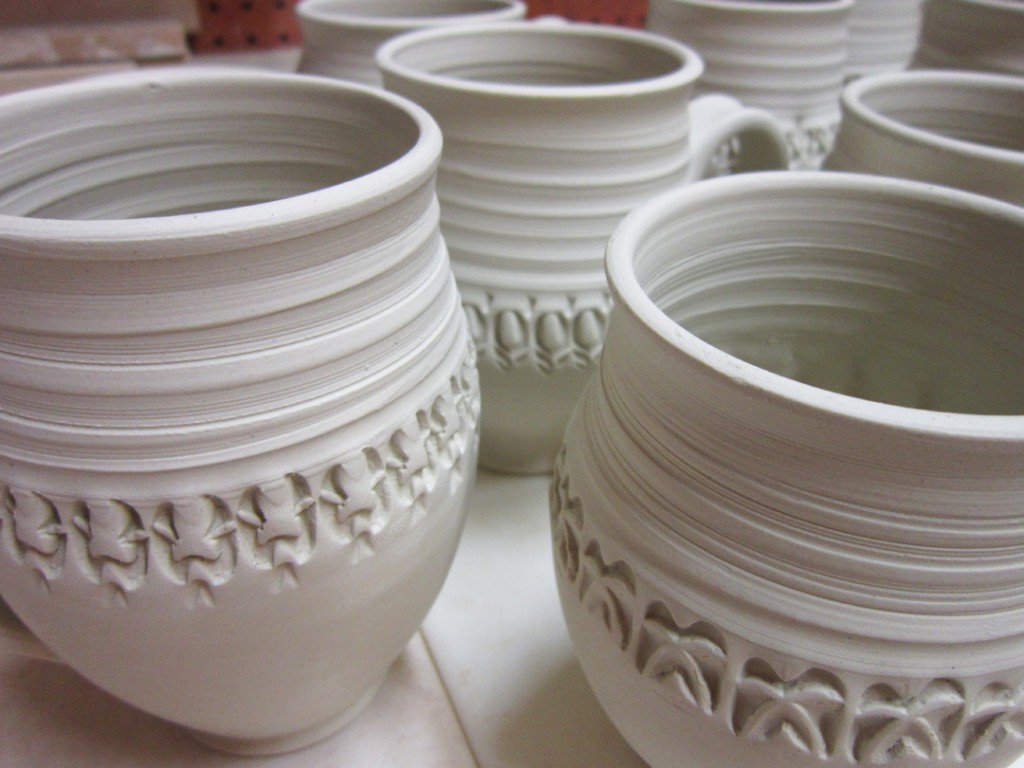
Today I did some more stamping in the studio.
This time on some smaller bowls. Cute little bowls…
that will get even cuter & even littler as they shrink in the kiln!
Bowl #1 –
Bowl #2 –
Bowl #3 –
Bowl #4 –
Bowl #5 –
Bowl #6 –
Bowl #7 –
Bowl #8 –
Bowl #9 –
Bowl #10 –
Bowl #11 –
Bowl #12 –
Bowl #13 –
So now they’re all wrapped up for the evening. Tomorrow I hope to do some cleaning up & refining of them all… and then trim the bottoms.
Okay, so I’ve put off my handles for a little longer than I expected.
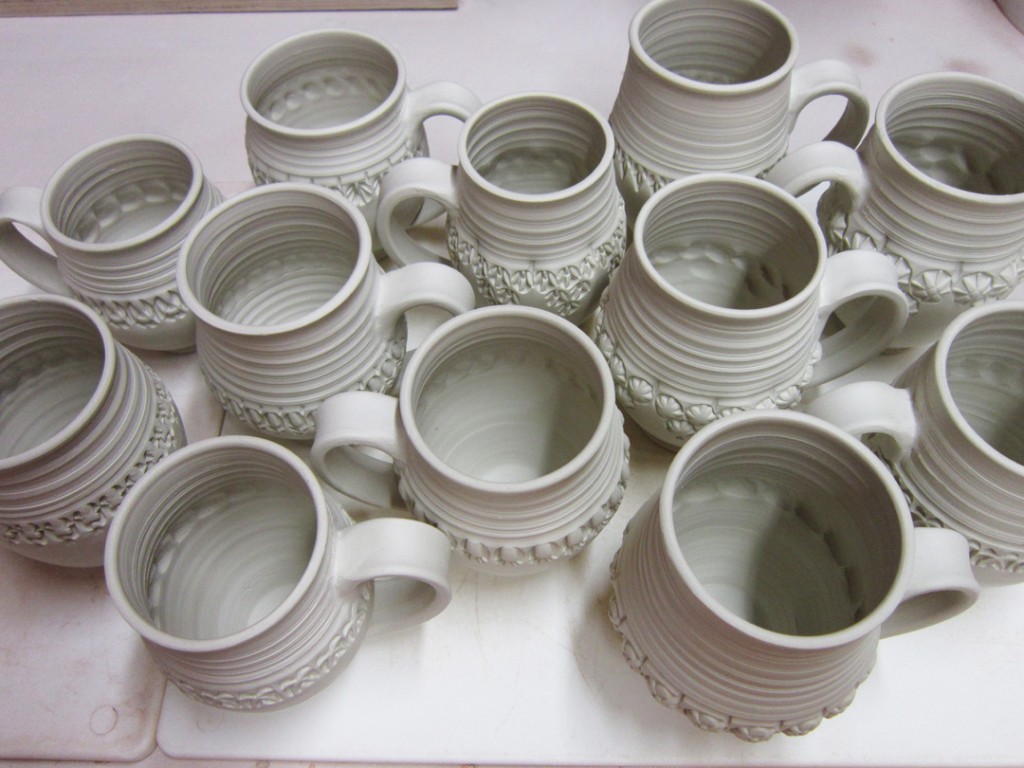
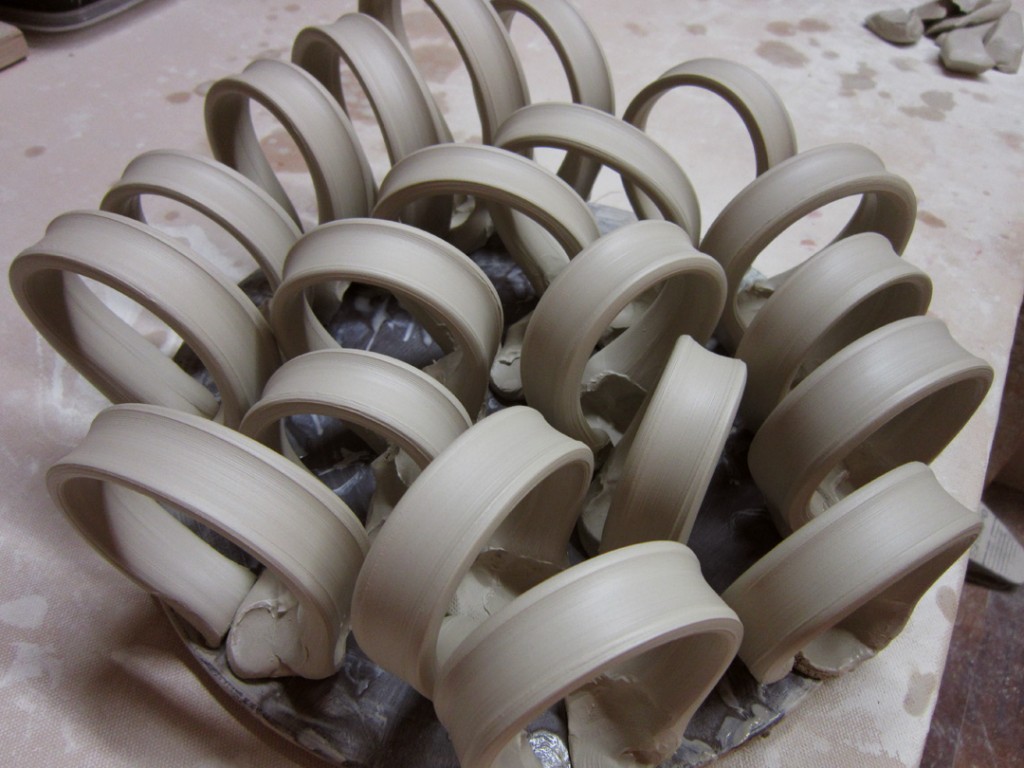
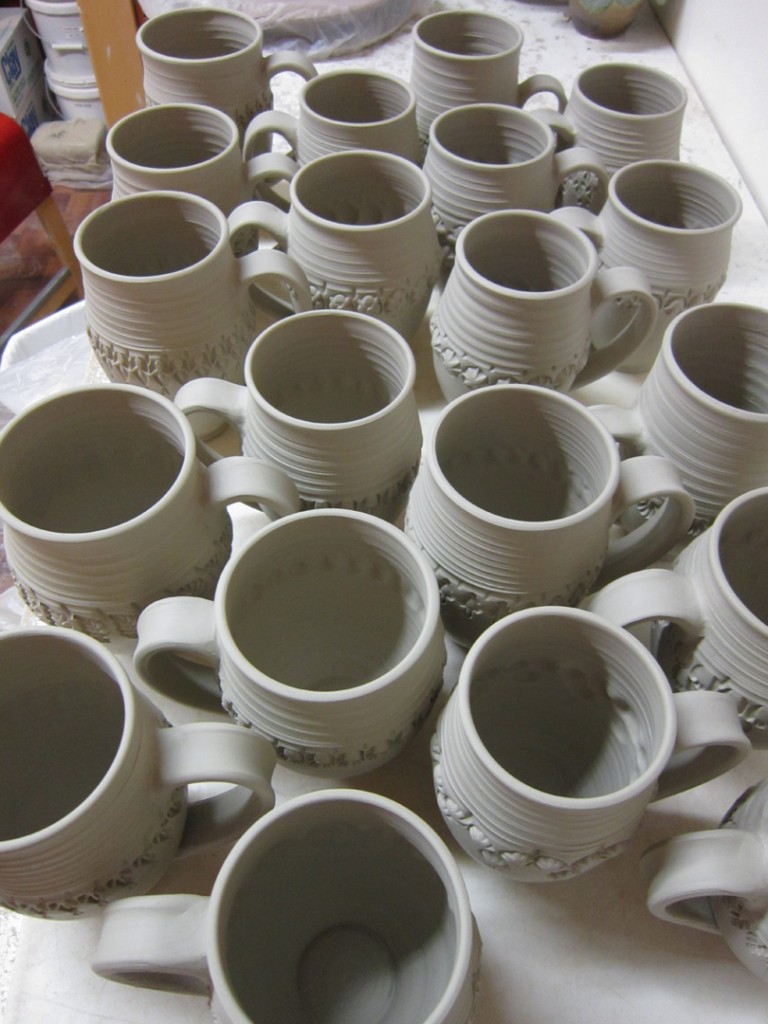
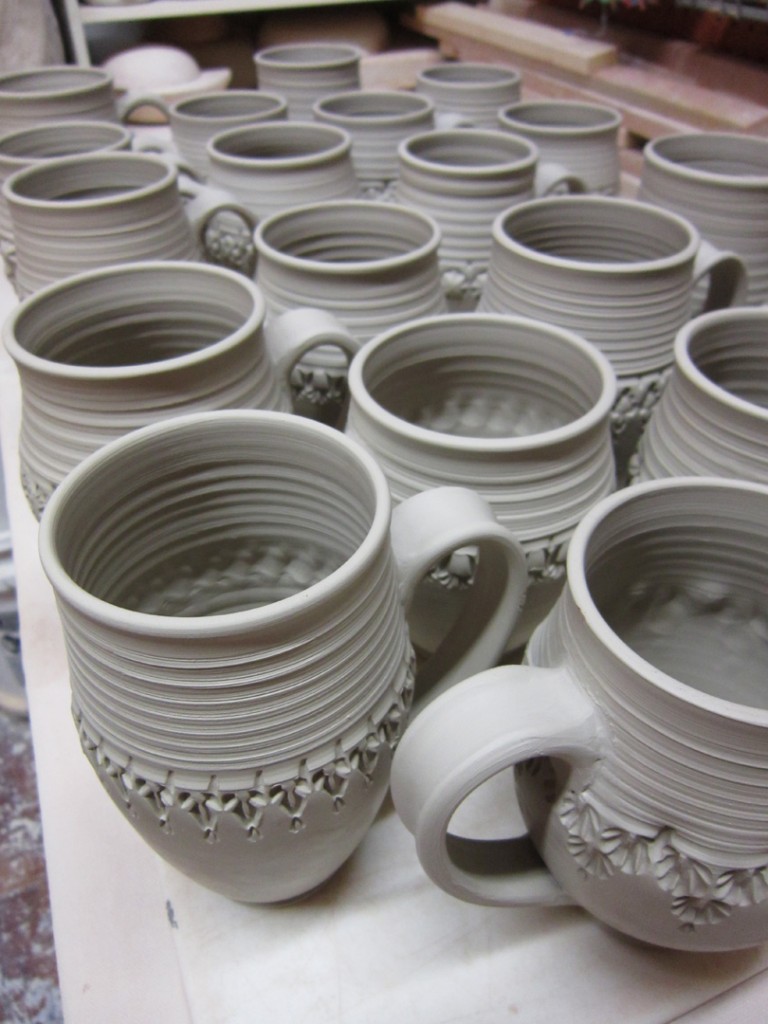
The snowstorm last weekend made it a little tough to get into the studio. And then things got busy… luckily I had time for a spray bottle and a good layer of plastic!!! My cylinders have been stamped & trimmed… and re-hydrated… waiting for handles to be attached. So today was the day… finally.
I started by pulling all of the handles, and then letting them set up a bit.
I want them to be dry enough that the stickiness is gone, but they’re still pliable enough to shape. With this many handles, it’s always a “race” to get them on before they dry too much!!!
And then when they’re ready… it’s a time to score, clip, attach & repeat.
Soon enough this most recent batch of mugs was done – handles in place!
I keep my mugs with fresh handles covered with plastic overnight. My theory is that the moisture in the clay can balance out a bit. I want the cylinder and the handle to even out a bit overnight. Then when I unwrap them the next day, they can dry more evenly.
I love a good snowstorm. Tons of snow. Howling winds.
As long as I’m comfy warm inside! Last night was one of those nights.
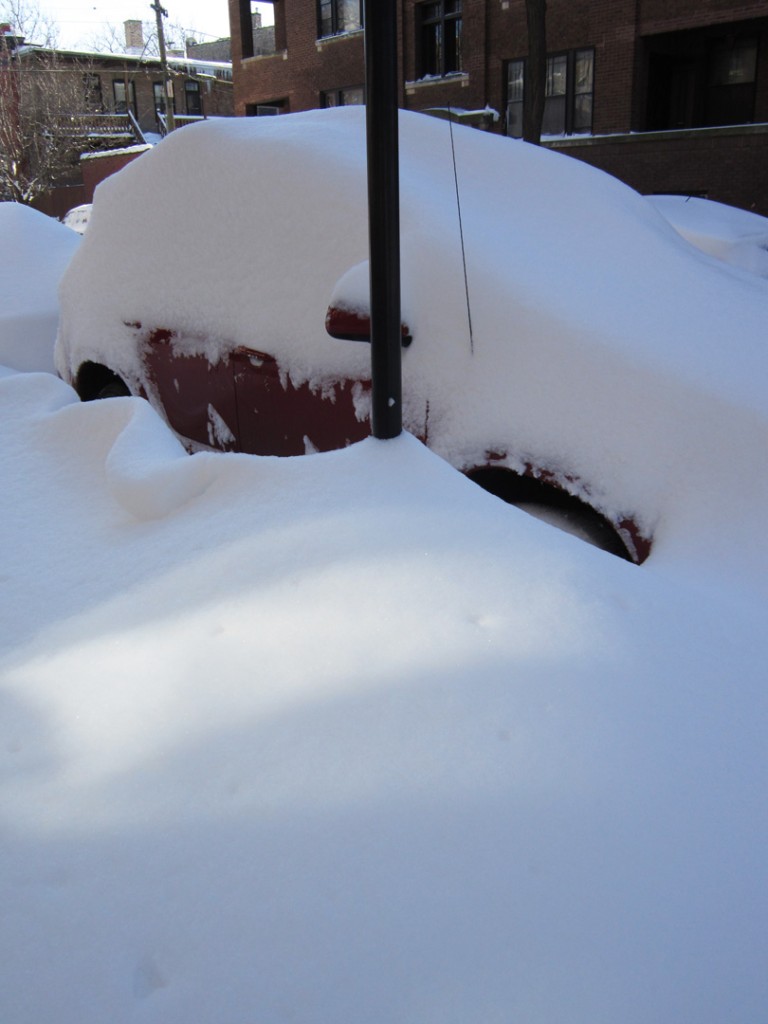
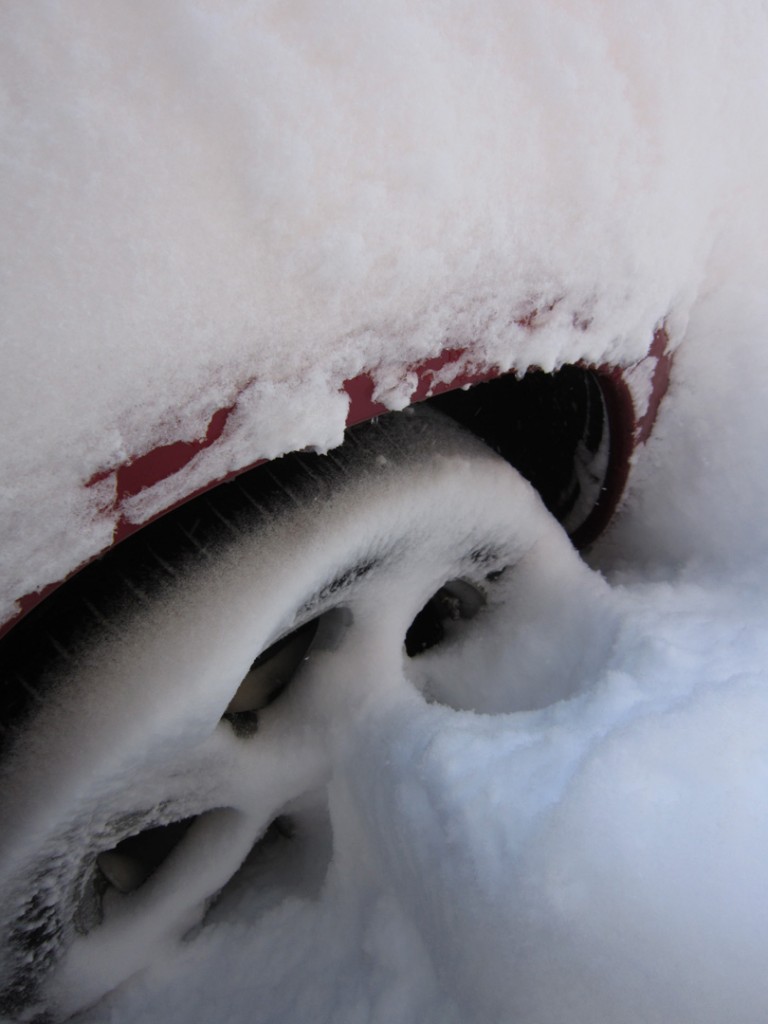
But it’s always fun to get up the next morning and see what happened. And start the big clean-up… shoveling, unearthing of cars, etc. Luckily, today is another “Snow Day” for many of us in Chicago. So this morning I bundled up, trekked downstairs and started by uncovering my car.
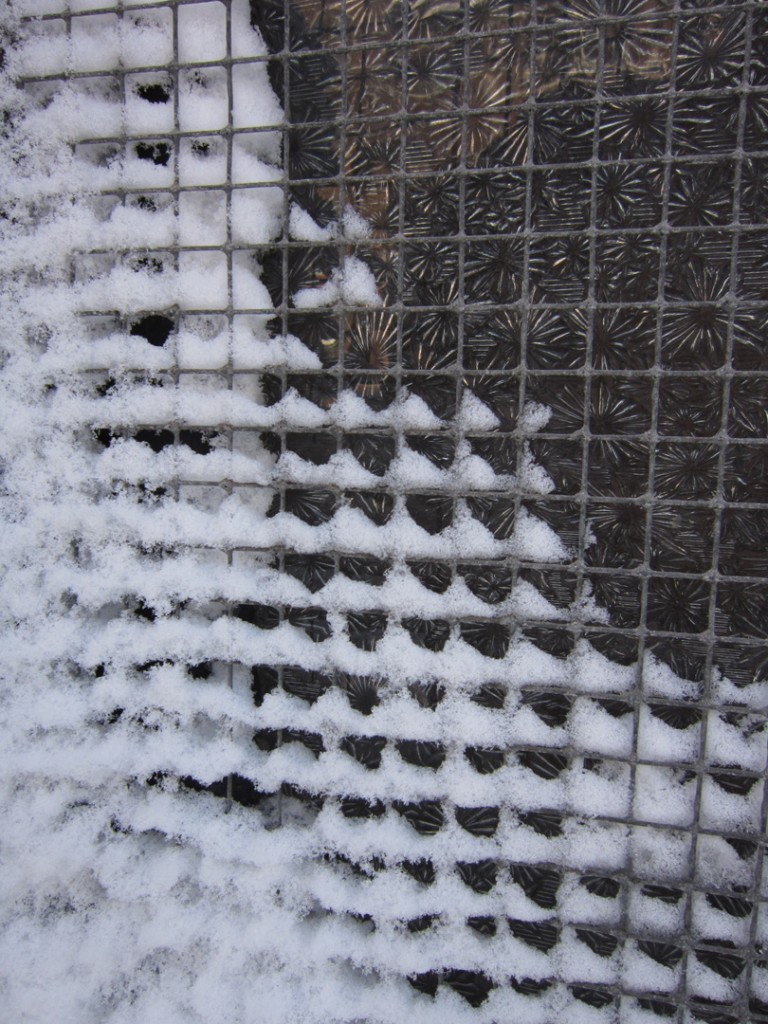
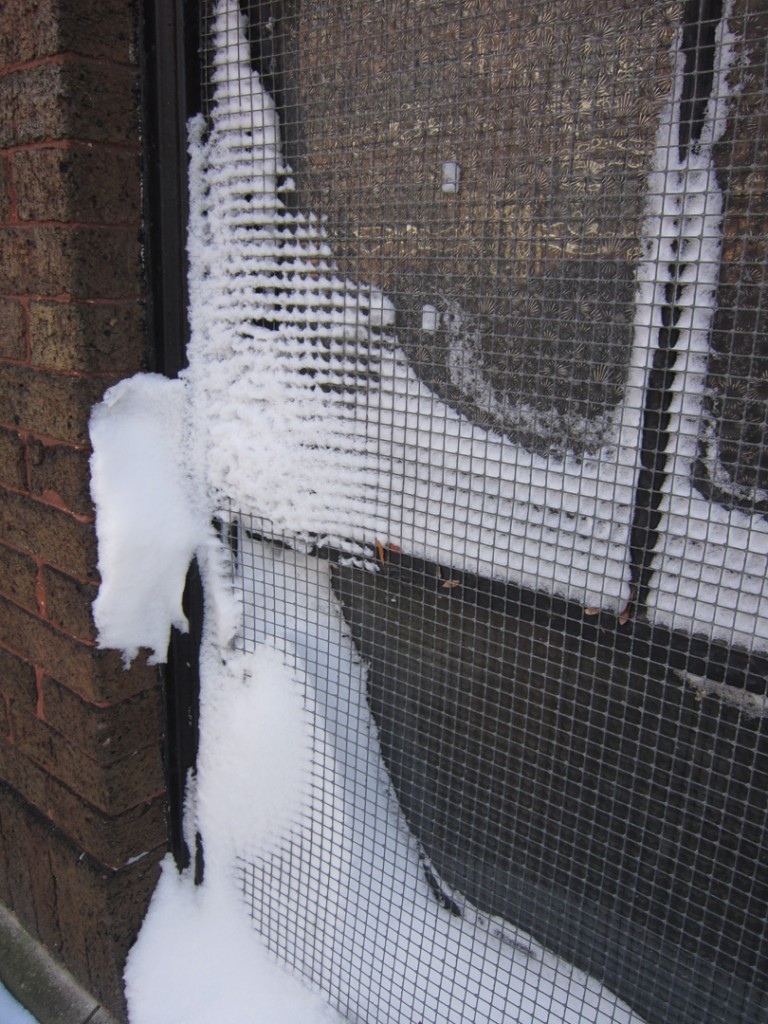
And I love finding snow in “weird” places. When the wind is so strong, it gets blown around and sticks in some pretty interesting places. Like the security mesh on our building’s basement windows!
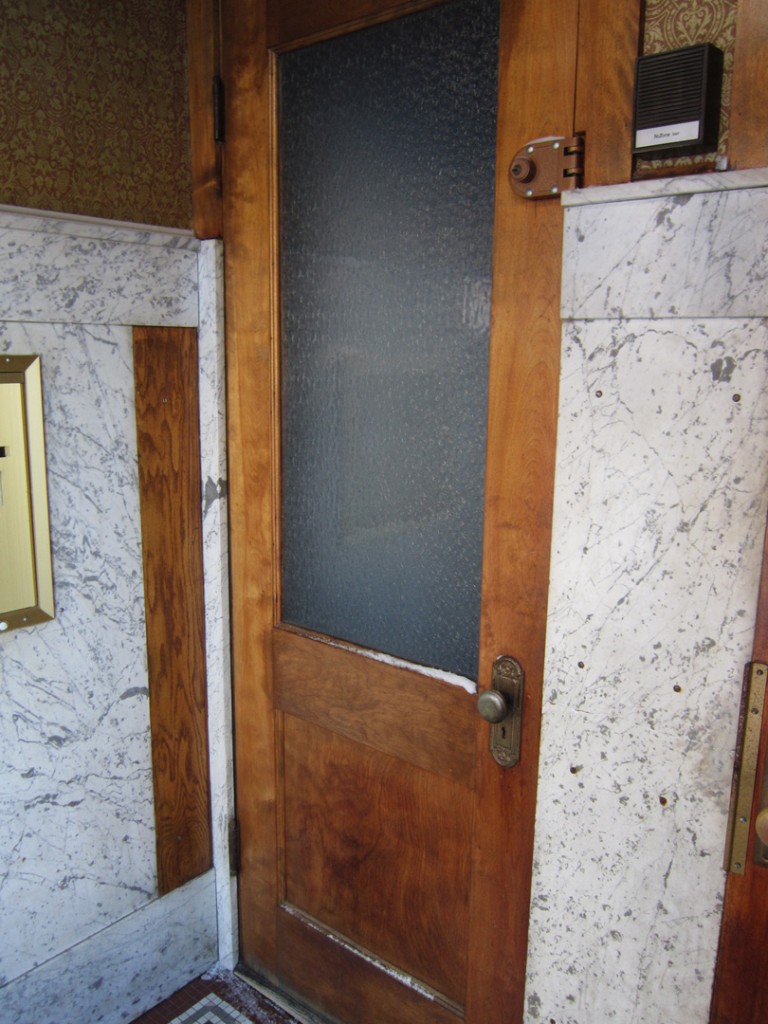
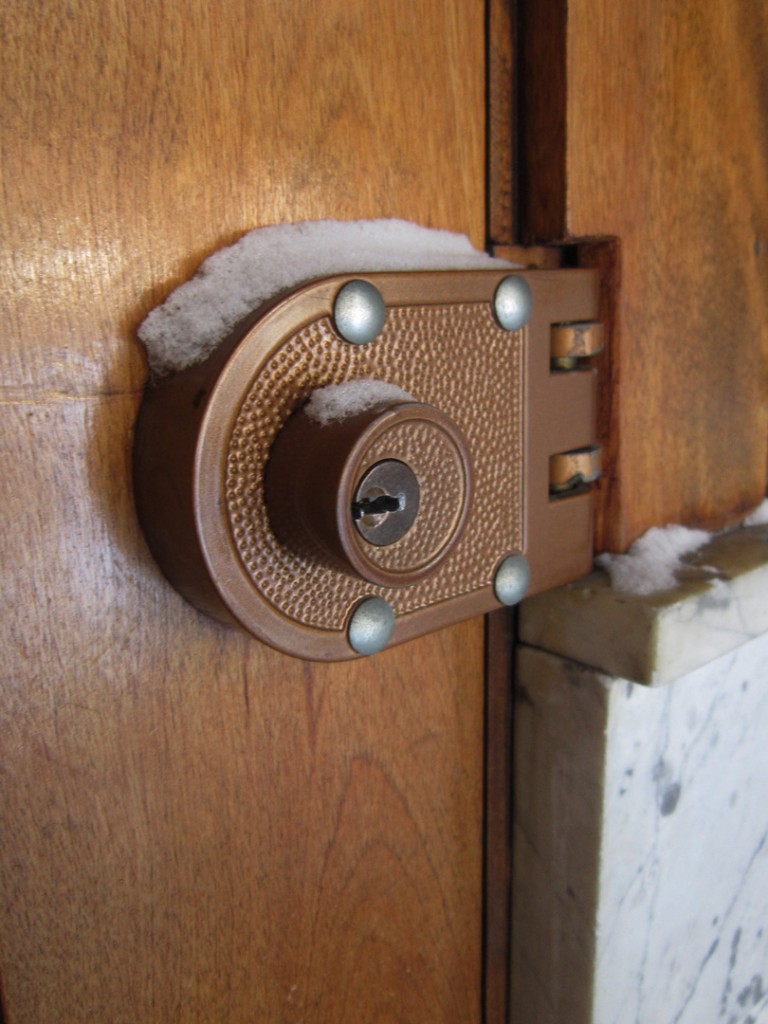
But it’s not only OUTside!!! The wind was SO strong last night that the inside lobby vestibule was filled with snow too! Yes, our front door “might” need a better latching system, ya’ think? Unfortunately, the snow removal company had already been there. So most of it was already gone. But some remnants remain to show you where the snow had gotten to… INSIDE our foyer!!! Look at the window ledges on the door… and even better, look on top of the padlock!!!
That’s about 6-feet high INSIDE my building’s foyer!!!
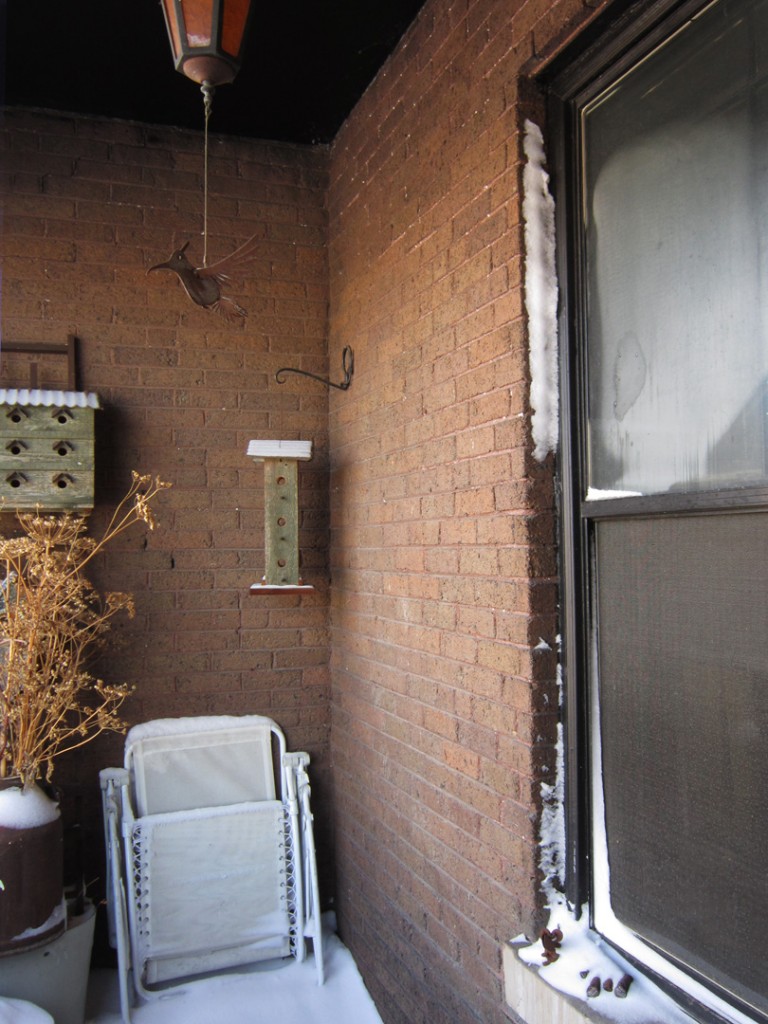
And then again upstairs, on my front porch, where it is fairly well protected. Look how high the snow is sticking to the window frame. And while you’re at it.. look how well the storm window is working in the UP position – yikes!!!

