Well, we’re at Week Four of our Beginning & Advanced Beginning Wheelthrowing class.
And tonight we tackled BOWLS!!!
Bowls on purpose… not a whoops, my cylinder just turned into a bowl!!!
So I taught them the basics of throwing a good bowl. Right from the start… from opening the ball of clay with a curved bottom… to shaping the bowl with a rib from inside. I always stress the importance of throwing the “inside” shape of the bowl. The outside you can trim to match the curve of the inside… not visa-versa!
After I threw my first demo bowl, my students went back to their wheels to start making bowls. In the meantime, I threw eleven more of the same basic round bowl. We then all reassembled for Part Two of the bowl demo… altering & decorating each of them in a different way. My goal is to show my students a few quick tricks, encourage them to try some new techniques and to emphasize that “it’s just clay” and they need to play more & express themselves!!!
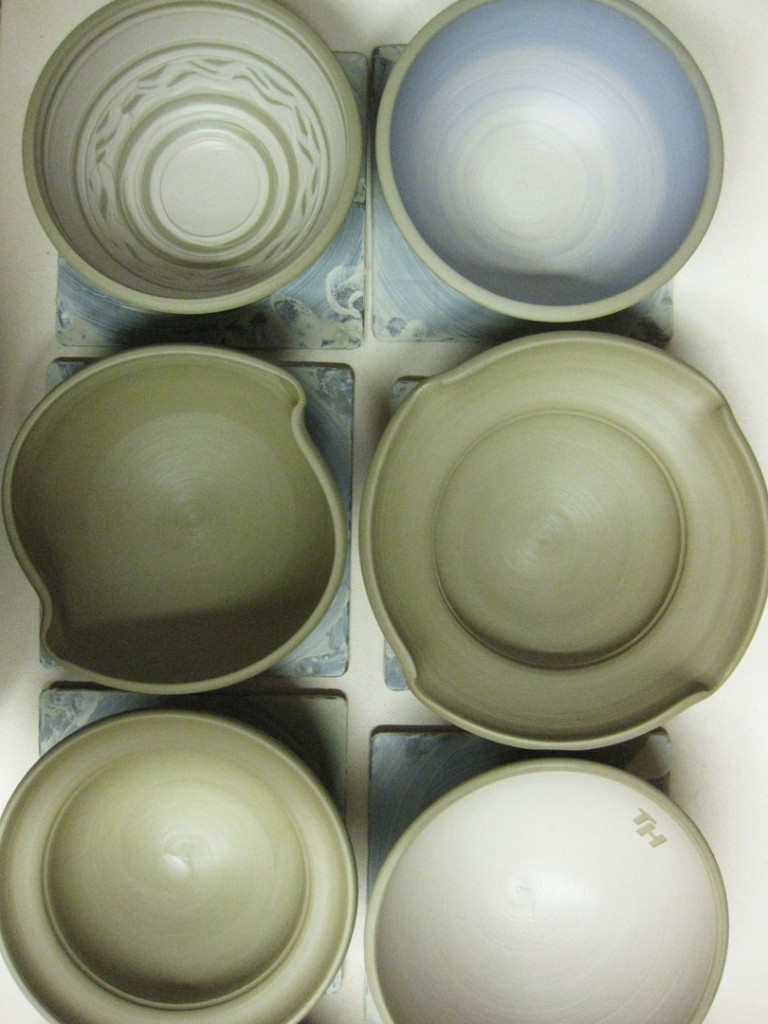
So here are the twelve bowls after Part Two.
They all started the same, but didn’t stay that way for long!

Bowl #1 – Just a couple finger flips for a new “twist” on a round bowl.

Bowl #2 – And if two twists are good…. eight twists might be better!
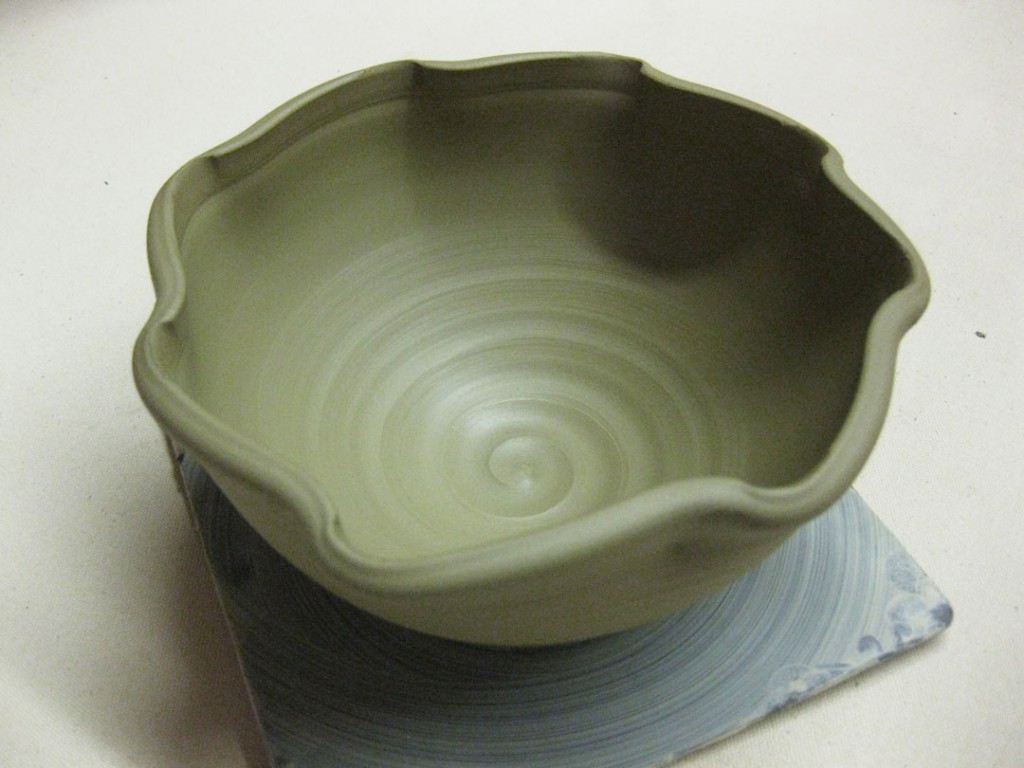
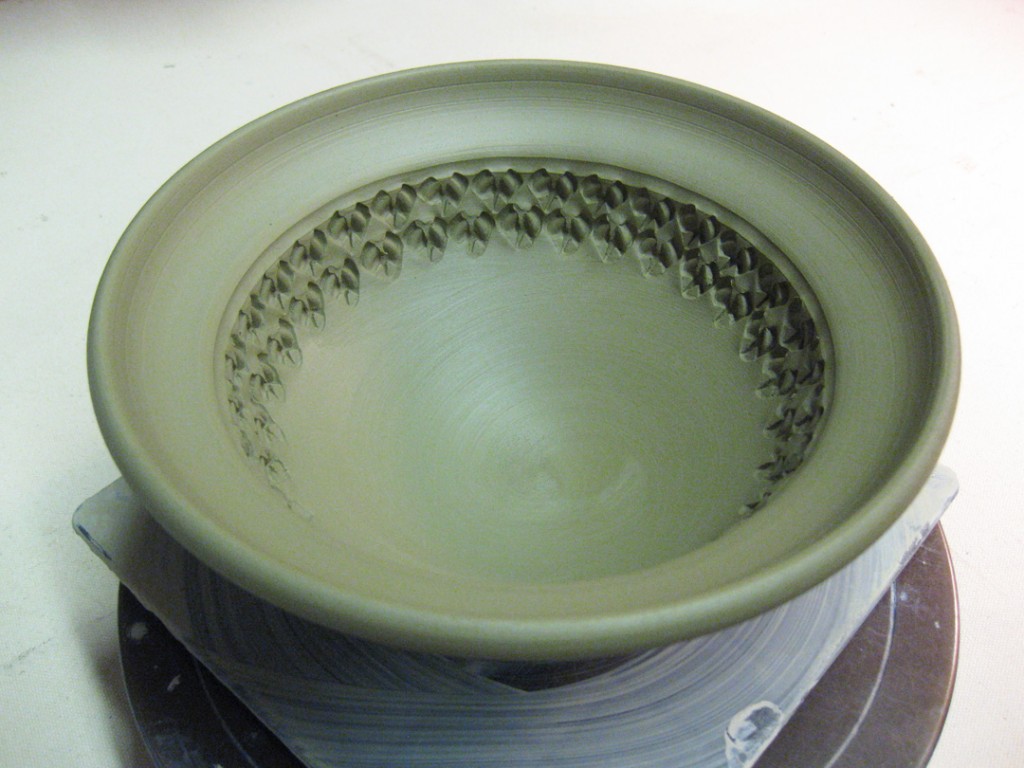
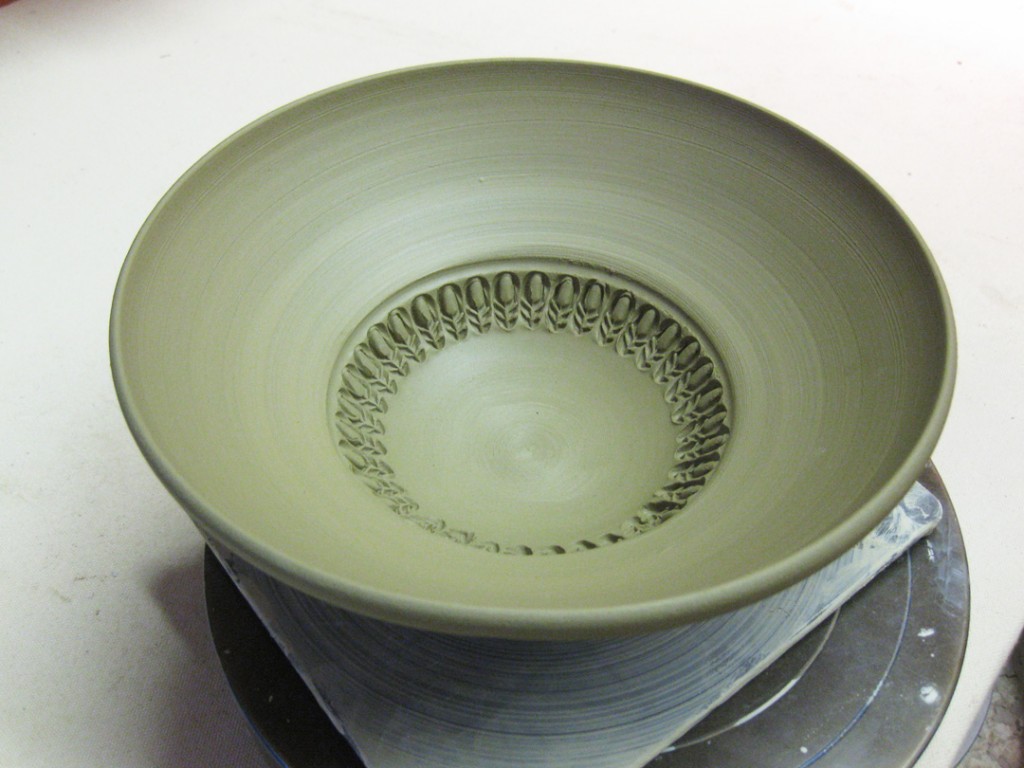
Bowl #3 – Then I flared out the rim to add a flange all around.
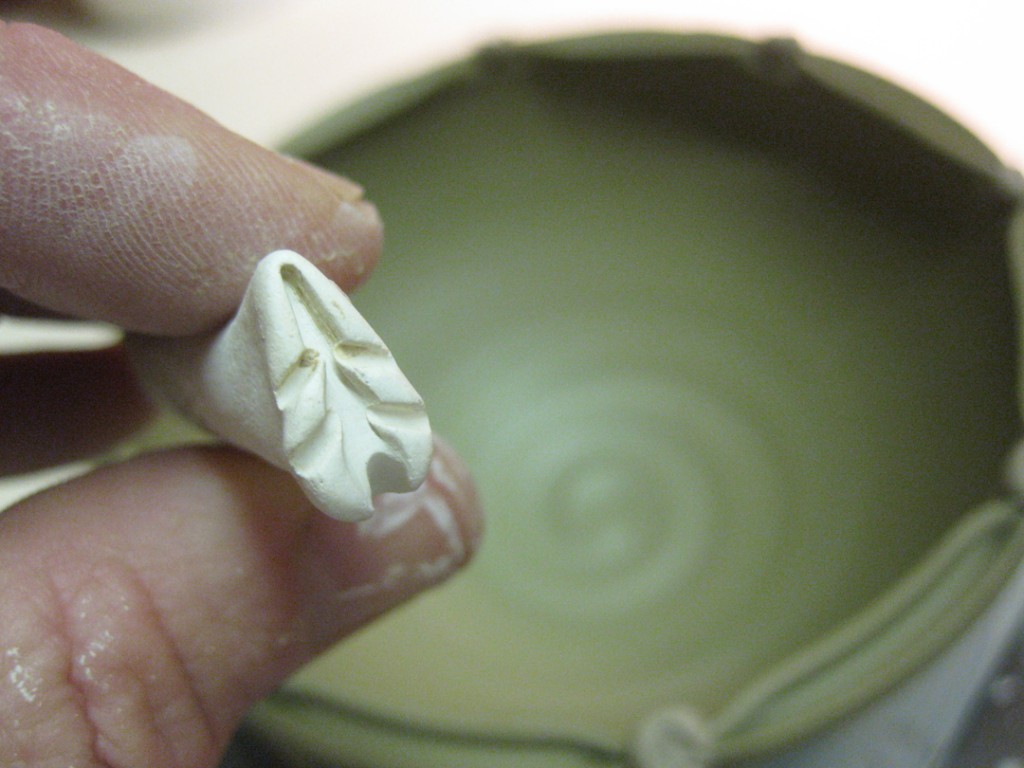
This one will be stamped later when it stiffens up a bit, but not too much… tomorrow?

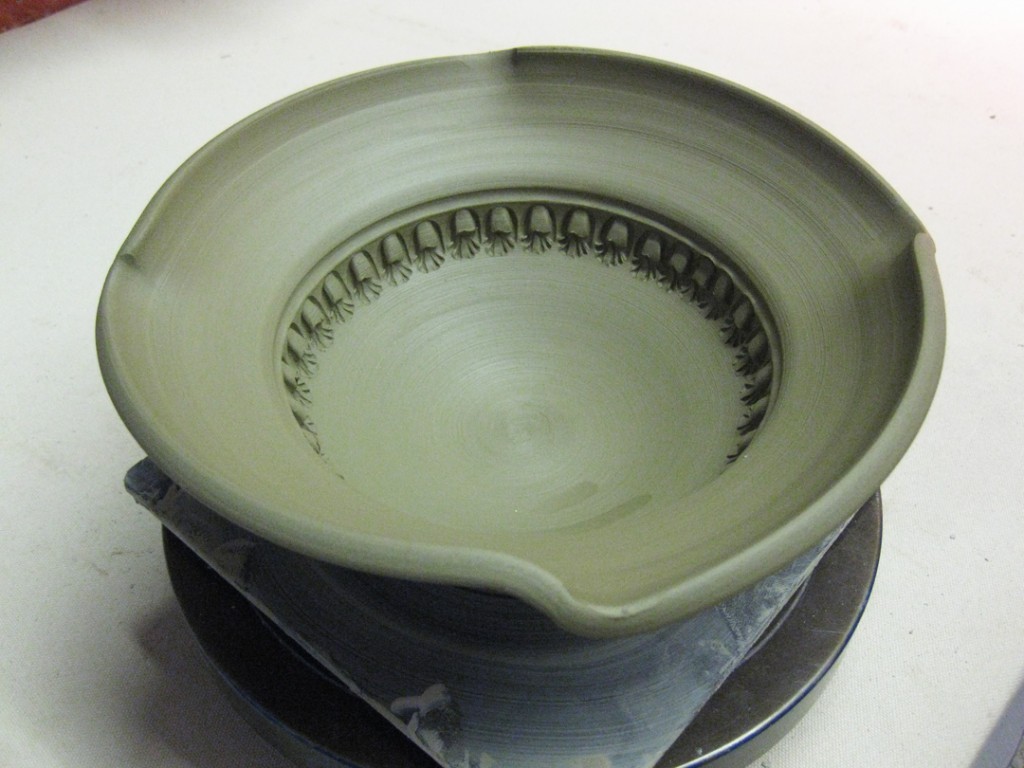
Bowl #4 – A bit of flange is good, but more dramatic is always better!
This one will be stamped later when it stiffens up a bit, but not too much… tomorrow?
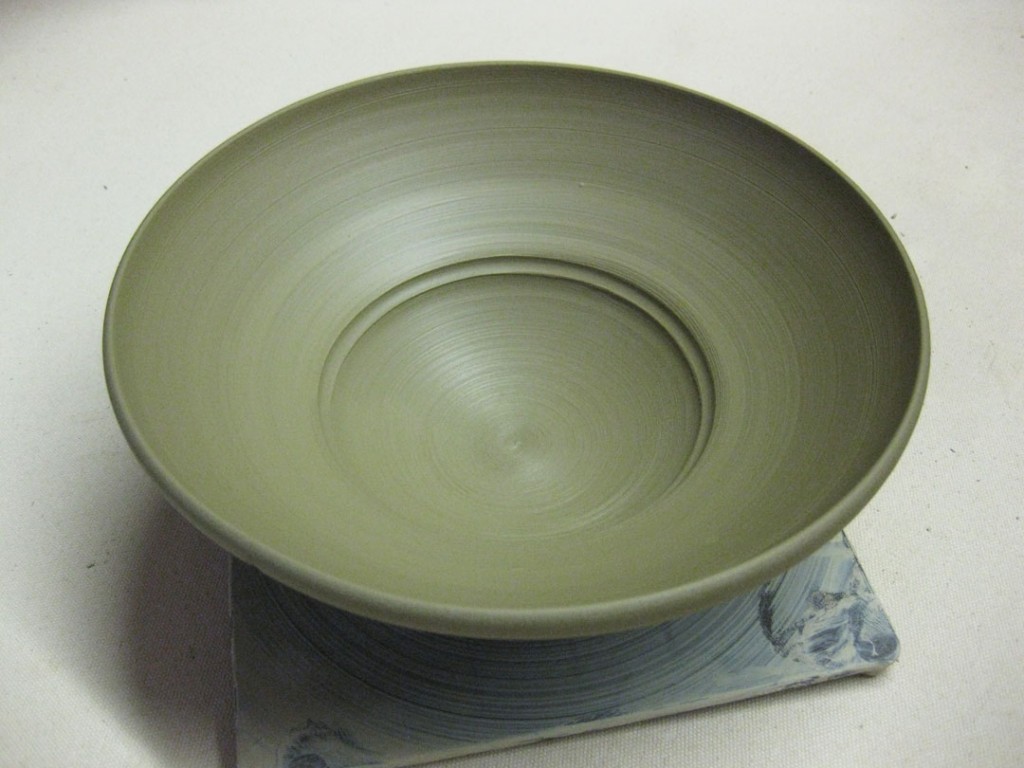
Bowl #5 – Why not combine them – finger twists & flared flange?
This one will be stamped later when it stiffens up a bit, but not too much… tomorrow?

Bowl #6 – With a simple dragon-scale tool…. a few impressions makes a nice flower!
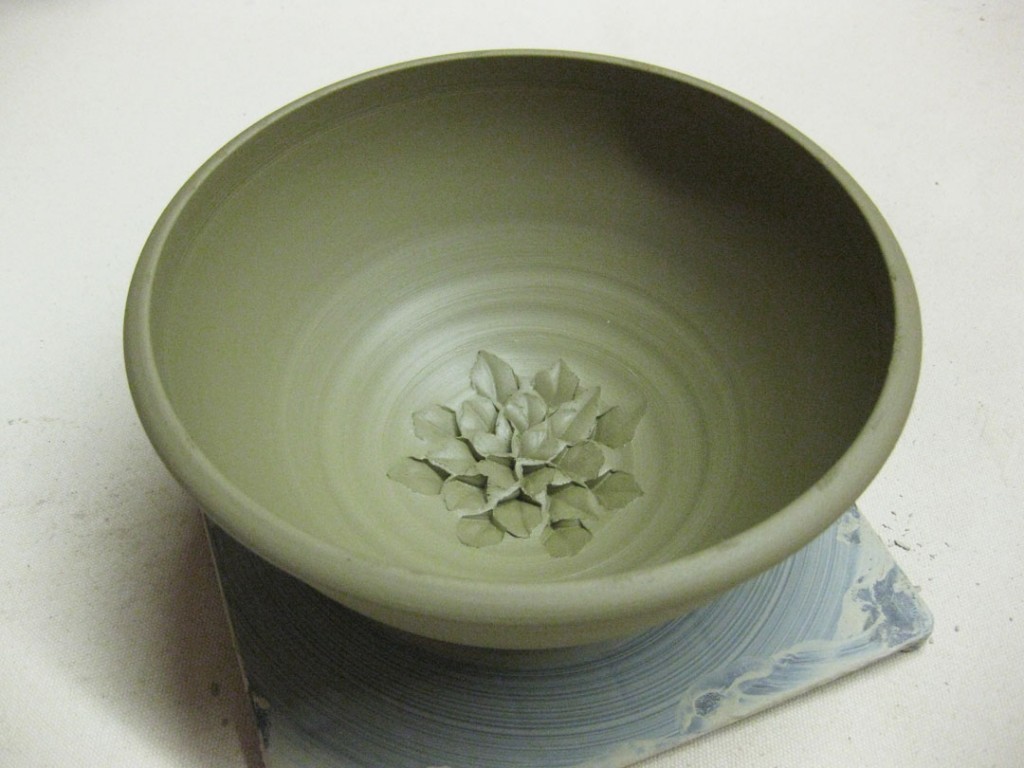

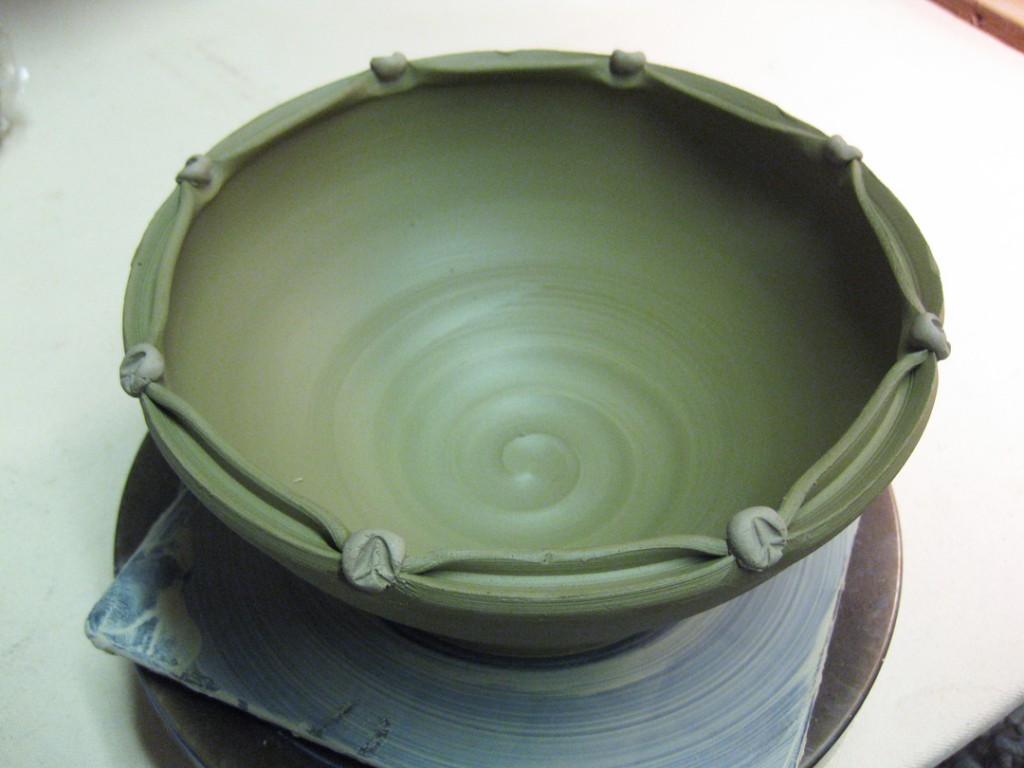
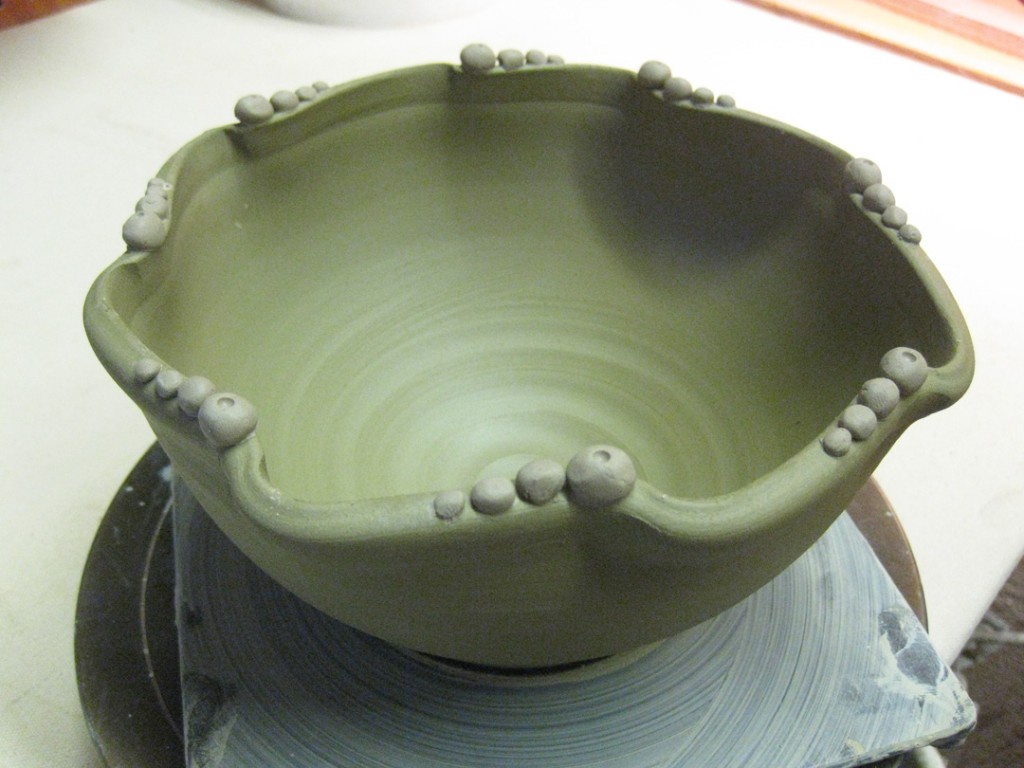
Bowl #7 – A split rim pinched back together… kind of a quilted rim!

Then I introduced them to colored slips. I planned ahead and threw my bowls with Ochre Stoneware. When it fires it will become a dark chocolate brown. I knew that white slip would make a great contrast in the end. I explained slip possibilities & overwhelmed them with too many options. You could see their eyes glazing over… or looking back in fear. Too many options!!! And we haven’t even glazed anything yet!!!
Bowl #8 – After coating the inside, I dragged a round tip through for a fun spiral effect.
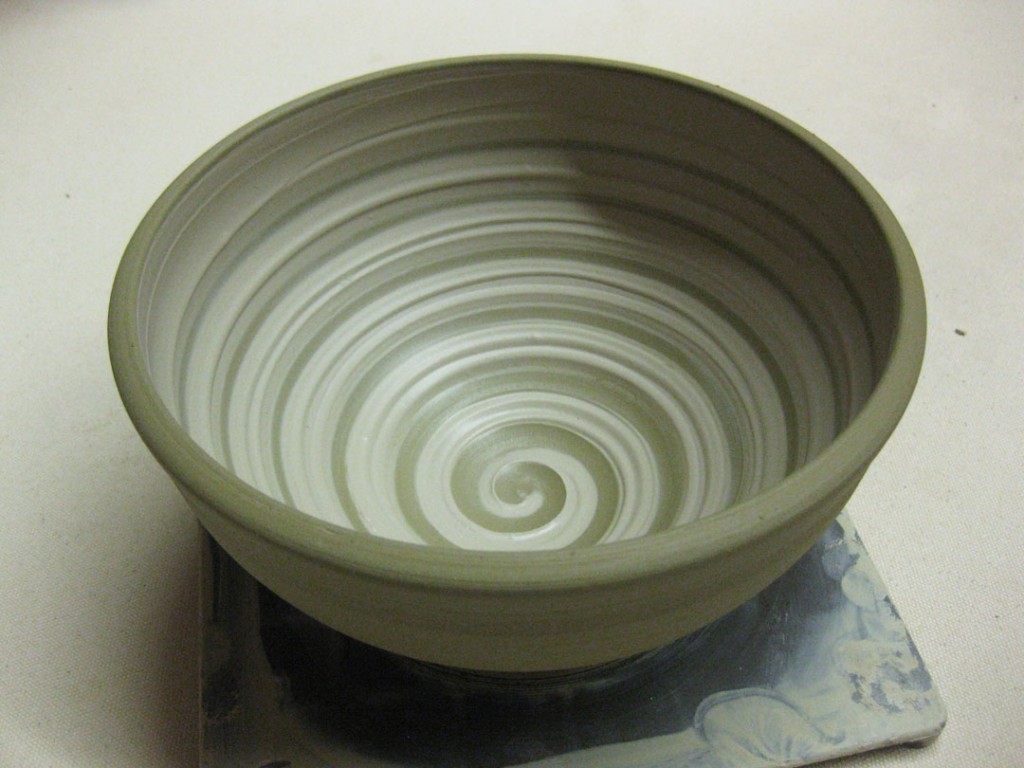
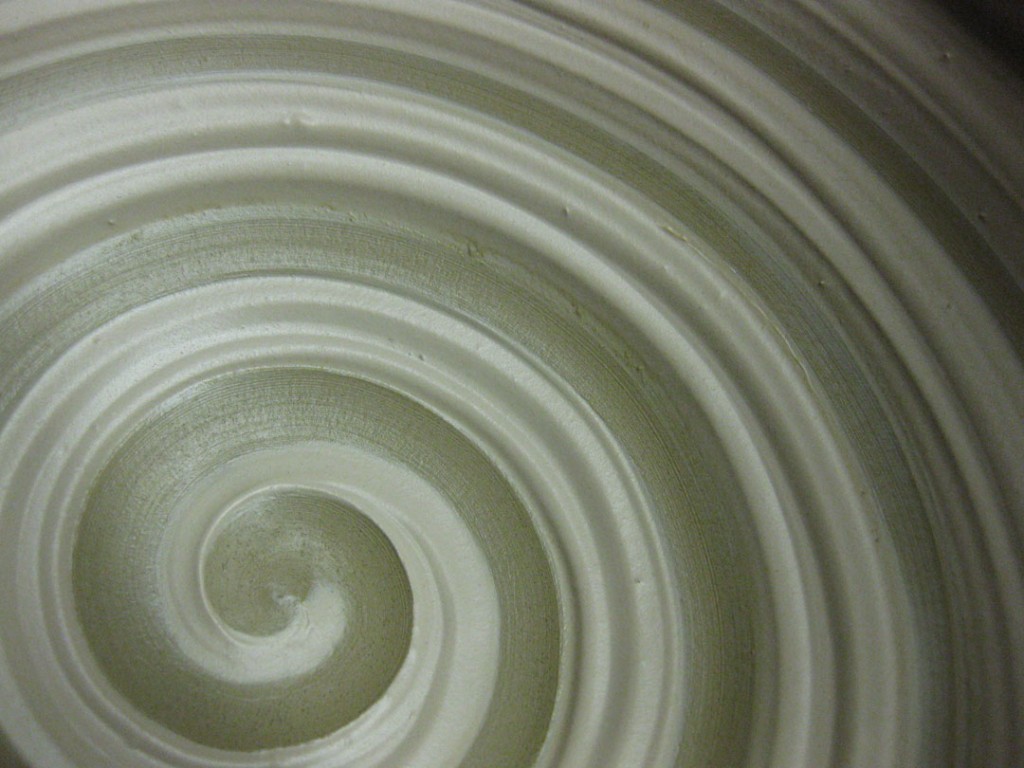
Bowl #9 – Kinda the same, but this time banding & squiggling through the white slip.
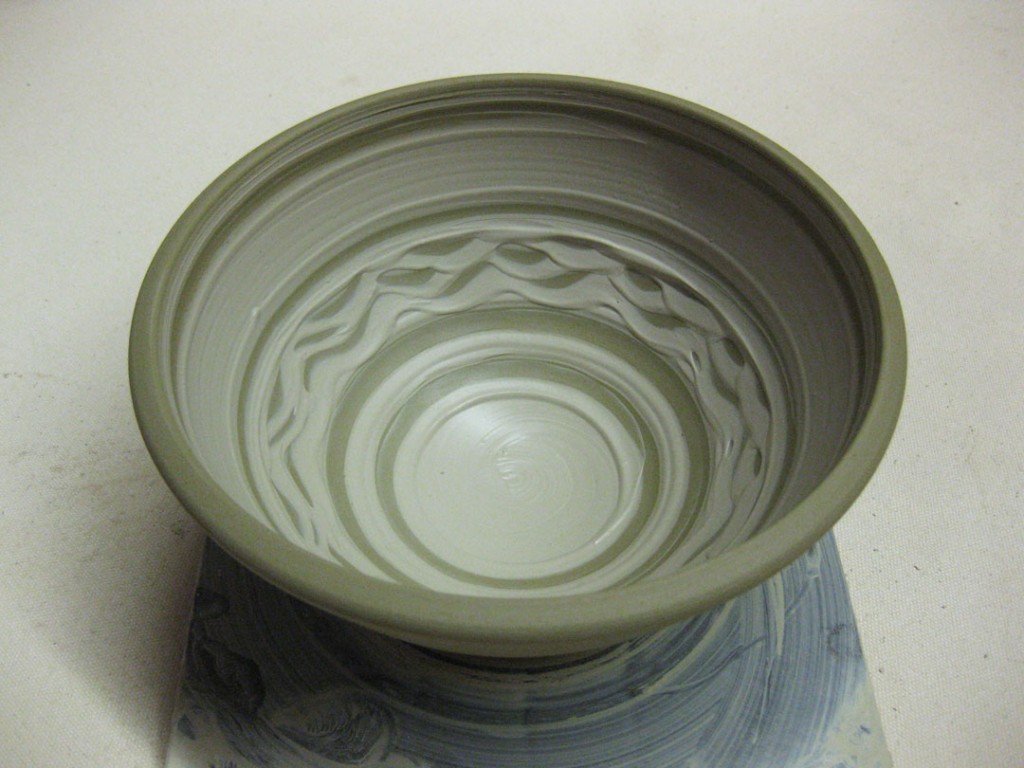
Bowl #10 – Another white slipped bowl, but this time chattered with a rounded rib.
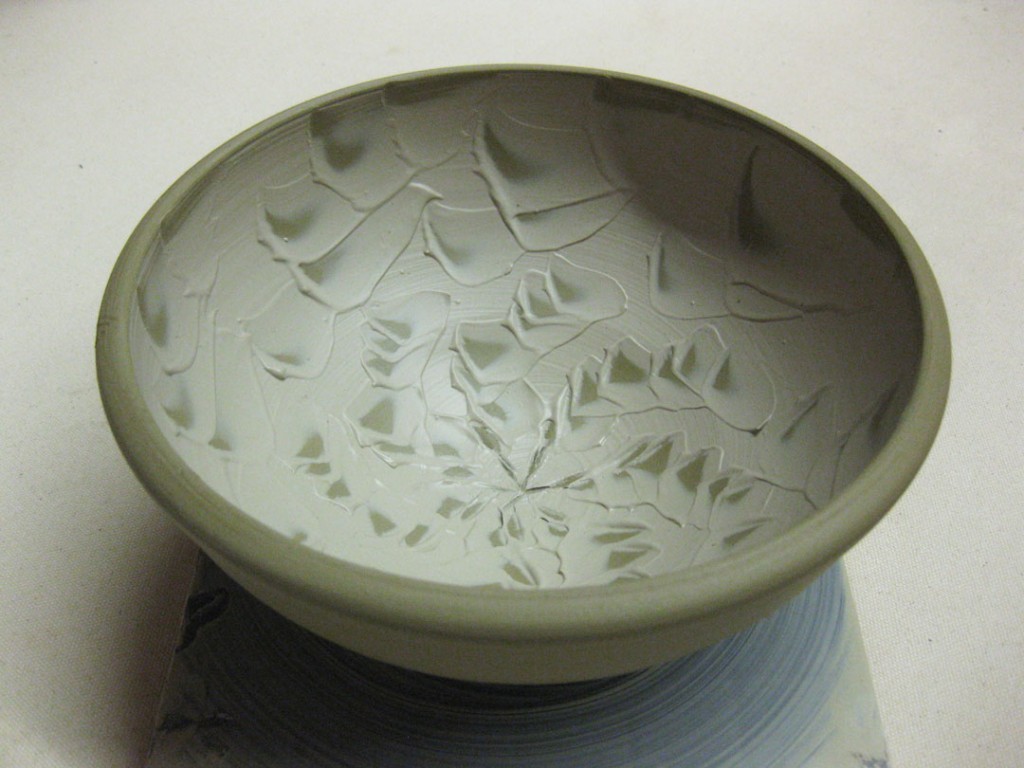
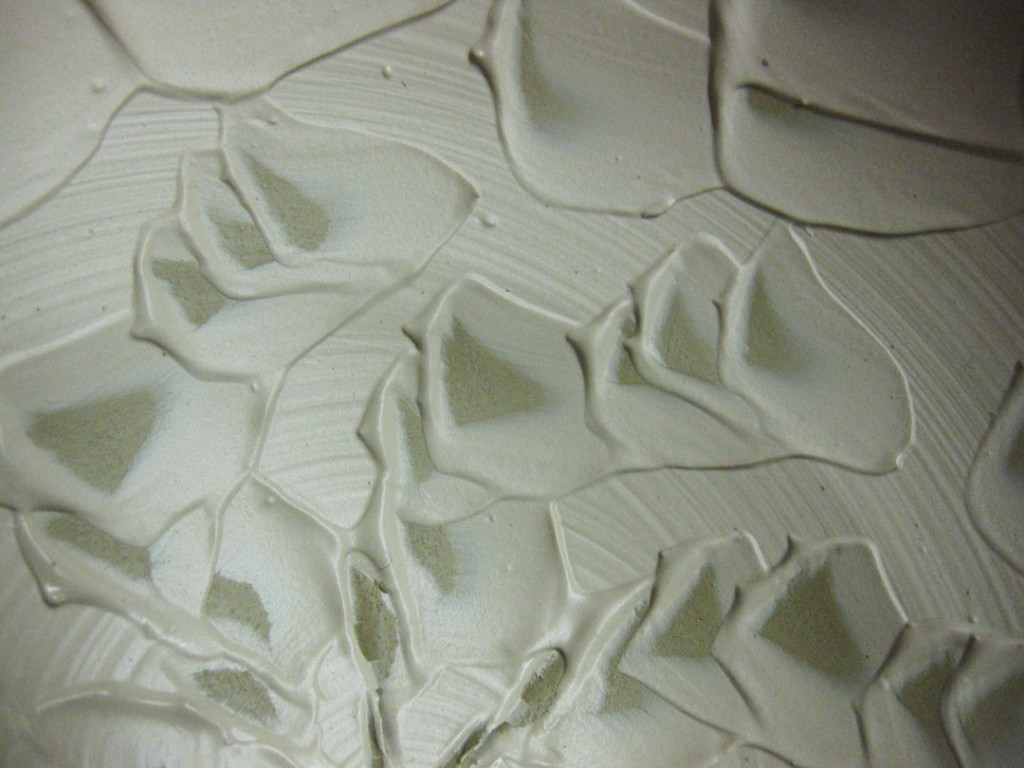
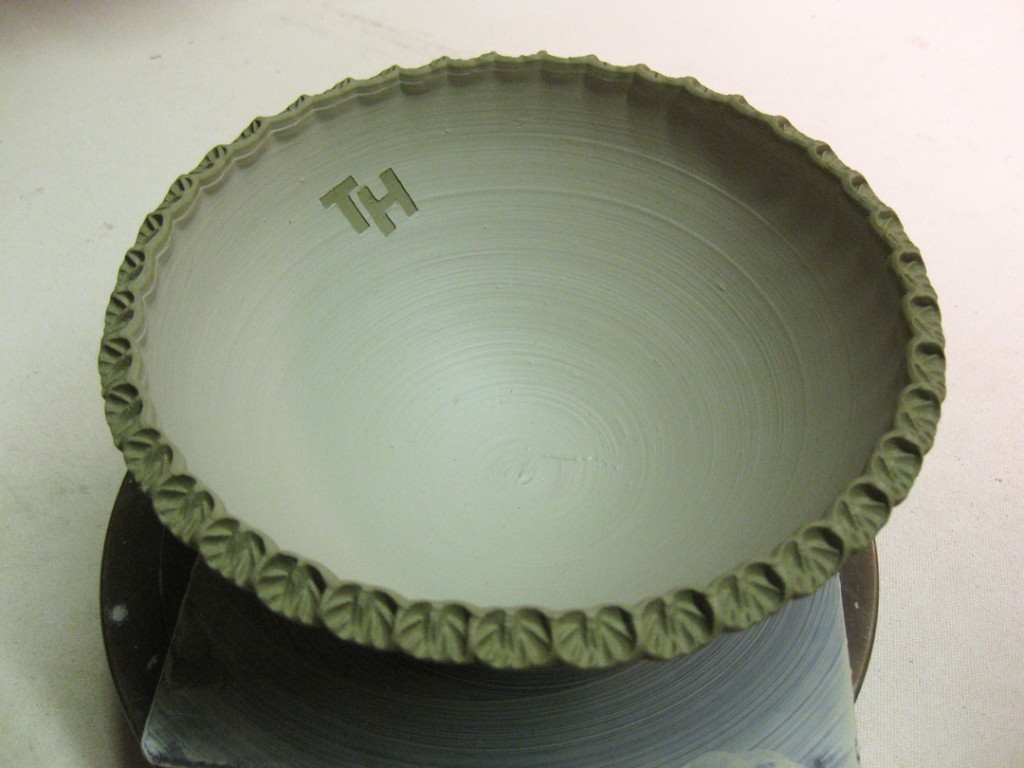
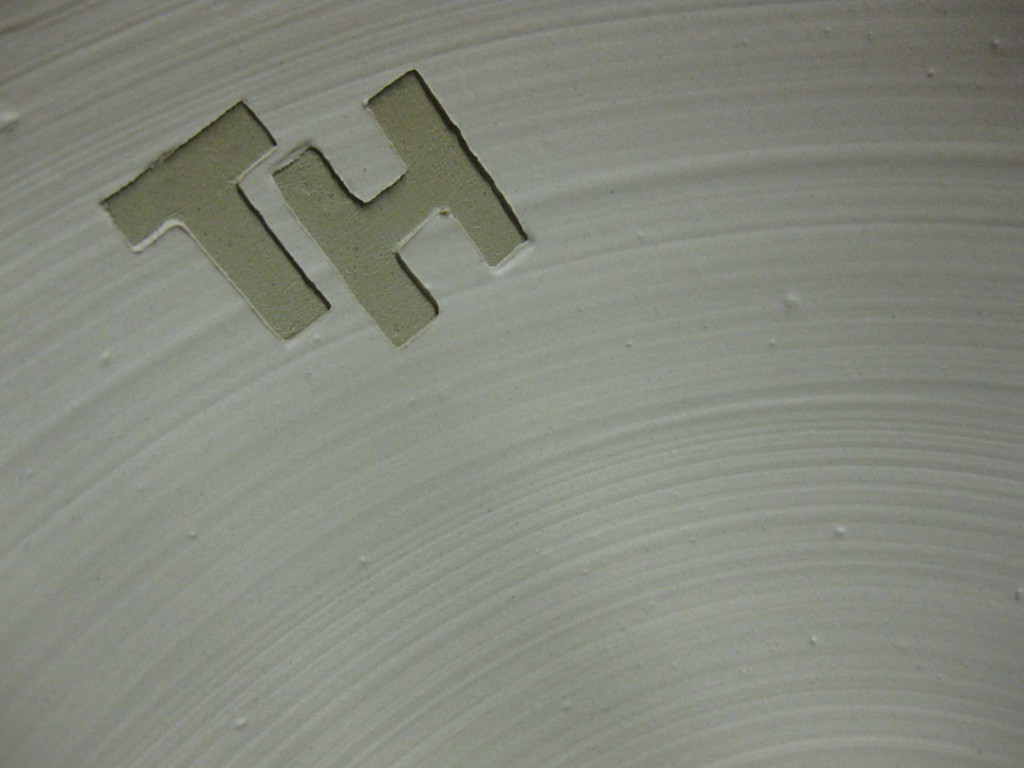
Bowl #11 – Two letters cut out of the newspaper stuck on & slipped over. Then pulled out to reveal a little monogram inside the bowl. Shhhh… Don’t tell anyone, but there’s a “really good chance” that it will go to my niece Taylor… they’re her initials!!!
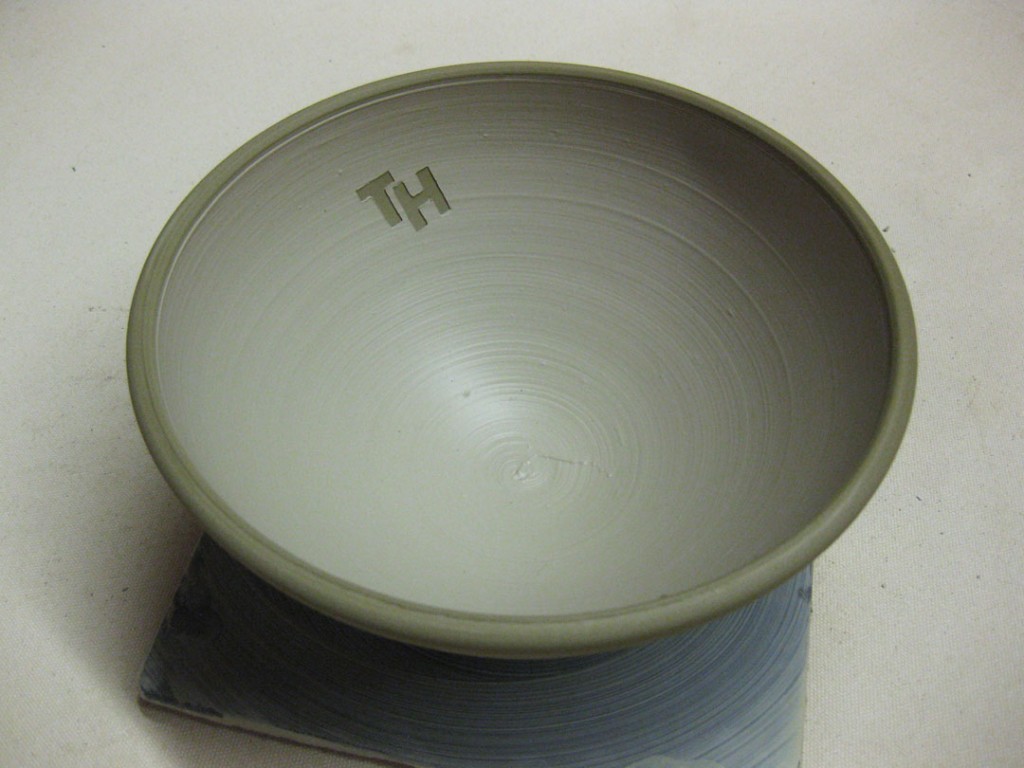
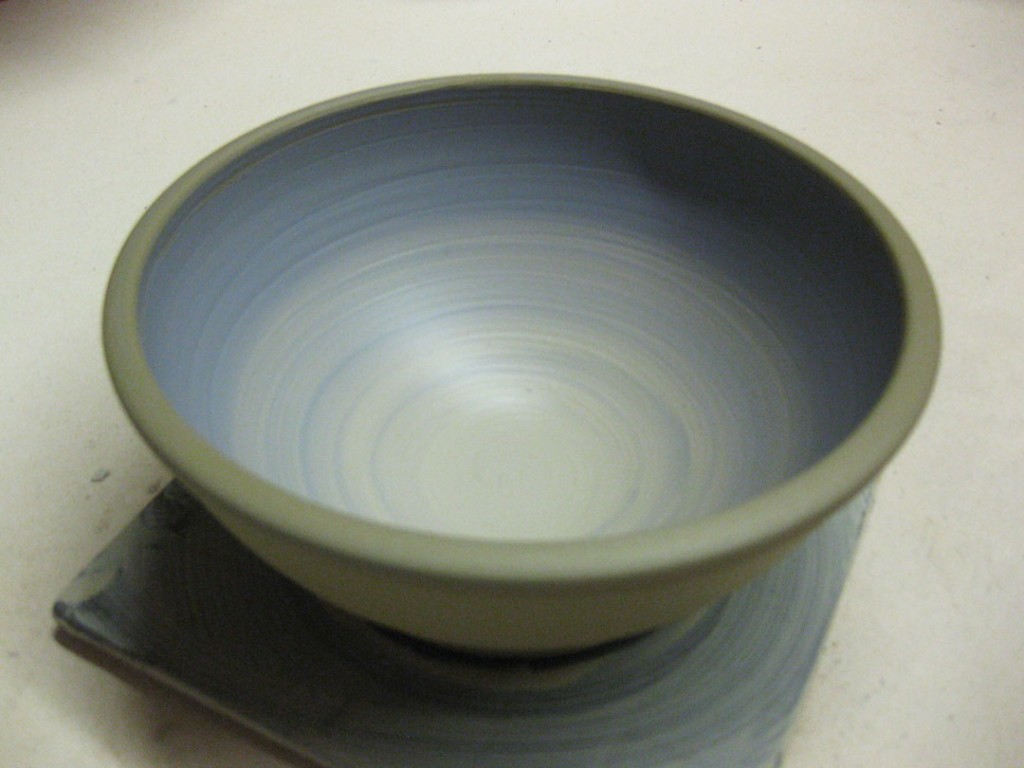
Bowl #12 РThe last bowl was a two-tone ombr̩ effect with white & blue slips.
So now all twelve bowls are back in my studio. Wrapped up for the night. Tomorrow I will do a bit of stamping, some more altering and some more detailing of the bowls. Always my favorite demo of the session… now I just hope my students make a bunch of bowls. And not just plain old round ones!!!

