Well, we’re at Week Four of our Beginning & Advanced Beginning Wheelthrowing class.
And tonight we tackled BOWLS!!!
Bowls on purpose… not a whoops, my cylinder just turned into a bowl!!!
So I taught them the basics of throwing a good bowl. Right from the start… from opening the ball of clay with a curved bottom… to shaping the bowl with a rib from inside. I always stress the importance of throwing the “inside” shape of the bowl. The outside you can trim to match the curve of the inside… not visa-versa!
After I threw my first demo bowl, my students went back to their wheels to start making bowls. In the meantime, I threw eleven more of the same basic round bowl. We then all reassembled for Part Two of the bowl demo… altering & decorating each of them in a different way. My goal is to show my students a few quick tricks, encourage them to try some new techniques and to emphasize that “it’s just clay” and they need to play more & express themselves!!!
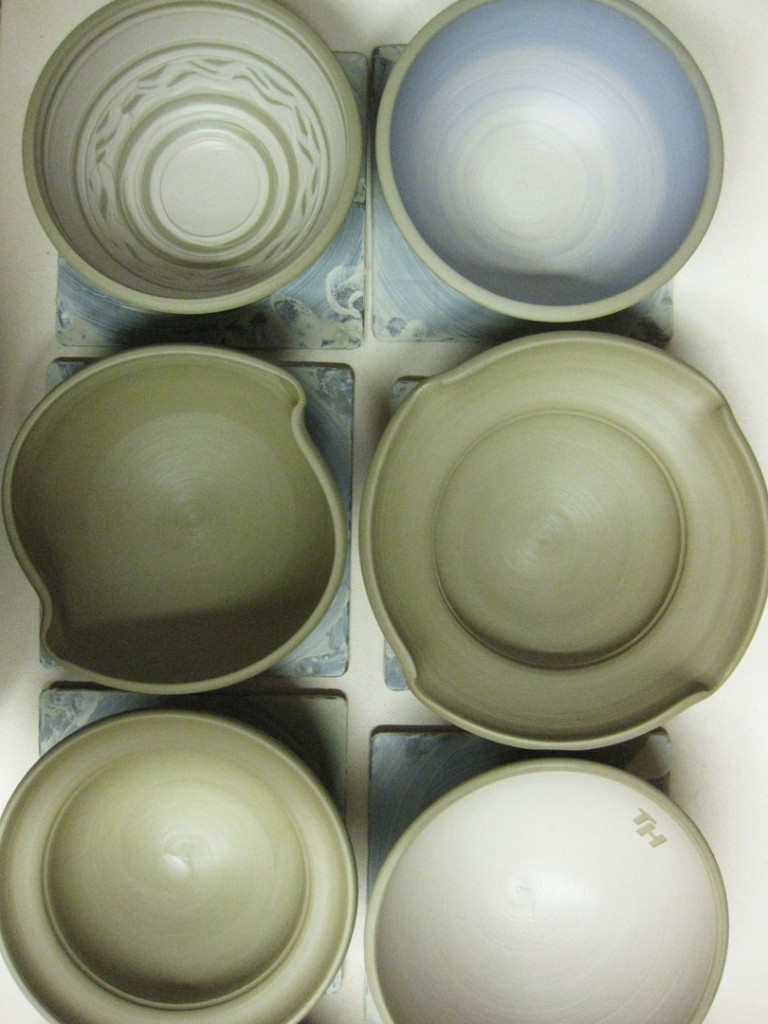
So here are the twelve bowls after Part Two.
They all started the same, but didn’t stay that way for long!
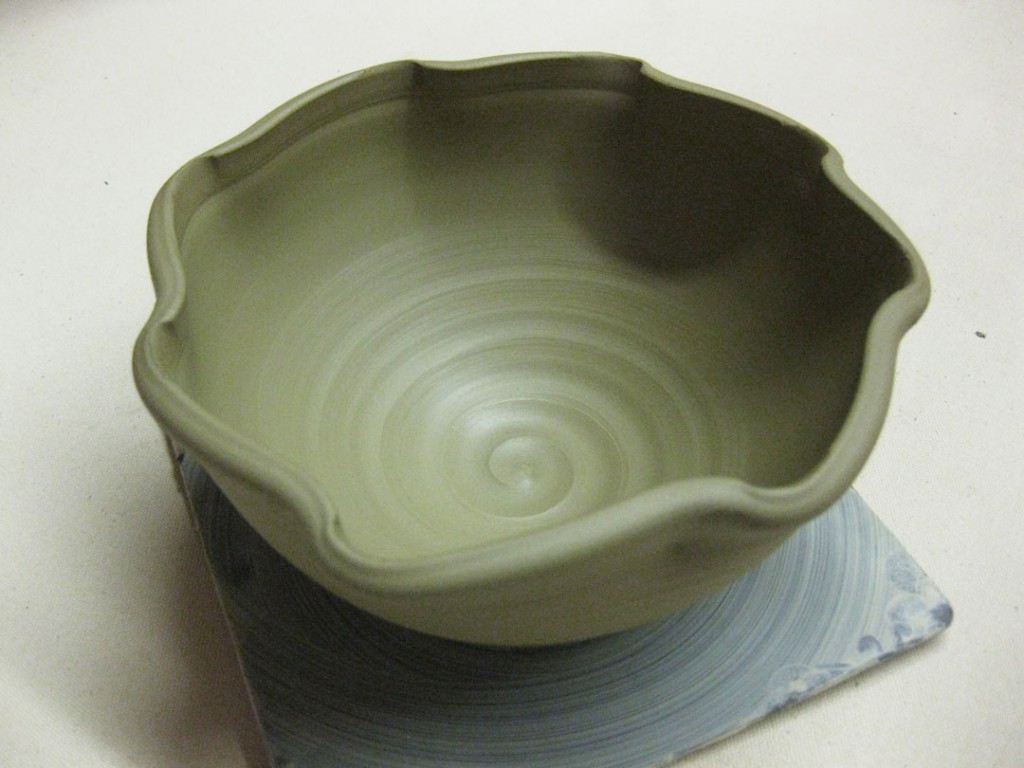
Bowl #1 – Just a couple finger flips for a new “twist” on a round bowl.
Bowl #2 – And if two twists are good…. eight twists might be better!
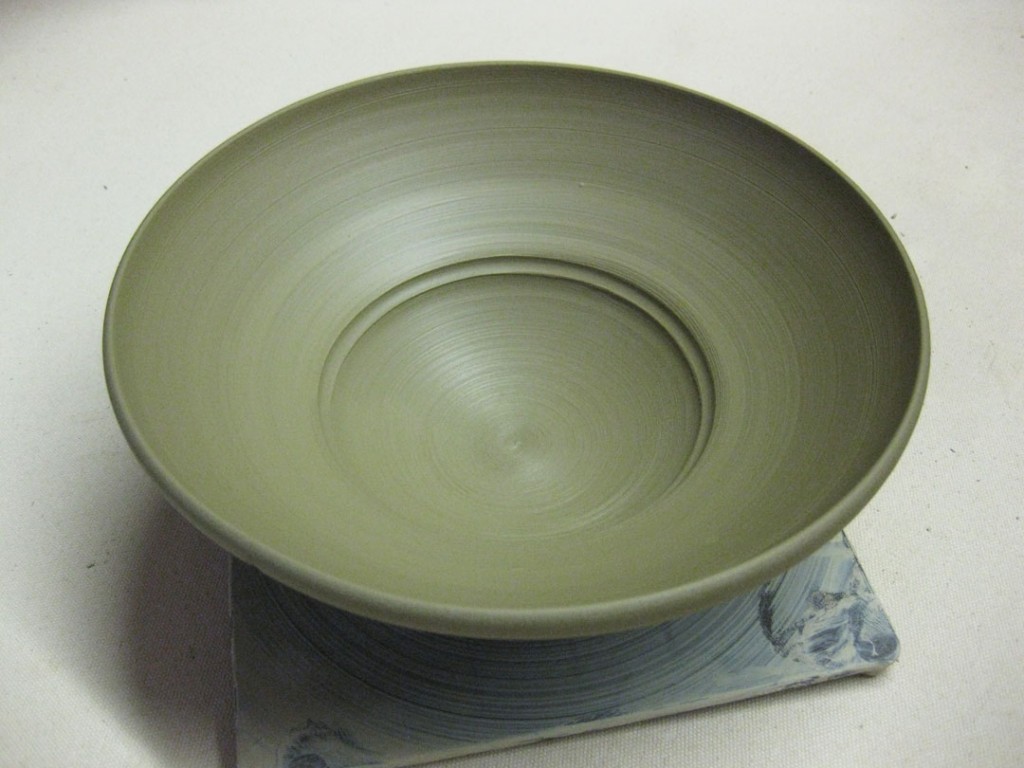
Bowl #3 – Then I flared out the rim to add a flange all around.
This one will be stamped later when it stiffens up a bit, but not too much… tomorrow?
Bowl #4 – A bit of flange is good, but more dramatic is always better!
This one will be stamped later when it stiffens up a bit, but not too much… tomorrow?
Bowl #5 – Why not combine them – finger twists & flared flange?
This one will be stamped later when it stiffens up a bit, but not too much… tomorrow?
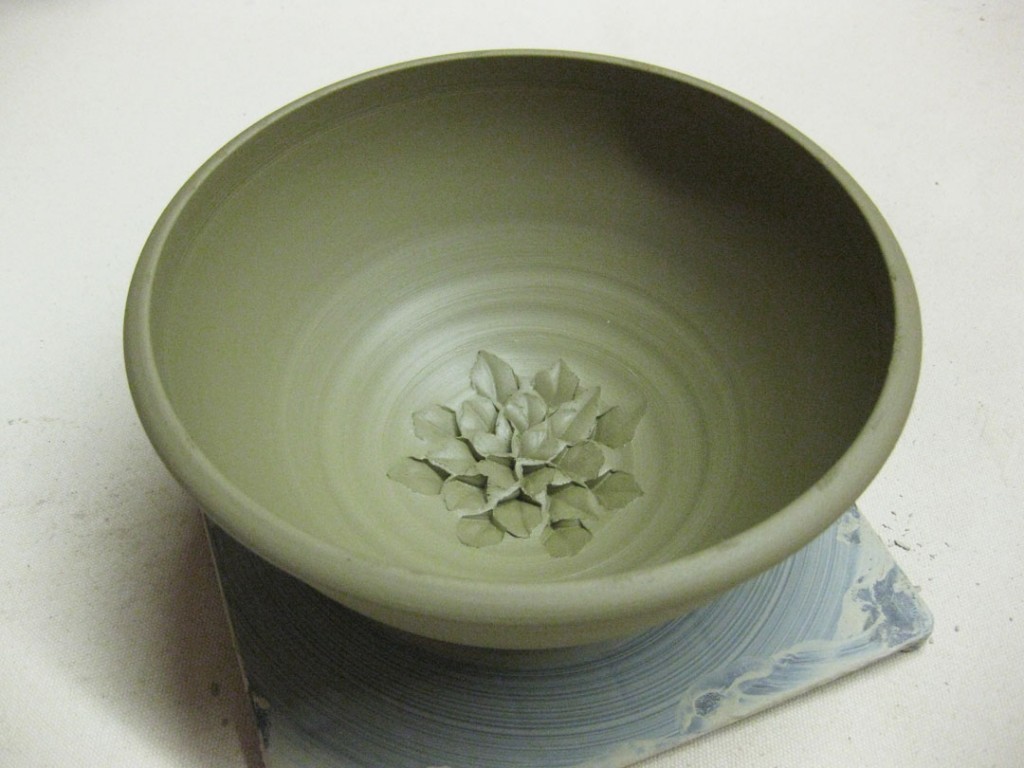
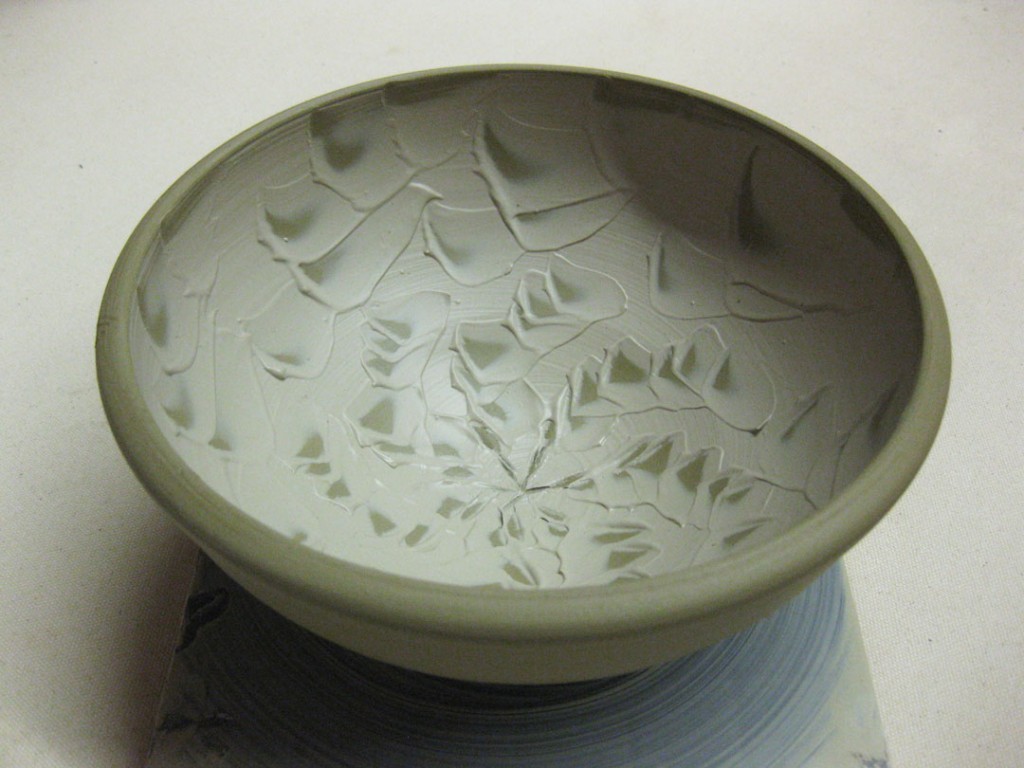
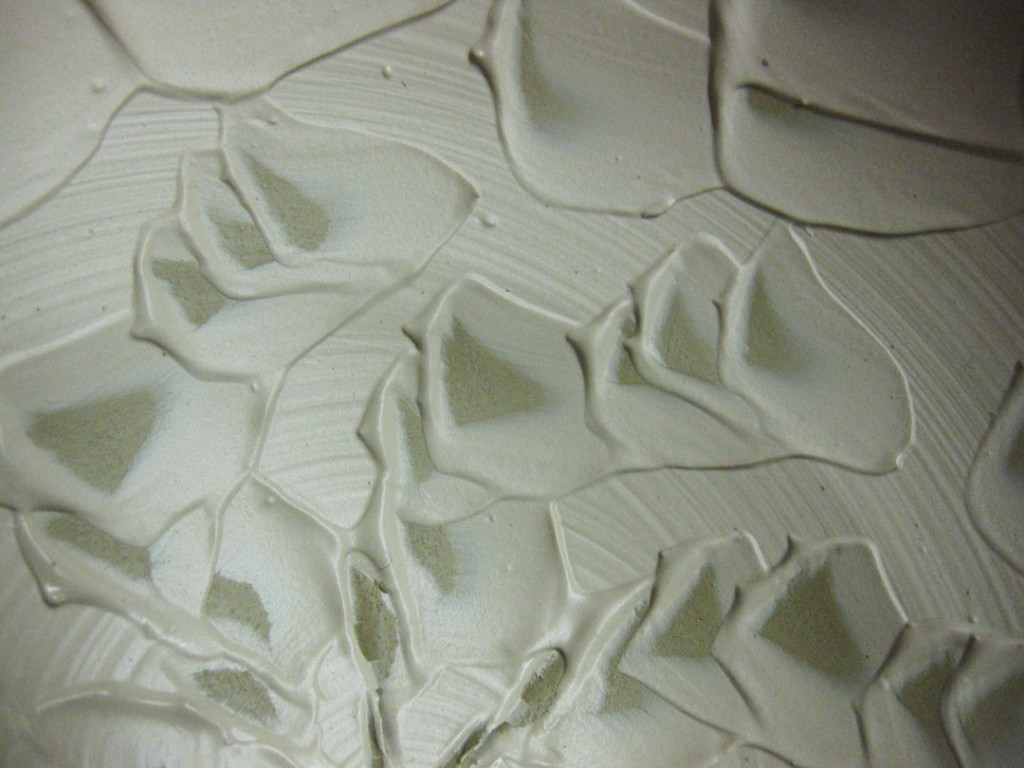
Bowl #6 – With a simple dragon-scale tool…. a few impressions makes a nice flower!
Bowl #7 – A split rim pinched back together… kind of a quilted rim!
Then I introduced them to colored slips. I planned ahead and threw my bowls with Ochre Stoneware. When it fires it will become a dark chocolate brown. I knew that white slip would make a great contrast in the end. I explained slip possibilities & overwhelmed them with too many options. You could see their eyes glazing over… or looking back in fear. Too many options!!! And we haven’t even glazed anything yet!!!
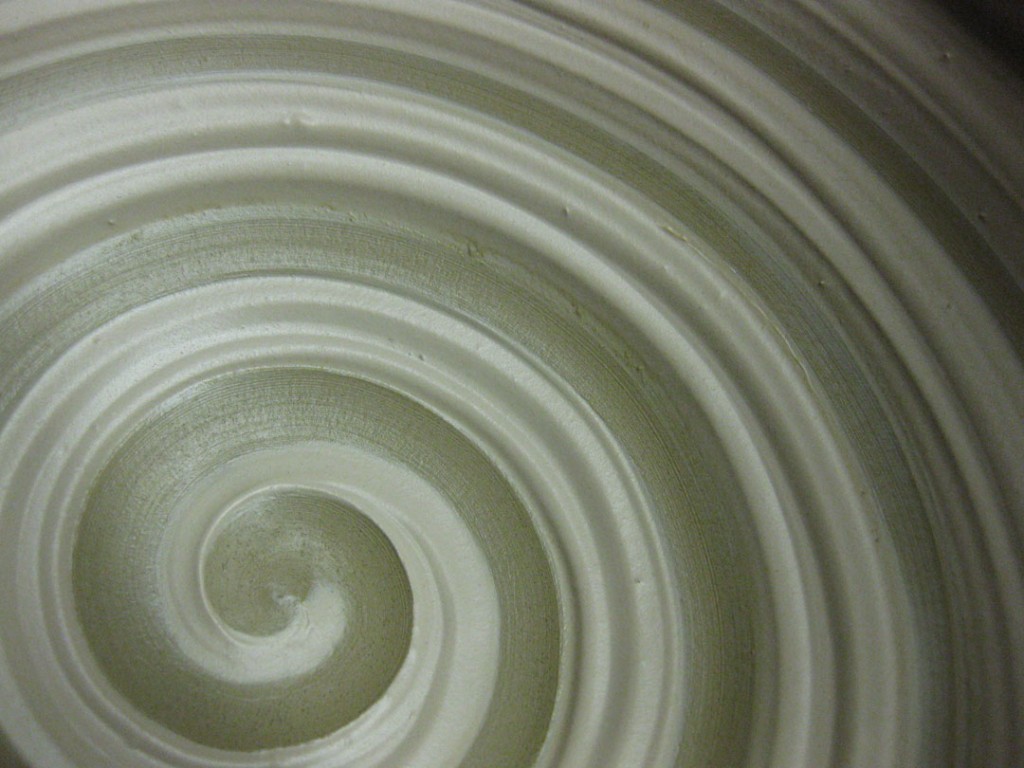
Bowl #8 – After coating the inside, I dragged a round tip through for a fun spiral effect.
Bowl #9 – Kinda the same, but this time banding & squiggling through the white slip.
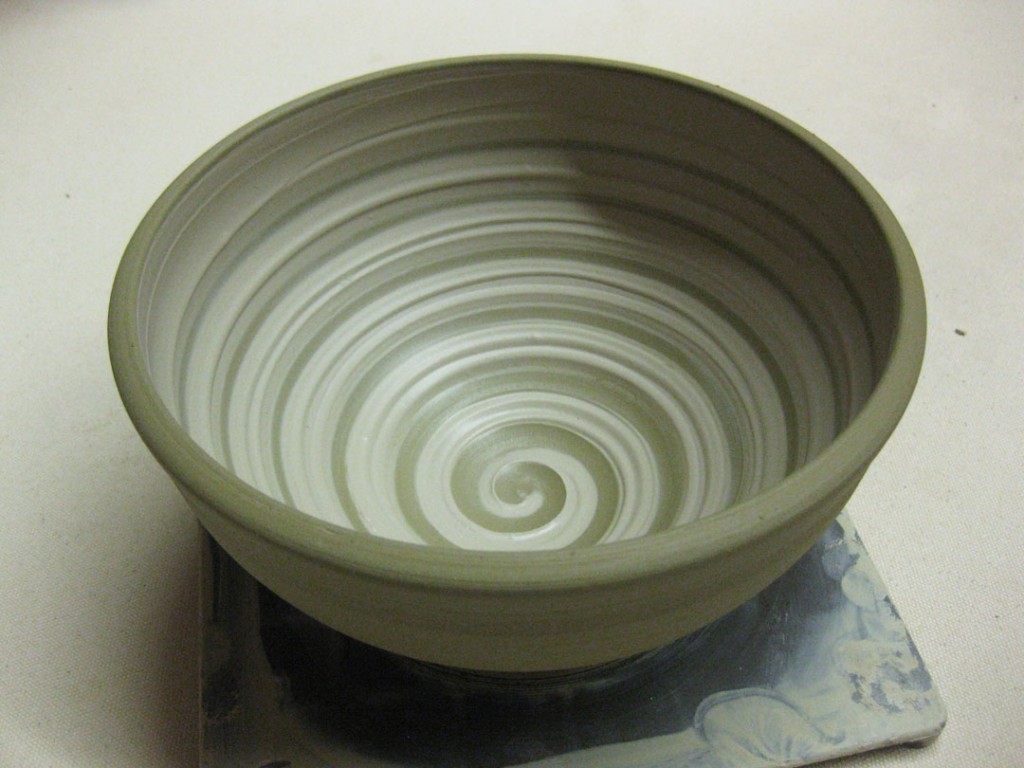
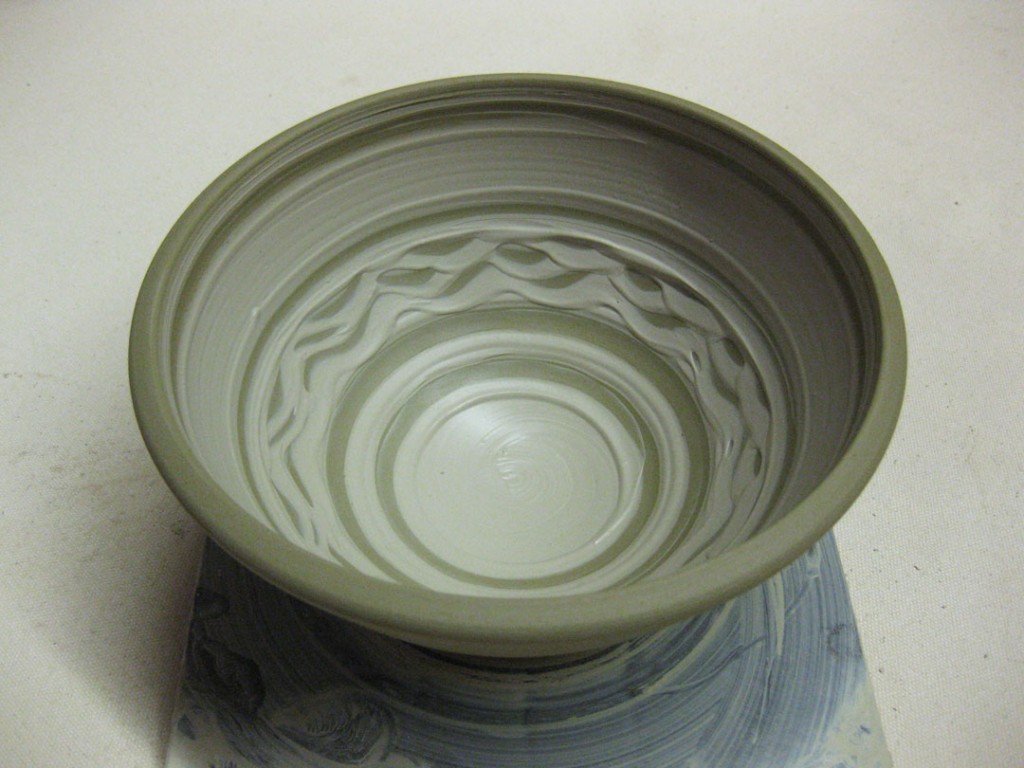
Bowl #10 – Another white slipped bowl, but this time chattered with a rounded rib.
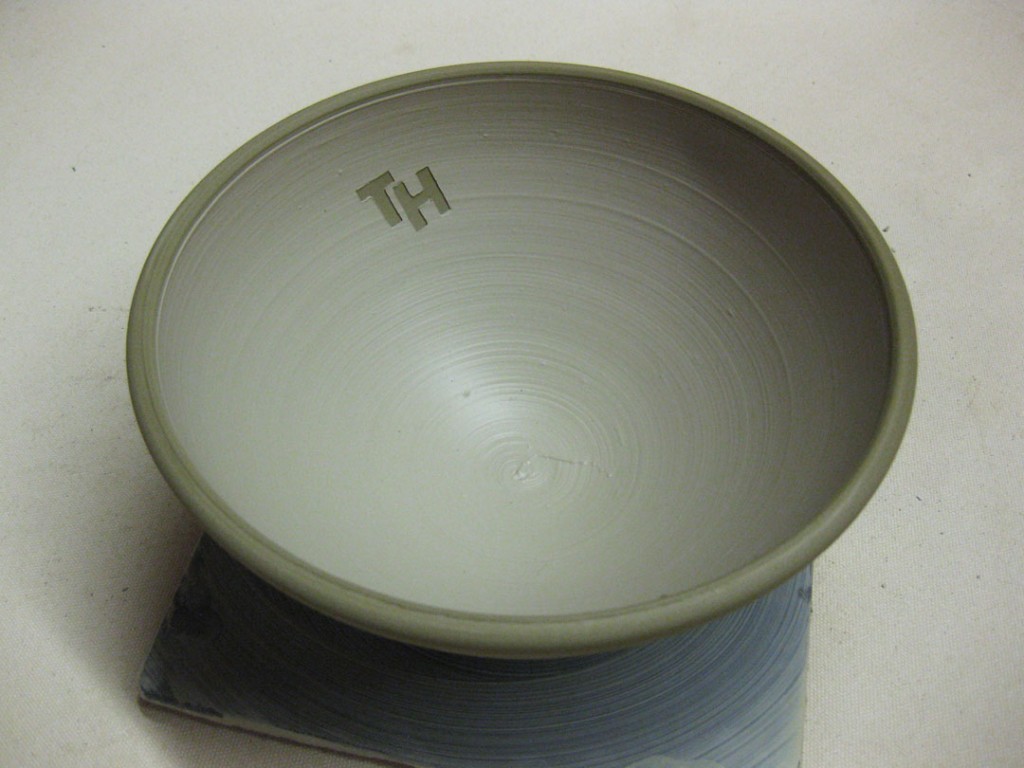
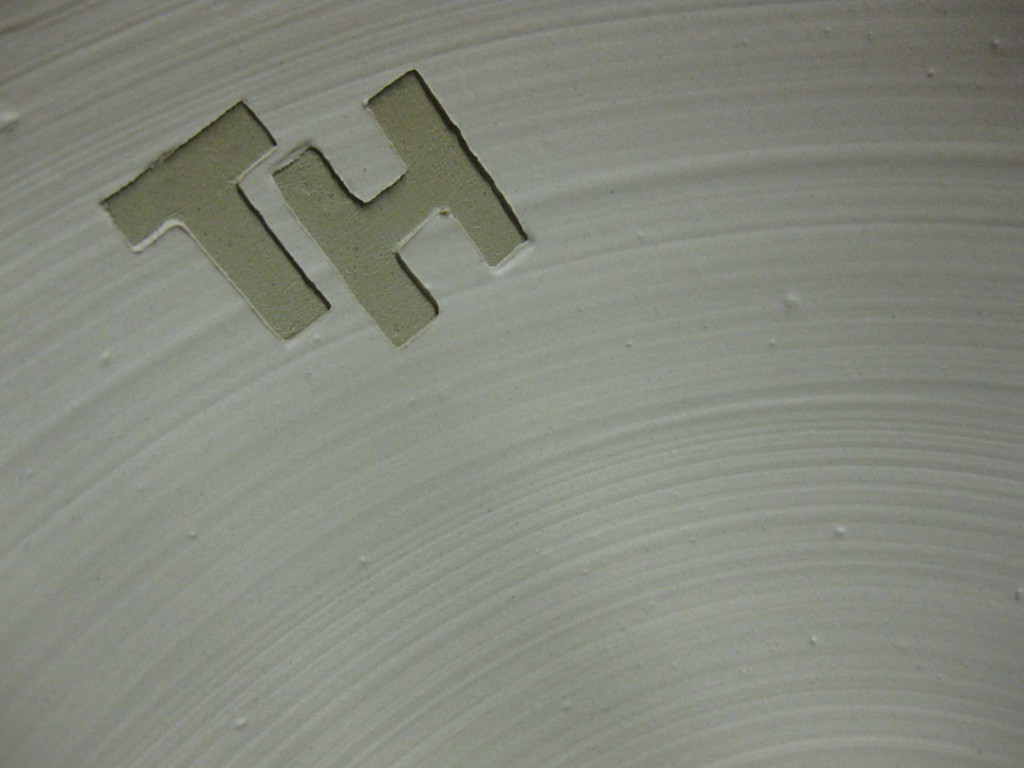
Bowl #11 – Two letters cut out of the newspaper stuck on & slipped over. Then pulled out to reveal a little monogram inside the bowl. Shhhh… Don’t tell anyone, but there’s a “really good chance” that it will go to my niece Taylor… they’re her initials!!!
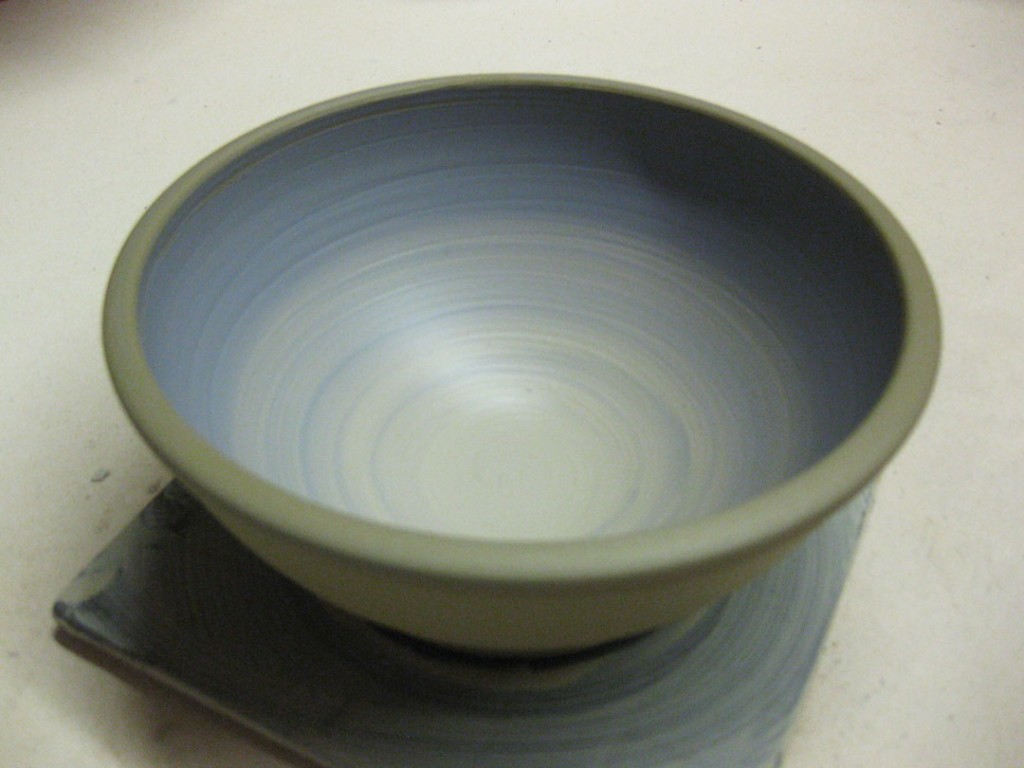
Bowl #12 РThe last bowl was a two-tone ombr̩ effect with white & blue slips.
So now all twelve bowls are back in my studio. Wrapped up for the night. Tomorrow I will do a bit of stamping, some more altering and some more detailing of the bowls. Always my favorite demo of the session… now I just hope my students make a bunch of bowls. And not just plain old round ones!!!







I never thought of making a flower with a dragon scale tool, brilliant.
LORI – Ah, yes. But now you have… giddy-up!!!
I am in love… got to learn throwing if I ever can and will make stamps as soon as possible! If I saw it well you usually do 2 sides on each to have even more use out of them? Could you explain how the chattered and the more decoration is done with a bit more detail? Another question if I may: how big could the stamps be, and is it possible to do the signature with them (seems like you do that by hand?)? Thank you for all this inspiration!
ESZTER –
Yes, I do typically put a different pattern on each end of the stamp. I figure in the long run, they will take up half as much space in my small studio… plus, why not use both ends??? I now have five tool boxes full of stamps. If they were single-ended, I would have TEN tool boxes! Yikes!!!
The chattered bowl is made by covering the inside of the freshly thrown bowl with colored slip. In my example, I used white slip as it would contrast nicely with the darker ochre stoneware I was throwing with. Then I take a rounded rib and chatter through the slip. Basically, it’s a rhythmic tapping of the rib up & down, and out towards the side, as the bowl is rotating. It’s three things all happening at the same time! You’ve got to commit – and tap the rib in deep enough to reveal the darker clay under the slip. Don’t panic and stop in the middle. The pattern changes depending on your tapping speed, the sideways speed and the wheel rotation speed.
As for the stamps… you can make them as large as you want!!! I just roll a coil and carve a pattern. Be sure to bisque fire your stamp before you use it. Don’t high-fire it. As for signature stamps, of course you could make one. A lot of people make their initials as a stamp. Traditionally that’s called a “chop.” If you do make a signature stamp, remember as you carve it, it’s got to be the reverse image.
And yes, I do sign all of my pots by hand. I’m not a fan of stamped signatures… as anybody could then sign any piece of work with your name. It doesn’t guarantee that I made it myself. But by actually signing it, I know that I made it.. and my customers know it too!!!
Thanks for checking in.
Say hello to all your potter-friends in the UK for me!!!
GARY
I have fallen in love with your web site…
I took pottery in 1985 at the local community college… and fell in love… I have never done it since then… but always admire it and will do it again… but not today ; )
I found your sight tonight when I was searching for some info on a piece of Hawaiian pottery I picked up at the 2nd hand store… a fave of mine, (2nd hand shopping)… it is an interesting vessel that I cannot figure out what it’s use is for.
it is signed VChang Hawaii 85…
Anyway… Love Your Show !!!
Valerie