I really like making ovals. And I think people really like them too… maybe it’s
the weird confusion of how a round wheel can throw an oval. Never quite realizing
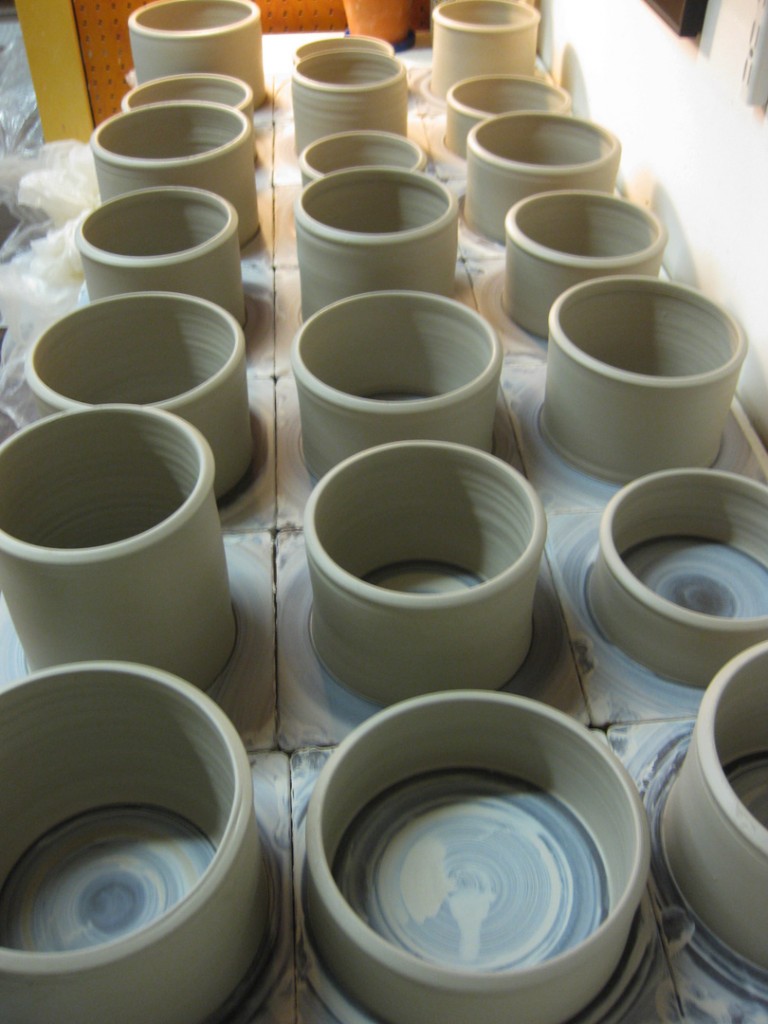
that they are “assembled” as an oval, not “thrown” as an oval. So I start by throwing
a lot of straight-sided cylinders without bottoms.
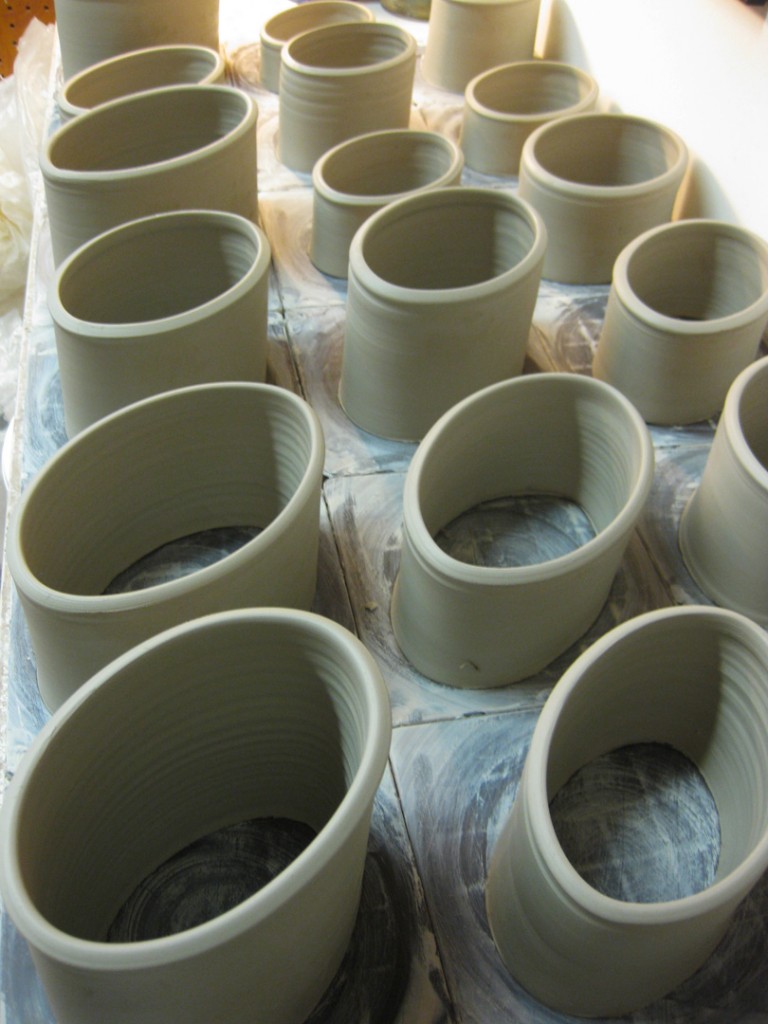
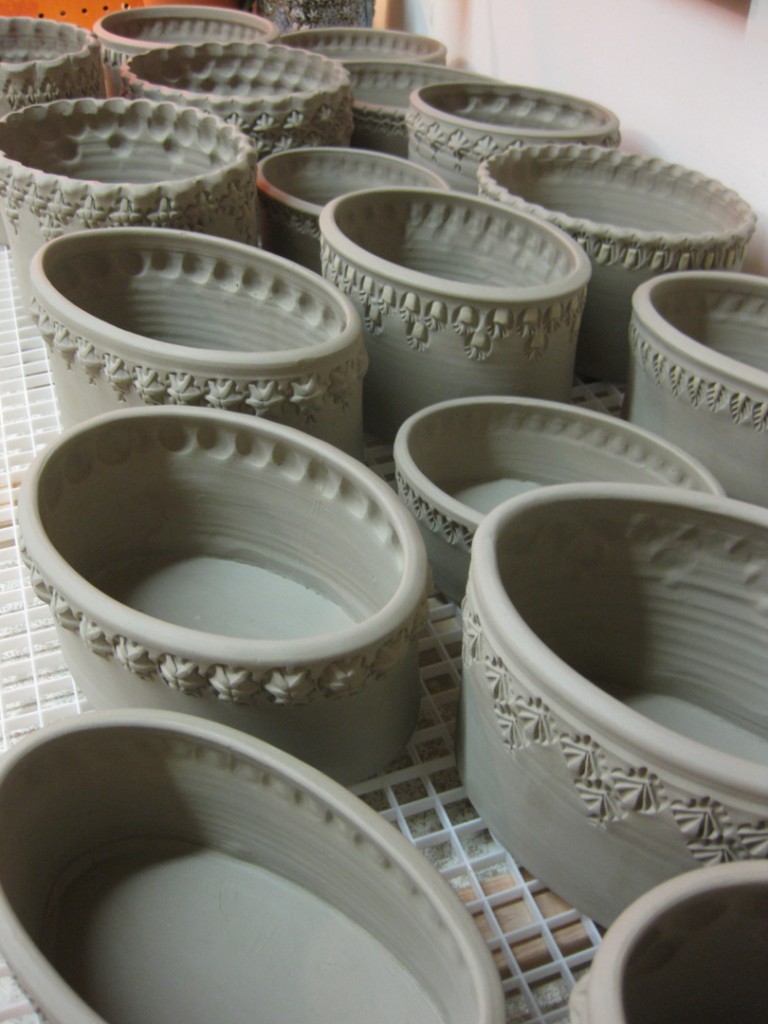
I let them set-up a bit overnight under a sheet of plastic, and then alter them into
oval shapes by simply squishing them very gently after wiring them of the bat.
By the time I had gone though and “ovaled” each of them, the first ones were already
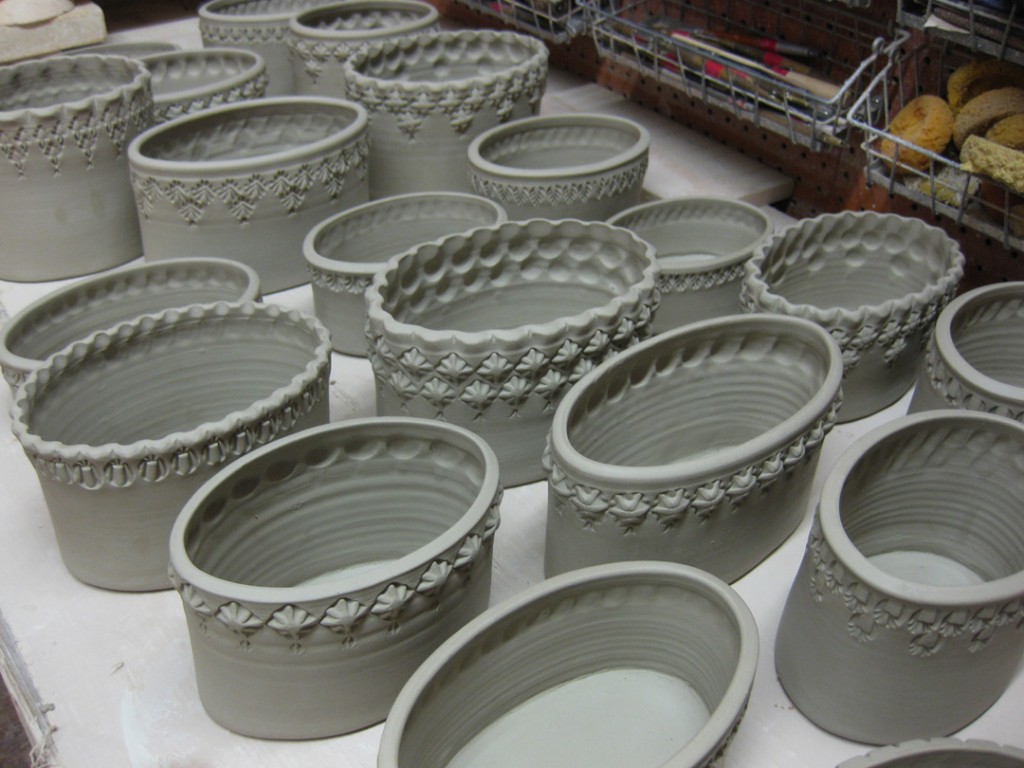
“leather-hard” enough for stamping. So I started the process again, working my way through
all of them. Kind of an assembly line… working across the table from left to right.
Then it was time to add the bottoms. So I throw some slabs with the same clay body.
I attach the bottoms with a good amount of scoring & slipping… smoothing them out
so the “attachment” line doesn’t show up. I want them to look seamless.
And then, to finish them off, I added a few little highlights of colored slip on some of the
stamp impressions. And since I was in a hurry to get them dried and into a kiln, I dried them
all on top of plastic grids elevated on wooden sticks so the air can circulate under & around
the pots – drying them faster and more evenly!
Once they were dry, they went into my electric bisque kiln after class on Tuesday night.
These will wait to be glazed until I fire my next soda kiln… which at this point is just one
month away! And these are the first pieces I have to fill the kiln… uh oh, I definitely need
some more production weekends like this one!!!



Thanks so much, very good information. Thanks so much for sharing. Elaine
Yep, you need to do some YouTube videos. You have until the first of the year!!
I was thinking more like I would make the New Year’s Resolution for NEXT YEAR!!! Not this one. I’m not sure I can get my act together with only three months left in the year?!