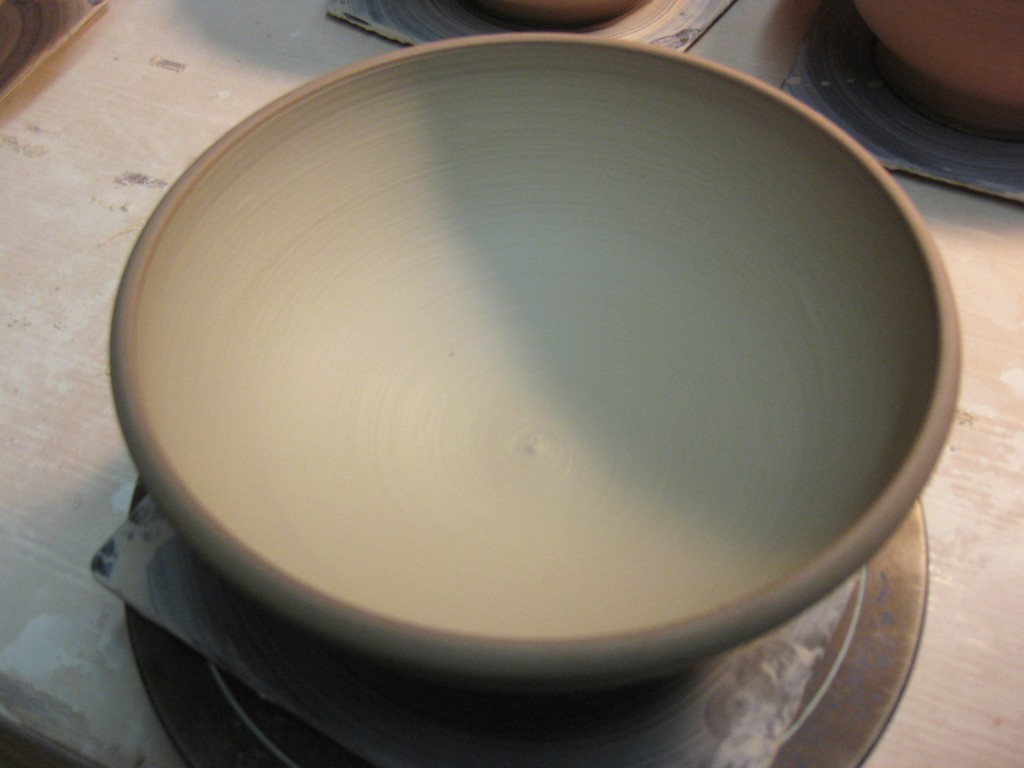
So last night was my “basic bowl” demonstration for my wheel throwing class!
We were working on making each bowl different and unique. After class, I brought them
all upstairs to my studio so that I could do a little more work on them. So today after camp,
I spent some time refining & stamping the bowl samples. It will be fun to show my students
how they’ve all been transformed seemingly “overnight.”
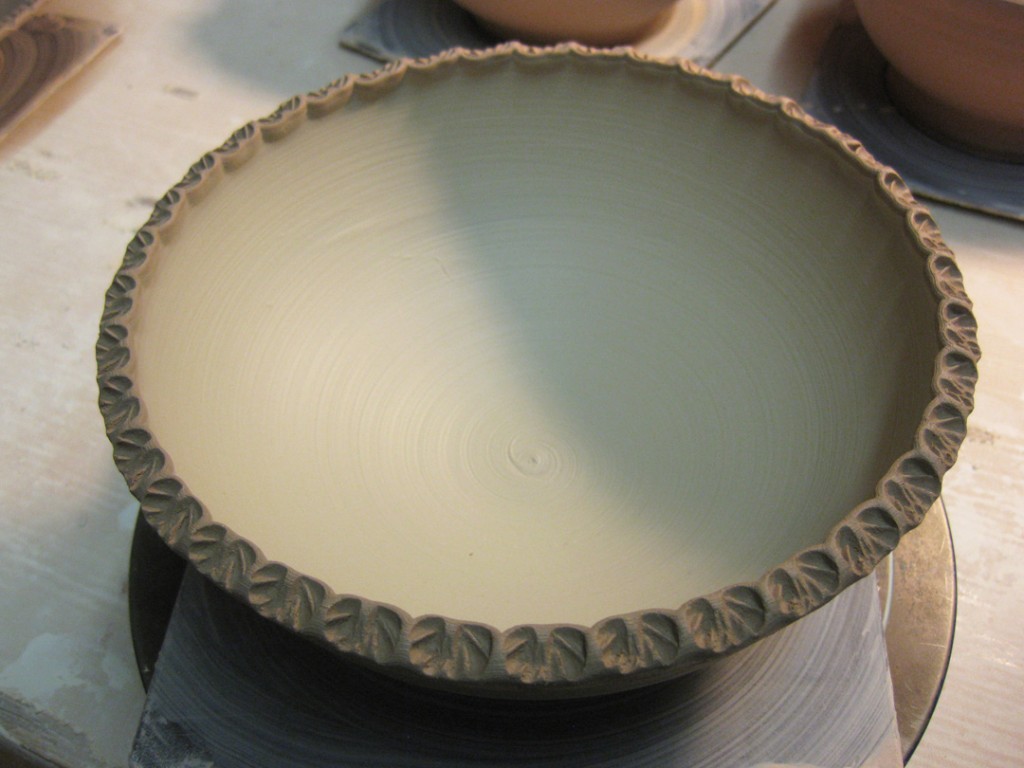
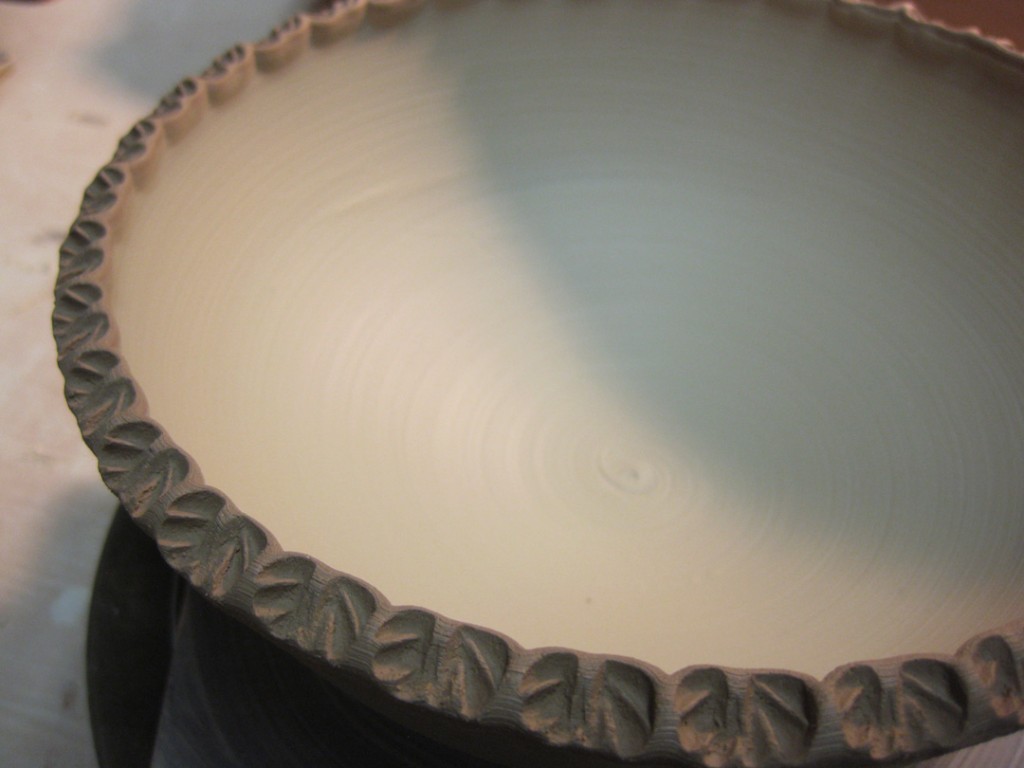
This first bowl has a flared out rim… plain & flat until you add some stamped fun!
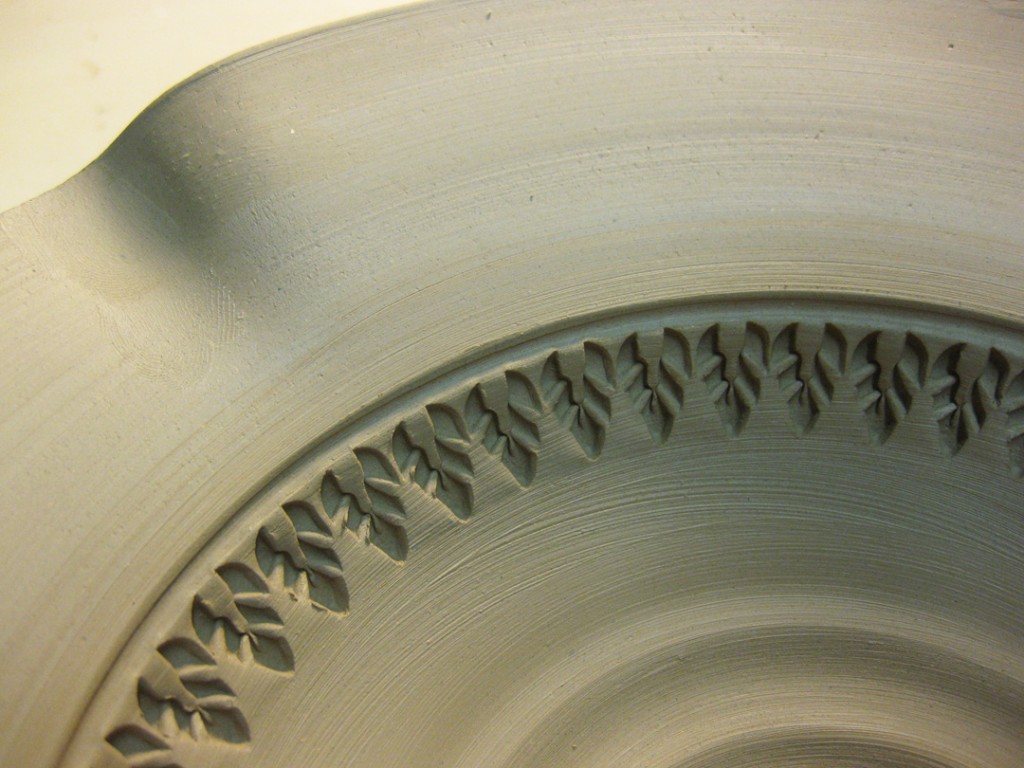
This second one has the same flared rim, but with the addition of fluted curves. A simple
ring of stamps keeps the gently undulation of the rim intact without overpowering it.
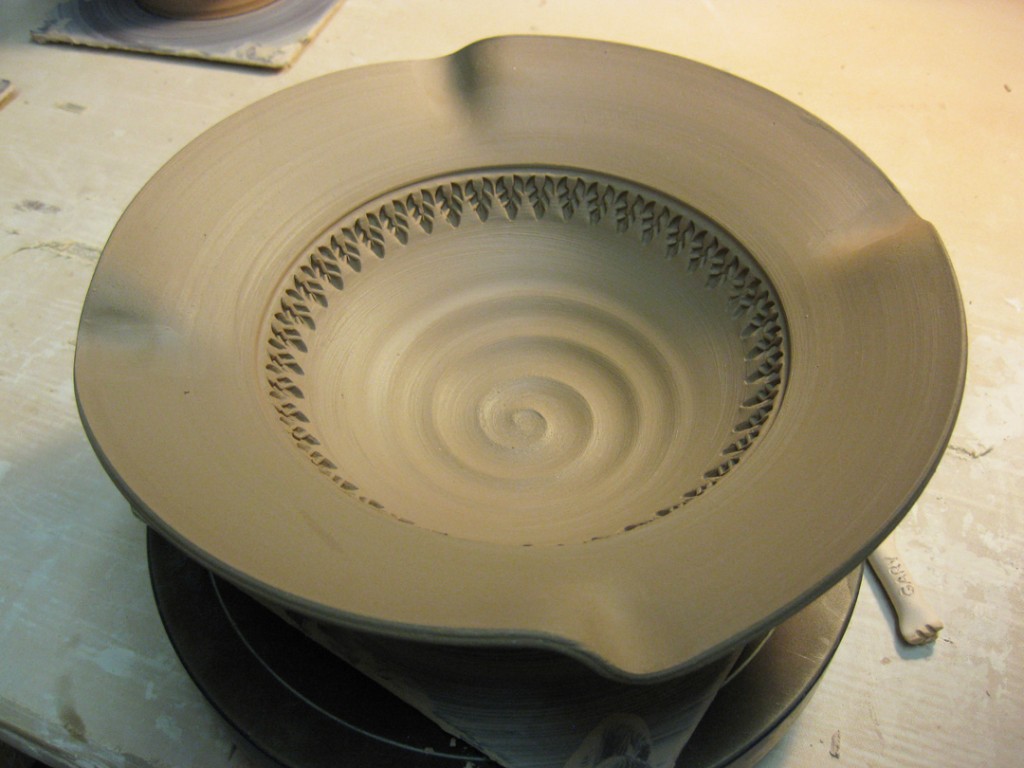
This third bowl had a simple, solid layer of white slip inside. Kinda plain & boring.
But a quick textured rim makes all the difference. One stamp… again, and again, and again!
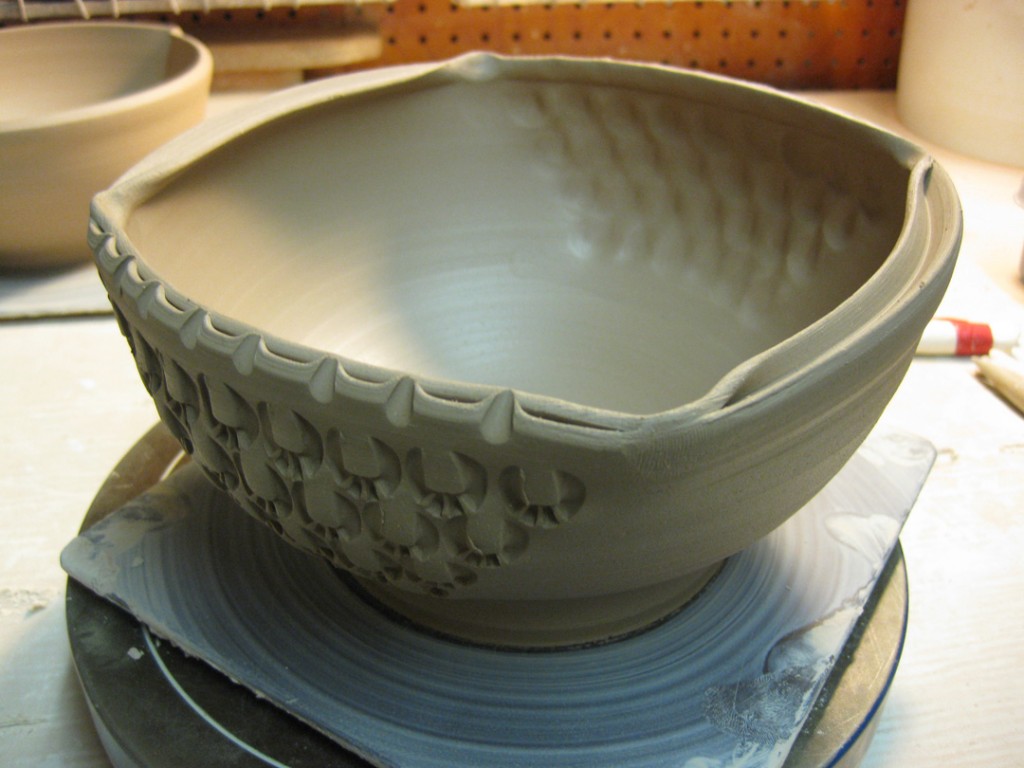
One of my students asked about a “squared-off” bowl form, so I took the split rim and
literally pulled out the corners to create a square-ish bowl. But it seemed a little predictable.
So I decided to highlight two opposing sides as a “canvas” for some fun stamping,
and changed the split rim on those same sides!
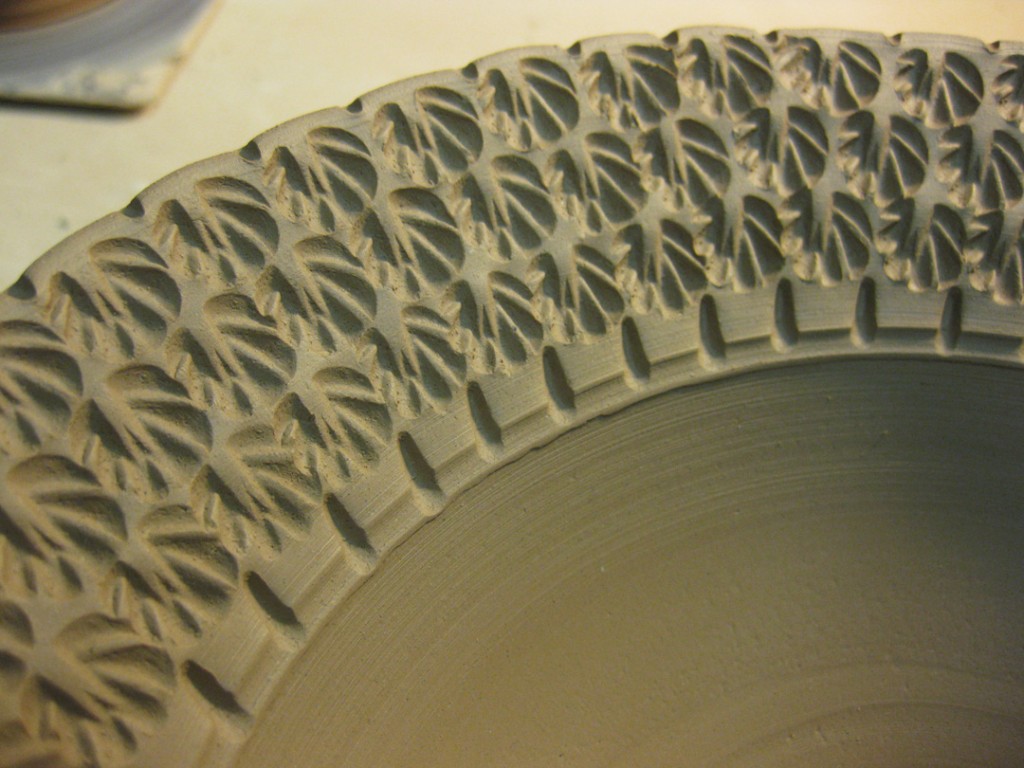
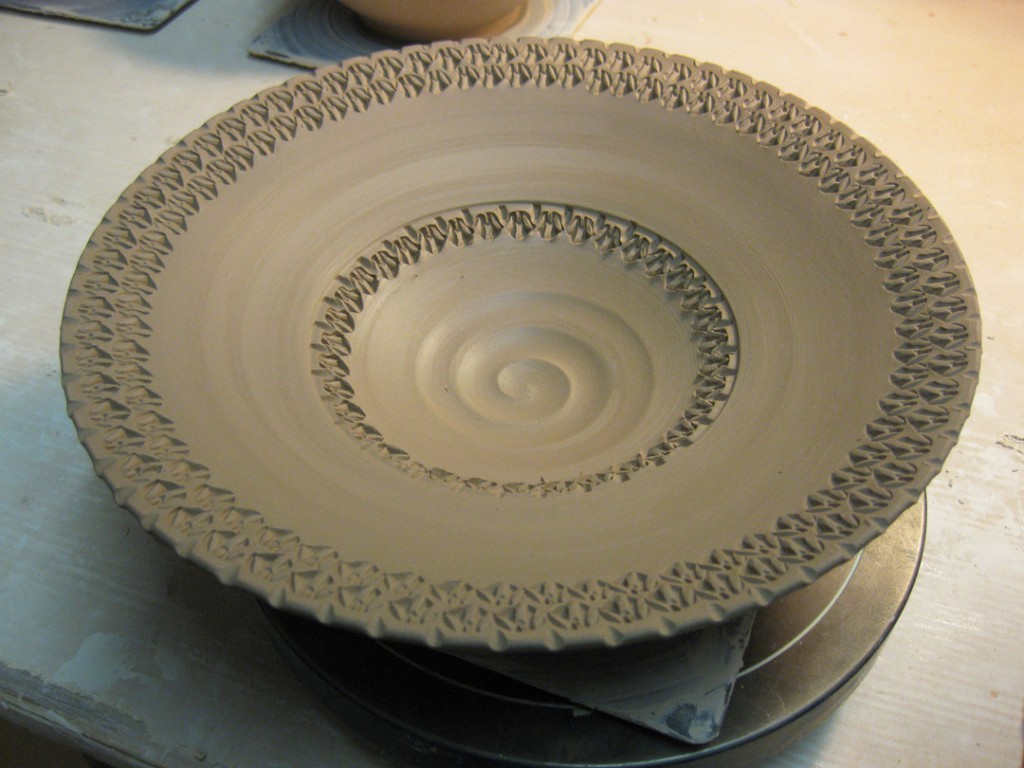
With a wider flanged rim, I originally though I was going to stamp the whole thing.
But then I thought “hey, I do that all the time.” So I forced myself to try something a
little different. Nice… but I’m not quite sure if I like it or not?
So there it is, the demo behind the demo. The “magic” that occurs in my studio after class
ends. The bowls are still wrapped overnight and waiting to be trimmed and finished. I may
actually add some more “fun” to the bowls before they done and ready for the bisque kiln.




Really enjoying looking through your albums. I am new to ceramics and have a tireless interest!! Your work is so refined and beautiful!
RITA – I hope you’re having a good time! There’s a LOT to read if you’re tackling all of the posts from over the years. Also make sure you check out the “Process” and “Glossary” pages… especially if you’re having trouble sleeping!!! Ha. Thanks for checking in.
Gary… I think you have become my favorite potter ! I just love everything you do. You told me that you would put something to teach me how to do stamps. Do you have a book of patterns and how to’s? I would buy them in a heartbeat. Thank you for the great work. I am so glad that Corbet went to Chicago and got to meet you. Wish I could come there sometime. I know I will try. I am from Ohio. Keep in touch please. I know you are a busy man so I wait very patiently… LOL
KATHY – Thank you so much for your kind words. And yes, you are more than welcome to stop by any time for a Chicago visit. As for the stamp demo, I will try to post something soon – and thanks for the reminder. As for a book of patterns, there’s no such thing. I just make them up… sometimes they work out really well, other times they don’t. But if you just keep making more & more stamps, somewhere along the way you trip upon some really fantastic ones!!! Keep on checking in… thanks. GARY
Where do you get your stamps? I’ve tried to make them, but mine are pretty icky. If you make yours, do you carve them when they are leather hard and what do you carve with?
KIM – I do indeed make my own stamps. They’re pretty easy to make. Just a rolled coil with a pattern carved into each end. I don’t use any special tools – just whatever happens to be laying around on my table or in my toolbox. I tell my students to just make a LOT of stamps, and that somewhere along the process they’ll find a few that they really like. I’ve been promising to do a blog post about how I make my stamps, so I’ll do my best to do it sooner than later! GARY