Gary Jackson: Fire When Ready Pottery
A Chicago potter’s somewhat slanted view of clay & play
Categories: classes, lillstreet, process, production, teaching

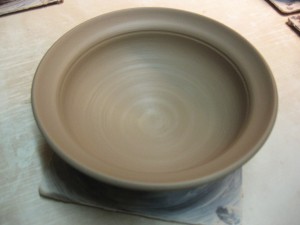
Tonight was the night that we tackled throwing bowls on the wheel.
Making bowls on purpose, not a cylinder gone bad.

So the way it goes, I start by teaching them all how to throw the bowl.
I introduce them to the beauty of throwing on bats, and using a plastic rib to create
the smooth curve inside. And then once we’ve thrown the first demo bowl, I then
let them go back and try making their own bowls. And while they’re throwing,
I continue throwing bowls. Tonight I was throwing 2-pound bowls with a very simple,
smooth round profile. Nothing fancy. And then once I had thrown my eleven bowls,
we reconvened for ‘demo part two.’ At this point, it’s my goal to show my students
some quick tricks to make each of the “fairly identical” bowls different from the next.

Plus, it’s a great time to introduce them to slip as a decorating option. All in all,
I think the demo went well. I think most of them were intrigued by the simple techniques
and the “ah-ha” results. And I’m always trying to get them past the “each pot is too
precious to mess with” mentality. I’m always trying to get them to push things further,
and realize that it is “just clay.”

Now I have eleven bowls in my studio… waiting for some stamping, finishing & trimming!

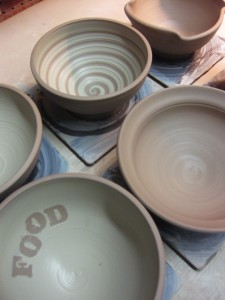
But just in case you missed the demo… here’s a quick recap of tonight’s eleven bowls.
Remember, they all started out pretty much the same.

Bowl #1 -Fluted
A simple finger flick, with one finger inside and another outside side-by-side.

Bowl #2 -Flanged
Adding a simple flange by flaring the top inch of the bowl out over the outside finger.

Bowl #3 -Flanged, Fluted… and Flopped?!
Yes, this was supposed to be a fluted flange. But it was a little wonky when I finished it.
When I was setting it up on the shelf, you could see it was no longer level. So I set it down
“hard’ on purpose… letting the bang force the flange to drop down into a “skirt” of sorts.

Bowl #4 -Wide Flange & Spiral Center
A much wider flange (soon to be stamped) and a nice spiral in the center.

Bowl #5 -Divided & Pinched
I used the pointed tip of my wood knife to divide the rim of the bowl,
and then pinched it back together in eight places.

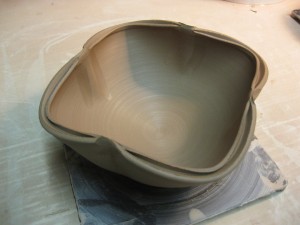
Bowl #6 -Divided, Pinched & Squared
Same trick of dividing the rim, but then I think I shocked them a bit when I took
the nice round bowl and pushed it in to square i toff a bit.

Bowl #7 -Impressed Flower
With a simple, metal dragon-scaling tool that I bought for like two dollars, I press
it in twelve times in a certain pattern to create a fun flower in the bottom of the bowl.

Bowl #8 -Solid Slip
A simple coating of thick white slip… allowing the thickness to create a subtle spiral.

Bowl #9 – Spiral Slip
So I coated the interior of the bowl with thick white slip, and then dragged the rounded
end of my wood knife through the slip to reveal the clay color for contrast.

Bowl #10 – Chattered Slip
First, I gave the bowl a solid coat of slip on the interior… and then took my
rubber rib and “tapped” it rhythmically against the bowl while it was rotating.
The tapping frequency and wheel speed combine to make the pattern.

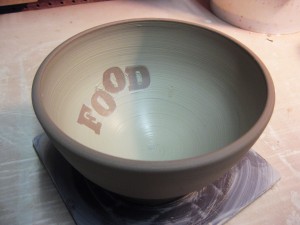
Bowl #11 -Slip Resist Lettering
Kind of the antithesis of a stencil… instead, I took letters cut out of the newspaper,
wet them, and then pressed them gently to the bowl interior. After you smooth the edges,
add a simple layer of covers the newspaper, followed by a complete layer covering the
interior. Once it’s all smoothed out & coated, carefully peel out the newspaper letter.

So now I have more bowls to finish tomorrow… some stamping, some embellishments,
and a lot of trimming to finish them all off.

Plus, it was great to have a Facebook fan & blog follower stop by class tonight!
Corbett stopped by from South Carolina to visit, say hello, chat a bit, see my studio
and then play in the clay! Thanks for stopping by Corbett… I hope you had fun!!!

Categories: special events

Just when I pleased that there seemed to be some extra money in my savings account.
Good thing the IRS was able to take care of that for me. Whew…

Categories: bike, sunrise

This morning was surprisingly quiet. After a couple days of storms & gusty winds,
this morning was oddly quiet. No wind. No cars. No noise. Not sure why... But it was nice.

Categories: mugs, process, production

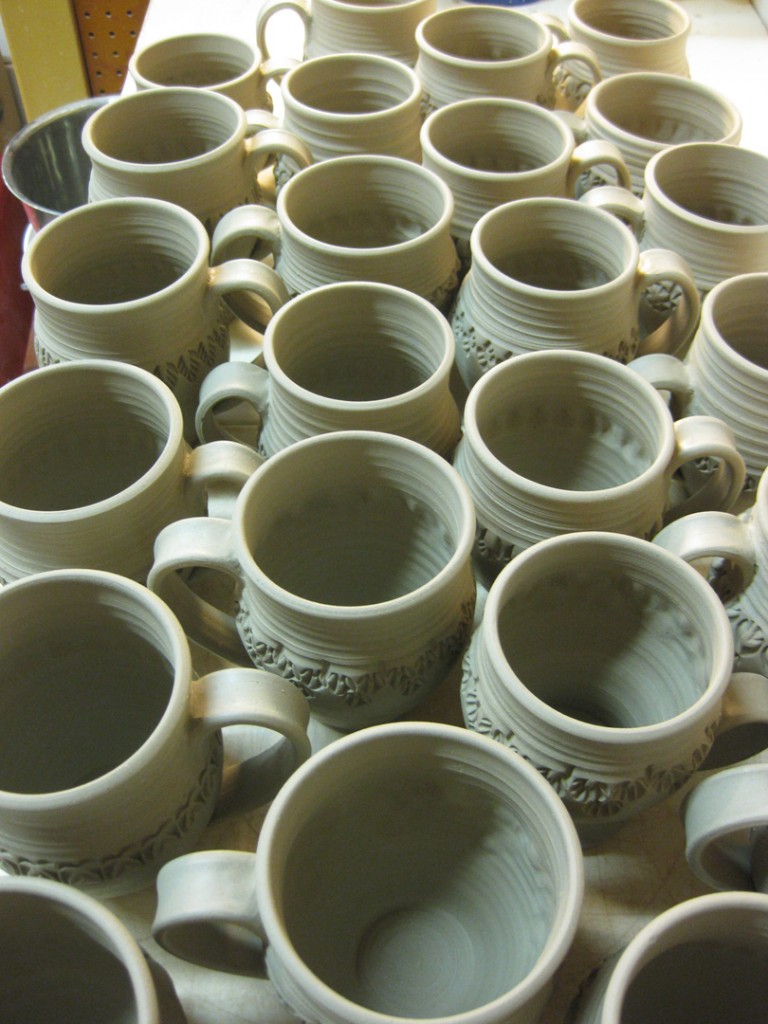
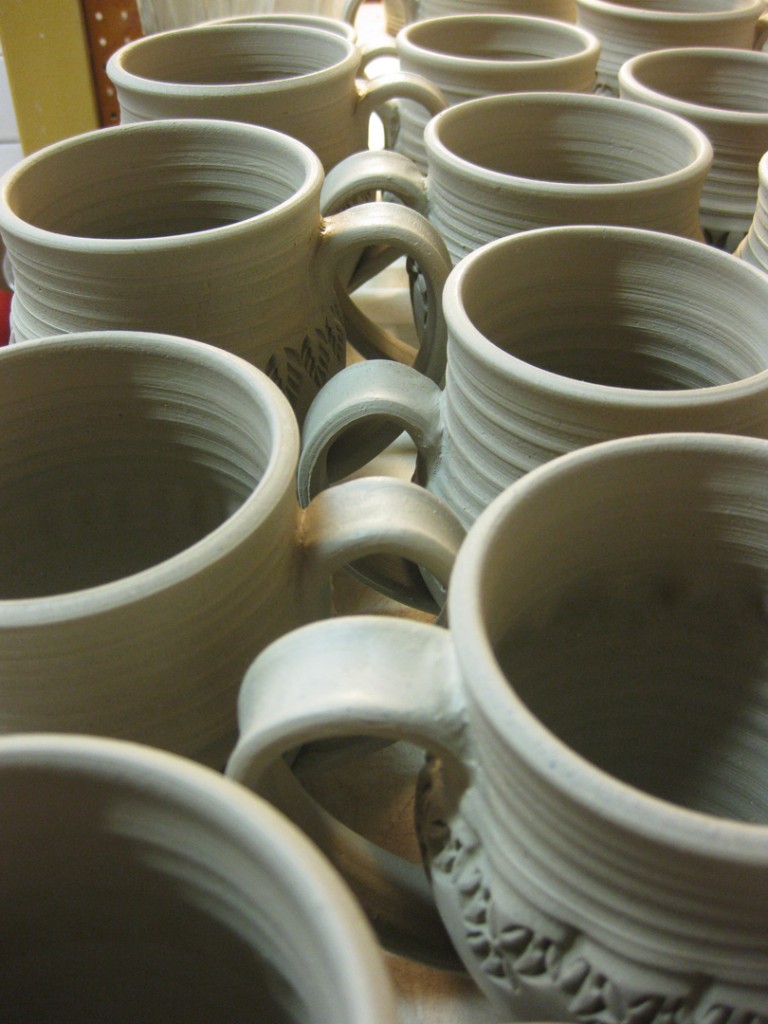
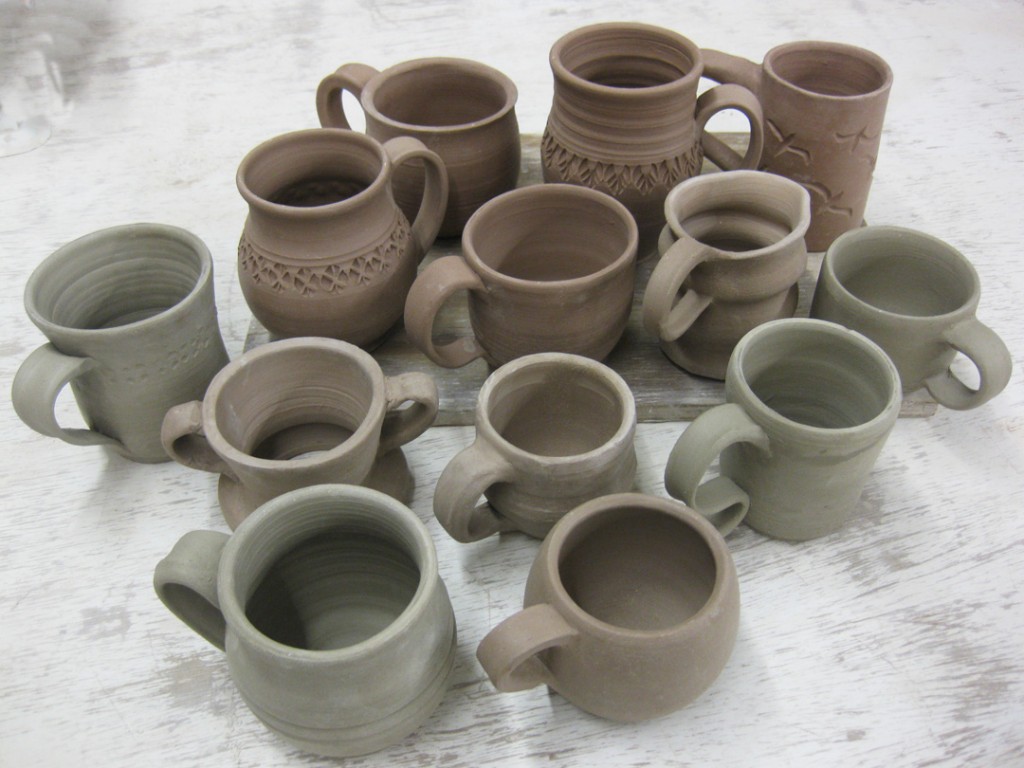
When you throw 24 mug cylinders at a time…
and stamp 24 mugs… and trim 24 mugs…
at some point you need to pull & attach 24 handles! Well, today was that day!!!
Once all of the handles were attached, I then set out to do a little slip decorating.
Then they were done and ready to start drying.

Categories: nature, photography, sunrise
Categories: bike, sunrise

This morning was beautiful as the sky was layered with colors low on the horizon.
A little chiller than I would like… but I guess this is pretty close to what our weather
is “supposed” to be this time of year?! Not that crazy warm spell we were going thru..

And then the sun finally decided to pop up over the horizon.
Just a tiny little dot of sun peeking out to brighten the day!

Categories: artists, friends, My Talented Friends

Welcome to Chadwick’s World!
And what a crazy little world it is… all inside Martin’s head!                         And I love it!!!
So tonight was a beautiful opening reception for Martin Chadwick.  An amazingly
talented friend of mine who has work showing in Chicago for the next two months!
In the front lobby of The Belmont – located at 3170 North Sheridan at Belmont, Chicago.
If you have a chance to go, it’s on the southwest corner of Belmont & Sheridan. I went with
my friend Pam JH who knows Martin, but had never seen his work other than on his
website. It was fun to see the awe & amazement in her eyes as she saw them in person!

I met Martin several years ago when he started taking my pottery class with his wife Christi.
You could tell right away that he had more talents than he was showing on the wheel. After
getting to know him better, I found out that he was working as an architectural  model maker.
Then, I found out he was also an incredible painter – a hidden talent. So I posted it here on
my blog awhile back. But after tonight’s art showing, I knew I had to show him off again!
So welcome to Chadwick’s Worldfasten your seat belts, it’s going to be a bumpy ride…

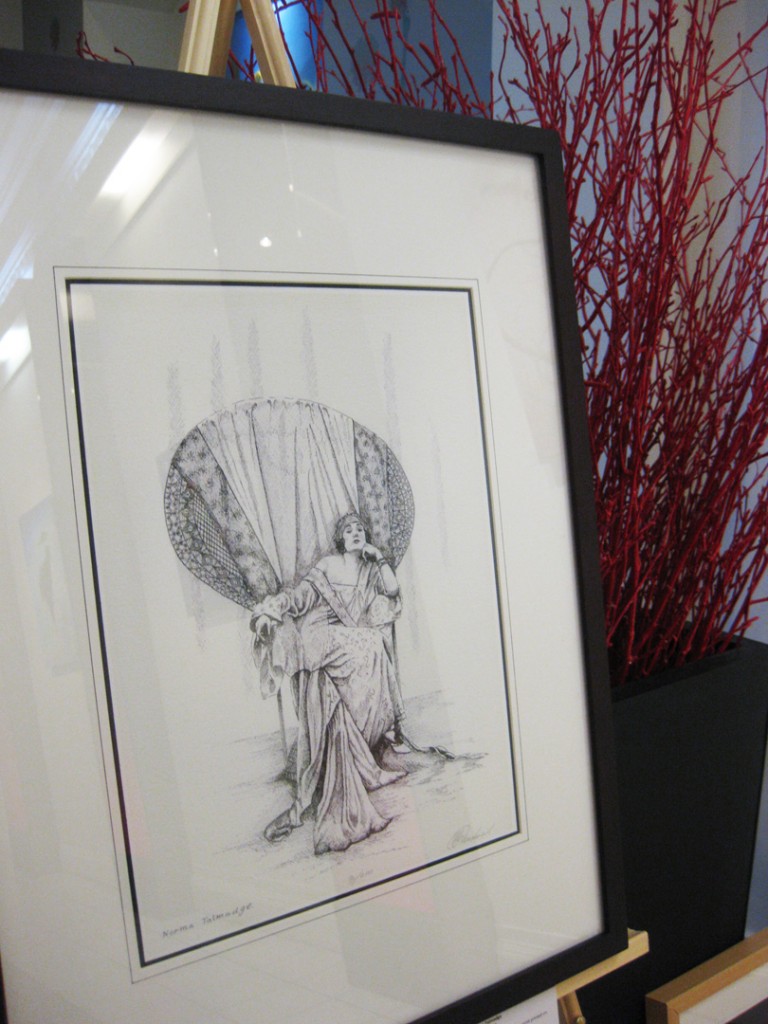
The next pen & ink drawing was Pam’s favorite in the show…

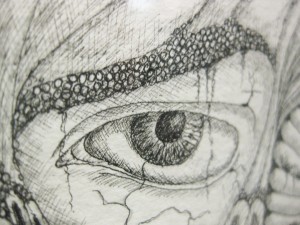
His pen & ink drawings are incredible. Such detail, such depth, all done with a fine
tip ink pen. When you see the detail, it’s hard to image how fine that pen stylus must be?!
Crazy when you see the textures, the details and the shading! Closeups from above…

And then you switch to his paintings… just stunning!!!
This first one was in his living room when I first found out that he was a painter. It was
partially done, siting on an easel, with paints & palettes all around. So great to see it all
done now and hanging on a gallery wall. Love the colors. The details. The whimsy.
Seriously… you really need to see them in person to really get close!

This next one is his ode to America… as seen through his English eyes!
Combining “all things American” into his American homage.

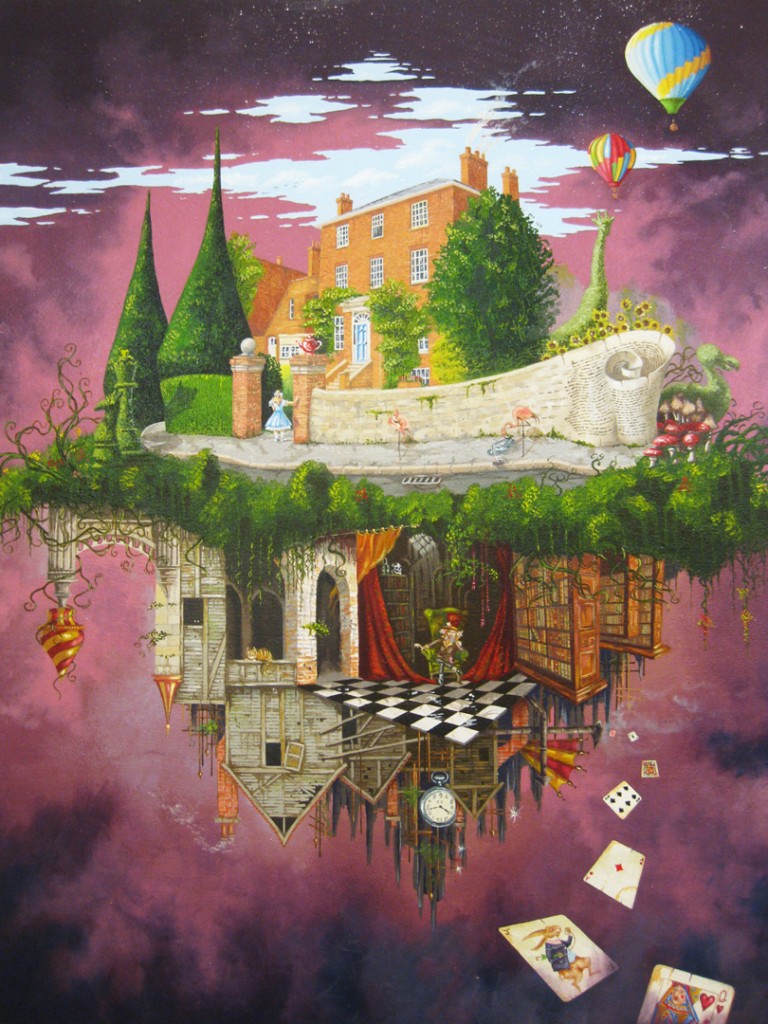
Then we move on to Lewis Carroll’s house. A beautiful British home… possibly where he
wrote the classic “Alice In Wonderland.” And you can see why… we have Alice entering
through the gate, with chess piece topiaries, flamingoes on the sidewalk, and a brick wall
morphing into a rolling script of text. Below you see other Alice references… the Mad Hatter,
the Cheshire Cat, the Queen of Hearts and so much more. The longer you stand there and
look at it, the more you’ll see. His paintings literally draw you into the crazy world he’s
creating on the canvas!

This one is his newest piece… and my personal favorite!!!
I love the simplicity. The balance. The colors. And somehow it took me right back
to third grade when we sat there in school watching the classic “The Red Balloon.”
A favorite short film by Albert Lamorisse about a small school boy who befriends
a red balloon and their touching adventures that follow. Very touching. Still a favorite.
And somehow this painting took me right back.

For more about Martin Chadwick… and a free ticket into Chadwick’s World….
click on his website in my LINKS section to the right.

Plus, click here for more about my favorite 3rd Grade movie – “The Red Balloon.”

Categories: mugs, process, production, stamps

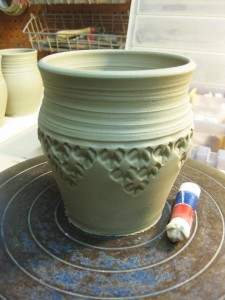
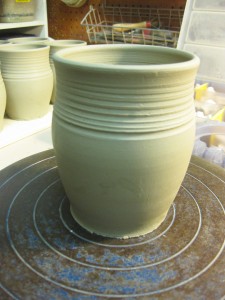
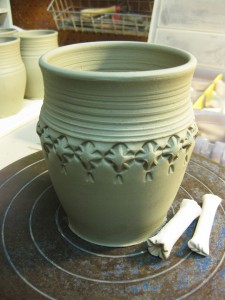
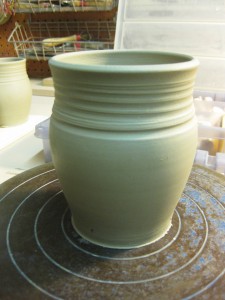
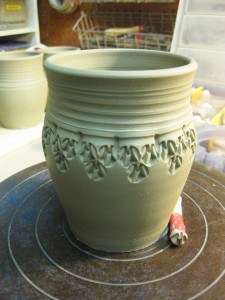
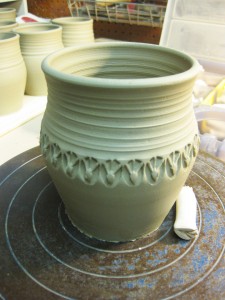
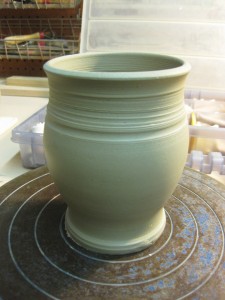
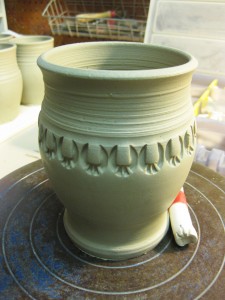
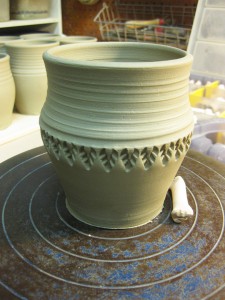
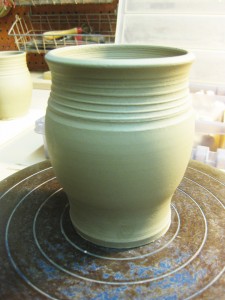
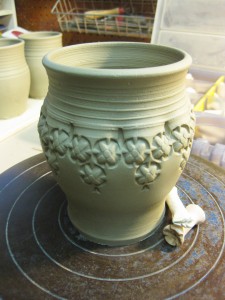
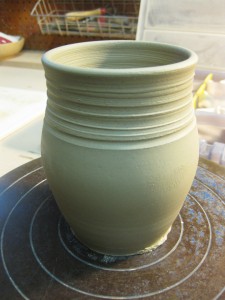
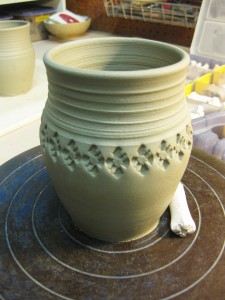
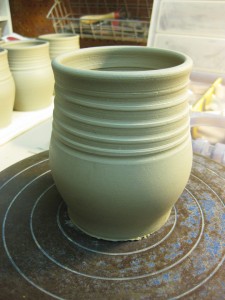
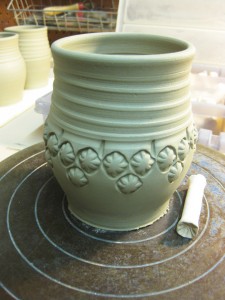
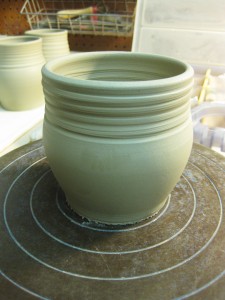
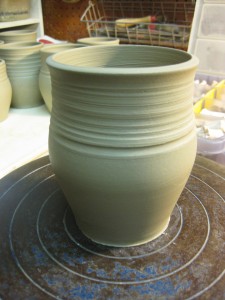
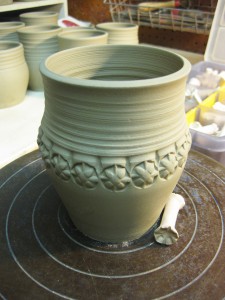
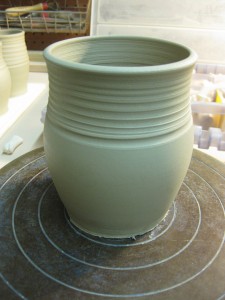
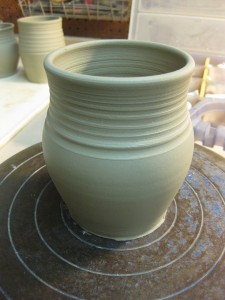
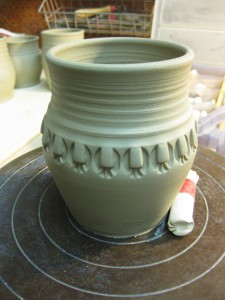
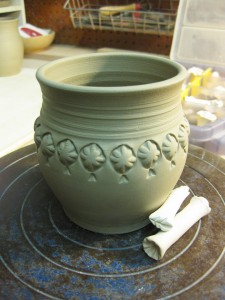
Tonight I stamped…and stamped… and stamped some more!
With twenty-four mug cylinders to stamp,  I started stamping and thought you might
like to see some them… side by side! Along with the stamp that did all the hard work!!!

Next up?… trimming, handles and some colored flashing slips.
Looks like tomorrow might need to be another productive day?!!!

Categories: classes, mugs, stamps

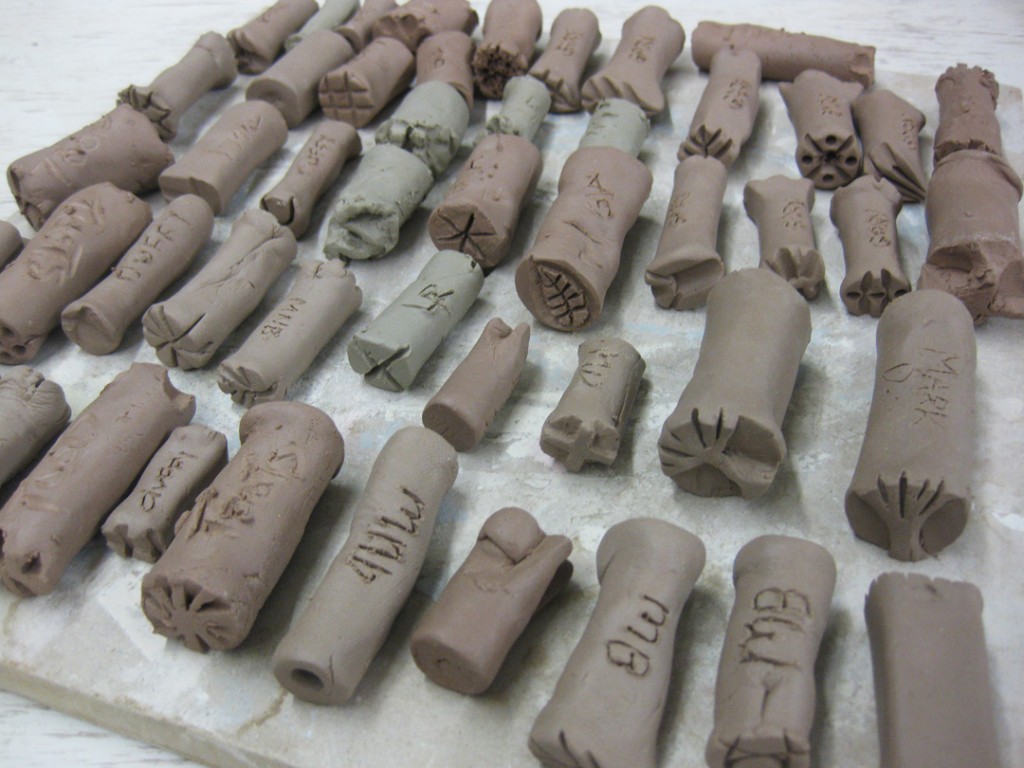
Tonight in class we tackled two of my favorite things… MUGS & STAMPS!!!
My students trimmed their cylinders from last week, pulled handles and attached
them to make their first mugs of the session. Pretty good since it’s just Week #3.

And then, when their mugs were completed, we sat down for an interactive,
and somewhat chatty, demonstration on making clay stamps. We discussed how to
make them, fire them and use them. I tried to explain how they need to think about
their designs in reverse. How the high points on the stamps make the low points in
the impressions. And visa versa. How letters and symbols need to be carved in reverse.
That they just need to make a LOT of stamps and find the ones they love to use…
and then make more! Once these are fired, my class will have their own stamps to use!

Categories: special events

A beautiful sunrise bike ride this morning.
A quick & productive morning of throwing in the studio.
Of course, at some point, “reality” has to come crashing down to rain on my parade!

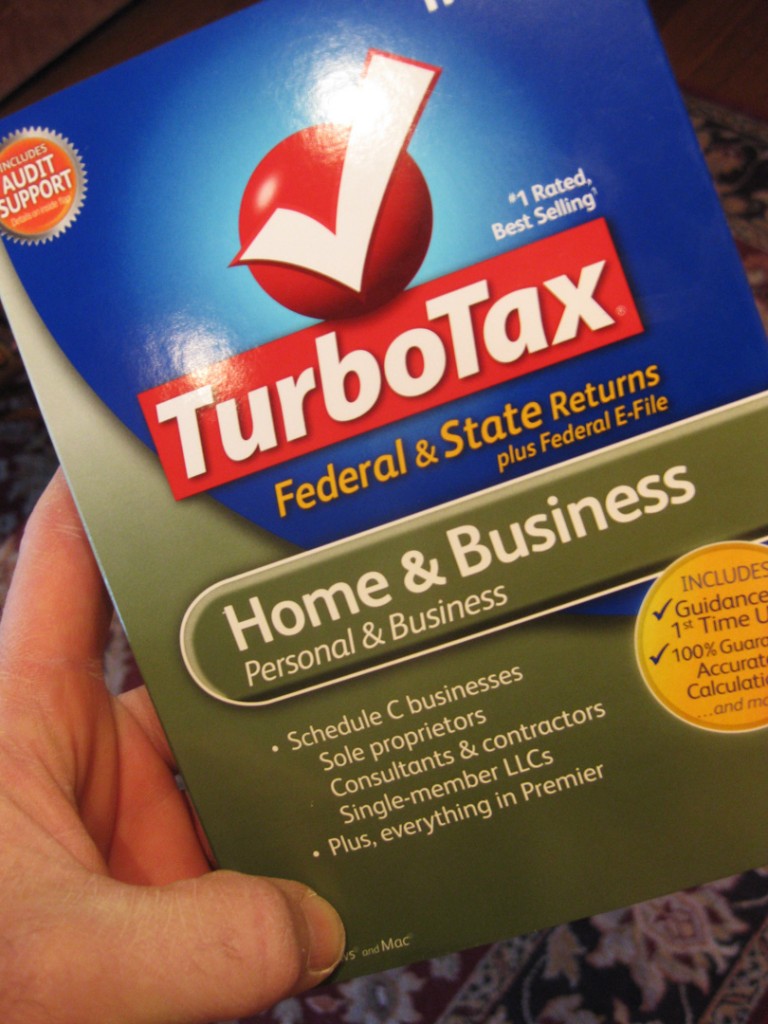
This afternoon is my official “kick-off” of my painful tax season. I think I’ve put it off
long enough. It’s not only a “reality check”… it’s a “reality $$$ check.” Cha-ching…