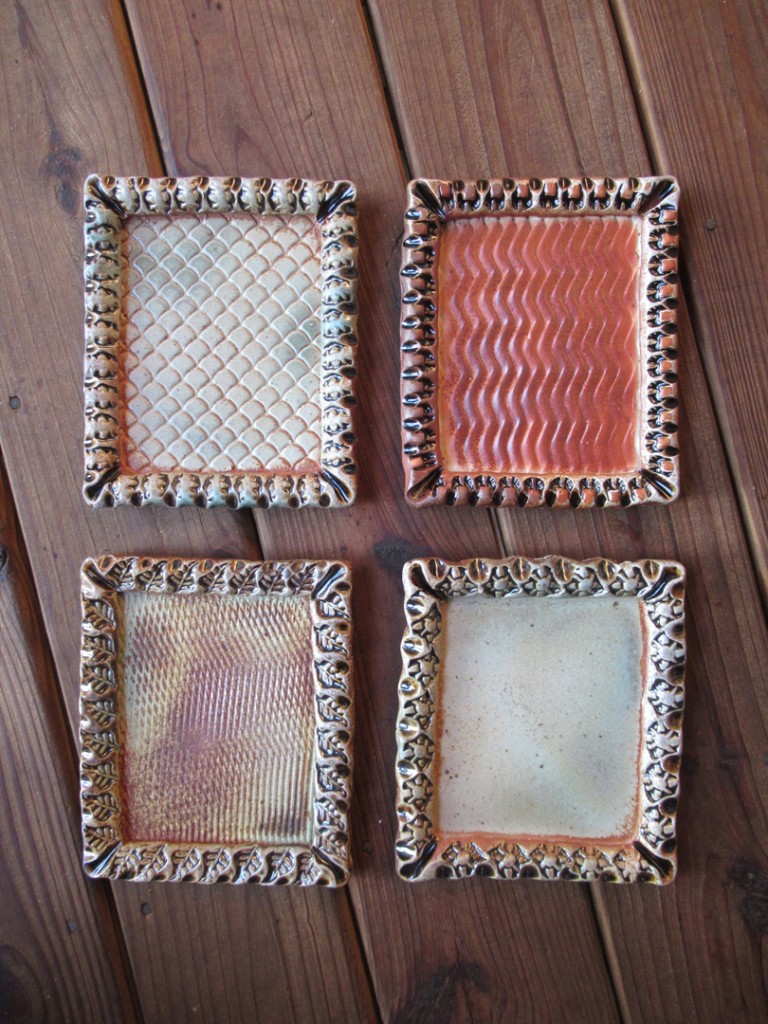
I began my Tuesday evening by throwing a lot of cylinders in my studio. I had a plan…
I was on a mission… and my wheelthrowing class was going to be starting soon!
So I received a package of few carving tools in the mail awhile back… so exciting!!!
And I’m always telling my students to experiment, to try new things, to break out of their shells. To remember that it’s JUST CLAY!!! But I get it… my Beginners are working so hard to make each and every cylinder. It’s a lot of work. A lot of centering & focus. So much so that each piece is somehow considered “too precious” to experiment with. So tonight I plan to test them… to push them a bit… to show them that it’s NOT so precious. I figured if I provide them with already thrown cylinders, all of the “hard part” is done, right?
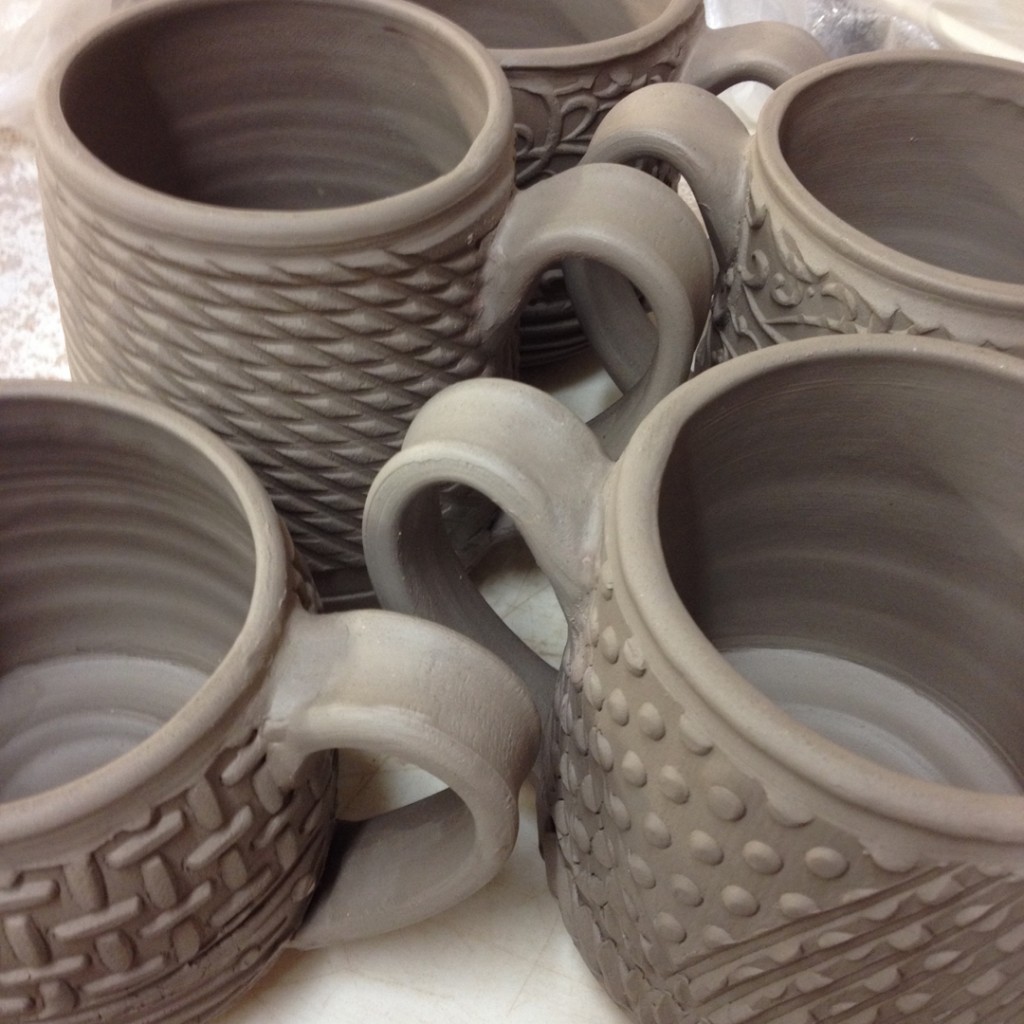
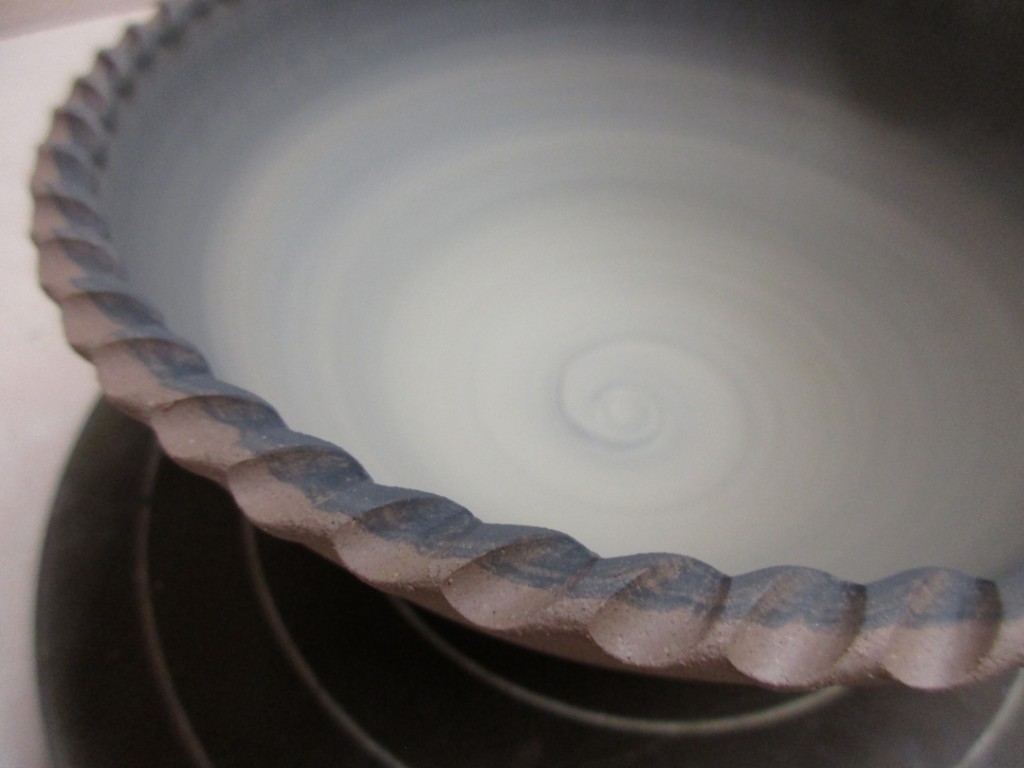
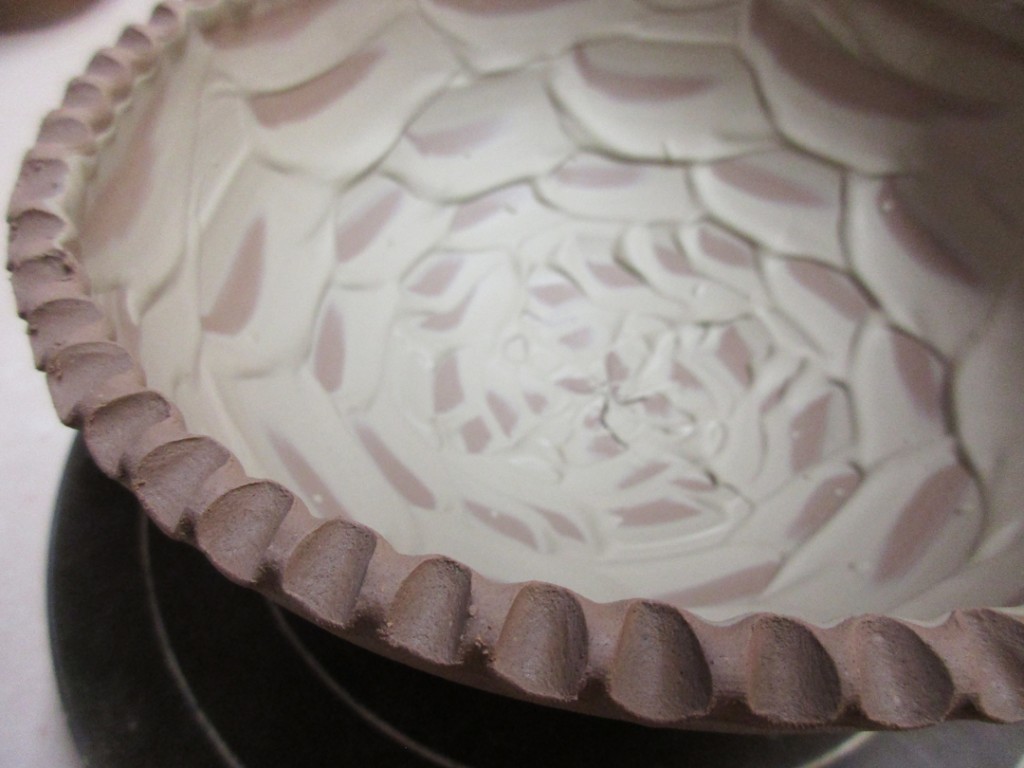
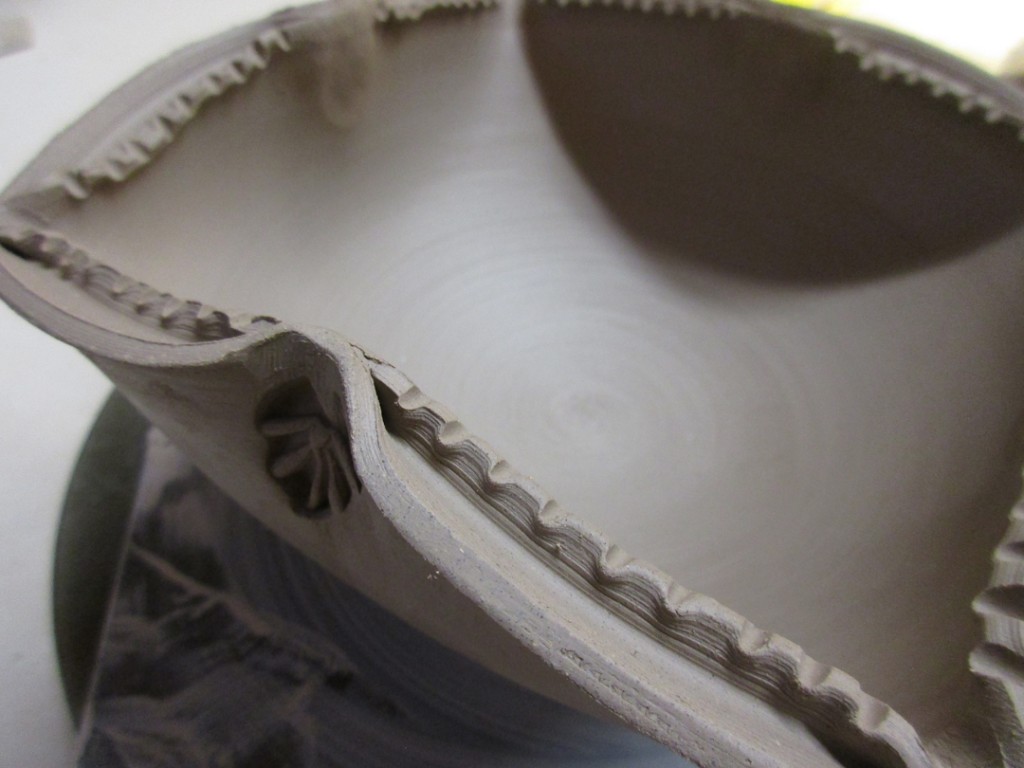
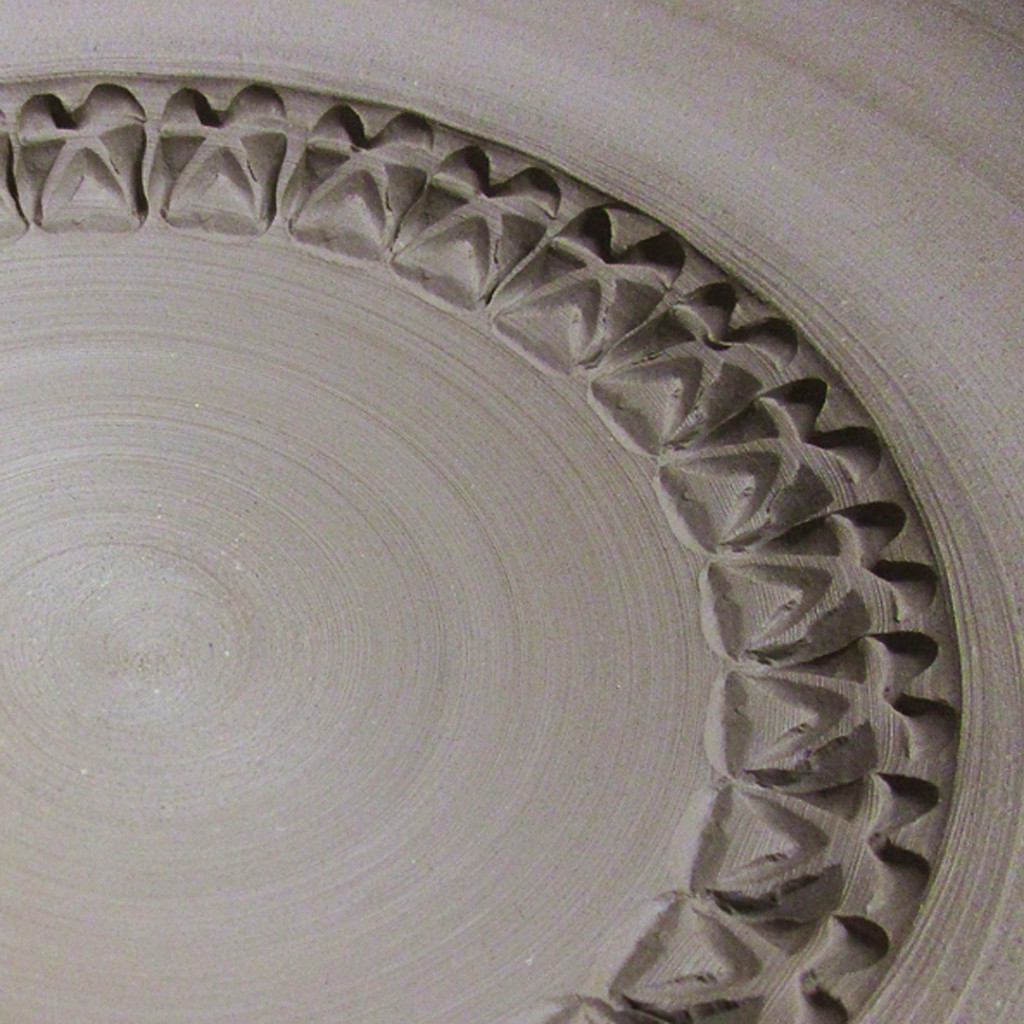
So I threw a bunch of cylinders and brought the down to class with me. I explained my “not-so-precious” texture & surface decoration challenge to them. I encouraged them each to do anything they wanted to the surface of their cylinder. To carve, slip, stamp, whatever!!! Just have fun… and see what happens with their new-found “freebie” not-so-precious cylinder!!! And here they go…


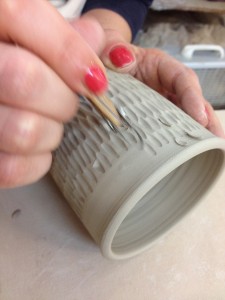


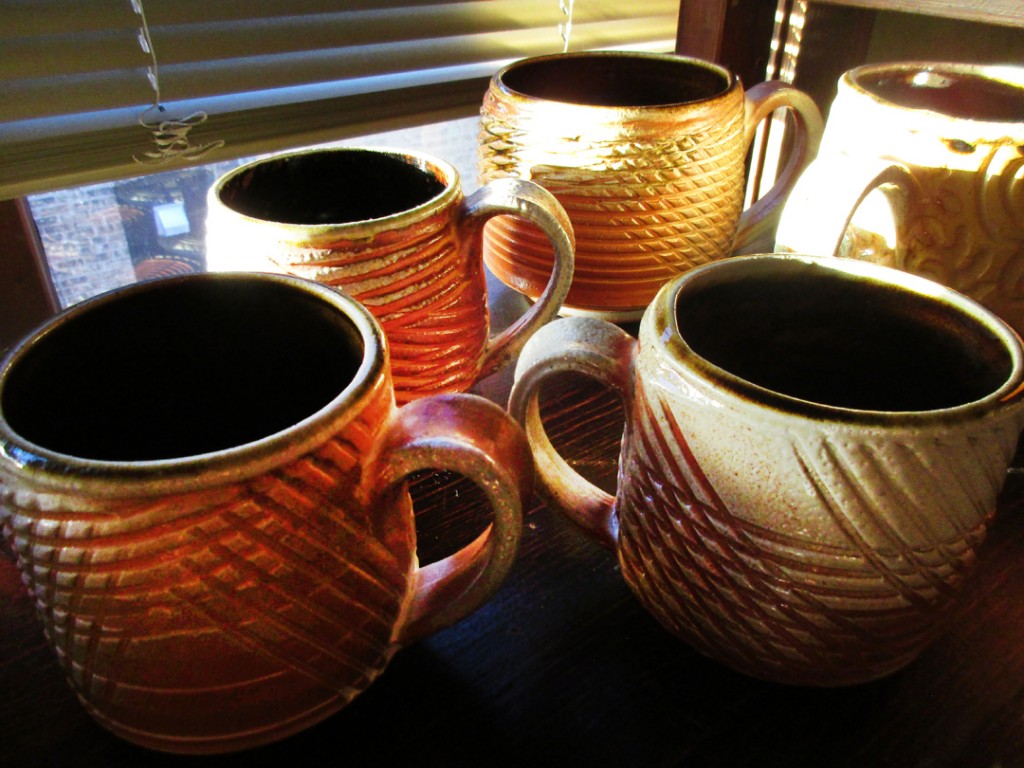
After class, I did a little “photo shoot” in my studio before they started to dry.


SO HERE”S YOUR CHALLENGE : Can you guess which ones are mine?!
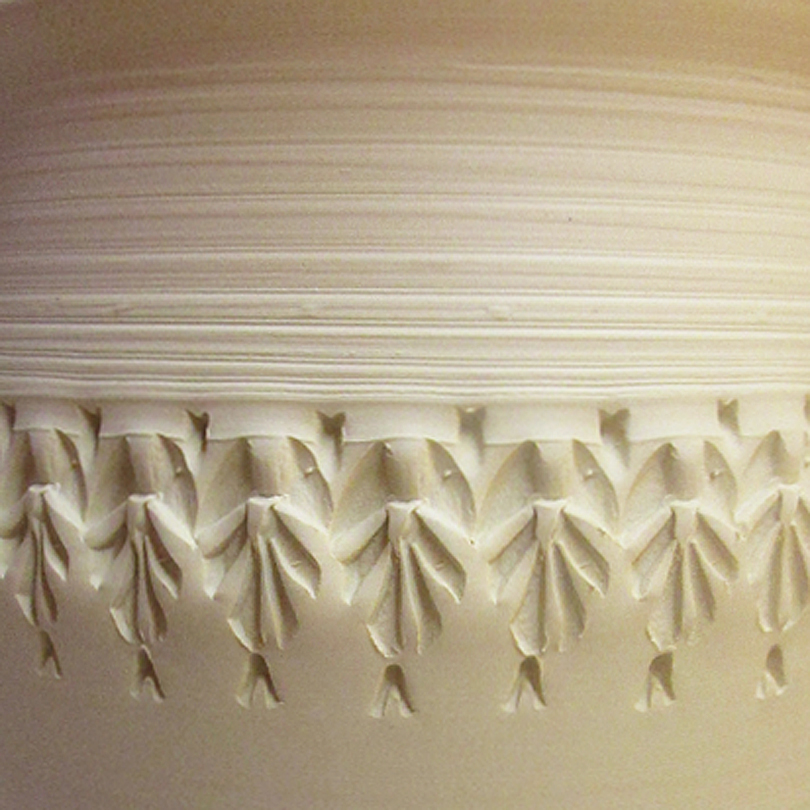
Special thanks to Robert at C.I. Products for sending me a little “care package” of tools to try out. I’ve been kind of busy through the holidays… and finally found some time to try them out. And why not share my new tools with my students?! These Zebra Trimming Tools are pretty darn amazing. They took us a little while to get used to them. The blades are at a different angle than Kemper Tools…. and adjustable!!! The wood is so lightweight… and the foam grip pretty sweet too. But it’s really the extra-sharp blades that cut such a smooth clean line with nice line definition. I definitely look forward to using them more in my own work. Seeing what kinds of great textures & patterns I can come up with using these great new Zebra Tools!!! Thanks again Robert… your tools are GREAT!

Click here to see the wide assortment of tools from C.I. Products.
Or here to go straight to the Zebra Trimming Tools.
You’ll be glad you did… especially those of you who are carving crazy cool patterns, making cool textures and doing a lot of sgraffito or mishima.
Save
Save
Save
Save
Save


