Last night was my favorite demo of the session!
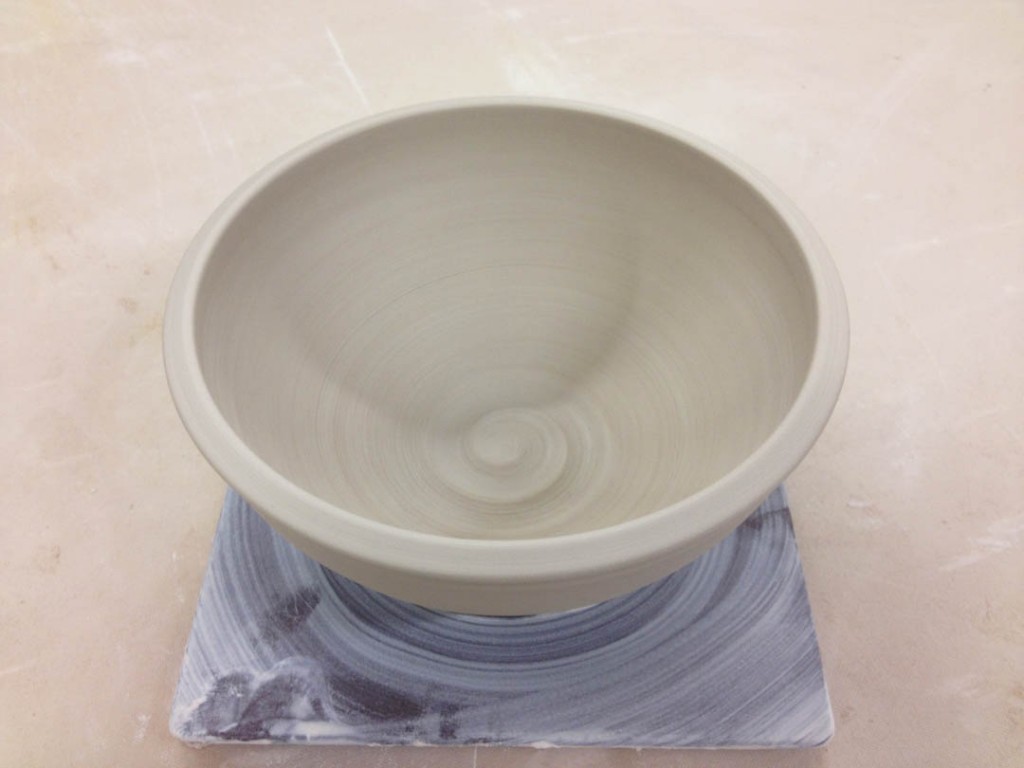
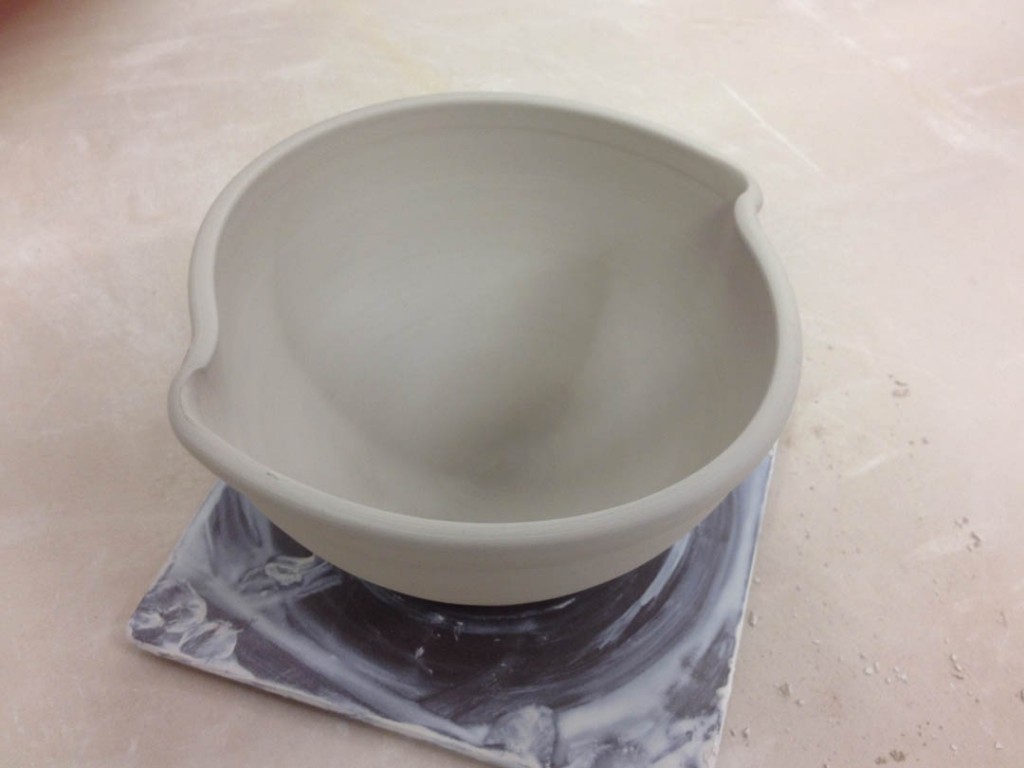
Bowls on purpose. And then decorating them all to be one-of-a-kind pieces!
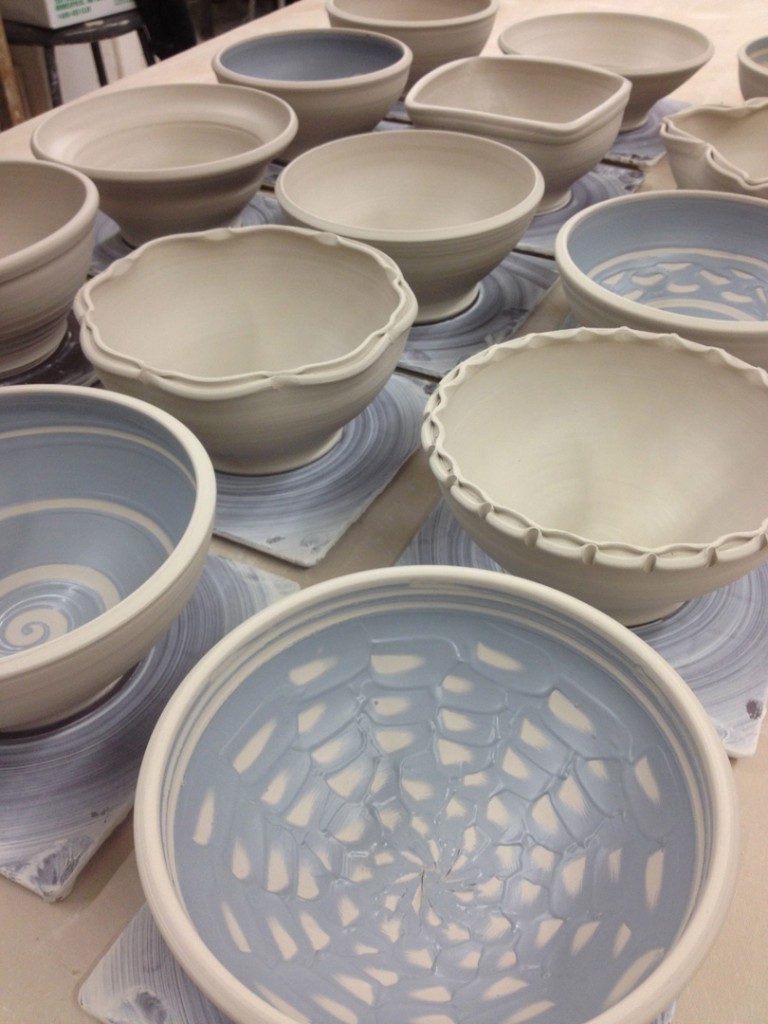
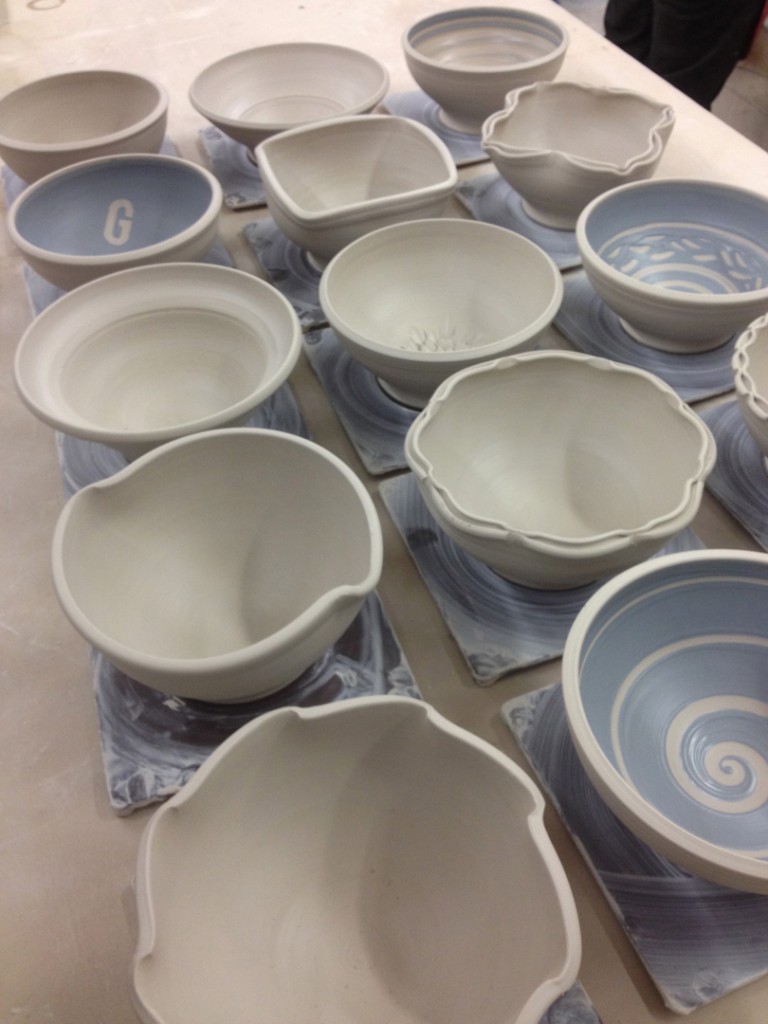
I try to do it every session showing my students how to “make a bowl on purpose” instead of making a “cylinder gone bad.” Once they learn how to make a “real” bowl, I have them all go back to practice while I throw a bunch of basic bowls quickly. I then call them all back to watch the decoration process. All fifteen bowls looked pretty much the same… plain & round. Hopefully my students picked up a few tricks last night. And if nothing else, I hope it gave them some encouragement to play with their clay – and to do something to it AFTER the wheel does all the work making it round.
Bowl #1 – Plain & simple with a slight spiral in the center.
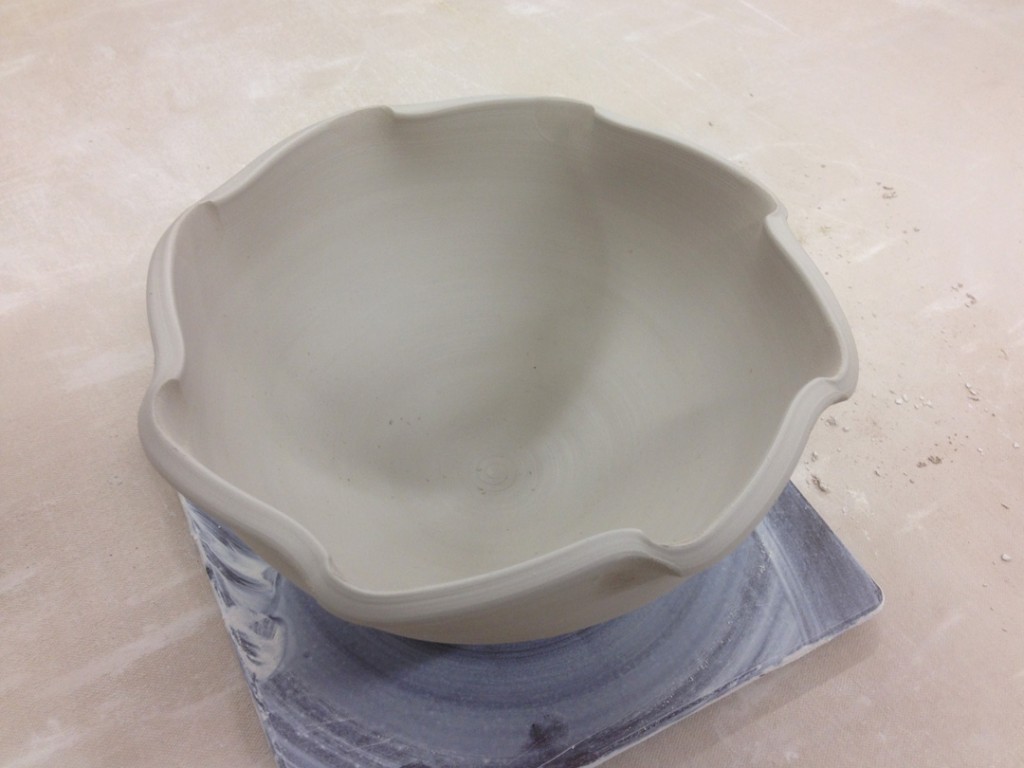
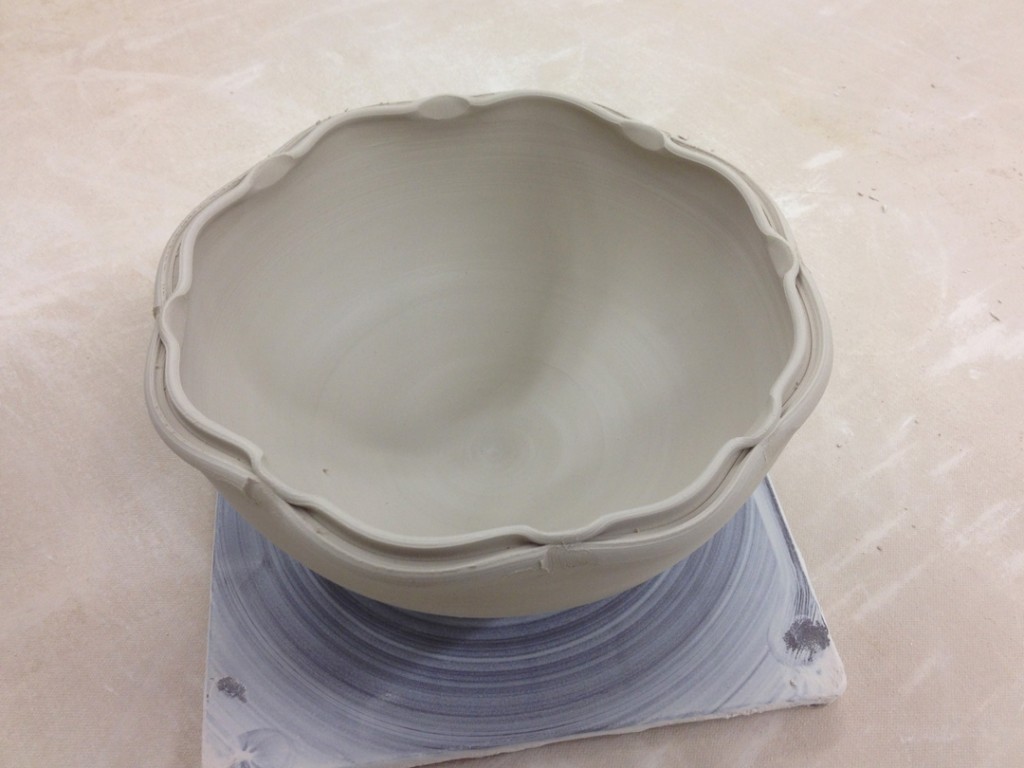
Bowl #2 – A twice twisted & fluted rim.
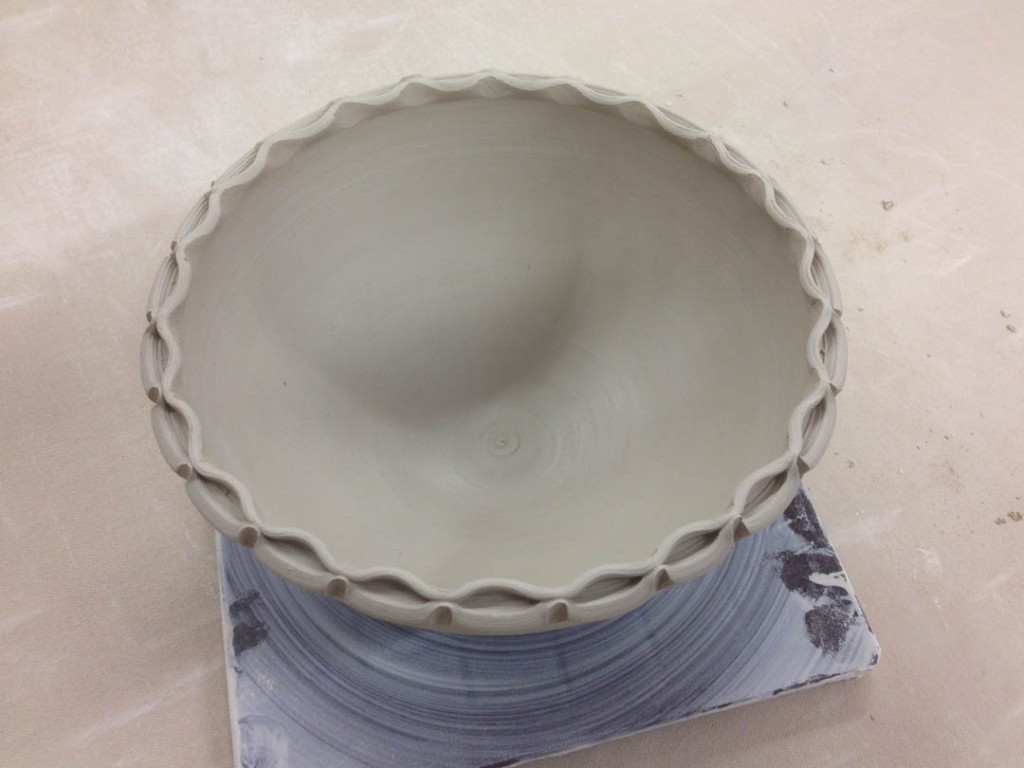
Bowl #3 – And if two twists are good, eight might be even better!
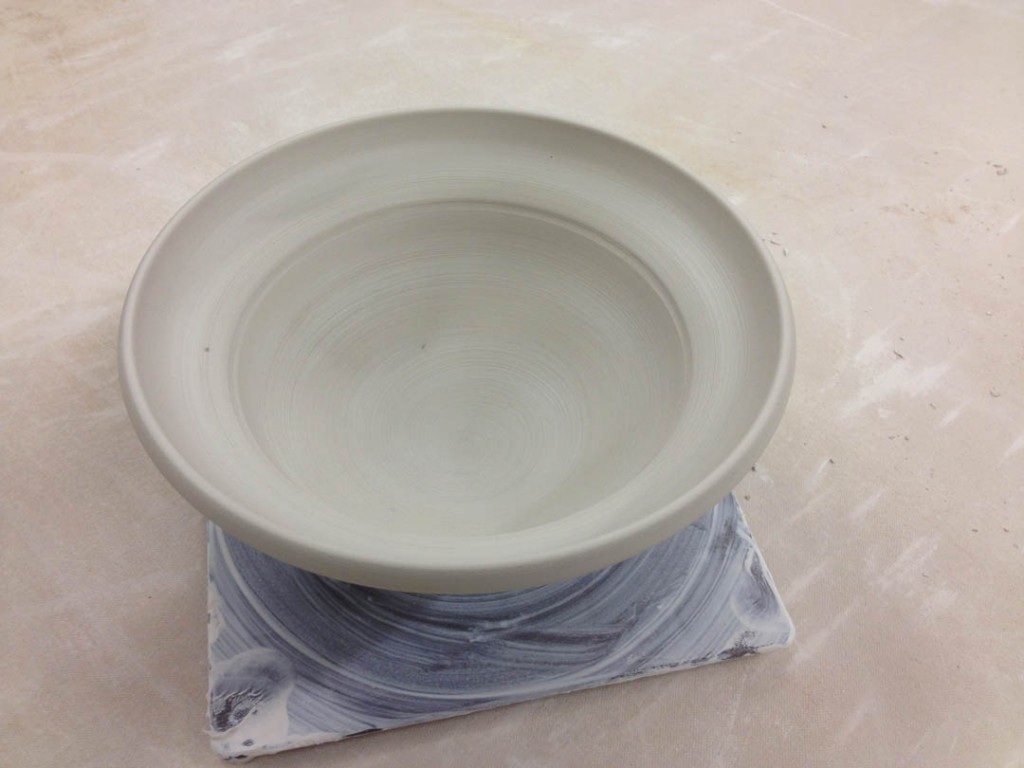
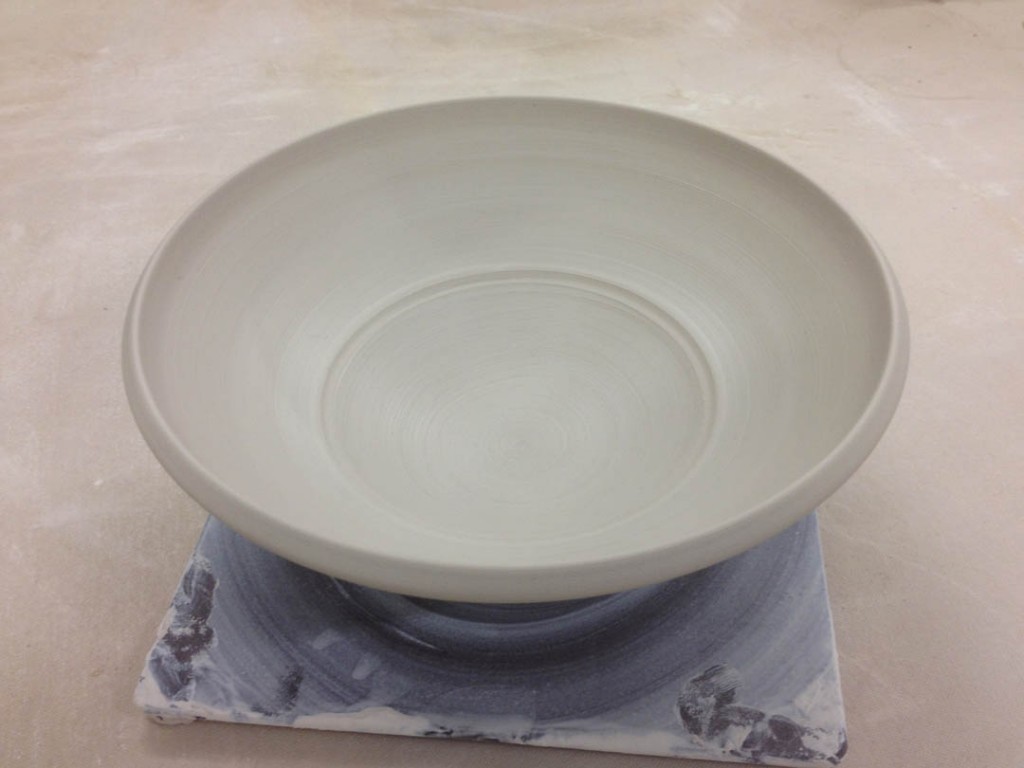
Bowl #4 – A flared flange makes the bowl shorter & wider.
Bowl #5 – A wider flange for more presentation… less food.
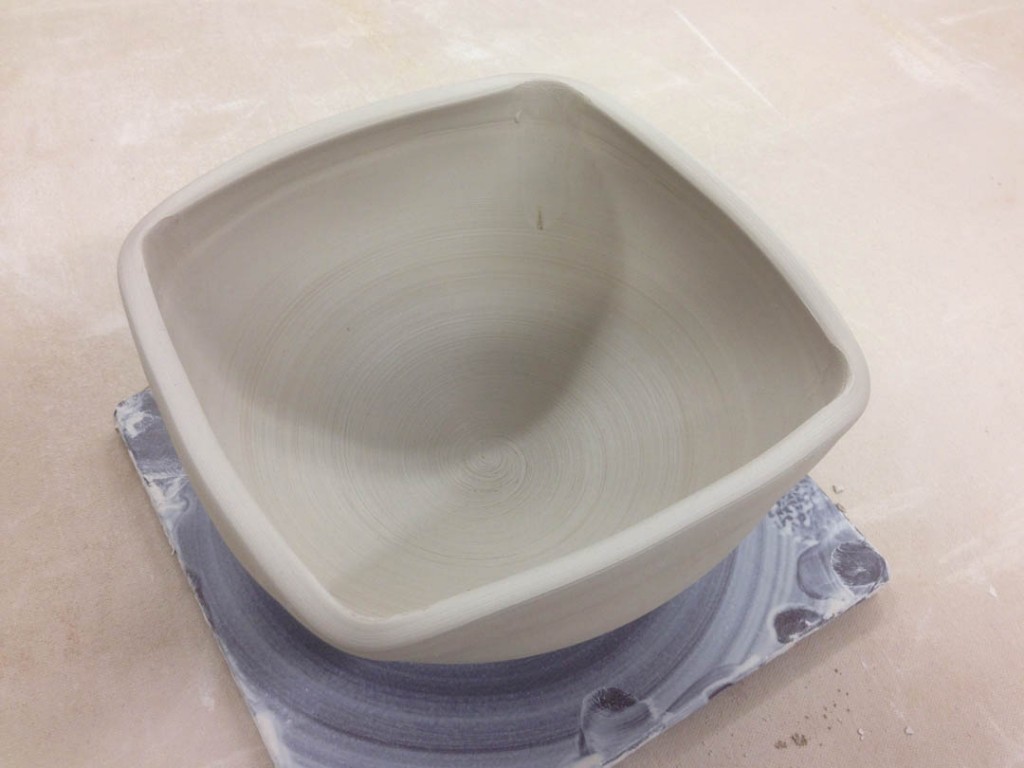
Bowl #6 – Not every bowl needs to be round. Like this square one!
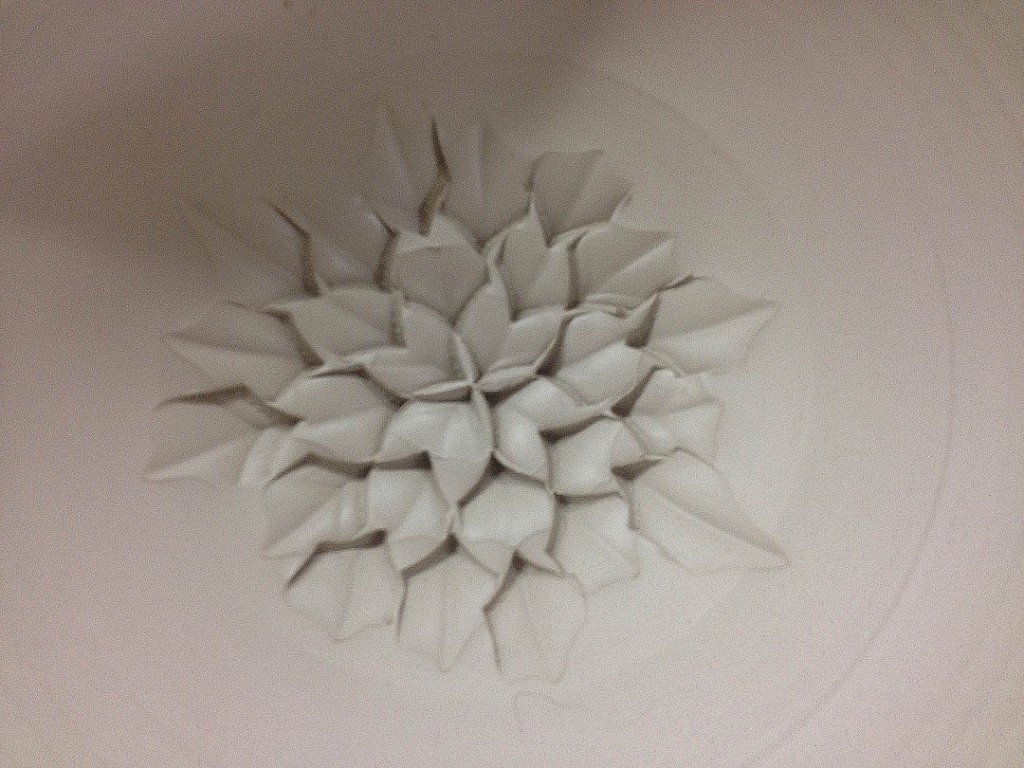
Bowl #7 – Using a simple dragonscale tool, I impressed this flower one petal at a time.
Bowl #8 – A decorative split rim with eight pinched sections.
Bowl #9 – Another split rim with ore pinches for a decorative, almost-braided look.
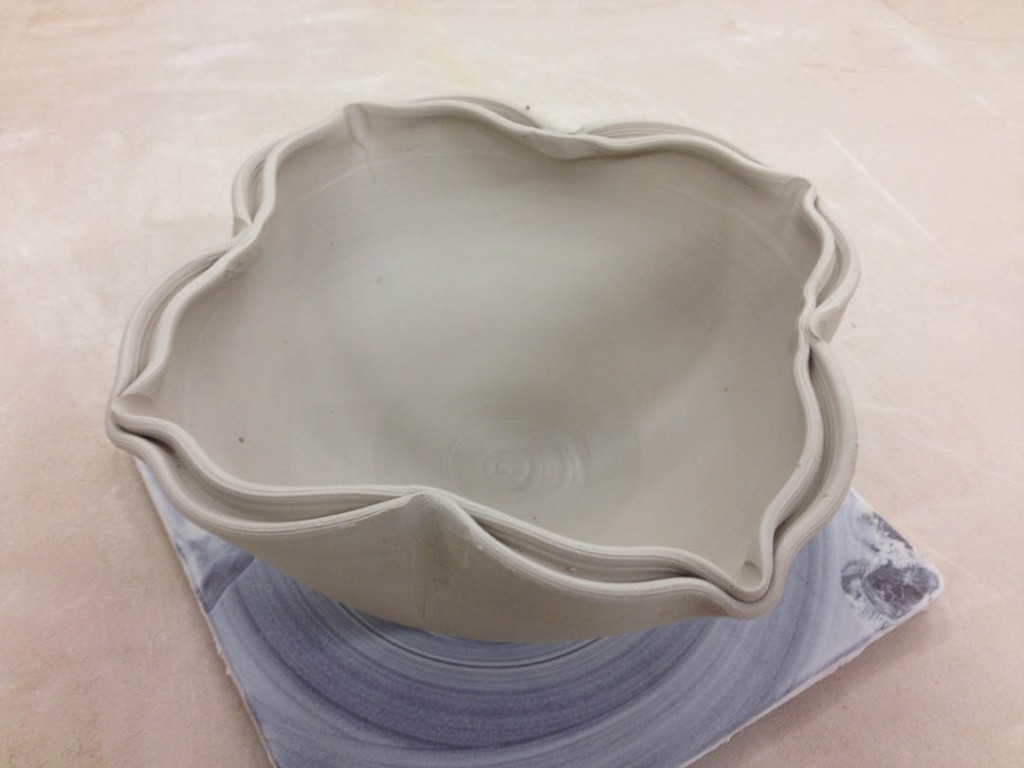
Bowl #10 – A split rim pinched together… bent inwards,, and bent outwards like a lotus flower.
After a simple explanation of colored slips
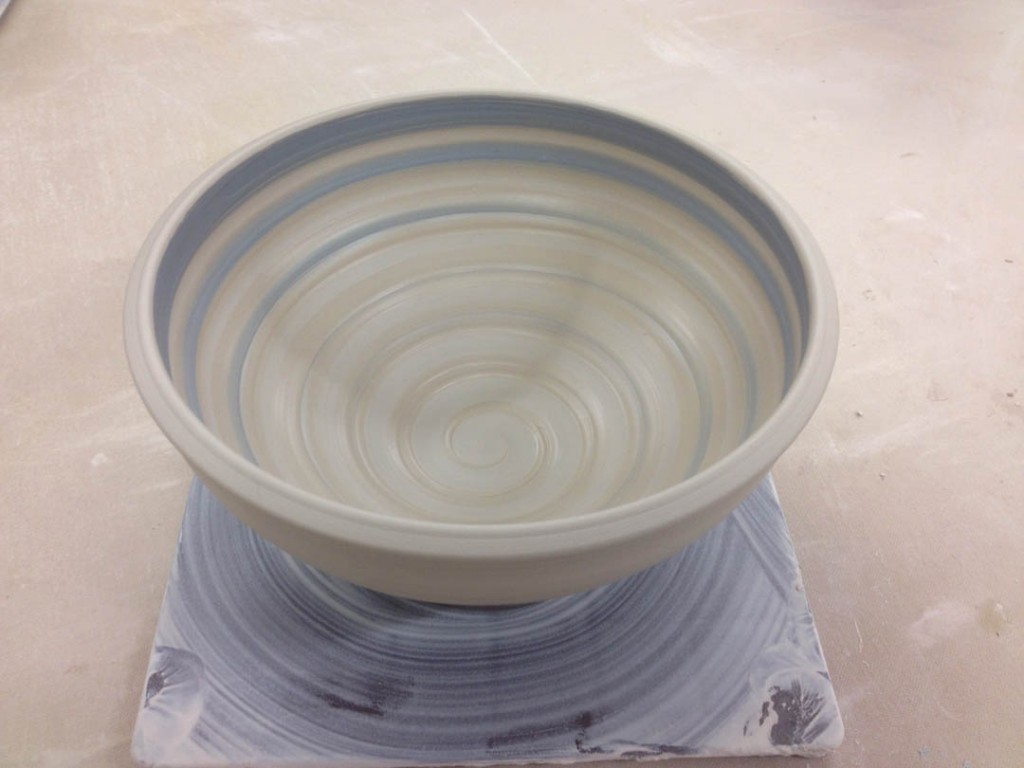
Bowl #11 – A simple spiral dragged through the slip to reveal the clay color below.
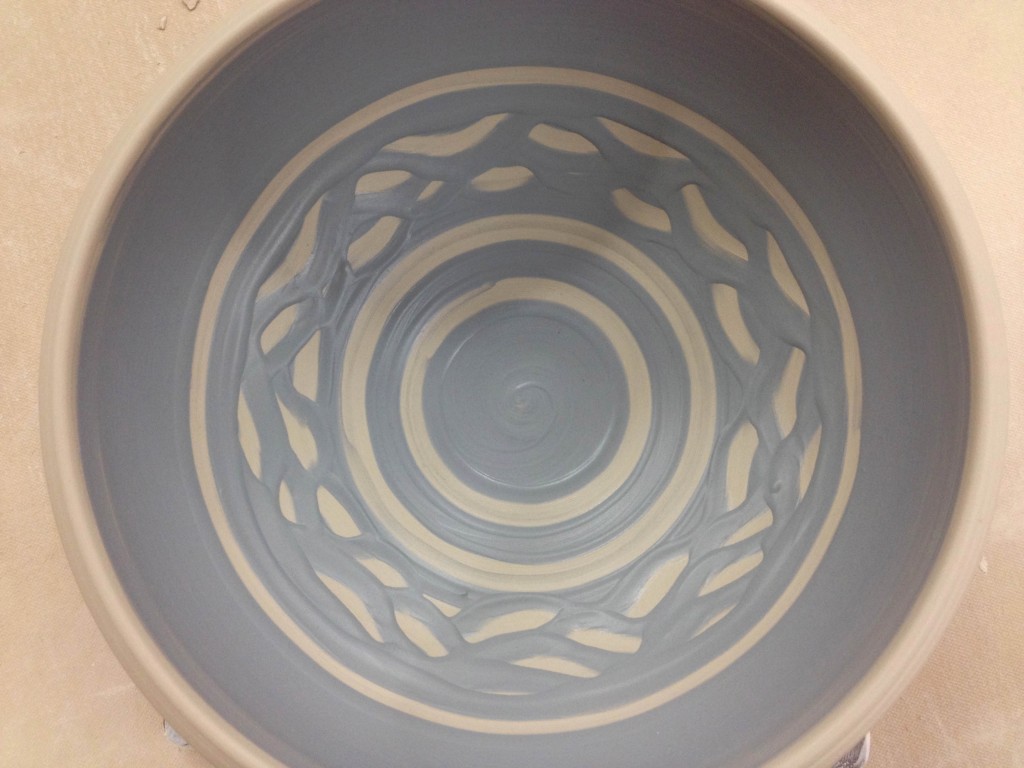
Bowl #12 – Banded rings with a squiggled section in the middle
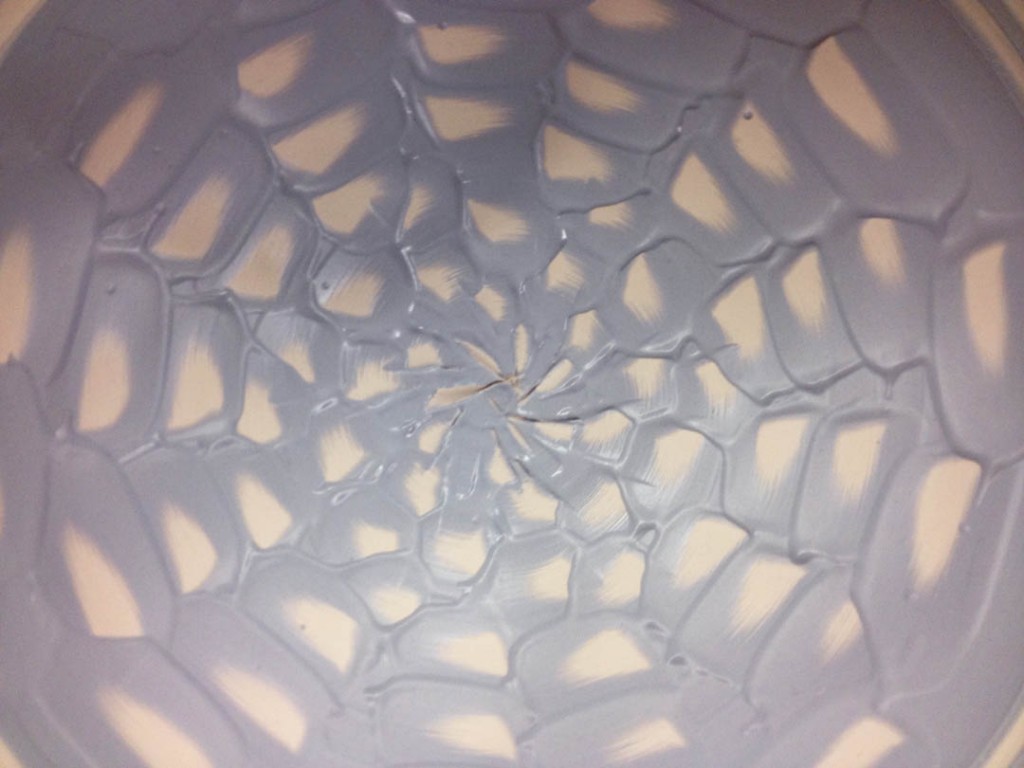
Bowl #13 – Rhythmic chattering through the colored slip.
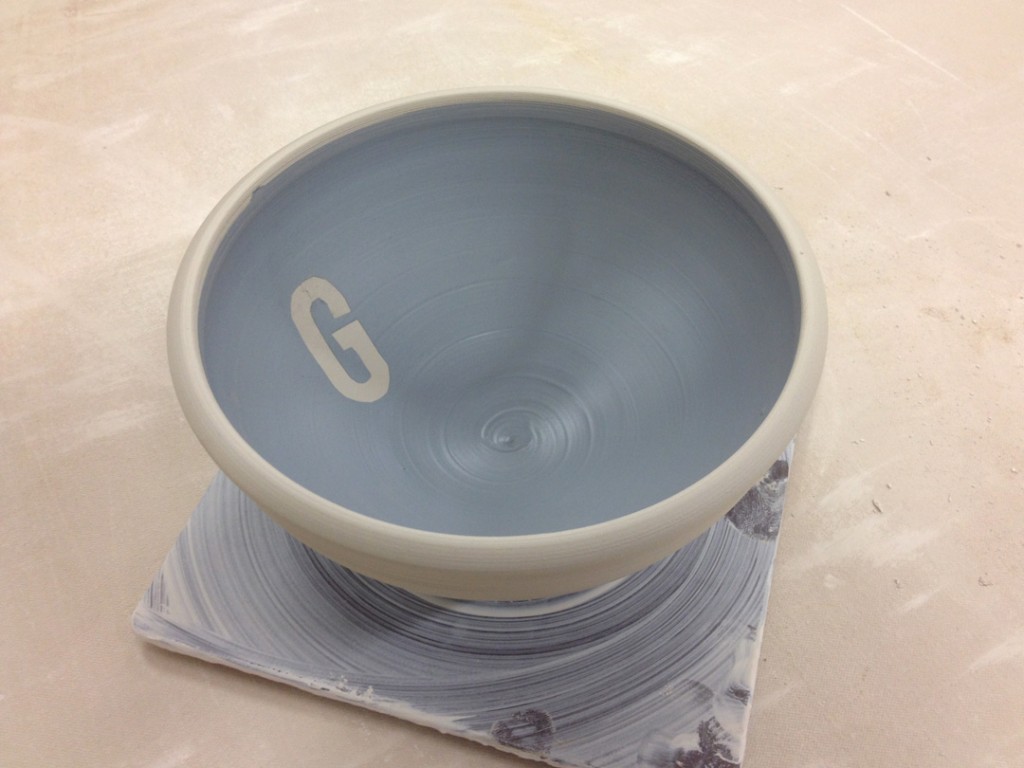
Bowl #14 – A “stencil” letter cut out from the newspaper. Slipped over, then pulled out.
Bowl #15 – A two-color ombre effect… but I couldn’t resist, and I “had to” drag a spiral through it.
So now all fifteen bowls are up in my studio…
Wrapped up overnight so I can keep working on them later. Sadly, all of my tables are full of drying pieces… so last night’s bowls are under plastic ON THE FLOOR!!!
So last Friday night was Empty Bowls at Lillstreet Art Center.
I was too “busy” focusing on my income taxes to attend the event, but twelve of my bowls were there! From what I’ve heard, they sold over 650 bowls and raised over $9,000 for local food-related charities.
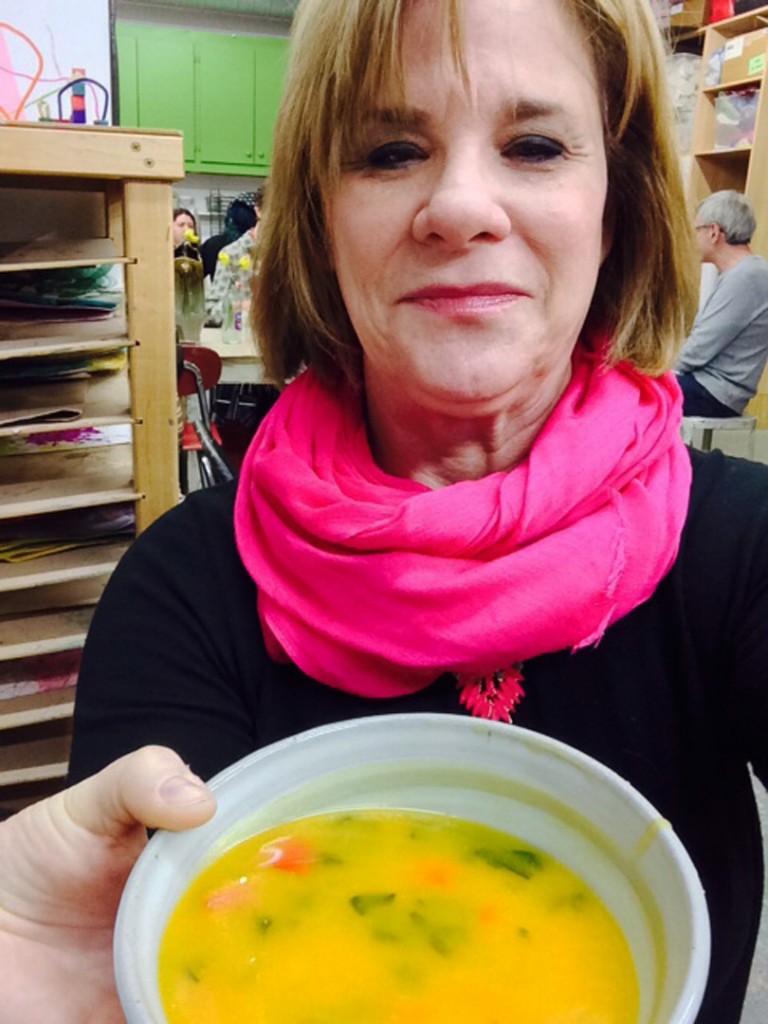
Apparently, one of my students brought her Mom & Dad to the event. They looked around, each picked out a bowl… and low & behold, Shea’s Mom picked one of mine!!! Out of a sea of bowls, she picked one of my class demo bowls where I did the white slip swirl through the inside of the bowl. Looks even better with yummy soup inside!!!
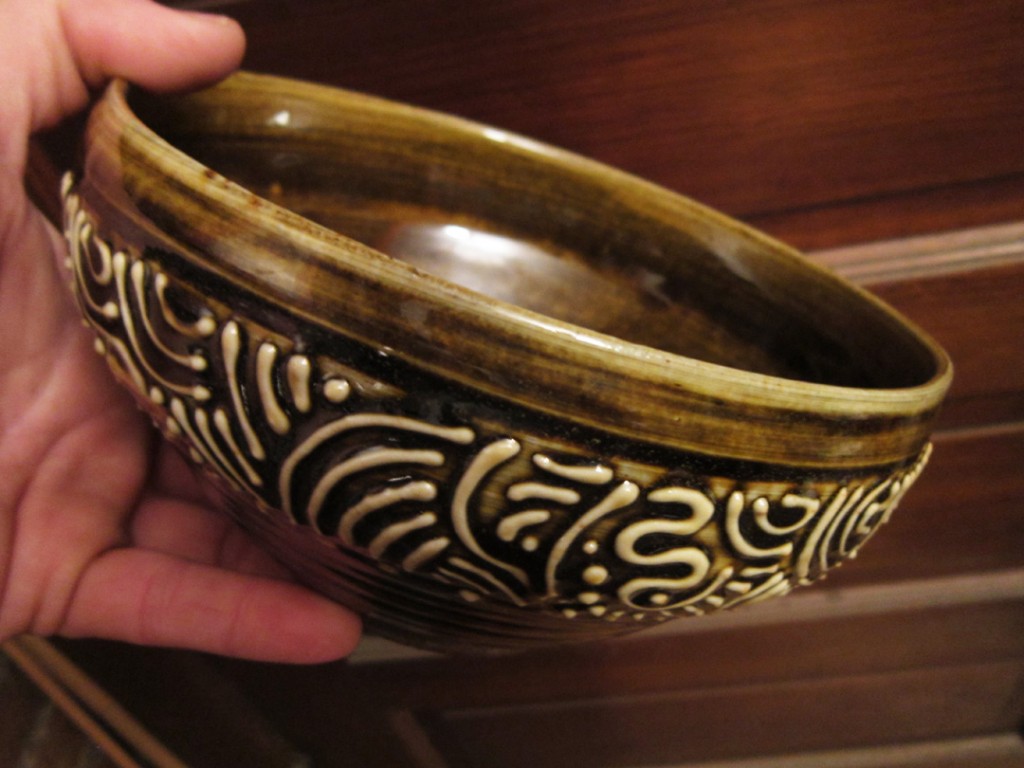
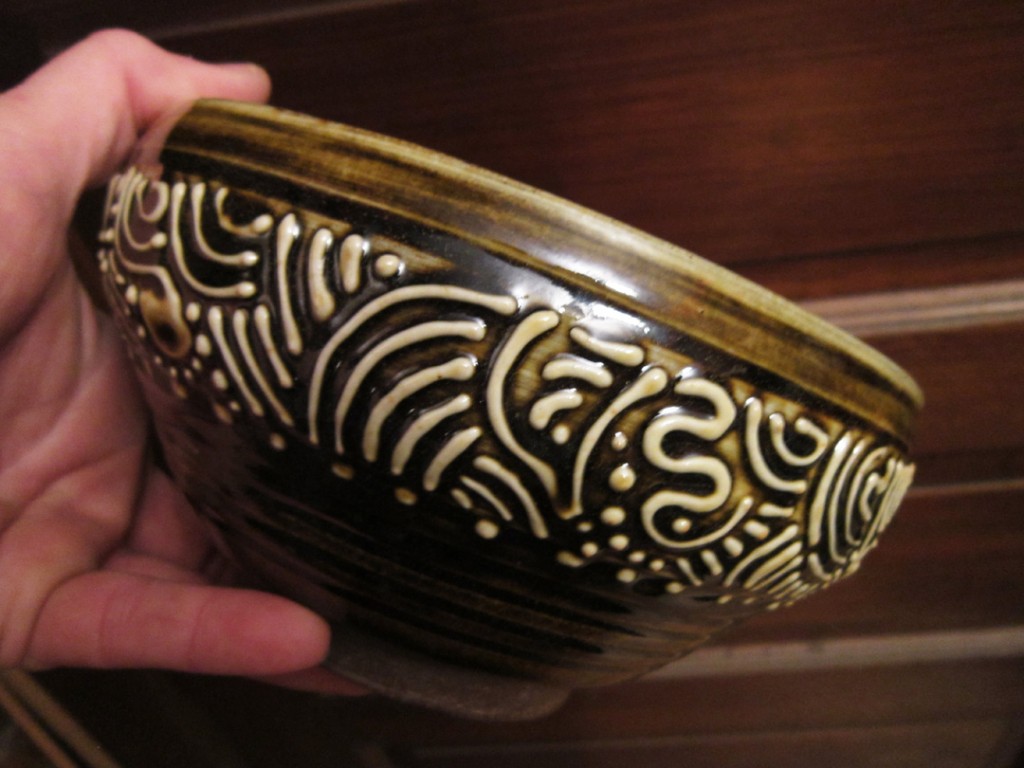
And then during class tonight, Shea surprised me with a gift! She gave me one of her beautiful slip-trailed bowls… yeah me! I had mentioned that this one was my “favorites” of the slip-trailed bowls while she was doing it. And she remembered. Weeks later, after firing, glazing & firing again, it finally came out of the kiln. And looked beautiful. Can’t wait to add some of my own soup into it… or better yet, hot fudge with some ice cream… merely the vehicle to get the hot fudge into my mouth! Thank You Shea!!!
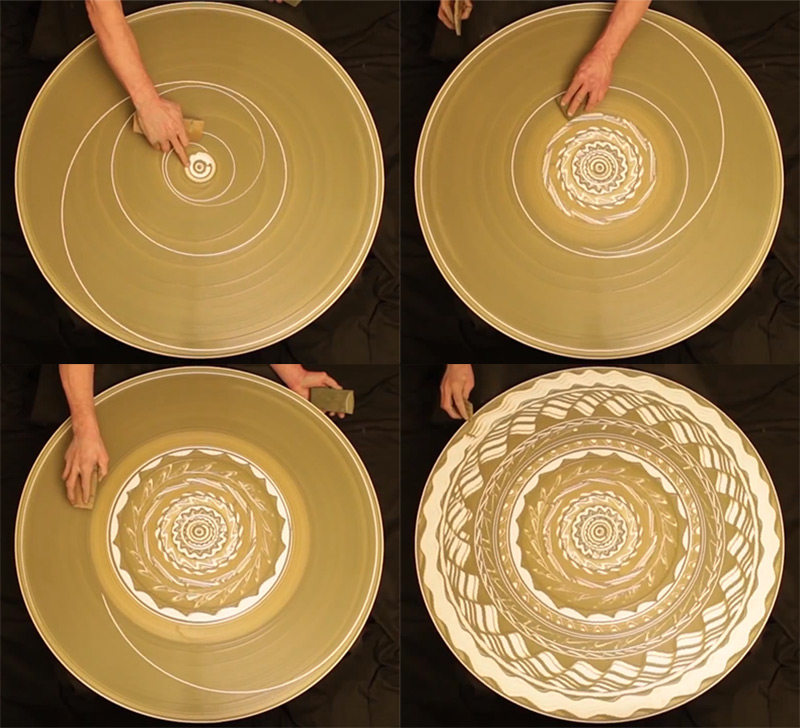
First off… this is a pretty darn impressive plate.
Second… I love the swirling, spinning, ever-changing patterns in the colored slip.
Third… looks like my Beginner’s will get a new slip demo next class session!!!
Click here to watch the beautiful demo video.
And seriously, the music soundtrack to the video is pretty incredible too.
It makes the whole process “sound” like so much fun too!!!
As seen on (and borrowed from) www.ThisIsColossal.com…
As a person who’s spent more than a few hours at the seat of a potter’s wheel I can attest to the strangely soothing act of doodling around with wet clay sludge (called slip) before or after throwing a pot. As fun as it is, it’s still somewhat surprising to see the act elevated to this level of artistry by “Michael Gardner” who blurs the line between performance and visual art as he creates pattern after pattern on an empty wheel. FYI: the artist’s name is a Google translation from Russian via YouTube, if anyone have more concrete details on the performer/artist, send it over.
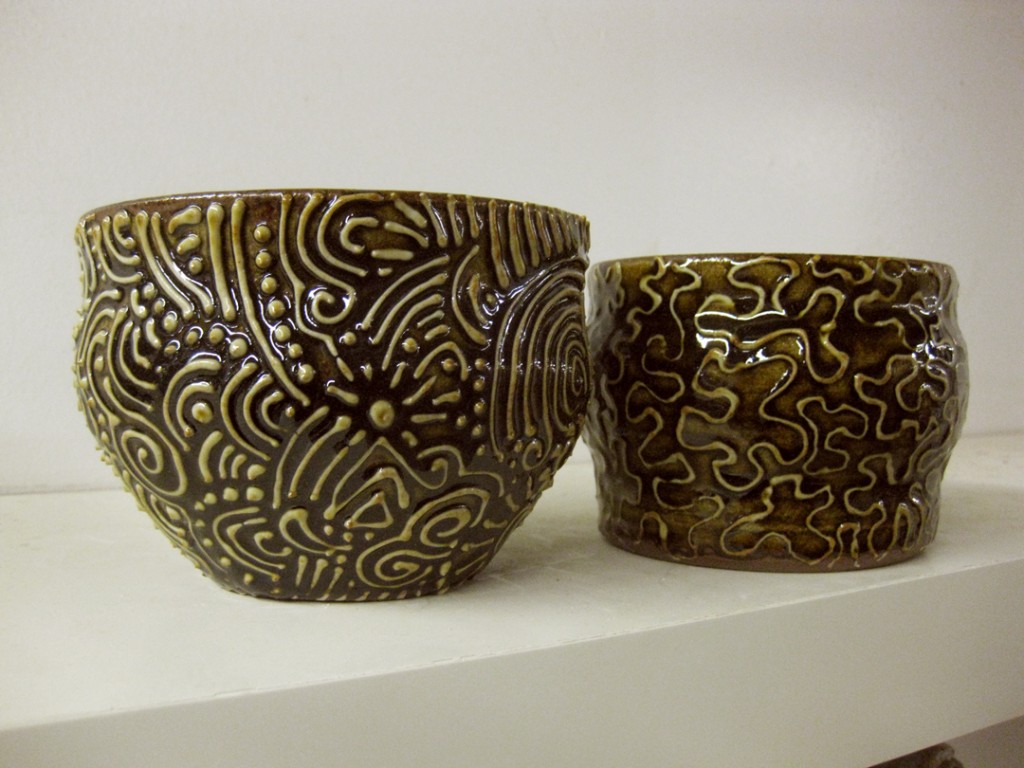
Congratulations to one of my students for making the Show-Off Shelves at Lillstreet!!! When the studio monitors unload the glaze kiln, they typically pick out their favorite pieces to put on the shelves. And one of my more advanced beginners made it to the shelf this time!!! When I was leaving last night, I saw these two pots by Shea Michals on the shelves. She’s been doing a lot designs with slip trailing… and finally glazed a couple of them. With great success!!!
Unfortunately, a couple weeks ago, she was told by another clay teacher that the amber celadon glaze would just run off and that she shouldn’t use it. Slightly afraid & now paranoid, she washed it all off the pots. She told me the story and I told her that was crazy! The amber celadon glaze is pretty stable, and with all of the raised slip trails, the glaze is going to pool & puddle along the way instead of running off. So we glazed it together last week during class and… apparently I was right!!! Not only did the glaze NOT run off the pot, but it came out beautifully!!! It broke really well and really accentuated the white slip trailing. Nicely done Shea… keep up the good work!!!
You know I usually cringe when one of my students starts off with that.
“So I saw this video on YouTube…”
I love when there are so many tips & tricks out there for potters, but frequently they’re also learning “bad” tricks along the way. So I’ve tried to steer clear of YouTube for the most part. But recently, I did do a quick search looking for new techniques to share with my students. This week is Week Eight for my class so they’re well on their way… and ready for some more surface decorating techniques.
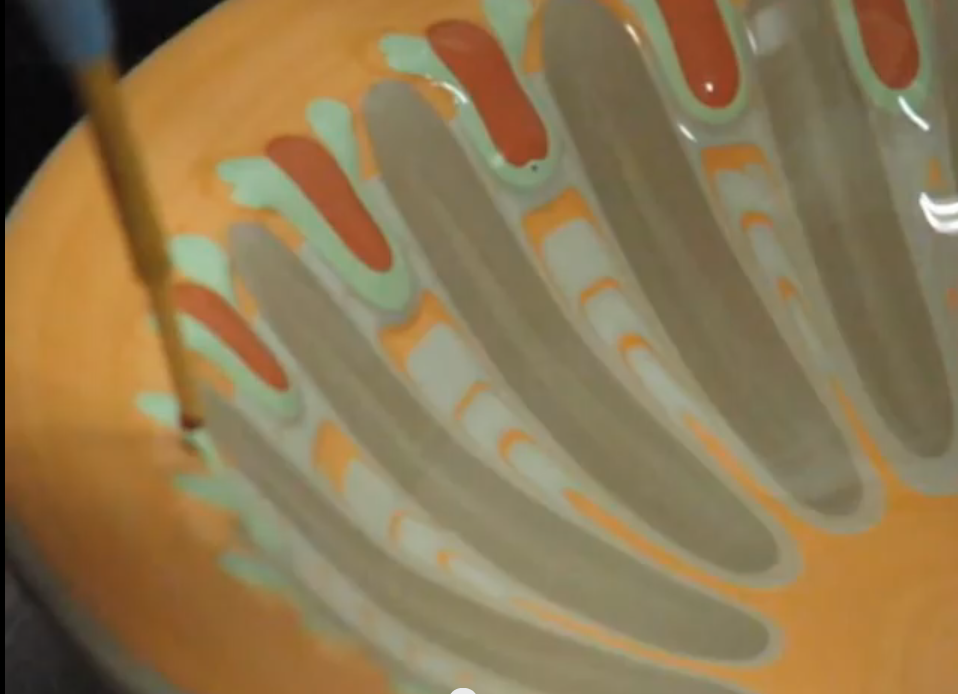
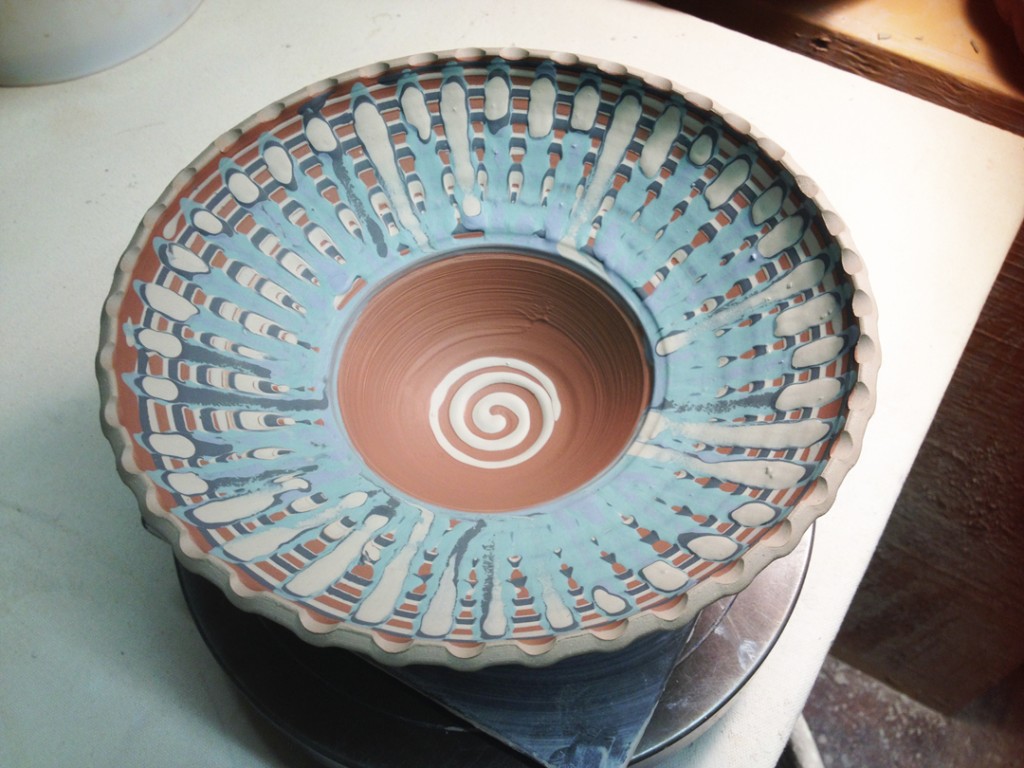
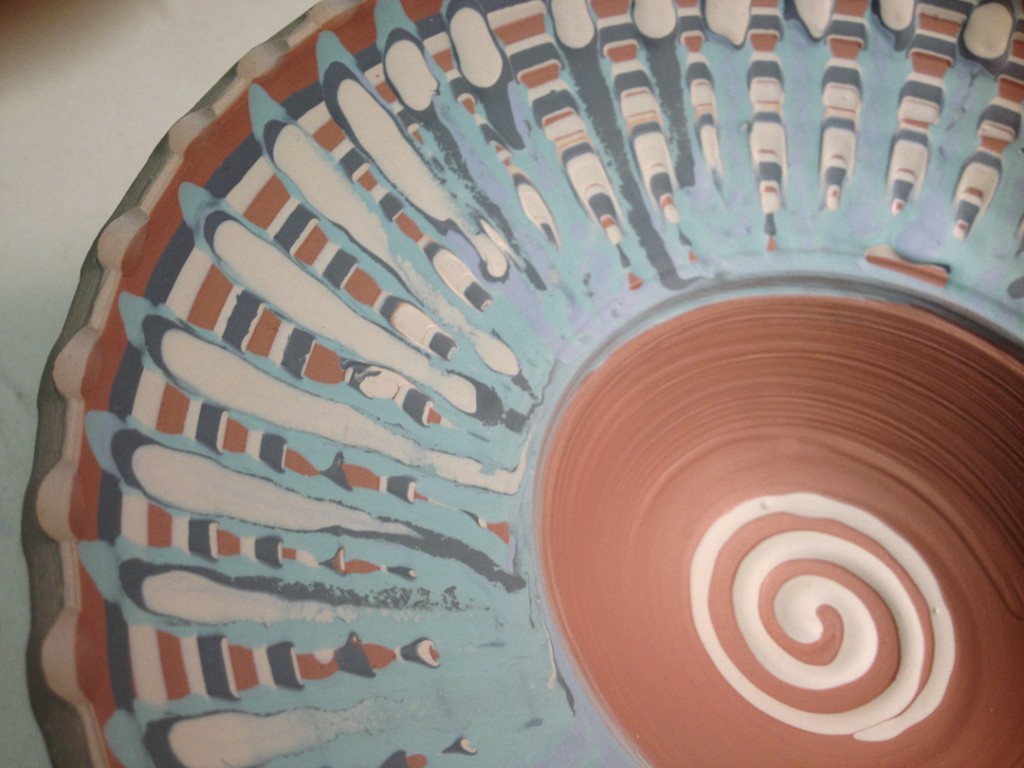
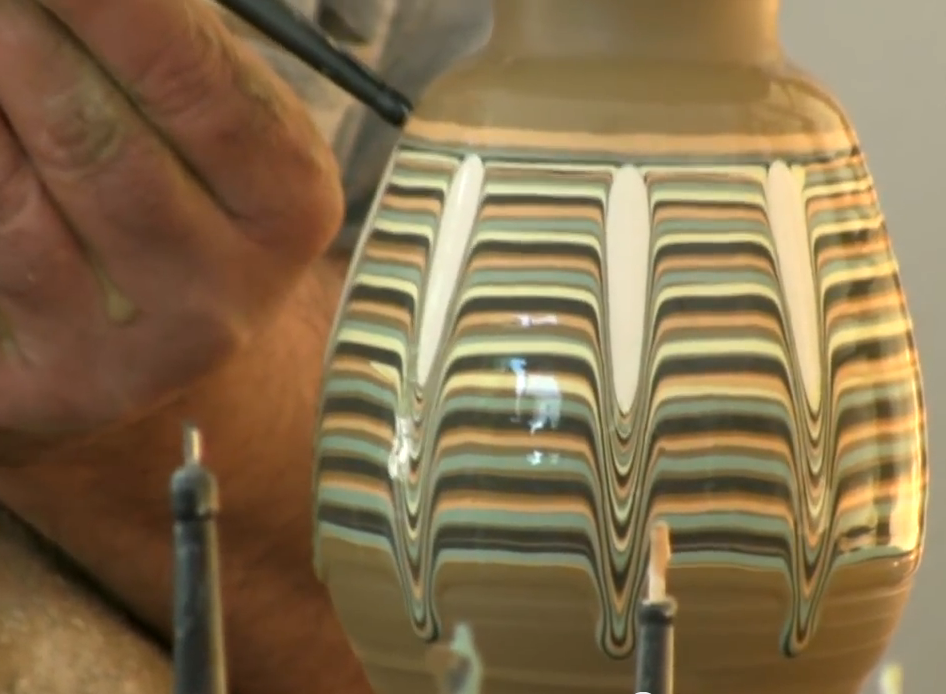
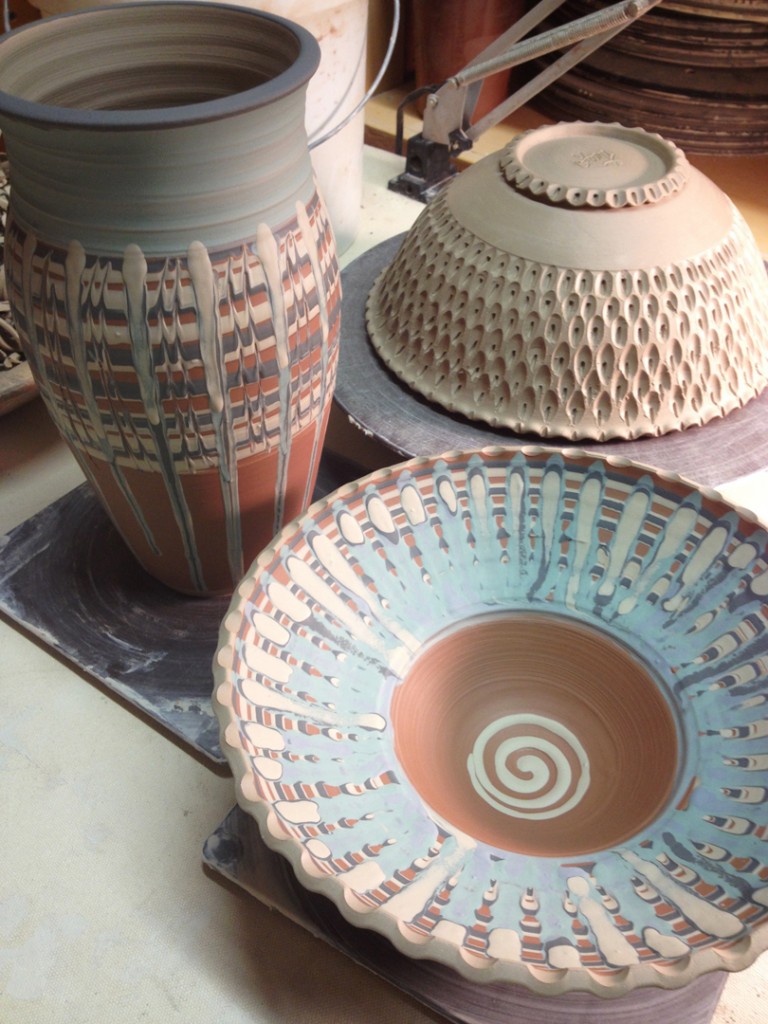
We’ve already used colored slip to change the color “skin” of their work. But when I saw this slip trailing… err, dripping… I though that my students would love this trick. And it’s not too advanced. It appeared to be pretty easy… so of course I decided to go for it. And “teach” this technique to my students without ever practicing myself!!! And quite honestly… I think it worked out pretty well. Click here for the YouTube video of slip trailing on a bowl. You may not understand a word he says… but the video alone is pretty mesmerizing! Here’s a still shot from the video…
Basically, you cover the surface with a thick layer of slip. The add a couple spirals. Then add some “drips” that will run down through the drawn spirals. The demo pieces on the video are a bit cleaner than mine… but I’m sure he’s been doing this technique a bit longer than me. Can you say 10 minutes?!
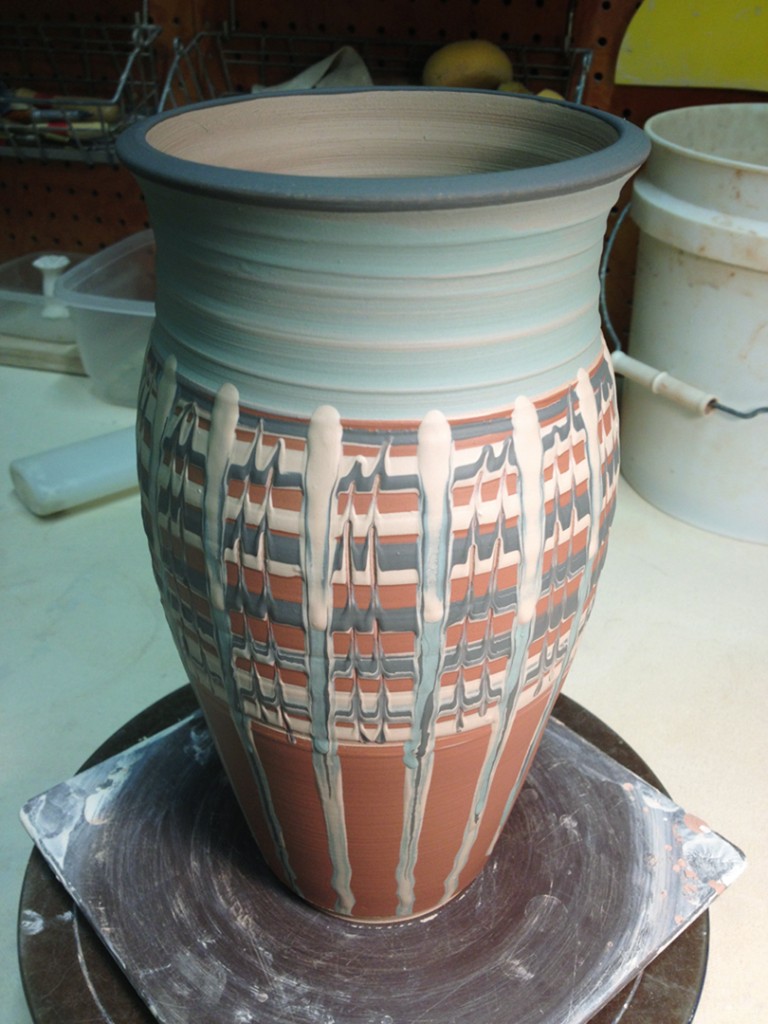
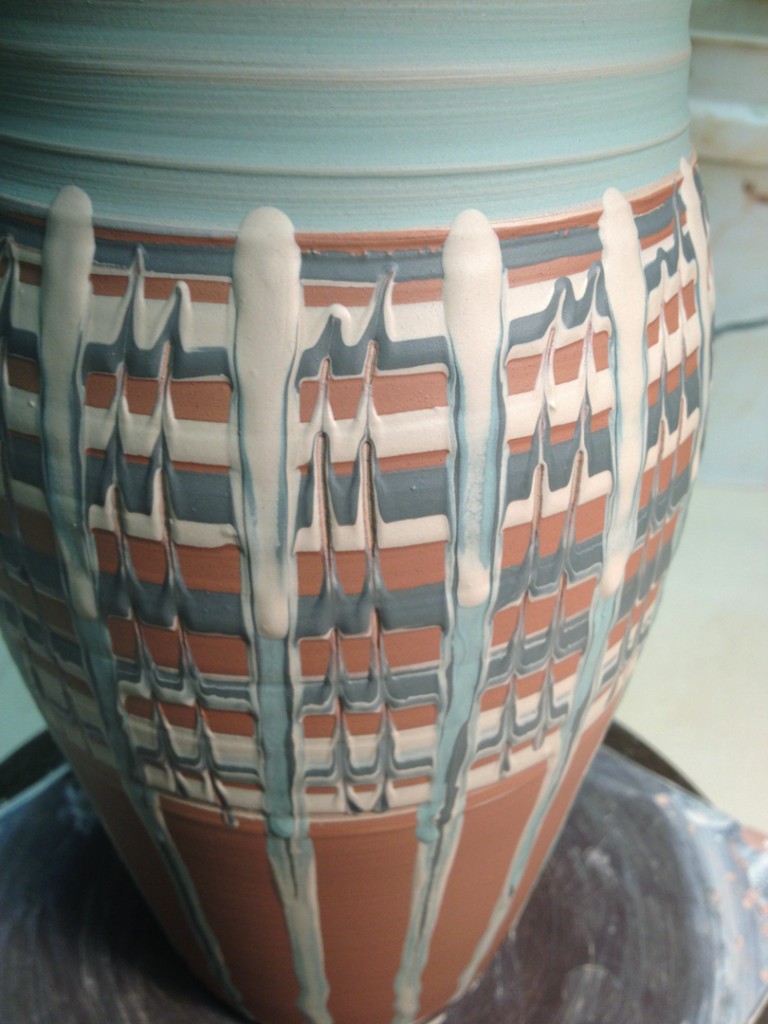
And once I had some confidence after the bowl, we tackled a more vertical surface on a taller vase. More room for the slip to run & drip. Click here for the YouTube video of slip trailing on a vase. Again, I think the potter may be speaking Russian?… and I’m not sure if this is “his” signature style or if it is more of a traditional Ukranian style of decoration? Here’s a still shot from the video…
We did learn a few things along the way. My slips probably should have been sieved through a fine mesh screen. And I should have tried to get them all to be a better consistency… a couple of them were a bit too watery. And I think I needed to make the base layer and the horizontal spiral with thicker slip so that there was enough slip to “move” as the drips pushed down.
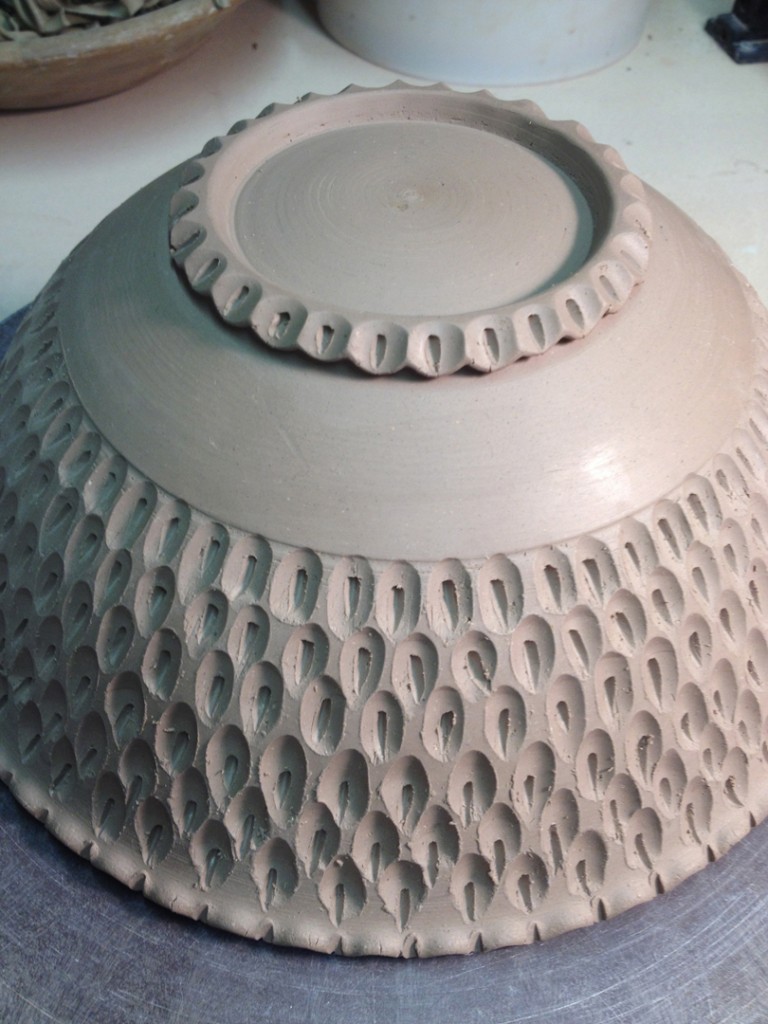
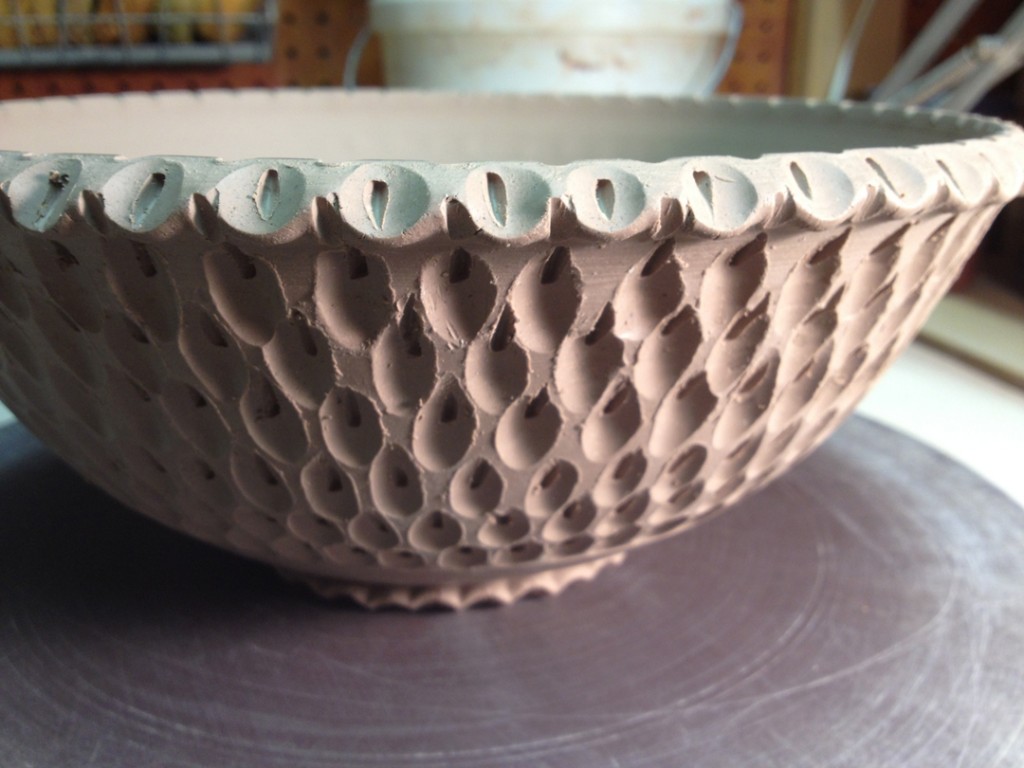
After we had “played” with drippy slips, I switched it up and did a much cleaner demo for my class. I took a wet-leatherhard bowl and did a carved texture pattern around the outside wising my round loop trimming tool and a smaller sgraffito loop tool. It’s a carving technique I learned from Amy Higgason of Pigeon Road Pottery. She used to be one of the Lillstreet studio artists, but now she lives up in the Wisconsin Northwoods. Luckily, she has shared her carving techniques and they still pop-up from time to time. In fact, she even did a demo for my class a few years back… click here to go to the blog post!
So now all three pieces are done, back up in my studio, and wrapped up for the night. I still need to trim the slip decorated pieces, but I need to wait until the slip is a bit dryer. All in all, I think it was a pretty successful evening. Several of my students gave it a shot & had fun with drippy slip… and I hope when they get around to trimming a few more pieces they may consider some decorative carving!!!
My friend & fellow potter Greg Schultz gave me a container of slip. Apparently it’s just “some mud” that he dug up out of the ground and “processed” into a slip. This was the first time we were trying it in the soda kiln firing atmosphere. We assumed it would flux out pretty well. Maybe too well. So here are two test tiles that got a good amount of soda. The one on the left got more soda, the right one less soda.
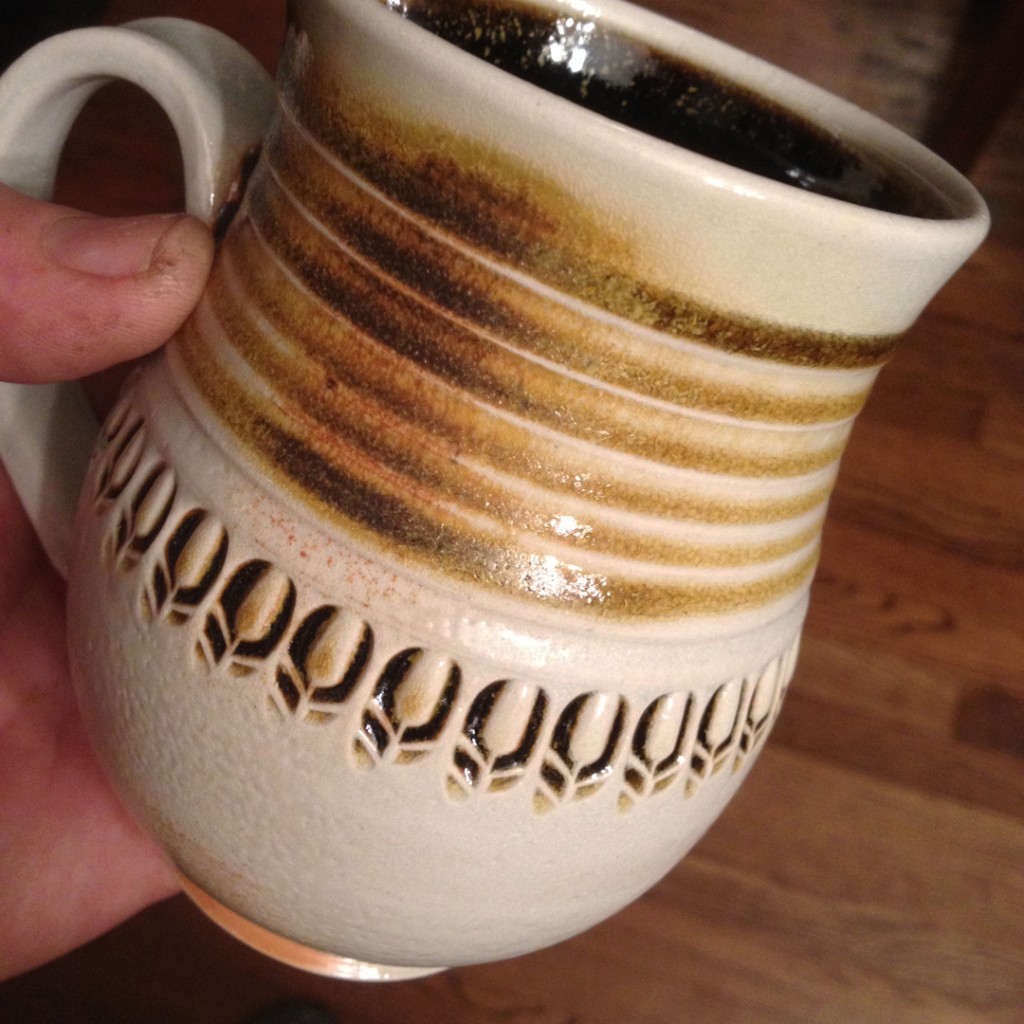
And here’s one “test” mug which I painted the top portion with Greg’s new “mud” slip. It fluxed out really well, “broke” in all the right places and kind of has a temoku glaze appearance after soda firing. If you look closely, there’s also some crystals forming it the slipped areas too. Love ’em. I now need to do another test where it would get hit with a lot less soda. To see if a drier section of the kiln might give us a different effect. This mug was on the very top shelf where things tend to get a LOT of soda on them. But so far… very encouraging!
Tonight I was the substitute teacher for the Beginning Soda Firing Class at Lillstreet. We discussed the basic firing process, how a kiln works, where the sweet spots are in the kiln… and basically tried to answer any & all of their questions. I know I gave them a lot of information. I hope I didn’t overwhelm them too much.
During our discussions, they expressed their concern & confusion of what all the soda flashing slips look like. So I suggested that we make some test tiles so they can see for themselves. And yet most of them also wanted to get some wheelthrowing time in too. So I made them a deal… if I make the test tiles, they needed to add the slip and keep track of the results. Deal done. Challenge accepted.
So here are my test tiles made out of soda clay…
And here are their class test tiles after Laury & Linda painted on some of the slips. We decided to make two test tiles for each color. One for a high soda area of the kiln, and the other for a low-soda area so they can see the difference. We also decided to leave half of the tiles plain clay just so they can see the contrast of colored slip against the raw clay color after firing.
I can’t wait to see how these test tiles turn out after firing in the new soda kiln! And I REALLY hope that this project helps these “new to soda firing” students understand a bit more about flashing slips!
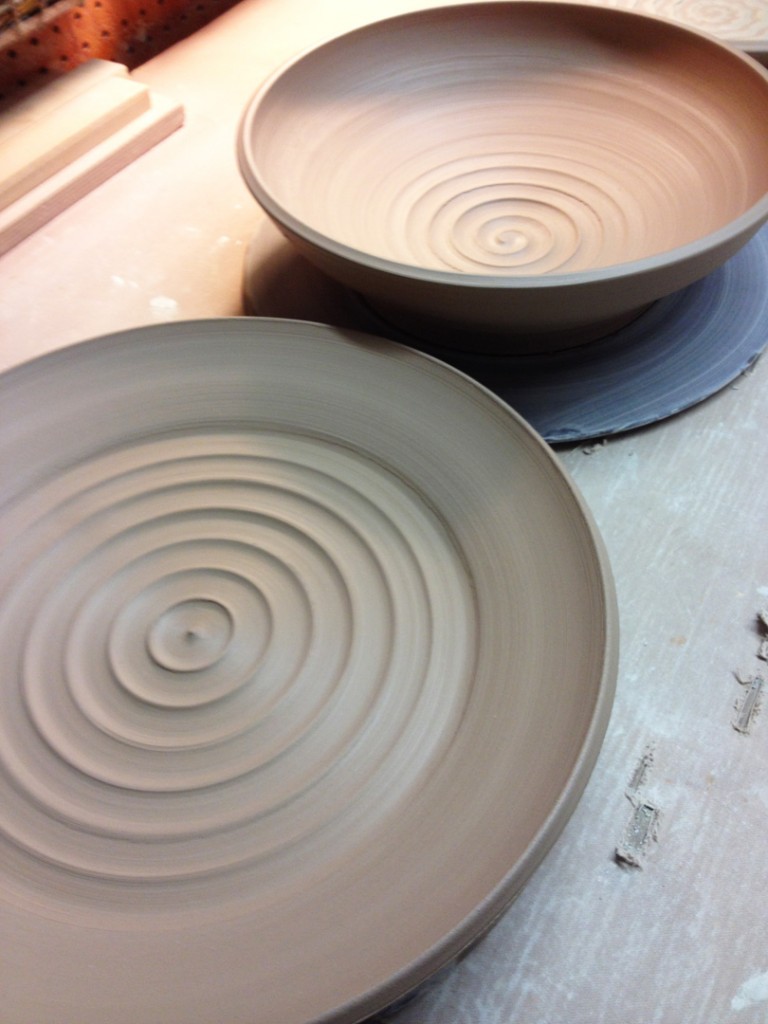
Tonight’s class demo was larger bowls & larger platters from a larger ball of clay. Trying to get my students to push themselves a bit and try some bigger pieces. Looks like both of these might need a bit of stamping soon…
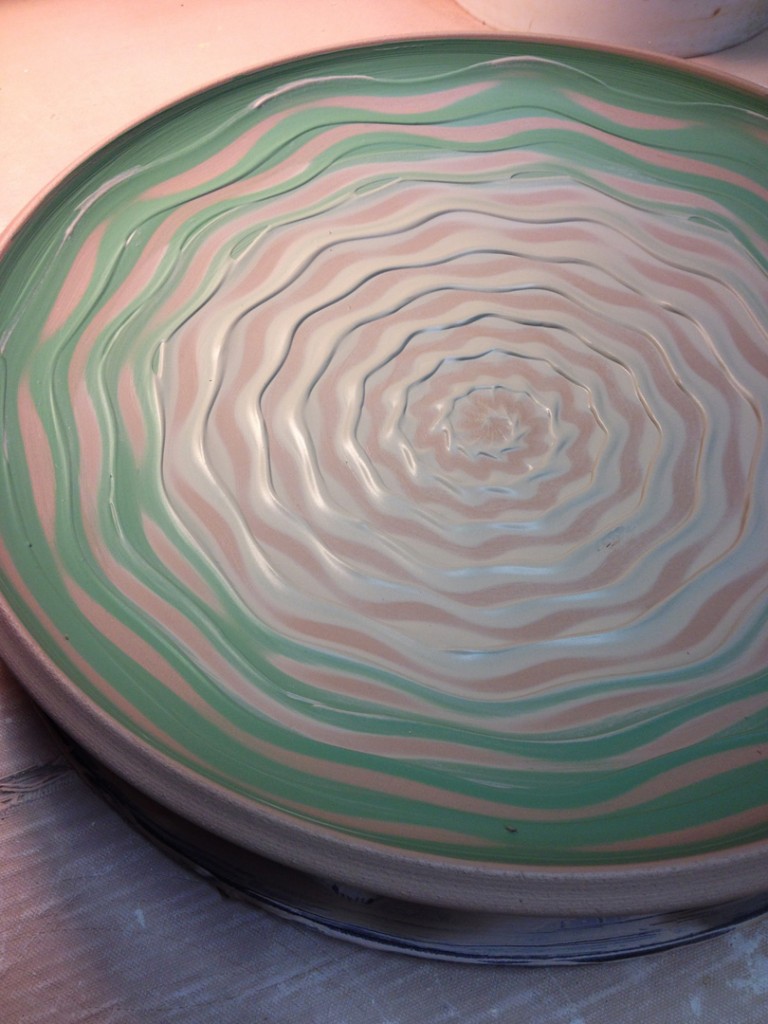
Then I did a quick two-tone slip squiggle demo on a second platter. I tried to blend some white slip with some ivy green slip… and dragged a round rib end through. While spinning the wheel. While squiggling back & forth. And voila!


