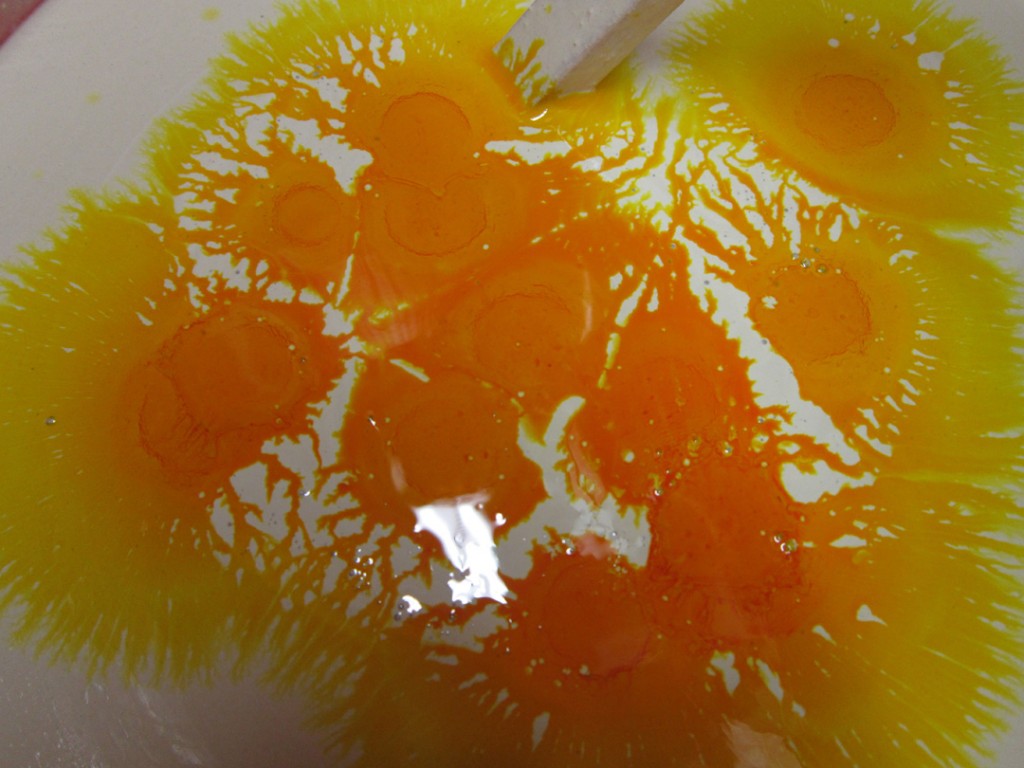
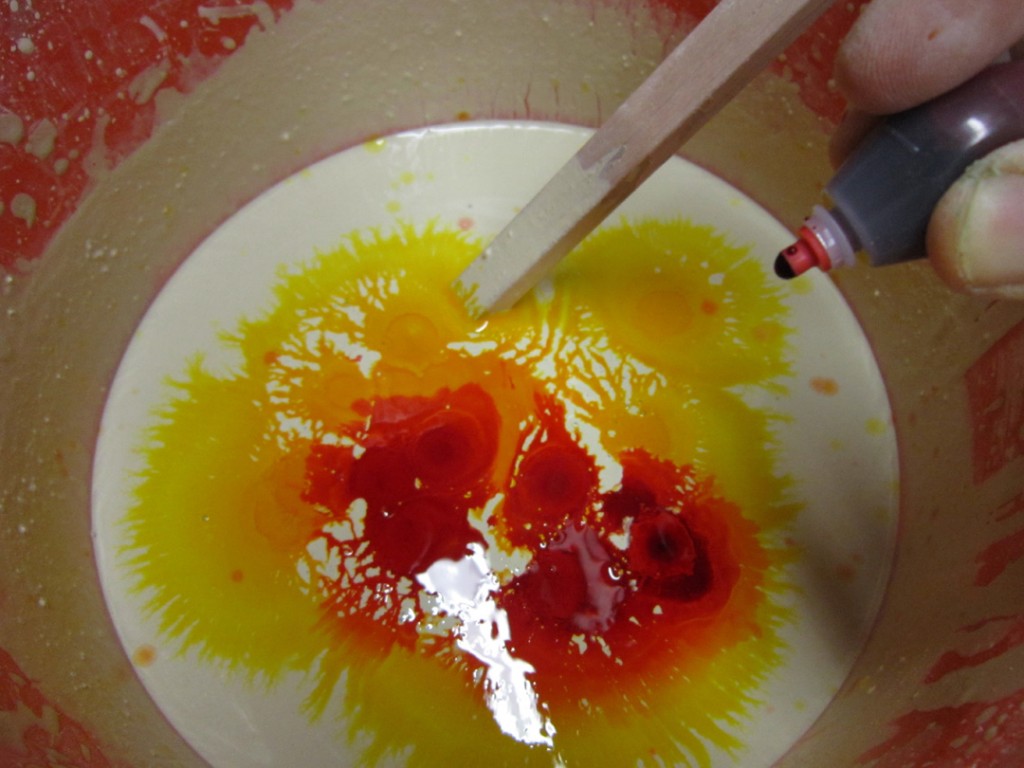
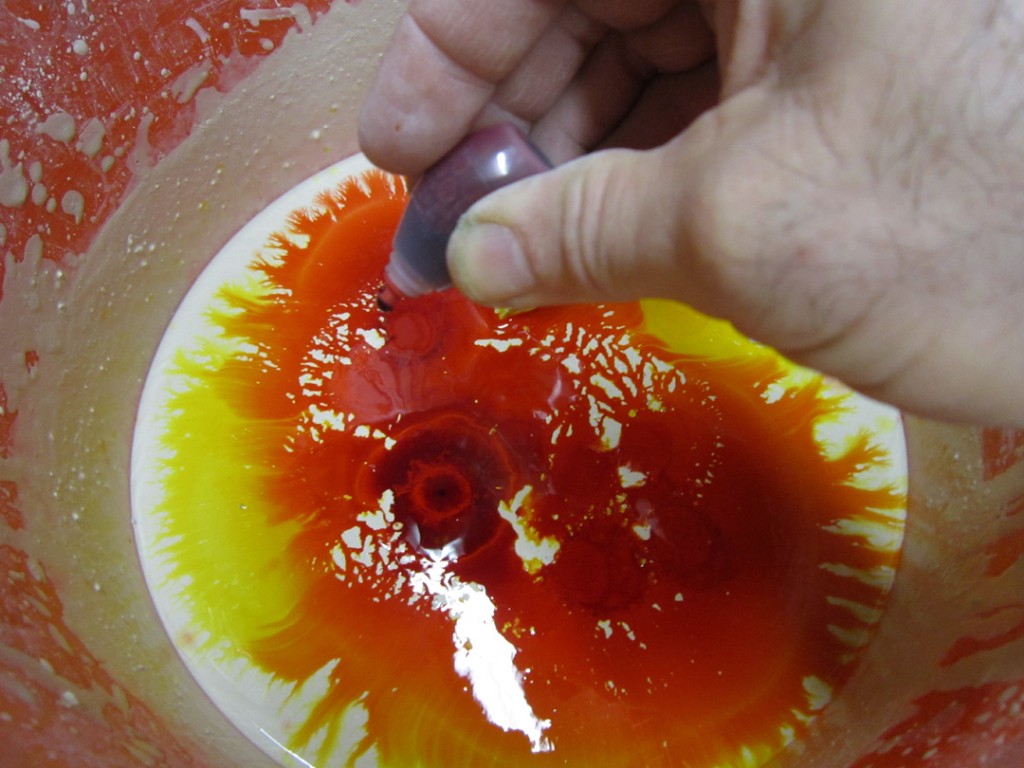
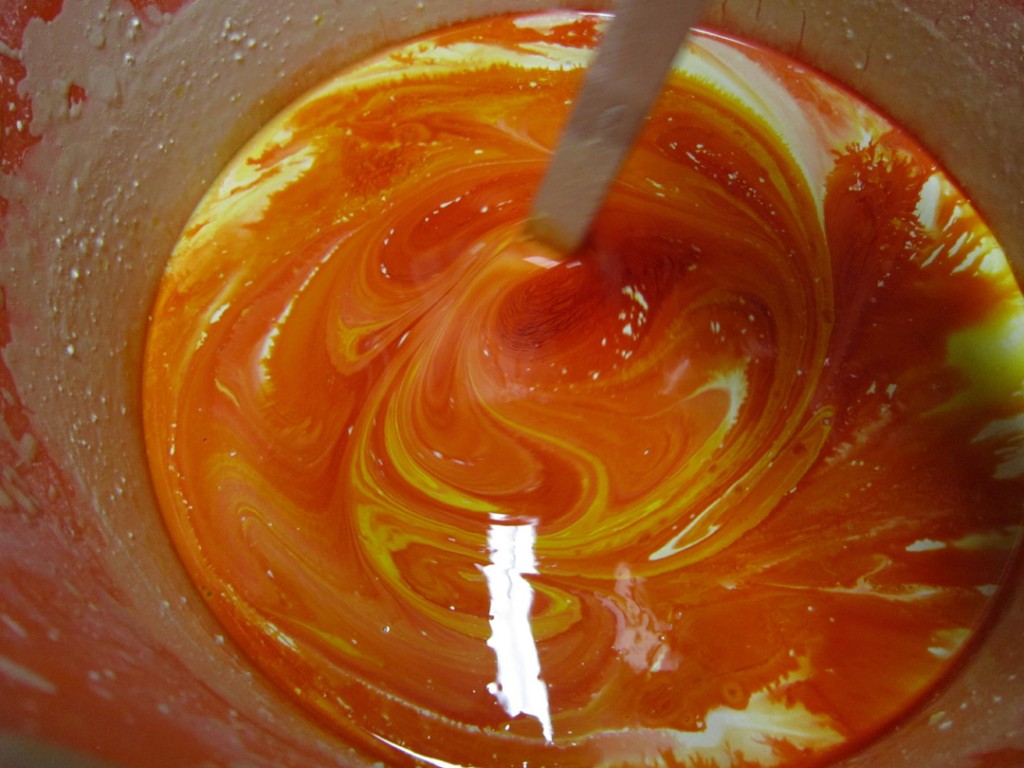
This afternoon I had a new tool to play with… thank you Sarah!
I think it will be fun to throw with to add some grooves on the sides of cylinders. But today was not a “throwing day” for me. So I decided to play with some slabs & some slip to see what it might do?!
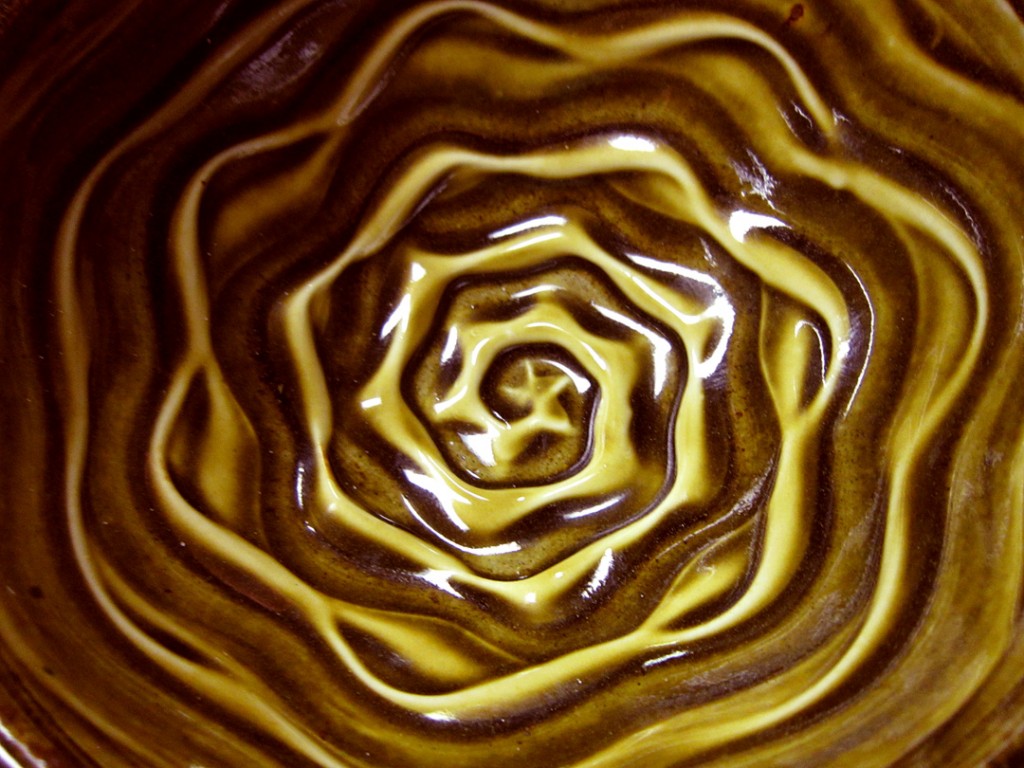
First I dragged it across a slab of clay – and it makes some nice clean grooves.
Sharp edges down in the grooves with gently rounded edges on the tops.
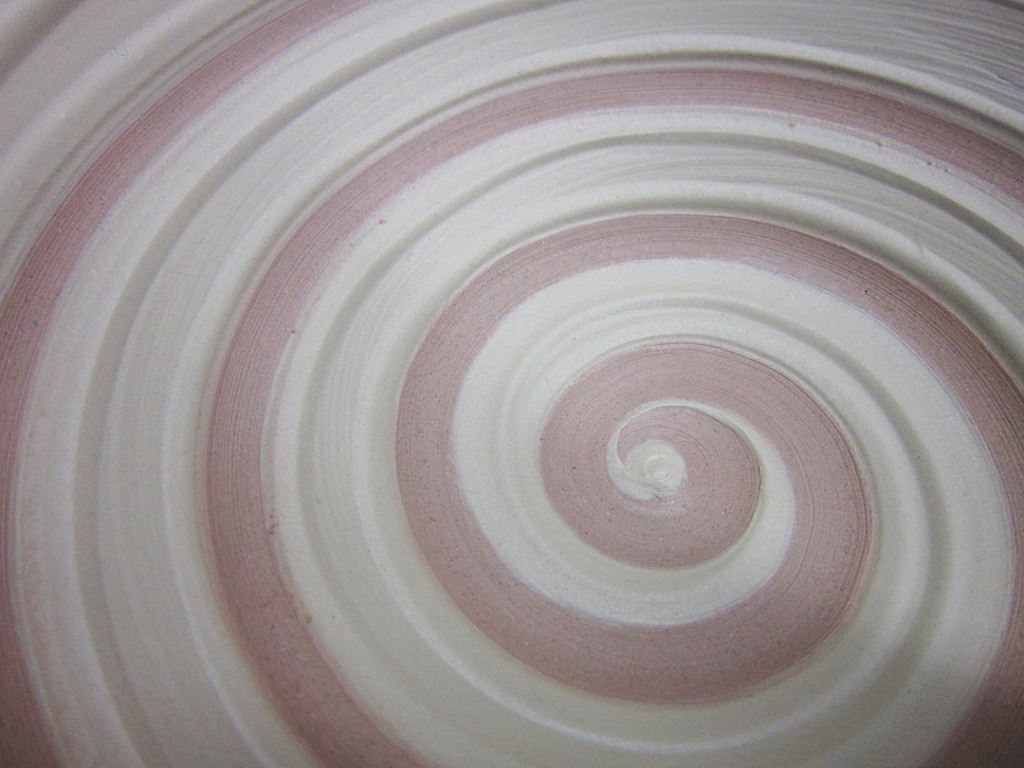
Then I painted layers of slip on the slab and dragged the tool through.
Just playing with lines & squiggles! A little quick fun… now I need to make a plan
on how to REALLY use this fun new tool!!!
Bowls on purpose… and NOT a cylinder gone bad.
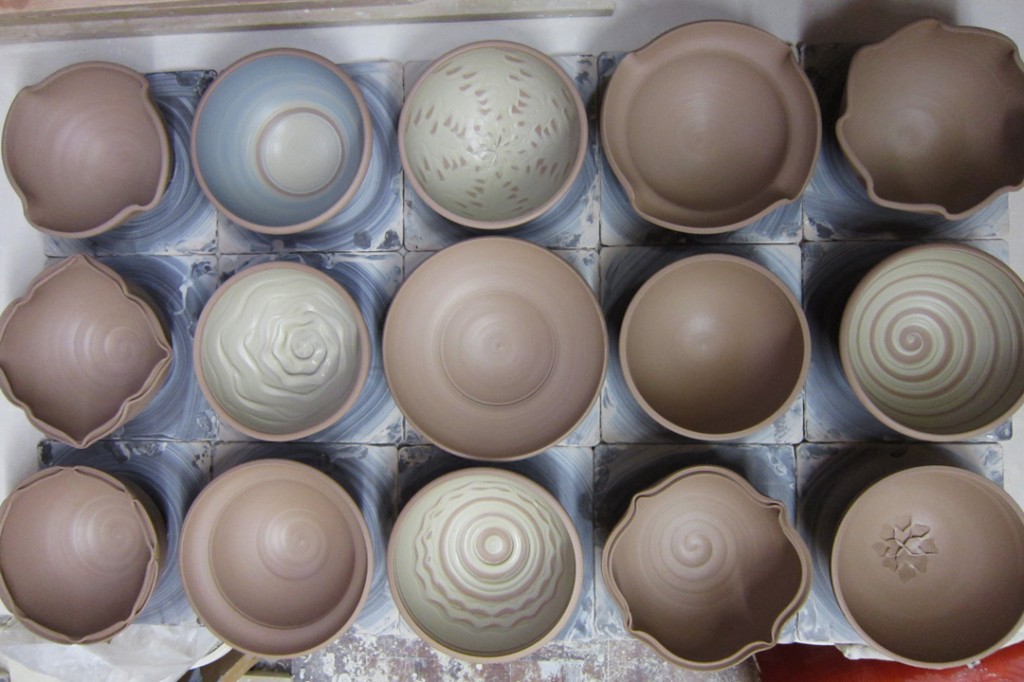
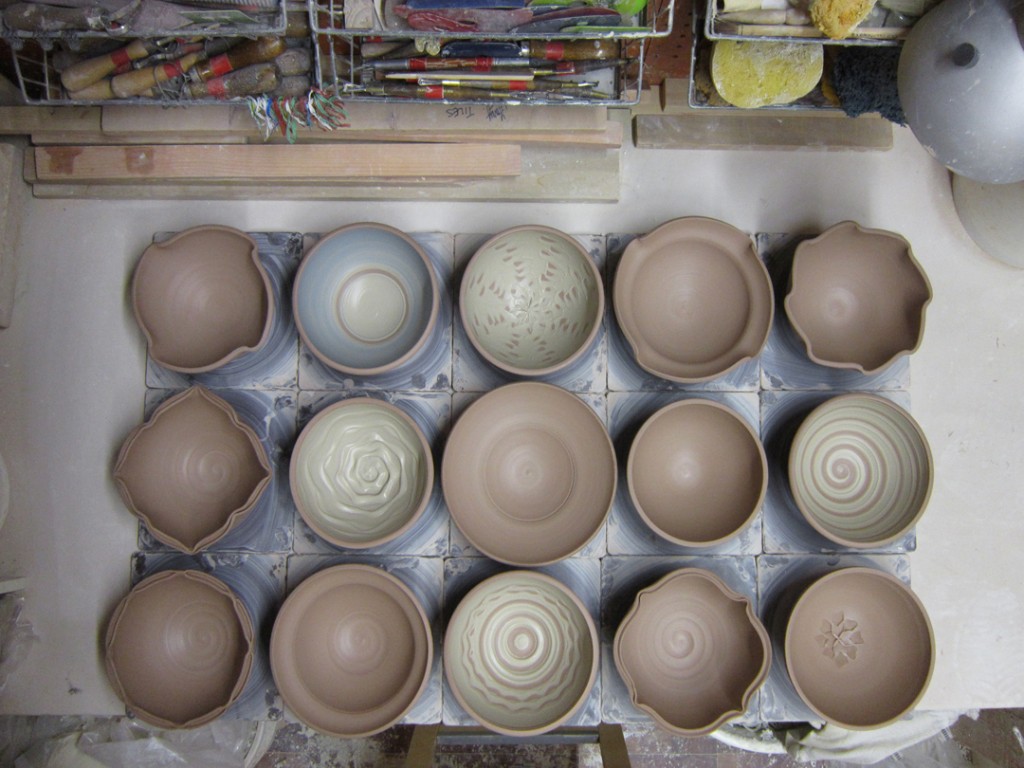
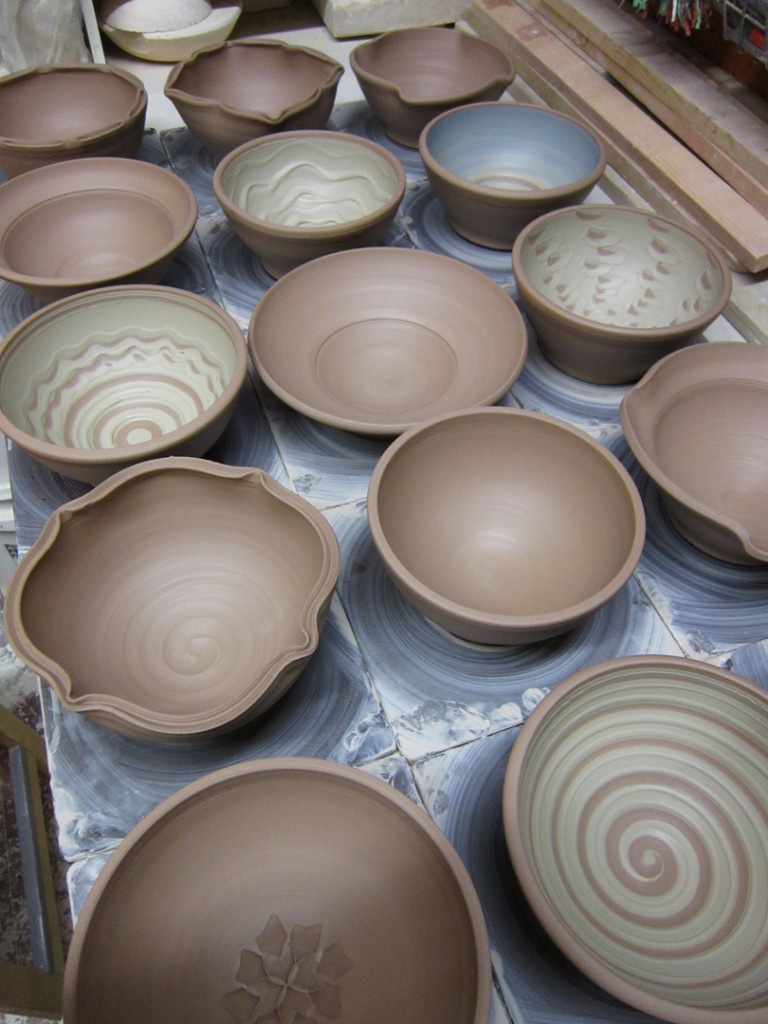
It’s “that” time in the class session for my students to start making REAL bowls on purpose. So tonight we did another demo on how to make a good, basic round bowl. But then the fun part is when I quickly throw a bunch of the “same” basic bowl. And then my students reconvene to see some quick tricks to change those basic bowls into a new & different bowl. Each one of the decoration techniques is quick & simple. Easy enough for any of my Beginners to tackle… and each took less than a minute to do!!!
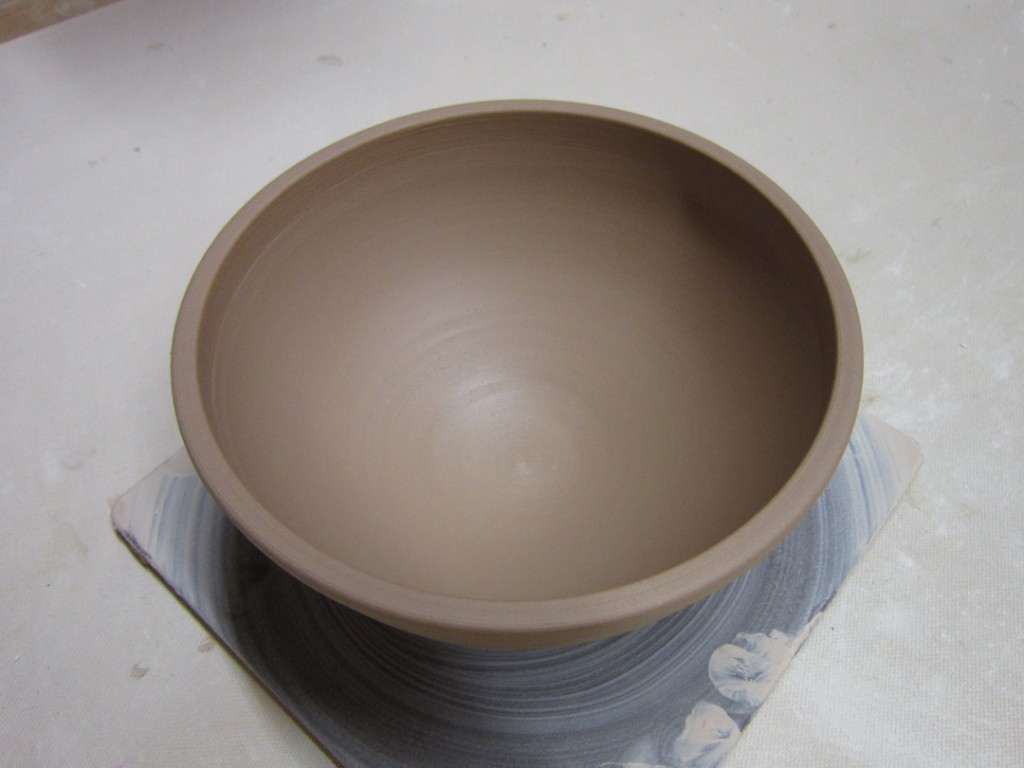
Bowl A – the prototype bowl… all of them started just like this. Plain & round.
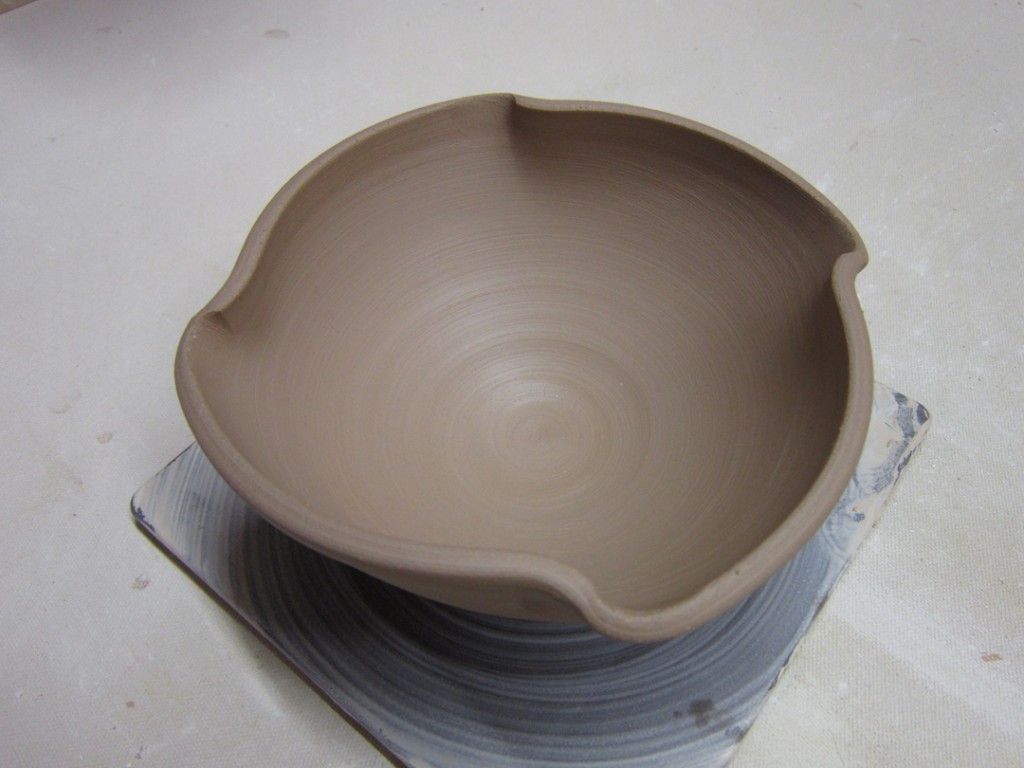
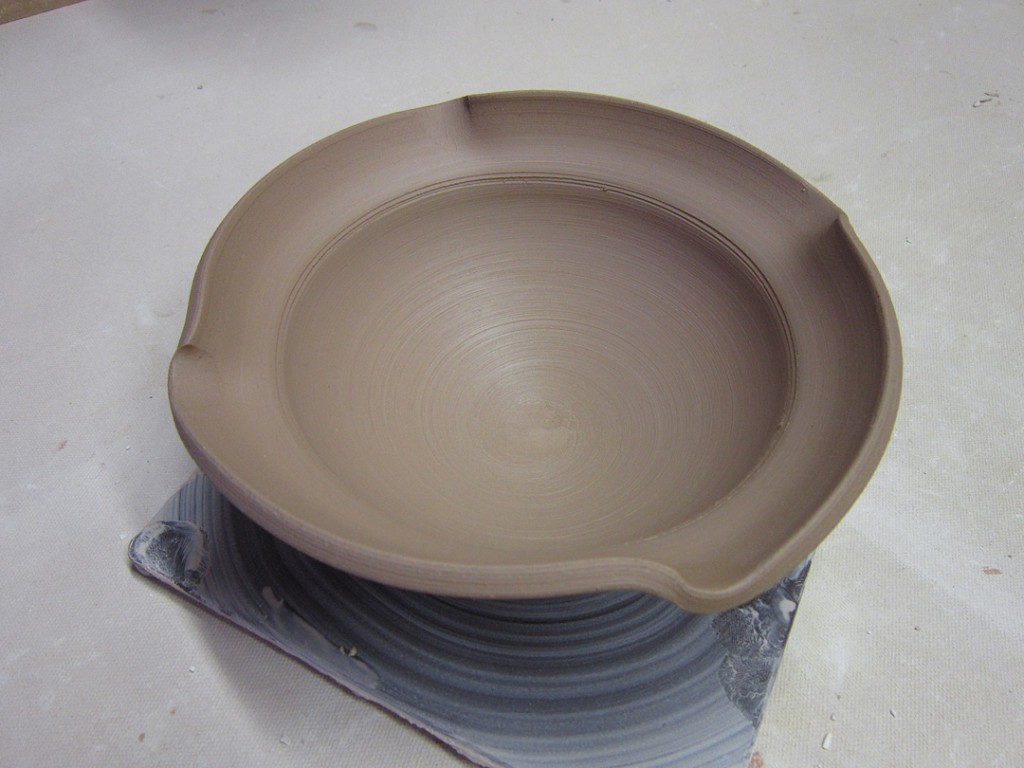
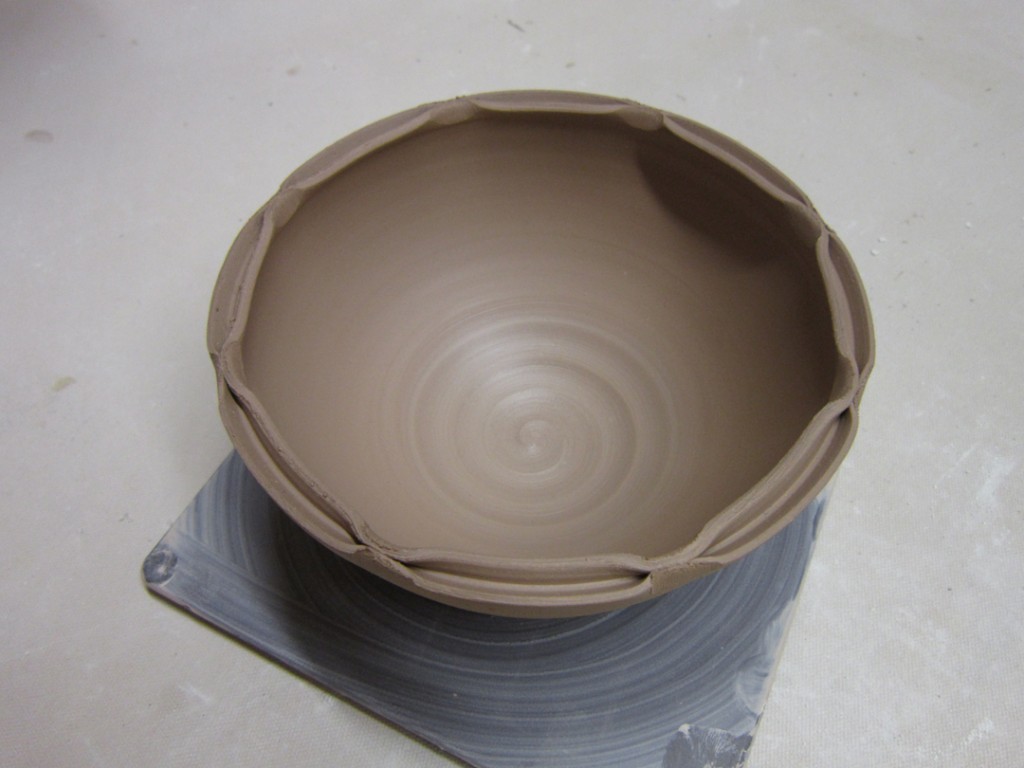
Bowl #2 – A quick flick & twist, giving four fluted points along the rim.
Bowl #3 – And if four fluted edges are good, are eight flutes TWICE as good???
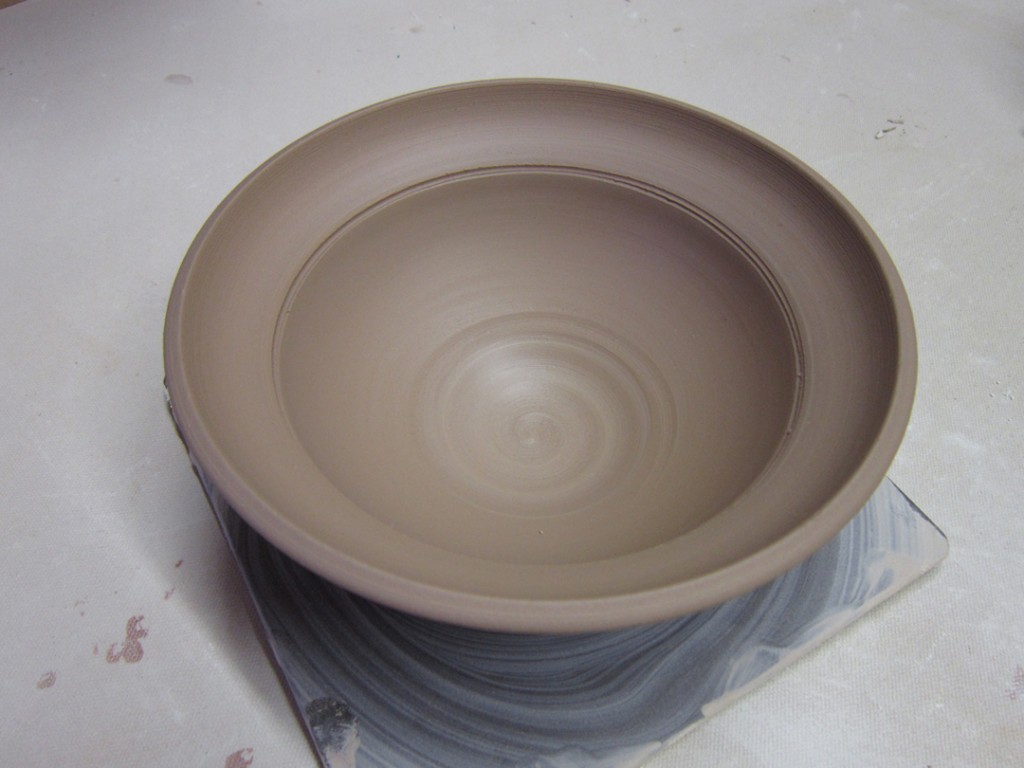
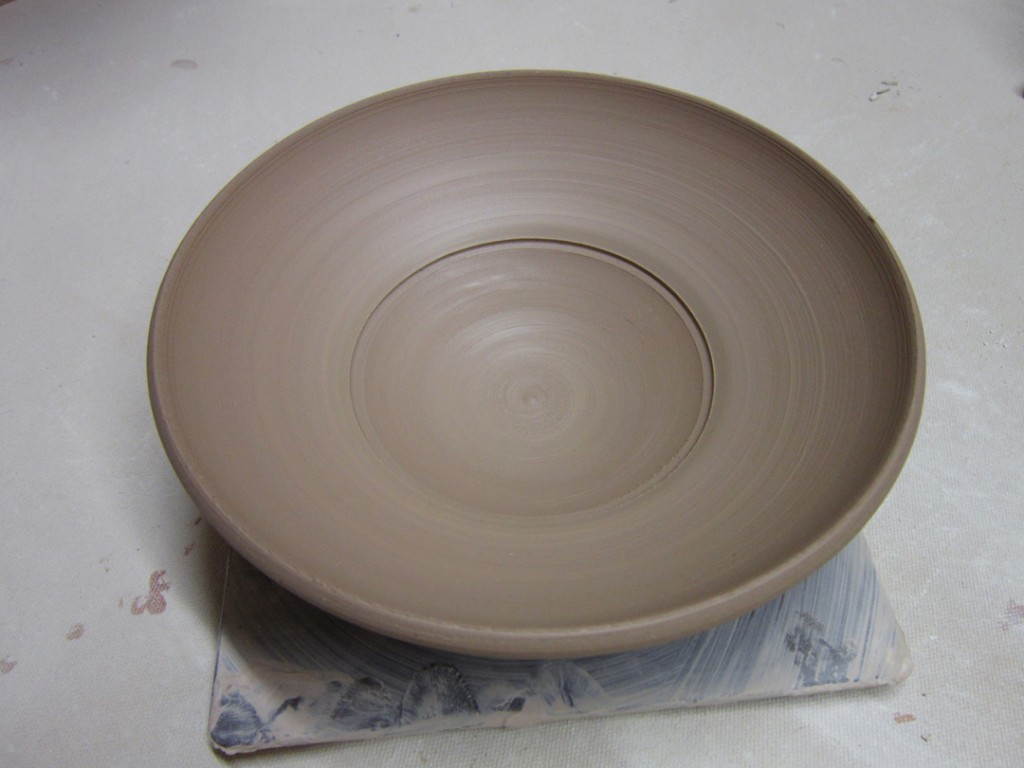
Bowl #4 – This time we flared out the top of the rim.
Bowl #5 – And then flared out even more of the rim… more “canvas” to decorate later!
Bowl #6 – A combination of the flared out rim with the fluted edge detail.
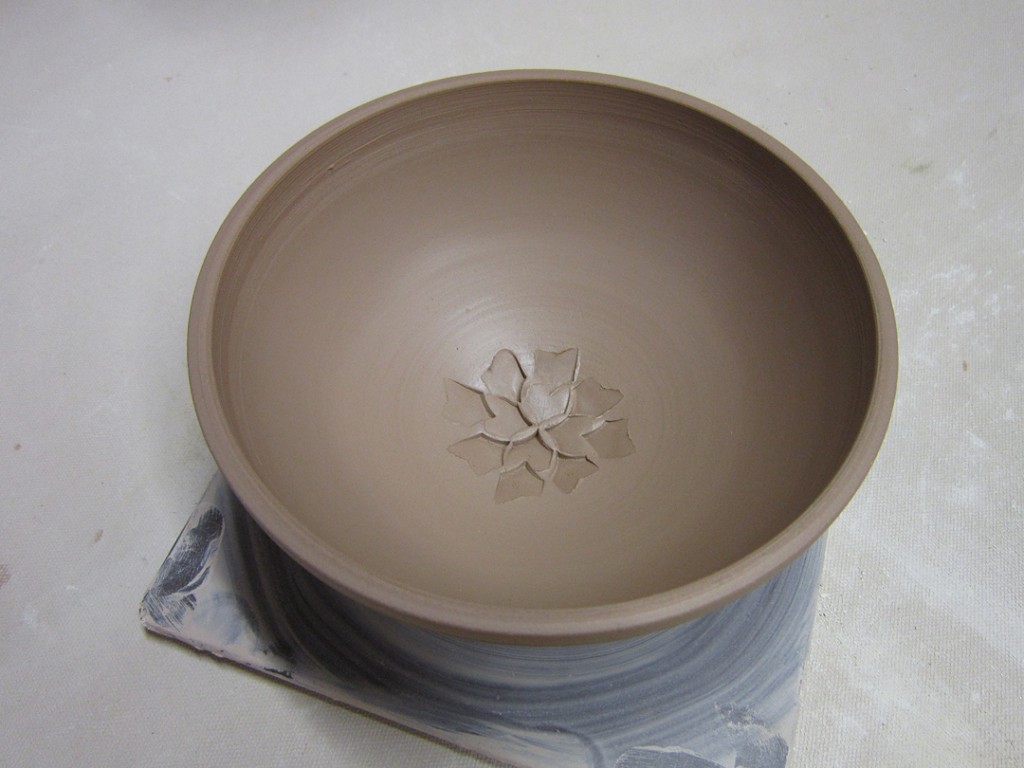
Bowl #7 – A fun little flower detail pressed into the bottom with a dragon-scale tool.
Bowl #8 – A split rim pinched back together in eight places.
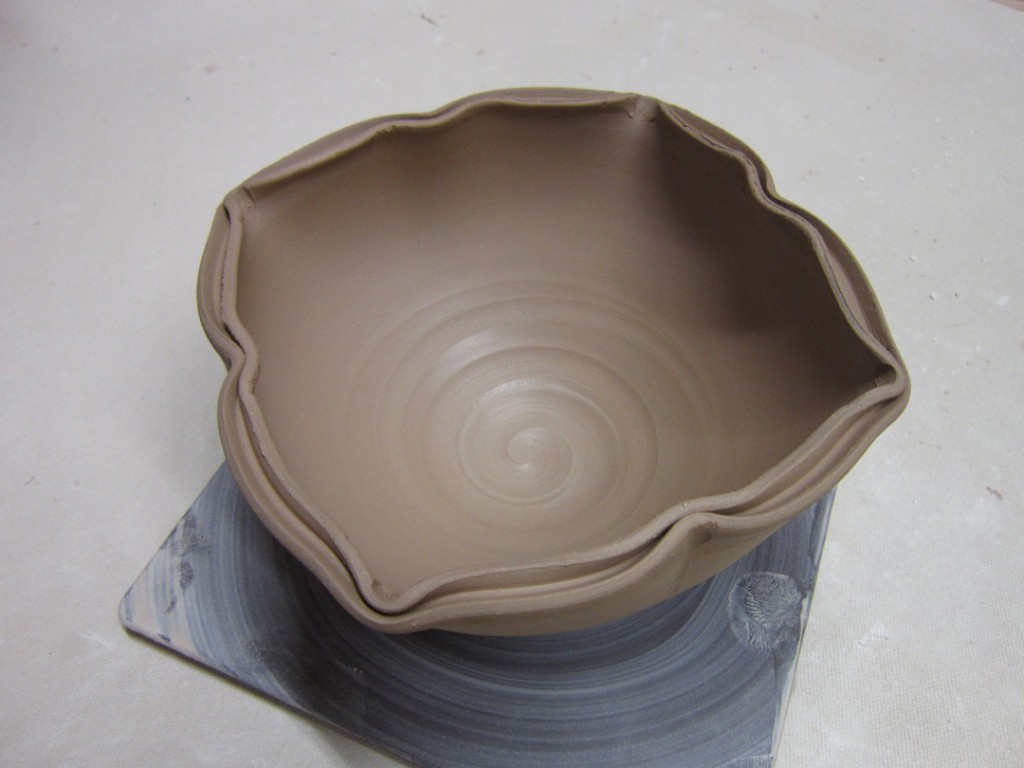
Bowl #9 – A split rim fluted to give the round bowl a new shape.
Bowl #10 – Another split rim with a lotus shape – curved out between notches.
And then I introduced colored slips as a decorative option… one more fun tool in the arsenal…
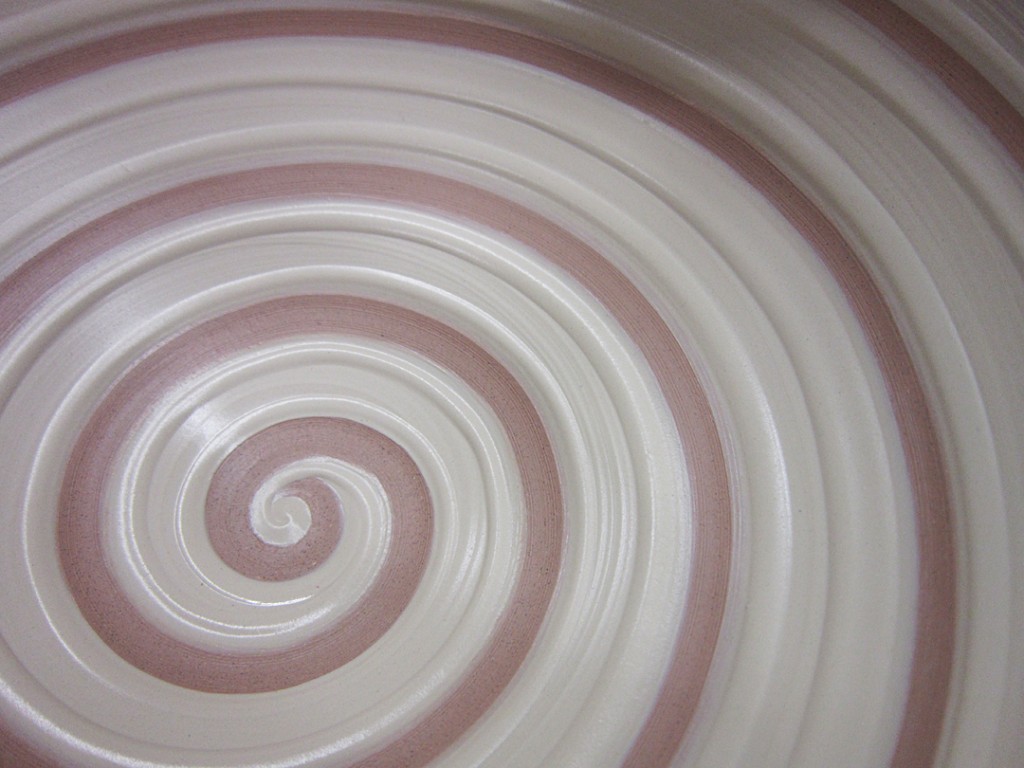
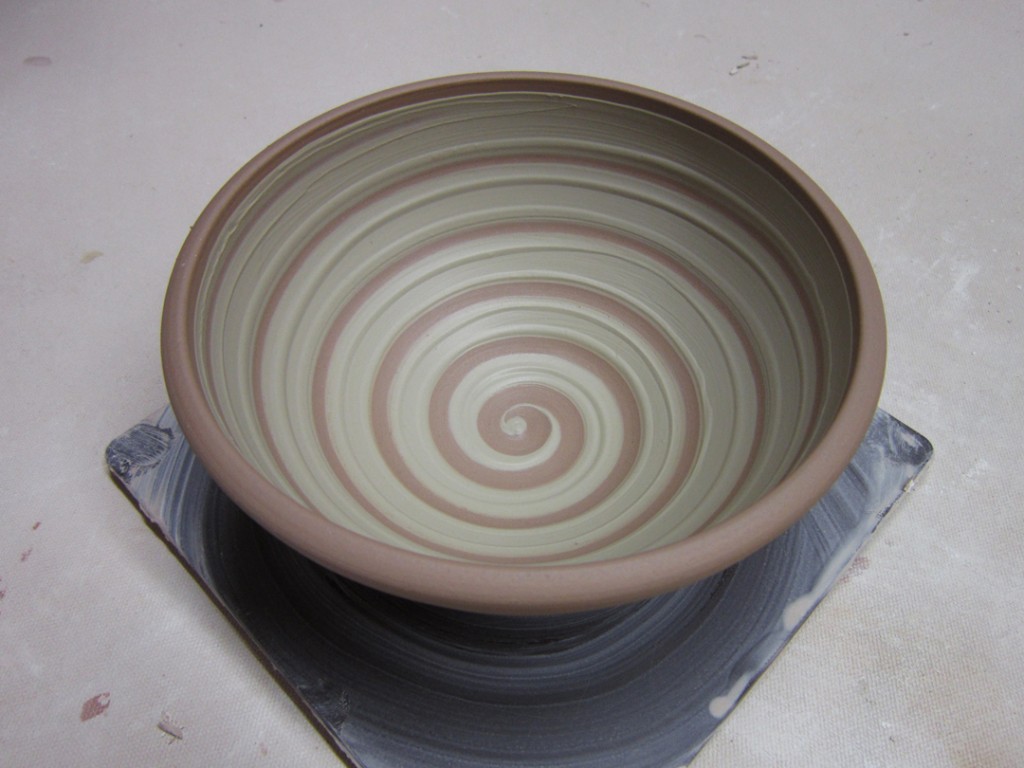
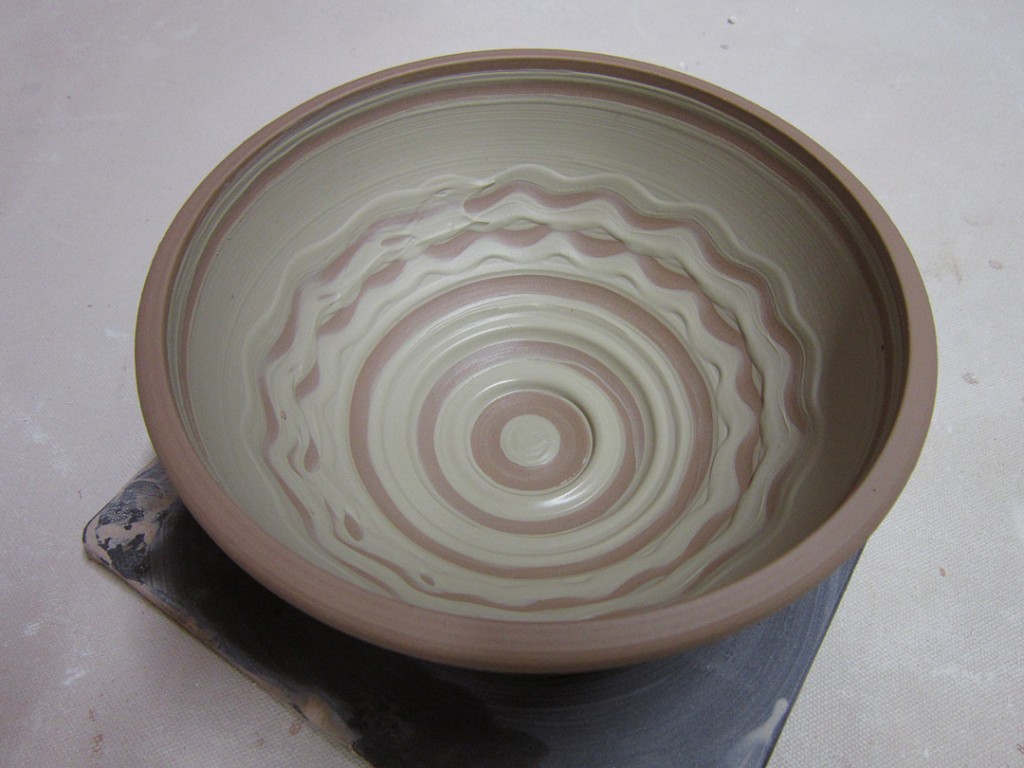
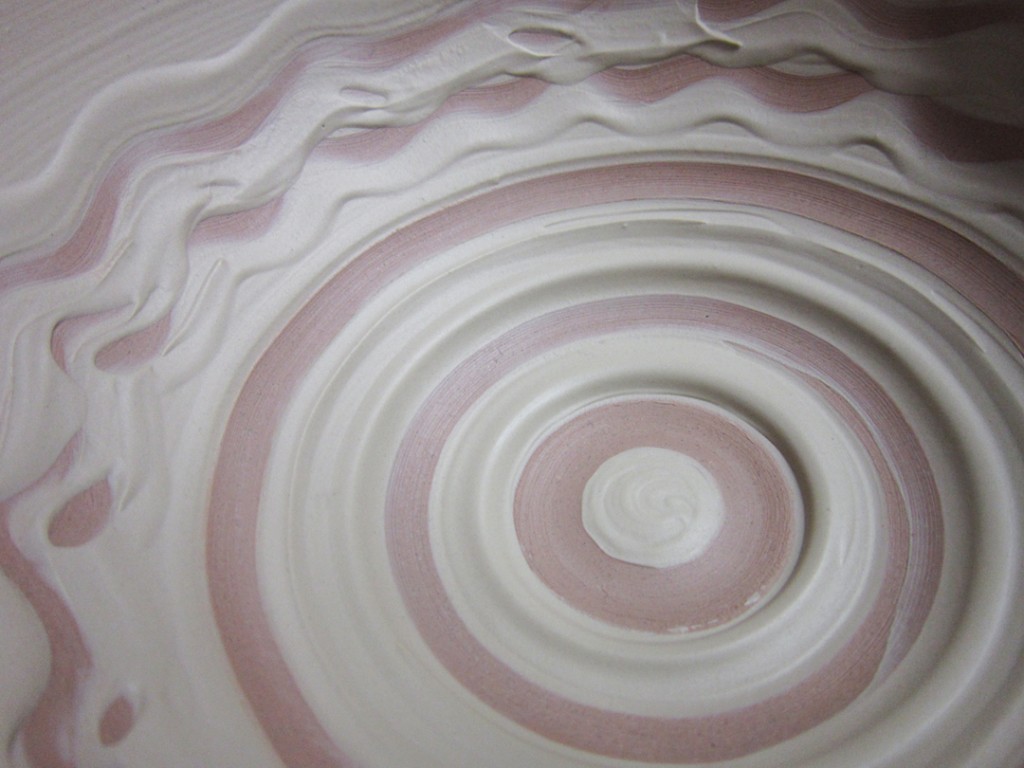
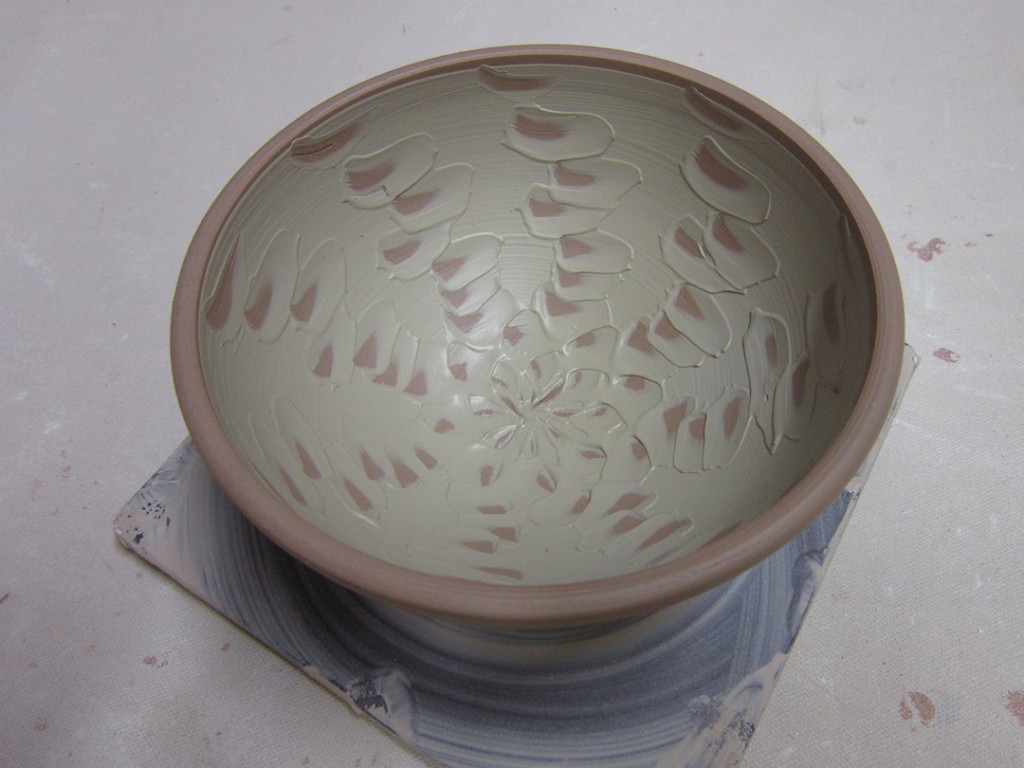
Bowl #11 – A simple layer of white slip, then a spiral dragged through with a rounded tool.
Bowl #12 – Another layer of white slip with bands & squiggles dragged through.
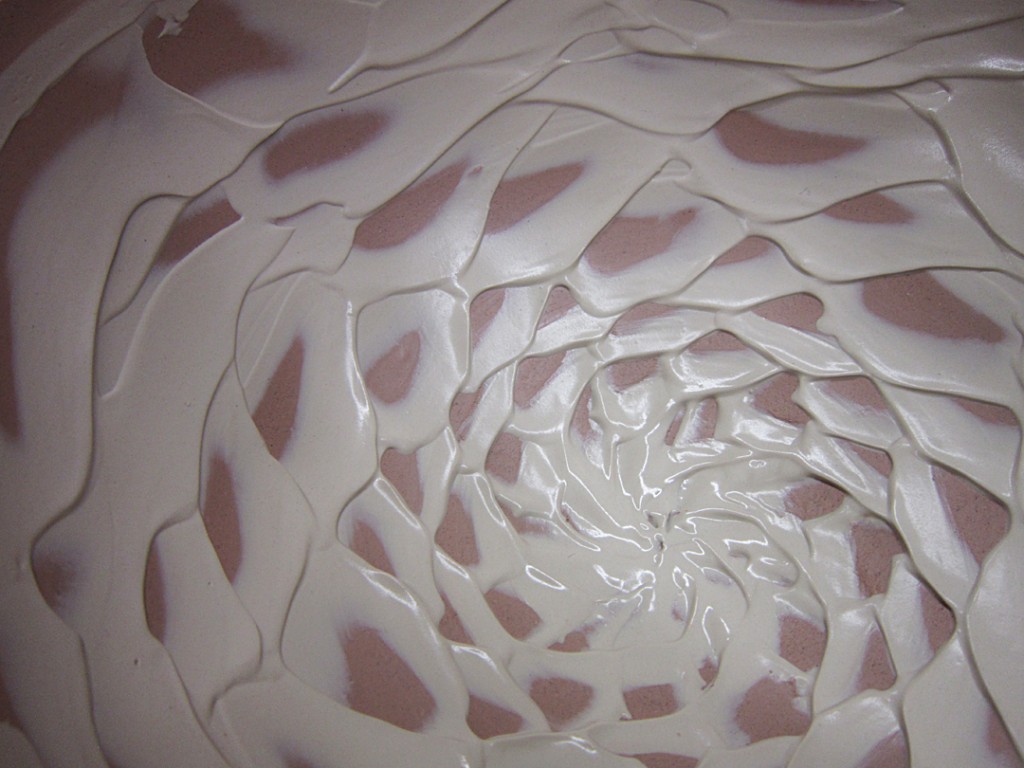
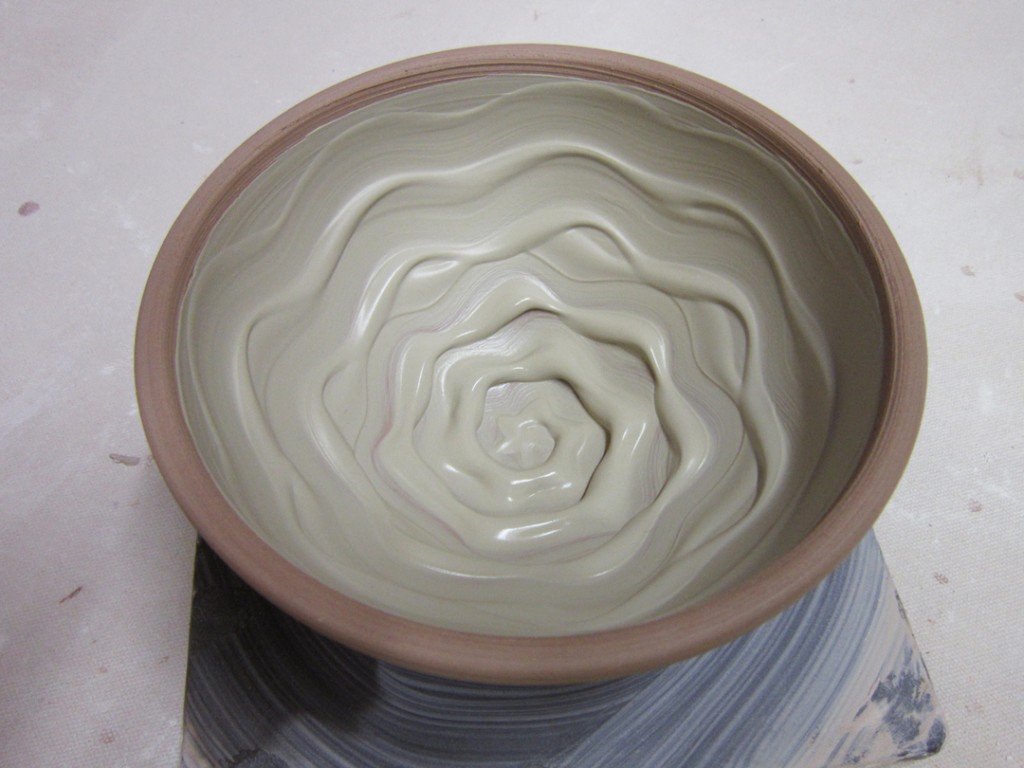
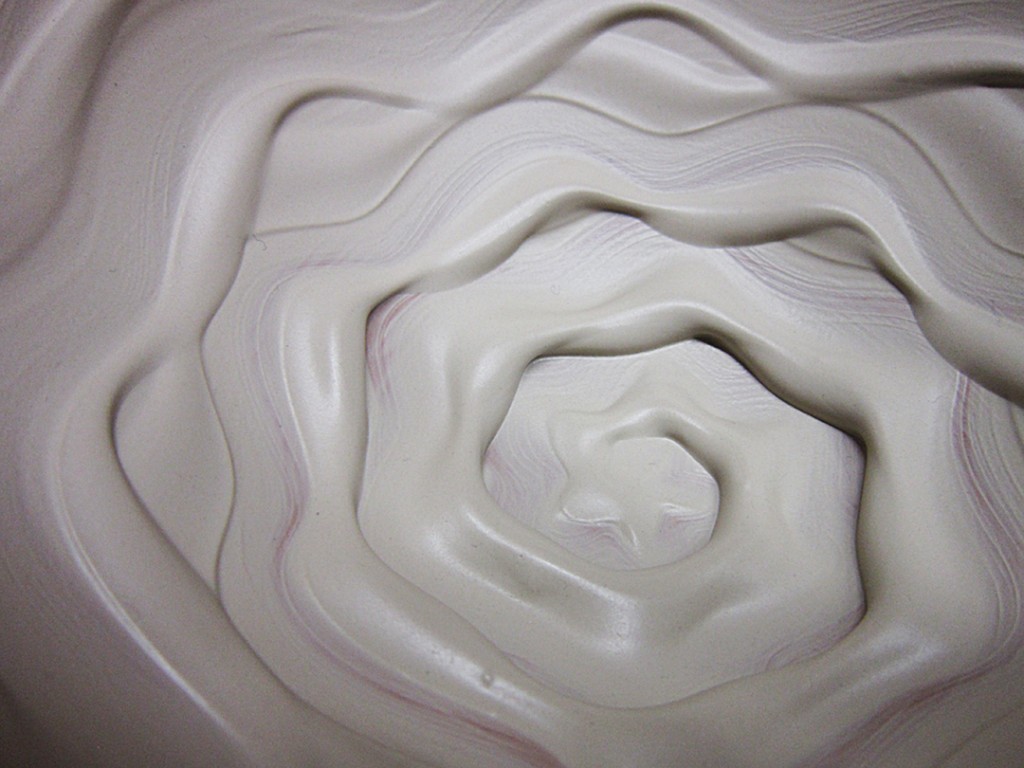
Bowl #13 – A much thicker layer of white slip squiggled with my finger!!!
Bowl #14 – A thinner layer of slip “chattered” with a plastic rib tool.
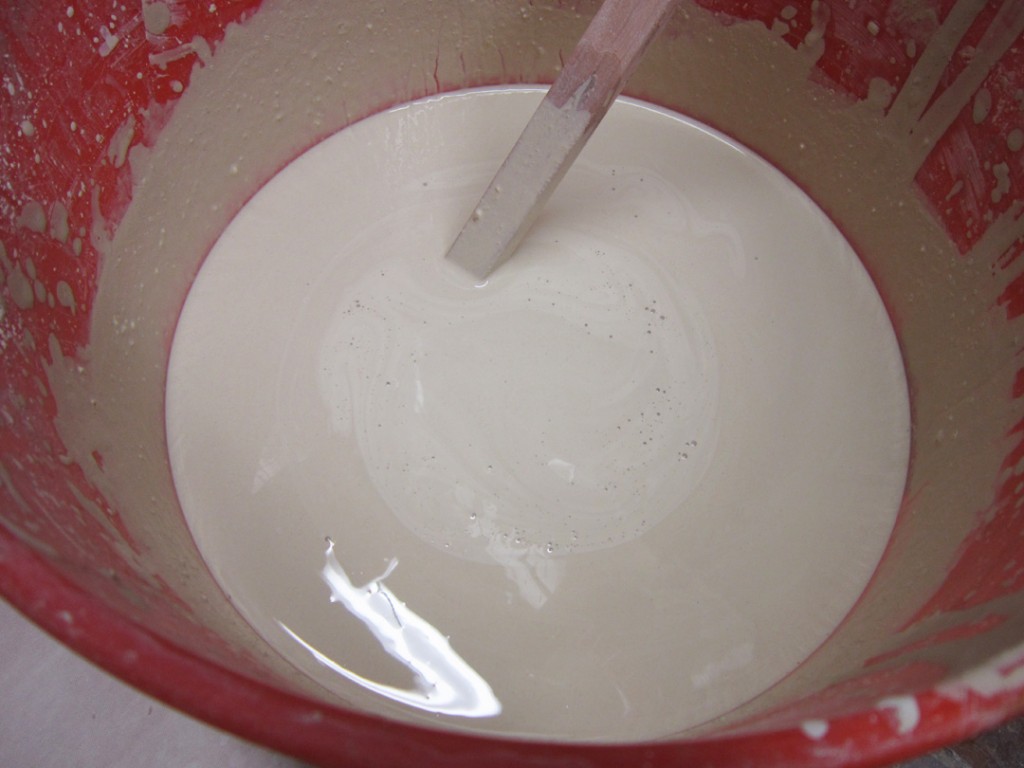
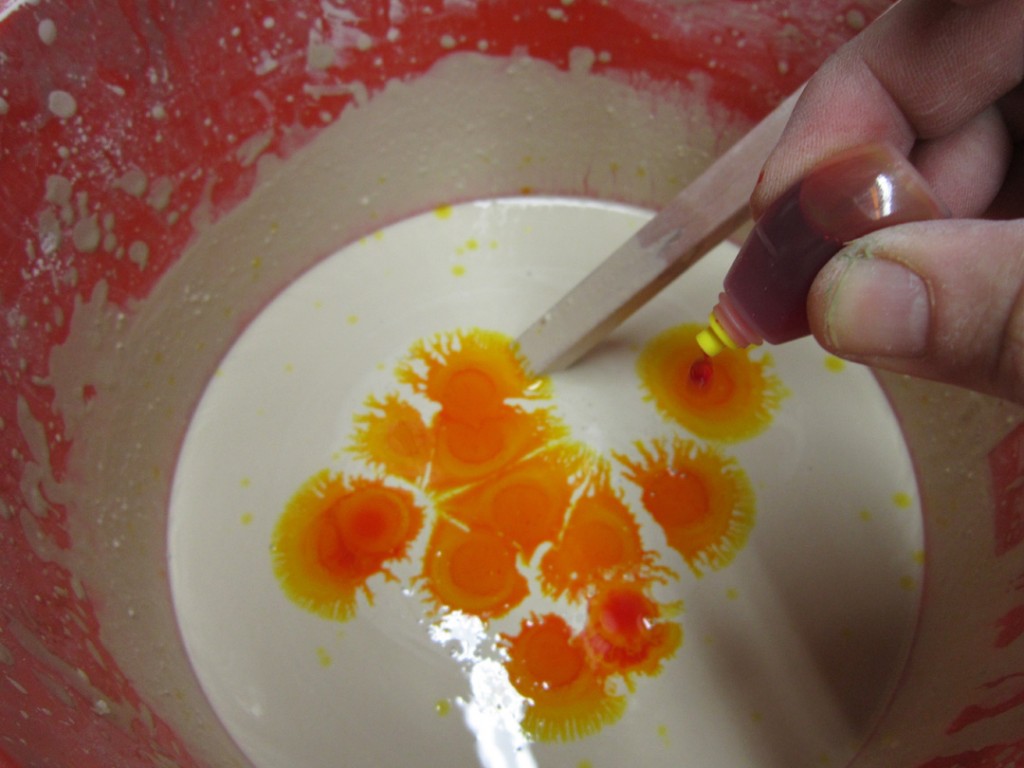
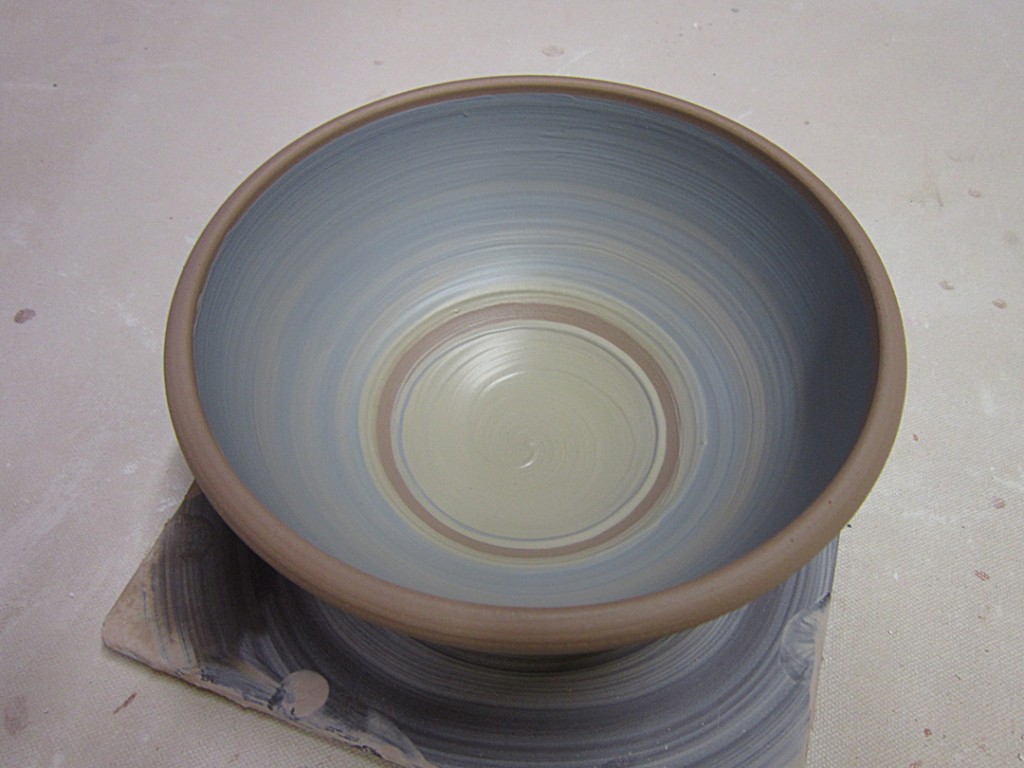
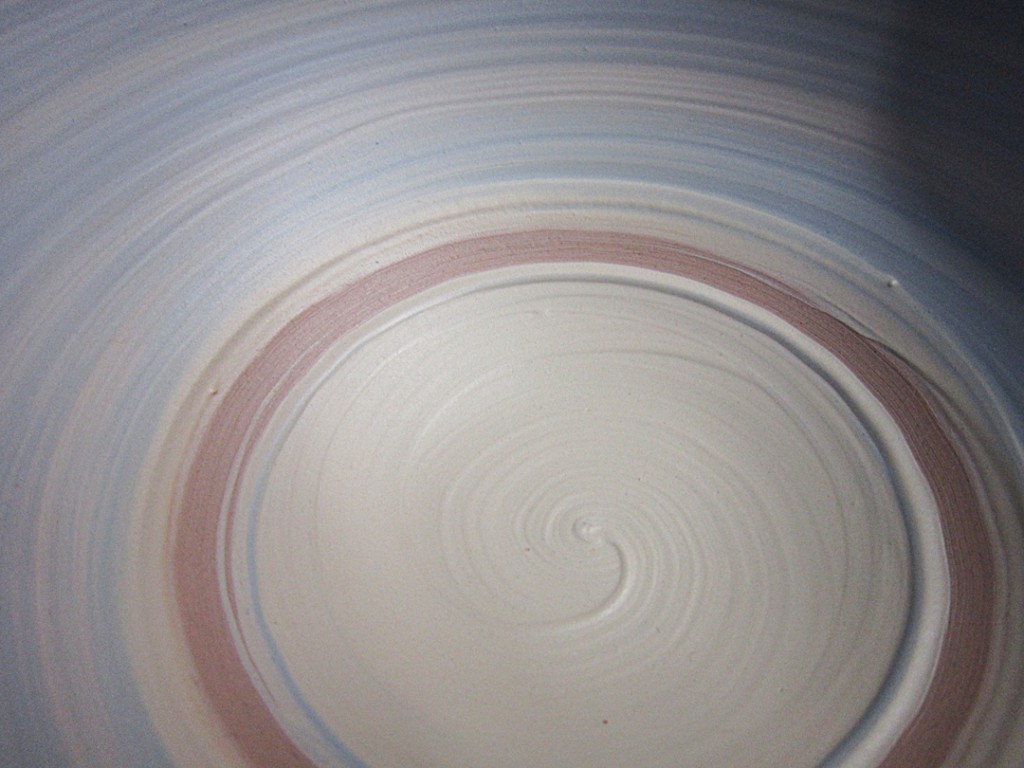
Bowl #15 – A two-tone ombre effect with white & blue slips.
And for now, they’re wrapped up for the night. Tomorrow I’ll come pack to them and do a little more detailing, stamping & refining. Remember, besides making better bowls… the main incentive for this demo is to get my students to start decorating their bowls. And to remember that they don’t need to be plain & round any more!!!
It’s Day Three of my Facebook Portfolio Challenge.
So far we’ve had Mugshot Monday, Texture Tuesday…
and now I’m calling it “Working Wednesday.” Photos of work in progress.
And today I nominate Marjorie Woodruff, my first wheelthrowing teacher at Lillstreet, to take part in the Facebook 3×5 Challenge!!!
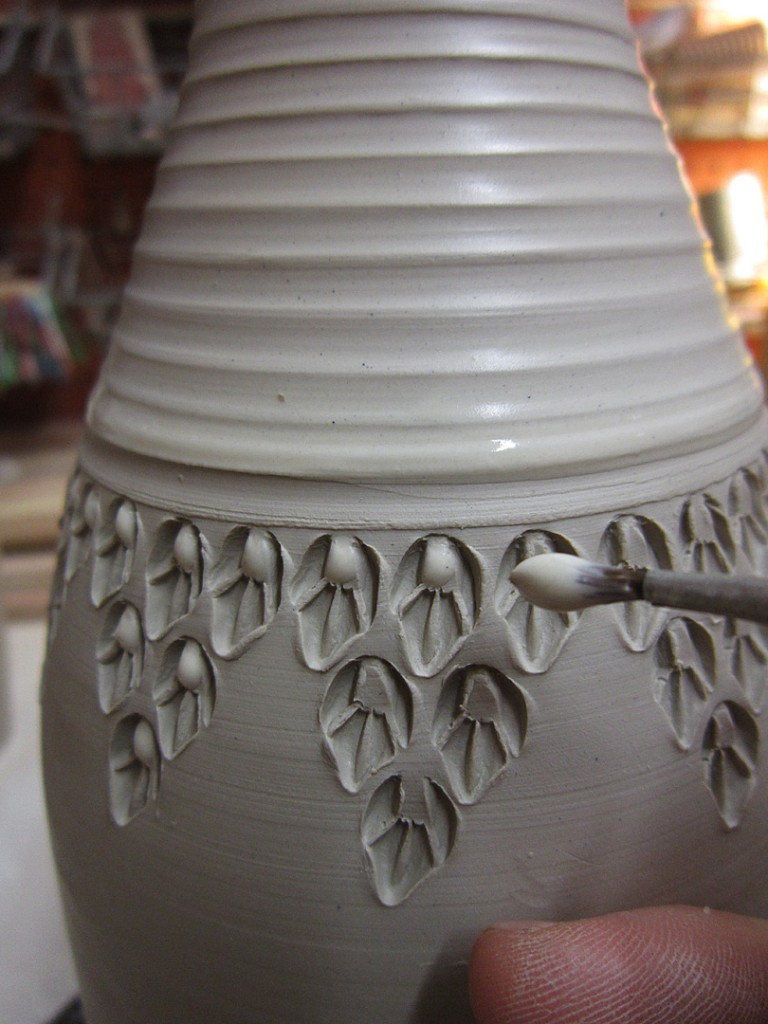
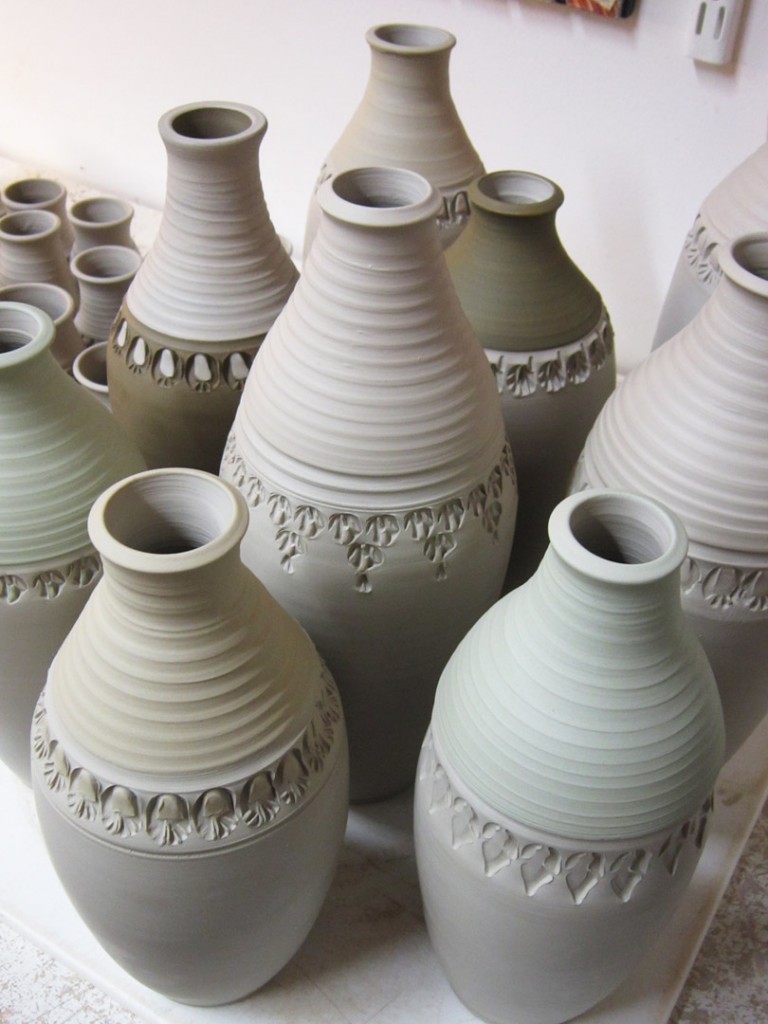
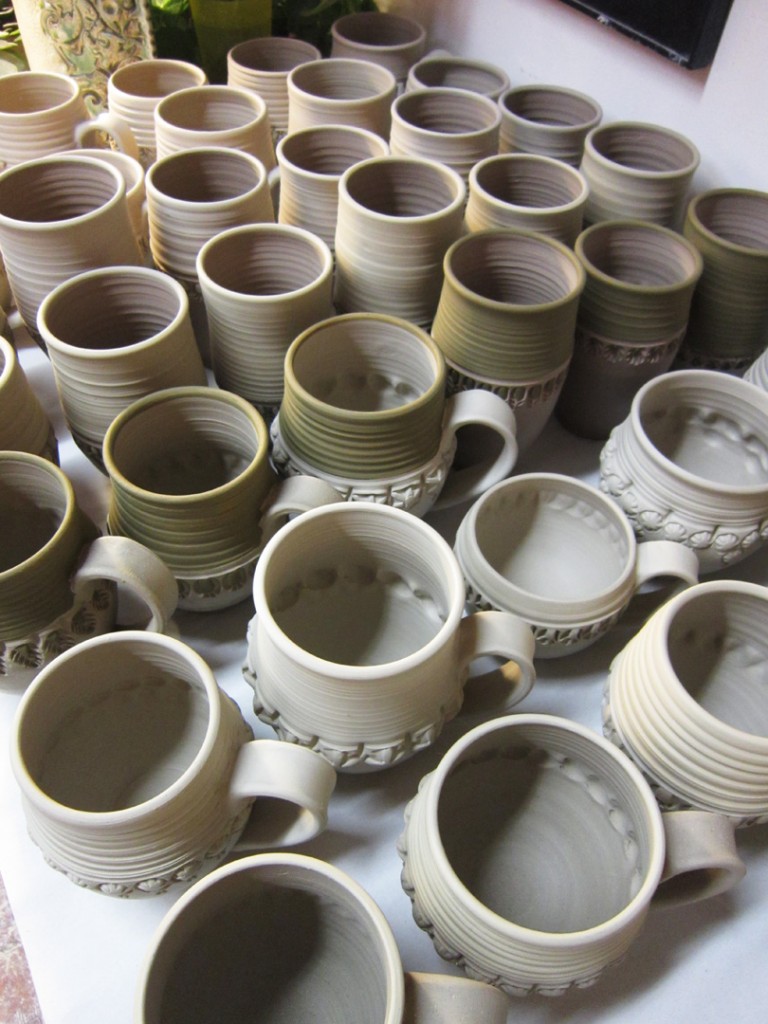
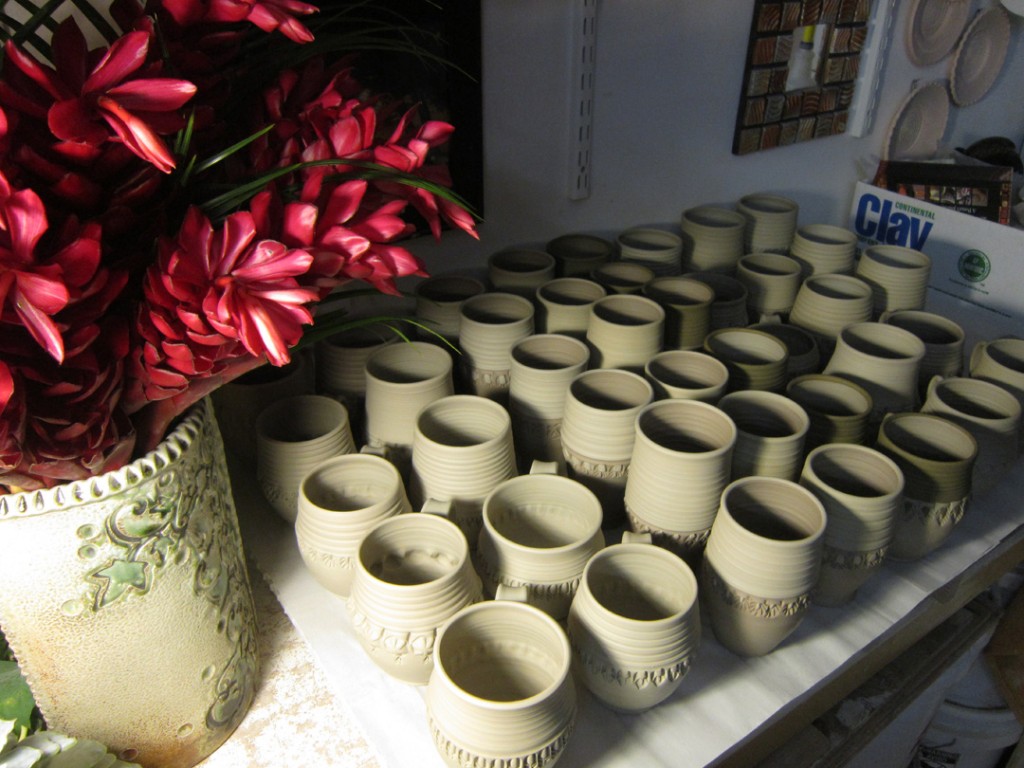
After stamping & trimming, I frequently add some colored slip accents to my pots. These colors will show up a lot more in the soda firing. And the atmospheric firing will “kiss” the pot and leave behind some wonderful flashing results on the pieces.
By the end of this evening, I had added colored accents to quite a few pots. They’re drying overnight… and will hopefully be dry tomorrow so I can put them to the side to make room to make more pieces!!!
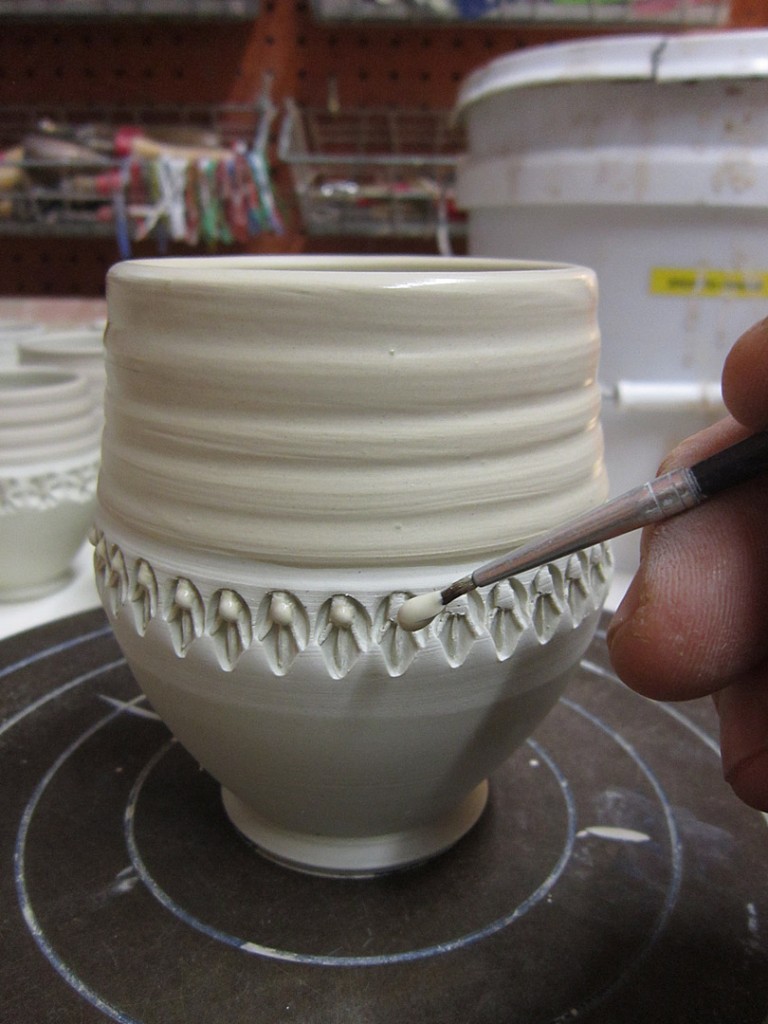
I’m surprised how fast the days are ticking by… and my kiln dates are rapidly approaching. Like tonight!!! So I had to come into the studio extra early this morning to add some colored slip accents to my mugs.
So now they’re all done and drying in my studio… and now I’m off to the “glitter gig.”
I sure hope they dry… they’re going into a bisque kiln tonight – dry or not dry?!!!
Last night in my Beginner & Advanced Beginner Wheelthrowing Class, I showed my students how to throw basic bowls on purpose, instead of a cylinder gone bad. To start by creating the bottom curve of the bowl right from the start. To compress the curve. To avoid that little “stair-step gouge” that happens to a lot of beginner’s bowls.
After I had done the first bowl demo and answered questions, my students then moved on to work on their wheels while I threw eleven more bowls. It was basically a full bag of clay, cut into 12 balls of clay… to become twelve bowls!!! After I finished throwing them all, the class joined me again for Part Two of the demo. My favorite part – where I show them some quick “tricks” to alter & change each bowl so none of them look the same. It’s a fun demo, with the addition of colored slip for some added surface decoration.
Bowl #1 – Two simple finger twists on opposite edges.
Bowl #2 – And if two twists are good, then eight twists might be better?
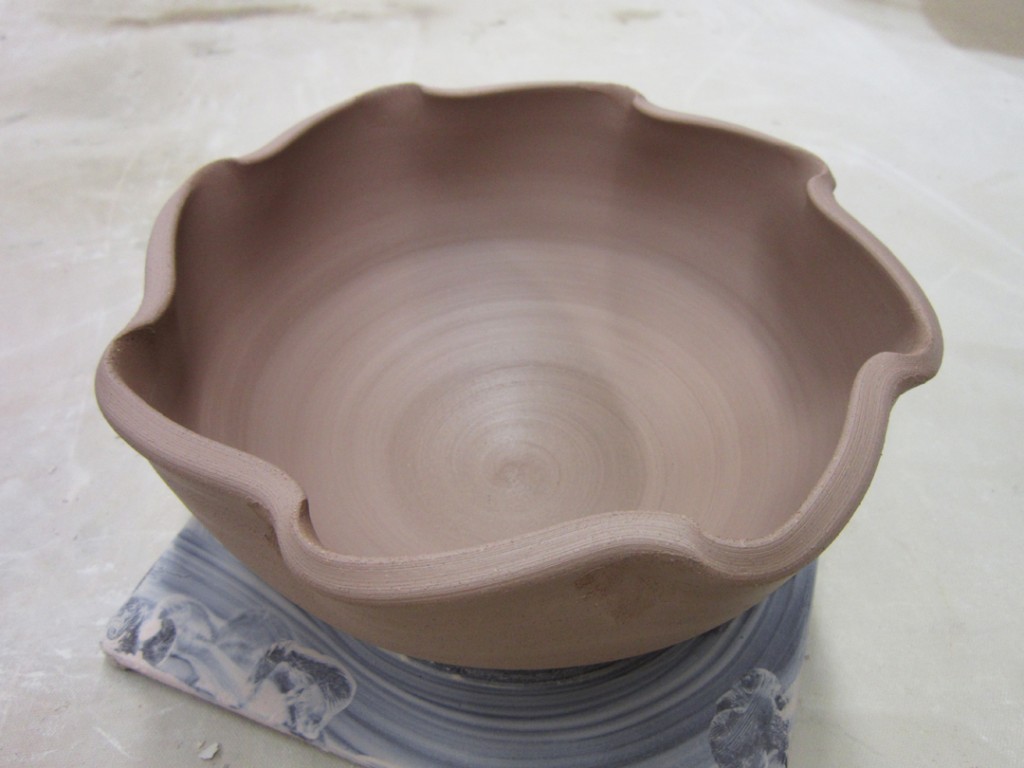
Bowl #3 – A simple flange flared out with a little groove line to delineate inside from outside.
Bowl #4 – And if a thin flange is good, a wider one might be even better?!
Bowl #5 – A split rim… pinched in places and then squared off a bit.
Bowl #6 – A split rim pinched in places… then curved in & curved out.
Bowl #7 – A quick slip demo… showing a simple “covering” of white slip to make a two-tone bowl.
Bowl #8 – Some white slip on the flange… waiting to be carved through later.
Bowl #9 – More white slip to cover the inside, then a simple swirl dragged through using the rounded end of my wood knife tool.
Bowl #10 – More slip… and a spiral, and some banding, and some squiggling!
Bowl #11 – More white slip… this time using my green plastic rib to do some chattering through the slip as it is spinning.
Bowl #12 – And if one slip is good, maybe two blended together would give us a nice ombre effect… but then I couldn’t resist another spiral-swirl through the slip!!!
So all twelve of the bowls are now under wraps in my studio.
When they stiffen up a bit, I’ll do some more decorating & refining. Some stamping. Some carving. So more shape altering. And then of course, trimming of a good foot!!! Twelve different bowls… that all started out as a simple round bowl.