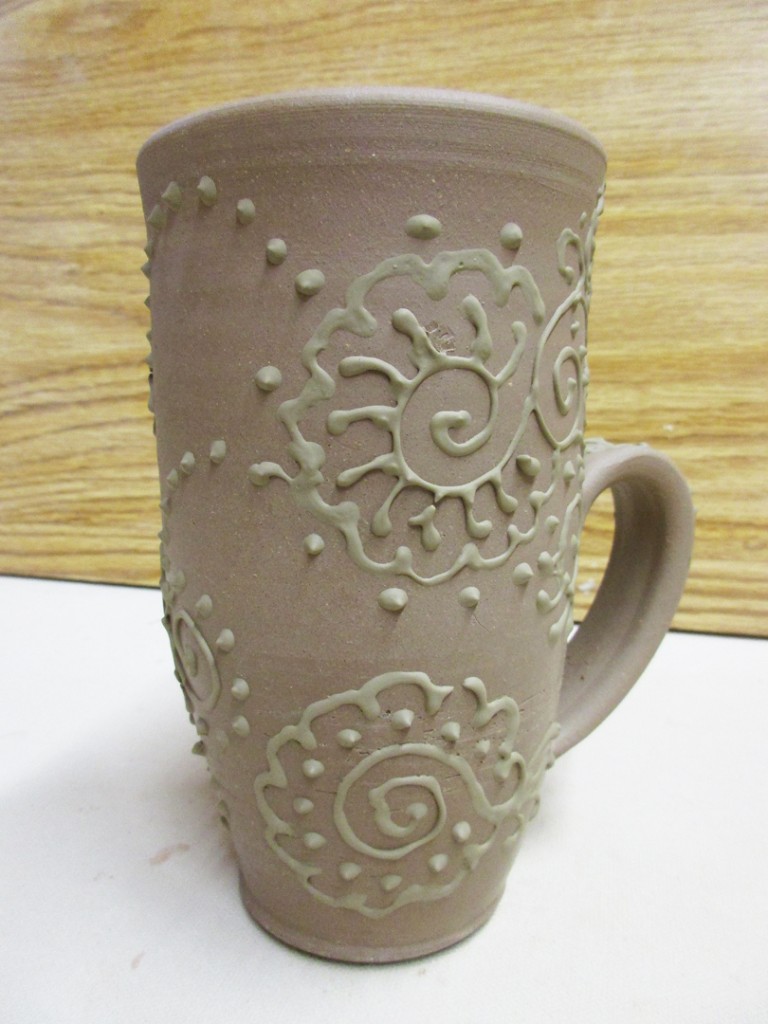
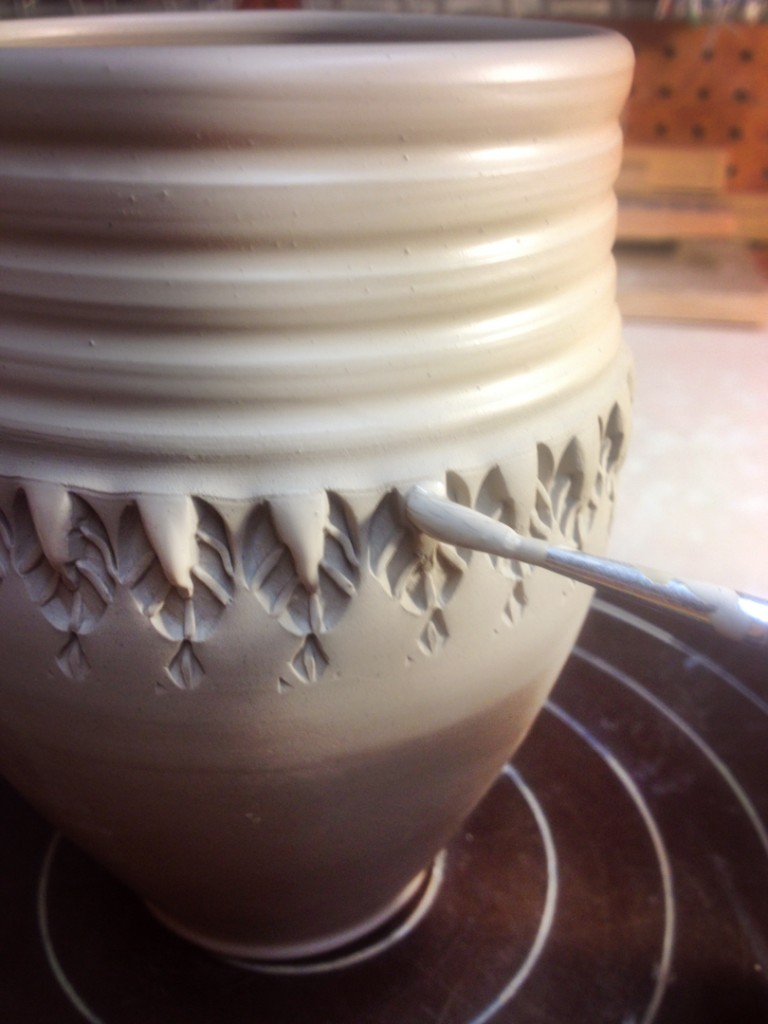
Gary Jackson: Fire When Ready Pottery
A Chicago potter’s somewhat slanted view of clay & play
Categories: bowls, soda-fired

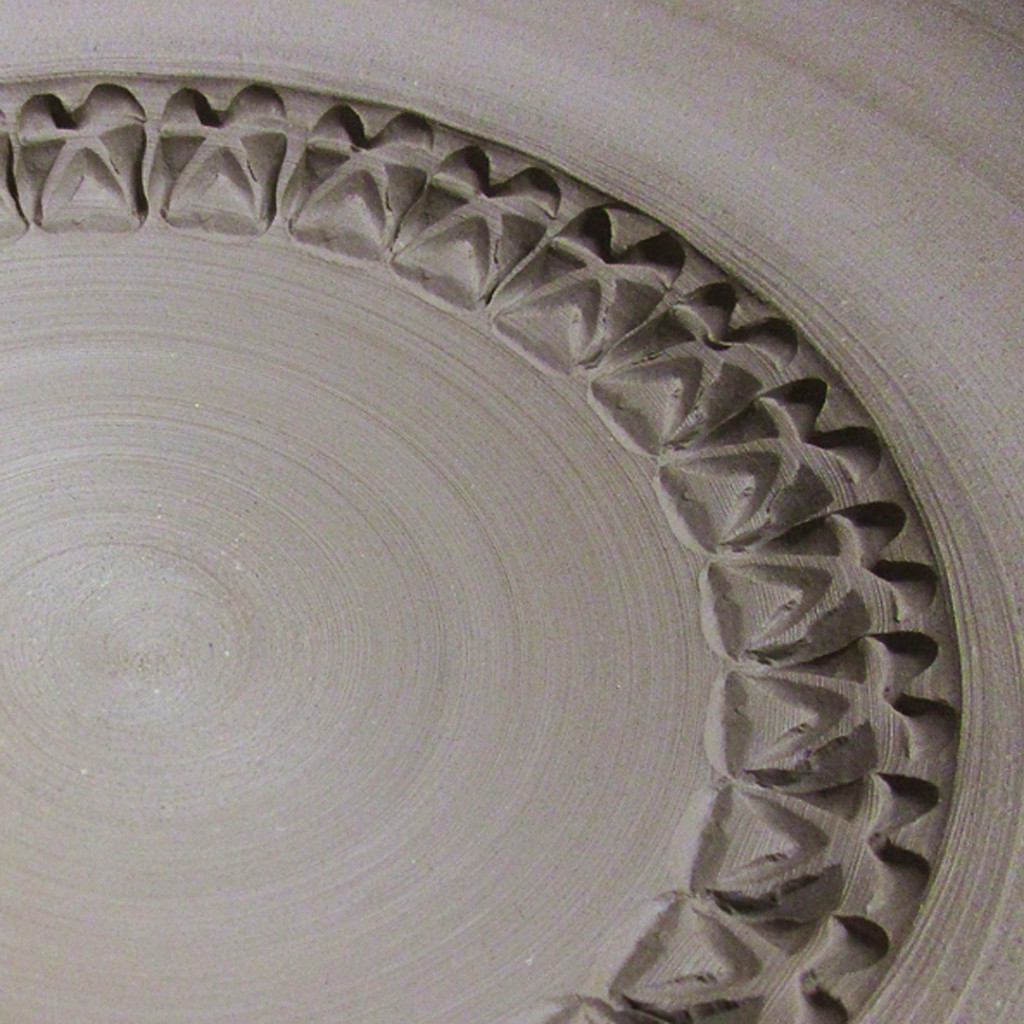
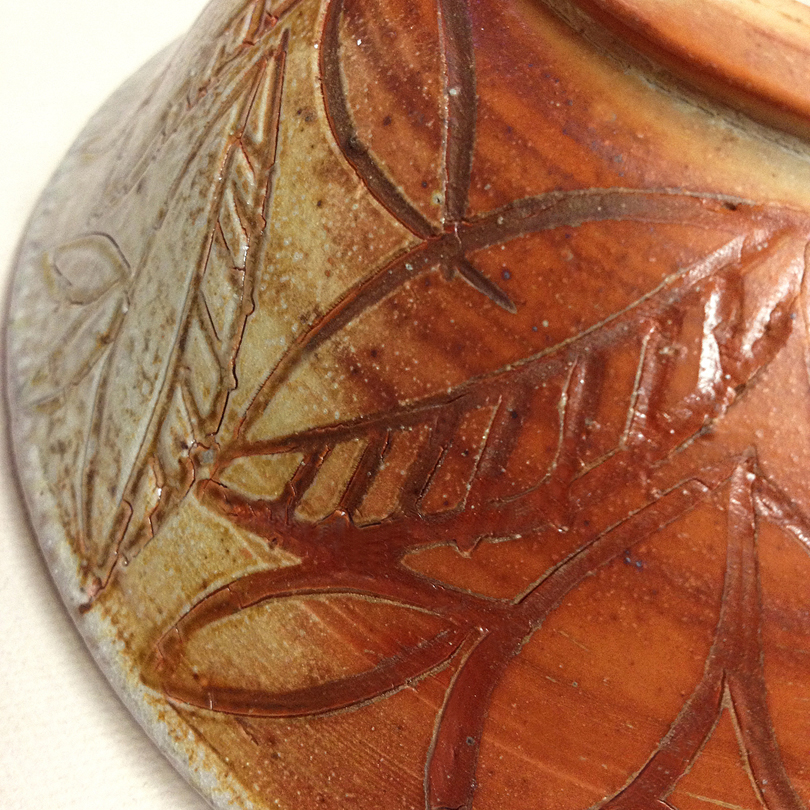
Here’s a quick glimpse of the class demo bowl I did for my class awhile ago!
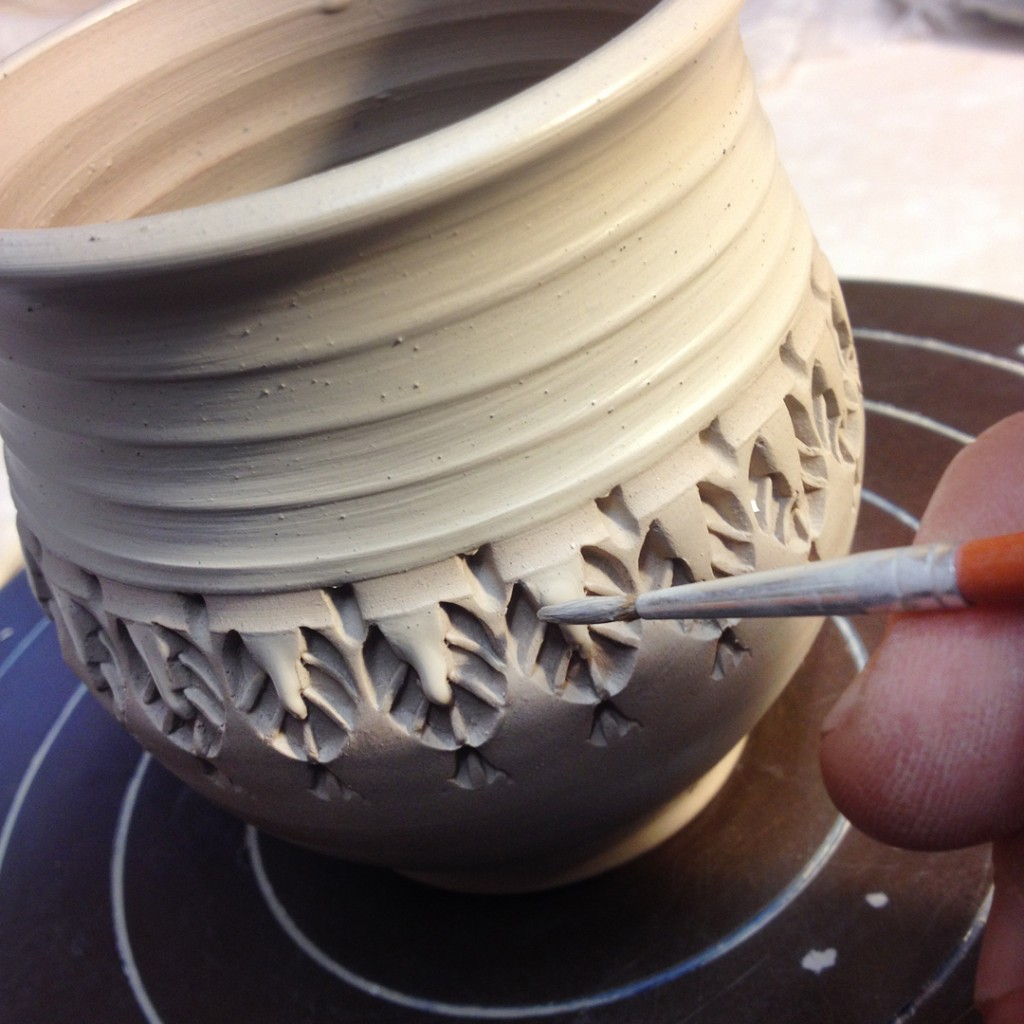
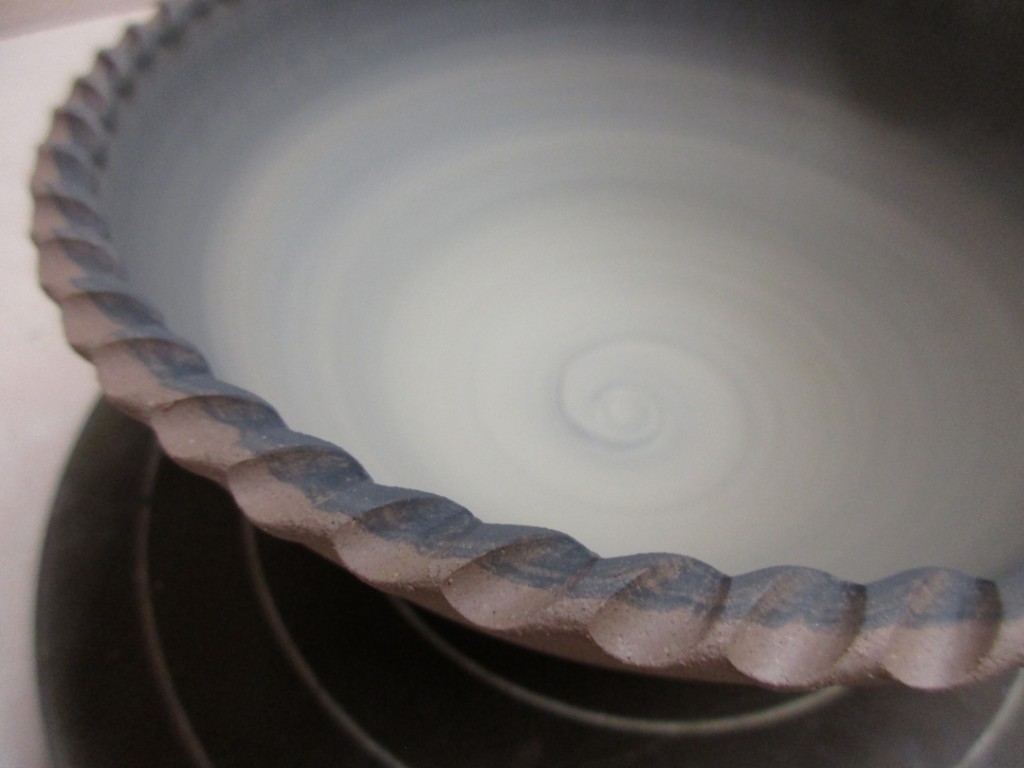
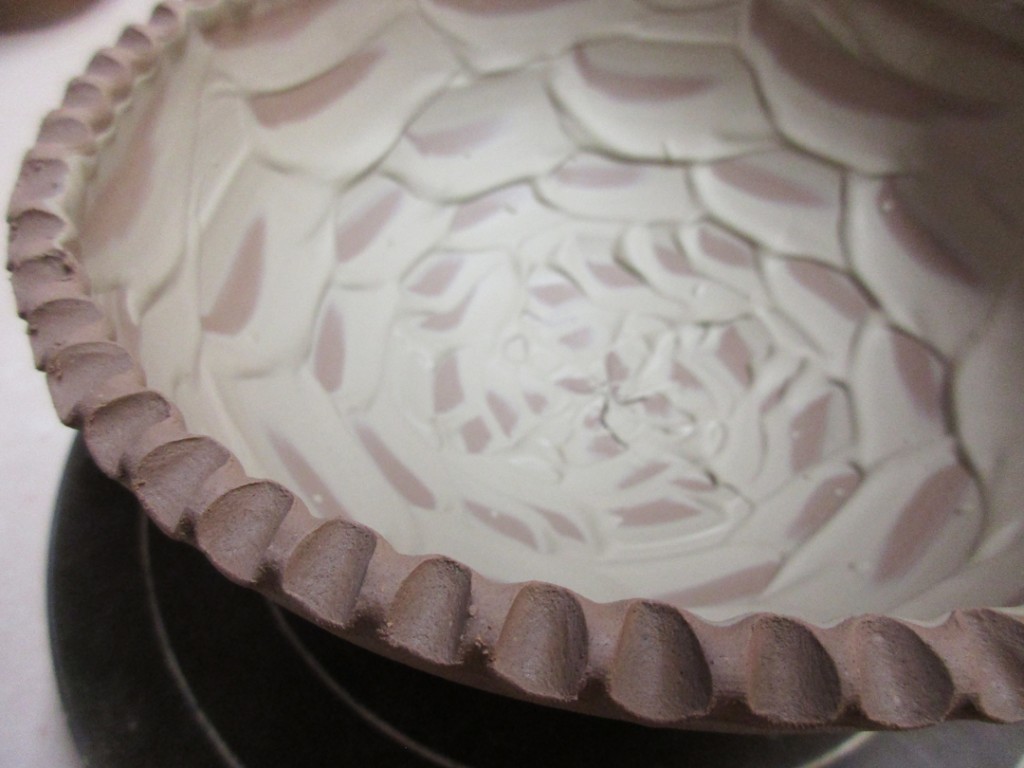
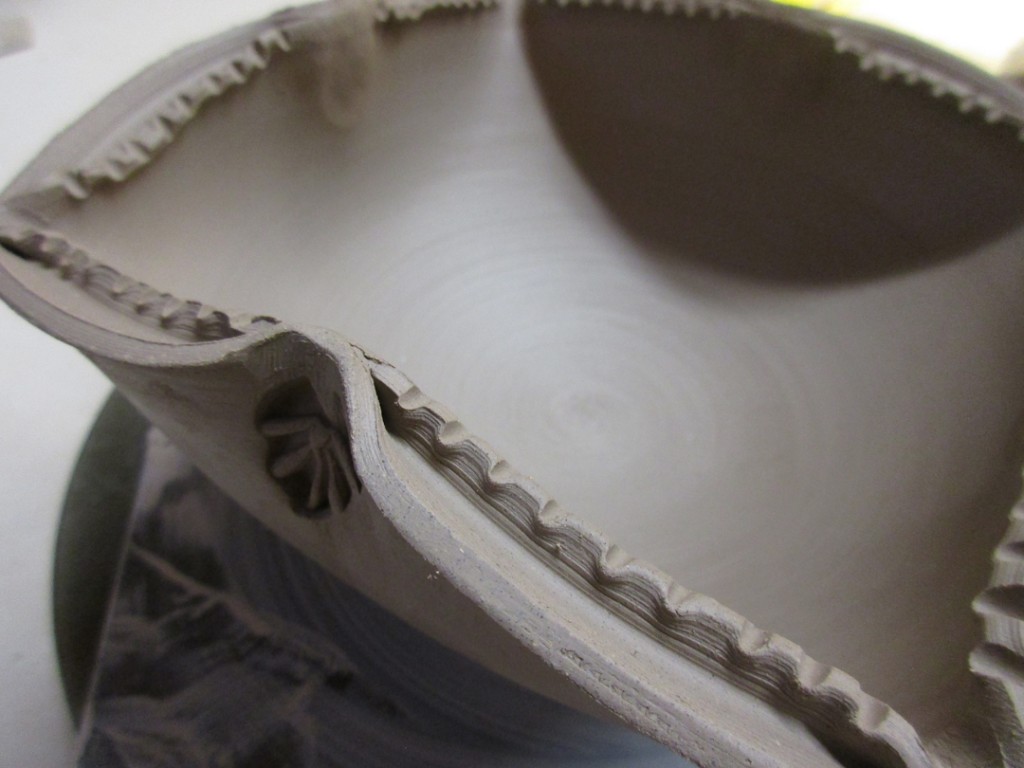
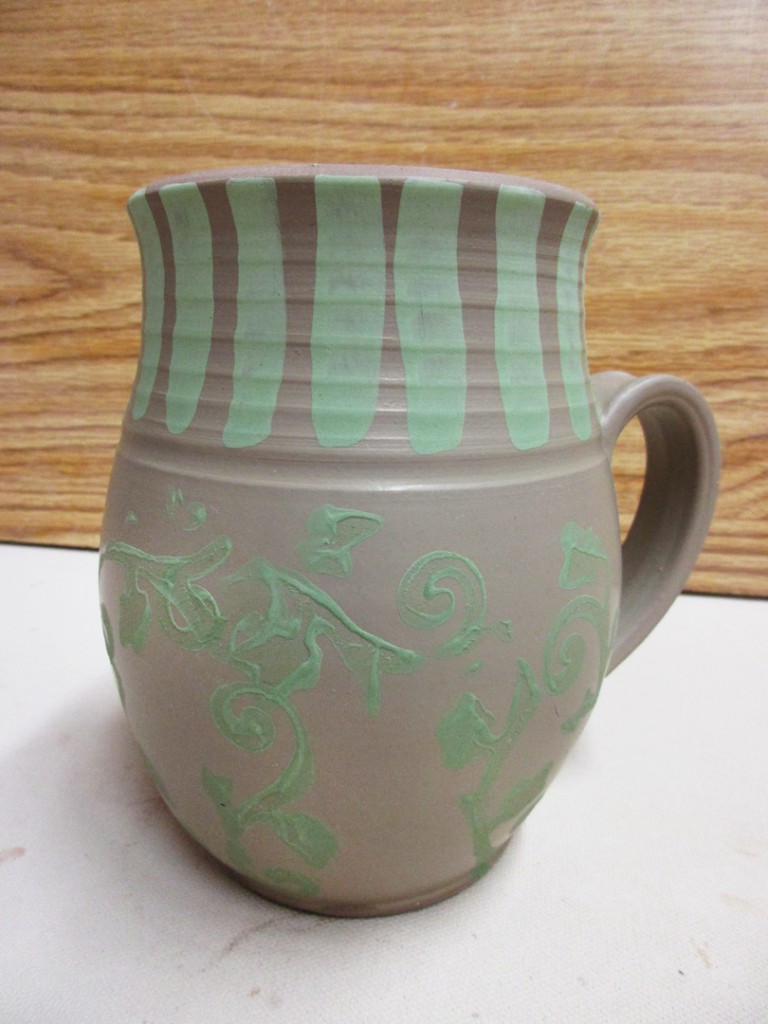
It’s a simple bowl with a carved pattern with a great Zebra Carving tool. But before the carving, I painted the bowl with wax so that the slip wouldn’t get smudged all over the bowl… I only wanted it to stay inside the carved pattern. With the waxed surface, the excess slip was so easy to wipe-off… leaving only the slip-filled pattern. After soda-firing, the color contrast became a bit more predominant. I like how the decoration is “part of the bowl” and not just slip sitting on top of the bowl. What I don’t like?…. there was some cracking and shrinking of the slip. So the drying & shrinkage rate must be off a bit from the clay body. Definitely a fun demo. I’ll have to try it again. Maybe another demo opportunity for this session’s class?

Click here to see the steps that lead up to this!

Categories: mugs, process, production

Painting some accents with colored flashing slips on my latest batch of stamped mugs.
Stamp by stamp, indent by indent.

Categories: bowls, process, production, stamped

After last Tuesday night’s bowl demo, I had a table full of bowls to continue working on.
Sure, I could have left them as they were…. but why would I do that?!
Instead, I did a bit of stamping, texturing and detailing. So now my “not-so-basic-bowls”
are even less basic than they were after the throwing demo in class.

Save

Categories: bowls, classes

While tonight’s class demo was throwing bowls, altering & decorating them, and I would LOVE to show you more photos of them right now… “someone” still needs to finish his taxes!!! One hour until the deadline… bowl photos & descriptions will have to wait. Sorry… trust me, I’d MUCH rather be talking about bowls!!!

Categories: classes

My “Simply Soda” class also got to mix their first batch of slip EVER!!! They were quite excited going into it. I think until they realized it was just measuring & mixing. No magic. It was the pressing through the fine mesh sieve that did ’em in. Good team project though… and now they have another flashing slip color to play with! Butter Yellow!!! Thank you Nolan for sharing your recipe.

At least they got to play with power tools!!!

Save

Save

Categories: classes, mugs, process, production

For tonight’s “Simply Soda” class, we tackled colored flashing slips as a decorative accent for the soda-firing process. Many of my students are new to soda-firing and don’t really know yet how colored slips can accentuate their work. So tonight’s demo was to explain some basic “concepts” in slip decoration and how they will work together when they get soda-fired. It was a great opportunity to push my students a bit out of their comfort zone. Including myself… as we were doing some demos & techniques that I’ve never really done before either.

Slip Demo #1
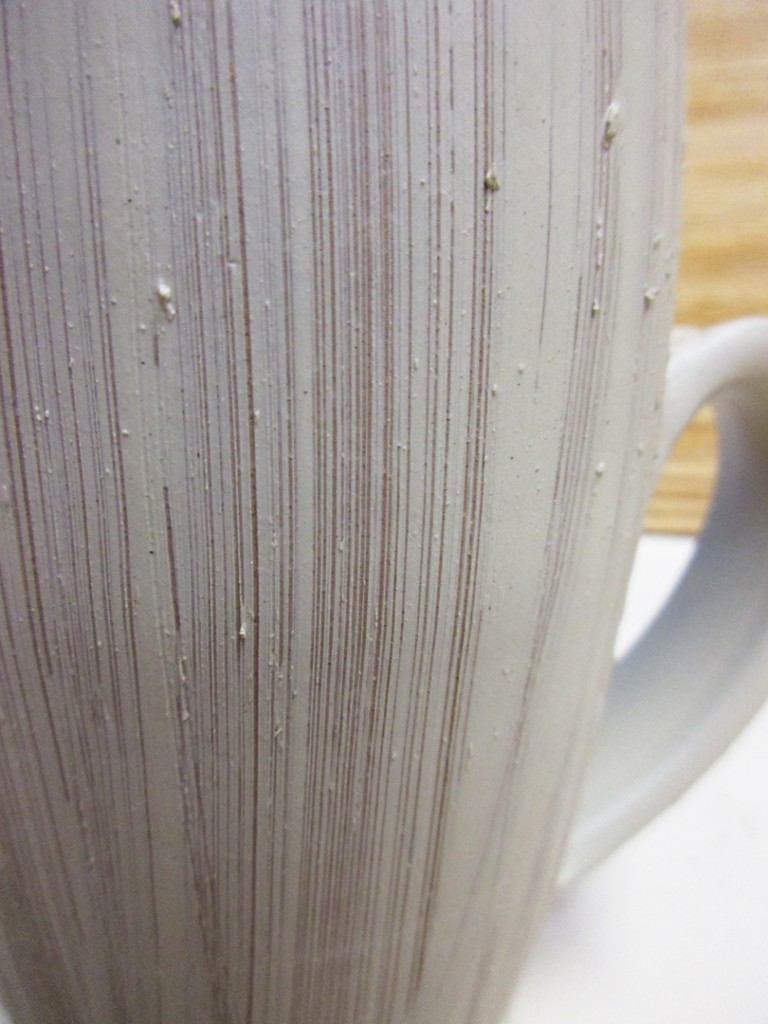
First the mug was dipped into a colored flashing slip. I let it set-up a bit..
and then dipped it a second time. As the second dip was setting up, I dragged a stiff wire brush across the surface to reveal the original stoneware color.

Slip Demo #2
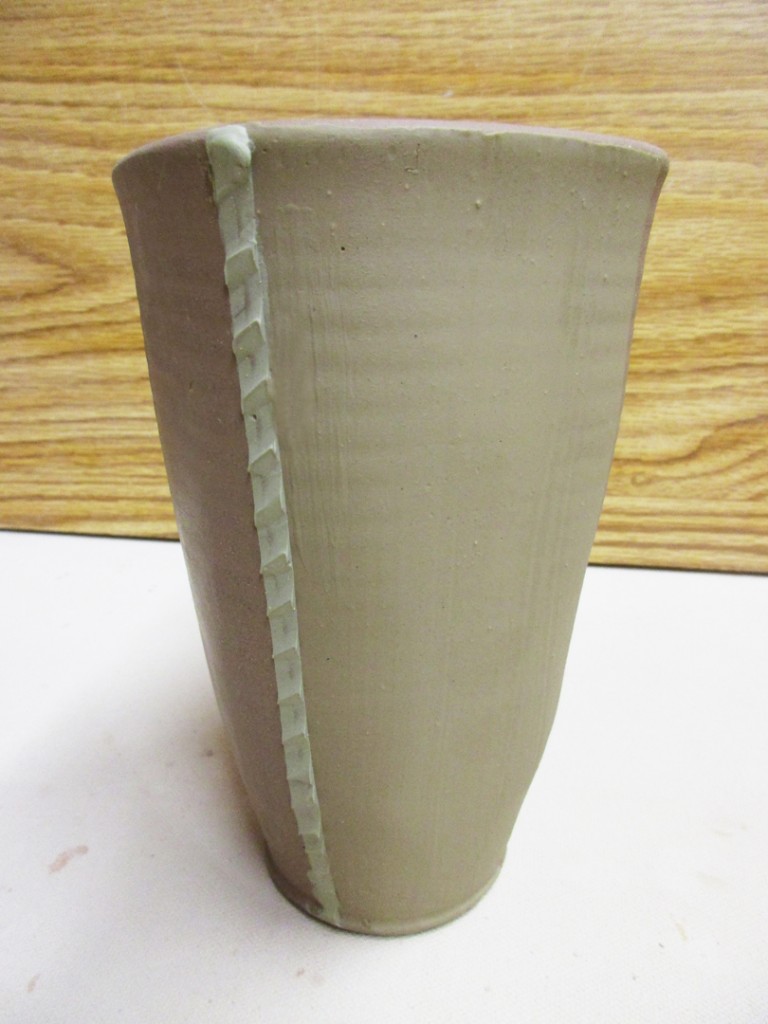
On this squared off tumbler, I masked off the corners using wet nespaper stuck in place for my stencil. I painted a smooth layer on the tow opposing sides. After that had set-up, I masked the thin stripe again with wet strips of newspaper. I dabbed on a thivk layer of the lighter slip making a thick coat. I then dragged my fingertip through the slip to create the slight diagonal texture. Remove the newspaper strips… and voila’.

Slip Demo #3
Again using wet newspaper strips as my stencil, I cut a wavy line and placed them slightly off-kilter to create the wave pattern. Dabbed on the thick slip, dragged my finger through to make the diagonal texture. Peel off the newspaper and you’ve got crisp edges and a great textural accent.

Slip Demo #4
First I dipped the top portion in a colored flashing slip. After it had set-up, I filled a squirt bottle with the blue-green slip. On a spinning banding wheel, I squirted the slip into the pot. I’m hoping for some great contrast between the base color and the blue-green accents

Slip Demo #5
I dipped the entire mug on a colored flashing slip first. After it had set-up, I used a foam stamp from the craft store for the lower pattern. I painted some colored slip onto the foam stamp, and then carefully press it onto the sides. In hind sight, I think the pattern would have shown up clearer if I had not dipped the base layer of slip… it was a little too “slippery”… all pun intended. At the end, I felt that the top portion needed something, so I painted some vertical lines with a paint brush.

Slip Demo #6
You know how we’ve loved bubble glazing… so why not bubble slip?!
A small cup of thin colored slip with some Dawn dishwashing detergent mixed in. Then you blow into it with a straw and make some bubbles overflow from the small cup. You then get the overflowing bubbles to “land” on the sides of the cup without too much dripping or smudging. As the bubbles burst, the lines of slip are created.

Slip Demo #7
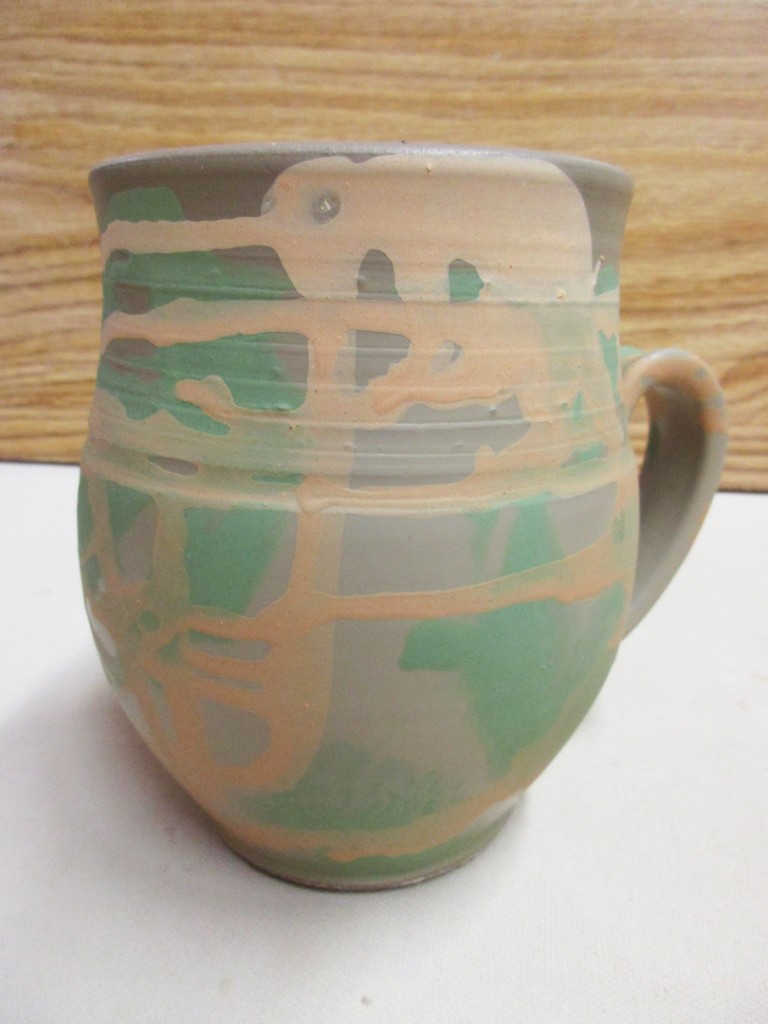
Okay, so the plan here was to do some “marbled” slip effects. So I dipped the pot into a colored flashing slip. I gave it a second dip, and while it was wet, I used a squeeze bottle to put on the blue-green slip. Since they were both wet, they slid around nicely on the surface and mixed with each other. I should have stopped there… but instead, I decided to go one step further and add another layer of colored slip. Unfortunately, the base was too dry and the “orange” slip didn’t marble into the others…. instead, it just kinda ran in drips.

Slip Demo #8
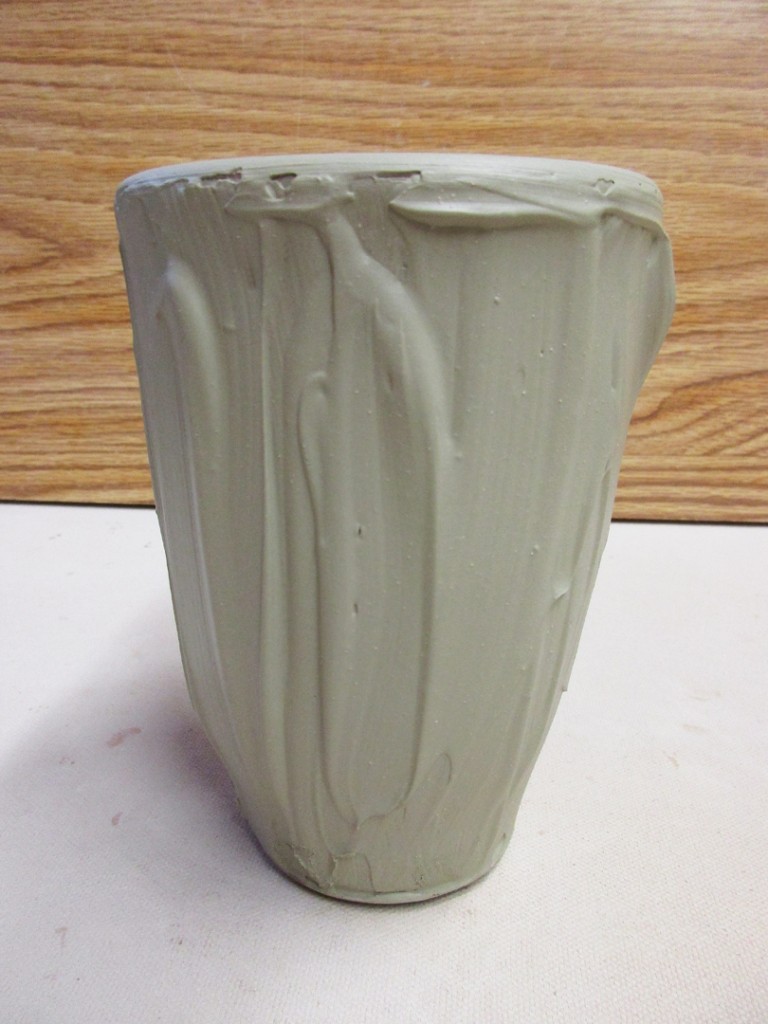
Thick layers of thick colored slip. Letting the heavy brushstrokes make the difference. Hoping that the depth and thickness is accentuated during the soda-firing process.

Slip Demo #9
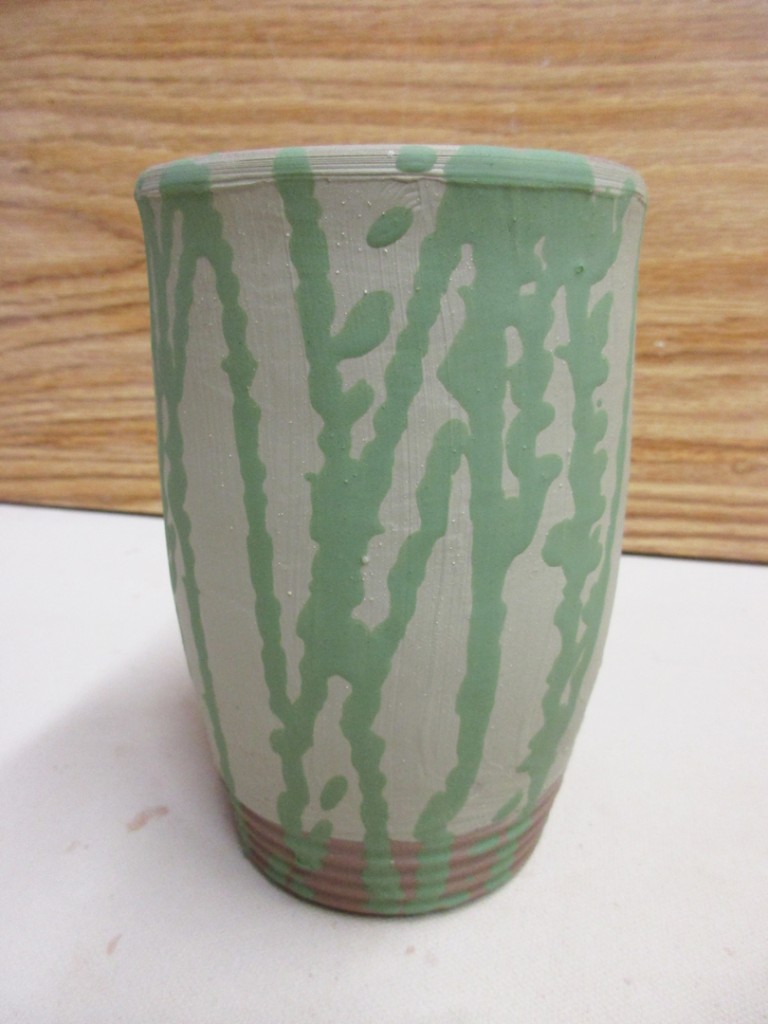
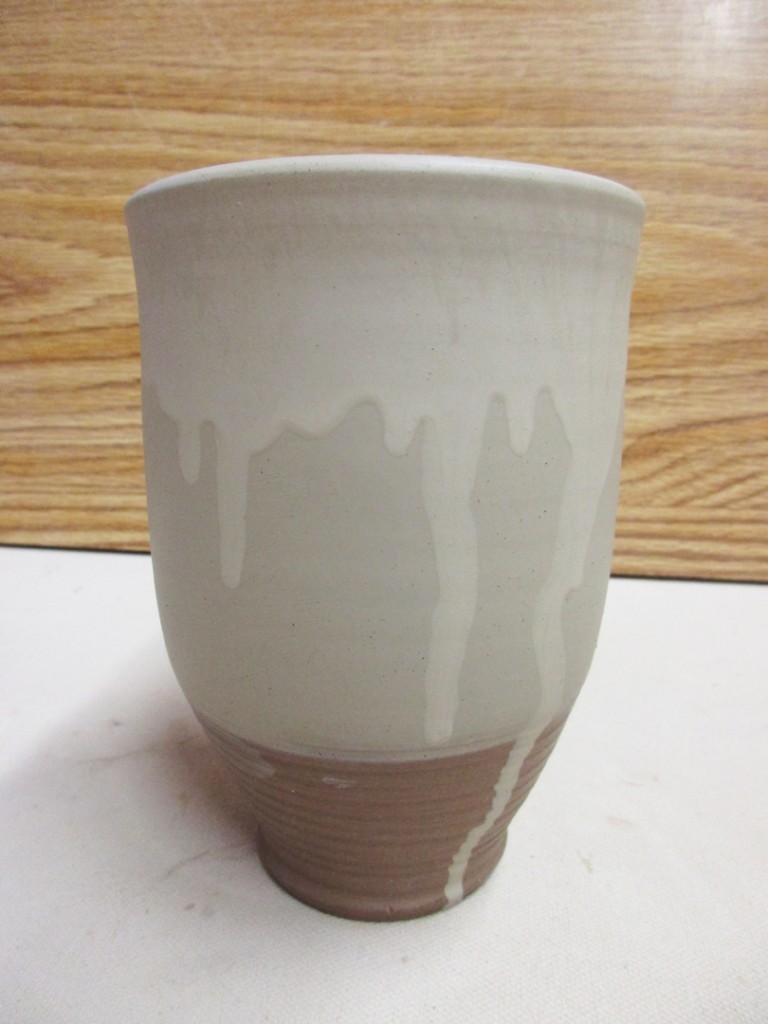
Very simple. A quick dip into the colore flashing slip to make the base layer. And then a second dip of the base, followed by the “drippy” dip of the second lighter color.

Slip Demo #10
Fun with slip trailing… thick slip in a squeeze bottle. If I were doing more of this, I would press the slip through a fine sieve before putting it in the bottle. It wouldn’t sputter so much if it were smoother.

So there we have it… ten different quick “tricks” using a variety of colored soda slips. Hopefully one or two of these might turn out nice after the soda firing. And again, my goal was to show my students some new ideas. And to encourge them to try new & different things. To experiment and to play with their clay! It’s not precious… it’s just clay!!!

Save

Save

Categories: classes, soda-fired

Last night was the kick-off my new “Simply Soda” class at Lillstreet. It’s an introduction to the soda-firing process. So we did a quick overview, tour and started discussing colored flashing slips. But there’s really no better way to see what might happen during the firing process than to make your own test tiles… errr, cups! So last night my students threw a bunch of cups off-the-hump and then applied two swatches of colored slip on each side of the cup. We made two for each color so they can fire one in high-soda, and one in low-soda to see the difference. They were very productive… and hopefully it will all pay off with a lot of flashing slip “information” for them to use further down the road,

Categories: mugs, process, production, tools

I was getting ready to paint some colored flashing slip accents on another batch of mugs. But every time I do this, I wish I could see better where I’ve painted. This particular slip color is just too close to the color of my clay body. Hard to keep track of where you’ve already been!

So I finally did it… I added some food coloring into my bucket of slip. The plan is to tint the slip so it shows up better… all the while knowing that the food coloring will burn out during firing. Cool trick, huh?

So I squeezed a few drops of yellow food coloring into my bucket of Smooth Orange Flashing Slip… and if you wait a few minutes before stirring, you get this really groovy pattern as the food coloring spreads. You kinda just want to stand there and watch!!!

Eventually I had to get back to work… so I stirred it up and started painting the slip accents on some mugs. I like to paint the top section as well as a center detail on each stamp. Since I only had yellow food coloring, the color change was not too dramatic. But it did give the slip a bit of a pale yellow tint so it was easier to see what I had painted and what I hadn’t as I was rotating the mug.

Categories: bowls, classes

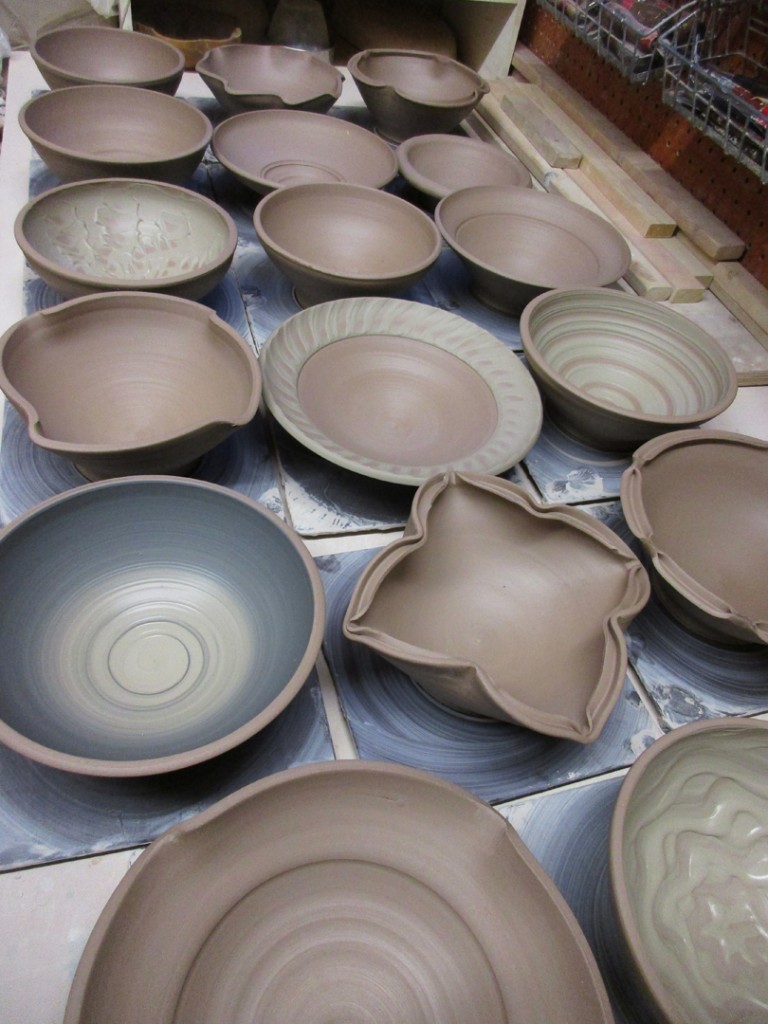
Last night we made a LOT of bowls. A full bag of clay for that matter!!!
It’s always one of my favorite demos for my pottery students. We discuss how to make a bowl on purpose… instead of a cylinder gone bad! How bowls have a nice, smooth round bottom. Not a flat bottom and slightly curved sides. How to through an intentional bowl shape right from the beginning. So we all do a basic bowl demo… and then they get back to work on their wheels. Meanwhile, I sit down and quickly throw the rest of the bowls. In this case, seventeen in total.

We then all reconvene and discuss some ways to make their bowls a little more personal. A little more flair. A little more style. And that they should “play” with their clay more, and not look at each piece as being so precious. My demo shows them some quick tricks and techniques to turn the basic round bowl into something special in just a few minutes.

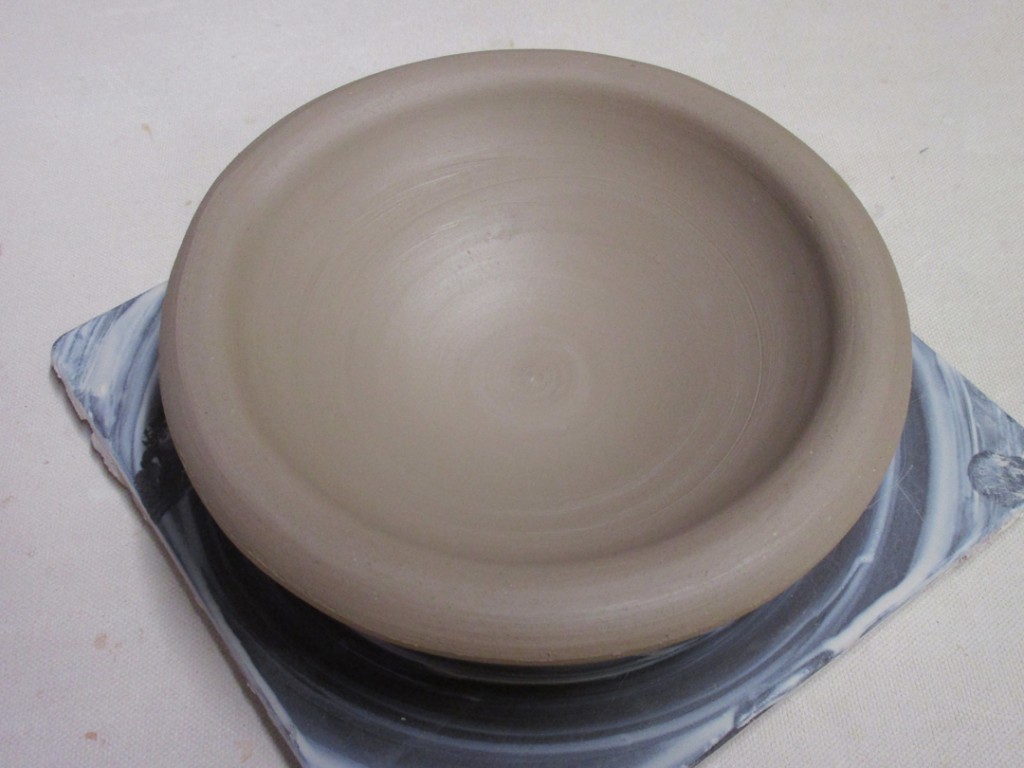
Bowl One – So here’s the first “basic” bowl. NO special tricks other than a fun spiral pressed into the bottom. Everyone loves a good spiral, right? This was the basic round shape of all seventeen before I got started with the alterations.

Bowl Two – Indented concentric circles. A little “surprise” when someone gets down to the bottom of their soup!

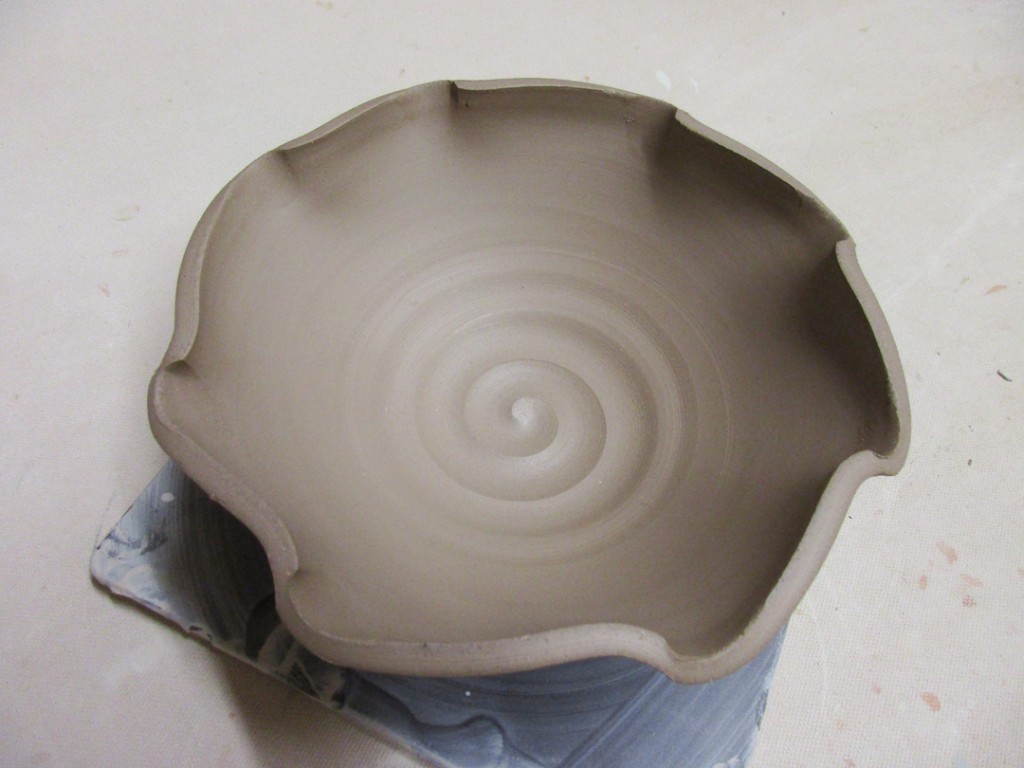
Bowl Three – Fluted In Fours… a couple quick twists to give the rim some shape.

Bowl Four – Fluted In Eights… and if four is good, wight is sometimes better.
Bowl Five – Flanged… a thin rim of clay folded outward making the bowl visually wider.
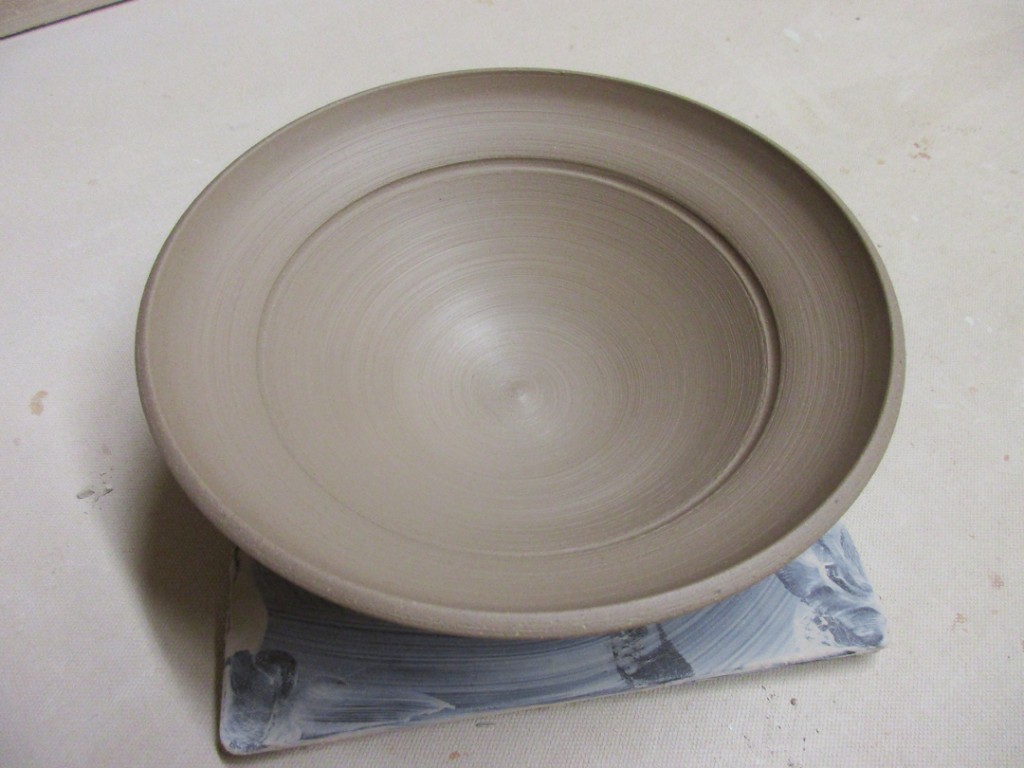
Bowl Six – And if a little flange is good, wider might be better, right?

Bowl Seven – And then we combined a flared rim with a fluted edge.

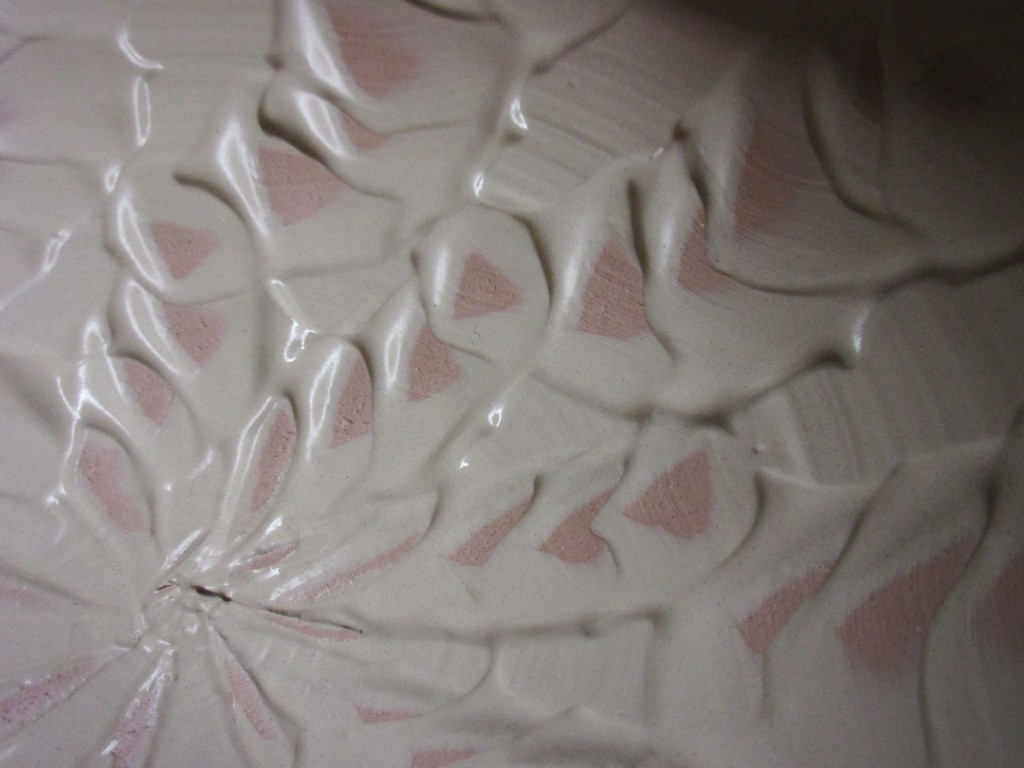
Bowl Eight – Typically I do all of my stamping a day or so after throwing the pieces… not right away. But for tis demo, I used a metal dragonscale to to press a stylized flower into the bottom of the bowl. Another surprise at the bottom for when your guest finished the hot fudge sundae.
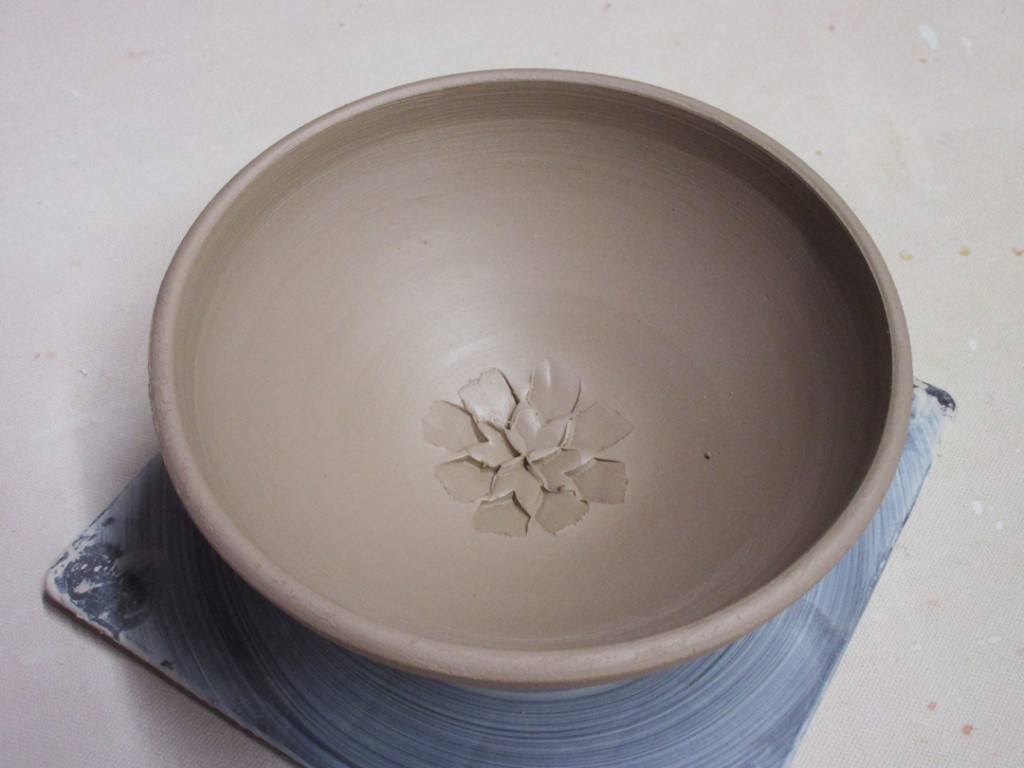
Bowl Nine – Split rim pinched back together in four places.
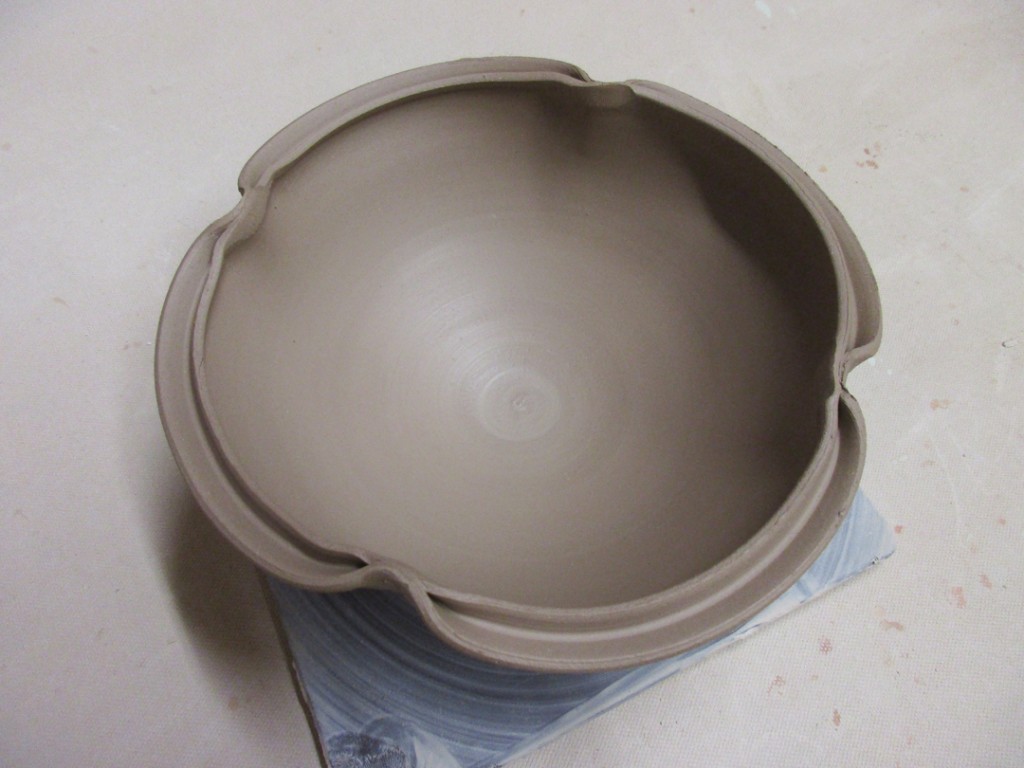
Bowl Ten – Split rim pinched back together in six places…
a little irregular, but I have a plan in mind…
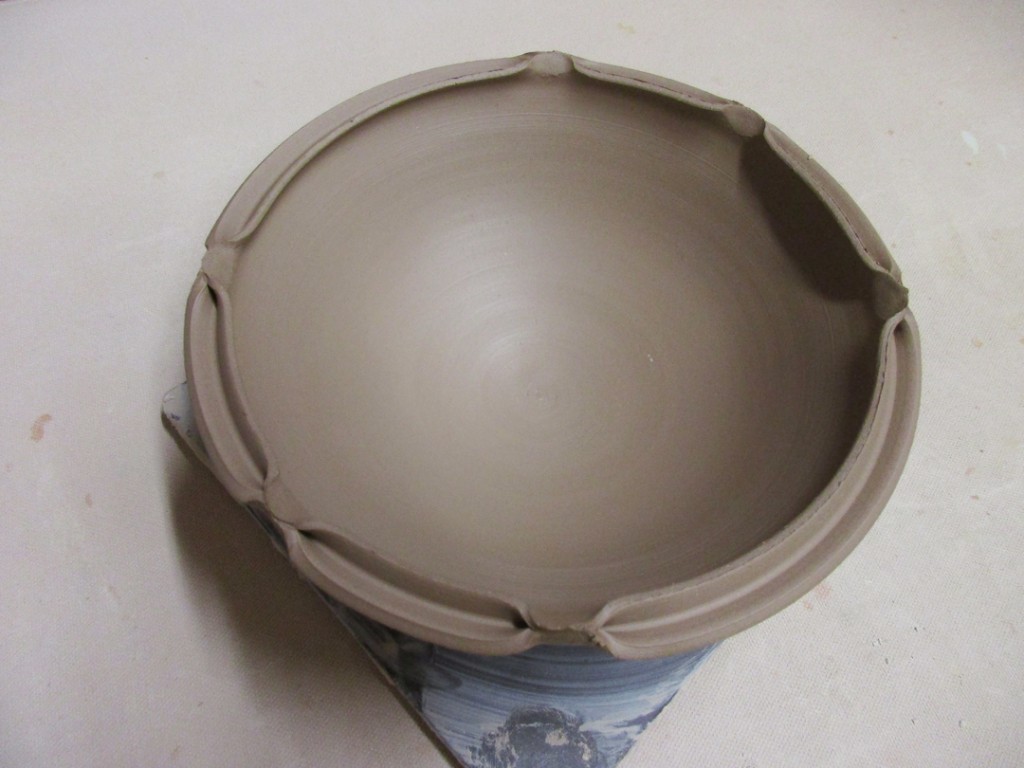
Bowl Eleven – Another split rim, but this time shaped inwards in four places, and outward in the corners creating a stylized lotus flower.
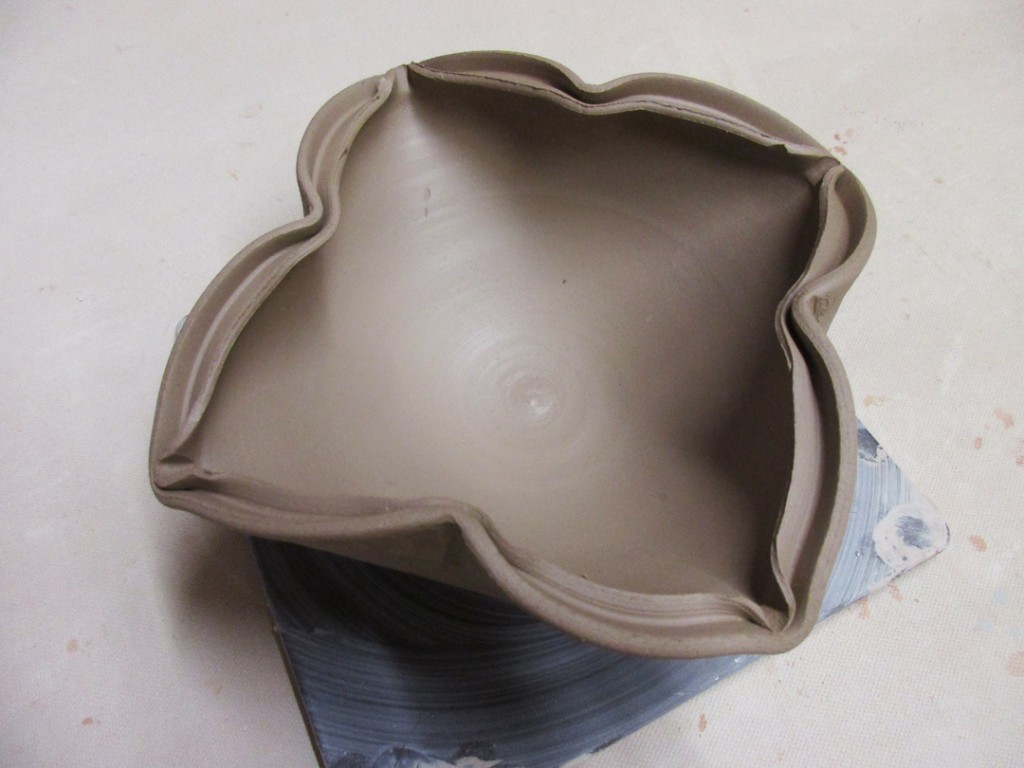
Bowl Twelve – For this one I attempted a rolled-over hollow rim. It “kinda” worked… the bowl was a little to dry from sitting out during the demo, and I think I flared too much out & over. I had a little trouble getting it to reattach on the underside smoothly.
After the first dozen, I figured it was time to add some colored slip for decorative accents. We discussed the benefit of slip versus glaze. How they each have different properties. Why slip is better for some things. And how it makes a two-tone bowl “easier” to do with slip than trying it by dipping into two colors of glaze.

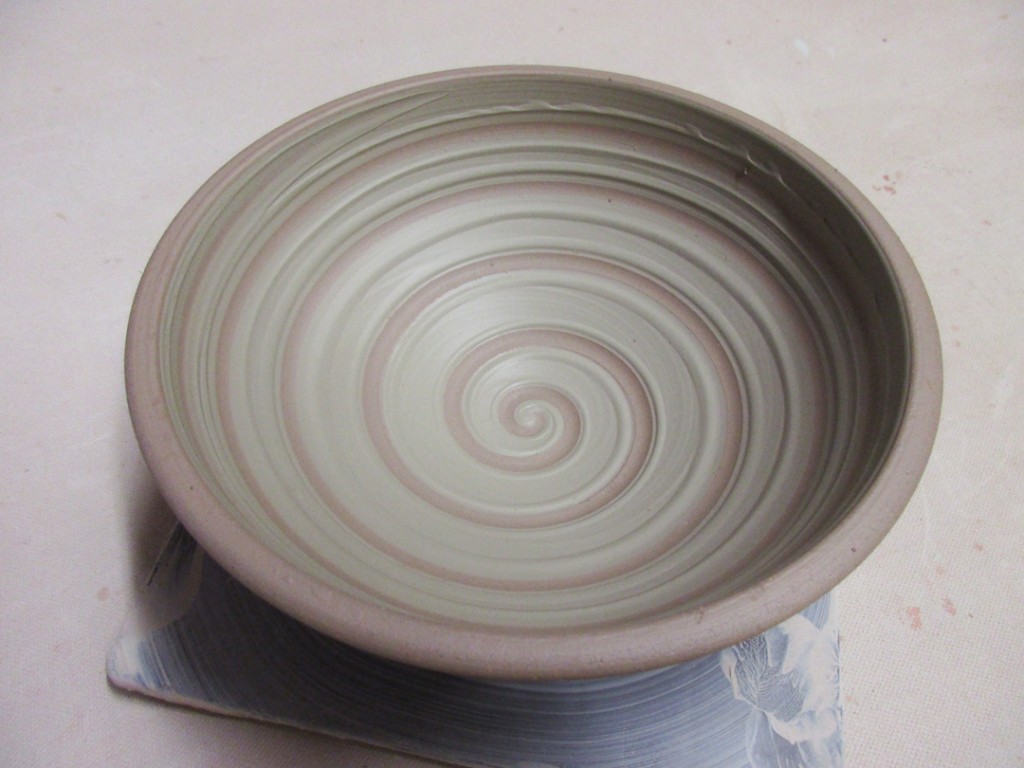
Bowl Thirteen – Slip Swirled. I coated the entire interior with white slip, and then dragged the curved end of my wooden knife through the slip to reveal the clay as the bowl was rotating… hence, the perfect spiral.
Bowl Fourteen – Another coating of white slip on the interior of the bowl, a little thicker than the last bowl. I then did some finger squiggling through the slip creating this groovy, wavy pattern.

Bowl Fifteen – Another bowl with a flared out flange, this time using that space as a nice “canvas” for some slip decoration. I coated it with white slip, and then dragged my finger through it all the way around.

Bowl Sixteen – Chattered pattern through thick white slip. It’s a bit tricky the first couple times… but it’s just rhythmic tapping of a rubber rib through the slip while rotating and moving the tapping up and out.

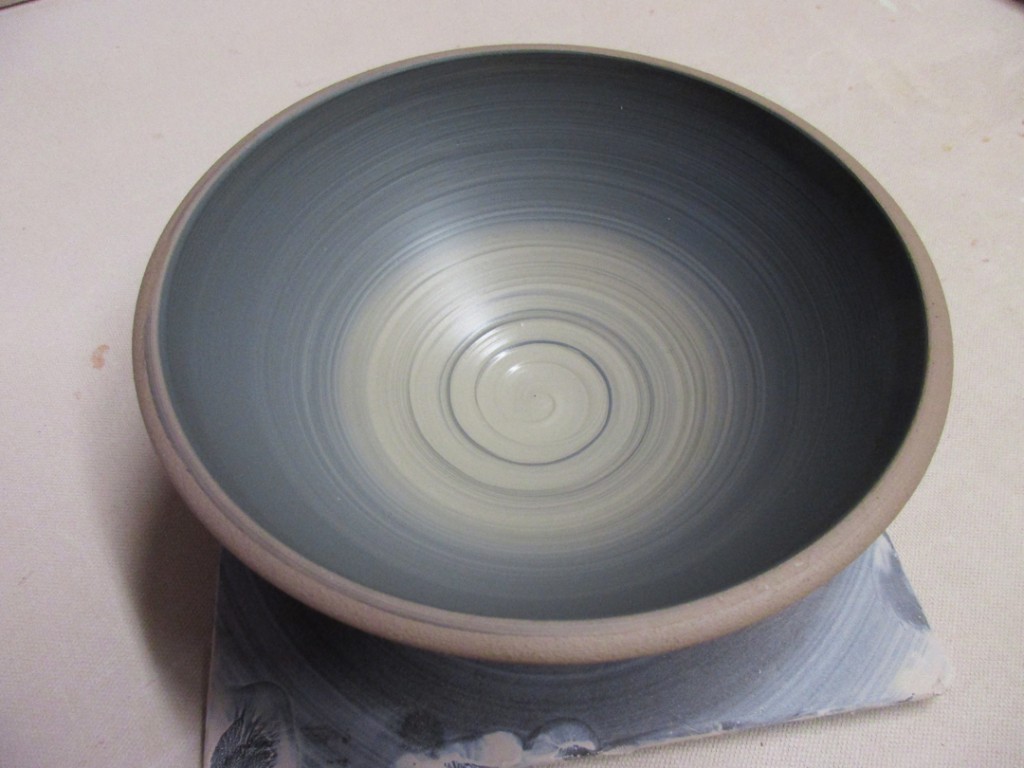
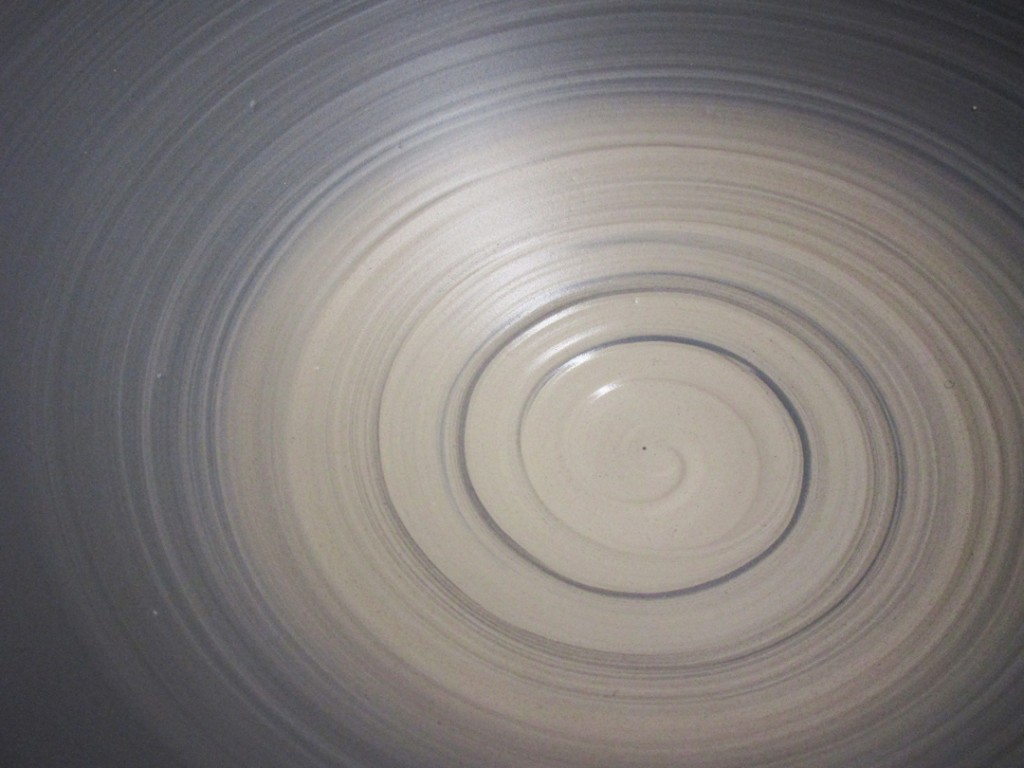
Bowl Seventeen – A quick ombre blended effect using white and black slips. While I was blending the gradation, I got these fun black spiral lines at the bottom… so we decided I should keep it like this! So I did.
So now all of the bowls are upstairs in my studio under wraps. I’ll let them set-up a bit… and then I’ll do some stamping, texturing and detailing. Go figure, right? More to come…
Save
Categories: mugs, process, production

Just adding some colored flashing slip accents to this most recent batch of mugs. I like to color the top section of the mug, as well as a small dab of color in each stamp. The flashing slip will become more colorful after soda-firing. Or at least that’s the plan…