03.29.2025
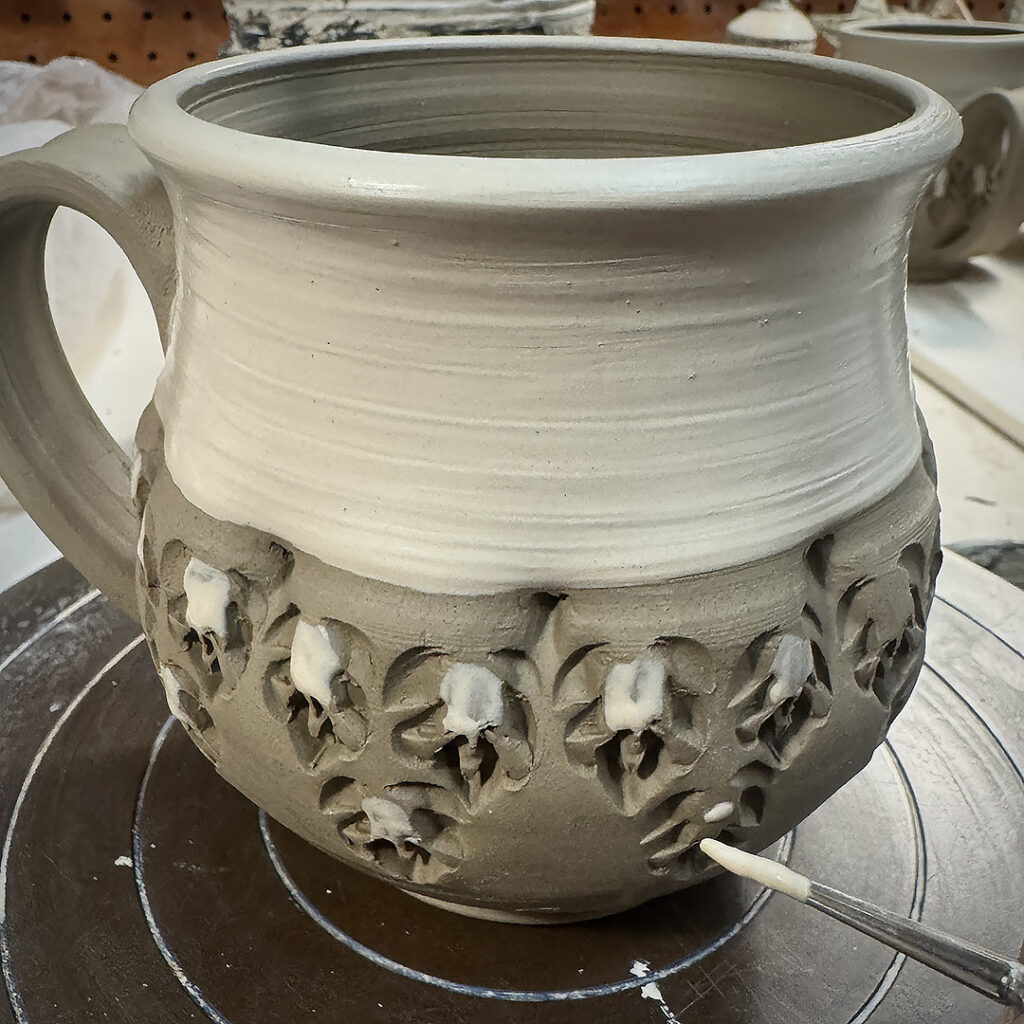
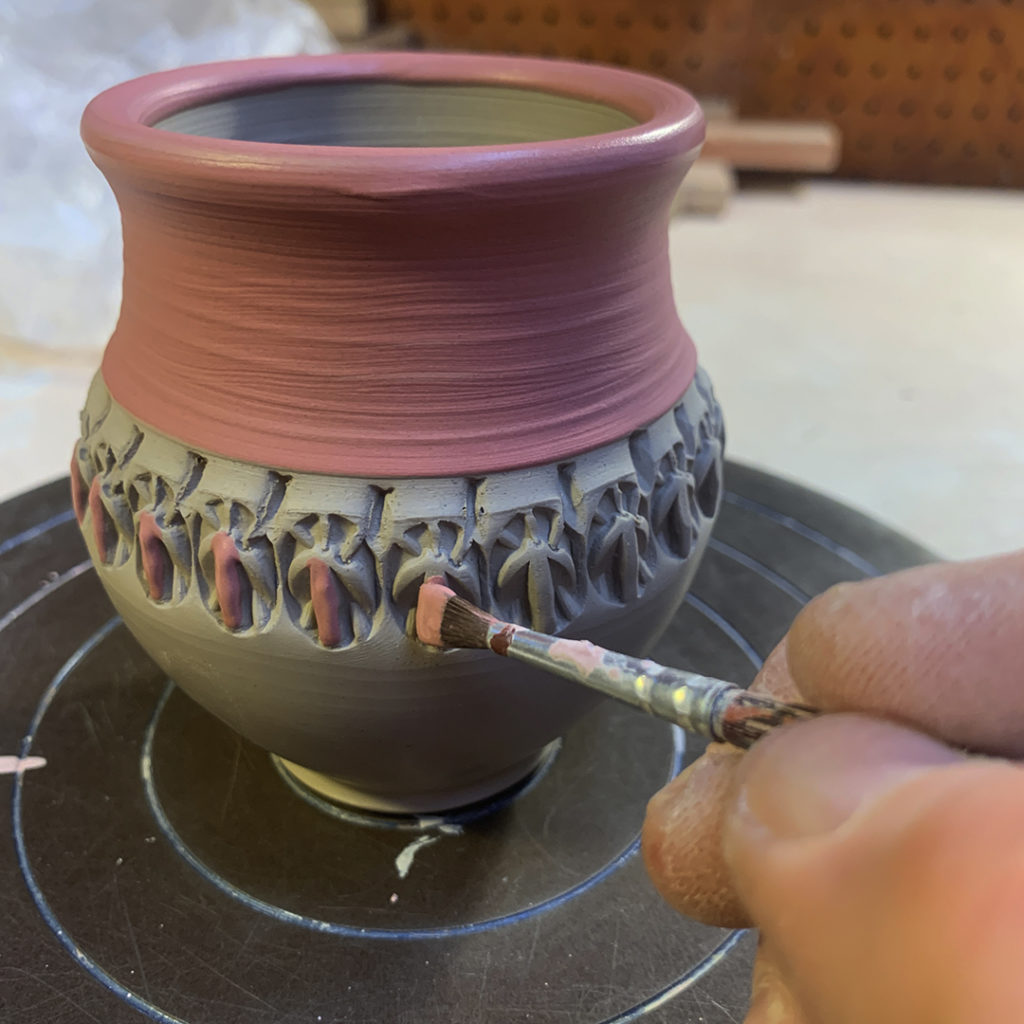
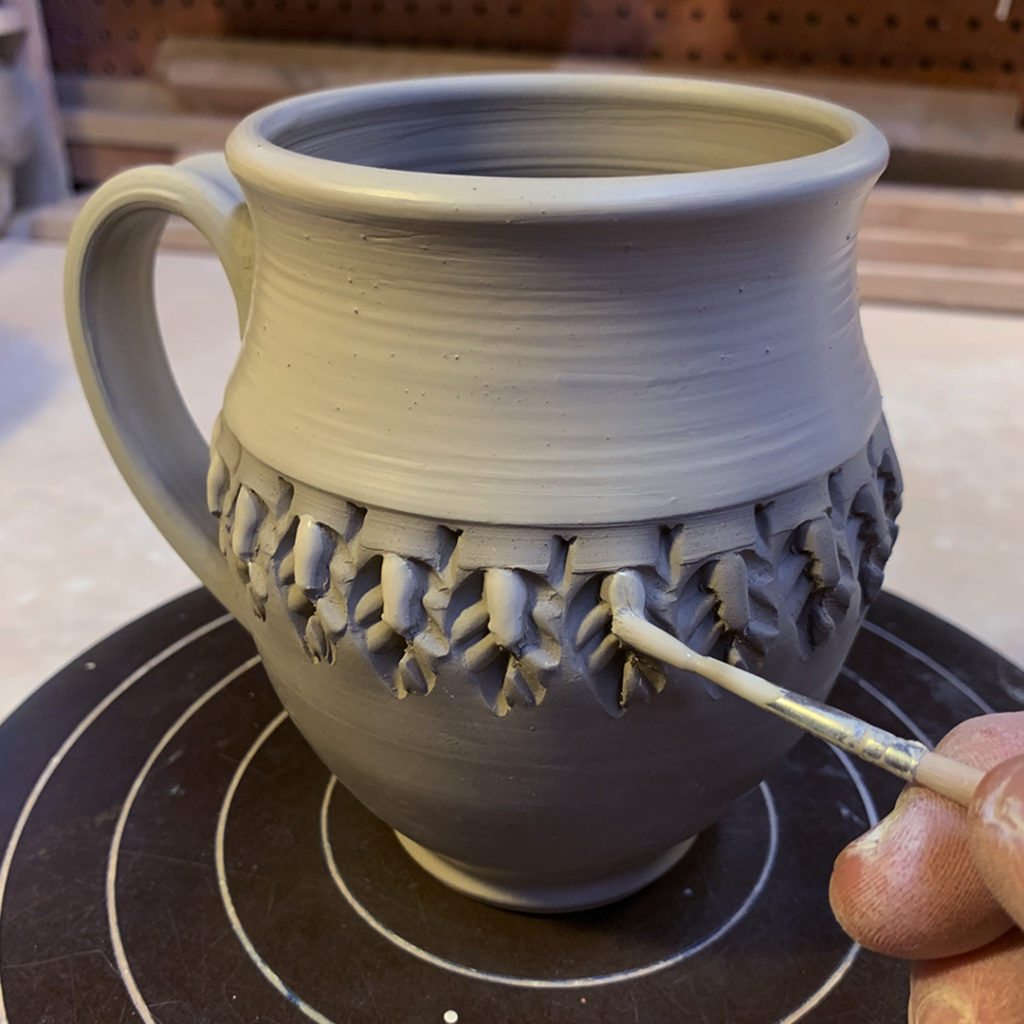
Just adding a few accents of colored flashing slips on this latest batch of stamped mugs. The slip colors will change dramatically when fired in the soda kiln… more colorful with flashing effects from the flames!
Gary Jackson: Fire When Ready Pottery
A Chicago potter’s somewhat slanted view of clay & play |
Just adding a few accents of colored flashing slips on this latest batch of stamped mugs. The slip colors will change dramatically when fired in the soda kiln… more colorful with flashing effects from the flames!
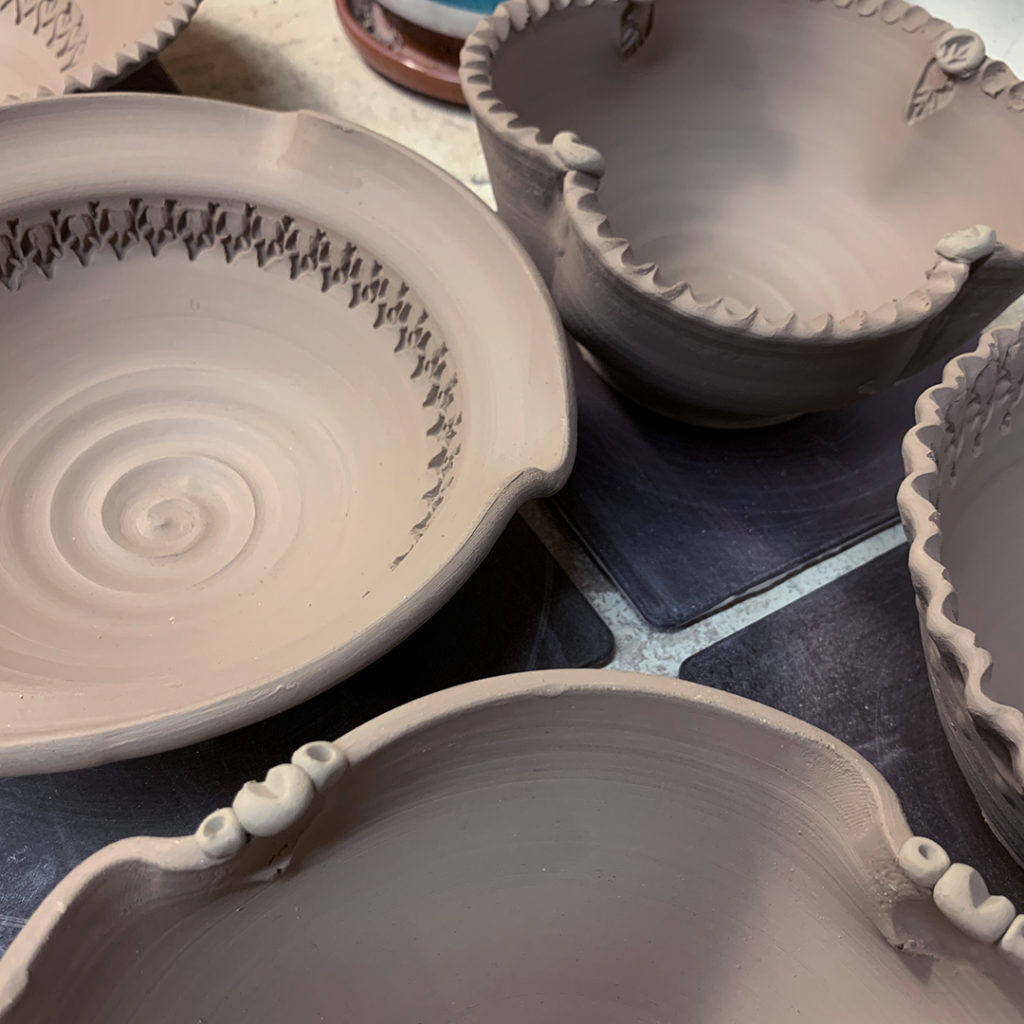
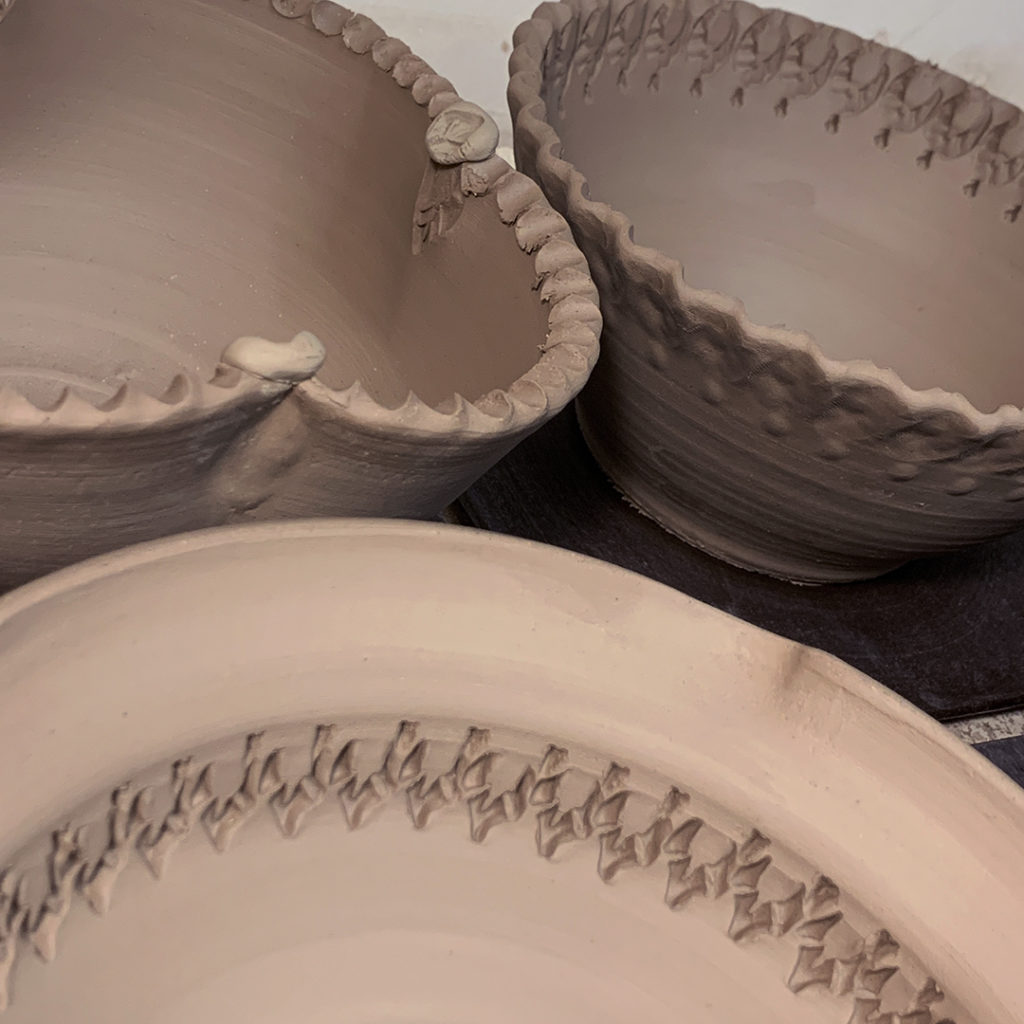
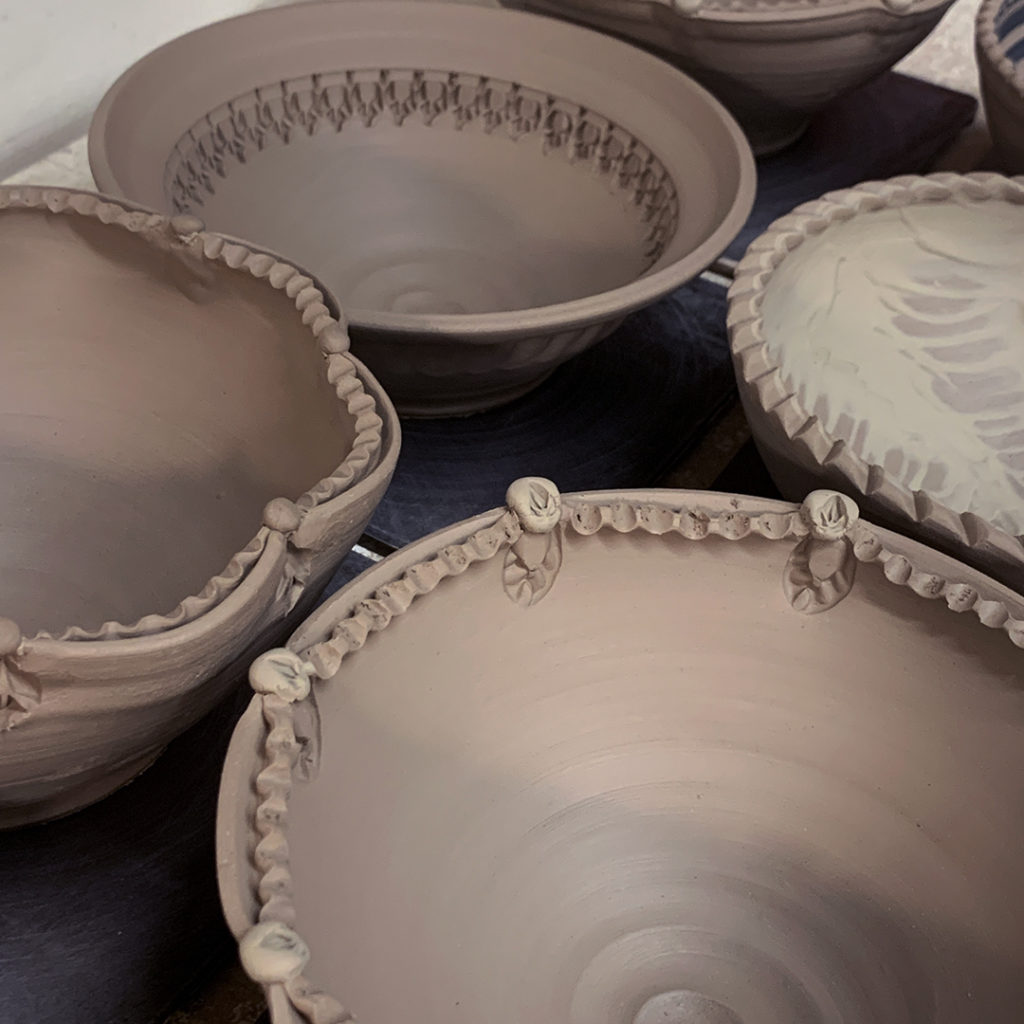
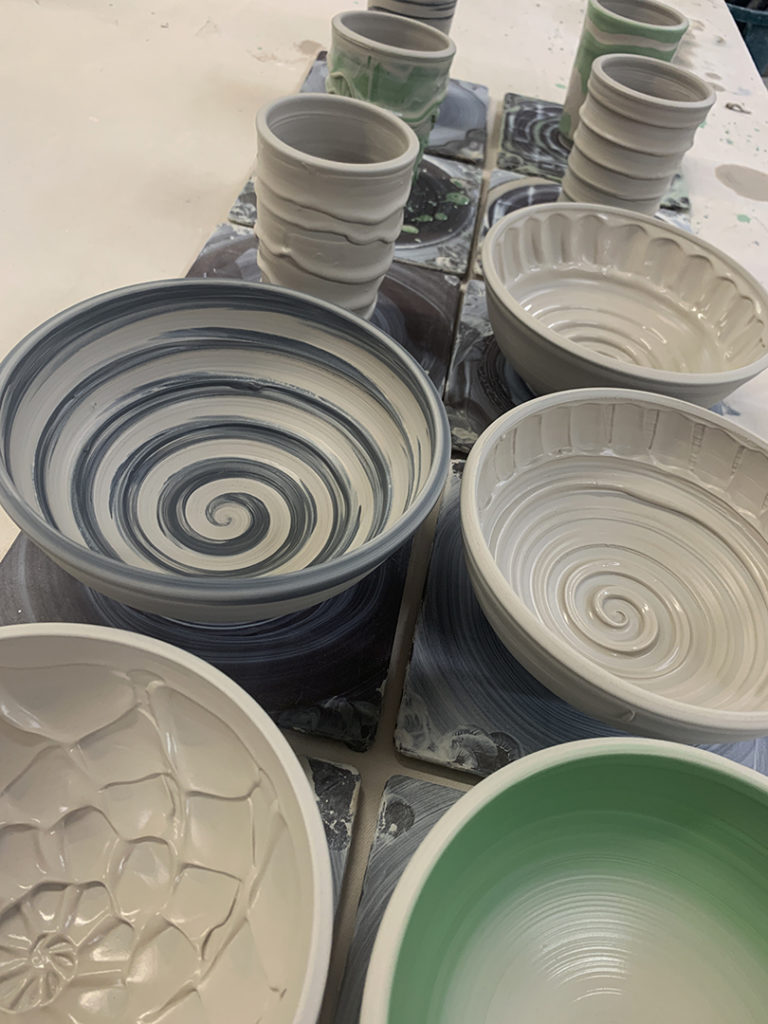
Here are the same bowls from this week’s class demo on how to make bowls on purpose… and then turn them into “not-so-basic bowls.” We did a bunch of altering & slip painting in class… but then you know I come from the school of MORE IS MORE. So I “may have” done a bit more stamping & detailing in my studio this weekend. Allegedly…


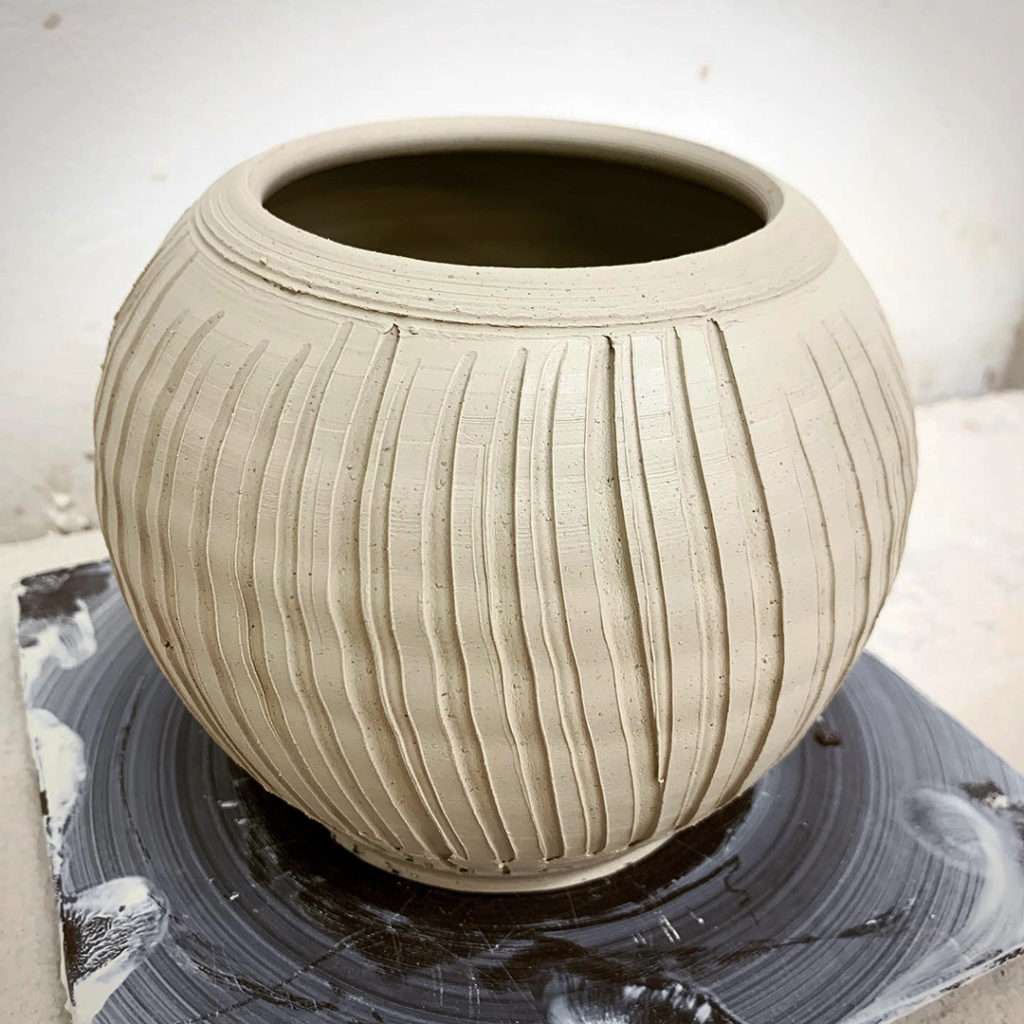
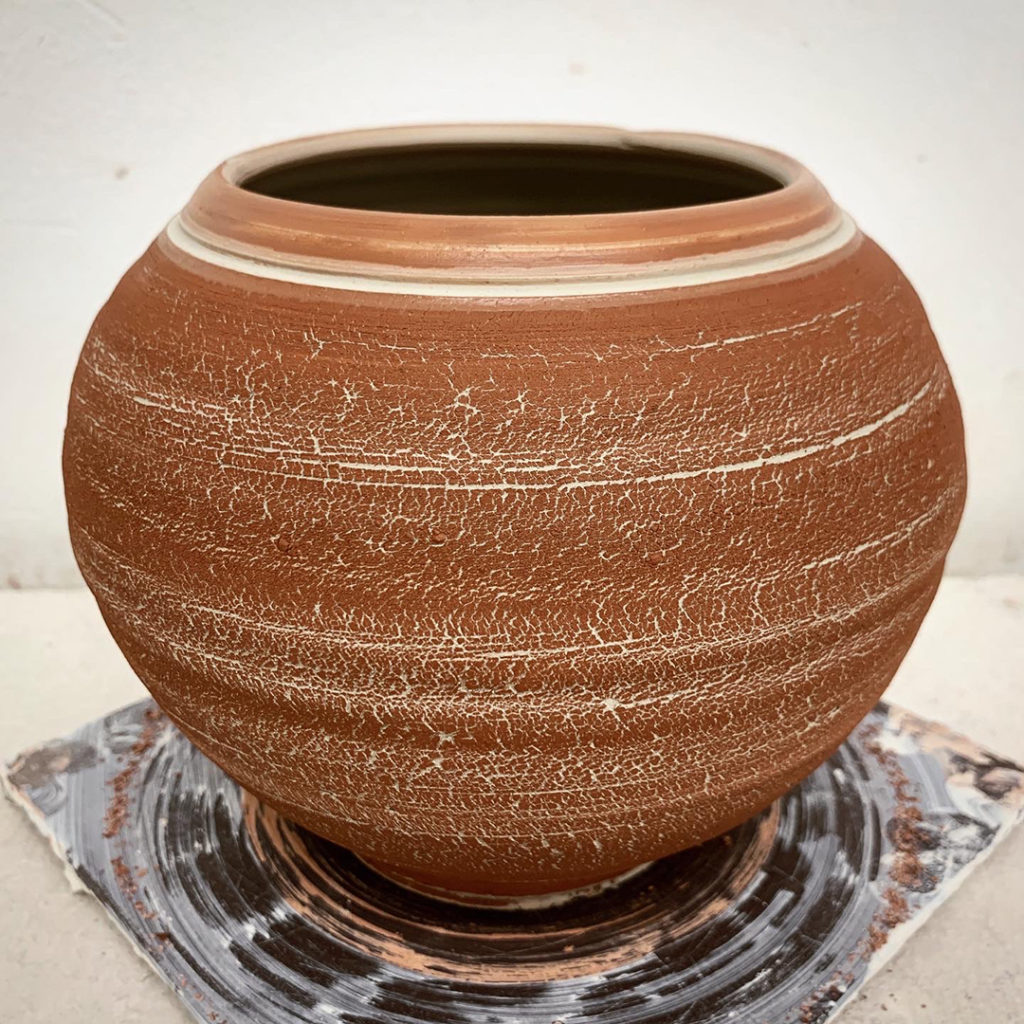
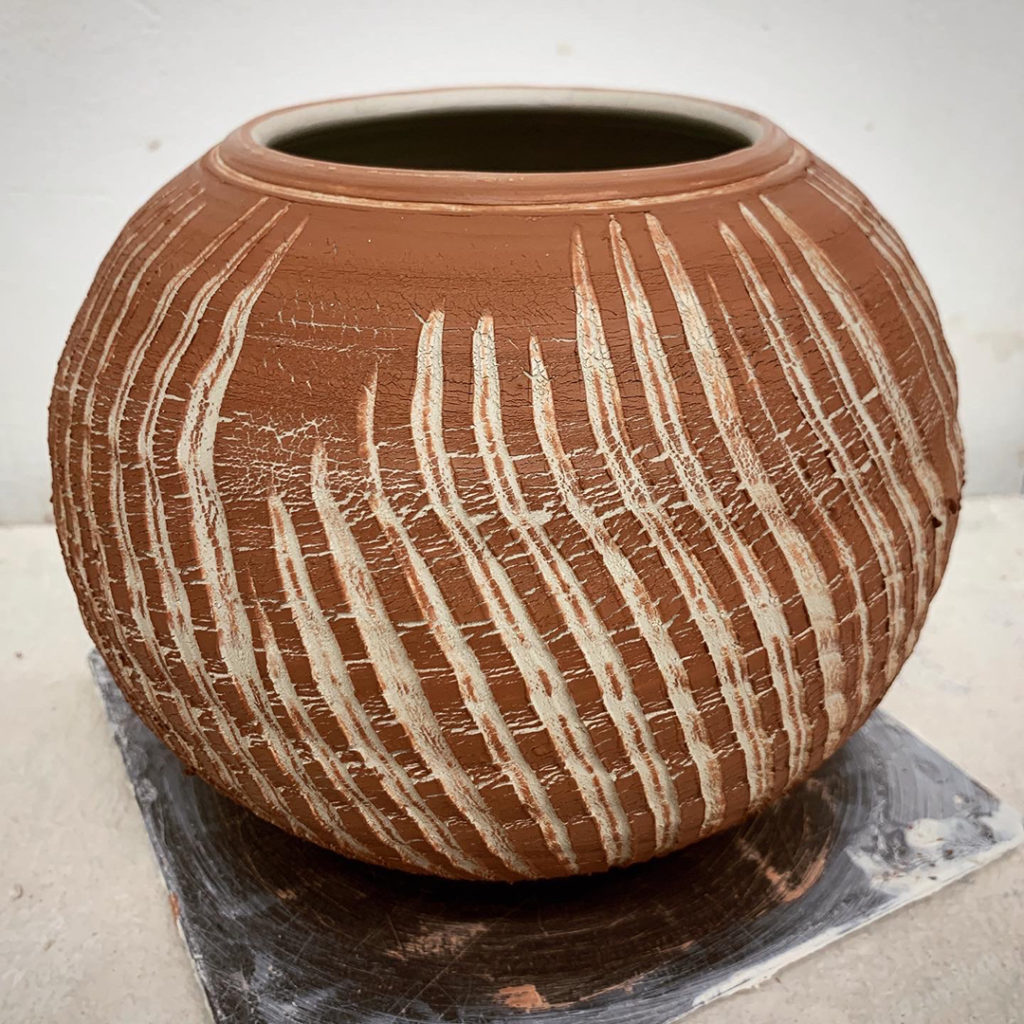
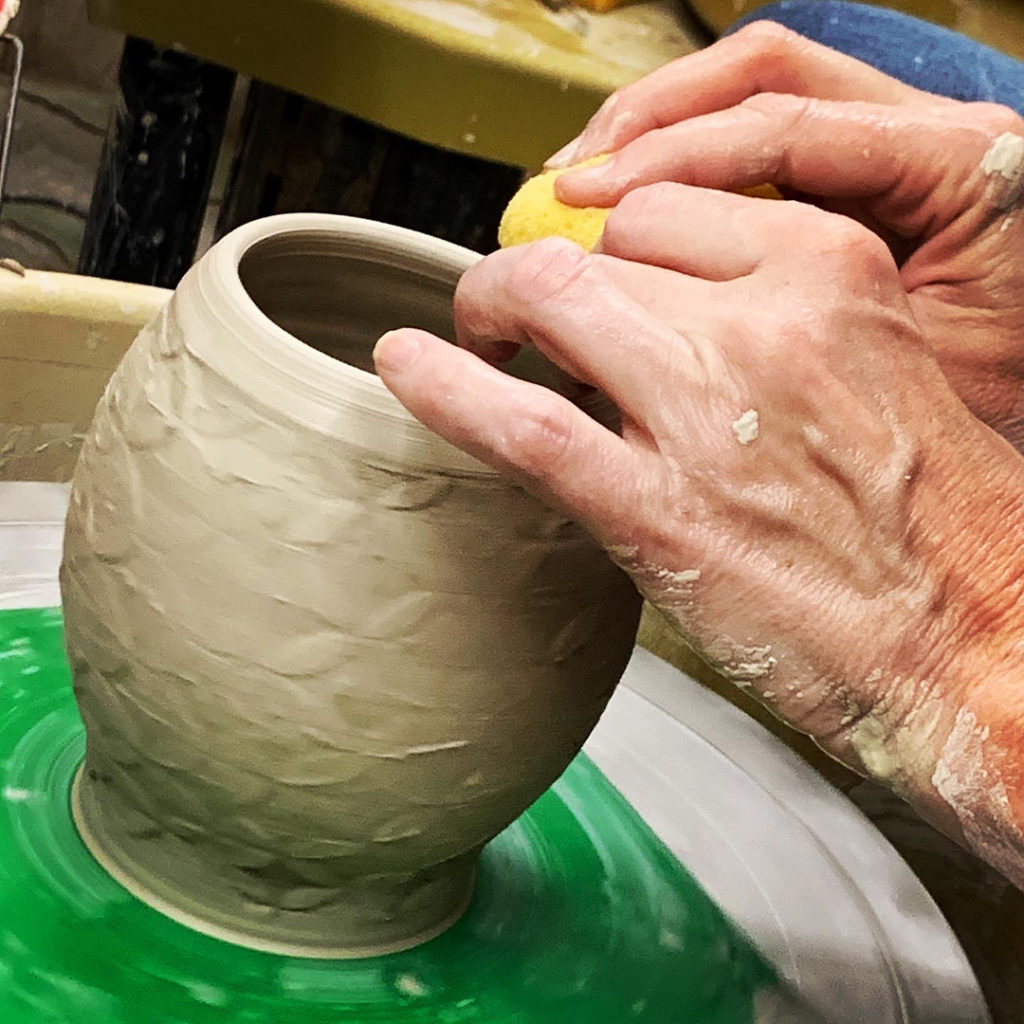
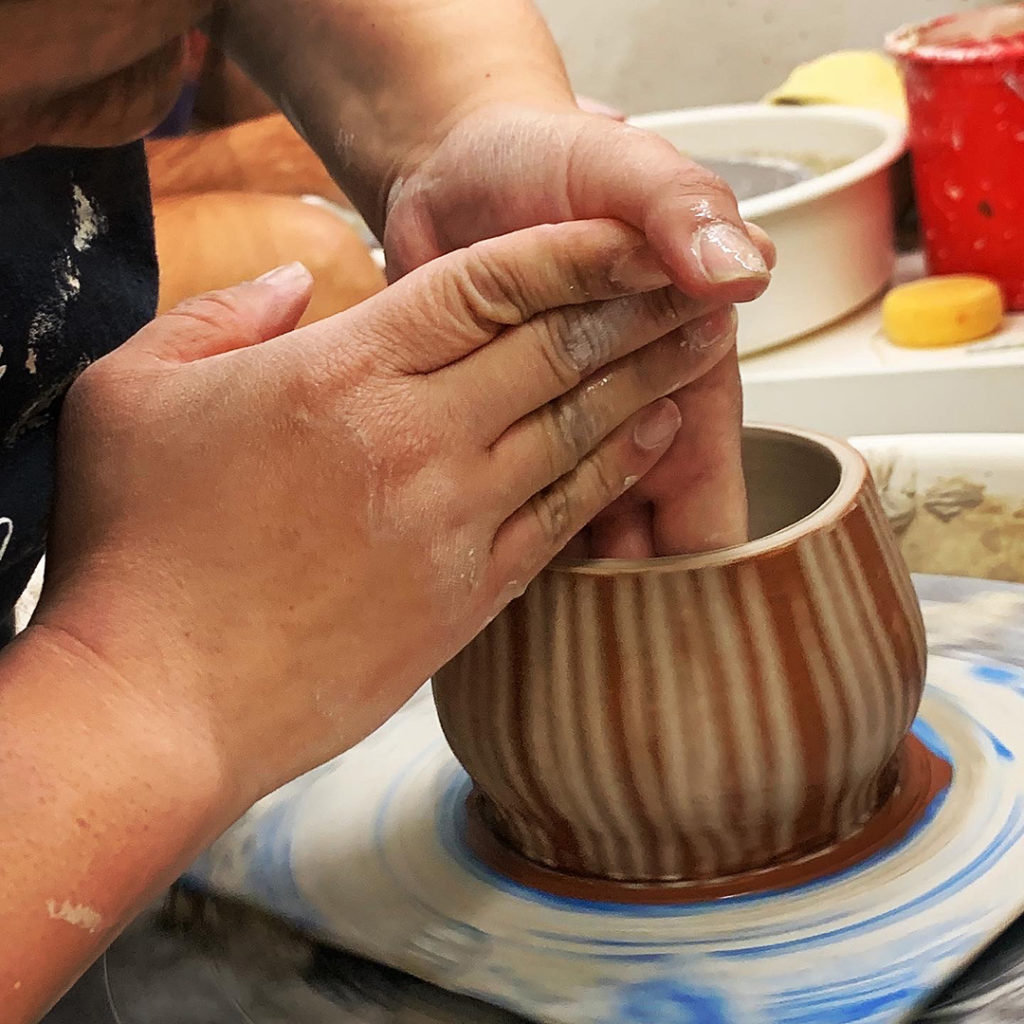
Last night in my SURFACE DECORATION class, we tackled textures & patterns created by “bulging” out the side walls of a straight-sided cylinder. To make it even more fun, we also played with colored slips, texture tools & sodium silicate for that fun crackled effect. Always fun to see my students trying the “tricks” after my demo!
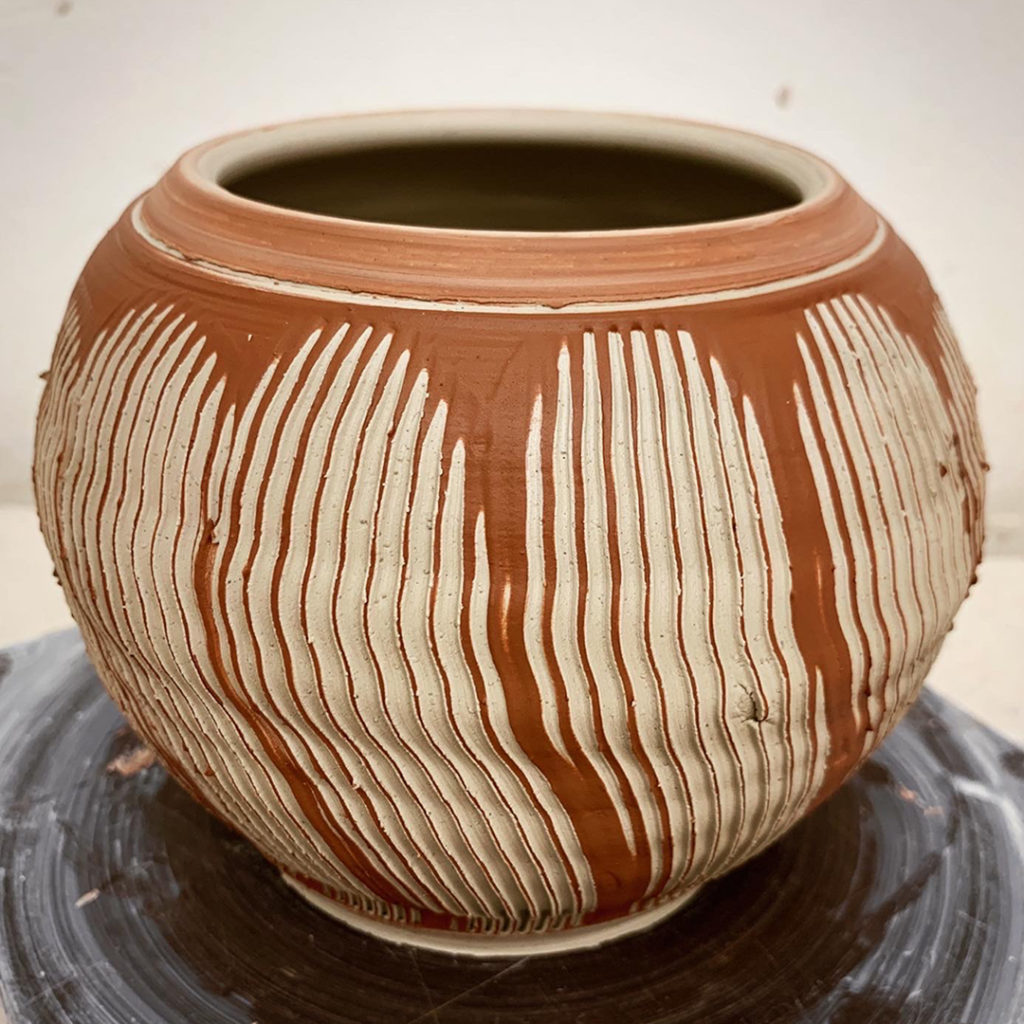


Feeling a little ROUGE inspired… and painting some RED accents on these pots tonight for my next soda firing!!!

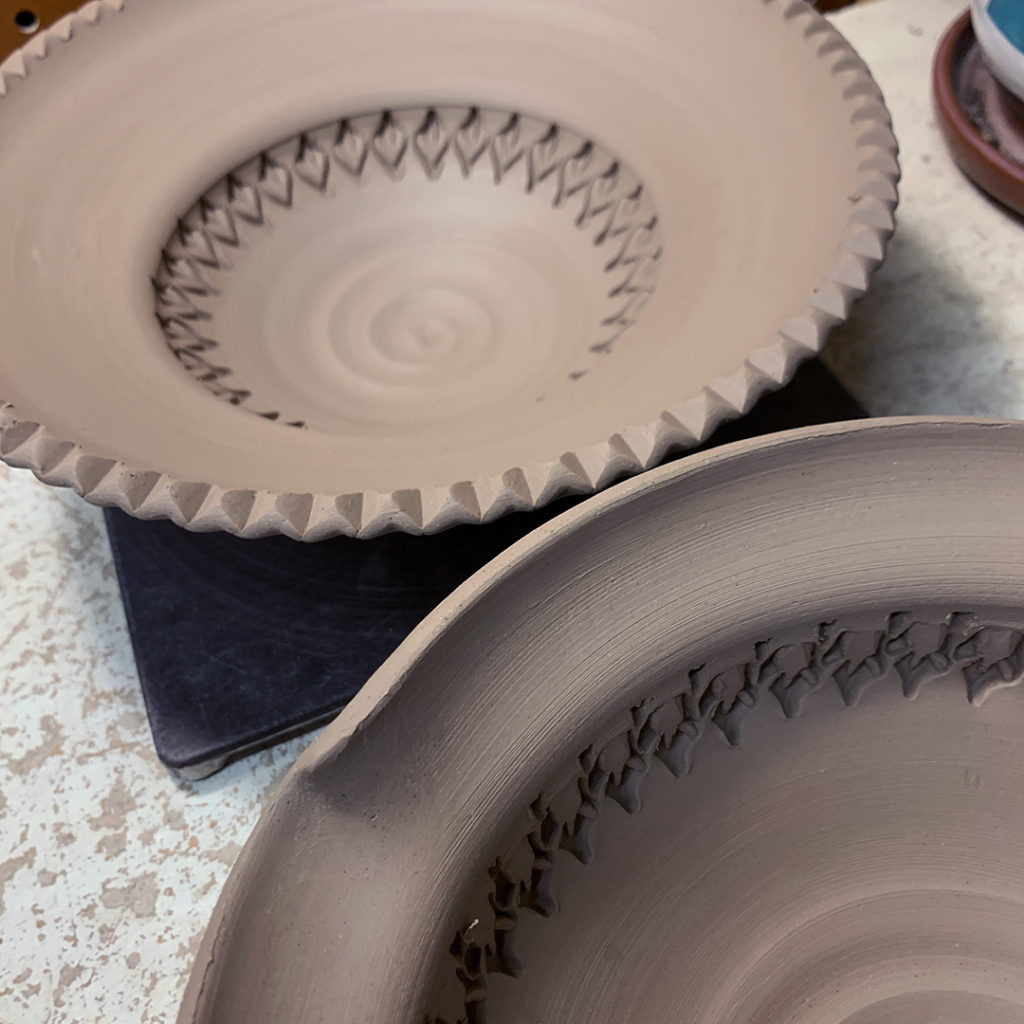
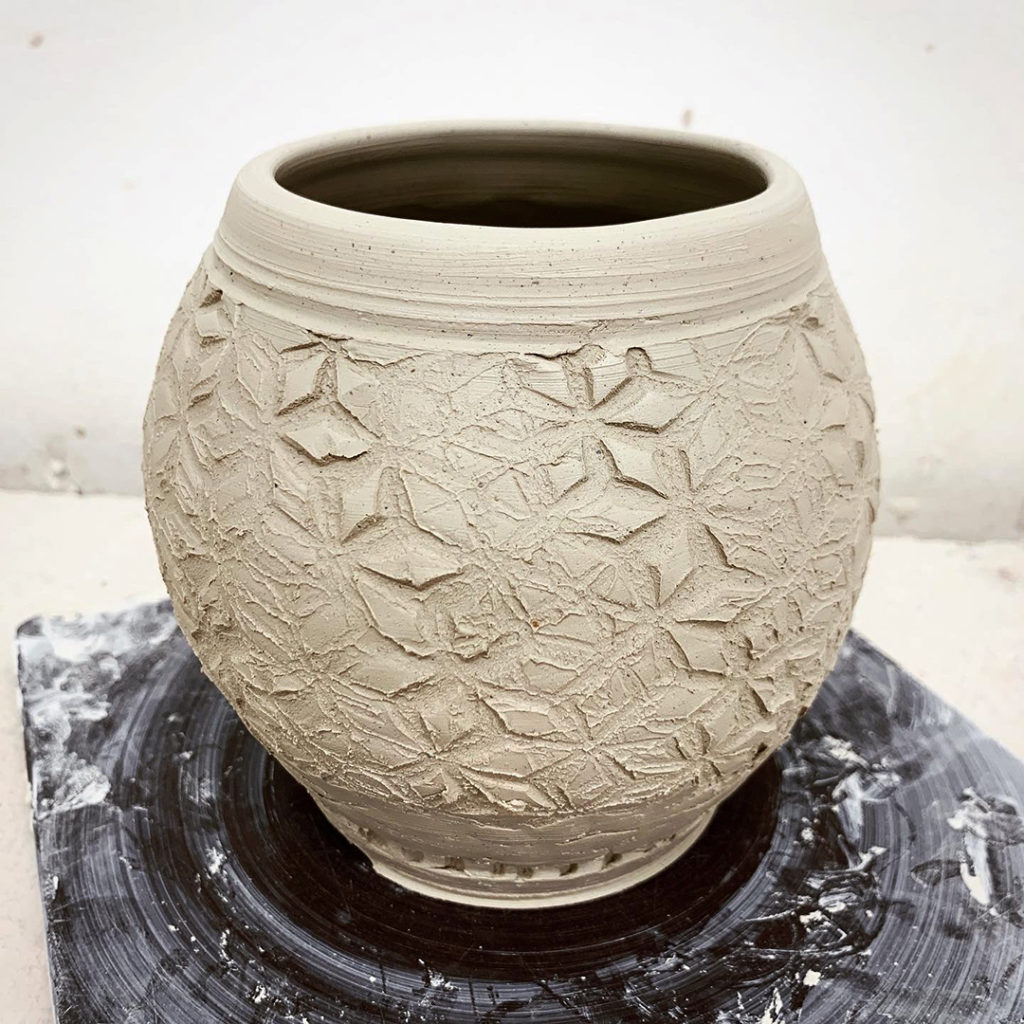
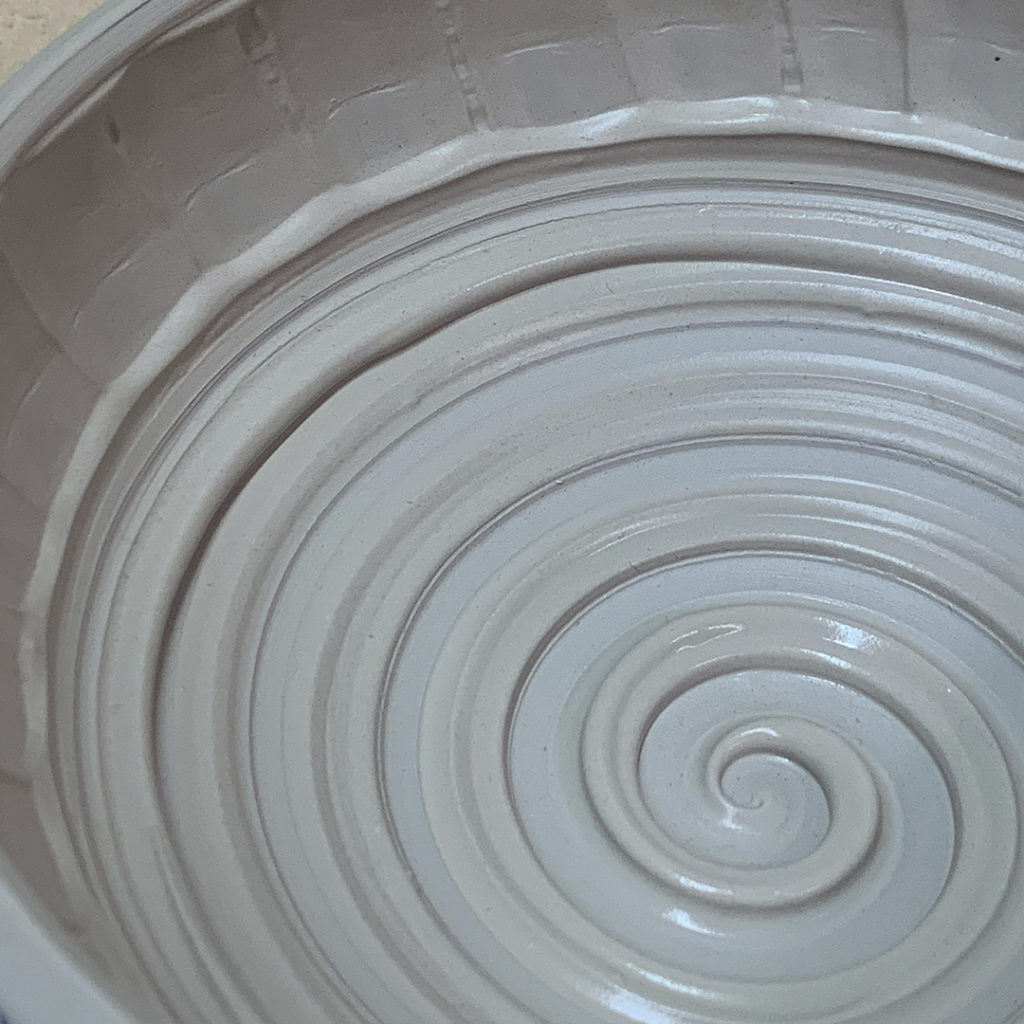
Just a few close-ups from my class demo where we introduced colored slips as a great opportunity for textures, patterns & surface decorating! Gooey spiral, chattering & squiggly fun!!!


Stamped mugs getting a little lovin’ with some accents painted with colored flashing slip. If all goes well during the soda-firing, this slip will change to a smooth orange color with nice flashing effects.
Last night was the first night of my new Surface Decoration Techniques class at Lillstreet. We started with introductions & overviews… and then started off with our first technique. I pulled out some thick colored slip to add some texture, pattern & color to a few basic bowls & cylinders… and hopefully some fun effects when we get to glazing these pieces!
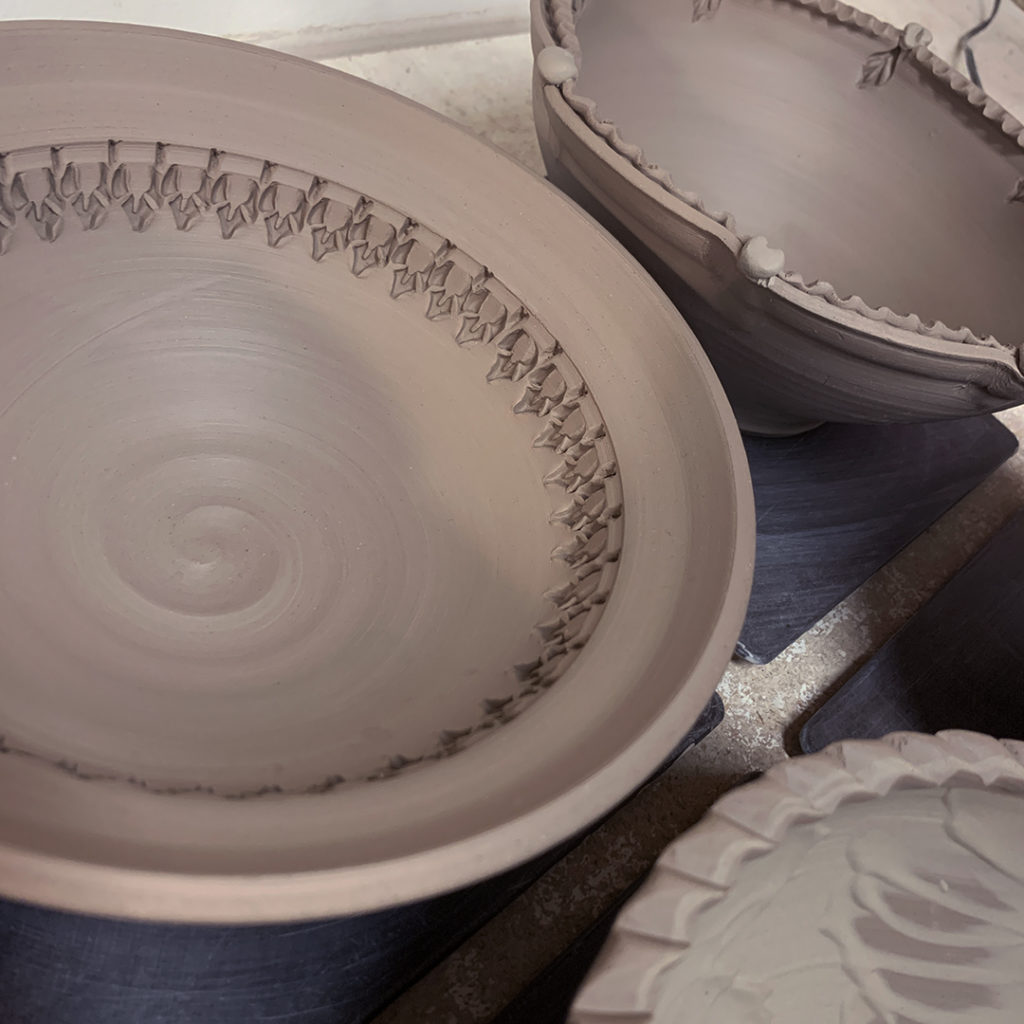
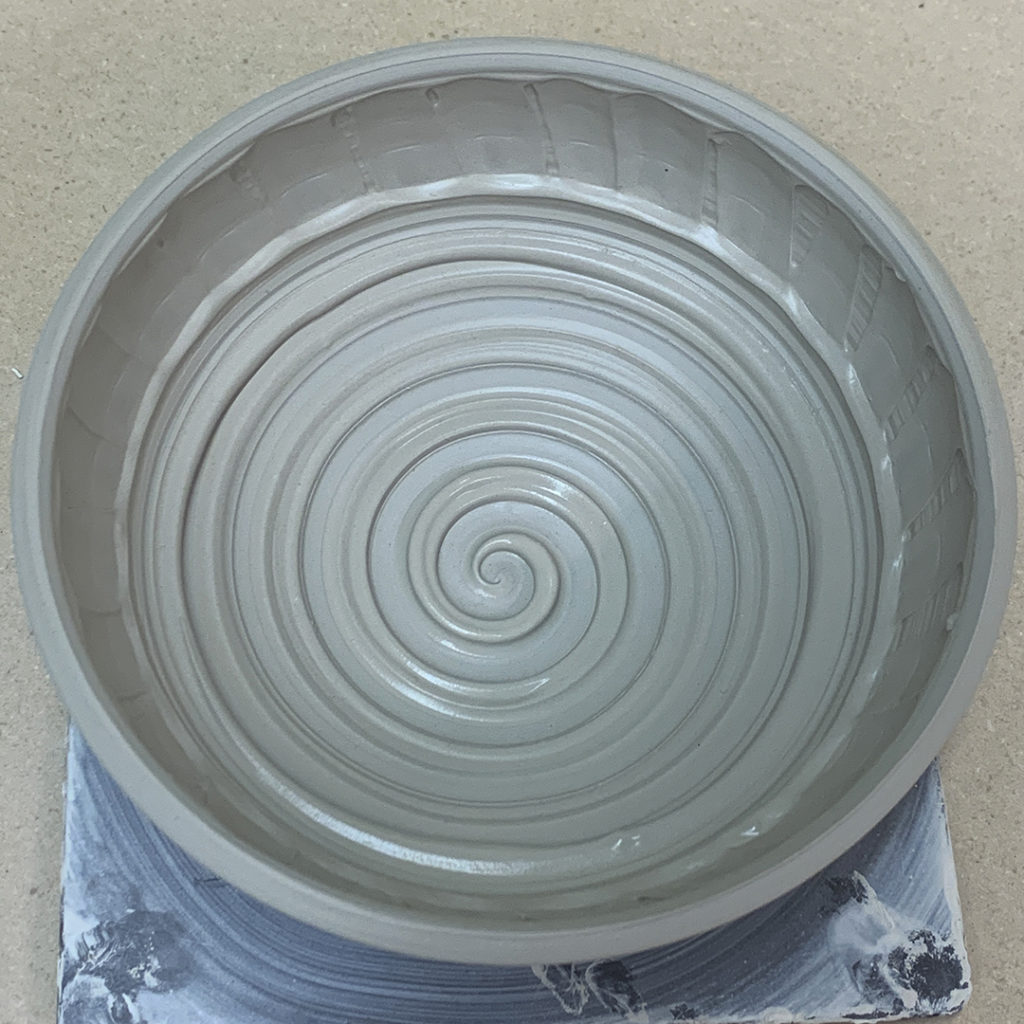
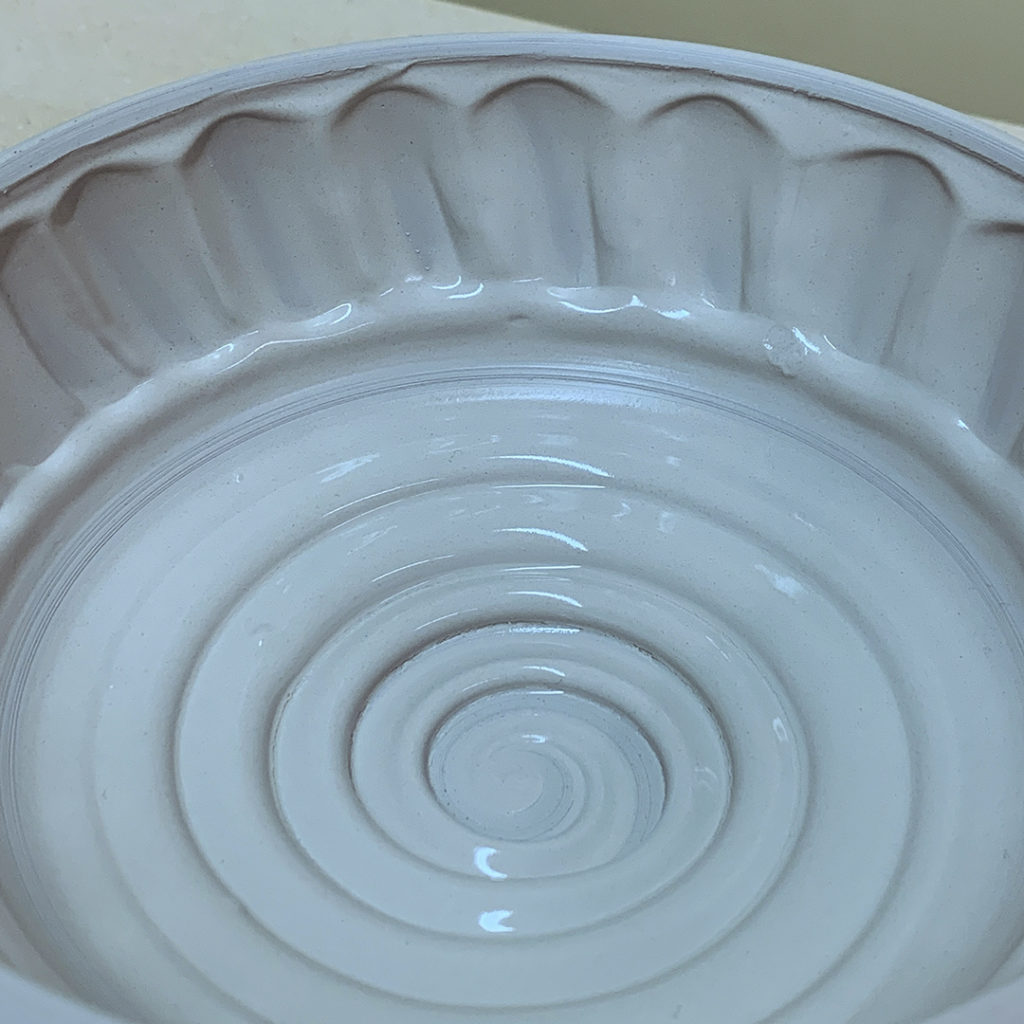
THICK SLIP BOWL #1 –
I first added a layer of thick white slip on the interior of the bowl. I showed them a few different patterns… spirals, squiggles… wiping & smoothing it back after each one. We “ended” with a spiral in the bottom and a rib-fluted pattern around the rim.

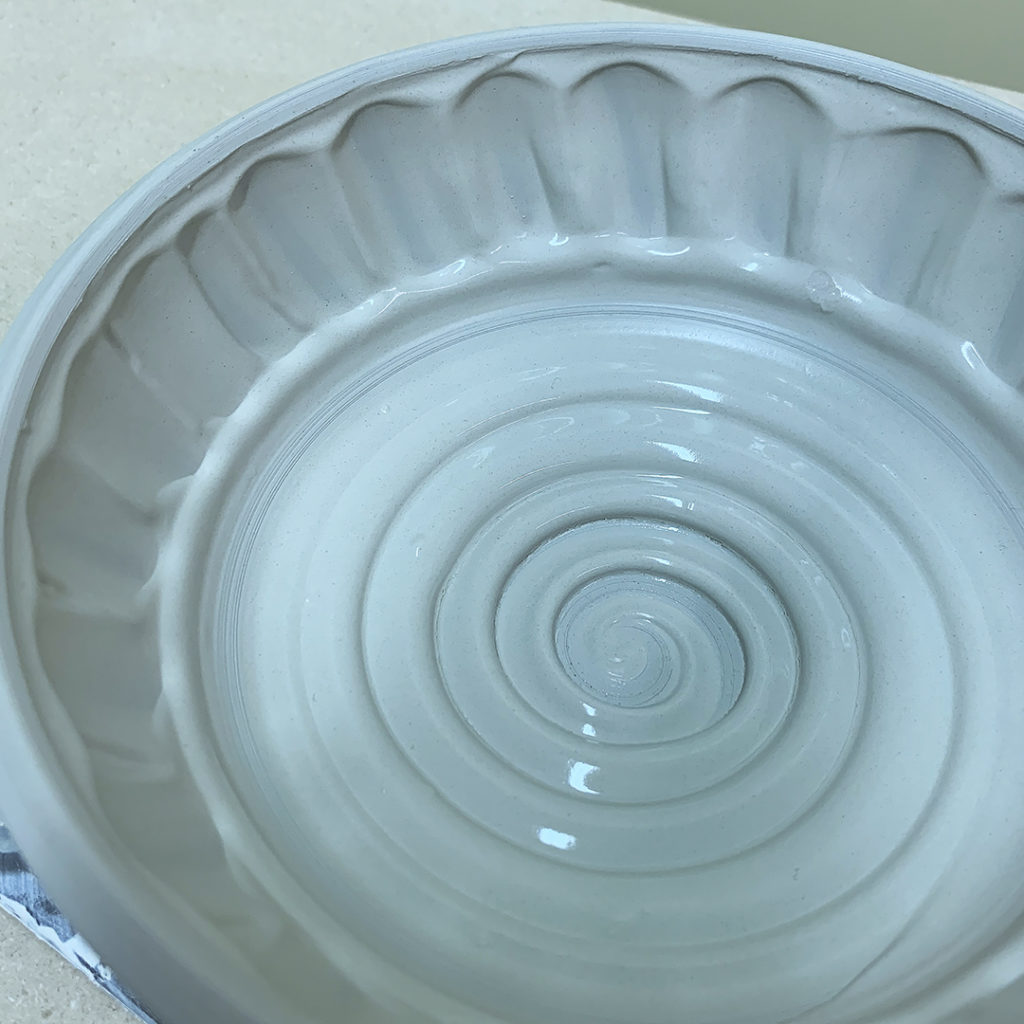
THICK SLIP BOWL #2 –
Pretty much the same technique of Bowl #1… just with a thicker layer of slip. I felt that the rib-fluted edge wasn’t apparent enough the first time. And I like how the thicker slip made it more look more intentional.

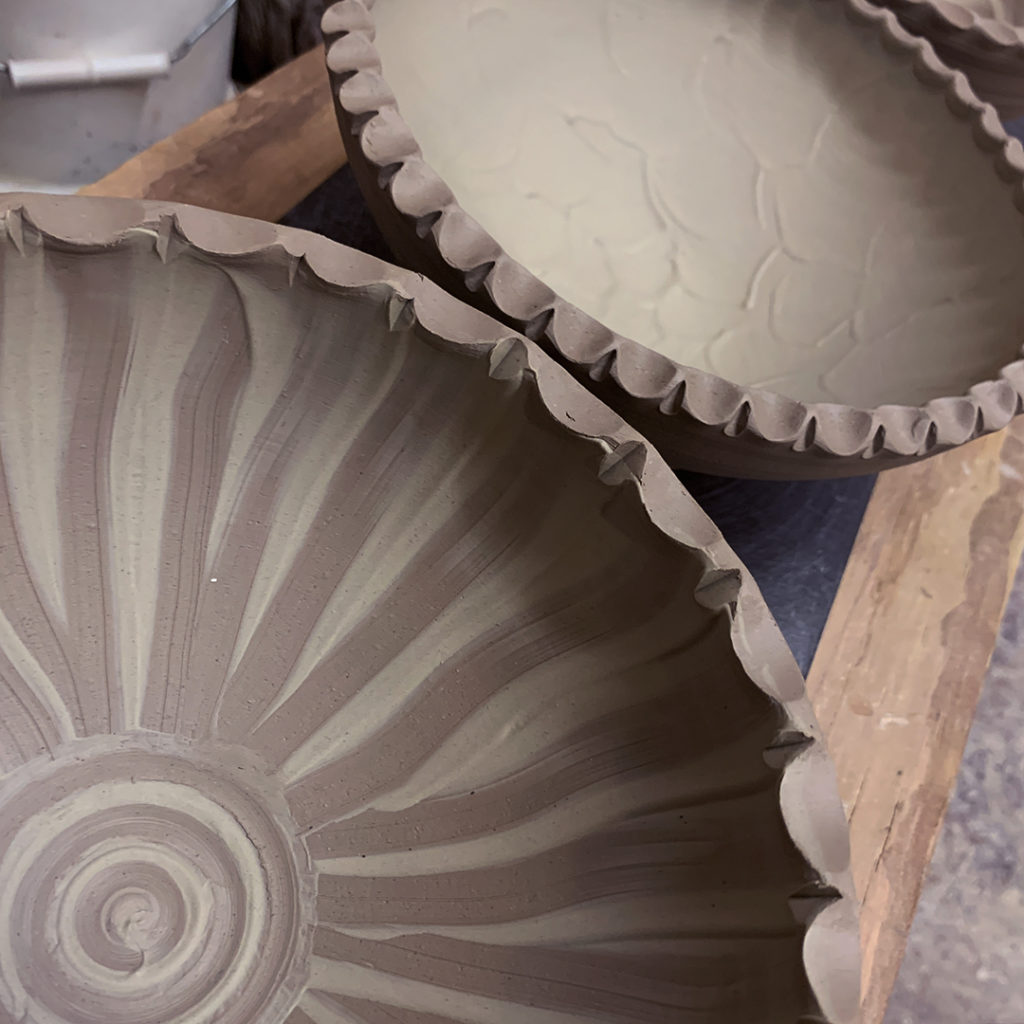
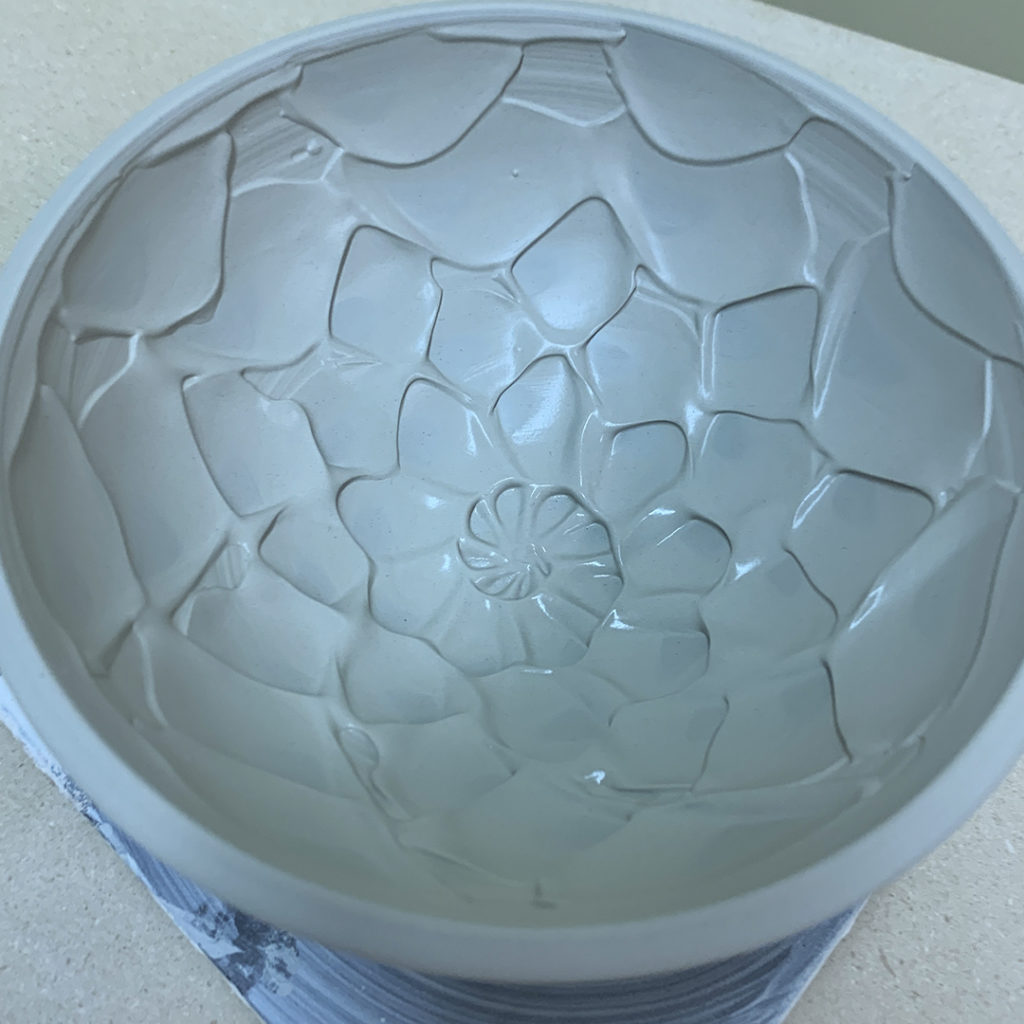
THICK SLIP BOWL #3 –
Another layer of thick white slip, and then a chattered pattern added throughout. I uses a rounded rib, and tapped the slip by moving the rib up & down… and up & out… while the bowl was spinning. The pattern is created by the speed of the chattered tapping, the speed moving up, and the speed of the wheel’s rotation!
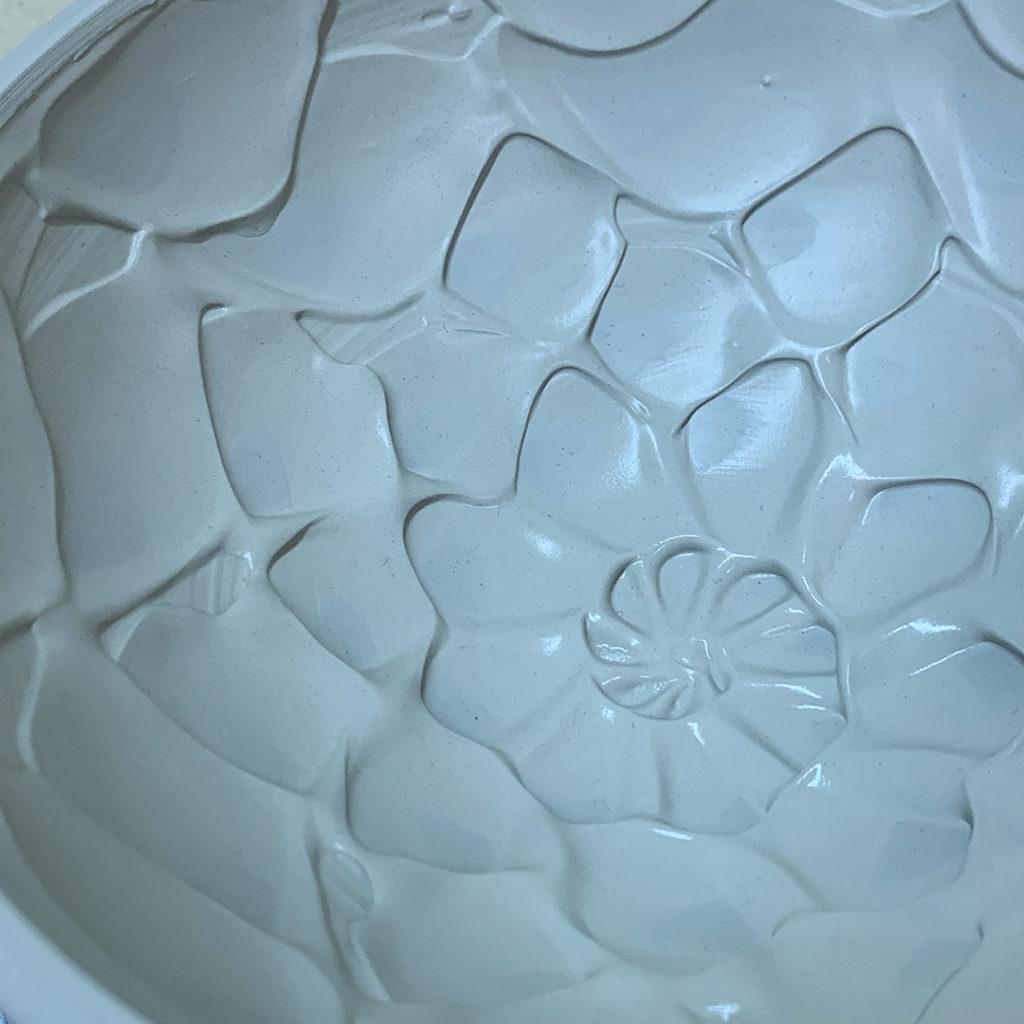
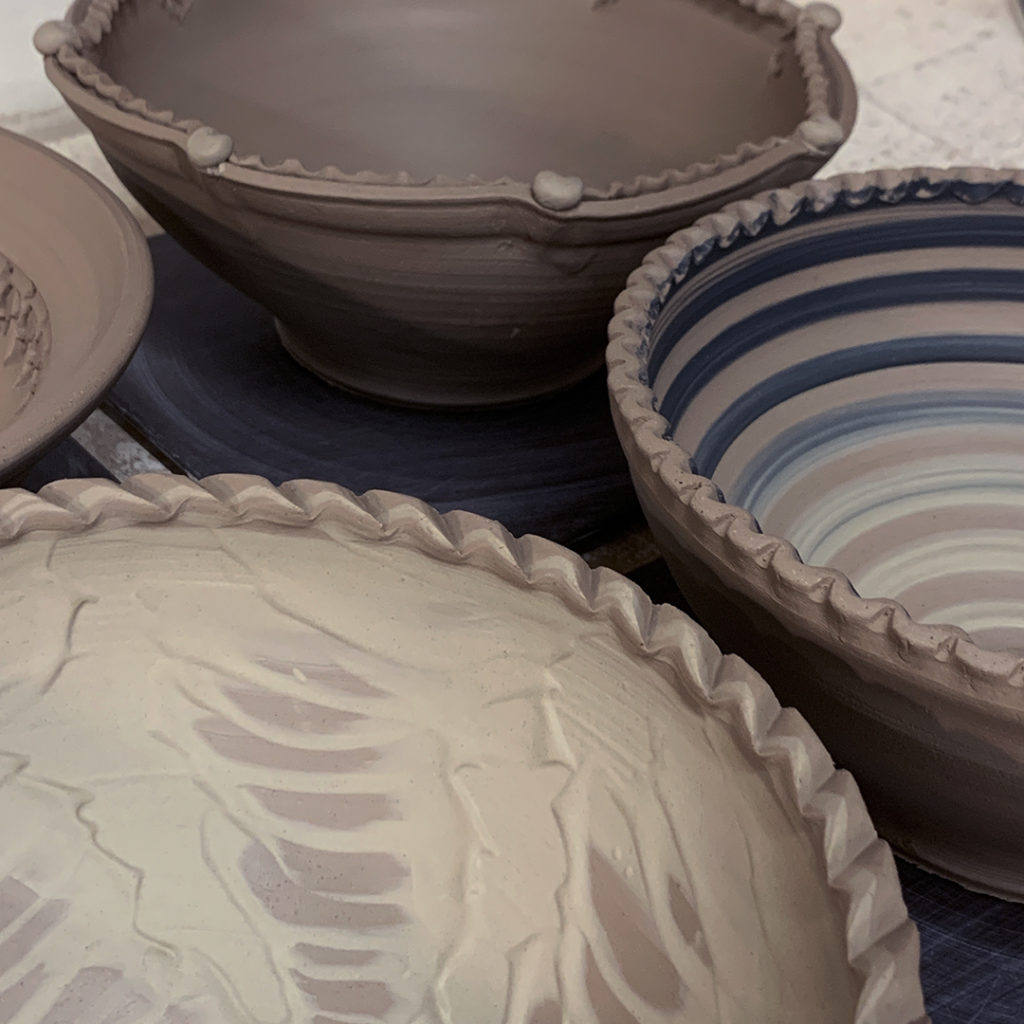
THICK SLIP BOWL #4 –
For this bowl we did an ombre’ blend of white & green slips. A simple blending of colors. I feel it still looks kinda plain, so I think there “might be” a little bit of carving to come on this one!!!

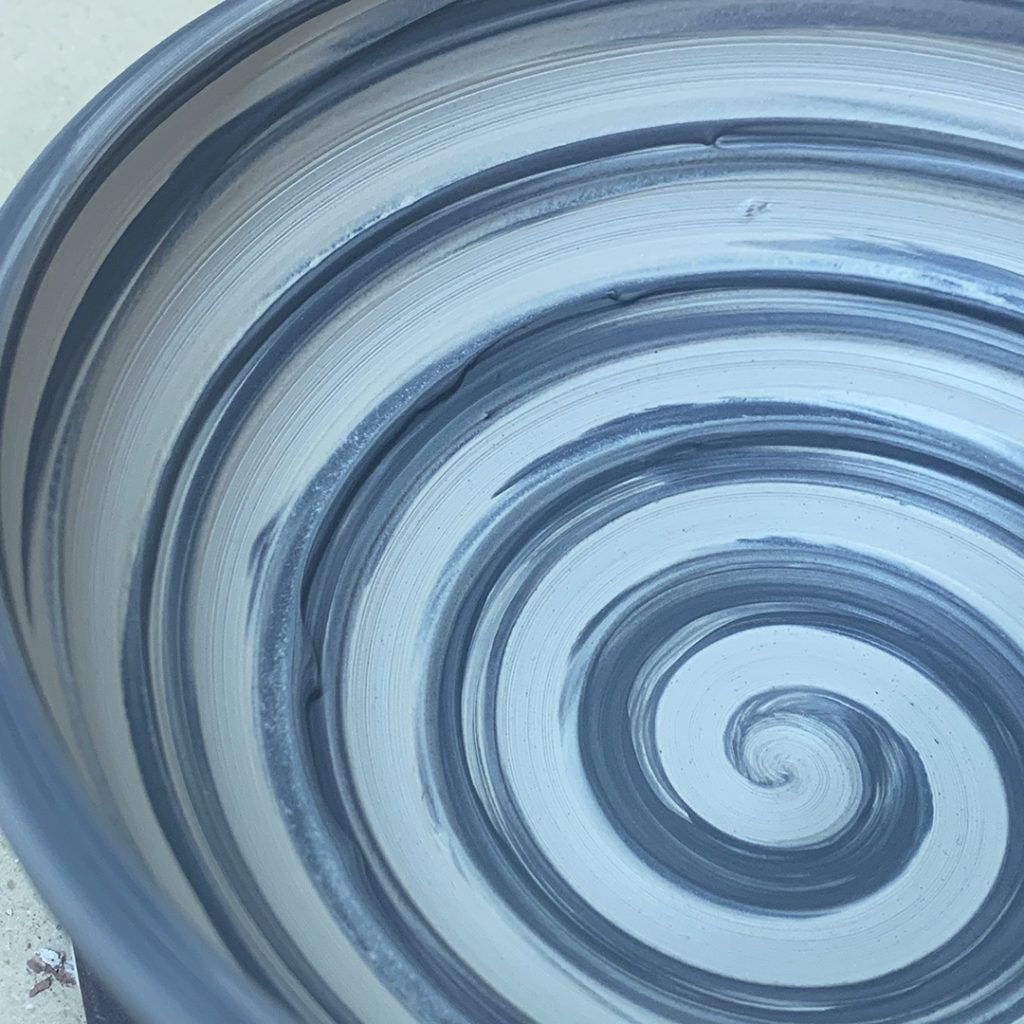
THICK SLIP BOWL #5 –
For this bowl, I “tried” to squirt a perfect spiral of black slip into the bowl while it was spinning. But the slip was a bit too thick and didn’t come out of the bottle smoothly…. spurt… spurt… sputter… glops!!! So then we needed to “fix” that… so I smoothed it out with a rubber rib giving it an uneven black slip surface with some clay still showing through. We liked the marble effect… but it seemed a bit wimpy. So I added a spiral dragged through at the end.

THICK SLIP CYLINDER #1 –
We’ve all seen this technique showing up on our Instagram Feed from Joe Thompson @oldforgecreations… so we decided to give it a go! Not a real success… the slip was a bit too gloppy… there were a few “chunks” in it. But when I squirted it on… and then tapped it down a bit to make the slip move… we did get a lot of “oohs & ahhs” from my students!!! Definitely not as easy as Joe makes it look… but fun!
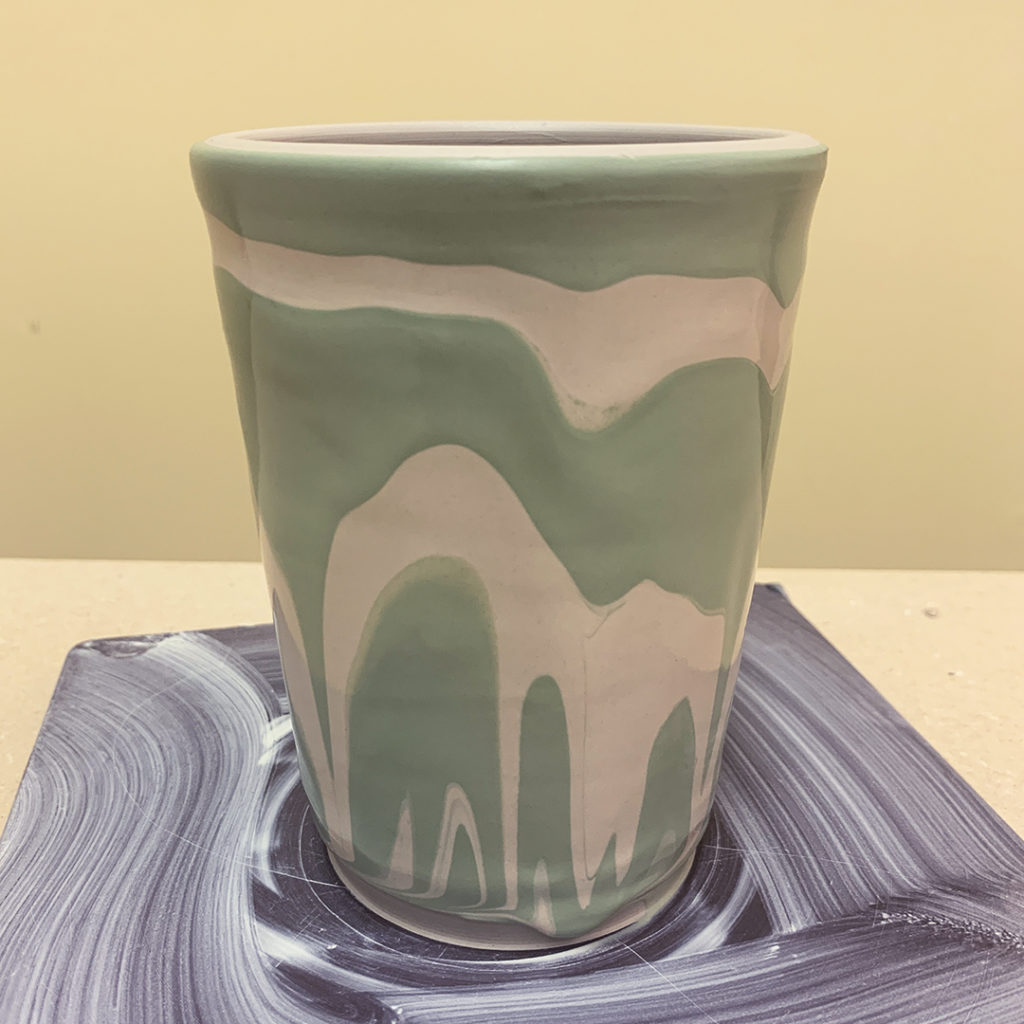
THICK SLIP CYLINDER #2 –
We decided to try another version of the drippy slip technique. This time with two colors of slip. I tried to add a “stripe” of green slip down the side of a squirt bottle… and then add more white slip “on top” of the the green. Idea being that when squirted out, you would get more white slip with a little undercolor of green. Kinda gloppy… but not bad for our first attempts! I’m pretty sure I’ll be leaving this technique for Joe who perfected it for us!!!
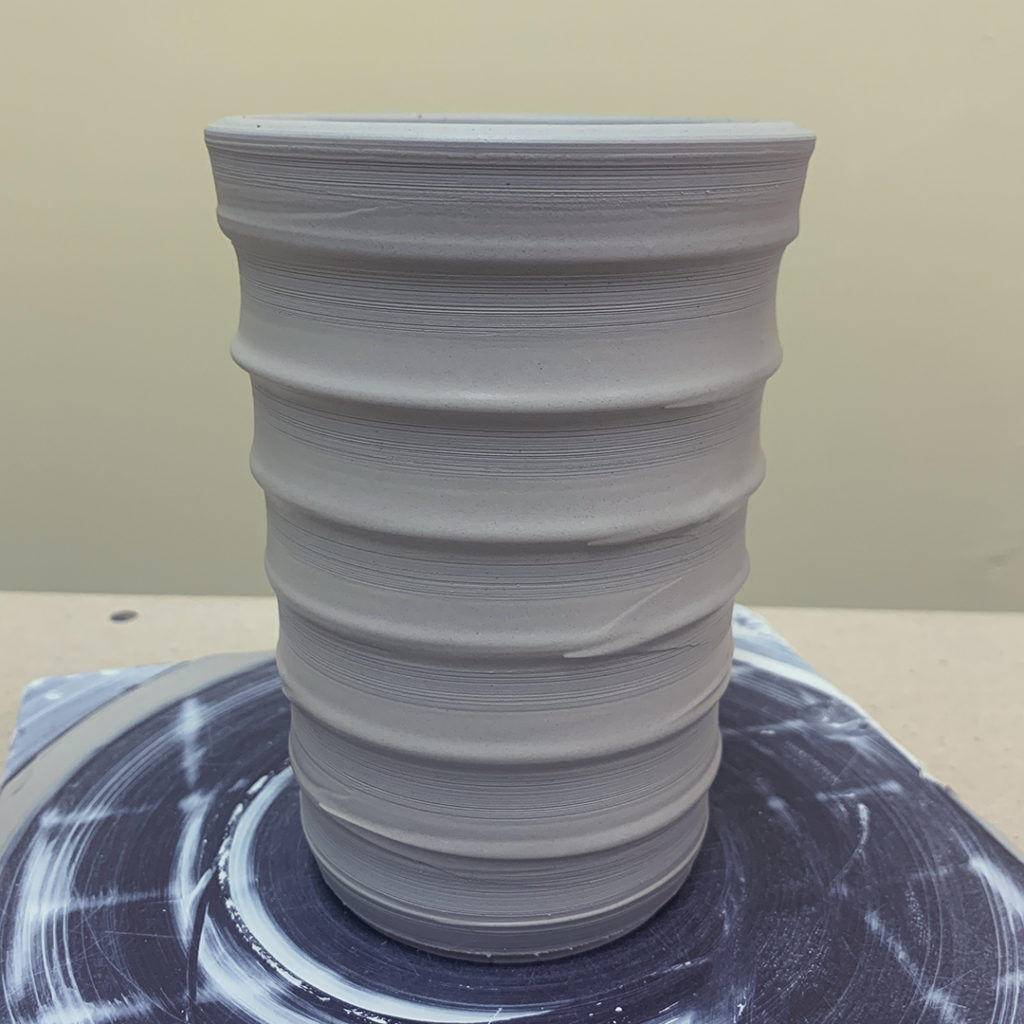
THICK SLIP CYLINDER #3 –
This time I covered the exterior with thick white slip, and then dragged a rounded rib across the outside to make these horizontal ribbed grooves.
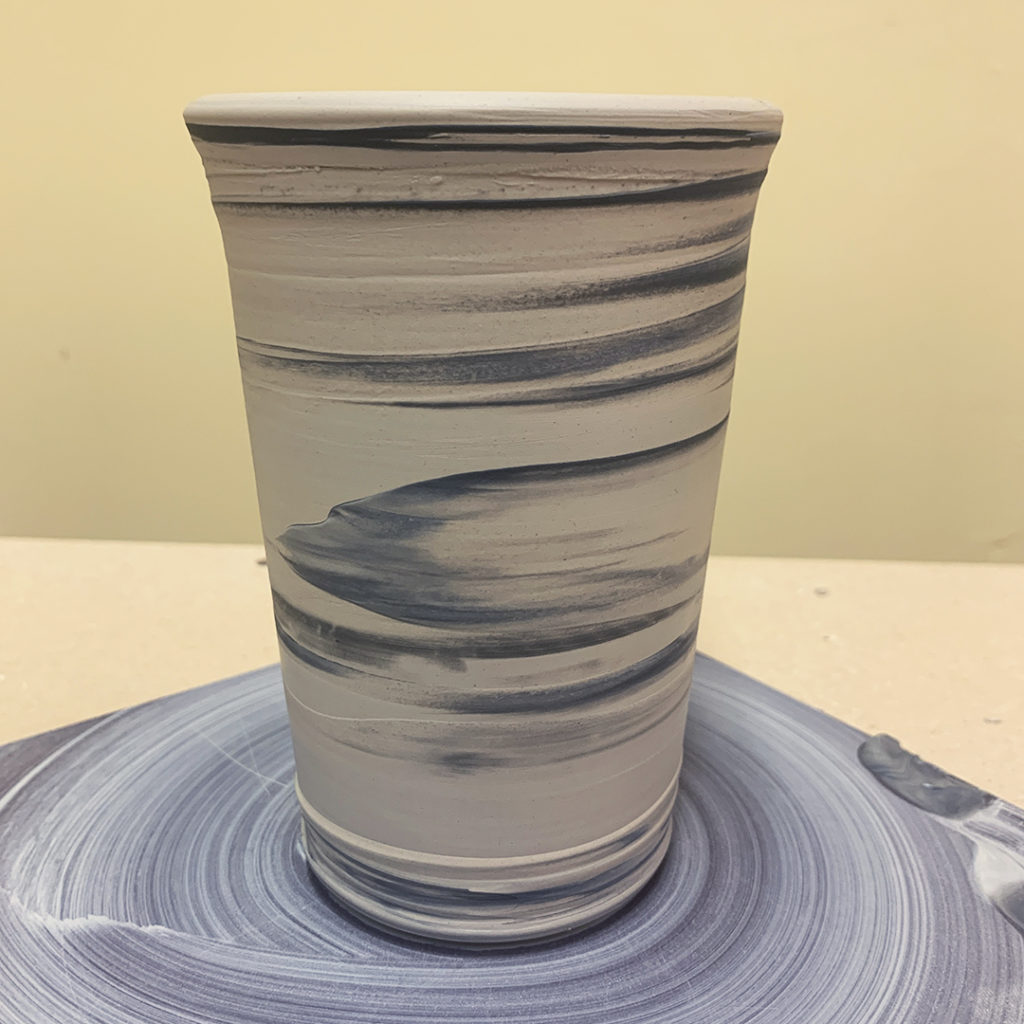
THICK SLIP CYLINDER #4 –
For this cylinder, I tried again to make a “perfect” spiral going down the outside with a squirt bottle filled with slip. But again, it sputtered & spurted. So I draged a rubber rib across it and it surprisingly made this marble-clay-like effect. Done... and so much easier that actually making colored clay and throwing with two colors in a marbled clay!
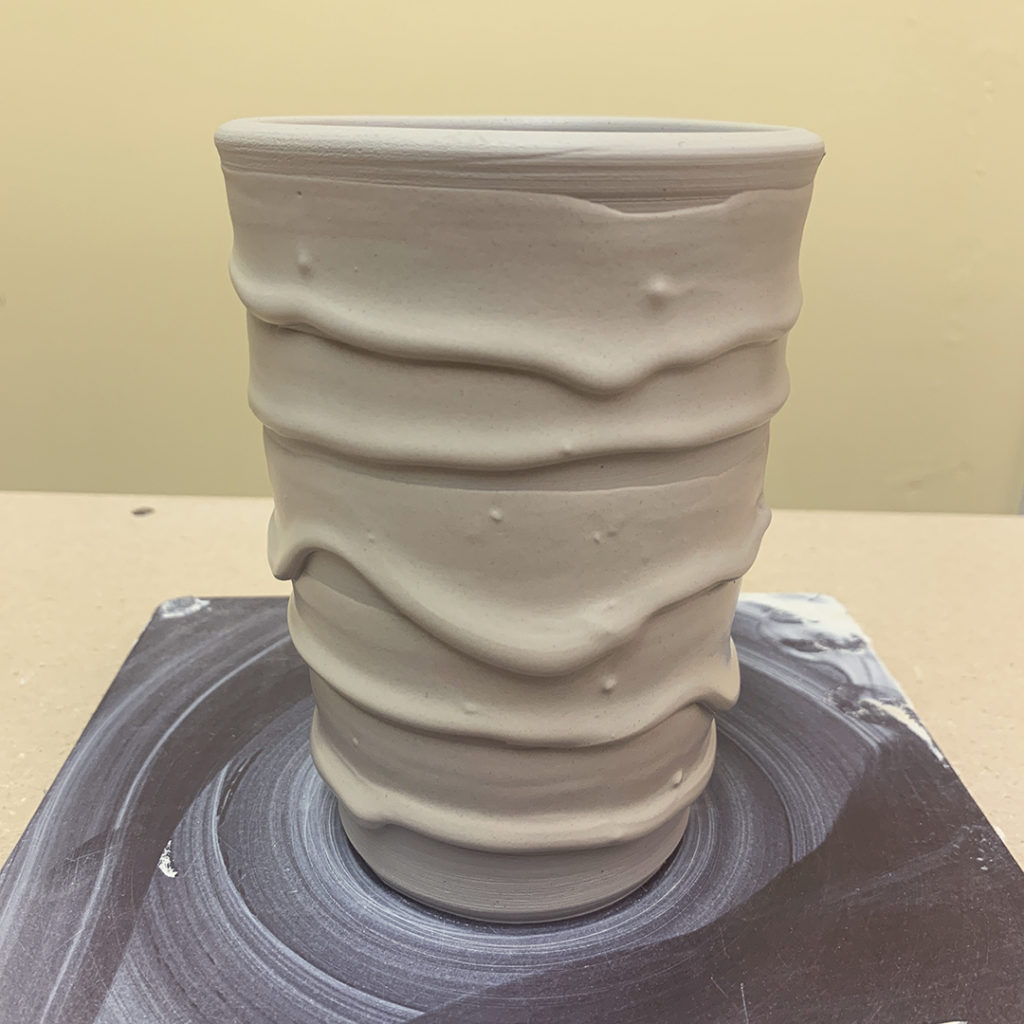
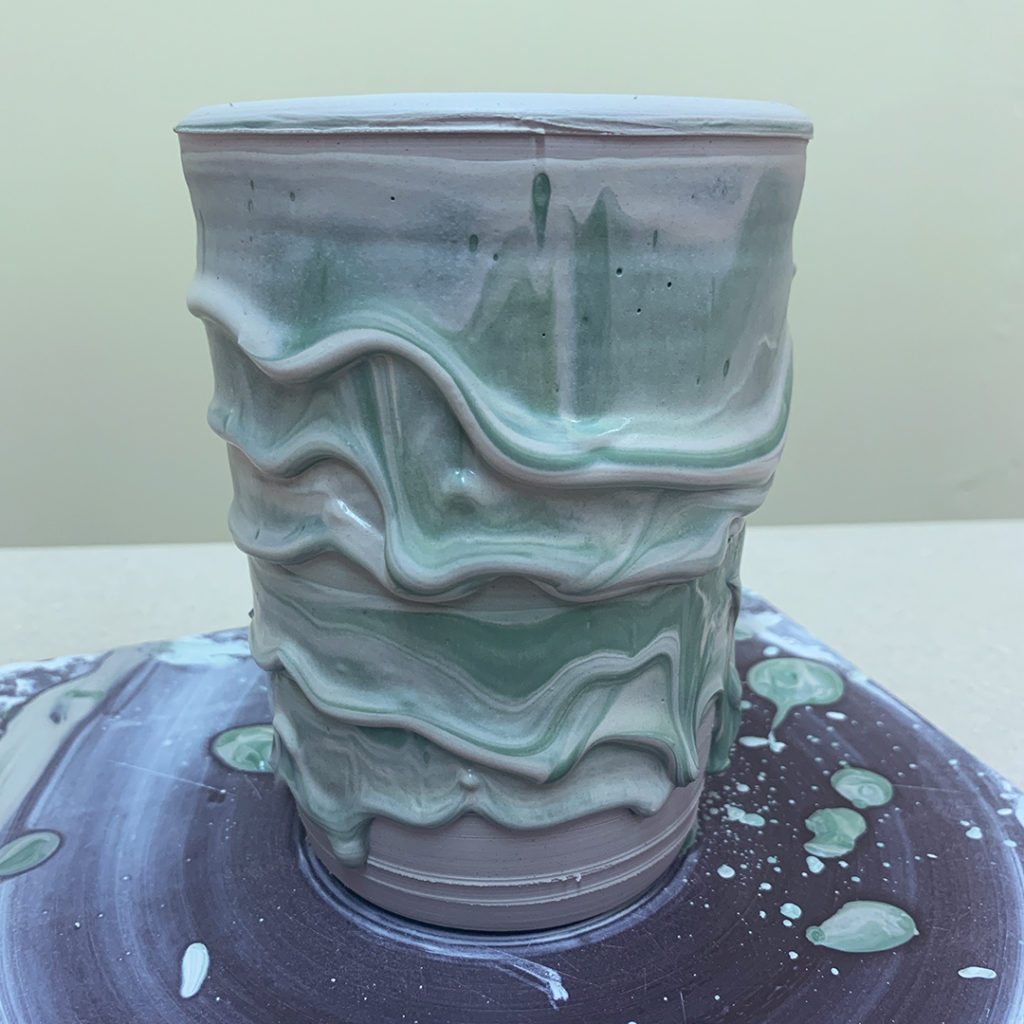
THICK SLIP CYLINDER #5 –
Because I was having a bit too much sputtering & spurting with the squeeze bottles, I added some water to them and shook them up. But maybe a bit too much water?… as it wouldn’t hold its shape & thickness any more. So when I squeezed the white on the side at the top, it just ran down and covered the exterior. So I tried adding some green, and it too ran down and covered the entire exterior. So I tried again, and again, and again… each time trying to vary the amount of slip squirting out. At some point, my layers started to give me a groovy-drippy tie-dyed look… so I stopped!
And for now they’re all in my studio under wraps.
Today I’ll open them up and do a bit of details & refining.
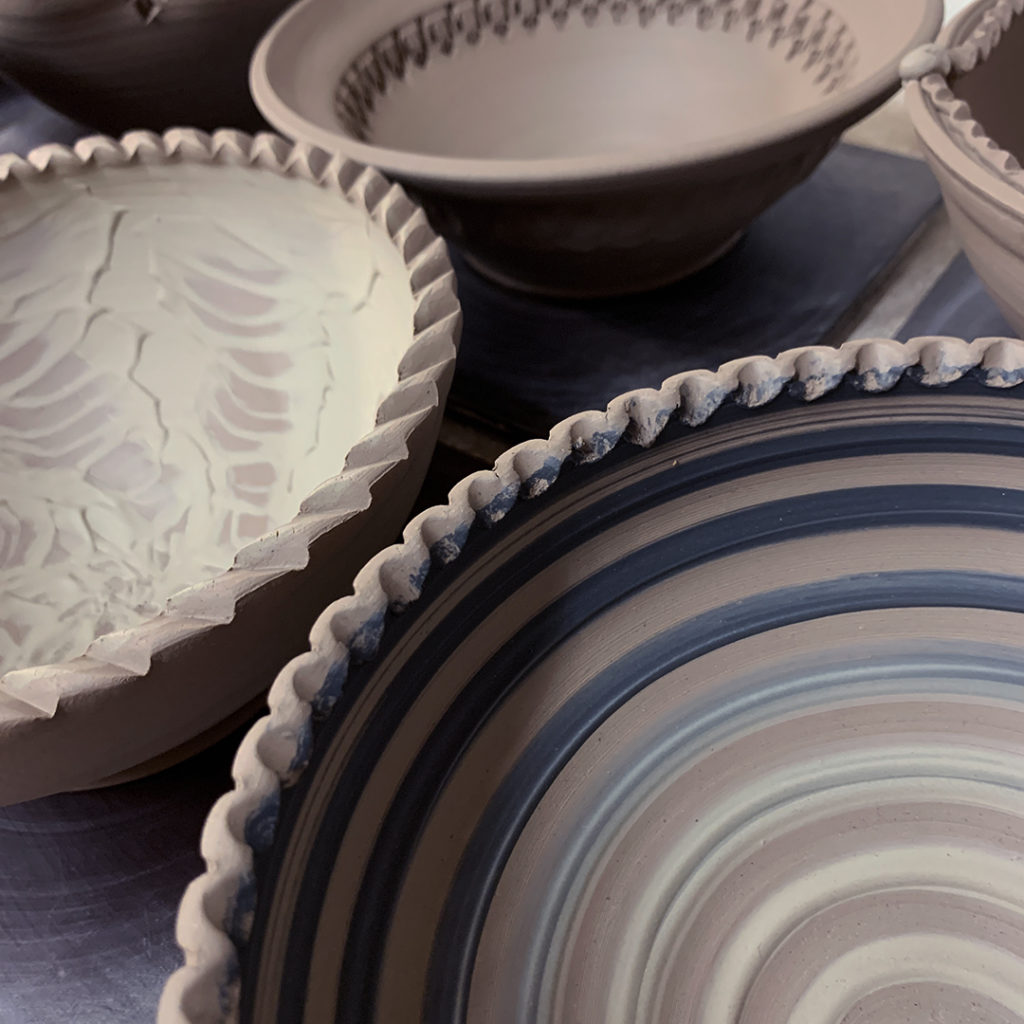
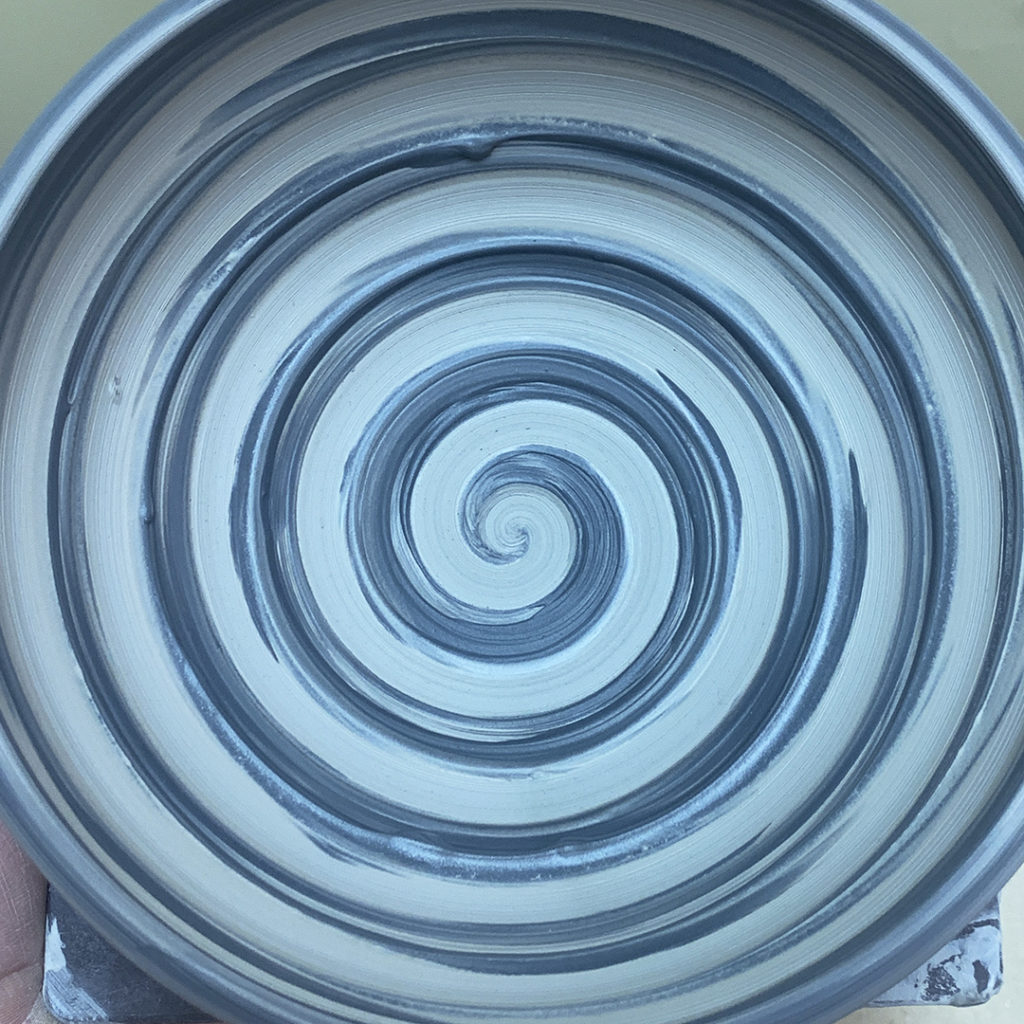
And since we were already playing with black & white slip last night… ya’ gotta love a good spiral. This was an ombre’ blend from black to white slip, and then I dragged a tool through it for the spiral. I especially LOVE the very center… that round drop and the tiny tail that swirls out from it!!

And in case you were wondering… it’s just the inside of a bowl.
However, this one won’t become a berry bowl like the others. I like the spiral too much to punch holes through it!!!

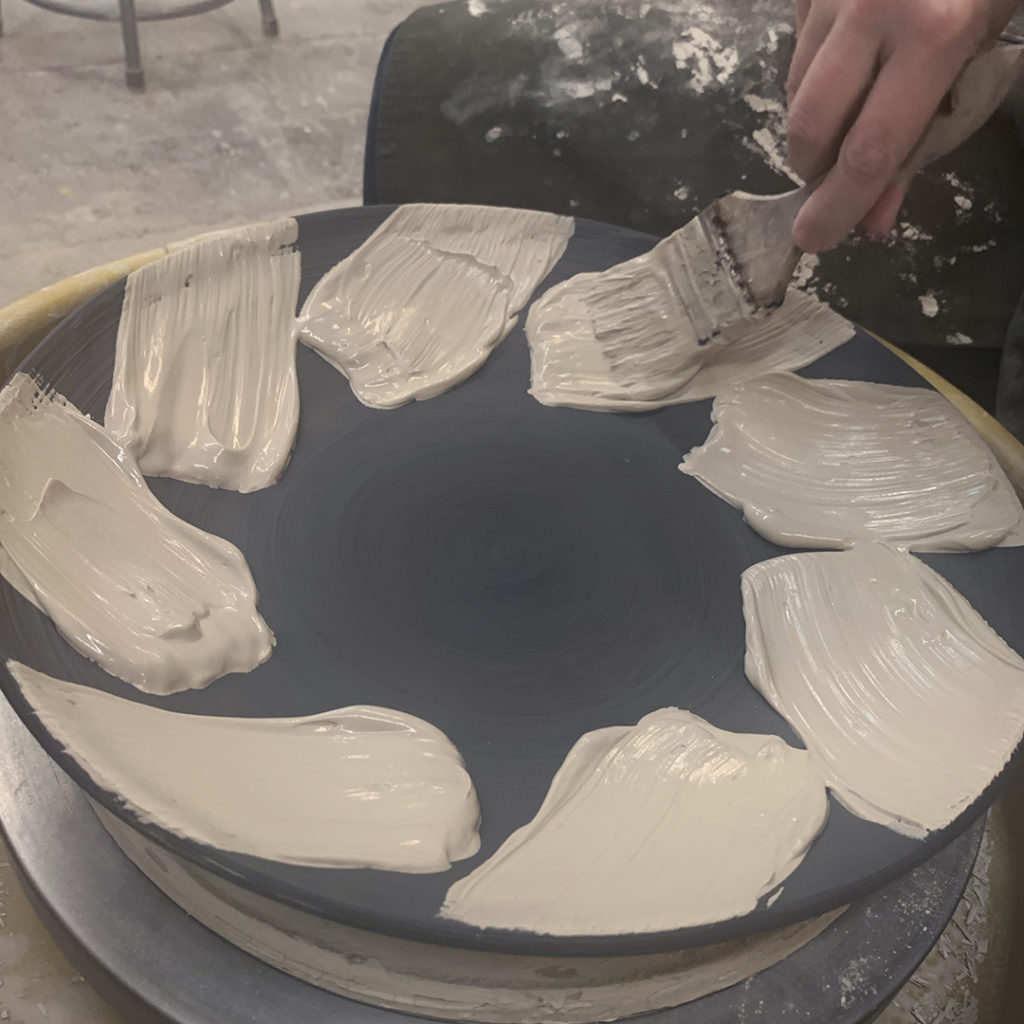
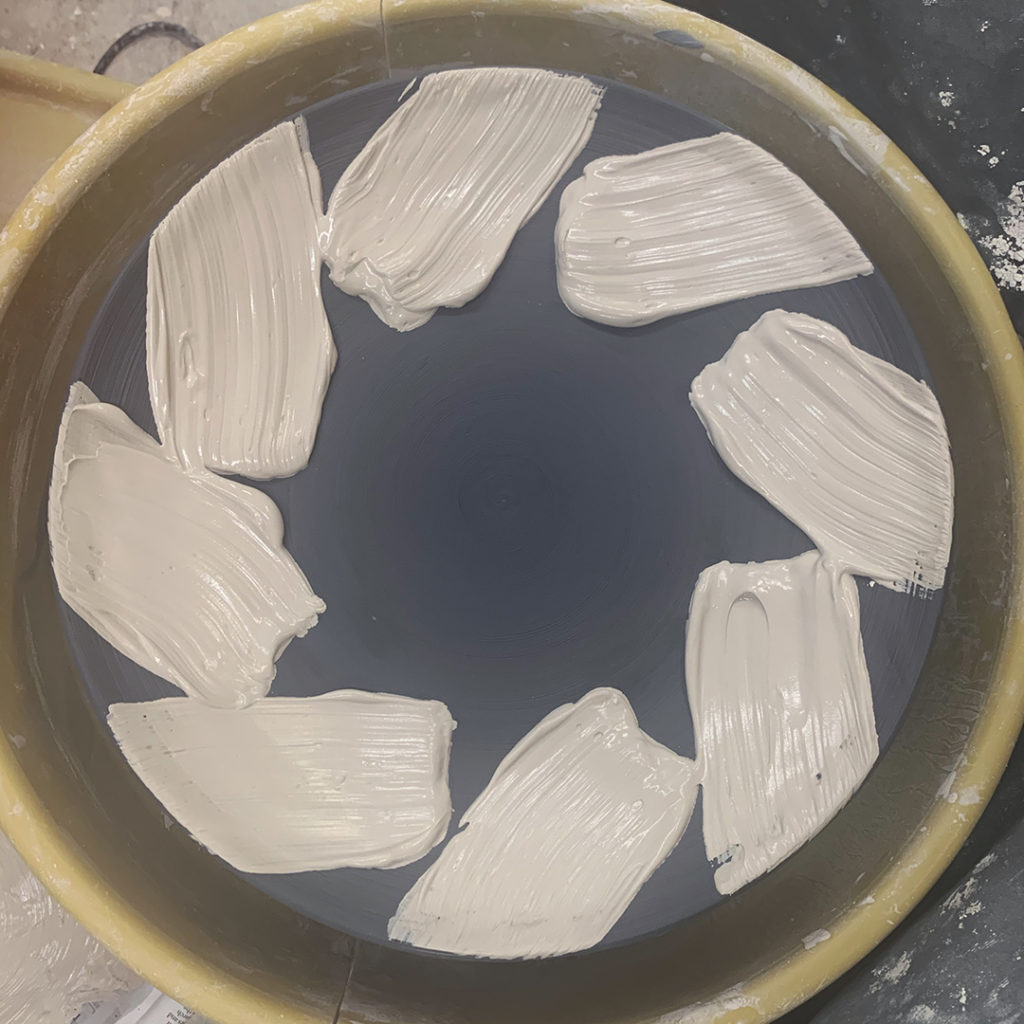
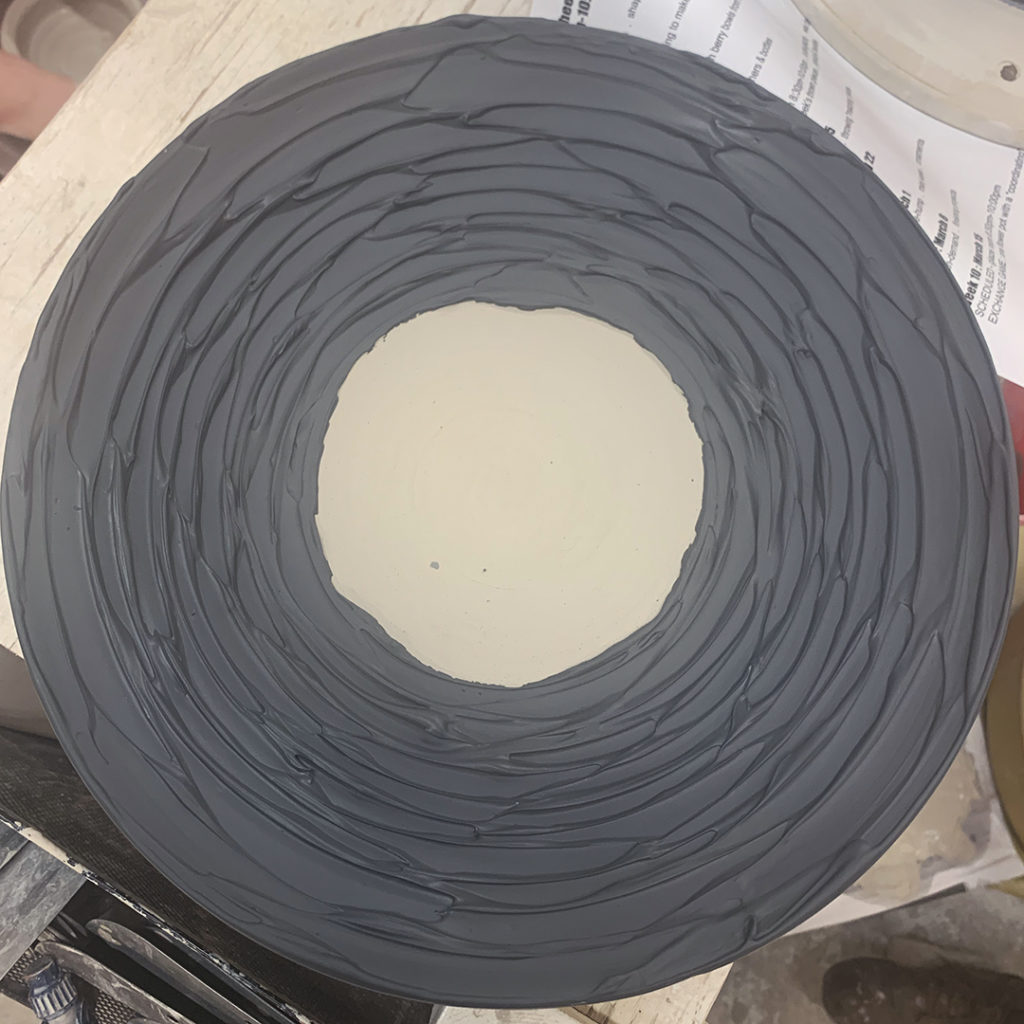
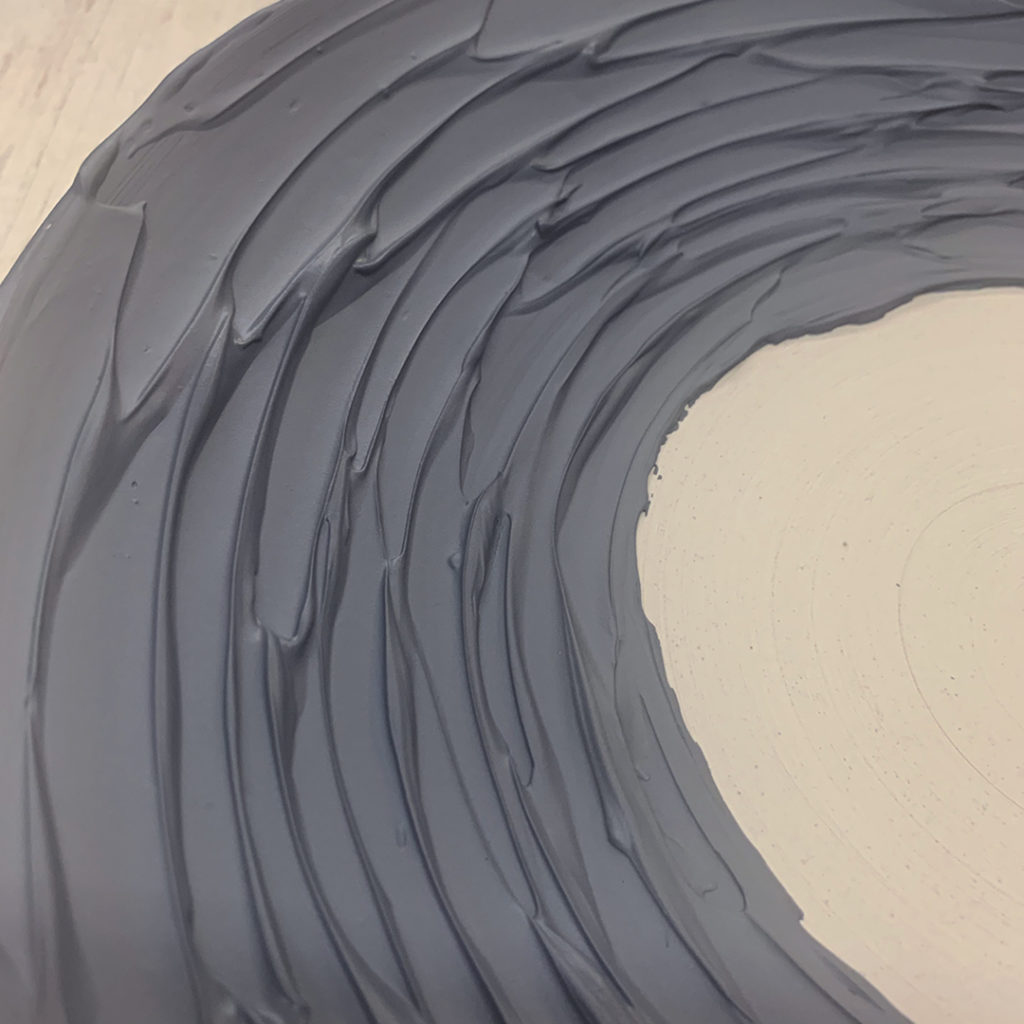
Also last night in my pottery class, Kelly was decorating some large platters with thick slip. We were all loving the spontaneous-looking textures & patterns she was getting as the slip squished & rippled in all the right places!!!
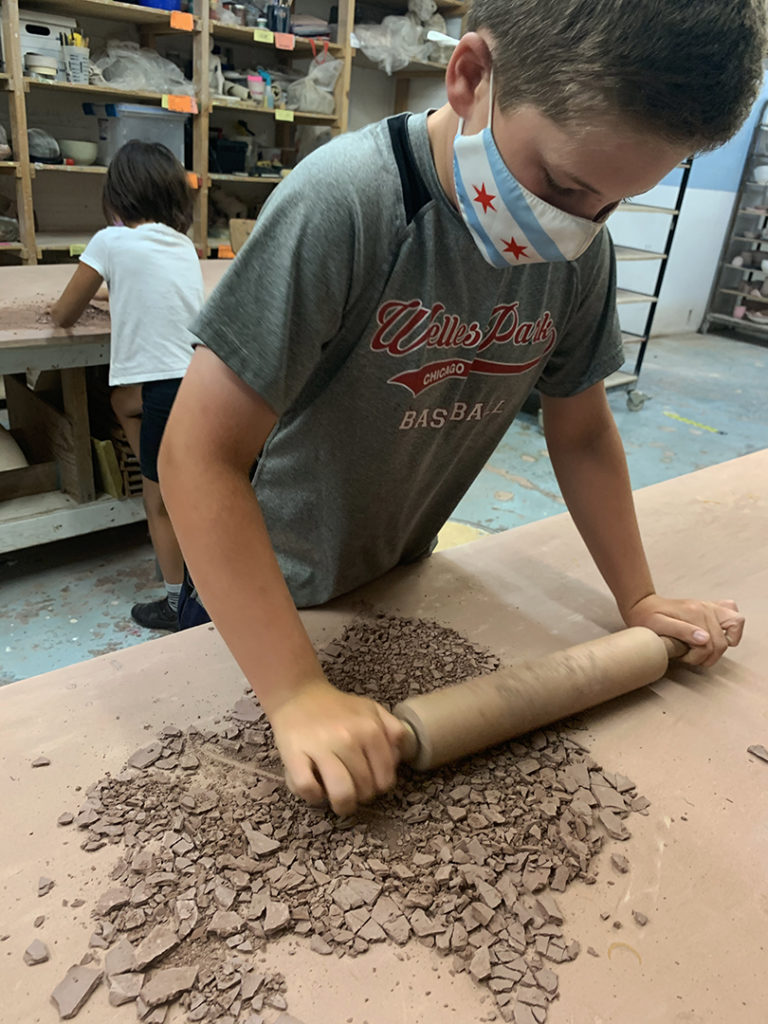
So I keep telling the kids to keep their wet clay under plastic so that it doesn’t dry out. Spray it water if necessary… but keep the extra scraps under plastic!!! We talk a LOT about not letting their clay dry out too fast.
And THIS is why!!!
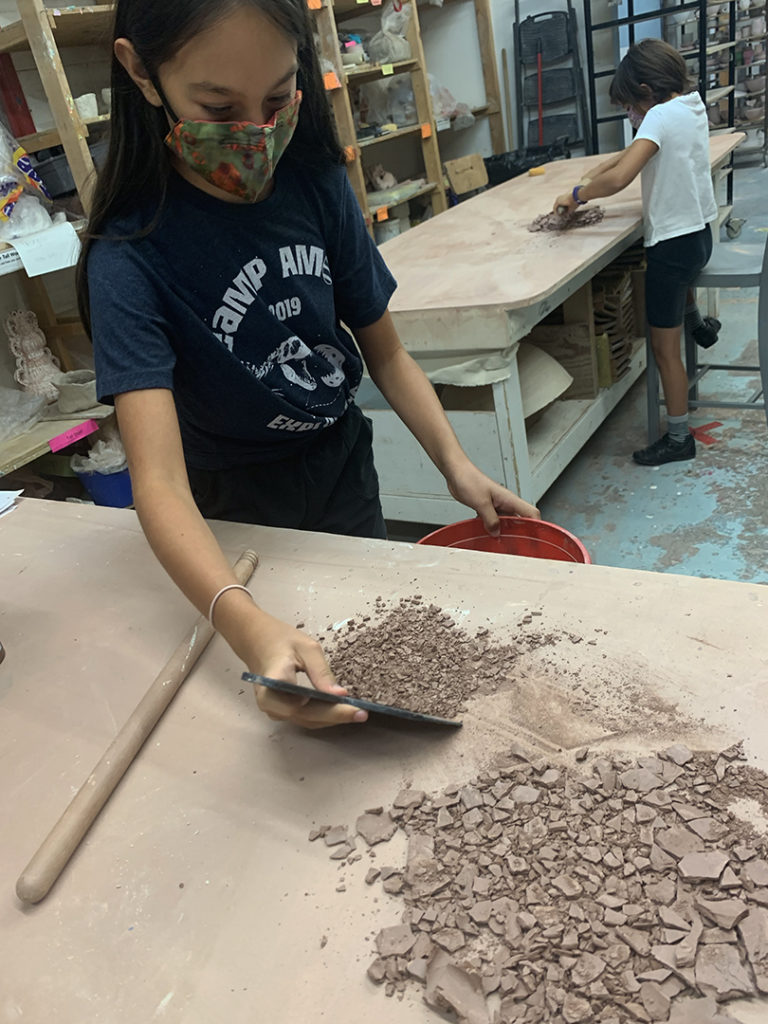
Because now they need to reclaim it themselves… making terra cotta slip out of their scraps. Because dry clay is not usable for their dinnerware sets!!! So now they need to do some manual labor… all part of the clay process. And an important lesson to learn.
So we start by having them pulverize their dried terra cotta pieces – pounding & crushing with rolling pins. For once,. it was a good thing that everyone has to be wearing masks!!!… as this can be a bit of a dusty process.


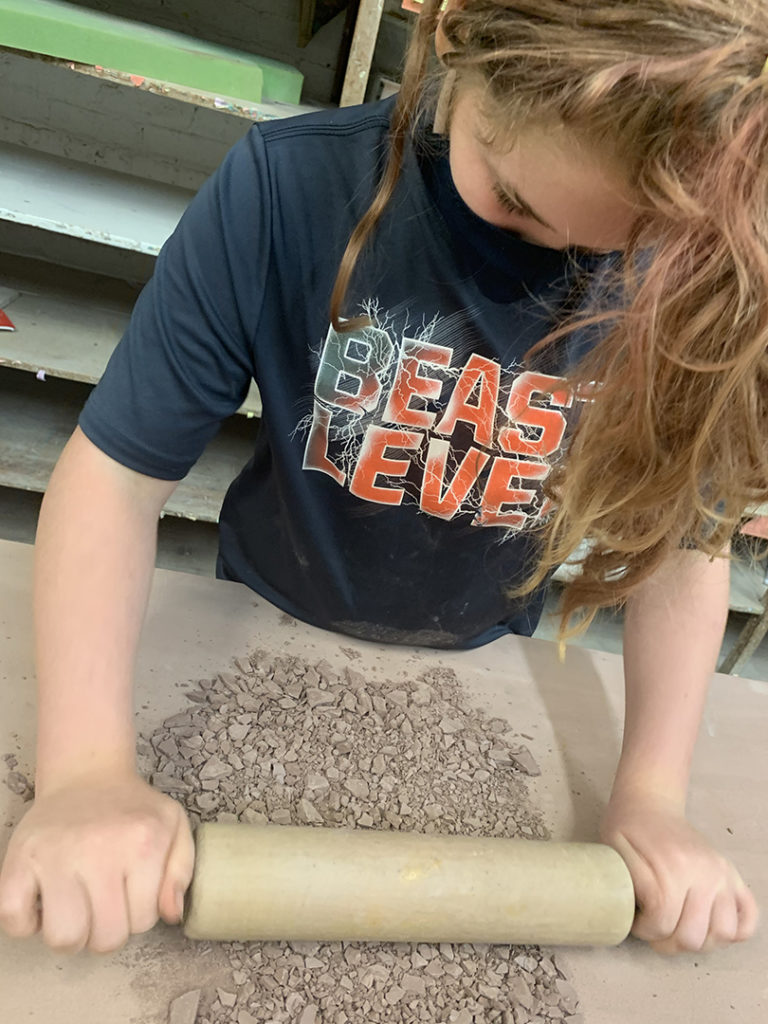
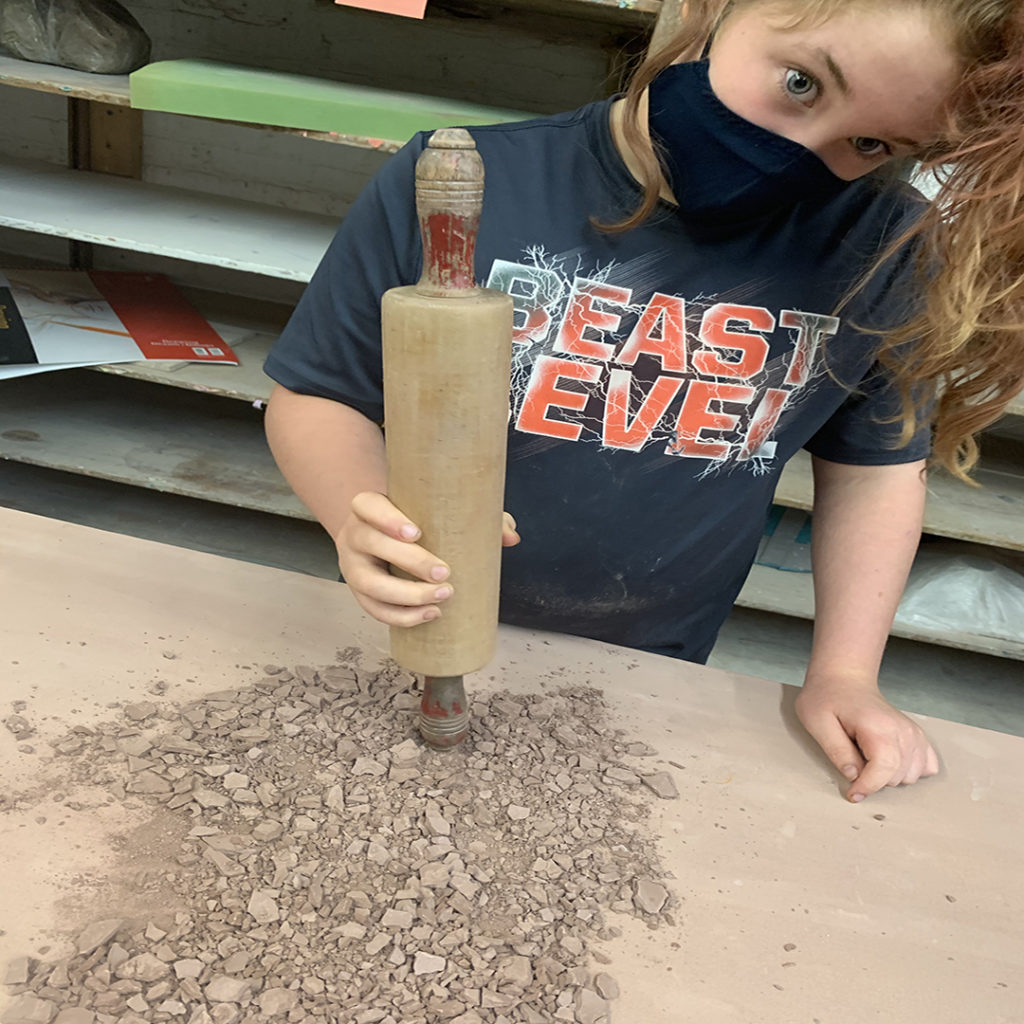
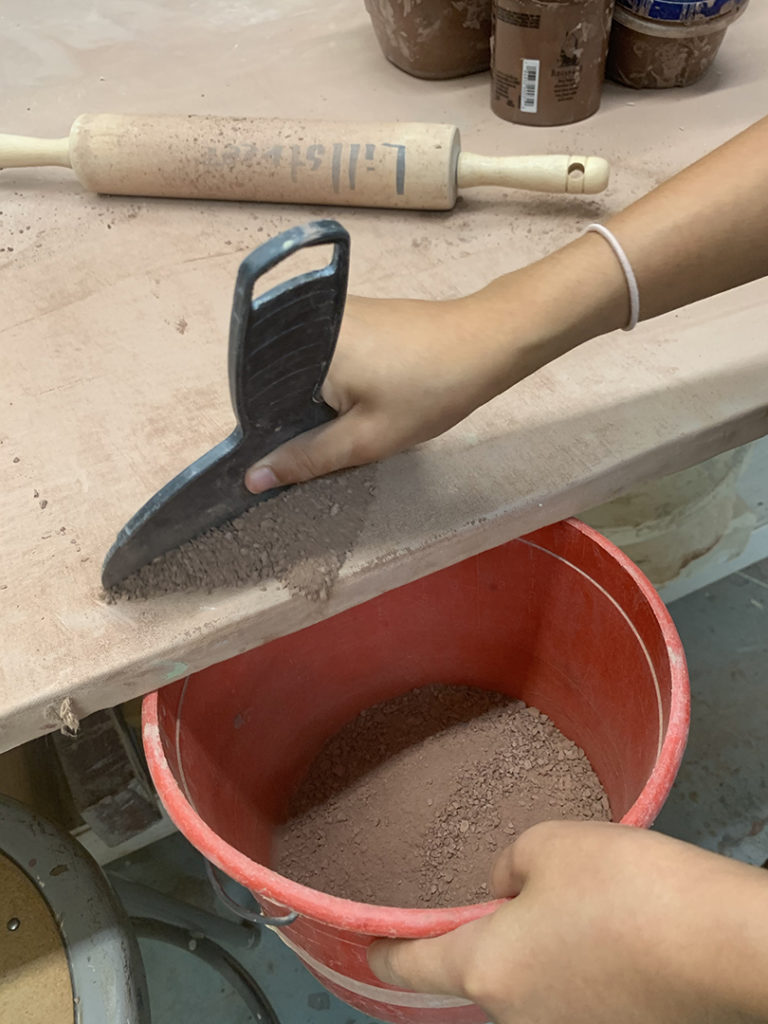
And then as they get it crushed down to small pieces & powder, we scoop it into plastic buckets.
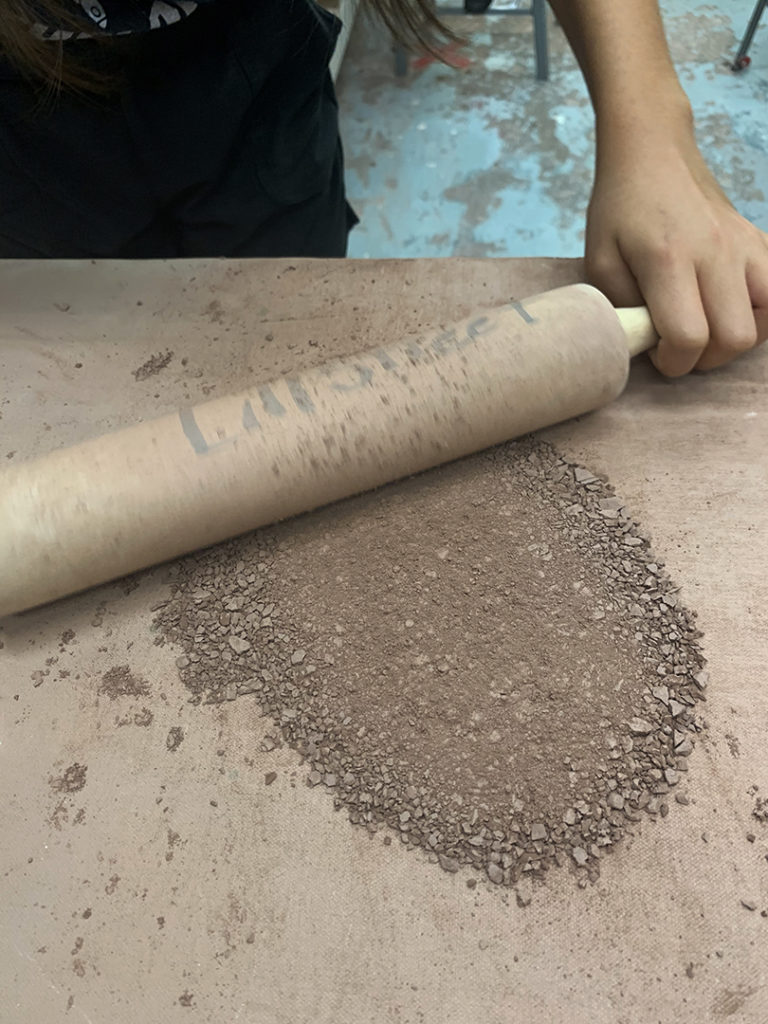
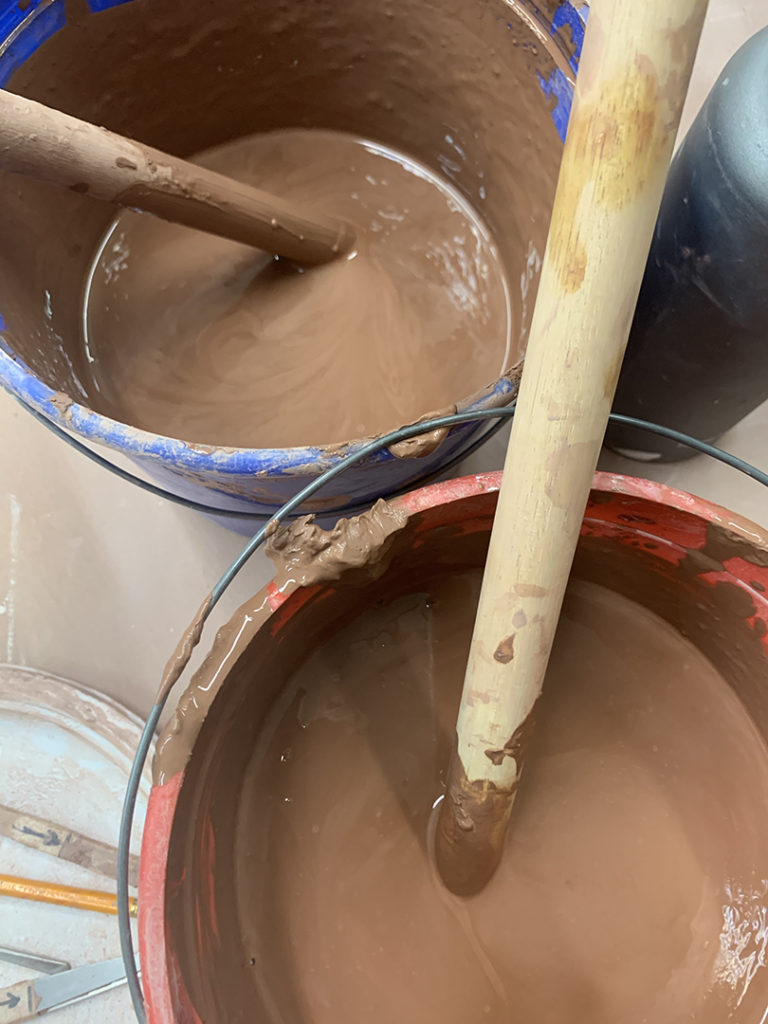
Then we add water and they get “the privilege” of stirring forever to make it smooth! After all of this work to make something out of the clay they let dry out too much… they might re-think keeping their clay wet under plastic a bit more next time!
And if not… at least we have a LOT of really nice smooth slip now!!!
|
Gary Jackson: Fire When Ready Pottery
Lillstreet Studios ∙ 4401 North Ravenswood, Chicago, Illinois 60640 ∙ 773-307-8664 gary@firewhenreadypottery.com |