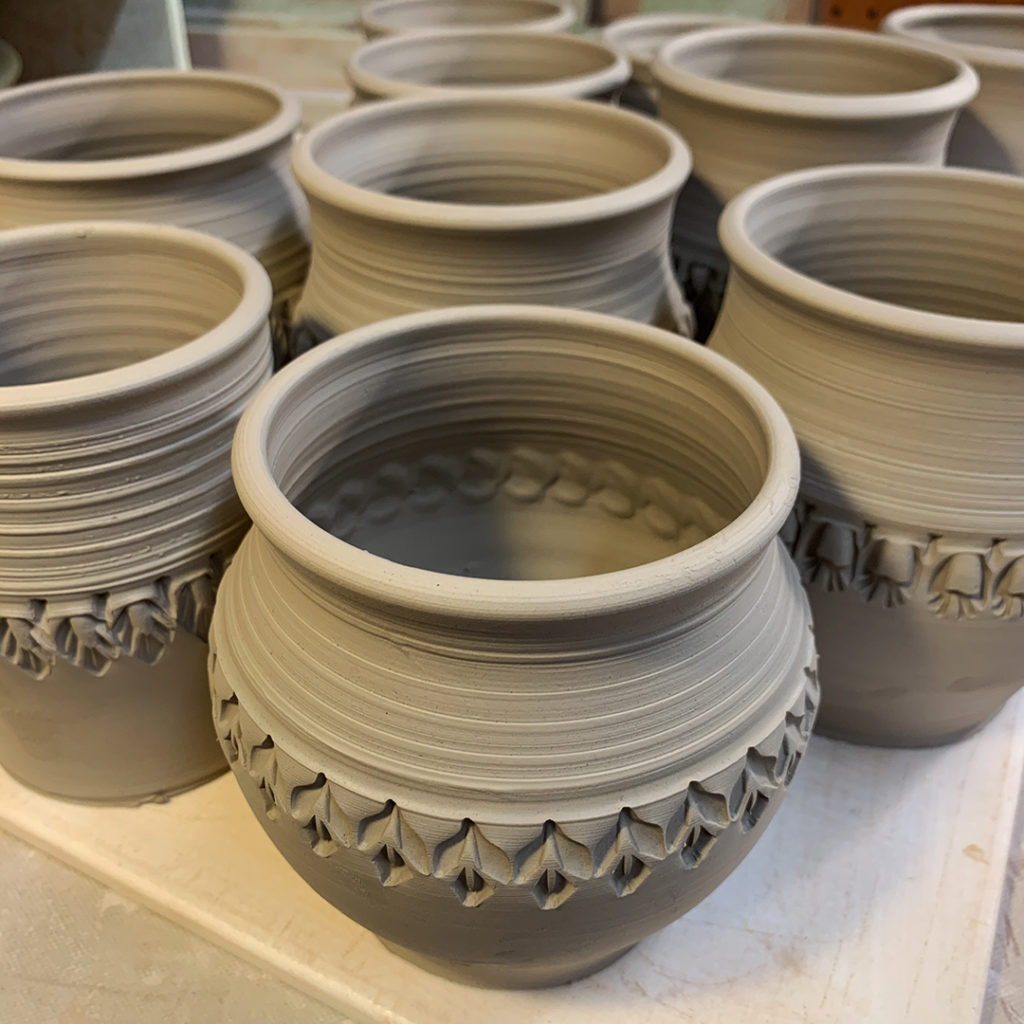
Time to trim some cylinders… well on their way to becoming a new batch of mugs. Using some of my DiamondCore Tools for smooth & clean trimming!

Gary Jackson: Fire When Ready Pottery
A Chicago potter’s somewhat slanted view of clay & play |
Time to trim some cylinders… well on their way to becoming a new batch of mugs. Using some of my DiamondCore Tools for smooth & clean trimming!

After a very successful ART IN THE BARN, it’s time to get back at it in the studio making more pots for the Holidays!!! It might sound far away… but my HOLIDAY HOME SHOW is always the weekend before Thanksgiving! And it will be here before you know it… so mark your calendars!!!

Another night in the studio… tackling a class demo platter. Sure, I could leave it smooth & plain, but what fun is that? So instead… time to pick “the right” stamp!!!


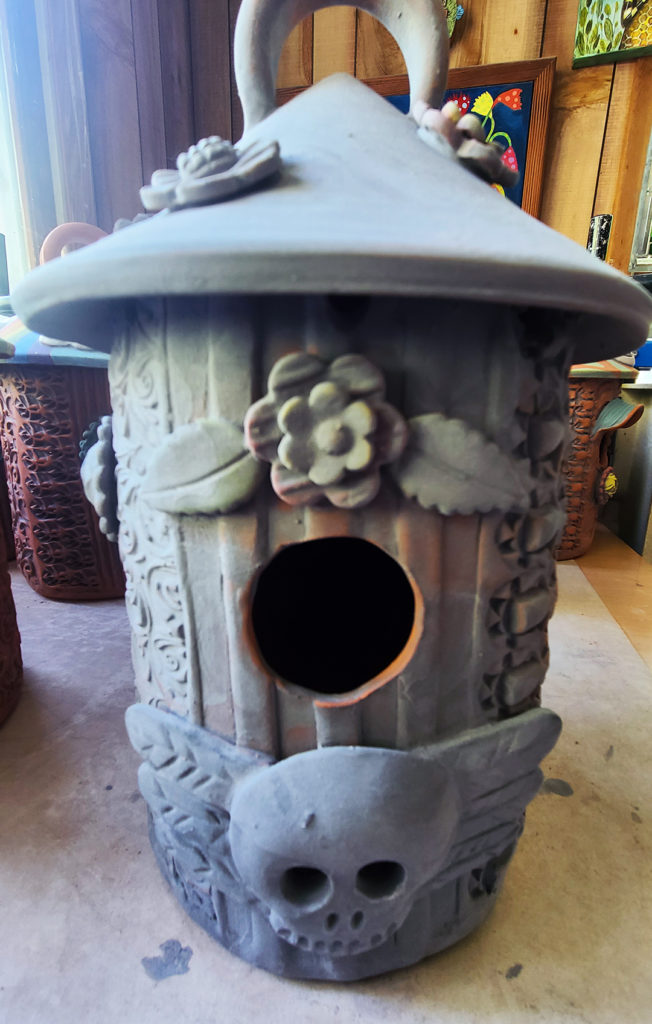
What a difference the underglaze wash makes, right?! The way Cory leaves it in all of the recesses just makes all of the textures & colors really POP!!! These birdhouses are getting SO close to being done. Which is good… they need to be done by Saturday morning when the show starts at 10:00am. So who knows?… they might still be warm from the kiln???

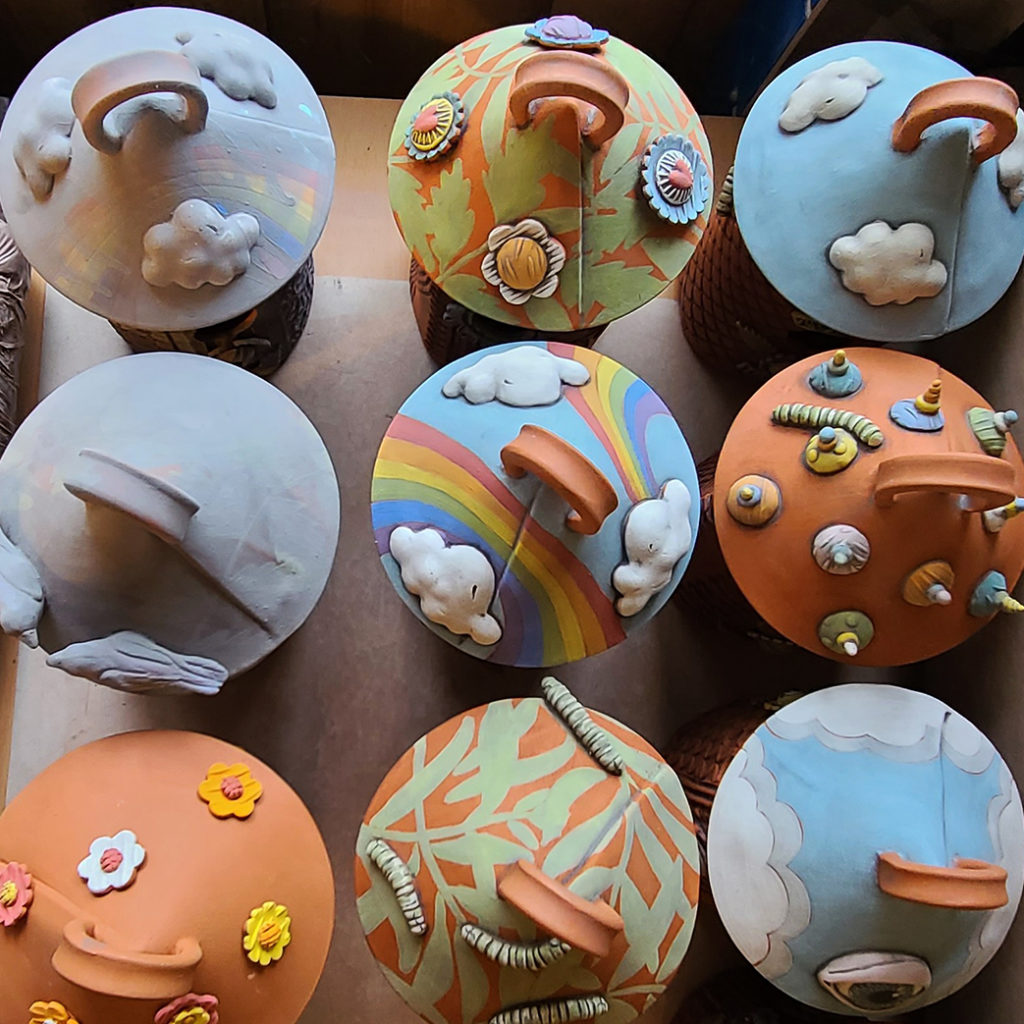
After painting all of the colored underglazes & bisque firing them, Cory then adds a layer of a black underglaze wash over the entire piece. The plan is to wipe it off again… leaving it only in the cracks, crevasses & indentations. It’s a long, time-consuming process… but it makes a HUGE difference in the final look… so THANK YOU Cory for putting in the extra effort to make the collaboration really cool !!!
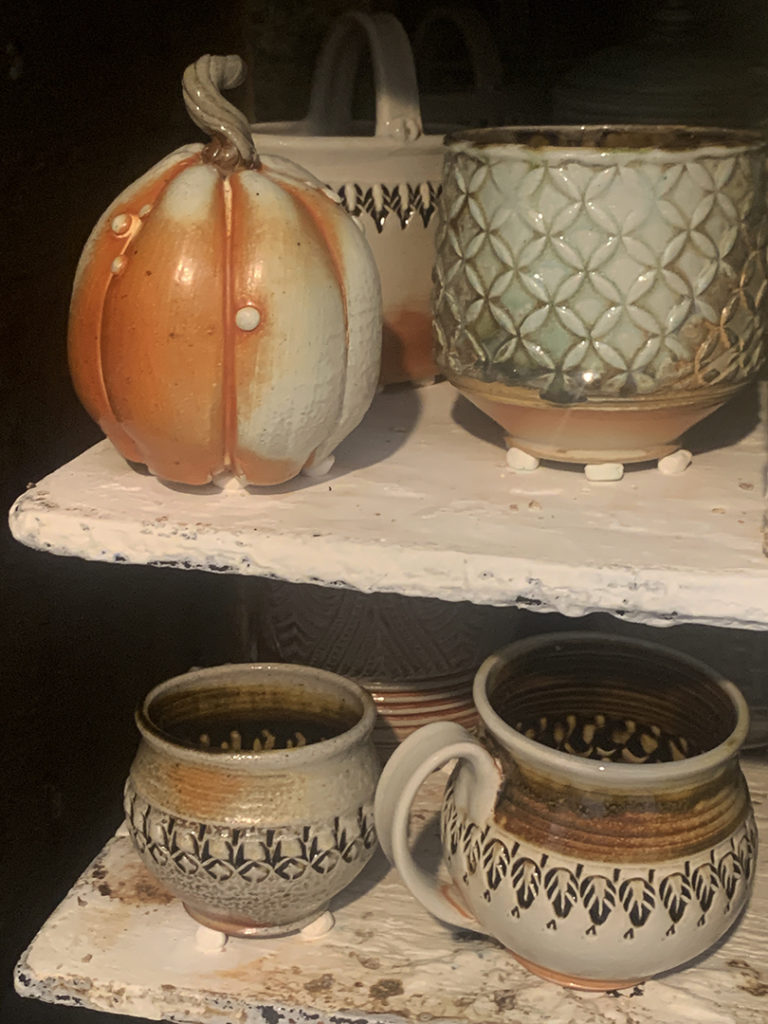
Well, here’s the “Big Reveal” of my soda kiln firing from this past weekend. It’s always a labor of love… not just making all of the work, but also all of the loading, bricking the door, firing, putting in the soda mixture, unbricking the door, unloading the pots, packing it all up, scraping the kiln shelves, kiln washing the shelves, mopping the floor, and so many other “not-so-glamorous” tasks that are all part of the process. Most people think we “just make pots.” Well, there’s a LOT more to it than that!!!
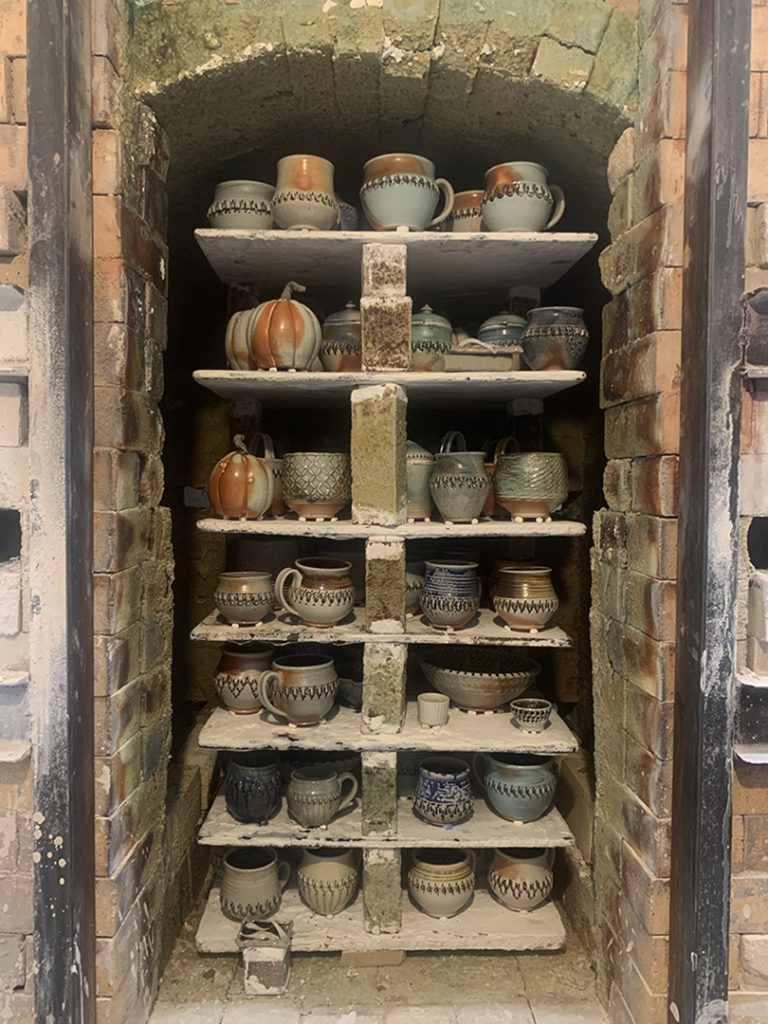
But I’m pleased… my firing came out GREAT.
Nice bright colors… not too much gray “dolphin-skin” build-up! I need to prep & price everything now… getting it ready for ART IN THE GARDEN this weekend… as well as ART IN THE BARN two weeks later!!! Can’t wait to send them off to their new “forever homes.”
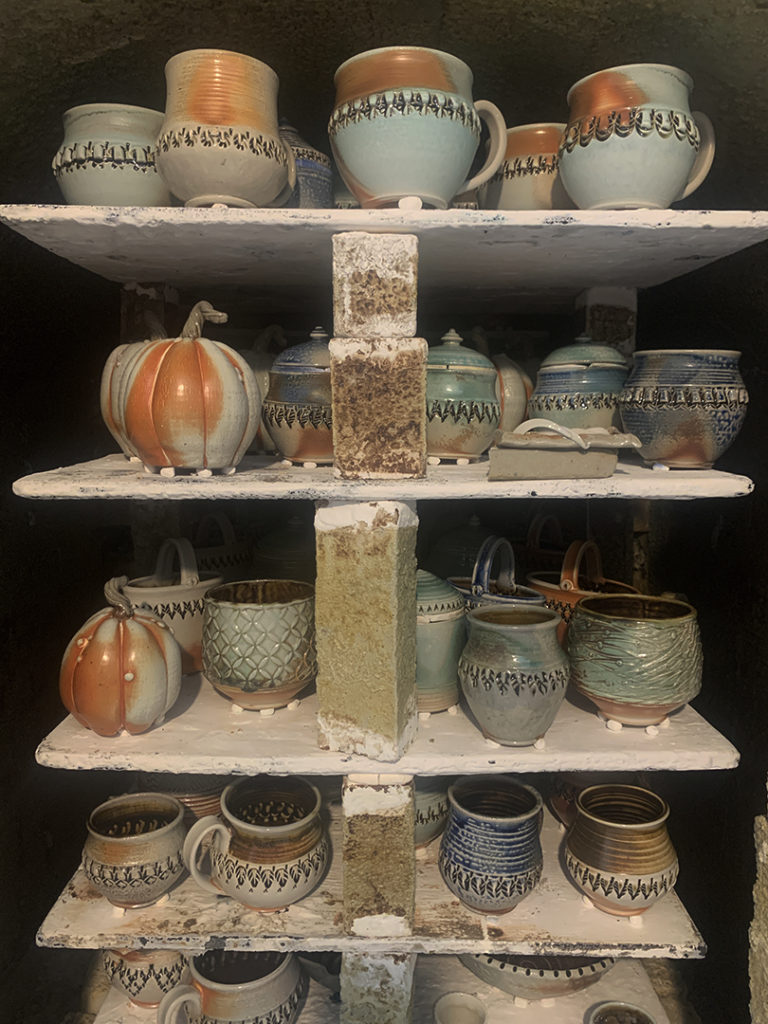
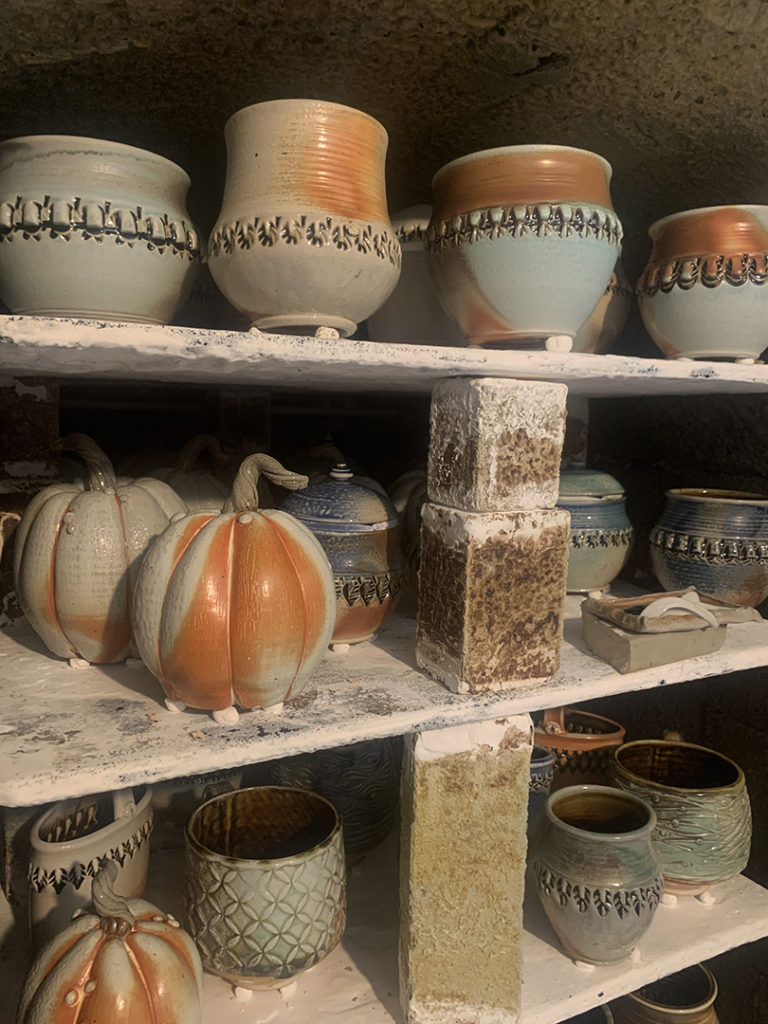
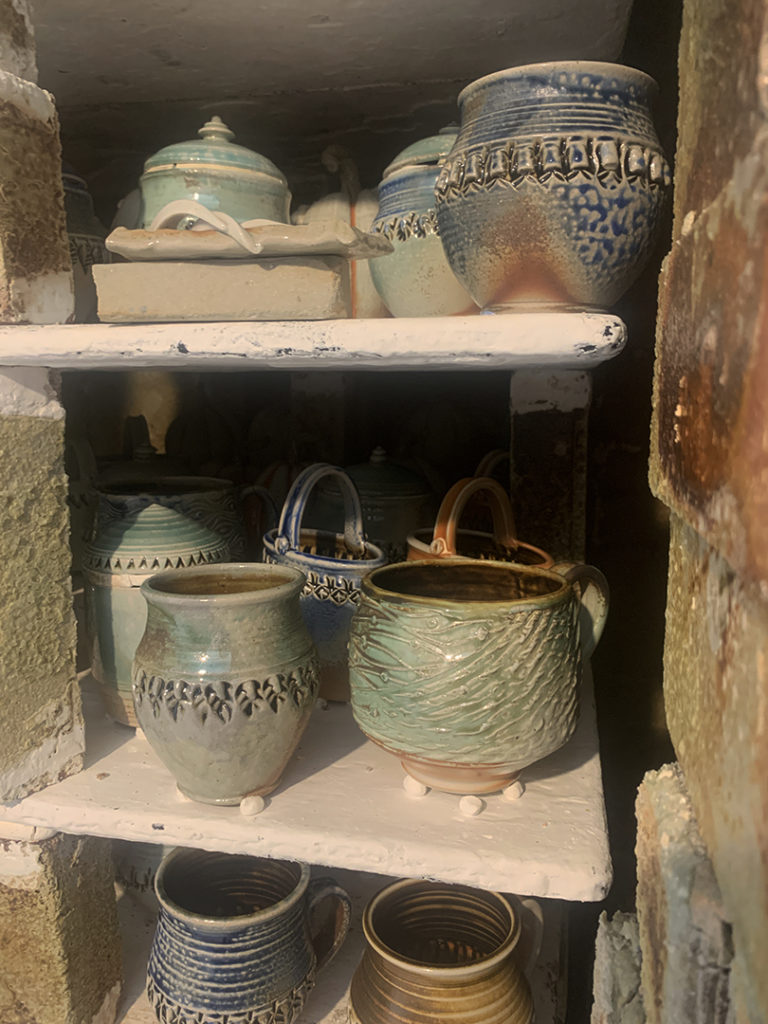
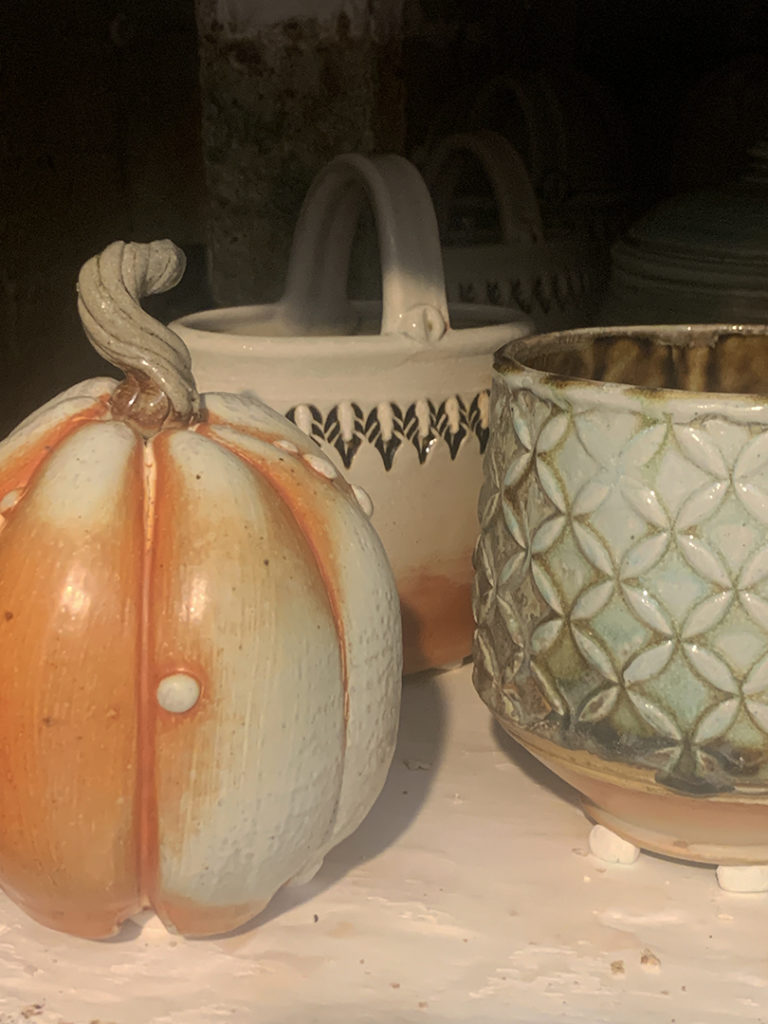
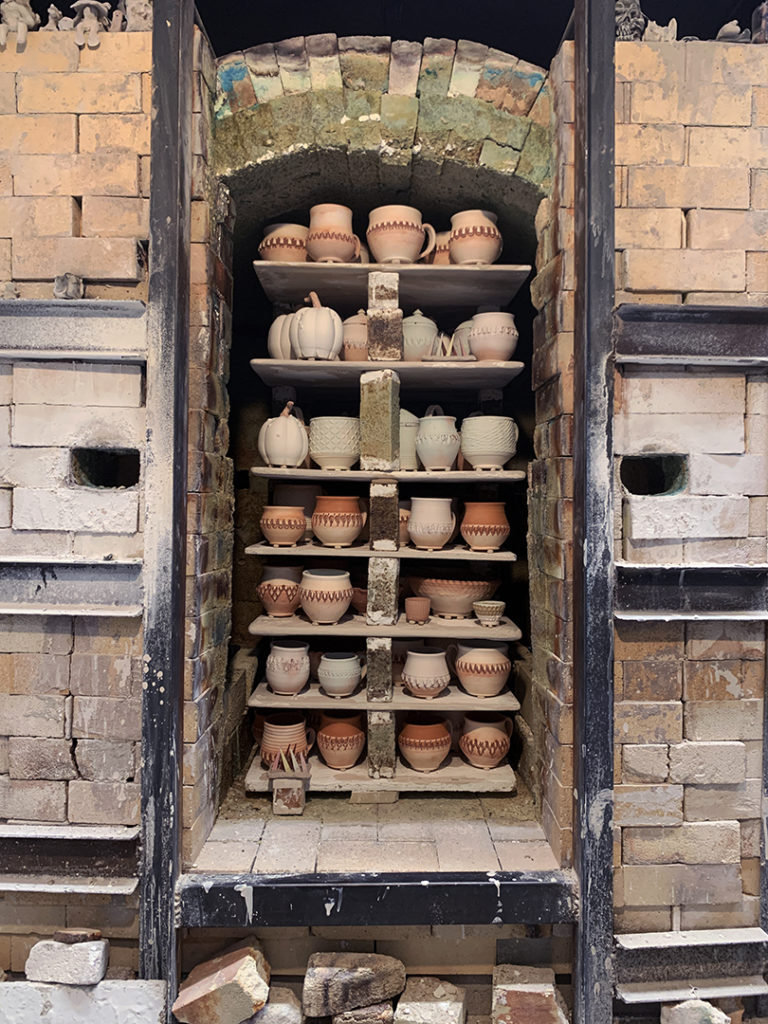
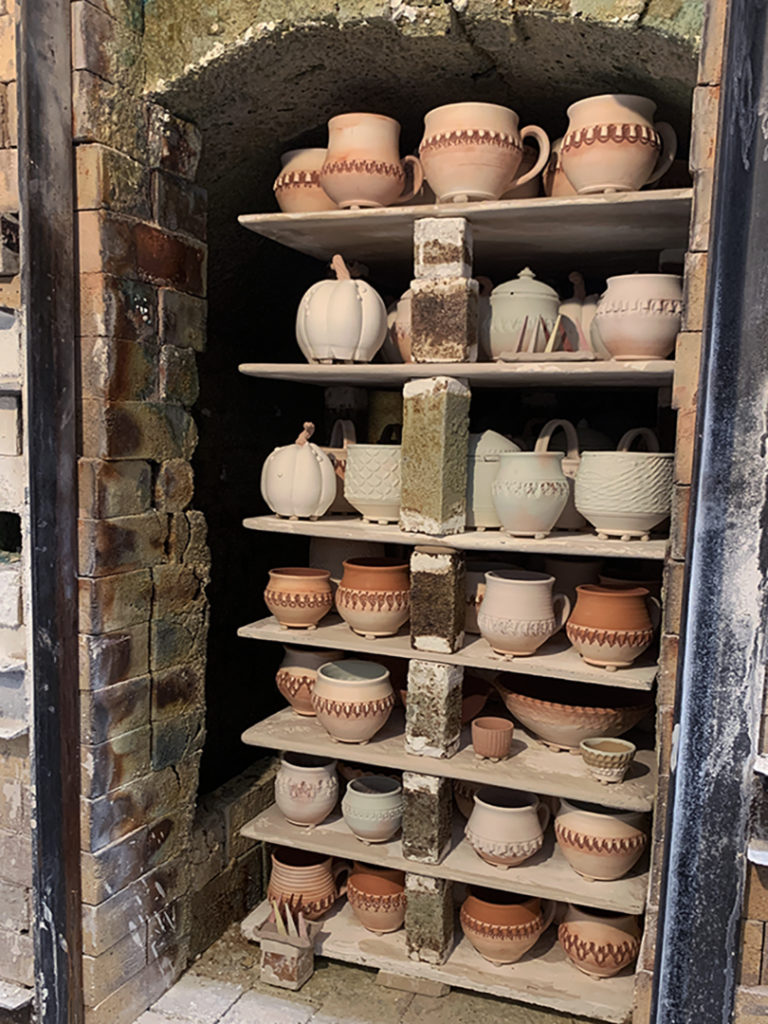
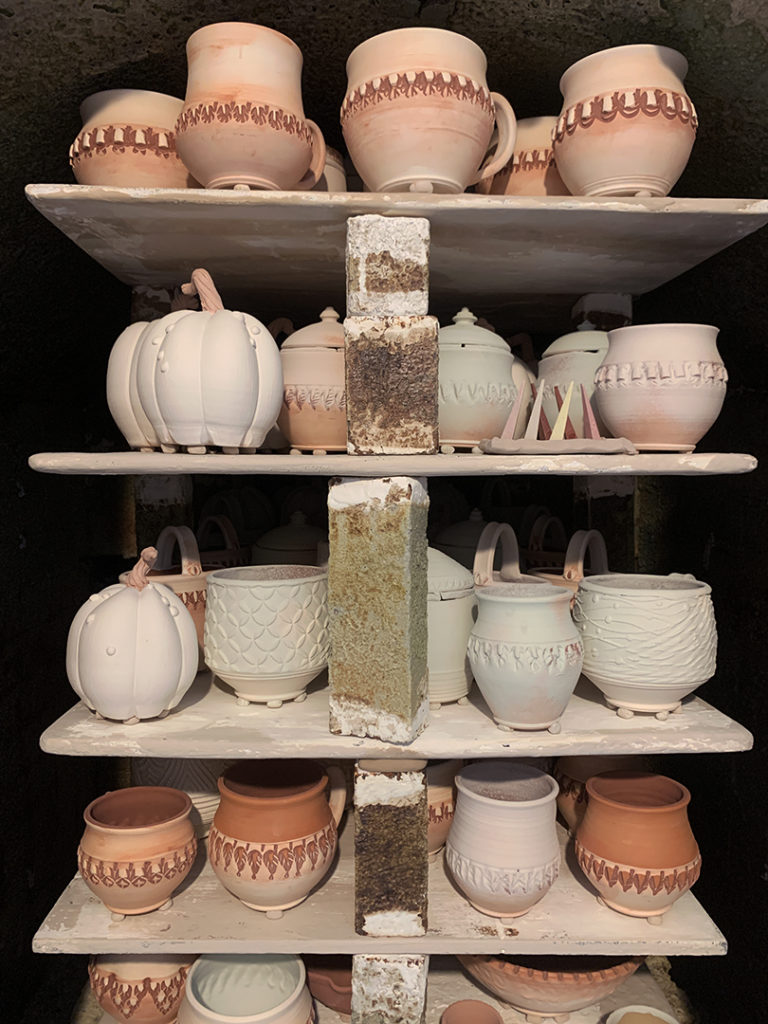
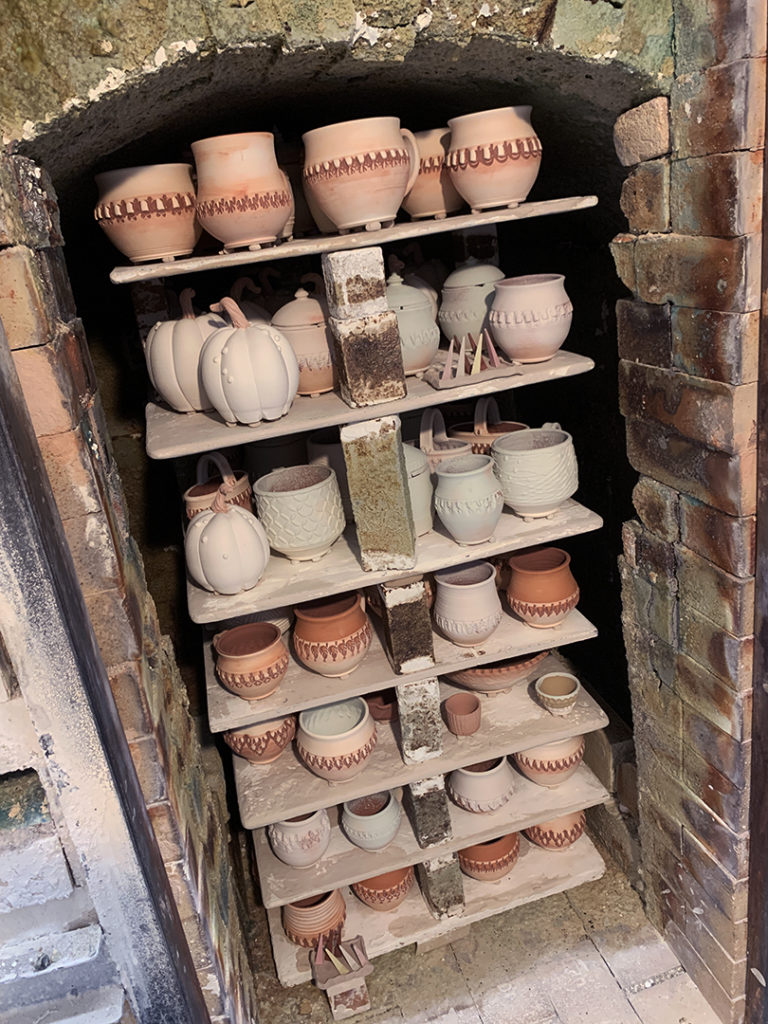
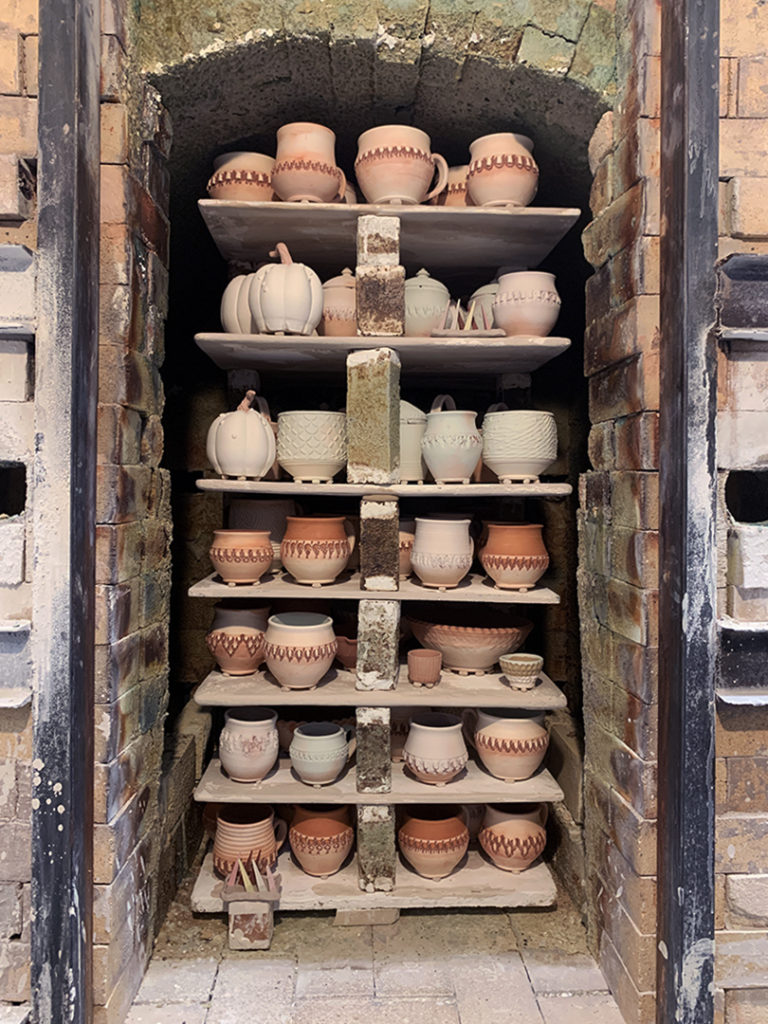
It took awhile, but I finished loading the soda kiln last night. Lots of pots made it in… and quite a few pumpkins!!! Firing today & unloading Monday night… just in time for ART IN THE GARDEN next weekend! Fresh new soda-fired pots coming soon!!!
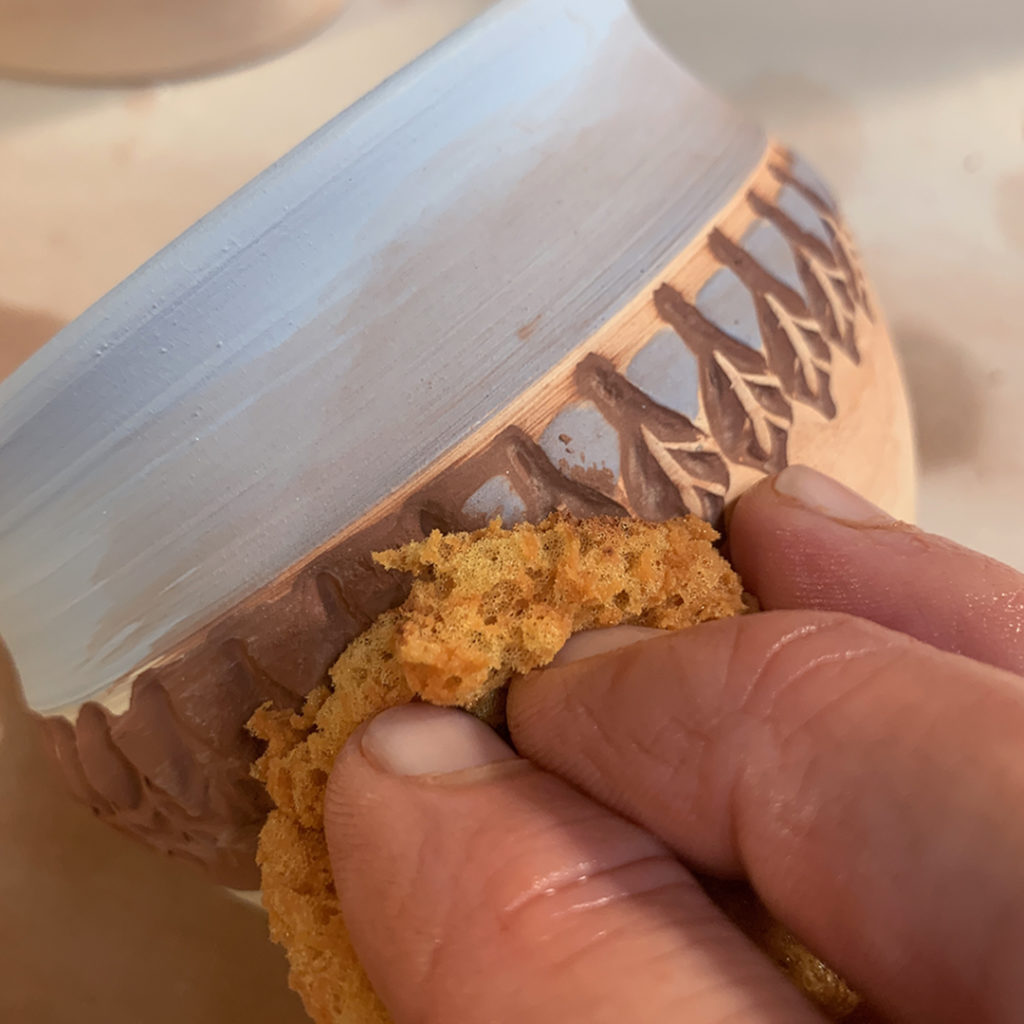
After applying a layer of tenmoku glaze into the stamped impressions. I wipe off the top surface with a damp sponge. This cleans the surface layer, but keeps the darker glaze in the stamps.
Doing a little glaze inlay into the stamped impressions. I like to fill the stampings with a dark tenmoku glaze so the pattern stands out a bit more after the soda-firing!
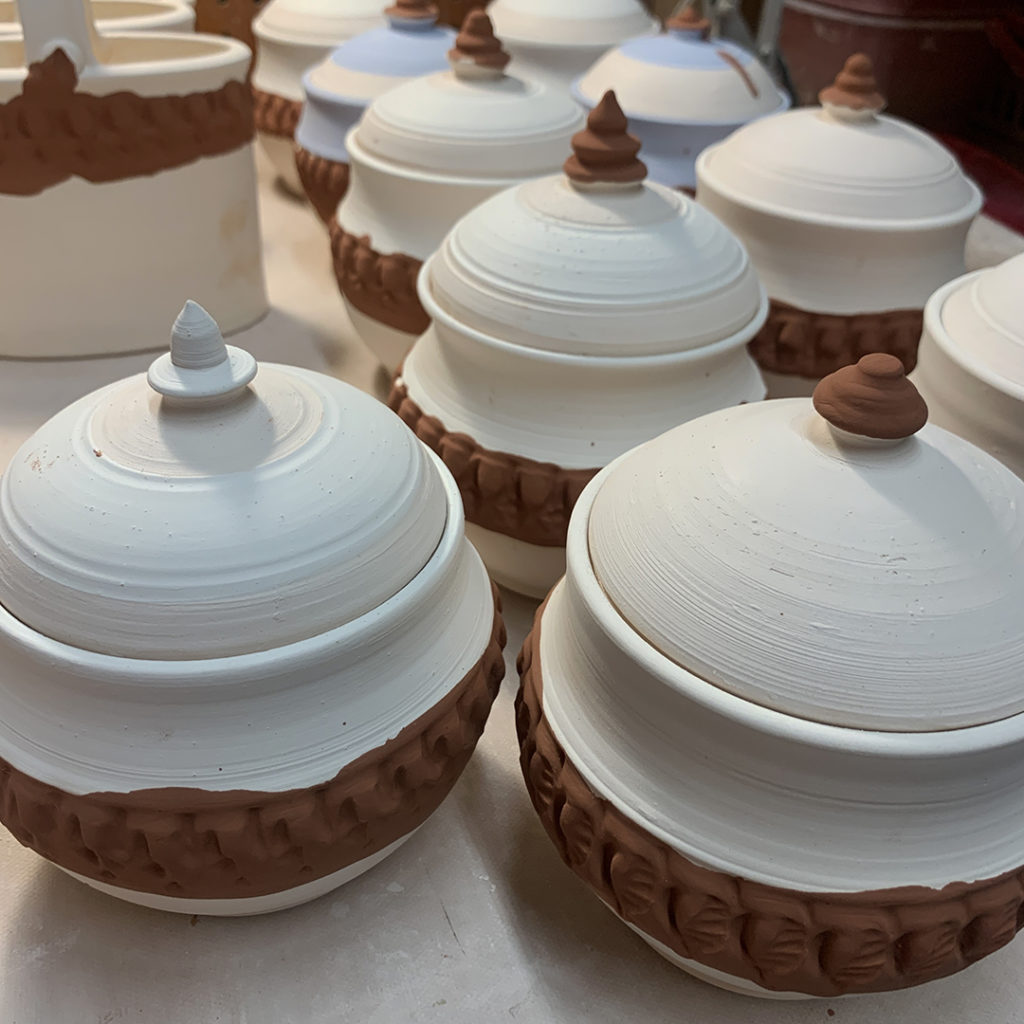
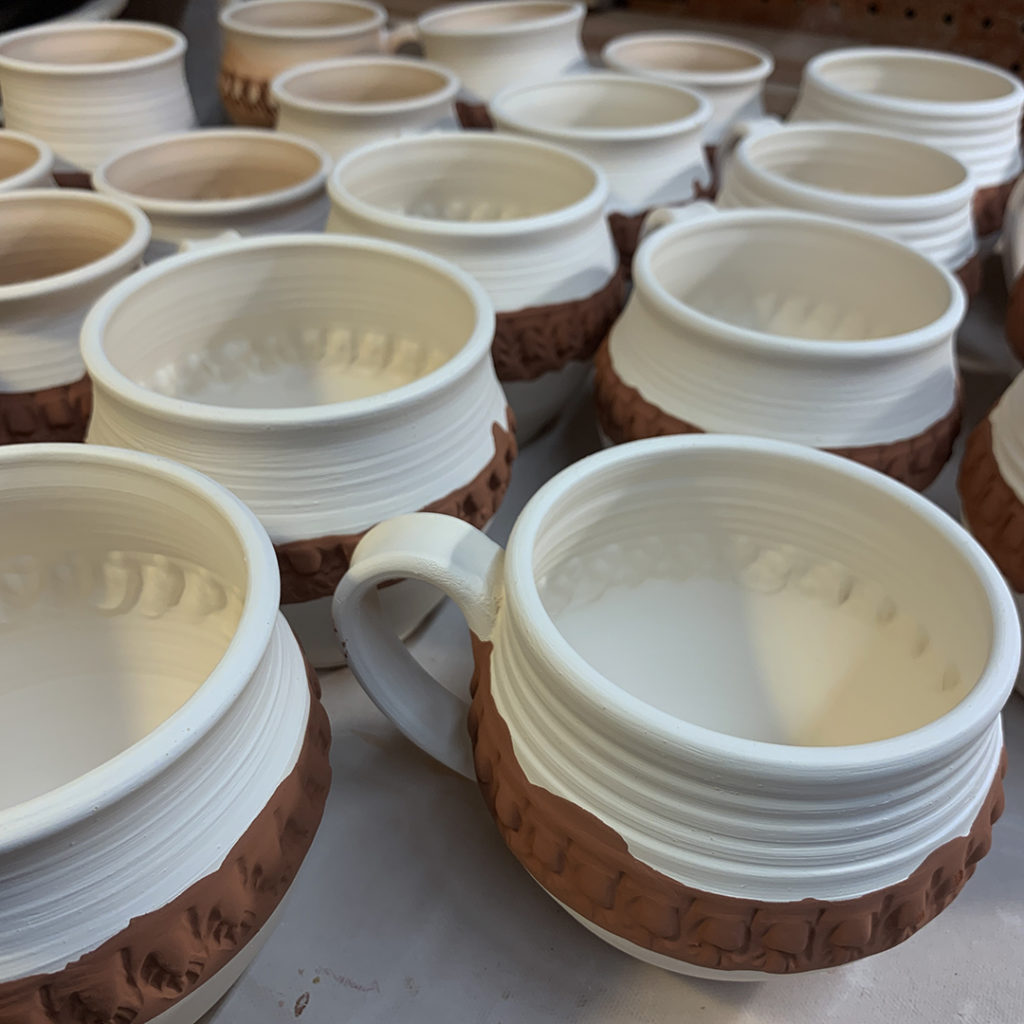
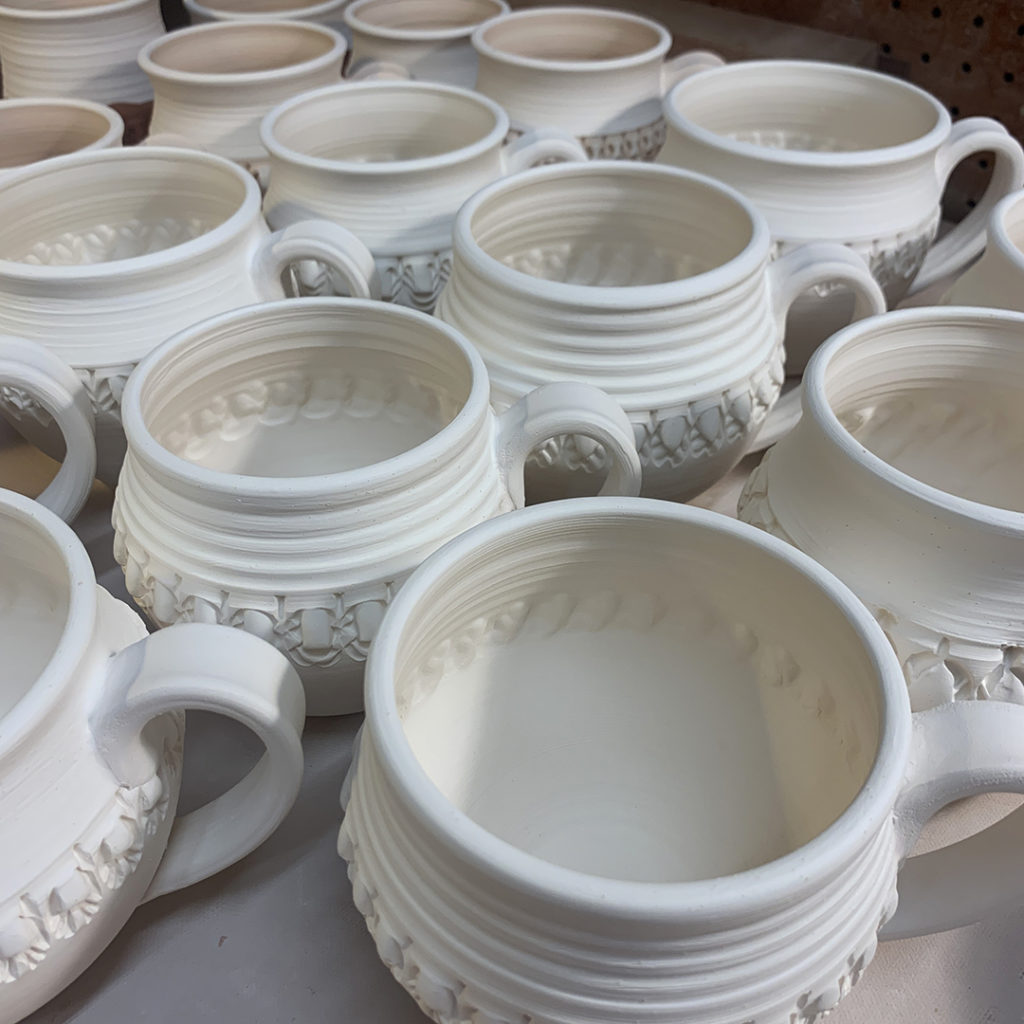
So this is what I’ve been looking at a lot the past couple days… bisque that needs to be glazed! I’ve been trying to stay focused & tackle it bit by bit. Seems like I’m right on schedule… but everyone knows that glazing is my least favorite part of the entire process!!!

|
Gary Jackson: Fire When Ready Pottery
Lillstreet Studios ∙ 4401 North Ravenswood, Chicago, Illinois 60640 ∙ 773-307-8664 gary@firewhenreadypottery.com |