Well, I got a little busy… and the promised alliteration had to wait a couple days.
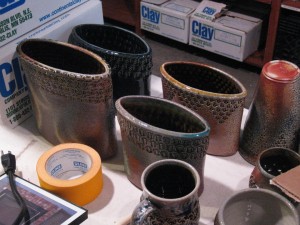
But I finally got into the studio to do some more work on the “textured terra cotta tubes.”
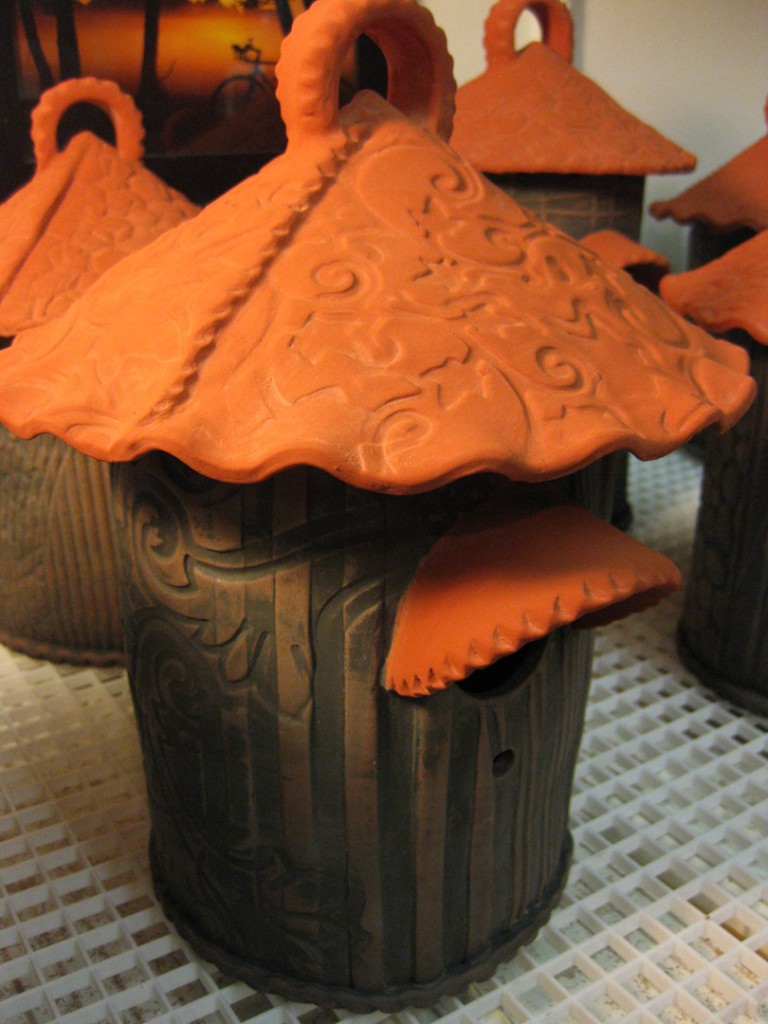
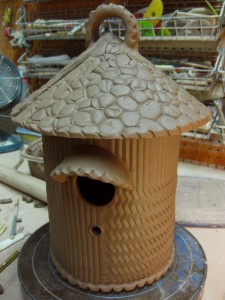
And the tubes are now taking shape – and becoming ceramic birdhouses!
This evening I worked on adding some of the finishing touches to the construction.
Now with roofs, “doors,” awnings, loops to hang by, and a hole which will be filled
after firing by a real wood branch for the birds to perch on.
Hopefully they will dry overnight. I put them on elevated plastic grids so that air can flow
all around them and they will dry more evenly… and quicker?! Fingers crossed…
If so, tomorrow I can stain them with underglaze, and glaze the roofs & awnings…
as I am hoping to get them into a kiln on Tuesday night, fire on Wednesday, cool Thursday
and unload late Thursday night… just in time for this weekend’s art fair in Hinsdale!
One of the most frequent questions asked at every art fair, including this weekend…
“How long does it take to make this?”
And there’s never an easy answer. I try to explain that it is a “process” and that
I frequently have several pieces all going at the same time, at different stages
in the process. This season I’ve created a picture postcard to handout at the art fairs
to help illustrate the pottery process in just 12 easy steps! Here’s quick preview…
1. Wedging
2. Throwing
3. Stamping
4. Trimming
5. Attaching
6. Slip Decorating
7. Bisque Firing
8. Glazing
9. Kiln Loading
10. Firing.
11. Admiring
12. Marketing
As for marketing… no one’s going to do it for you if you don’t do it for yourself.
Luckily, I have many years of corporate retail advertising & marketing experience
prior to my pottery career. I think that experience definitely helps any artist
who is trying to make a go of it as a full-time, self-supporting artist.
For a more informative description of the complete “process,” be sure to check out
the “Pottery Process” page on this website – see the top right corner to find the tab!
With the Schaumburg Prairie Fine Arts Festival right around the corner…
and final preparations, pricing & packing well under way, I decided to add one
more kiln just to add a little more pressure into my already hectic week?!
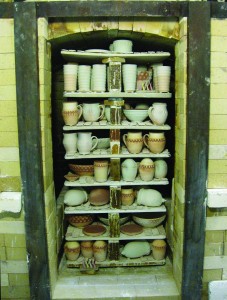
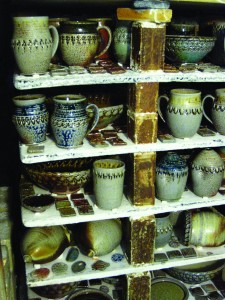
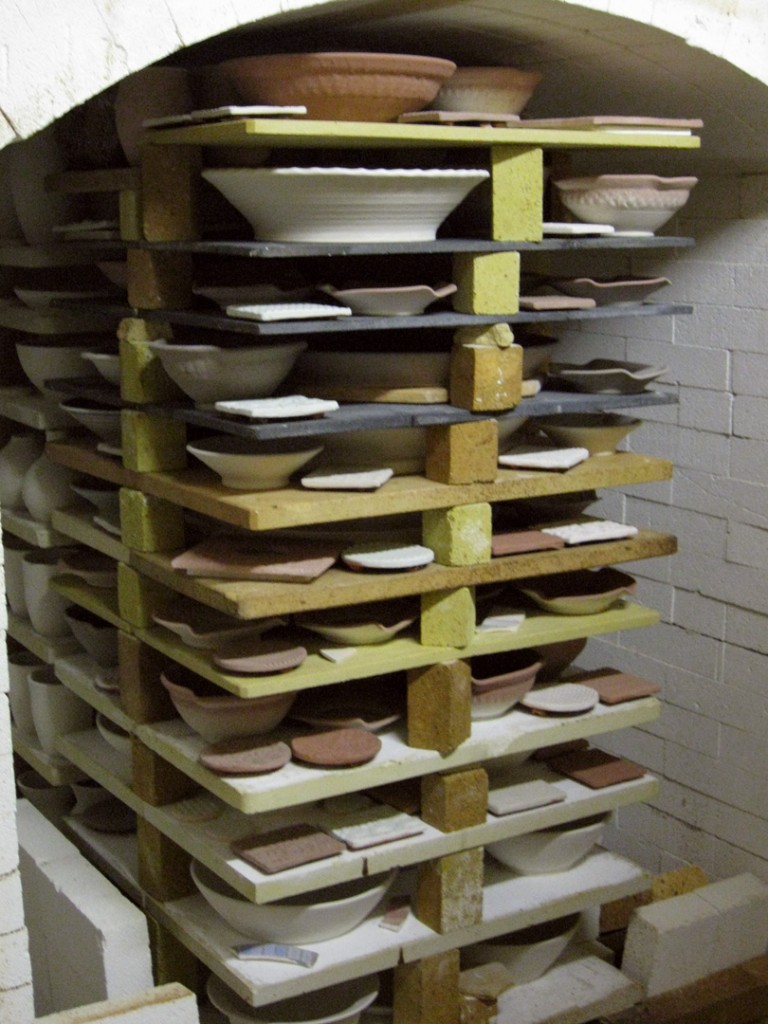
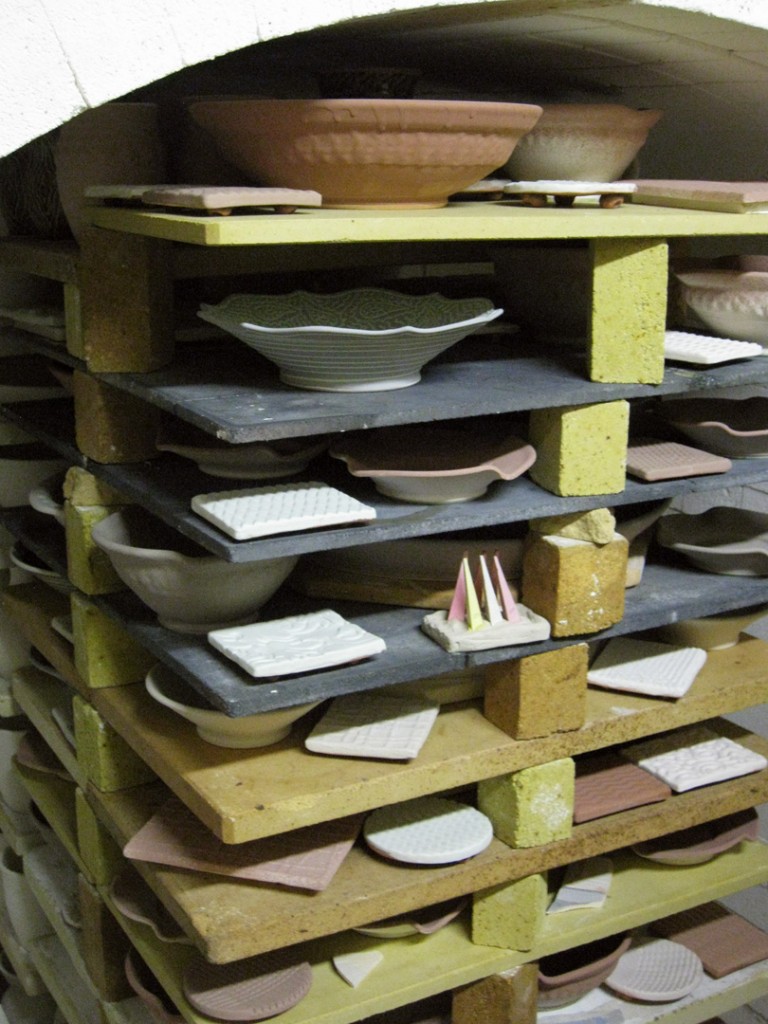
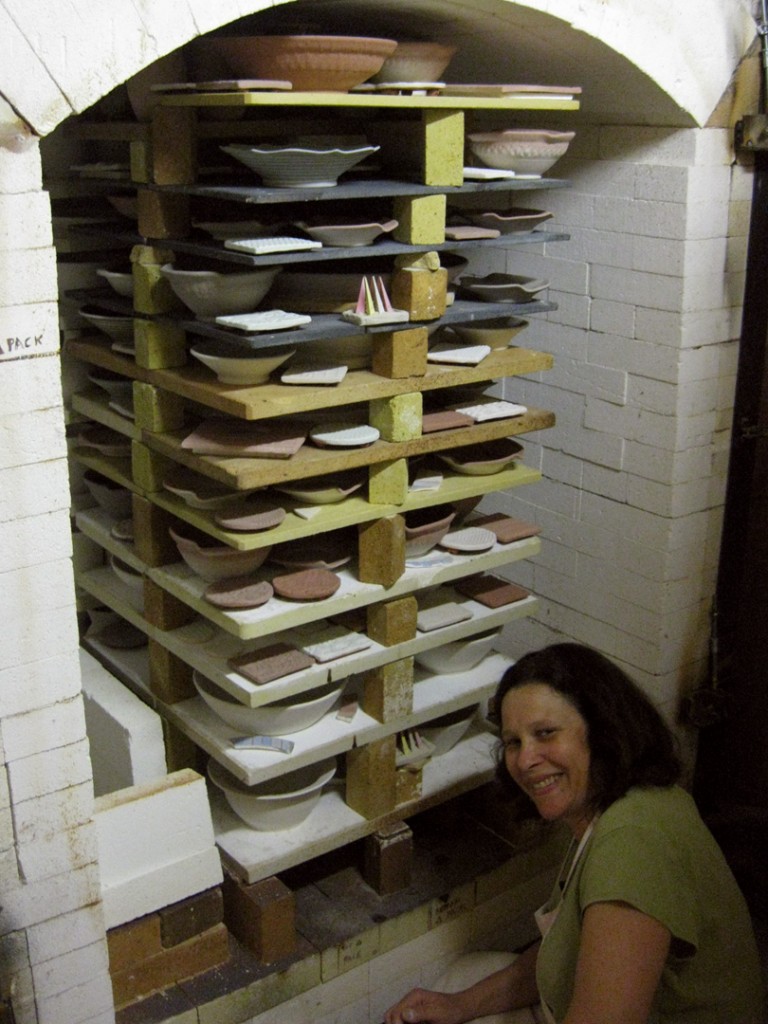
So today I helped load a cone 10 reduction kiln with a few more pieces for the show.
I’m sharing the kiln with two other studio members who are getting ready for their
art fairs the following weekend. The back stack of shelves is all Marian’s, while the
front is a mix of mine , Karen’s and Marian’s.
So the kiln is loaded and will be fired all day tomorrow… cooled on Thursday…
and unloaded on Friday just in time to come to the art fair – without a moment to spare!
Glazed, stacked, packed and ready to go… after Karen makes one last check!
So the Schaumburg Prairie Fine Arts Festival is just one week away!
And while I probably have more than enough work ready for the show, I definitely
suffer from that “uncureable artist disease” symptomatic of ALWAYS thinking
that you need to make more! Must make more… glaze more… finish more… in a week!
So I started off today with high expectations of making entire electric kiln’s worth of
terra cotta pieces – as they are low-fired and cone be finished with a single electric kiln.
Theoretically, I could make everything today, let it dry over the weekend, glaze it on
Monday, load the kiln on Tuesday, fire on Wednesday, and unload on Friday…
just in time for the weekend’s art fair! But then… reality set in!
As I’m sharing a cone 10 reduction kiln on Wednesday, I still had some glazing to do for that.
And I thought better of glazing the work that is already done… instead of adding a whole
bunch of pressure on myself to crank out some last minute work.
So tonight I glazed some more pieces for next week’s kiln. As it is mostly Marian’s kiln,
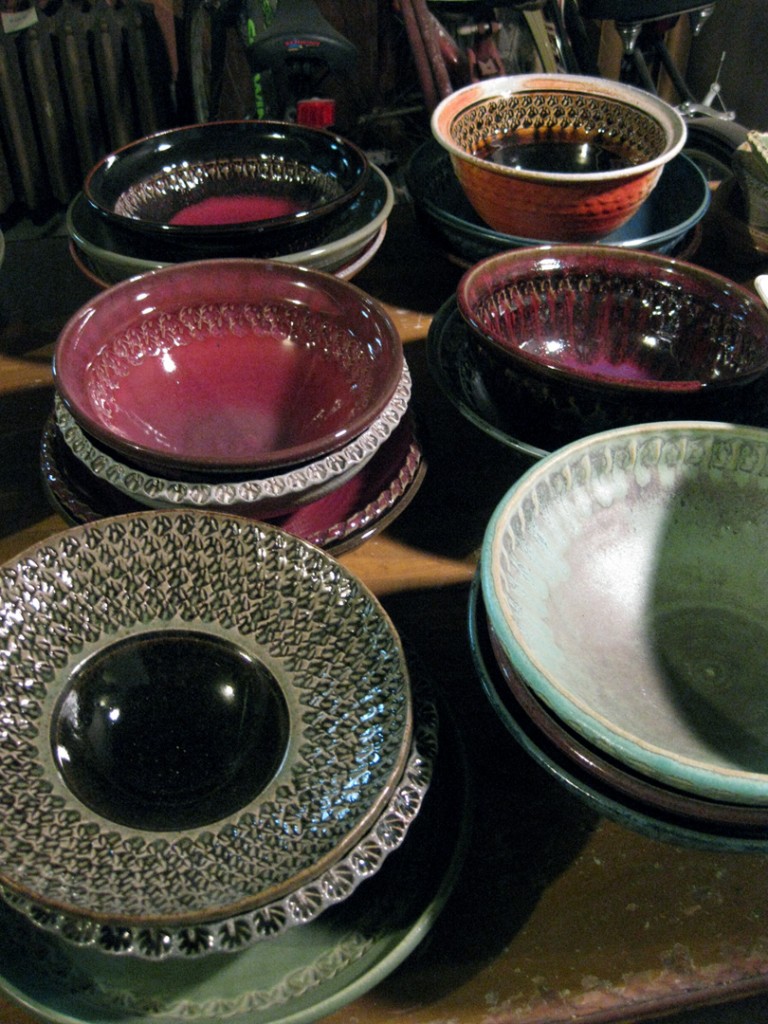
I’m focusing my efforts more on smaller pieces, berry bowls and “kiln filler.” So I pulled out
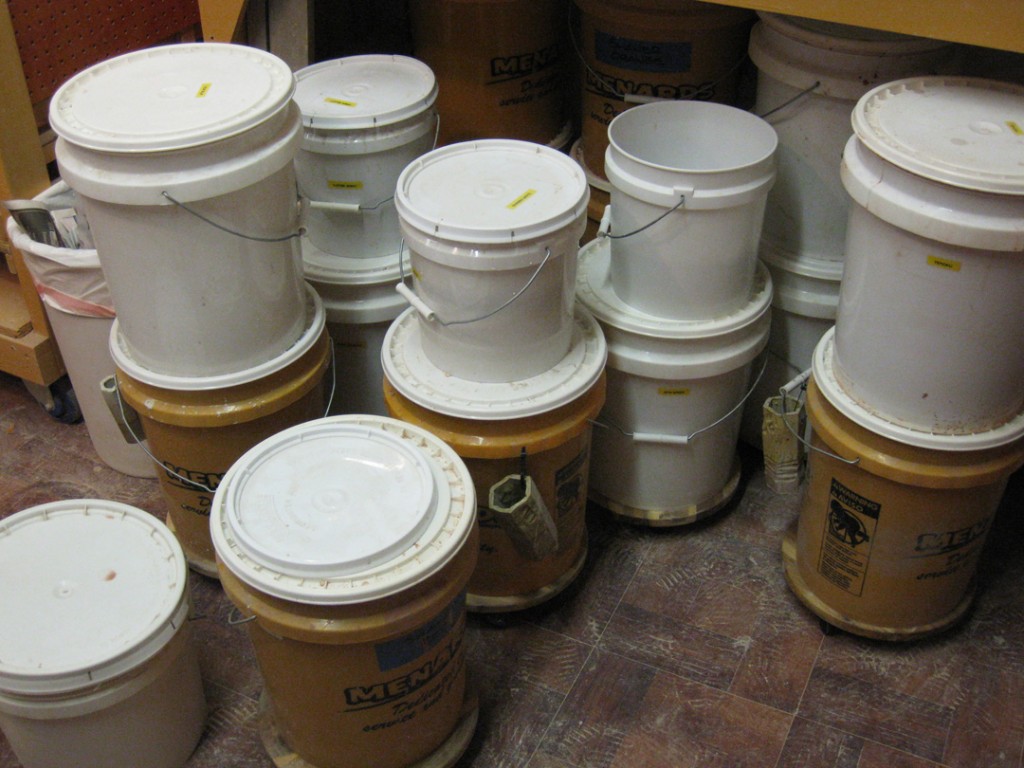
my buckets of glazed, stirred them up, and started the night’s activities…
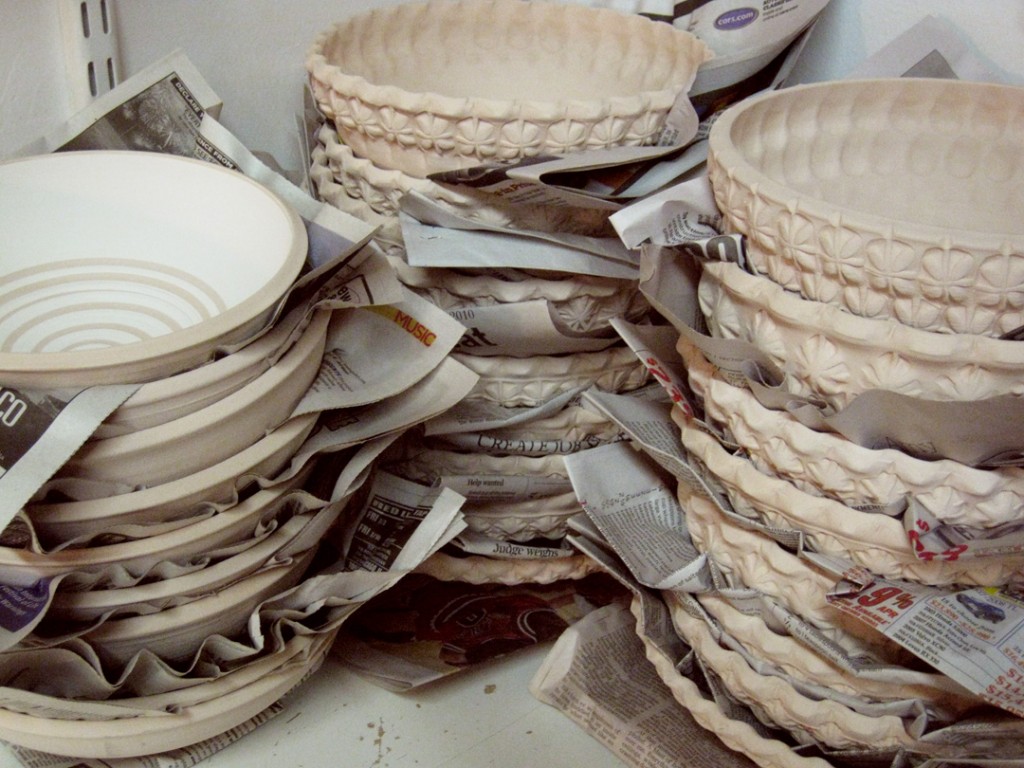
But still, after a night of glazing…. there’s still a few more piles of bisque waiting in the wings!
Already waxed, dried and stacked – with paper in between to keep the wax from transferring.
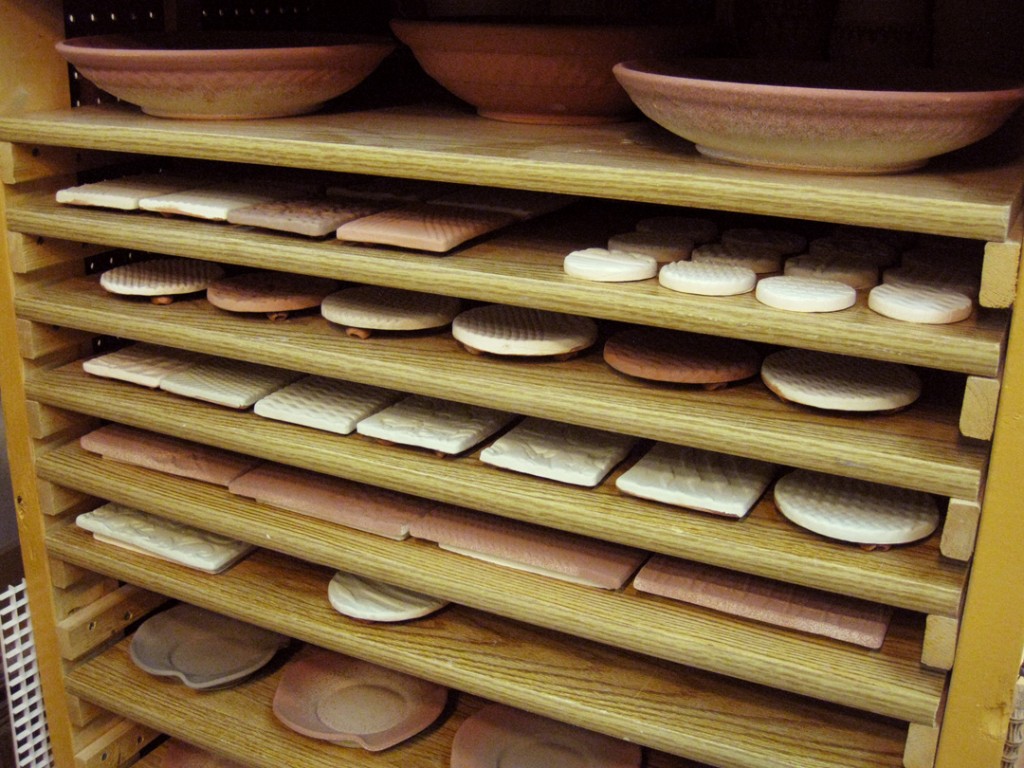
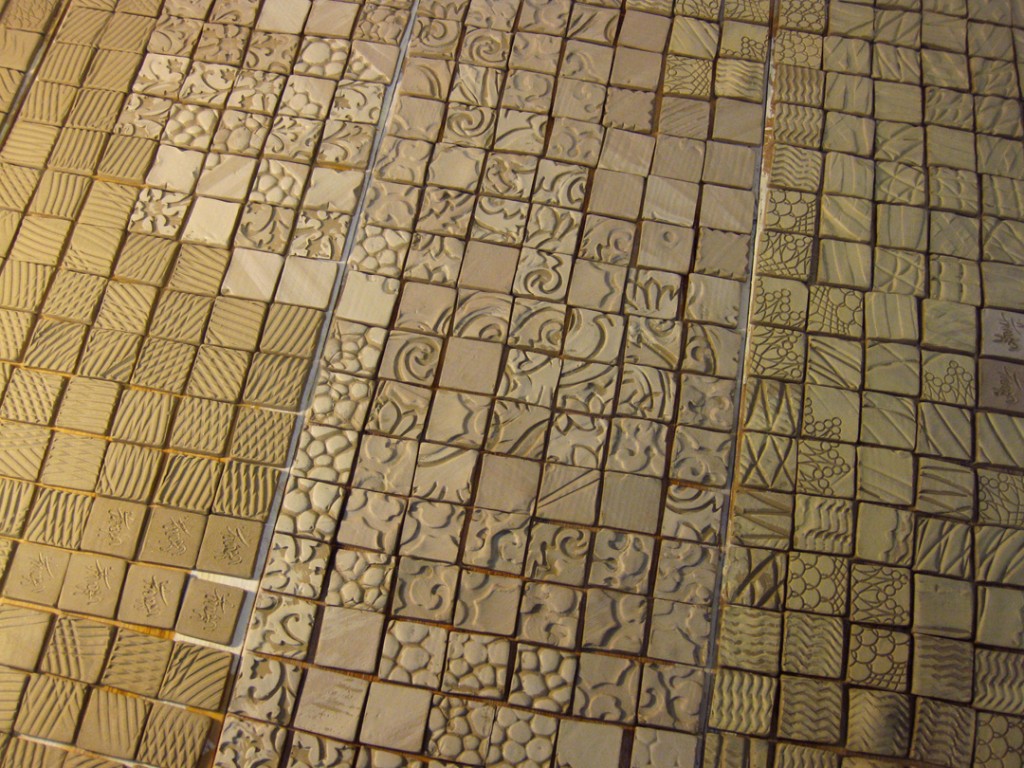
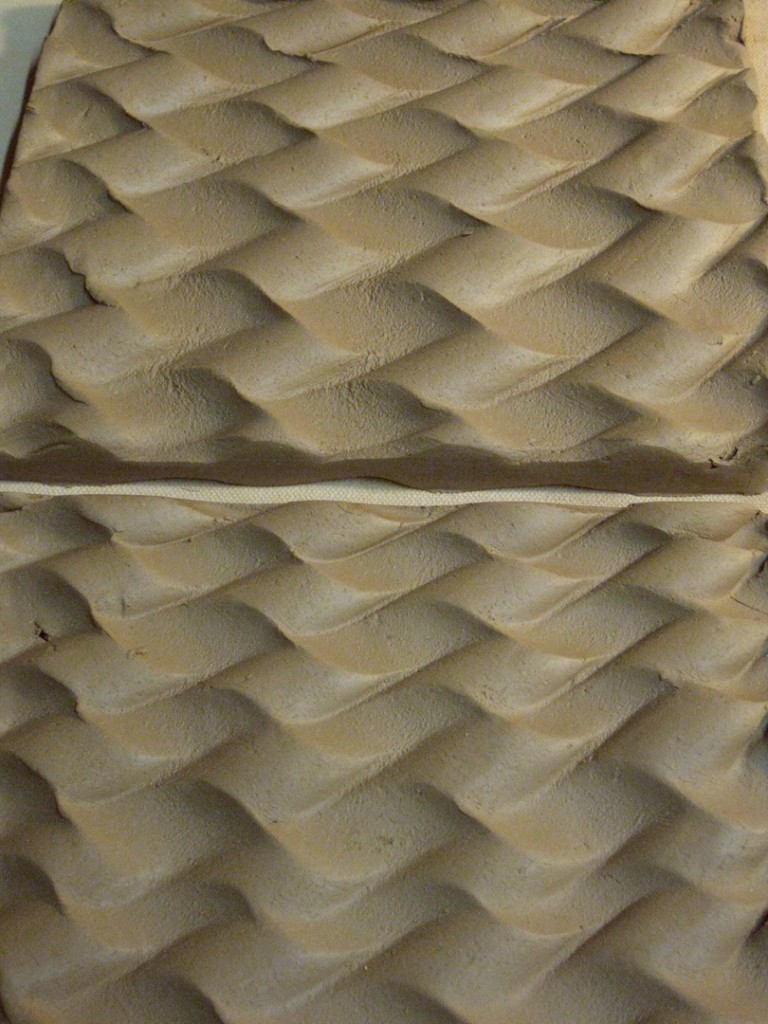
Tonight I’ve been working on “stitching together” some more of my “ClayQuilts.”
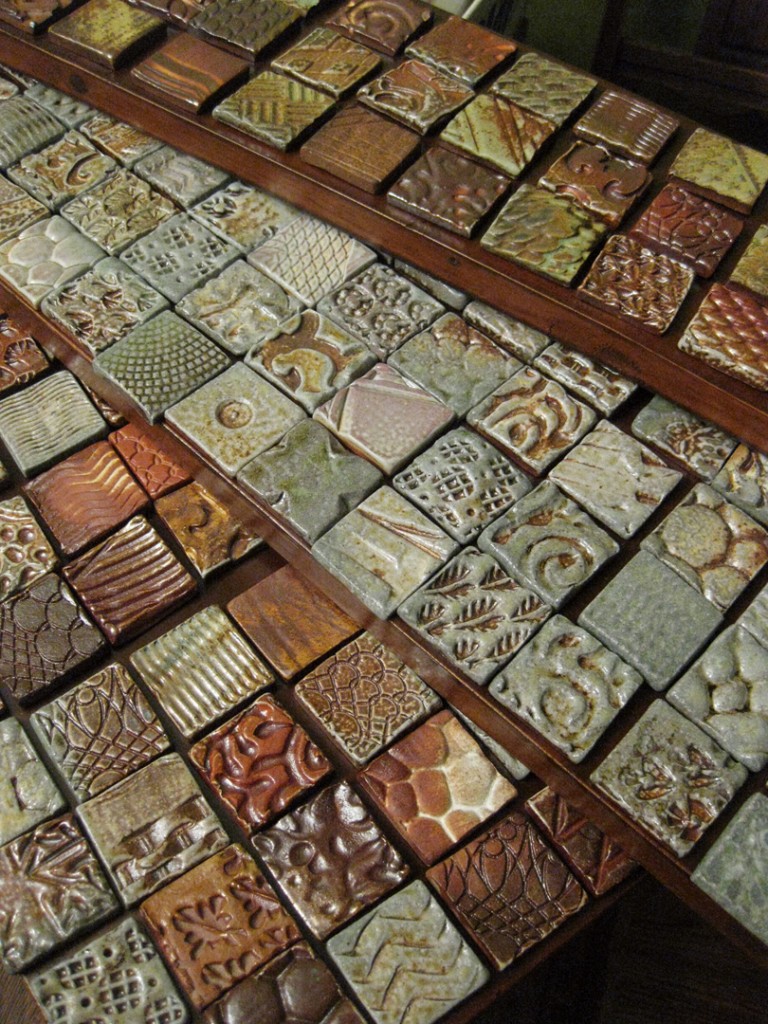
Small, soda-fired, textured tiles that are put together as a work of art for your wall.
And what appears to be random, is anything but. I find it interesting every time,
how much effort goes into making it look random while it is all very controlled.
Can’t have too many similar tiles in one area, need to keep colors dispersed evenly,
and I sometimes try to create “thematic” color combinations as I go!
Tomorrow, I’ll look at them again with fresh eyes, make a few alterations,
and start gluing them in place. Again, “forced random” as I like to put it.
Remember… before the soda firing, they were just a lot of textured clay squares
with a bunch of different colored & flashing slips on them for different effects.
It’s been a long day in my pottery storage room today.
Unpacking pots. Cleaning pots. Pricing Pots. Repacking pots.
Repeat. Repeat… Repeat.
I’ve been putting it off for a long time, and my storage room
has taken over… growing well beyond its limits, piles everywhere,
pots here, pots there, pots everywhere! And with the art fair season
coming soon, I had to dive in a tackle the situation. So with the help
of my parents, the best art fair assistants ever, we made some good
progress… but I still have a long ways to go. I didn’t even make it
to the boxes filled with the new pots from my latest soda kiln.
I can’t wait to see those pots again…
Last night in my Beginning Wheel throwing class, some of my students asked
to do some basic handbuilding… so of course, I said yes. I think they’ve all realized
that throwing & trimming plates on the wheel is a little tougher than they expected.
And now they know that handbuilding is always an option… just because it’s a
wheelthrowing class, does not mean they can only make things on the wheel.
It’s just clay. And the wheel is just a tool.
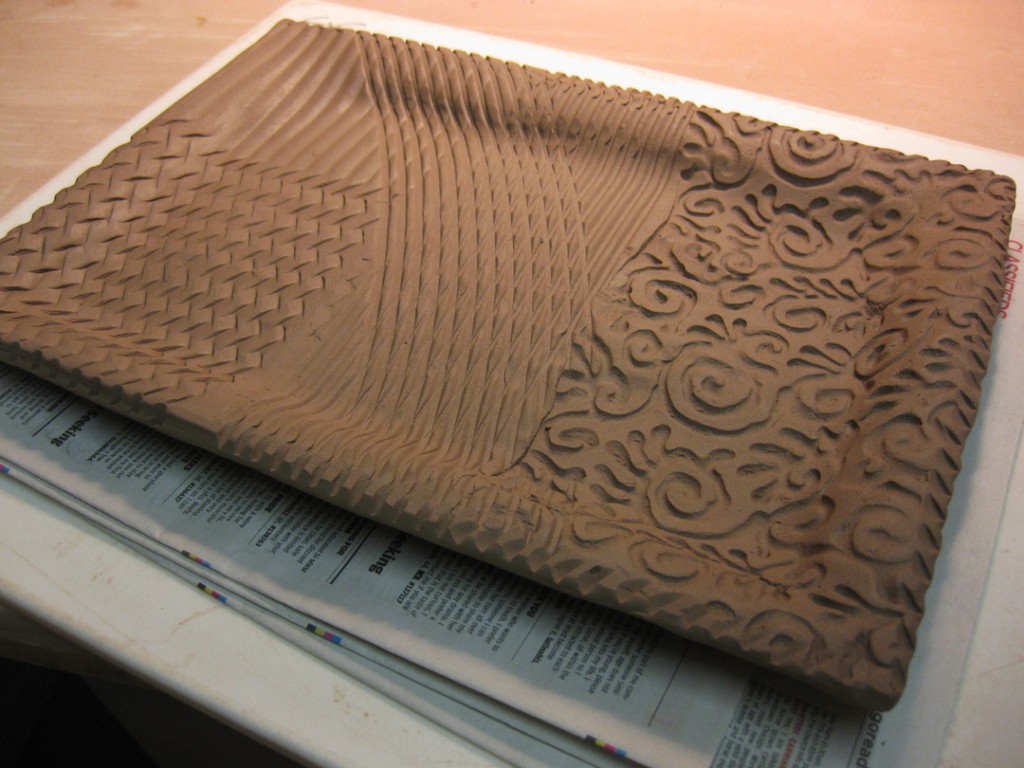
So we started with some basic instruction & demonstration of pulling slabs and adding
some texture to them. Once decorated, the slab was then “draped” over a simple clay
coil “frame.” The plate slumps into the frame and the edge is smoothed & finished off.
Then, as a quick “show-stopper” demo… instant plates trimmed right off the block of clay!
Using a stretched out spring to cut the squiggles, and a straight wire to cut the under side.
Tonight, once they set-up a bit, I added some small feet to the underside for a bit of lift.
I can’t wait to see how these sculptural “plates” will turn out when the glaze pools!
