Gary Jackson: Fire When Ready Pottery
A Chicago potter’s somewhat slanted view of clay & play
Categories: blogs, pottery, process

Don’t forget that you can also follow Fire When Ready Pottery on Facebook.
I know I have a tendency to ramble, to weave a picture with my words… some have even
referred to me as verbose!
I call it colorful & descriptive. But if you want quicker, more
succinct, updates & pictures, don’t forget that you can add me to your live Facebook Feed.

Just click on the link below to go to Facebook. Then click the “LIKE” button at the top.
You’ll get regular updates, stories, photos & more! And if you want a little more
description, a few more pictures, a lot more words… keep coming here to the blog!!!

Fire When Ready Pottery on Facebook.
www.facebook.com/firewhenreadypottery

Categories: kiln firing, process

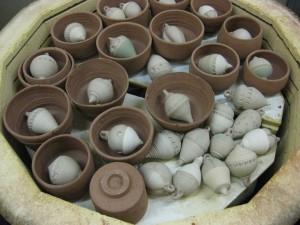
After class, I loaded another bisque kiln. Along with some terra cotta
work that is glazed inside. Luckily, they’re both firing to cone 04.
So it’s one kiln for all!

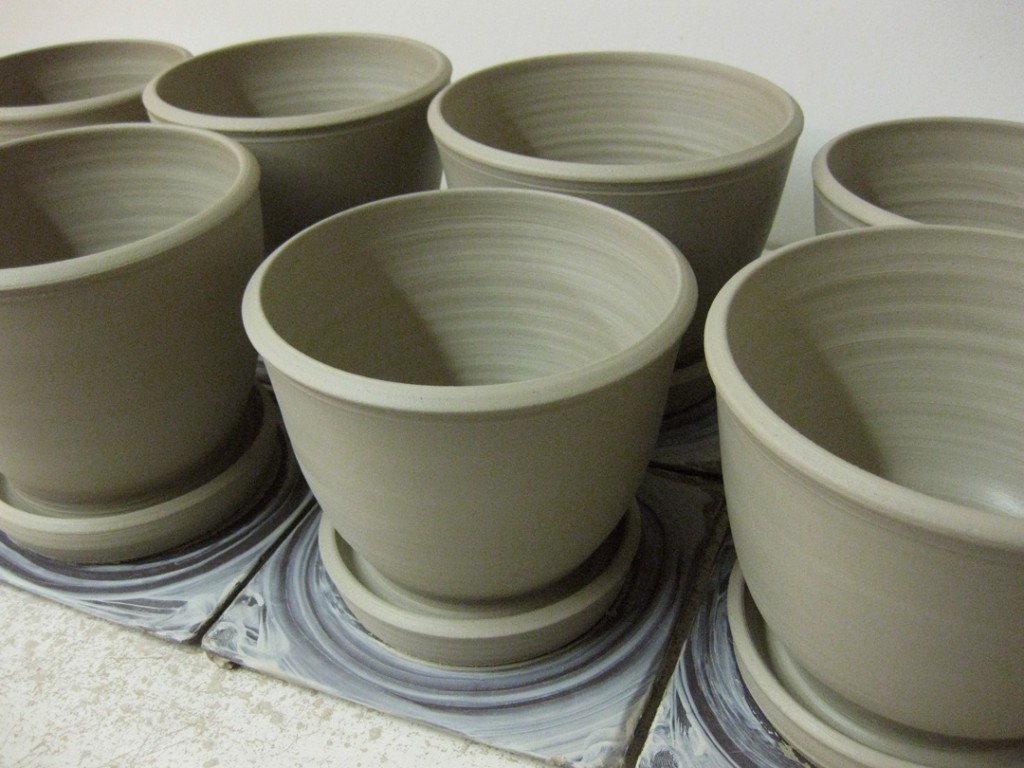
Layer #1 – terra cotta planters, ornaments & tiles… and two Patinkin cups.

Layer #2 – terra cotta planters, ornaments and even MORE tiles!
I love how the tiles stack and make a perimeter around the kiln. Funny.

Layer #3 – terra cotta drip trays and a couple test tiles for Karen Patinkin.
And you know how I hate open unused kiln shelf space… this killed me!

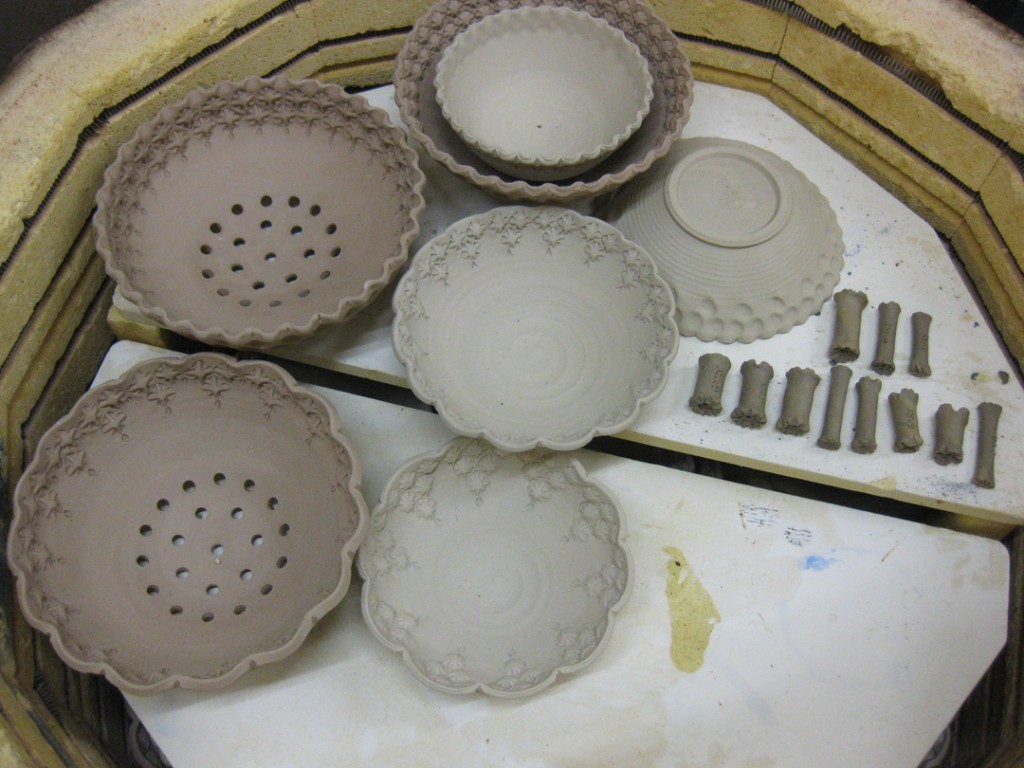
Layer #4 – terra cotta drip trays and a couple stamped square plates
by Karen Patinkin. Again, too much kiln shelf showing for my liking!

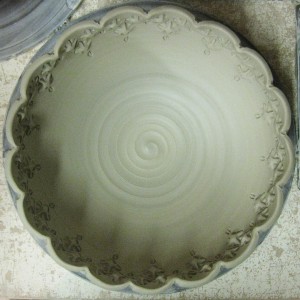
Layer #4-1/2 – my class demo stamped plate and the last water drip tray.

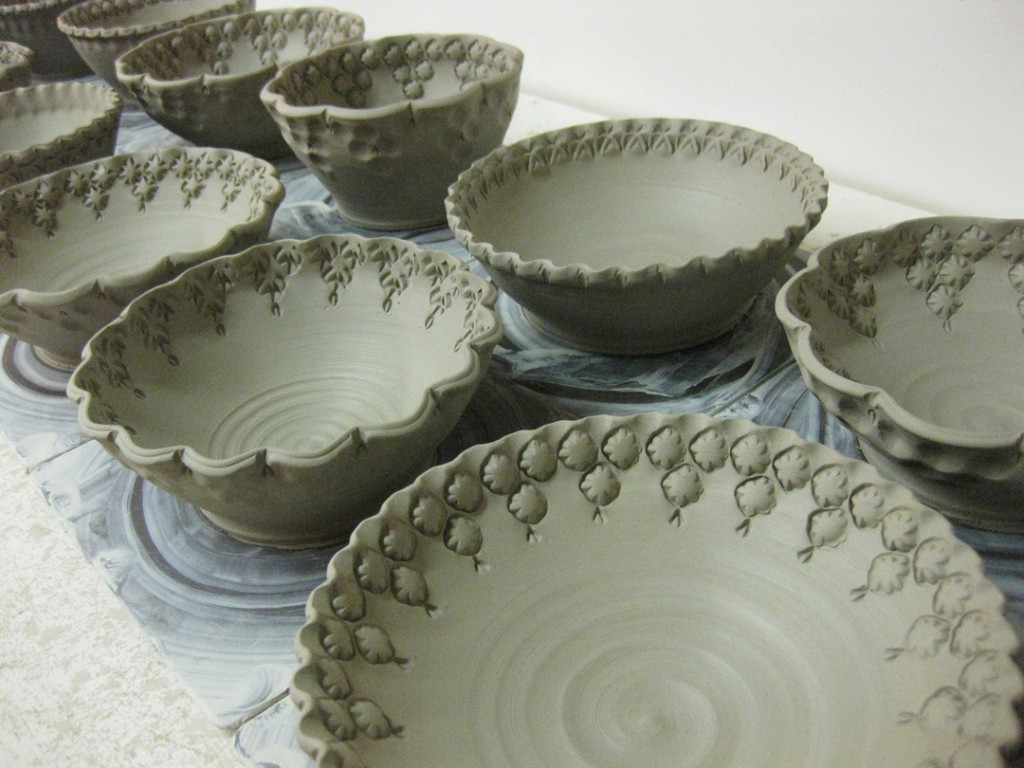
Layer #5 – topping off the kiln with some stacked bowls…
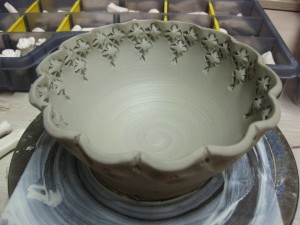
stamped & fluted but not fitting together in a stack as much as I would like.
Next time I need to remember to make different sizes so they stack better?!

And the two bowls that didn’t quite fit in… as much as I tried & tried.

And while I was loading my kiln, Lillstreet Artreach Director Jayson Lawfer
was loading his bowls in the kiln next to mine… and since he had a little space
left over, and some empty bowls… I was more than willing to “fill-in”
with some ornaments!

Categories: pottery, process, production, stamps

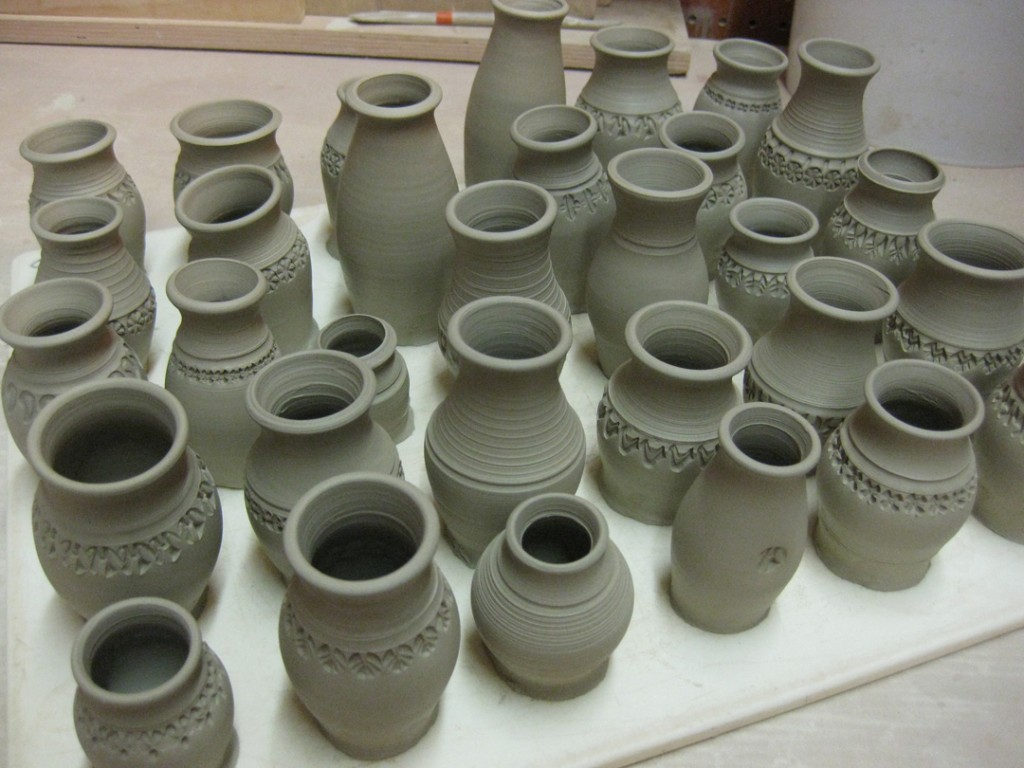
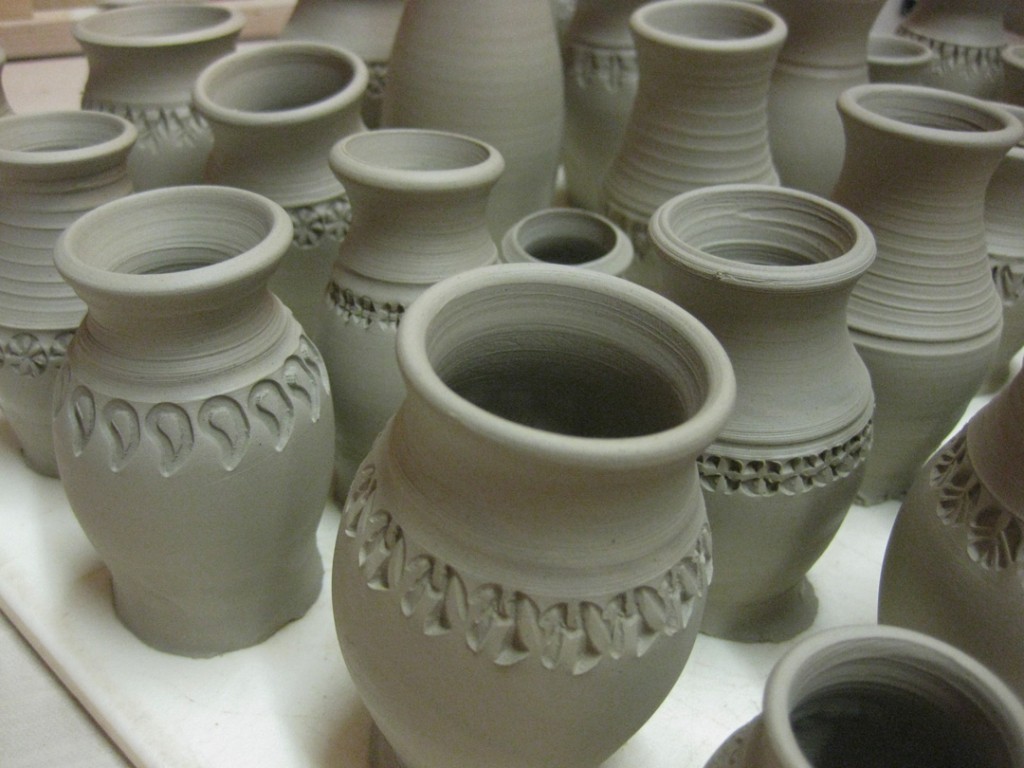
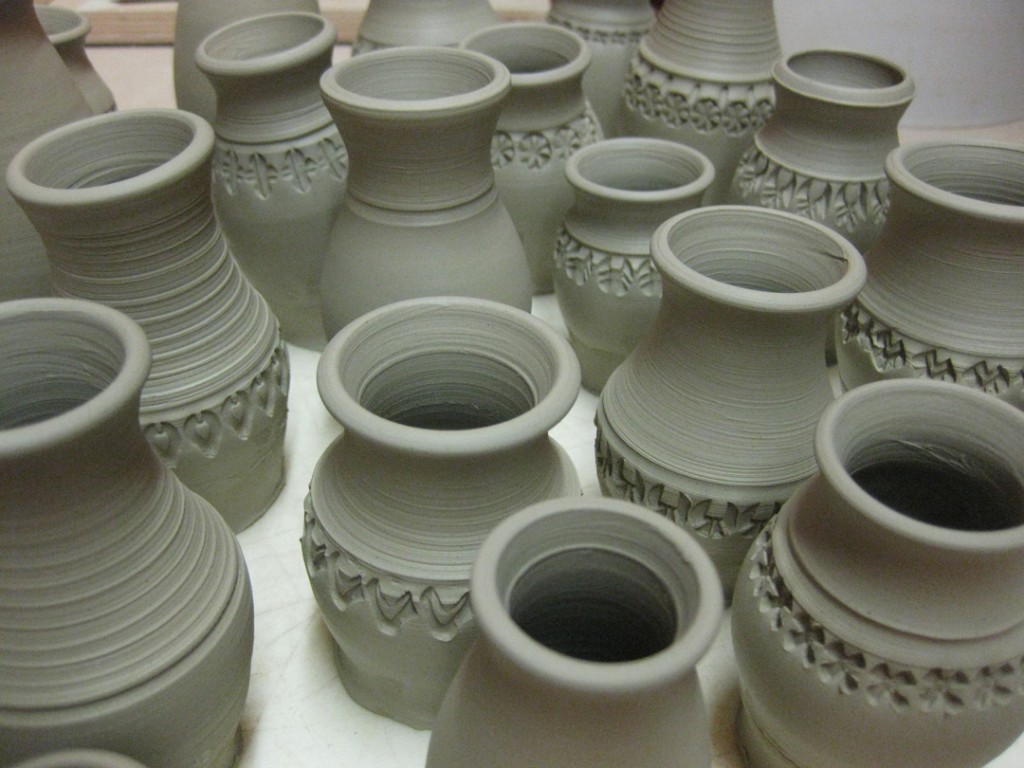
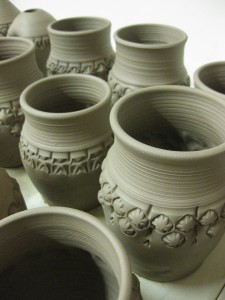
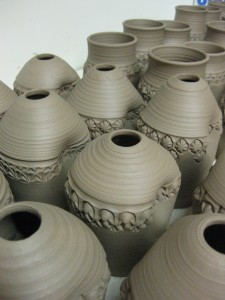
After yesterday’s throwing marathon, today had to be the stamping marathon!
Shucks, huh?… good thing I love stamping!

Although my pots were all still a little wetter that I would like them to be,
a little “strategic drying” really payed off. A little bit of fan. Some rotating.
A lot of waiting… and some trimming of older pots & another batch of tiles…
and I finally got to stamp all of the pots I made yesterday. Okay, so they were
still a little squishier than I would normally like… but it was fun to see the
transformation from “plain” to textured. So much better now…

Coming soon… a LOT of trimming and handles for the mugs!

Categories: artists, friends, inspiration, pottery, process, textures

With last night’s surface decoration demonstrations…
including some techniques from my friend & potter Amy Higgason

I was surprised with the HUGE coincidence of her posting some pictures
of her own work that she had done in her own studio up in Northern
Wisconsin that same day. So while we were “channeling” the carving style
of Amy Higgason, she was actually doing it too! And much better!!!

Here are some photos of the incredible platter she was working on…
See… THIS is how it’s supposed to be done!!! Stunning as always!!!
Check out more of Amy’s incredible work on her website or Facebook.
Search for Amy at Pigeon Road Pottery.

Categories: process, production, stamps

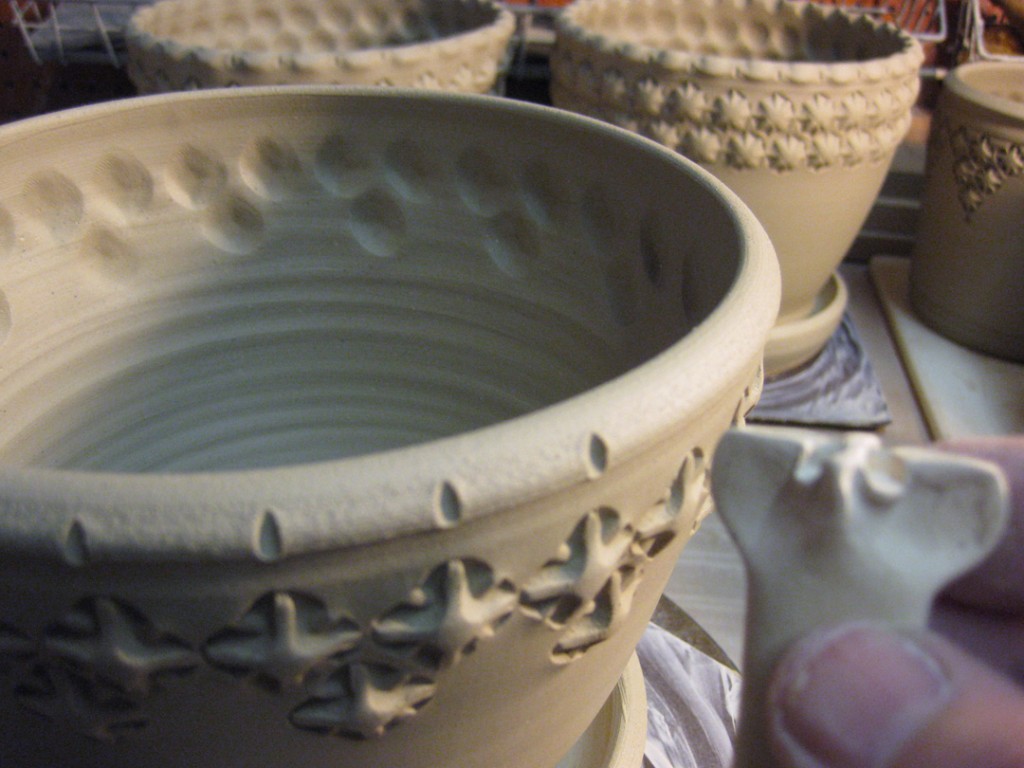
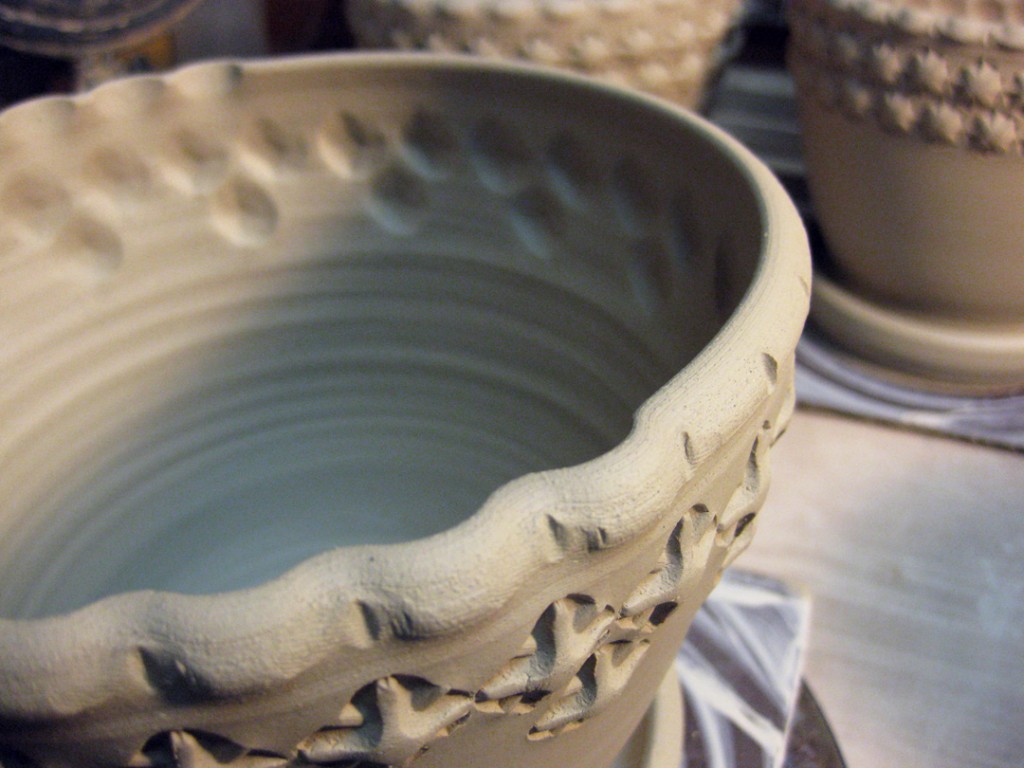
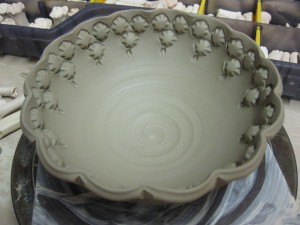
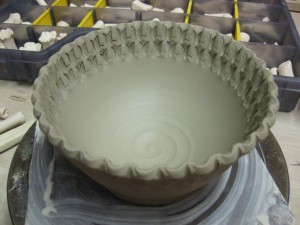
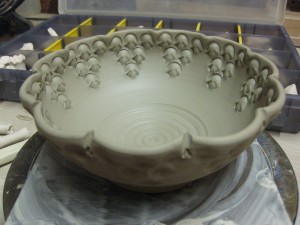
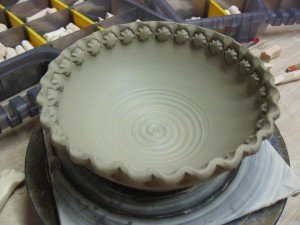
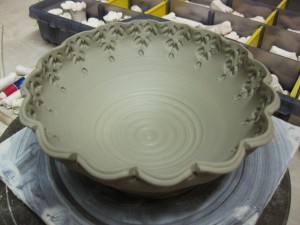
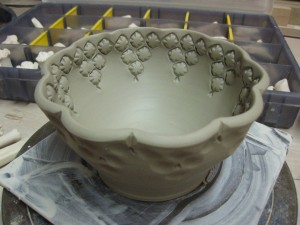
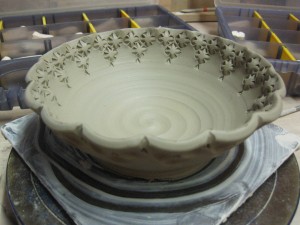
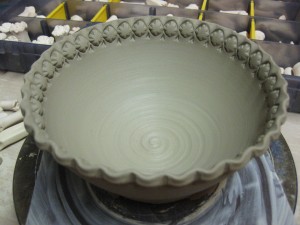
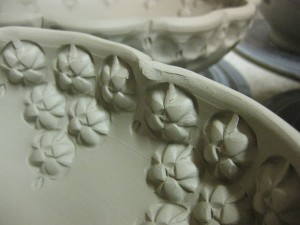
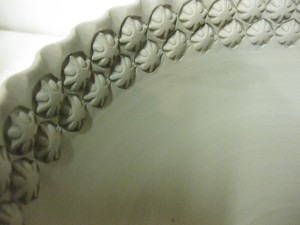
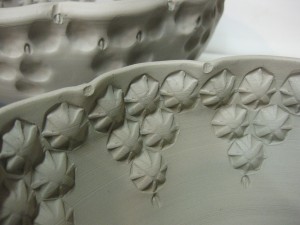
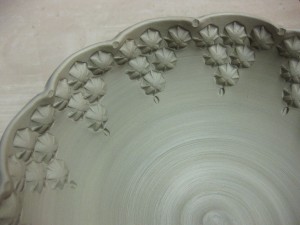
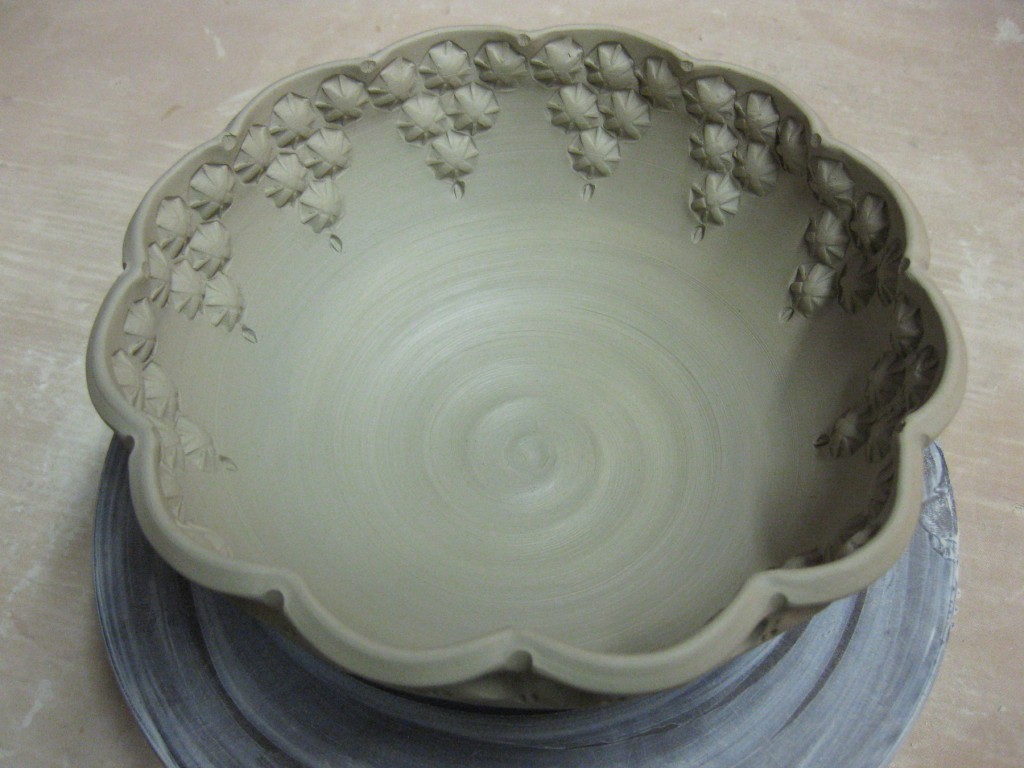
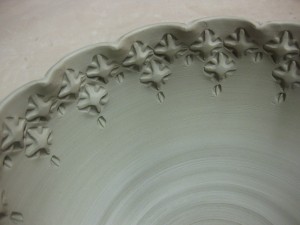
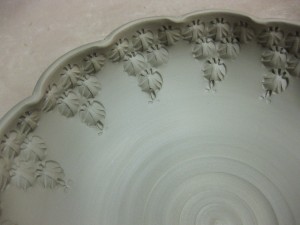
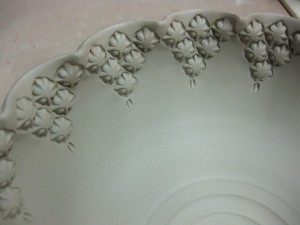
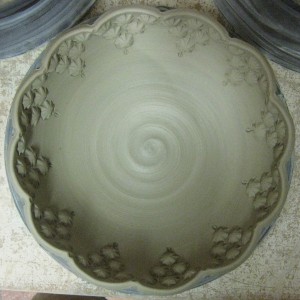
More bowls. More stamping. More fluted rims… and this time, in very close detail!
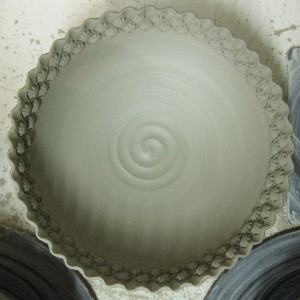
So much so, that if you look closely, you can see my fingerprints!

Categories: process

So I stopped over at Chicago Ceramic Supply this morning for more low-fire glaze
for my terra cotta planters. I wanted Espresso glaze… but the were out of it?!
They were also out of Walnut & Chocolate. So I ended up with two new colors…
Caramel & Cocoa. And now I’m just hungry…

Categories: classes, lillstreet, process

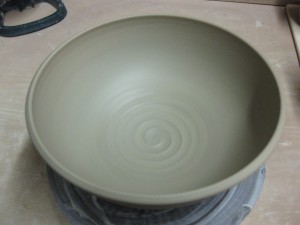
Tonight we worked on making basic bowls. It’s Week Six… and it was time
for my beginners to learn how to make real bowls – and not a cylinder gone bad!
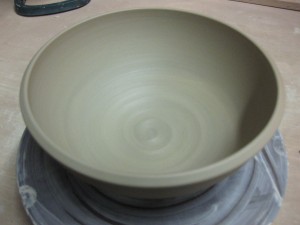
So we started out with my demo of throwing basic bowls. With a nice smooth
curve inside, instead of a flat bottom & corners! So everyone made bowls…
but anyone can make a bowl. So we went a little further and worked on some
basic decoration techniques to make their bowls a little more special!

I started by quickly throwing eight bowls… all quick, all round, all plain.
And then we started playing… flanges & stamping, and dragging spirals through slip!

Chattering a rib through slip , and pressing in a “fish scale” tool to make a flower!

Then fluting the rim in four places, and a layer of black slip waiting for some sgraffito!

Then folding out the rim & stamping which I did a little after class when the bowls were
a little drier… as well as chattering done by one of my beginners Hanna!

Categories: process, production, terra cotta, textures

Last night at the studio, I finally got around to adding the textured rims around
the top of my new planters. Coil, attach, texture. Coil, attach, textures. Repeat.

Today I’m headed back to the studio to add feet and drainage holes… and then start
on the water drainage trays that will go with this batch of planters! After the online
discussion about the last batch, the response was mixed as to whether or not terra cotta
planters even need water trays?! So we all kind of decided to leave the first batch
“trayless” and make a second batch with trays. Then we’ll see how they sell…
and if there is a definitive answer after the first couple art fairs this spring?!

Categories: process, production, terra cotta, textures

After the comments & discussions over the last batch of terra cotta planters,
the consensus was that I should leave the first batch as it was. Tray-free.
And then make a second batch with drip trays! So that’s where I’m at.
Tonight I started constructing the textured terra cotta planters. Walls done.
Bottoms added before I left for the night… finishing details in the next couple days!

Categories: pottery, process, production, stamps

Yes… in that order.
Generally that’s the sequence I like to do it in.

I stamp my pots when the clay is considered “wet” leather-hard.
No longer sticky, no longer squishy. Yet still moist enough for a good impression.
Too wet and stamps stick, the shape gets all warpy and it’s no fun.
Too dry and the stamp impressions aren’t deep enough and the pot can crack.
Okay, this time they were still a bit squishy… but I digress…
After I stamp the last pot in the batch, the first pot is typically ready to be trimmed.
So I trim them all, and if they are going to be soda-fired, I add some colored slip accents.
Then I set them aside so they can dry… and that’s where we’re at as of tonight!