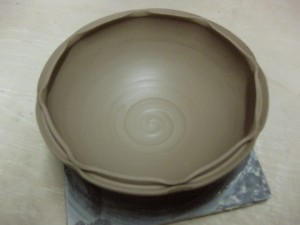
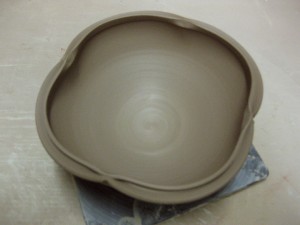
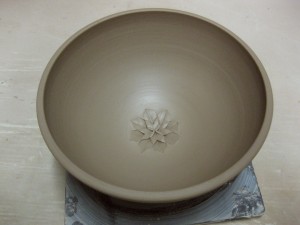
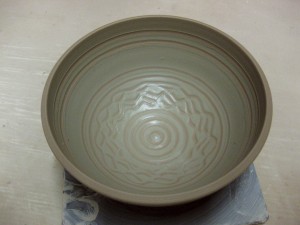
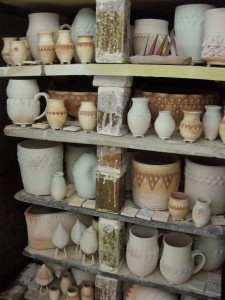
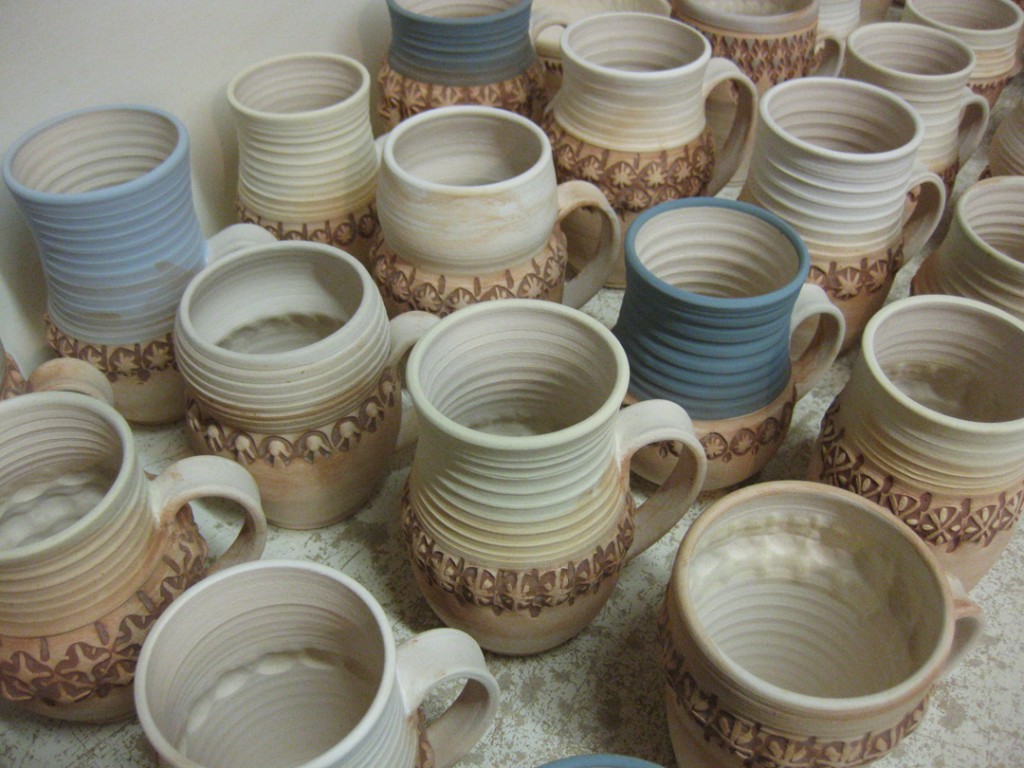
With all of my new bisque work unloaded, it’s time to start the glazing process
for my next soda kiln. Luckily, for my soda pieces, I don’t need to glaze a lot.
I typically inlay glaze into the stamps, and then do a quick liner glaze… and that’s it.
So, here it is… I’ve started the glaze inlay process…
But there’s still a long ways to go…
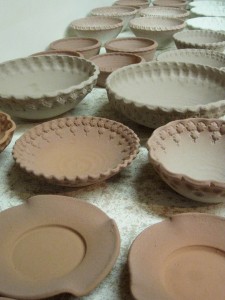
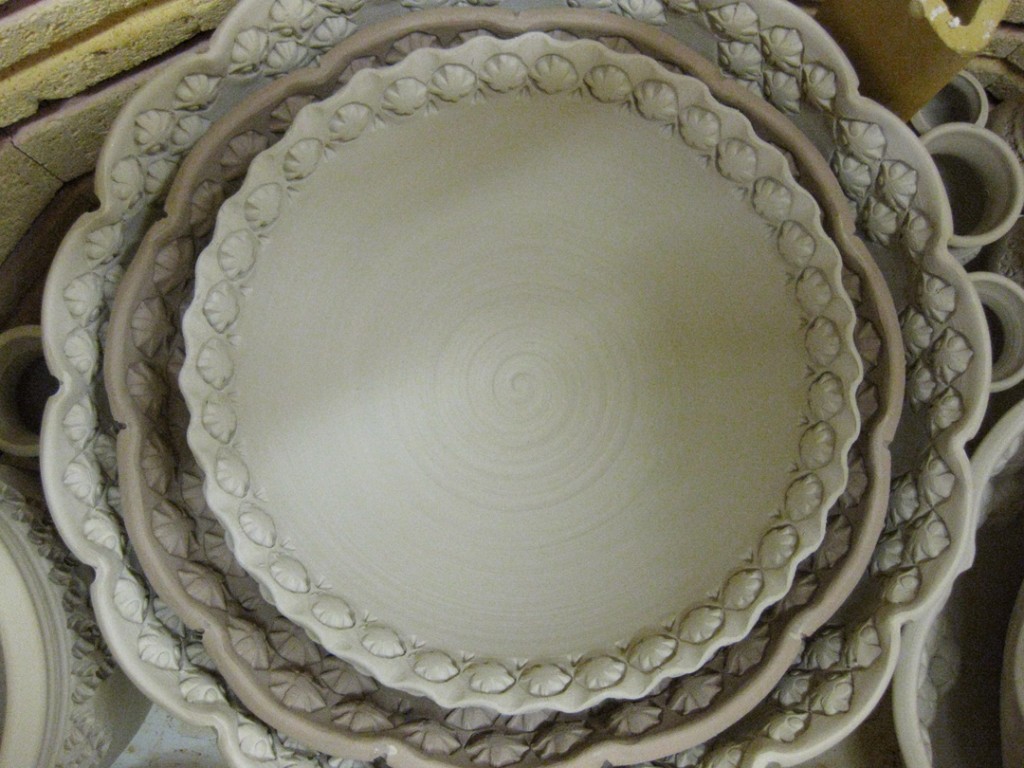
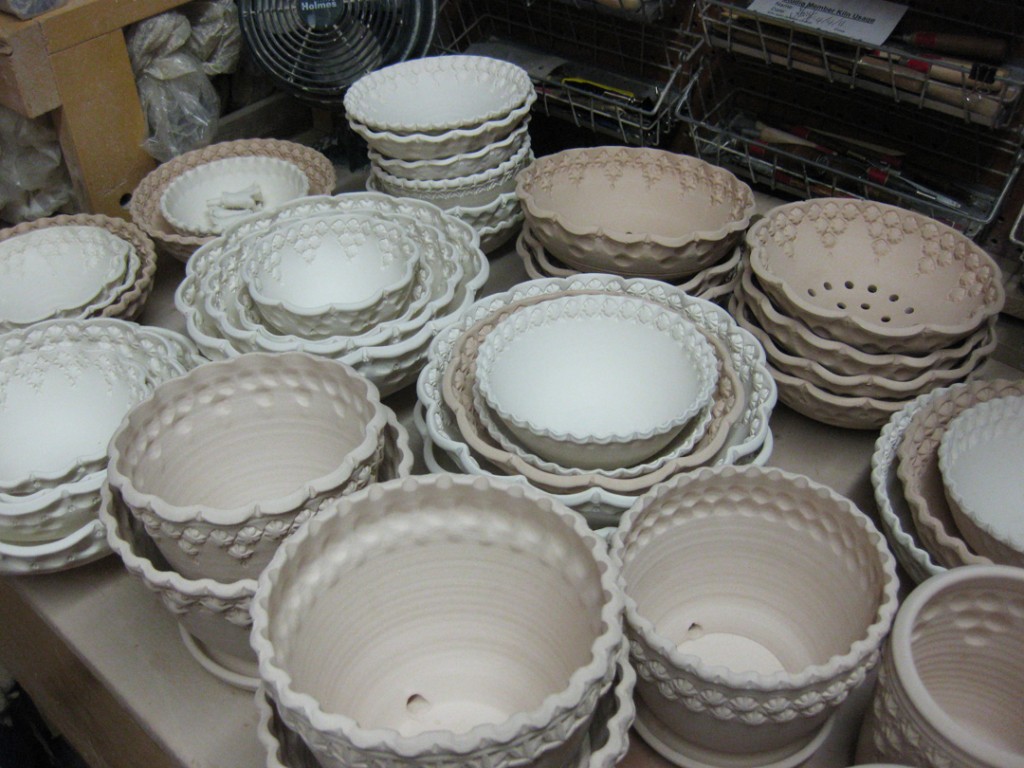
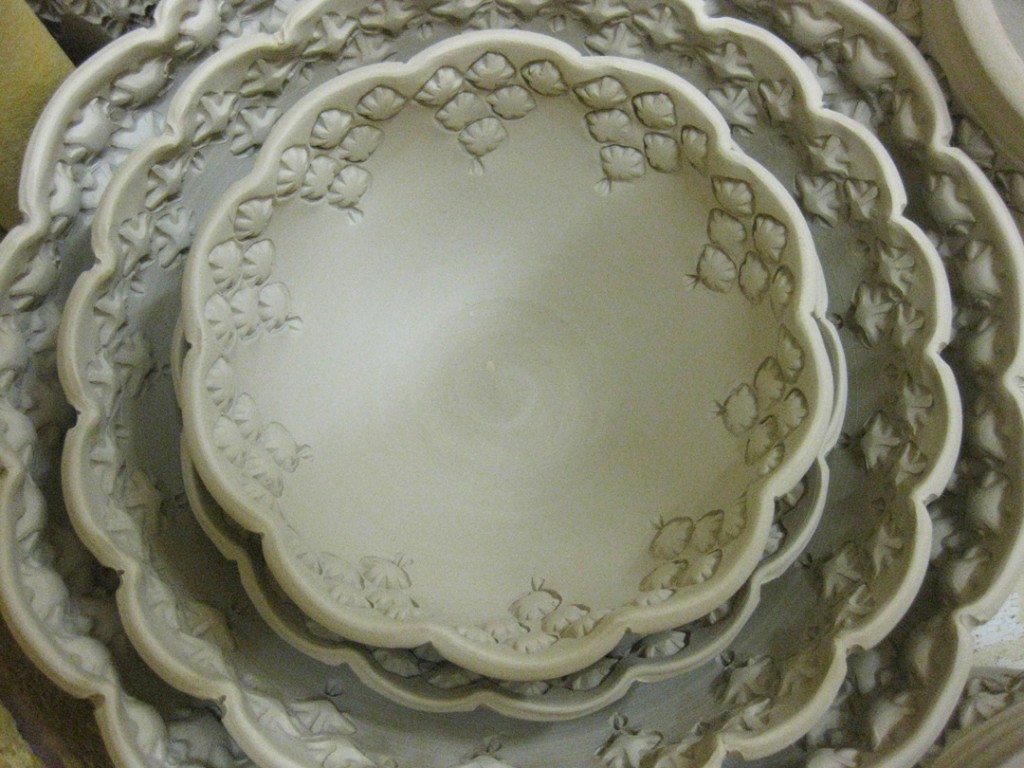
As I was loading the kiln, I was carefully stacking bowls…
and began to notice how cool they started looking with the rhythmic repetition
of the curved & fluted rims, the details of the stamped details and the great shadows that
helped define the textures. I may have to consider this… and make some new nesting bowls?!
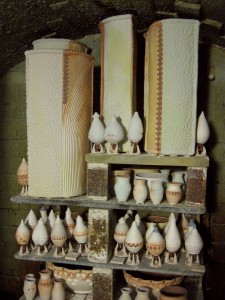
After weeks of working in the studio, it was finally time to load a bisque kiln.
It’s always tough to determine how much will fit in the kiln. How many will stack?
How much will nest inside another. What will squeeze onto each layer? And so,
tonight I tackled the three-dimensional puzzle of stacking the kiln effectively.
You now how I hate to leave unused kiln space!!! It drives me crazy…
Layer One: flower pots, mini vases & more ornaments!
Layer Two: bowls, utensil crocks, mini vases & tripods!
Layer Three: bowls, berry bowls, utensil crocks and more tripods!
Layer Four: berry bowls, bowls… and some last minute stamps I made tonight!
And sadly, I didn’t do so good estimating this time. And there’s a little space left open
on the top layer of this kiln. I left a phone message with my potter friend Karen Patinkin
to see if she wanted to fill it in. The kiln turns on tomorrow morning… still waiting…
My answer is NO.
I love making small pieces that fit into all of the other pieces in the kiln.
Tumble stacked, piled together, nested, whatever it takes… a full kiln is a happy kiln!
I hate firing a kiln that is not well-packed. I feel like I’ve wasted space if it’s not full.
So the latest set of small bowls were intended to be “filler.” But then tonight I decided
to make even more! And even smaller! This time… I made a full batch of miniature vases!
So I threw them all “off-the-hump” and let them sit for a few minutes.
Then I back-tracked and started stamping the first ones as they were already getting stiff.
So now there’s even more to trim!… and even more to pack into my next bisque!!!
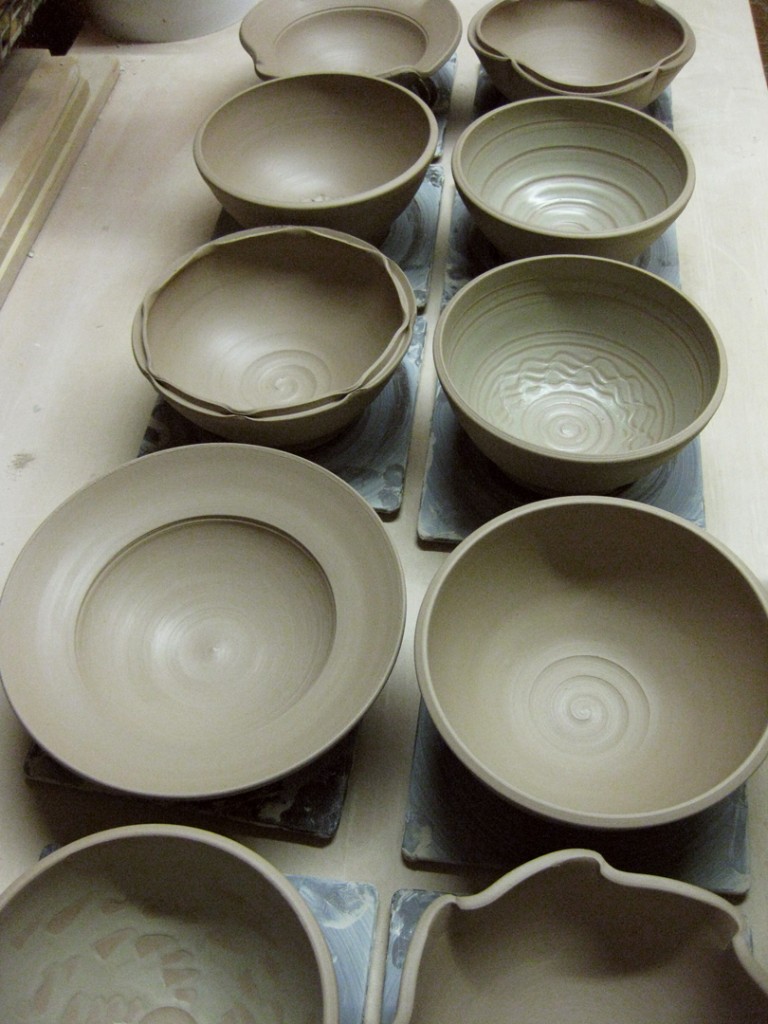
Perfect timing… I went back into the studio today hoping to stamp the bowls I threw yesterday.
Luckily for me, they were at just the right “stiffness” for some good stamping! So I did..
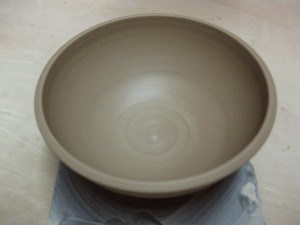
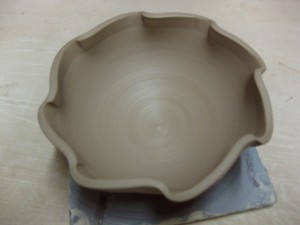
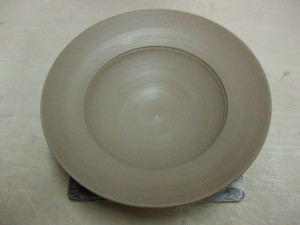
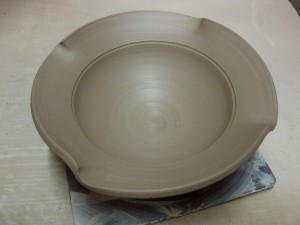
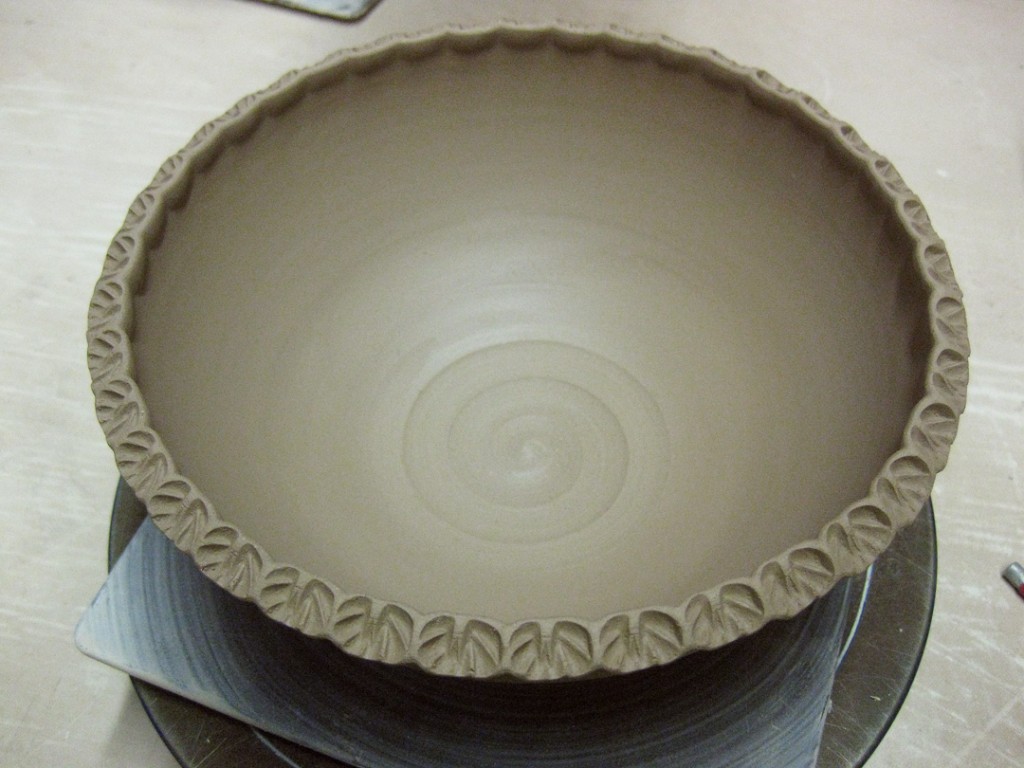
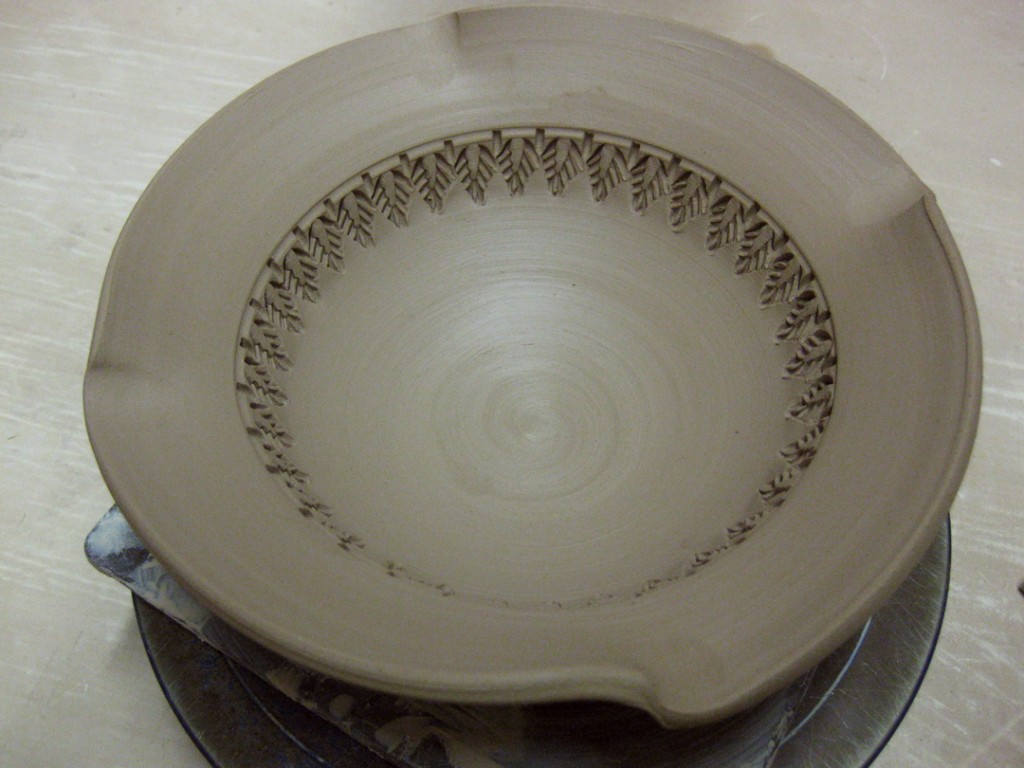
Bowl #1 : before, during & after…
Bowl #2 : before, during & after…
Bowl #3 : before, during & after…
Bowl #4 : before, during & after…
Bowl #5 : before, during & after…
Bowl #6 : before, during & after…
Bowl #7 : before, during & after…
And the tools of the trade… my banding wheel, a couple of my handmade stamps,
a needle tool, bamboo skewer, chopstick & and a dowel rod. That’s it… voila’.
With “Empty Bowls” in full swing downstairs, I opted to be productive upstairs in my studio.
I ran downstairs to see what all the commotion was about… and it was great to see hundreds
of bowls all over the place & plenty of customers picking them up and donating to the cause!
I especially liked when I saw people carrying one of my bowls as their final choice! After all,
there were a dozen of my donated bowls to choose from!
Back upstairs, I started throwing some new pieces. Having received my “acceptance” letter
today for the Schaumburg Prairie Fine Arts Festival on Memorial Day Weekend, I thought I
better start making more flower pots for the Spring art fair selection! So I threw some more
traditional-style flower pots with the water dish attached.
What to do next?… well, there’s never enough bowls, right? So I decided to throw a batch
of bowls with B-Clay. Plan being that I will be ready for another soda kiln fairly soon,
and B-Clay turns out really nice in the back stack of the kiln… where most other clays
turn out “dry” after soda firing.
With my tables filling up quickly with freshly thrown pots, I had to make some room.
Luckily, the new batch of kitchen utensil crocks was already stamped and ready to be
trimmed. So I finished them off… and added decorative slip to a couple of them.
By the time I finished trimming the utensil crocks,
and made another trip downstairs to check out more “Empty Bowls”…
the new flowerpots were already stiff enough to start stamping! Giddy-up!
First with a single stamp pressed repetitively around the sides of the pot.
Then a small divot added around the rim to help with spacing.
With the proper spacing “indicators”… it is then pretty easy to “flute” the rim
all the way around. Consistently pressing the wet clay – enough to move the shape,
but not enough to squish or smoosh the shape of the pot… trying to avoid
an “ovalled-by-accident” flower pot!
After a few stamps… the new flower pots are decorated and ready to stiffen up to
leather-hard. They are now covered with plastic, as are the bowls. Tomorrow I plan to
head back to stamp the bowls. Maybe they’ll all be ready to trim on the next couple days.
And then I can make more!!!