Gary Jackson: Fire When Ready Pottery
A Chicago potter’s somewhat slanted view of clay & play
Categories: classes, process

So Tuesday night’s class was supposed to be “throwing taller”… everyone’s nemesis.
But with the Bulls game… and the Cubs game… and the beautiful evening weather,
attendance was a little low – understandably! So we decided to put off that demo
until next week. And instead, we went with one of my favorites – “Demo On Demand.”
Basically it’s an open night for students to get whatever demo they need… whatever
they missed, whatever they didn’t quite get, whatever they want to see again. So we did
a few different demos… and ended with another demo on how to make ovals for those
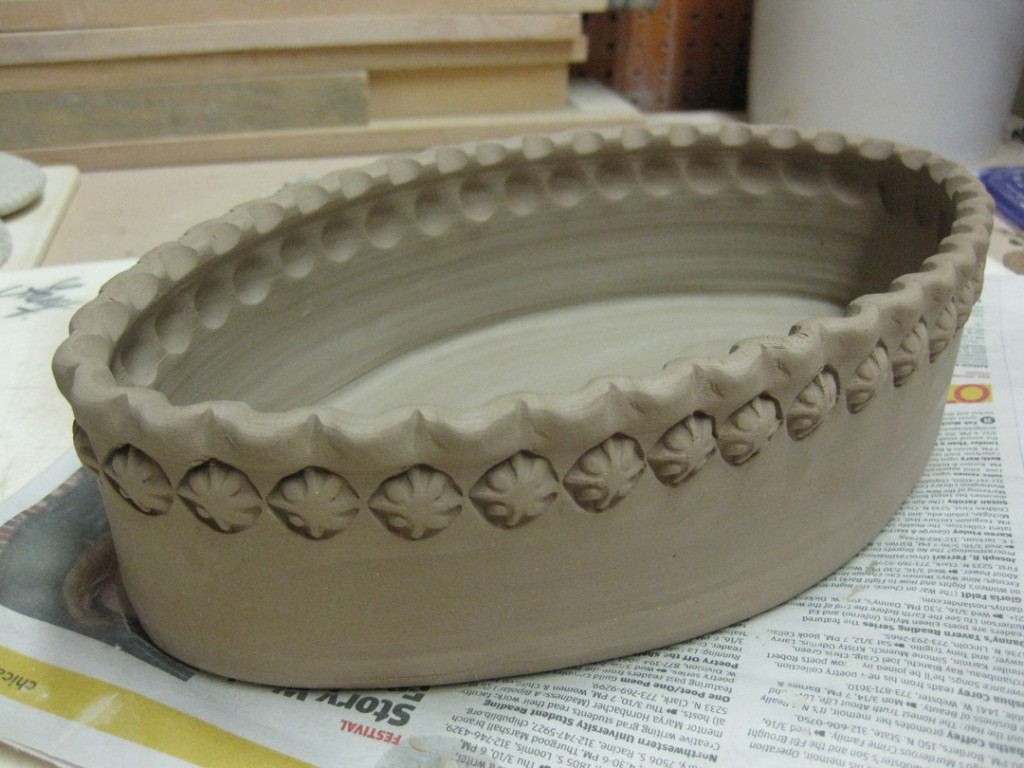
who had missed that demo. Plus, we went one step further… and decided that an “oval”
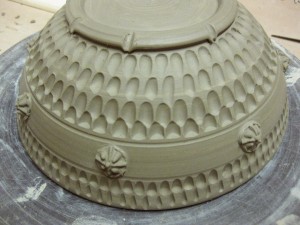
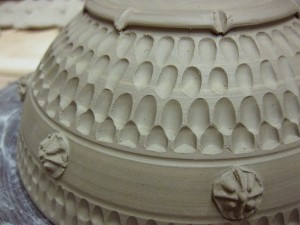
doesn’t always mean that it needs to be a “plain” oval. And after a little post-class-finishing,
this oval pot is now ready to start drying.

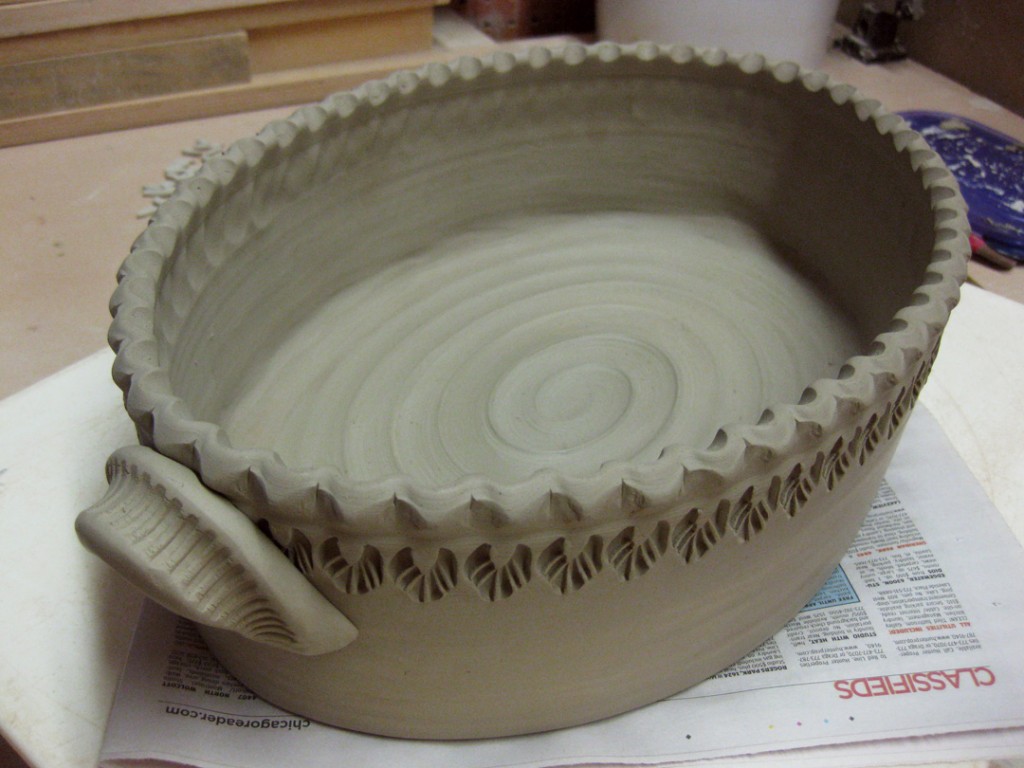
And here’s a new favorite… a simple split rim with tight pinches back together
to give it this sort of “quilted” quality! But not on the “side points” sticking out.
I decided to go with the contrast to help define those areas. And then we’ll need to
come up with a similar glazing solution to help accentuate that design choice as well.

Categories: classes, process

So last night was Week Six in our Beginning & Advanced Beginning Wheel class.
Let me just say… MY class is a little more advanced than the other beginning classes.
I have a tendency to push my beginners a little more than most. But it’s exciting to see
how they’ve all progressed and are now tackling more advanced pieces. So exciting.

Last night we tackled some more surface decoration techniques. I love showing off
a lot of techniques to my beginners… hoping that at least a couple of them “stick”
somewhere in their heads. If nothing else, it gets them excited to see more fun things
they can do with clay.

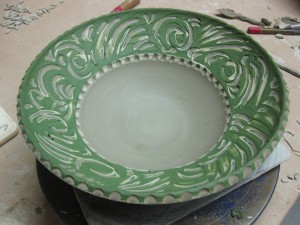
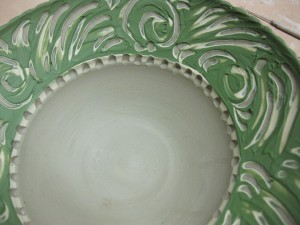
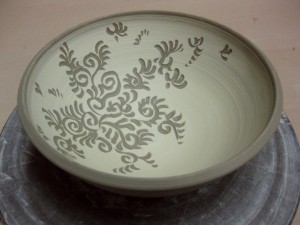
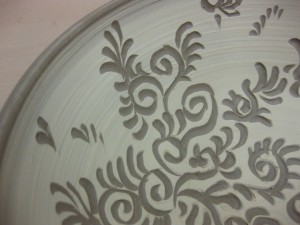
So we did some carving, basic sprigs, more slip, carving through slip and more.
The demo’s turned out to be a little too long for class, so I had to finish them up tonight.
And thanks again to my friend Amy Higgason for inspiring the carved & sprigged bowl.

And then we tackled making ovals on the wheel. And the “illusion” of making them look
like the whole piece may have been thrown on the wheel. So we did “the easy” method
of throwing the walls of a cylinder and attaching it to a slab. But the trick is to throw a deep
spiraled bottom piece, and then to stretch it to make the throwing rings appear oval-ized!
Some scoring & slipping… then some stamping & fluting… and today I finished them off
along the bottom edges and added some handles to the large casserole.
The smaller oval will remain handle-less! But still stamped… let’s not get crazy!!!

Categories: kiln firing, process, production, textures

For a very long time, on that long list of things to do…
I finally got around to making & firing some textured soda slip test tiles.
I acquired quite a few slips from my potter-friend Emily Murphy when she moved to
Minneapolis. And yet I tend to go back to the old “tried & true.” Maybe because I wasn’t
sure how all of the new slips would “react” in the soda firing atmosphere. So I made test
tiles with one of my favorite handmade rolling pins, painted on some slip and fired them
in the kiln. Of course, I also had to make little “props” to hold them vertical in the kiln.

I’m excited to have new samples of the slips – all with a good amount of flashing
to show the range of colors & effects you can get in the soda kiln.

Categories: kiln firing, process

If you recall, I had a couple little mishaps while I was firing the kiln on Saturday.
The main one was the “electrical hiatus” that shut off the entire kiln in the middle
of the firing – as well as the neighborhood all around Lillstreet. Another one was when
I peeked into the bottom peep and noticed that one of the ornaments was “missing”
from it’s tripod. But wait… there were also five points on my cone pack when there should
have been only two at that temperature?! It took me a few confused moments to figure out
that they weren’t in fact “extra cones” – it was an errant ornament tripod! Apparently…
an ornament decided to jump off the third shelf, land on the second, and leave it’s tripod
on my bottom cone pack!

For those that are wondering… the cone pack looks extra groovy and is now a good
conversation piece. And the jumping ornament survived it’s adventure!

Categories: kiln firing, pottery, process, production

After a very hectic firing day on Saturday, it was a great relief to open
the kiln today to find out that everything turned out perfect. Good soda coverage,
good colors, good flashing. It’s a relief to have a kiln full of work done for the
upcoming art fair season… this far in advance! So I unloaded tonight and took
lots of pictures along the way… and I promise to post them very soon.
Here’s a couple shots of the full kiln just to whet your whistle. More to come…

Categories: glaze, process, production

So while I was “trapped” at the studio all day long… even longer than expected…
I needed something to keep me busy. So I kept glazing. Remember the “two-week”
quickly kiln that I’m sharing with Karen Patinkin? Well, we’re finally getting around
to firing – next Wednesday. So I used today to glaze a bunch of pieces for next week’s
cone 10 reduction kiln. It’s been a busy couple a days!!!

Categories: kiln firing, process, production, textures

I’ve been planning in doing this forever… good intentions… but something else
always seems to come up. Until tonight. I finally got to it.

One of the best ways to get some good color in the soda kiln is with special slips
designed to “flash” in the soda kiln atmosphere. And it seems like I always fall back
onto my “favorites” that I use all the time. But when you look in my studio, I have
quite an assortment of slips. Many of them thanks to Emily Murphy who bequeathed
her “stash o’slips” to me when she packed up her studio and moved to Minneapolis.

So my plans has been to make test tiles for all of the slips… using one of my own
textures and firing them in one of my kilns. So I finally loaded them in tonight up on
the top shelf. I’m hoping to get some dramatic flashing results that demonstrate how the
slip reacts. My fingers are crossed… and I’m glad that my plan finally came together!

Categories: kiln firing, process, production

Tonight I loaded my soda kiln… after a LOT of glazing & wadding. It’s been days…
Seems like I’ve been glazing quite a bit over the past couple days. Trying to maneuver
through my studio glazing pots, and working my way around stacks of bisque.
It’s always a guessing game of how many pots will actually fit into the soda kiln.
So I try my best to gauge it as I go… and trying to wad each piece along the way so I
don’t get slammed in the end with just a ton of wadding! So it finally all came together…
and after four straight hours of loading “fun”… my soda kiln is all bricked up for the
night and waiting for the big firing day tomorrow!

The soda kiln is three shelves deep. So I always stack the back shelf by itself,
all the way to the top. Trying to squeeze in as many pieces as I can, while still allowing
enough air space for the soda to travel through during the firing. Each time…
I get concerned that I’m packing it too tight!? But I really need to get my money’s
worth out of the kiln firing! So here’s the back stack…

And then I finally packed the stack in the front – two shelves in each layer. Piece by piece…
ornament by ornament… mini by mini… again, squeezing in as any pieces as I can.
Did I do too much?!… We’ll see when I open & unload the kiln Monday night.

Categories: process, production, stamps

So when got back into the studio today, I unwrapped the not-so-basic bowls
from last night’s class bowl demo. And there were a few of them that still needed
a little help… they needed more details.

So I stamped… and stamped… and stamped… and added a few more details.
Much better.

Categories: classes, lillstreet, process

Well, it’s Week #4 of the Spring Session at Lillstreet Art Center.
And most of my beginners are doing great… and those who aren’t,
are at least doing good and having a great time! So that counts for something, right?!

Tonight was “bowl night” in class and I demo’d how to make bowls on purpose
instead of a cylinder-gone-bad-and-oops-there-it-is-now-a-bowl. As we make the bowls,
I also encourage my students to design, alter & be creative with their bowls. Sure,
they need to make the typical round bowl. But I also like to open their eyes to some
of the other possibilities. There are a LOT of round bowls out there… why not express
yourself a bit to make that round bowl something special?! So, as part of the demo,
I threw ten “practically identical” bowls and then showed them how to do some quick
alterations, and introduced them to the world of colored slips! By the end of the demo,
the ten bowls were each very DIFFERENT bowls… and quick too!

Bowl #1: Plain — Bowl #2: Fluted rim edges

Bowl #3: Flared flange — Bowl #4: Flared & fluted flange

Bowl #5: Split rim & pinched — Bowl #6: Split rim, pinched & squared

Bowl #7: Flower impression — Bowl #8: White slip spiral

Bowl #9: White slip squiggles & line — Bowl #10: White slip chattered

Every time I do the bowls demo, for some reason every one is impressed by the ease and
simplicity of the little flower impression in the bottom of this bowl. A lot of people assume
that it’s a stamp… but instead, it a few impressions with a simple metal tool to create the
flower. I think I got the tool for a couple bucks at Chinese Clay Art. It always makes a
great “surprise” for someone eating out of the bowl when they get down to the bottom!

So there they are… bunches of bowls ready to set-up for the night, dry to leather-hard,
maybe some stamping, then some trimming before they head off to a bisque kiln.