Gary Jackson: Fire When Ready Pottery
A Chicago potter’s somewhat slanted view of clay & play
Categories: process, studio

After a long stretch of beautiful Chicago weather… and me
possibly “playing” a little too much on my bike… is that possible?…
it felt great to be back at my wheel in the studio tonight.
Throwing. Centering. Playing in the mud.

And it didn’t really even matter what I was making…
I was making fun.

Categories: pottery, process, production

With a crazy storm brewing outside last night, I was tucked away safely inside
my studio trying to finish up my latest batch of mugs… unaware of everything
going on outside until the huge chinks of hail started hitting the windows.
So after I ran downstairs to play in the hail, it was all work until the mugs were done.
Yes… the cylinders I threw quite awhile ago… and stamped quite awhile ago…
and trimmed quite awhile ago… and have been spraying down daily to keep “workable.”
So tonight was the night… hail or no hail.

So I pulled a lot of handles to go onto the “plastic protected” cylinders…
let them set-up a bit and then set out to the attaching. Later that night… MUGS!!!

Categories: pottery, process, production, stamps, studio

I had several comments on Facebook when I posted a picture of a class demo oval
that I made with a stamped & fluted rim. So I thought I would go ahead and re-create
the demo in a photo version for those who couldn’t make it into my class!!!

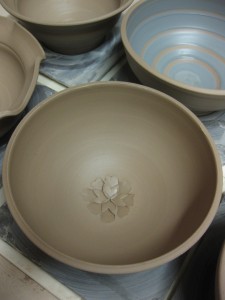
The first thing you need to make a simple oval is to throw a bottomless cylinder.
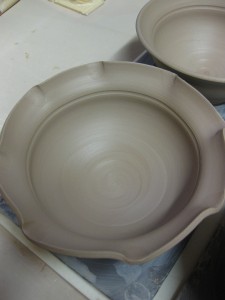
The the choice is yours… a decorative fluted rim or plain?! For this demo, I chose fluted.
So just before finishing it off, I take a pointed wood tool and literally split the rim
into two equal sides. These two “sides” of the rim will be converted to the fluting.

Once the bottomless cylinders are thrown, they need to set-up a bit before stamping.
These ones I wrapped in plastic overnight, and they were still just a bit stickier than
I would have liked. When I came back the next night, I carefully re-wired them off the bat
and formed them into the oval shape I was looking for. In this case, a nice oval casserole.
Still a little too sticky, but I went ahead… and stamped away with reckless abandon!!!

I then use the spacing of the stamped pattern to determine where the fluting will occur.
I take another stamp with a smoothed edge and literally press it into the outer rim until
it meets and attaches to the inner rim. It’s that easy, as long as your cylinder is still wet
and sticky enough for them to join back together. Make sure your cylinder is still on the
“wetter” side of leatherhard so that when you press the two rims together they will stick.

And if a few stamps are nice, even more stamps are better. So I went even further and
added another row of stamps, this time smaller, to add another nuance to the pattern.

And then, just for fun… I used the same little stamp to create a little interior stamp detail
where each of the fluted sections connected. Feel free to stop stamping anywhere along
the way… if you can. It’s kind of addicting…

So now, you’ve got a decorated oval or two… without a bottom! Set them aside
and let them stiffen up a little more while you move on to the next step.

While your ovals are open to the air and stiffening up, throw a slab of the same clay
and the same thickness as your oval. Then carefully place your decorated oval-cylinder
on top of the slab and “trace” around it with a needle tool. The remove the cylinder.

With a metal fork, I go around and score deeply just inside of the traced line. I also flip
the cylinder over and very carefully score the bottom of the cylinder too. Then it’s a row
of slip on top of the slab scoring. Gently place the oval on top and line up your scoring.
Gently press them together until some of the slip squishes out. I then carefully flip them
back over again and use a thin wooden spoon to “paddle” them together… creating a little
angle on the edge, as well as sealing the seam very tightly.

Once you have the bottom & edge all cleaned up, you can carefully flip it back over again
and smooth out the interior seam. Hopefully you’ve got a tight connection and a clean line
to smooth together inside. As this is a larger oval, I decided to add a handle on each of the
ends of the oval. If someone is going to actually cook in this casserole dish, the handles
will make it more functional and easier to pull in & out of the oven. Again, be sure to
score & slip, press it together and smooth out your edges.

And there it is! A finished oval ready to start drying slowly. I want all of the parts to find
a sort of “moisture-equilibrium” before I let it start drying. So I keep it wrapped under
plastic overnight. Then, I unwrap the plastic loosely for the next couple days. Then it’s
fully unwrapped, drying and ready to go into the bisque kiln.

Good luck with your ovals… and if you have any questions, please let me know!
And remember, the same decorative technique can also be used on other shapes.

Categories: pottery, process, production, stamps

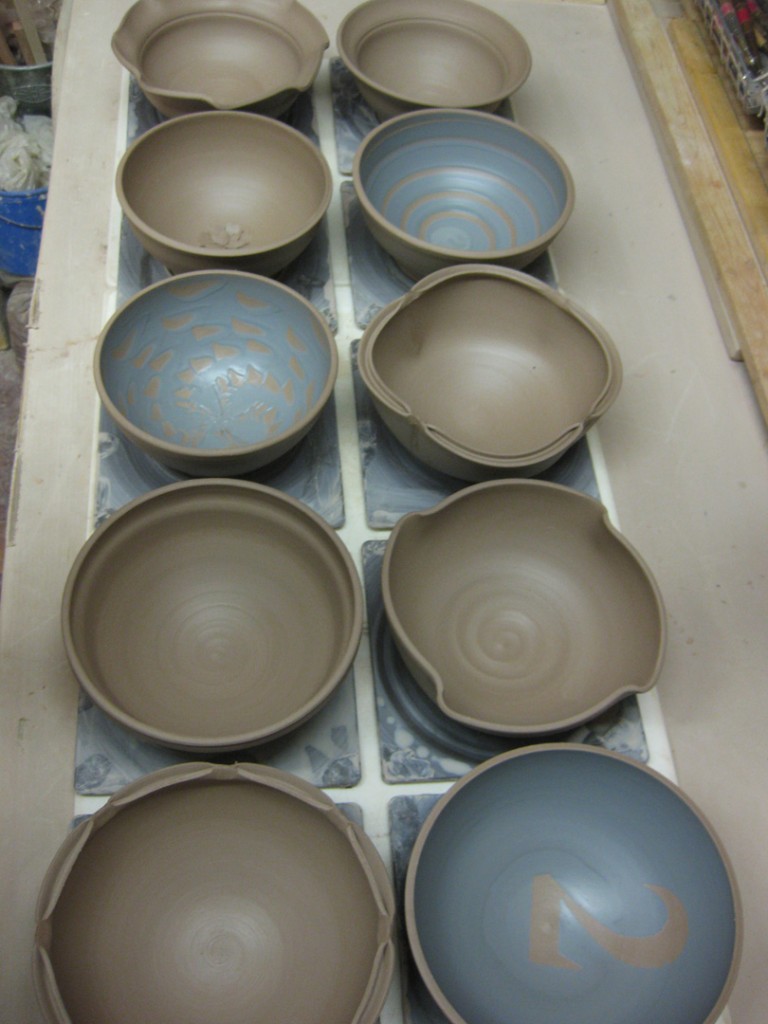
Tonight I worked in the studio on some new ovals with the stamped & fluted rim.
The last time I showed pictures of a similar piece on Facebook, there were a lot
of comments & questions about it. So not only have I been making more ovals,
but I’ve also been trying to take step-by-step pictures along the way. The ovals
are in mid-production… but still waiting for the bottoms to be added tomorrow!
Once I get them all put together, detailed & finished off – I promise to do a great
step-by-step blog post for everyone to see. But if you can’t wait… here’s a teaser!

Categories: pottery, process, production

Ready for more drying… Ready for trimming… Ready for handles…
Then more drying… firing… glazing… firing… more… more.. more!

Categories: pottery, process, production, stamps

Tonight I worked on the mug cylinders I threw last night…
they were still a little sticky, so I threw some more pieces while they dried up a bit.
But then they were finally ready to be stamped… so I did!

Categories: process, production, stamps, studio
Categories: pottery, process, production

Well, we’re two art fairs into the season… and it’s already time to start
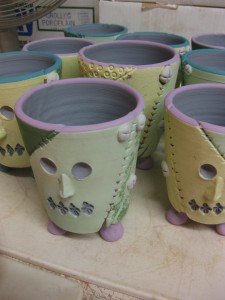
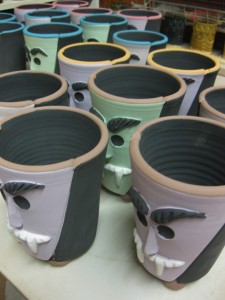
replenishing inventory. So why not start with my favorite?… MUGS!!!
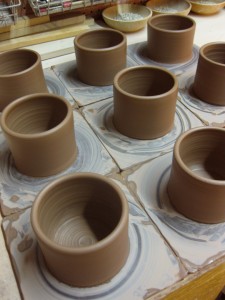
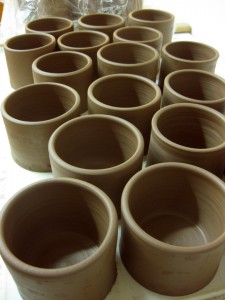
So last night I started by throwing the basic cylinders in assorted shapes.
Every time I try some new shapes, but frequently end up back to the tried & true!
I throw them all on small square bats, and then move them onto ware boards
after they’ve set-up a bit… need to make table space for more work, right?!

Tonight I will so some stamping if they’ve dried up enough to no longer be sticky.
I love the stamping part because that’s when they really come alive with personality!
Then the trimming… handles.. firing… glazing… firing again… and so on…

Categories: art fair, process

Well… I had much better telephone reception in Hinsdale than in Schaumburg.
Plus the weather was better… colder, but at least we didn’t have flash floods!
So I had a good chance to actually use the “Square” for my credit card processing.
And now I have a few more things to point out in my ongoing “review”…

1. Yes, indeed it is too good to be true!

2. It was so simple to put the “Square” apparatus into the the headphone jack
of my iPhone, click on the App and process the transaction. Very simple…
especially once I figured out how to set up the sales tax percentage.

3. People get a kick out of signing right on the iPhone screen… especially when they
find out that they can just shake the phone to erase it and sign again!

4. No one even questioned the process… I though people might find it all a little odd
that they were doing things on my phone, and not “really” receiving a receipt
until they get home to check their e-mail or text message.

5. After a full day Sunday, with a lot of credit card transactions, the battery level
on my iPhone was still only half-way used. Plenty of power for the day!

6. When I got home, all of my credit card transactions were right their in my e-mail.
Simple… easy… done.

But here’s my question for anyone who is also loving their “Square.”
Is there a way to list multiple items in one transaction? It seems to me that you can
only take a picture once, and type in a description for one item. That there’s only one
line available to type a description. But what do I do if I want to shoot a picture and add
a description for more than one item on more than one line with more than one photo?

Also… is there a easy way to print out some sort of “ledger sheet” or list of transactions
from the day? Something for the files… short of printing out every e-mail confirmation
that came to my e-mail?

Anyone?… Anyone?… Bueller?… Bueller?…

Categories: art fair, computer, process

Okay… so everyone’s been raving about the “Square” and how wonderful it is
for processing credit card transactions on my iPhone. My plan was to use it at
last weekend’s art fair… but everything didn’t go quite as planned!

When I got to the location, with a LOT of “atmospheric interference”…
which is just a nice euphemism for impending doom, gloom & storms…
my iPhone was not receiving a very strong signal. So we decided to go “old school”
with my original system of accepting cards and processing them after the show.
While I’m still intrigued by the “Square”… here’s a few things I learned…


1. With the “Square” you can now accept all four major credit cards for the same
minimal processing fee. No longer is American Express a huge expense to accept.
Visa, MasterCard, Discover and American Express.

2. You can still use the “Square” to process credit cards manually after the show
by typing the information in by hand. My understanding is that the processing fee
is slightly higher for manual transactions.

3. If you are going to process manually, you need to “capture” the credit card number
and expiration date as normal with your old knuckle-buster. But you ALSO need to
write down the “secret” code on the back of the card and the customer’s billing address
zip code. If you don’t have all of that information, you cannot process the card manually.

4. When you get to the point where the customer has to sign, they literally use the fleshy
tip of their finger to write on the iPhone screen. Here’s the best part… if they mess up
or want to start over, you just shake the phone and it erases the signature. Do over!

5. On the customer’s receipt, there’s actually a Google Map with a pinpoint showing
the actual location of where their credit card was used. Very cool.

6. Seriously seconds after pressing “send” to process & authorize the transaction,
the information showed up right away on my laptop. Right away!!!

So I’m looking forward to my next art fair and the chance to use the “Square”
as it is intended. Swiping the cards right through my iPhone. I’m sure I’ll have more
to say about the “Square” as I continue to use it more. But for now…
I’m hopefully intrigued and think it’s going to be great… as long as I can get past
poor reception and my fear of losing battery power after a long day at the fair?!