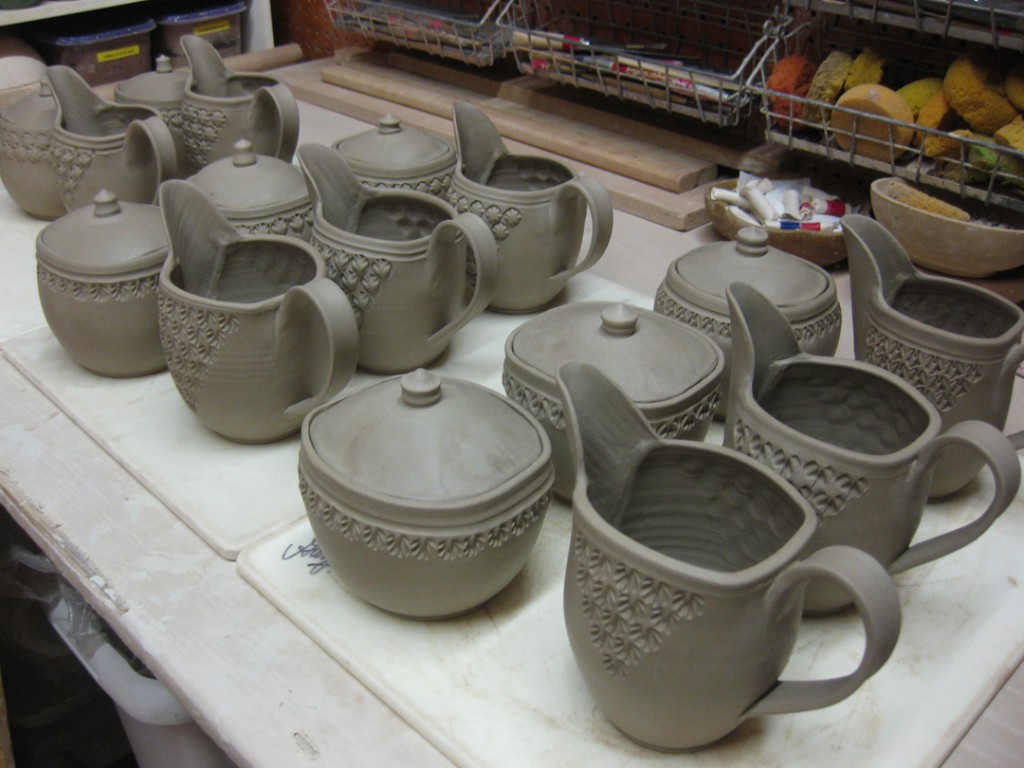
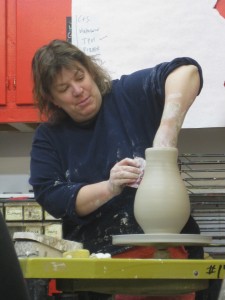
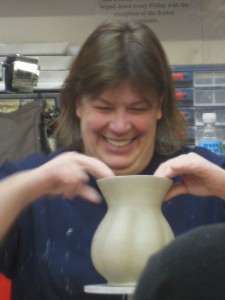
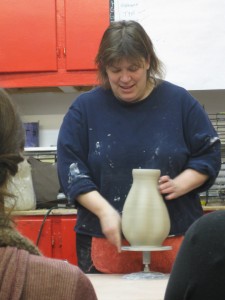
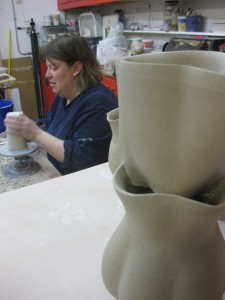
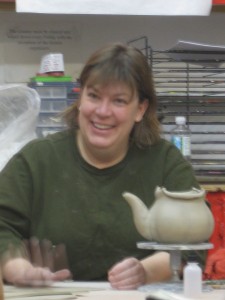
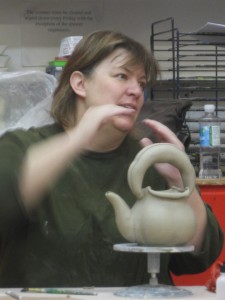
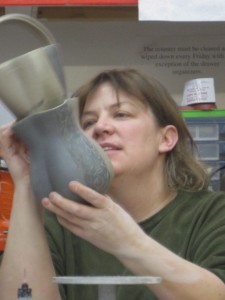
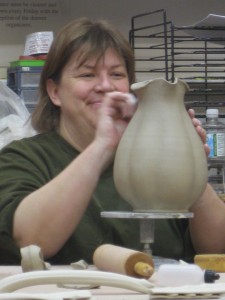
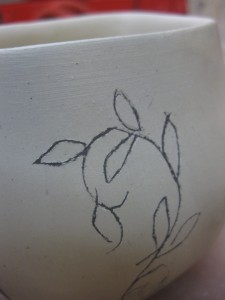
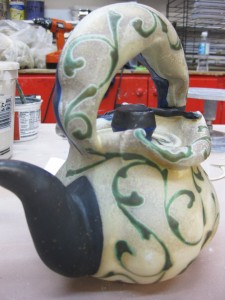
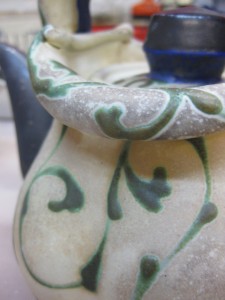
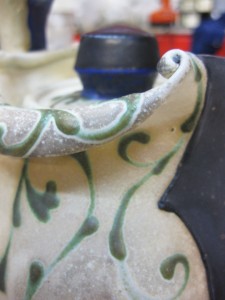
After my bike ride break… I was back in the studio trying to finish up some new pieces
I’ve been working on. After the Julia Galloway workshop, I realized that I have never
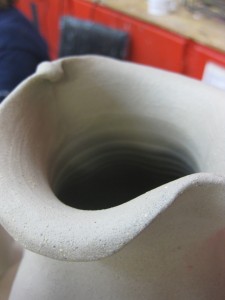
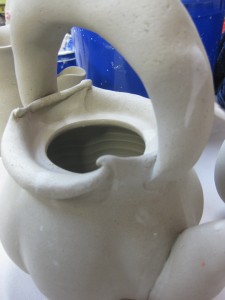
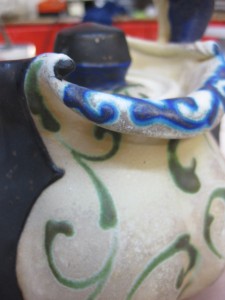
really made sugar & creamer sets. So why not give it a try… and use her inspiration
to make them with my own twist. So far so good… now they’re drying and waiting
for some flashing fun in the soda kiln. I’m pretty pleased… but a lot can still happen to them?!
Tonight I loaded another electric bisque kiln.
Admittedly, not my best job of packing it tight. You know it kills me to leave open space!
But I had some odd sized, and odd shaped, pieces that didn’t quite “fit” together nicely.
Plus the glazed terra cotta planter trays that wouldn’t allow me to stack things as usual.
It always feels good to get fragile greenware off my studio shelves and safely into a kiln.
One step closer to some new finished pots!
Layer #1 -always my favorite layer – when you have a lot of pots to choose from to fill.
Starting with oval casserole dishes, oval vases, test tiles, mugs and more “kiln filler.”
Layer #2 -stamped platters, glazed terra cotta trays… and more kiln filler!
Layer #3 -a stamped platter, small casserole dishes and glazed terra cotta trays.
Layer #4 -mugs, small casserole dishes… and one filler piece from Karen Patinkin!
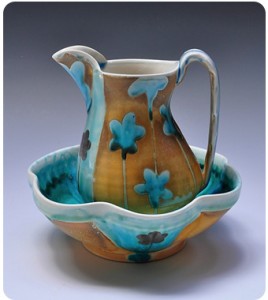
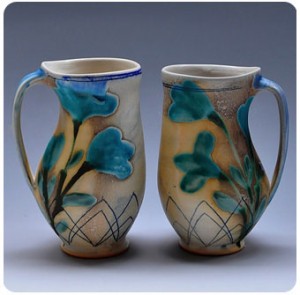
This weekend was a two-day workshop with Julia Galloway.
Let me just say, this was my third two-day workshop with Julia Galloway!
Each time I’ve seen her working, I’ve been at a different stage in my own ceramic career. She was also my first workshop ever – just a few sessions into my wheelthrowing classes. My second workshop with Julia was a few years later when I was addicted to clay, but not really sure where to take it from there. This weekend was another experience – now as a working potter with a whole new perspective. And quite possibly, ready to actually “hear” all of the tips she’s so good at putting out there.
First off, her three word artist statement du jour : domesticity, conversation, beauty. And that’s what she makes. Pots that can be used for nourishment, that create a conversation and are inherently beautiful. Sounds like a good plan to me!
We started with Julia doing some quick throwing. In Julia’s studio, she throws for two days on the weekend & then spends rest of the week decorating those pots. In a condensed workshop like this, she had to make pots quickly to have something to work on later.
As the pieces began to set up, she then started to alter the forms by pressing, billowing & squaring the forms. In her mind, she had a plan for each piece. And she explained to us that many of her “plans” are created by a “predicament.” A conflict that needs to be resolved. A hurdle that needs to jumped. A limitation that needs to be pushed. It wasn’t always clear to us where she was going with the demos… but the exploration & discovery was part of the fun. Many “ah-ha” moments as they came together.
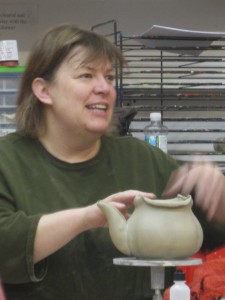
Not only are Julia’s pots very gestural & animated, but so is she. Her ability to be informative & approachable at the same time is refreshing. She has so much information to dispense that it could easily be overwhelming. But instead, she instills so much humor & passion into her presentation. She’s one of those people that I find so endearing & engaging… so much so,
that this is my third workshop with her. Sure, her work is incredible. But I could just listen to her talk. Seriously. Give her a topic and let her go. She’s thoughtful, insightful and giving. Always willing to share. But I digress. Enough gushing. Back to the workshop…
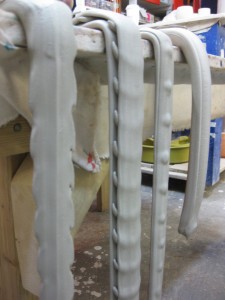
An added bonus… she also showed us a few new, groovy handle making techniques. Handles with textures?!… I loved ’em… and watch for me to be “appropriating” them soon!
Day Two… back for a second day of too much information flying our way…
and she’s still making beautiful things. Even more beautiful as things come together!
As her pieces are now leatherhard, she started attaching, stacking, cutting & combining pieces. Creating some of her signature pieces… also making pieces that will accentuate her surface decorations! And all the while, she’s talking. And talking. Sharing stores. Sharing insights. Sharing her path. Again… I could just listen to Julia talk. And I did. I’m impressed by people who can express themselves verbally & eloquently. And yet never condescending or demeaning. Always willing to answer a question. Always willing to share concepts, tips, secrets & opinions. Everything you want in an educator. Everything I want to be as a teacher.
In between the demonstrations, giving the clay some time to stiffen up, Julia took time to share some art history with us. She brought her PowerPoint collection of pottery through history. To give us a basis of understanding, to offer up historical reference on how pottery had evolved and changed along with the world. How surface decoration is as old as pottery itself. It was somewhat amazing to how pottery has remained the same, and yet so
completely different over the centuries. When I was in college, art history was all about painting & sculpture. We never talked pottery. Who knew how much it was all connected?!
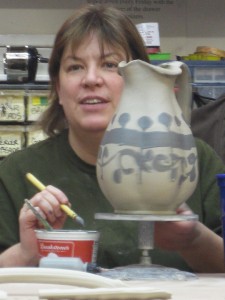
Then, as she started decorating her pots, she also explained how ALL surface decoration can be summarized into four categories. And since we had just seen centuries of surface decoration, it was fairly obvious… yet great to have it pointed out clearly. Here they are…
1. dots.    2. lines.   3. floral representation.   4. pictorial imagery
So, starting her own surface decoration, she wanted to show how “easy” it can be… and that sometimes you just need to dive in and do it. No hesitation. Don’t overthink it. So her pitcher slip demo is just that… dots, then lines, then floral, then object imagery.
And then it was on to some of her signature styles in surface decoration.
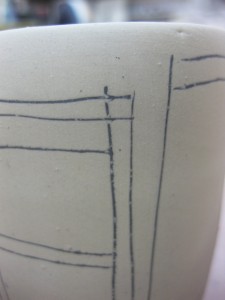
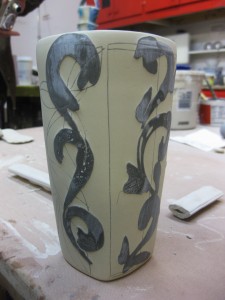
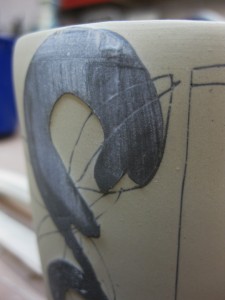
With a lot of slip painting, slip trailing, incising, wax resist, slip inlay, shaving, layering and more! All the time talking. Talking about styles. Talking about techniques. Talking about how you need to make a lot of pots. How you need to try a lot of different things. Try, try, try again.
How you need to commit to the techniques when you start. Don’t be timid. Don’t be hesitant. All suggestions I give my own class of beginners… don’t be wishy-washy… commit… it’s just clay!
As the workshop began to draw to a close, we had a much larger vocabulary of techniques, as well as a lot of historical reference to draw from. We looked at some of her pots from the gallery – now understanding exactly how they were made, as she explained some of the steps of how she made them.
As we all found out, so much of Julia’s work is about making beautiful things. Beautiful forms & shapes. Beautiful lines & details. Beautiful layers of patterns & shapes. Her quest for beauty is admirable. Her willingness to share is impressive.
With the workshop encapsulated above, I still feel as though I haven’t covered it all. It’s her dynamic personality, her passion for clay, her willingness to share everything, and her eloquent turn-of-phrase that does it for me. It’s impossible to grasp that in a blog.
And I do think that the third time was the charm. I feel at this point in my ceramic career, I was ready to “hear” what Julia had to say. And now confident enough in my own skills to now stat trying more of her techniques. The trick will be making it happen. I can’t wait to
see what happens, and how I can incorporate her tricks into my own styles. I don’t want to make “Julia Galloway Pots.” But I am looking forward to seeing how she influences my work.
Thank you Julia Galloway for another wonderful workshop.
I know that everyone in the room was as enchanted as I was, and learned a lot along the way. Everyone in there has their own path that they’re on, and I’m sure we all got something different and yet equally important out of the two days we spent with you.
For more information on Julia Galloway, check out her website in my “Links” section. As well as the “Link” to Montana Clay which highlights her surrounding ceramic community.
Tonight I went out to LaGrange to play with my friend Nancy at her pottery studio.
If you recall, Nancy is also the one who got me started in pottery several years ago.
She’s also one of Village Potters in LaGrange… and they’re preparing for their
charity event “Empty Bowls.” They’re hosting two open house days for people to come in
to throw bowls. I can’t make either of those days, so I went out tonight so we would have
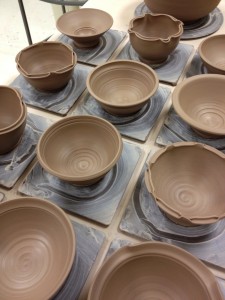
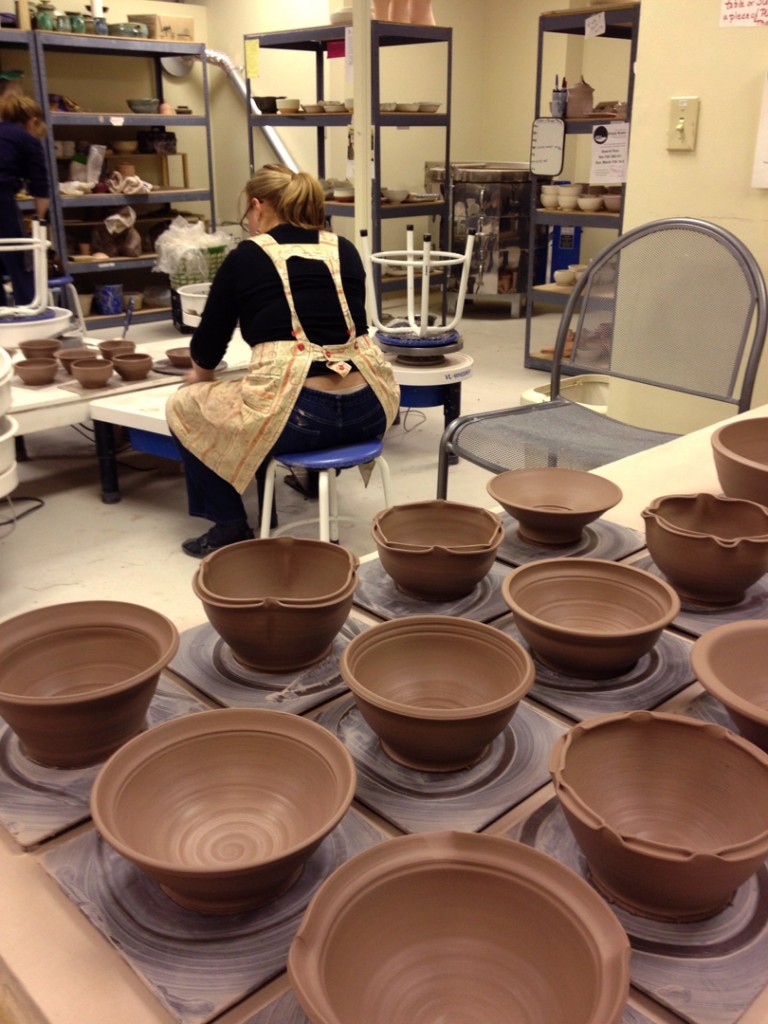
time to play, chat and make some bowls!!! I made a dozen “empty bowls” for the cause…
and one larger one for them to auction off!
Tonight’s “empty bowl” production reminded me of the night I teach my class
how to make bowls. We work on making bowls with intention, and not a cylinder gone bad.
And then I make a lot of bowls and show my students quickly how that can be altered, fluted,
pinched and shaped to make each one different from the next. So each of my twelve bowls
had a different look. Nancy will be responsible for trimming and glazing to get them ready
for their April 26th “Empty Bowls” charity event.
Many of the potter/owners come from the former Terra Incognito in LaGrange.
When that Terra location closed, they needed a place to work… so they banded together
and opened this great studio space! They’re still in the fledgling stage, but growing quickly!
While many of them are there for studio hours, Village Potters do offer classes and workshops
for people of all ages. They also have shelf space for rent for potters out there who need to
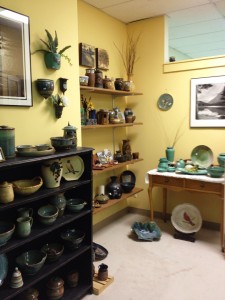
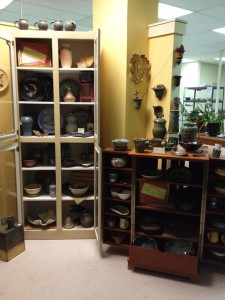
find a place to work. They also have a nice Gallery space at the entrance. So if you’re ever
in need of some fine pottery, or a quick gift, be sure to stop by the Village Potters…
and tell them that Gary sent you!!!
Village Potters : 333 North LaGrange Road, Suite 2, LaGrange Park, Illinois 60526
(708) 352-2330Â :Â www.villagepotters.com
While Tuesday may have been the sweetest evening for many… I spent the night with my
beginning wheelthrowing students. Who let me just say are moving along quite nicely!!!
We’re now more than halfway through the session and tonight we tackled ovals.
Some of my returning students have enjoyed making ovals, so they asked for them again!
And I am always more than willing to make more ovals!!!
So here’s the first oval demo. Yes, it’s basically just a straight-sided cylinder with no bottom.
Then, once it stiffens up a bit, I remove it from the bat, move it onto a ware board and
shape it into the final oval shape. And this is where we start the photos…
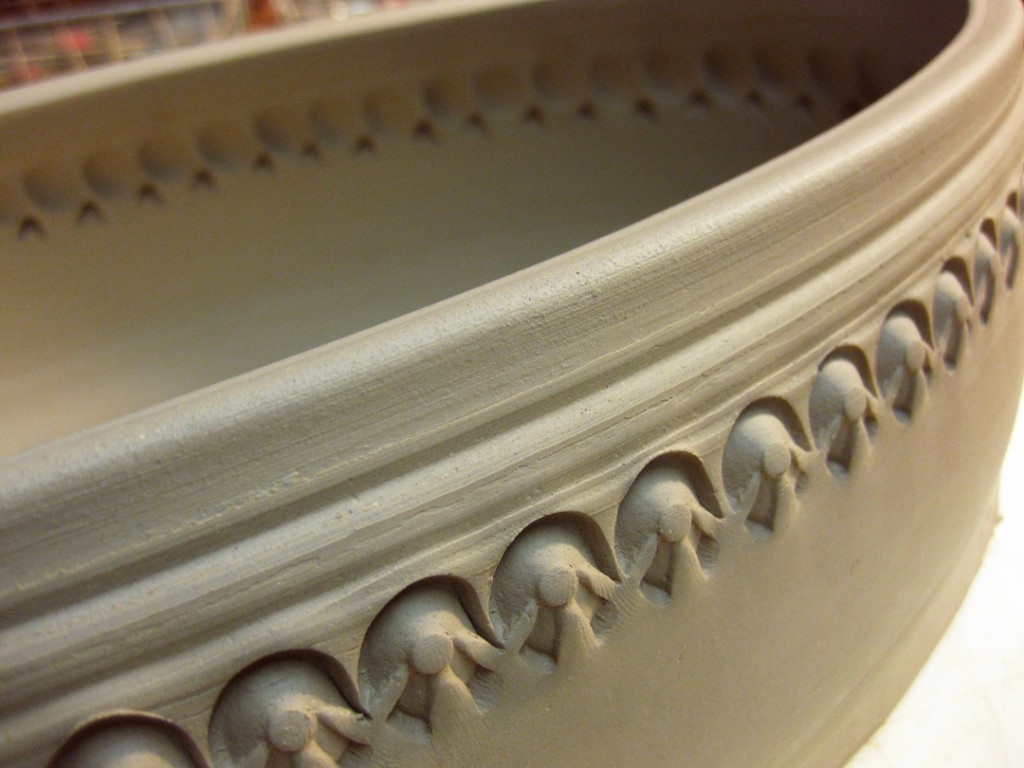
Then, it’s time to pick the “perfect” stamp from my toolboxes of hundreds!
Carefully pressing one stamp at a time, all the way around the cylinder.
Then I felt that the rim was a little bit heavy and “chunky” looking. I felt that it needed
a little splash of fun too. So I pulled out a square-ended chopstick and started
“denting” the rim.
Then, from the inside of the rim pressing outwards, I used a round dowel rod to add
some curve divots to counter-act the sharp edges of the dents on the outer edge.
And here it is… the “now-stamped-and-decorated” cylinder walls. Next up, it’s time
to add the bottom to the cylinder so it appears seamless as though it has always been
part of the pot. Then, handles will be added and the drying can commence!
Then here’s the second oval in the works!
It started as a bottomless cylinder just like the first one. This time I used more clay
for this demo – so the cylinder is a bit larger and taller, plus we added some voluminous
curve to the walls. Next, I slice it off the bat and move it onto a ware board while
stretching it into the oval shape!
Again, it’s time to choose a stamp trying to picture the how the final texture will turn out.
Then it’s systematically stamped one-by-one all the way around the pot.
And here it is… the oval cylinder with finished stamping. Both inside and out!
Yes, I’m a bit obsessive-compulsive and can’t help myself from using the smaller stamps
to add tiny little textures and details even inside the oval dish!!!
This one is now in the same place as the first.
Ready for the bottom to be attached, then handles!
Still working on them both… step by step. Unfortunately, my students don’t always
get to see the steps every step of the way. We discuss the steps… and I hope they get it.
If not, they know they can check here for photos & details.
Also on Tuesday, one of my students said she had missed the plate demo… of course
I was more than willing to do the demo again. She appreciated it… and made her first plate!
Here’s my demo platter… and the stamping that followed!
Again, it’s just one stamp pressed in over & over & over again… all the way around!
When the stamping was complete, I felt it need a little bit more… so I fluted the rim
with gentle curves all the way around to accentuate the stamped design.
Here’s the second oval demo… a little larger, with a little curve to the sides.
So the plates that I threw last week as part of my class demo were finally at the right
leatherhard stage for stamping. It’s always tricky… can’t be too dry, can’t be too wet.
Got to get them right when they’re wet enough for good impressions, but not too wet
as to be sticky or squishy. Tonight they were ready for stamping!
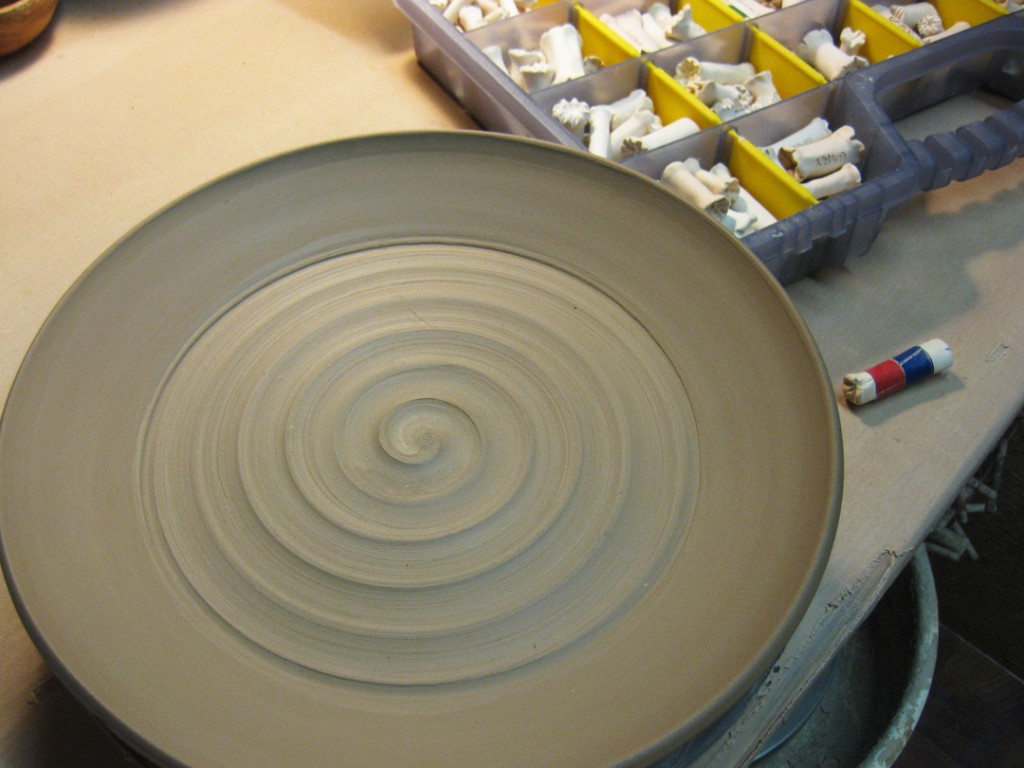
So here goes… The first plate is a large dinner plate. Thrown with about four pounds of clay.
When I’m ready to start, one of the toughest decisions is “which stamp”??? I have hundreds
to choose from. So the possibilities are endless. I try not to dwell on it… just grab a favorite!
So here’s the lucky stamp chosen to tackle the rim of this plate…
Then, that one stamp rhythmically pressed in over & over & over again…
And the rim suddenly has a whole new texture. So much more fun than the plain,
old smooth flange that the plate started with!
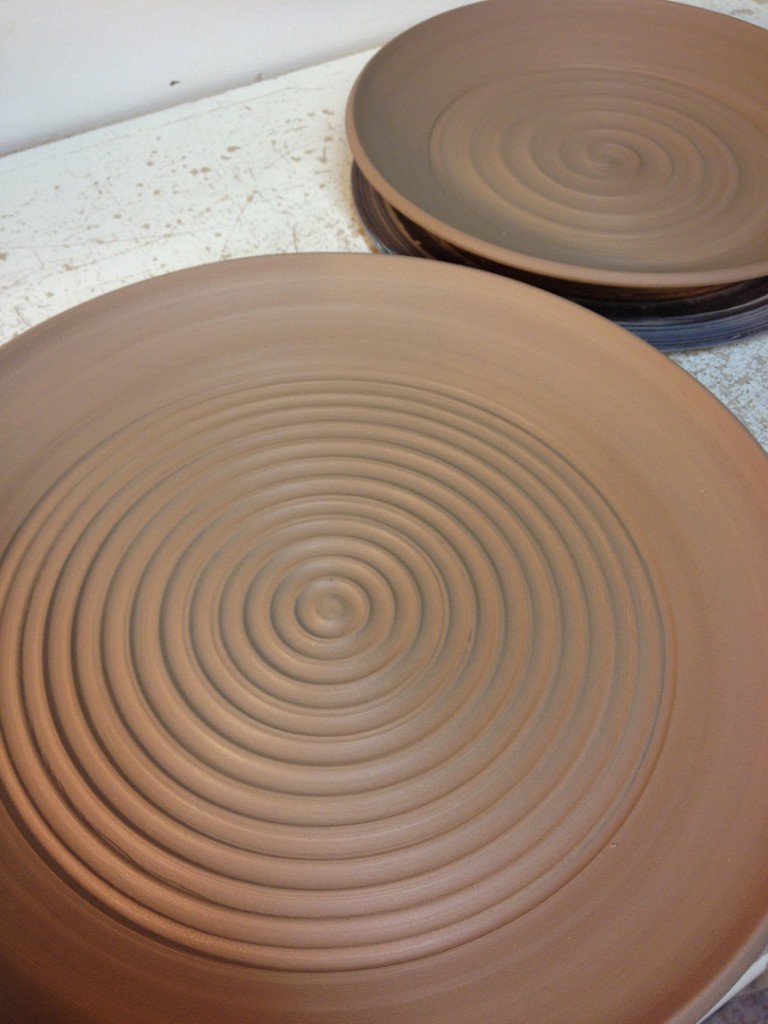
Now plate #2 is a bit larger. Thrown with about six pounds of clay. The rim is plain,
but the center “food area” has a dramatic, concentric circle design created on the wheel
as I was finishing the throwing demo.
So again, which stamp gets to come out to play?… this one apparently!!!
Around & around, this time developing a nice scalloped pattern around the edge.
This pattern is also quite conducive to a fluted edge. So I did…
And there it is… a scalloped pattern of stamps with another small detail stamp
at the points, as well as on the tips of the fluted edge “high points.”
So now, both plants are back under plastic drying some more. I’ve got to wait for them
to dry to the right stage for trimming. I always tell my students that throwing plates is easy.
It’s the drying & trimming that is difficult. So now I wait… for the difficult part!
Tonight we went low & flat… and switched from basic bowls to basic plates.
I showed them how easy it is to throw plates. They’re basically just a low, flat cylinder
with the sides bent down. And then I explained that the tougher part of the process
is trimming & drying. I guess we’ll need to cover that more next week… or the next…
And it looks like I may need to do some stamping before then, right?!!
Tonight my beginning wheel class tackled their first bowls.
Bowls on purpose. Not cylinders that just “happened” to become a bowl.
We work on creating a nice “curve” on the inside of the bowls. And then, once they start
making bowls, I quickly throw a bunch of bowls all “kinda” the same. We then reconvene
for more demos on how to change & decorate their bowls. I try to encourage them to “alter”
their bowls and not just settle for the “round bowl the wheel made for me.” I also introduce
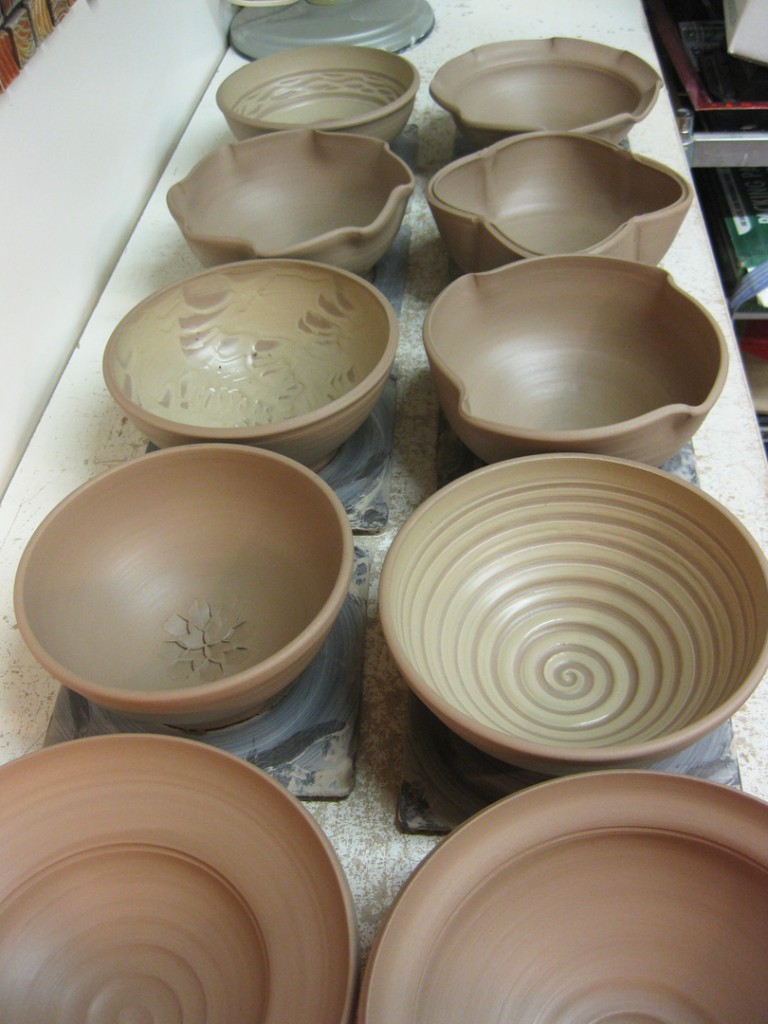
color slips as a design possibility. So here’s a quick overview of the ten bowls I made tonight.
Each on starting from the same basic shape… but then pushed just a little further!
Bowl #1 – Four Fluted – just four simple flips of the rim.
Bowl #2 – Eight Fluted – if four is good, aren’t eight better?!
Bowl #3 – Flanged Rim – take rim and fold it down
Bowl #4 – Flanged & Fluted – once the flange is folded out, a couple flips to flute!
Bowl #5 – Wide Flange – more flange, more style, less food?!
Bowl #6 – Impressed Petals – a simple dragon-scale tool makes a quick flower!
Bowl #7 – Split & Squared – a split rim, pinched & squared a bit.
Bowl #8 – Slip Spiral – cover the inside with slip then drag a tool through it while spinning
Bowl #9 – Slip Bands & Squiggles – cover the inside and drag again – this time with style!
Bowl #10 – Chattered Slip – cover the inside then do some chattering with a plastic rib.
So now all of the bowls are safe in my studio. I wrapped them with plastic to keep them wet
overnight. Tomorrow I plan on doing a bit more decorating… maybe some stamping?!
Shocking, I know…
