Gary Jackson: Fire When Ready Pottery
A Chicago potter’s somewhat slanted view of clay & play
Categories: mugs, pottery, process, production, special events, television, textures

Okay, so lets back it up a bit… here’s the story about my HGTV Journey.
From the very beginning when they contacted me… up to tonight’s big HGTV debut!

It all started with a quick e-mail from the show Producer Nicole. Apparently, the show’s
host, Meg Caswell, likes to feature a local Chicago artist in most of her HGTV room
renovations. After some Internet searching, she landed on my blog. They contacted
me and asked if I might be interested in taking on the project. They were looking for a
Chicago ceramic to help them by making custom, handmade kitchen cabinet knobs
for an upcoming kitchen remodeling episode.

Of course, my first response was “YES – of course!!!”
But then my second thought was about how much I dislike special orders & commissions.
I debated for about 30 seconds and then dove right in!

I sent Nicole back an e-mail with some questions trying to nail down specifics. My
biggest concern was the tight turn-around time to the filming date & the install deadline.
Making handmade kitchen cabinet hardware is not a quick process. No clay piece is.
It not only takes time to actually form the pieces, but more time to dry, fire, stain,
fire again and attach the hardware pieces. I wanted to make sure I would be able meet
their deadlines before I accepted the challenge. Once I committed to Nicole…
the excitement kicked in!

With a couple e-mails back and forth, and some some input from Meg along the way,
Nicole and I pretty much nailed down what we were going to make… and Meg agreed!
They sent me the “style board” for the project which show the basic “vibe” or “mood”
of the new room design.

She explained “he” is Greek, and”she” is African-American. That there were using a lot of
Mediterranean inspired colors and textures, and they thought that the shapes and textures
of my Relic Rattles might give it a bit more of a Contemporary Tribal look.

As the filming day got closer, my studio got cleaner!
The night before, I cleaned my studio cleaner than it ever has been. Staging everything for
filming – facing everything, spacing everything, trying to make everything look good for TV.

It was an early morning when the filming day finally came round. And hot.
Filming was one of those surprisingly hot & steamy March days in Chicago. So early in the
year that no one had turned the air conditioning on yet. It wasn’t too bad until they turned
on all of those studio light in my tiny little space! Then it got really sweaty. And I was
positive that I was sweating right through my shirt!

So we filmed in my studio for a couple hours. Meg and I worked together to determine
what shapes & patterns we were making for the kitchen. Then it was my chance to get her
dirty and play in the clay. I showed her how I was going to make them, and she gave it at try.
I think she realized that it’s not quite as easy as she thought.

We also filmed some other footage of me working during different stages of the process.
It was funny to watch them filming in my small little studio. Trying to move around with
all of their cameras, lighting, crew, lighting, etc. And to be on the other side of the camera
with a wireless microphone recording every word… and the makeup artist right there
trying to make us look our best – and like we weren’t sweating it all off immediately!

The kitchen cabinet hardware we decided upon was a variation of the shapes I make
as Relic Rattles. They stared as textured little pods just for fun. You know how much
I love kiln-filler! So these silly, little “pods” have now taken on many different shapes
& forms… and now… they’ve become TV Stars too!!!

And now for the process…
To make the forms, I start with thin slabs of clay that I pull by hand. No slab roller.
No rolling pin. Just my hands, gravity and inertia. When I get the clay to a good thickness,
I press in the textures. The shapes are then cut out and cleaned up a bit. With a lot of
scoring & slipping, I form the shapes and keep the air trapped inside. Sometimes the “pods”
seem to flatten out a bit… so I literally “blow them up” like a balloon to keep them puffed up.
After it’s sealed, I poke a small hole with my needle tool, put it up to my lips and blow into
the clay. You can feel the “bulging” happen, then I press it together with my lips to trap
the air inside. Some last minute detailing on the edges… and Stage One is done. Oh yeah…
did I mention that you need to poke a tiny little hole somewhere so it doesn’t “explode”
as it shrinks during the drying process?

Once the pieces were almost dry, I made holes through one side where the hardware
was going to be added later. I had to guess how big to make the hole so that the shrinkage
rate wouldn’t make it too small for the hardware. Once they were punched, it was time
to dry. And then the first bisque kiln firing to cone 06.

Once bisqued, I painted them all with a coat of watered down iron oxide.

Once they were all covered, I gently wiped off the top surface with a damp sponge.
The goal is to clean off the top surface, but still leave good amount inside each of the stamped
impressions. The fun part is if you wipe too much out, you can always add some more
back in and do it again.

After wiping them all down, they were ready for the second firing – this time to cone 10.
Which is approximately 2350 degrees in a gas reduction kiln.

The high temperature firing makes them incredibly hard and vitrified. The clay takes on
a much darker color, and the remaining iron oxide was gives a nice warm hue on the surface
and a darker contrast line in the grooves. Luckily, I guessed well with the hole diameter
and the size is perfect even after two rounds of shinkage in the firings.

Then I attached the knob hardware to each piece. I epoxyed the metal hardware into place
through the back and attaching to the backside of the front piece. Once that layer of epoxy
had dried, I filled it in with a few more layers to make sire it was quite strong.

So that’s that. The work was done. The pieces fired. The hardware attached.
The show Producer stopped by my studio to pick them up so they could install them.
Mission accomplished. Now the waiting game to find out when it will air on TV.

And then… oh, but wait there’s more…

As if hours of footage in my studio weren’t enough… they called me back.
The show Producer asked if I would be available to come to the client’s home to film
some footage of me working with Meg to install the knobs onto their new cabinetry.
Of course I said yes… more TV time?!… I’m in!!!

So I showed up at the house to meet up with the film crew. I got a quick tour of the kitchen
as they were setting up the lighting and staging the kitchen for “The Big Reveal.” After a
quick trip to the make-up artist, and then to the sound guy to wire me up with a microphone,
I was finally ready for my time with Meg in the kitchen… as we installed a few knobs!
Sadly, that portion didn’t quite make it onto the screen. I’m sure it’s sitting on the
cutting room floor somewhere still.

But it was great to see how my custom cabinetry knobs & handles looked in the kitchen!
It was weird to finally see the “style board” come to life with MY handiwork in place.
The square knobs were installed on the kitchen cabinets. And the horn shapes were installed
horizontally onto the drawers. They turned out to be a beautiful compliment with the dark
ebony stained woodwork.

So funny to see how the kitchen came to life as we installed more knobs around the kitchen.

Of course I was a big fan of the glass tiles… very aquatic, very Mediterranean.
And the copper sink which worked so well with some of the “oranger” tones in the knobs.

While I was there waiting for filming, in between takes and while they were styling everything,
I did take a little “photo tour” of the kitchen to share with those who may have missed the show.

Oh yeah, and I “just happened” to bring a couple mugs with me as a gift to the homeowners!
Isn’t it great how they “just happened” to match the color scheme of the kitchen SO well?!
No mere coincidence I might say... My kitchen “house-warming gift” to them.

So that’s my story. By now I hope you’ve watched my “big debut” on HGTV…
and I hope that you don’t think I made too big of a fool of myself?!!!
It’s all in the editing…


Categories: pottery, process, special events, television, textures

Okay, my episode of “Meg’s Great Rooms” just aired on HGTV.
It seems so long ago that we made the pieces and filmed the episode.
I think it all looked great. The kitchen. The colors. The texture. MY KNOBS!!!
I especially liked seeing the couple’s reaction when they came in for the “Big Reveal.”
And even more, that one of the little kids pointed out the knobs!!!

I must admit I was hoping for a little more air time. But realistically, I knew that it was
only a 30 minute show… minus commercials… that doesn’t leave a lot of time for ME?!

We filmed close to five hours of footage in my studio, as well as some additional footage
of me in the house helping Meg install the knobs onto the cabinets. Sadly, there was a LOT
of footage left on the cutting room floor… as expected. With that, I think they also lost
a lot of my witty banter and snappy repartee! They missed some of the funny parts with
Meg working in the studio. Especially the part when she finished making her “twisted horn”
drawer pull and didn’t like it so much – so I reached over a squished it right in front of her!
And told her she can always make another one… it’s just clay!

I think I came off looking pretty professional – and they showed a good assortment the work
in my studio. I just wish I was identified better as “Fire When Ready Pottery” and not quite
so much Lillstreet. I’m sure they were going for more of a “community” feel.

All in all, I was quite pleased with the episode. I was excited when it got to my part.
When Meg finally came over to Lillstreet on the show, I must admit I got a little giddy,
even though I already knew what was going to happen!

I guess I should be excited about my “minute & forty seconds” of HGTV Fame!
In my head I was pretty much expecting it to be edited down to about 19 seconds!!!

Categories: creativity, inspiration, pottery, special events, television, textures

Make some popcorn… set the DVR… cuddle up on the sofa…
for my big television debut on HGTV’s “Great Rooms With Meg.”
Airing this Saturday, June 16th at 8:00pm Central time.

Now sure, this isn’t my first television exposure… not to gloat, but I was on WGN’s
Bozo’s Circus when I was a little kid. And, not only was I on the show… I played the
game at the end when they would have a group of kids all playing the game. The challenge
was for me a my partner to stack cups & saucers on the flat end of a baseball bat. I held the
bat, and she stacked the cups & saucers… tallest stack a the end of the game wins!
Well, let me just say I was suddenly the proud owner of big prize…
a View-Master 3-D ‘Scooby-Doo’ Slide Projector!!!

But I digress…

Back to the real show… get ready to watch my “20-seconds of fame” this Saturday on HGTV.
I did a special project for them for a kitchen remodeling show they were doing. I made the
pieces and they came into my studio to do some filming of Meg and me. We did almost five
hours of filming… but I’m confident all of “my best work” will be left on the cutting room floor!
I’m sure they’ll craft all the pieces together to make a great show. I’m confident… or…
The editors thought it would be fun to see me all sweaty, flustered and rambling on like an
idiot on screen. It was seriously like 90-degrees in my studio. Trust me, it could go either way…

And let me just say… I still wish I had kept the ‘Scooby-Doo’ View-Master!!!


Categories: art fair, Mom & Dad, process

It’s just a few days before the Schaumburg Prairie Fine Arts Festival…
and surprisingly, I’m already packed up and ready to go… almost!
I still have a lot of “busy-work” to do before then… but the tough part is done!

We cleaned, organized, priced and packed up a lot of new pots fresh out of the kiln.
And with the Hinsdale Fine Arts Fair just two weeks after Schaumburg, there’s not
enough time in between to make a new batch of work, fire & glaze… so we packed
for both shows at the same time. Luckily, I made enough pots over the past few months
to give us a full inventory for both shows! So there will be a different assortment of pots
in Schaumburg than there will be in Hinsdale! Come to both shows to see everything!

Schaumburg Prairie Fine Arts Festival – May 26th & 27th, 2012
Hinsdale Fine Arts Fair – June 9th & 10th, 2012

But here’s the funny part… while we were packing the pots, my Mom got “caught”
by a piece of pottery! She was wearing a shirt that had a lace-up neckline and the laces
had a metal aglet at the end. Apparently, the piece of metal somehow got “wedged”
on between the flower pot and the connected water dish. She walked around for a
couple minutes trying to get un-hooked! Of course I had to laugh & take a picture
BEFORE I could help her get it undone!

Categories: art fair, pottery

I’m ready to kick-off the Summer Art Fair season starting this weekend!
It’s been a busy Spring in the studio over the past few months…
making lots of new pieces, glazing & firing to replenish the inventory with new pots!
Including some new pieces I’ve never made before! Click on Preview.

Schaumburg Prairie Fine Arts Festival
Saturday, May 26th, 2012 – 10:00am-6:00pm
Sunday, May 27th, 2012 – 10:0am-5:00pm
Robert O. Atcher Municipal Center, 201 Schaumburg Court in Schaumburg, Illinois.

All of my pieces are already priced, packed and ready to go…
and with the Hinsdale Art Fair just two weeks later, I’ve already split the inventory
for the two shows. So each show will have a completely different assortment of work.
Come to both and see two different assortments! Now that’s a LOT of pots!!!

I hope to see you this weekend in Schaumburg… and bring a friend!
Or better yet, bring five friends! We’re all hoping the weather is better
han last year when we got flooded out of the park!

Remember, you can always follow what’s going on with quick updates on Facebook.
Click the link below to get to my Facebook pottery page – and then click the LIKE button.
www.facebook.com/firewhenreadypottery

Categories: art fair, process

I’m a little over half way through stamping & labeling my show postcards…
and still have hundreds to go!  sheesh…

On an “up” note, ya’ gotta love the Hawaiian shirt postage stamps, huh???

Categories: classes, process, production, stamps, textures

Last night’s class demonstration was plates & platters. My beginners are progressing
quite nicely… cylinders, bowls, mugs… and now plates! I explained to them that plates
are fairly easy to throw, and that the drying & trimming of them is the hard part.
In class I threw two plates. But of course, I can’t leave a plate plain…
so tonight I stamped them up!

The class demo four-pound plate…

And now for the six-pound platter…

Plus, we have new clay at Lillstreet Art Center. For years we’ve had the same selections
of stoneware, B-Clay and porcelain. We’re now trying something new from Continental Clay.
It’s Stoneware with Ochre… which from what we’ve seen turns out to be a dark chocolate
brown after firing in a cone 10 reduction kiln. This is my first time trying the new clay…
hence the slight “greenish” hue in the clay. It was fun to throw with… although the color
was a little off-putting.

Categories: clay, process, studio

As a productive studio artist, I use a lot of clay.
And with that, comes a LOT of scraps & trimmings to be reclaimed.
I work hard to reclaim as much clay as I can. I put all of the dried scraps into
a large orange container in my studio, and fill it with water. As the clay absorbs
the water, it slakes down to become clay once again. When it feels & looks like clay
again, and much of the water has been absorbed, it’s time to scoop out the clay mix
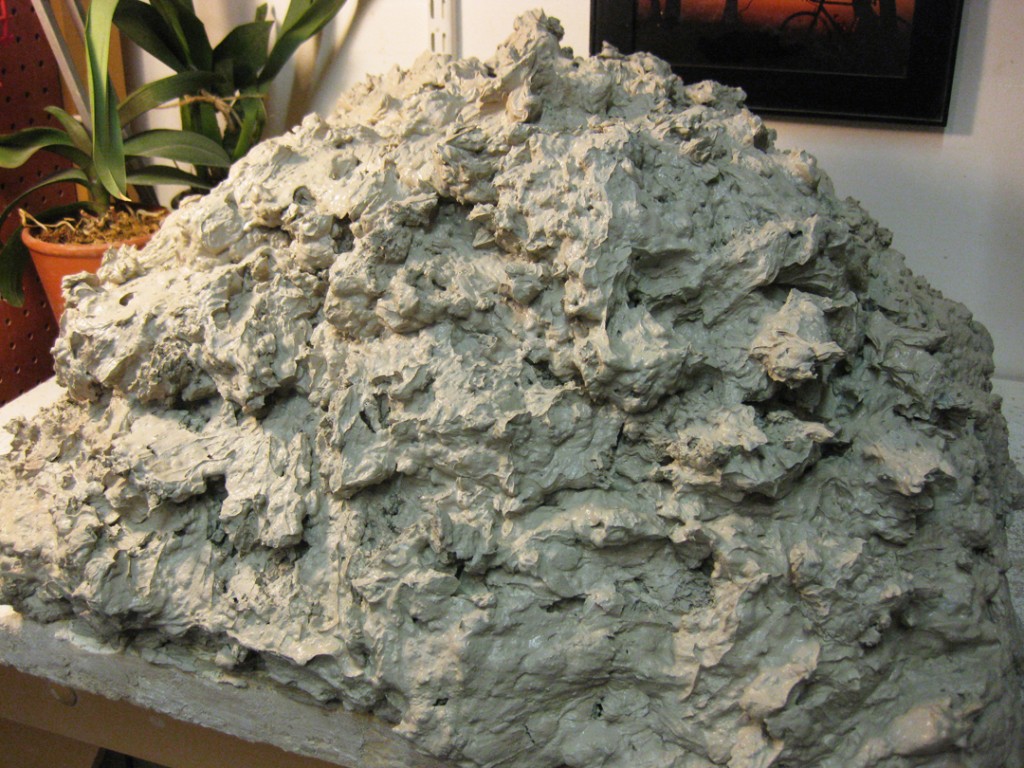
and place it on a large plaster bat. So that’s what I did tonight… I scooped & scooped!
I scooped until my reclaim bin was empty and the bat was overflowing with clay.

And there it will sit until the overly-gooshey clay stiffens up and can be wedged up.
And when it’s ready… it’s a LOT of wedging, and wedging, and wedging…

And just in time… as my Northwoods potter friend Amy Higgason got “a little behind”
in her studio reclaiming and brought some of her scraps for me! Just a couple boxes…
okay, like twelve!!! That’s a lot of scraps!

So Amy’s scraps have now been placed in my reclaim tub. Add water. And wait…
Soon enough, it’s going to be  another huge batch of FREE CLAY!!!

Categories: glaze, kiln firing, pottery, process, stamps, textures

I love it when patterns, textures, slips & glazes all come together!
Just a few more “teaser textures” that jut came out of my soda kiln yesterday!!!

Categories: kiln firing, pottery, process

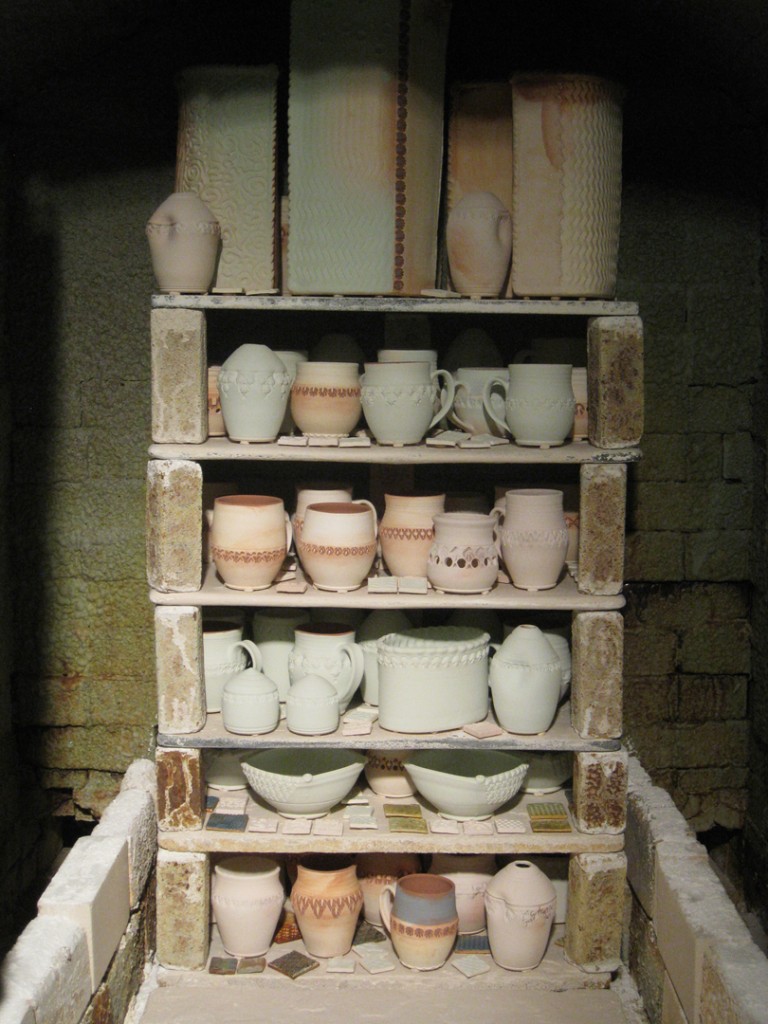
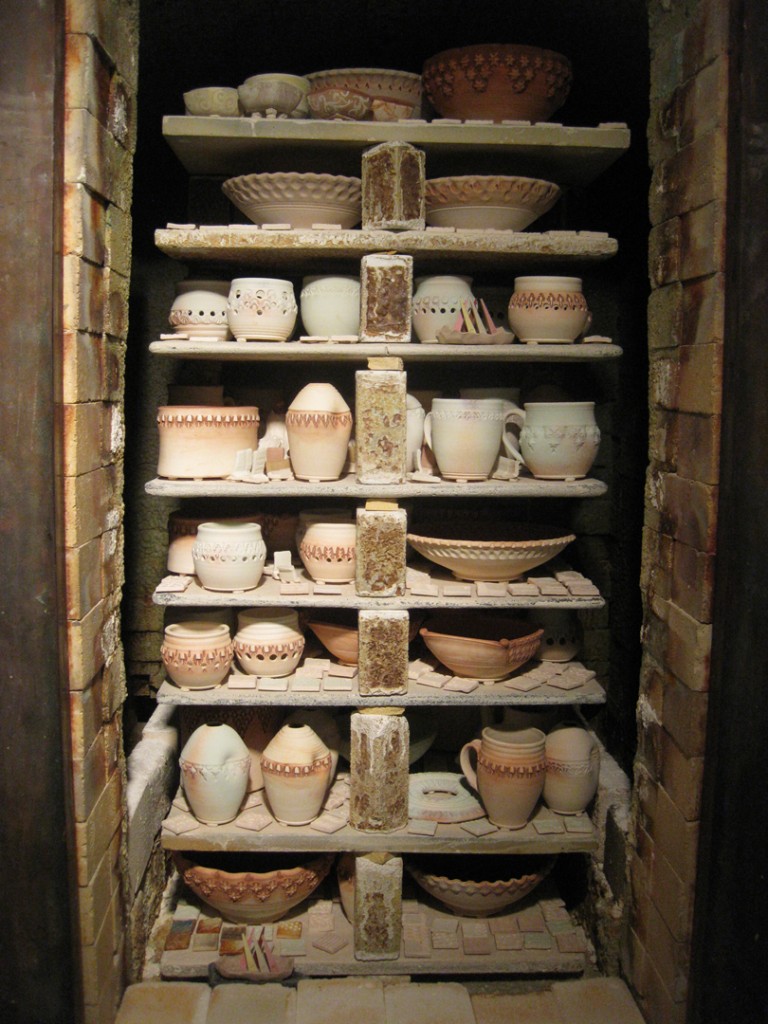
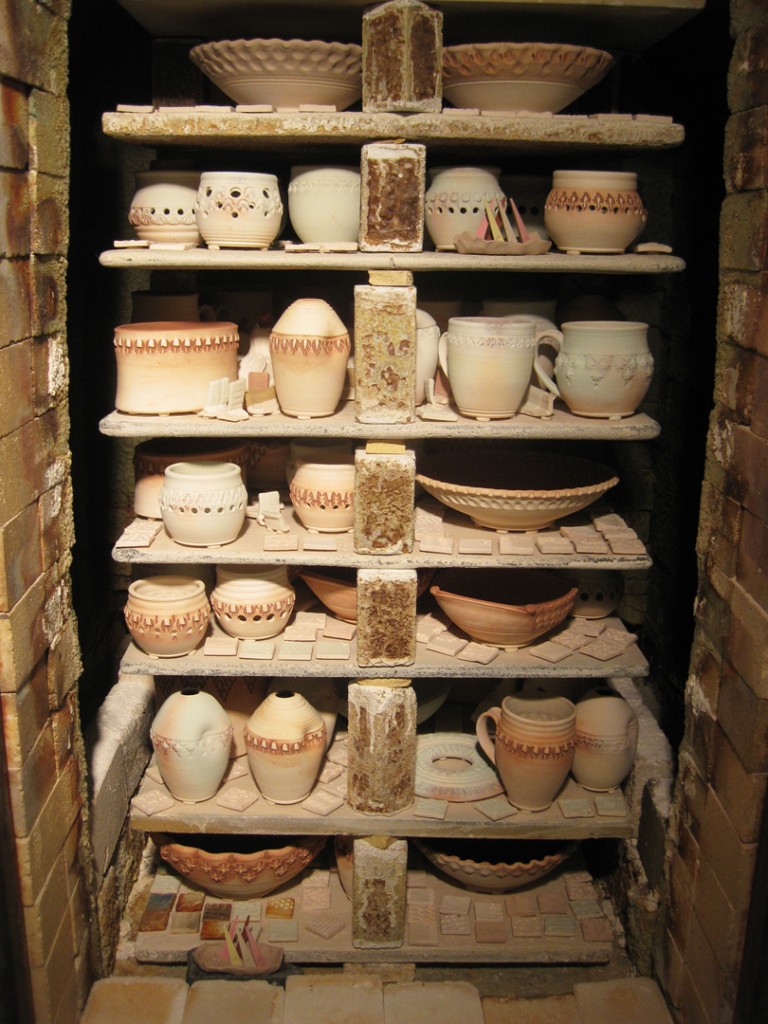
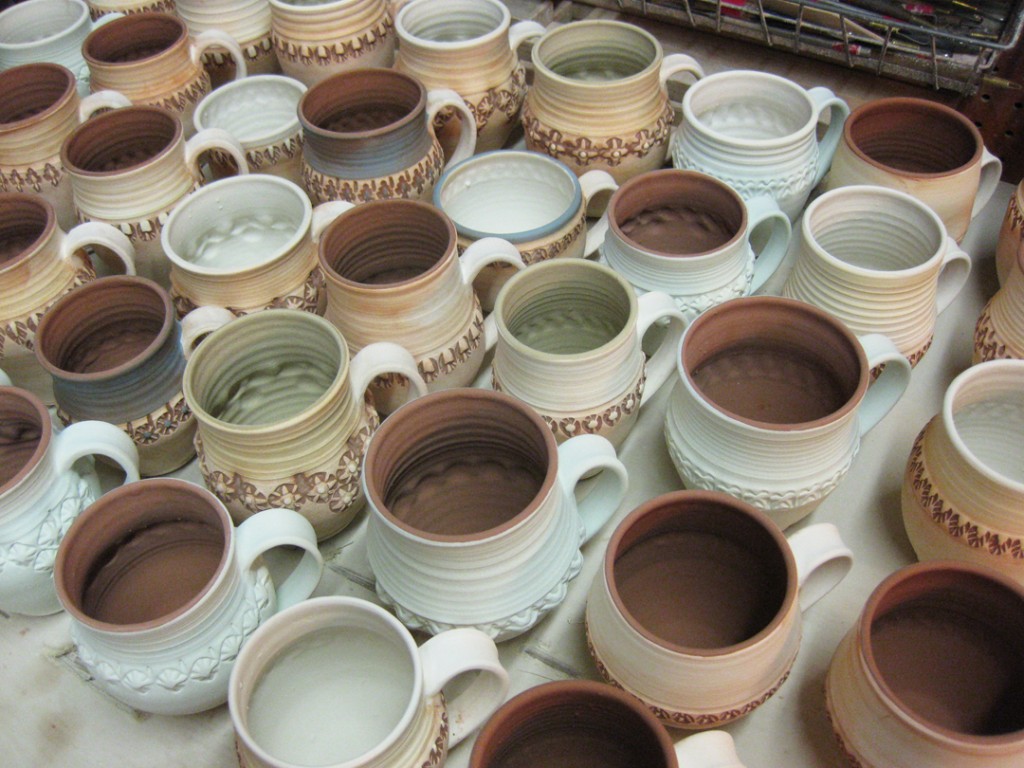
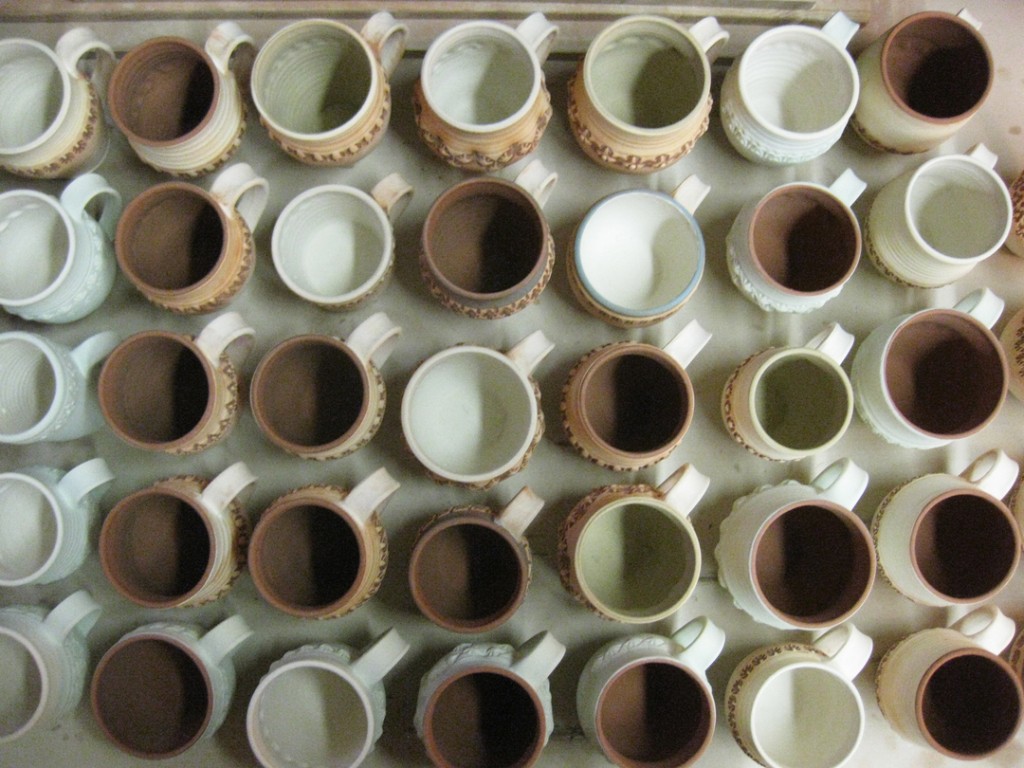
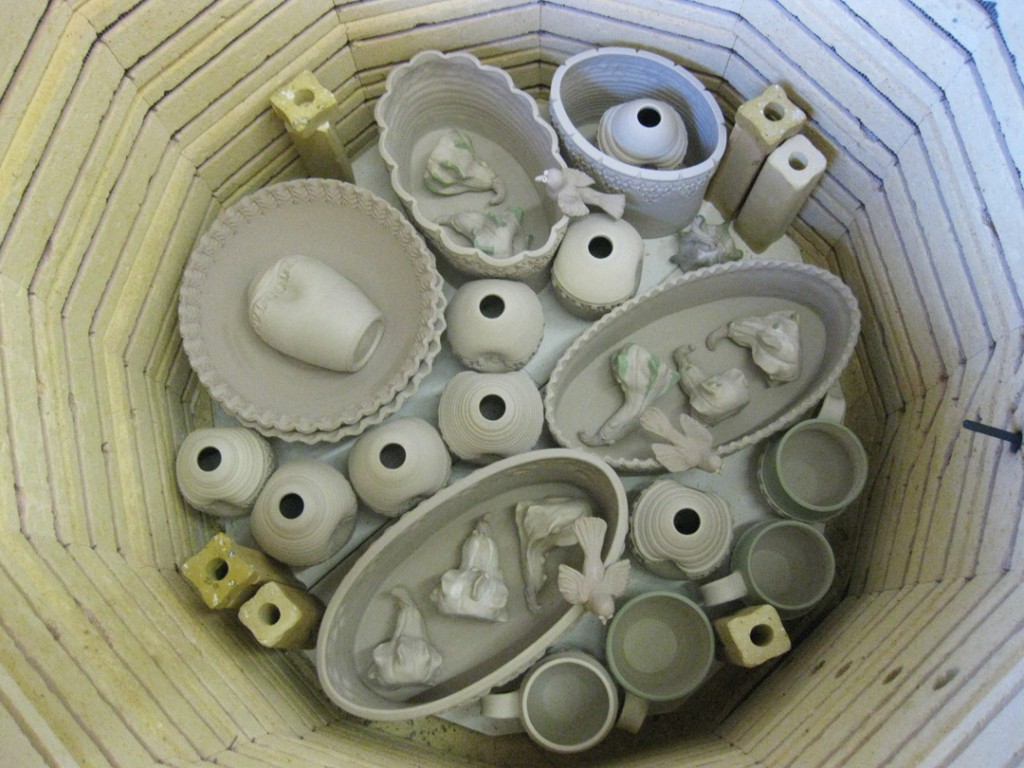
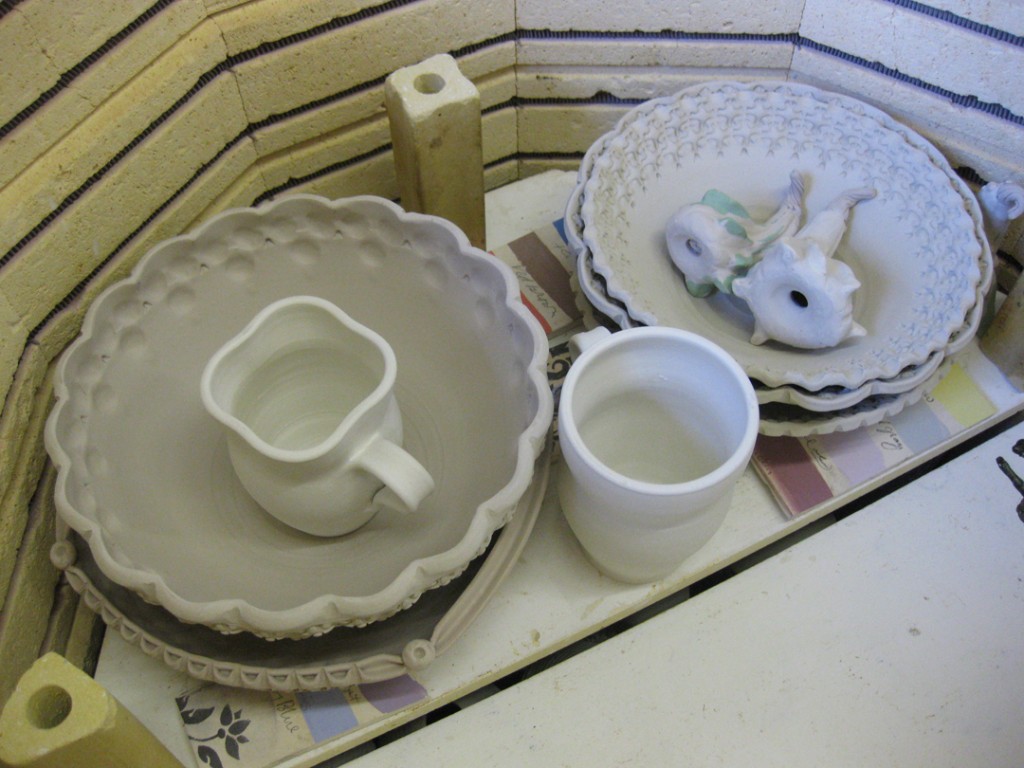
Well, tonight I unbricked & unloaded my soda kiln.
It’s always exciting to take the brick door off and finally see my newest pieces!

It’s like a little treasure hunt. You have certain expectations & hopes while you’re
making the pieces and glazing them. But at some point, you have to release control
and let the kiln do its own magic. So here’s a quick glimpse at the front of the kiln…
knowing that the front “face” is always the grayest from a lot of soda. And then the
pieces that are deeper into the kiln have a bit more color.  As I unloaded, I was quite
pleased with the colors… a little brighter & more vibrant than usual?!