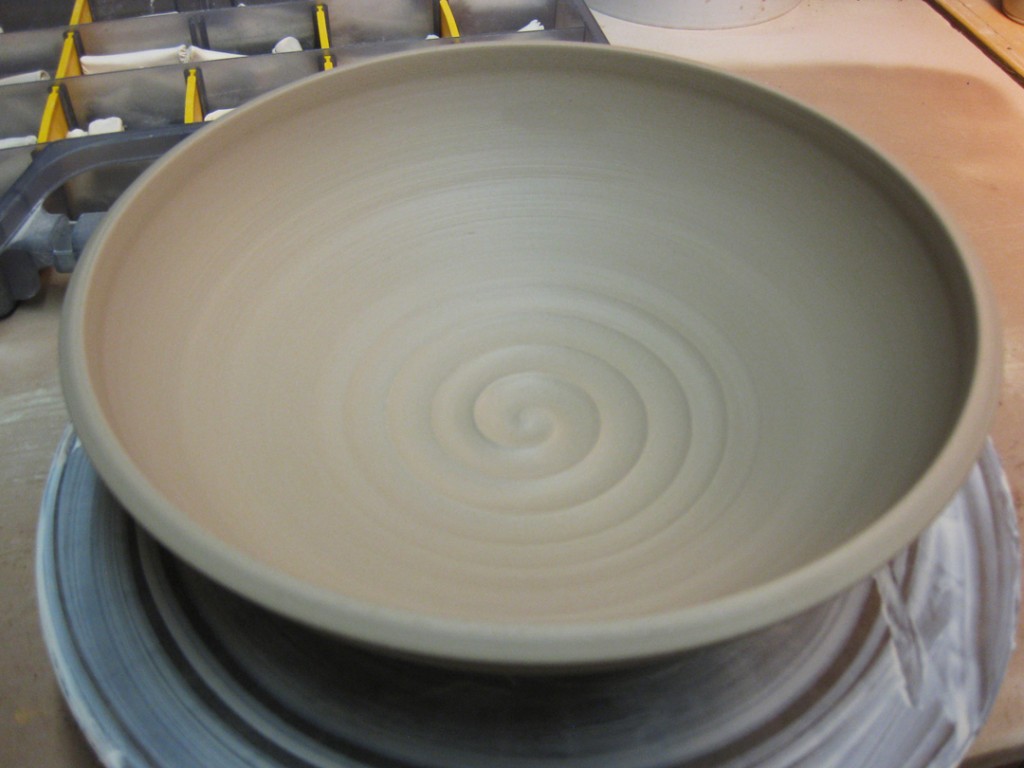
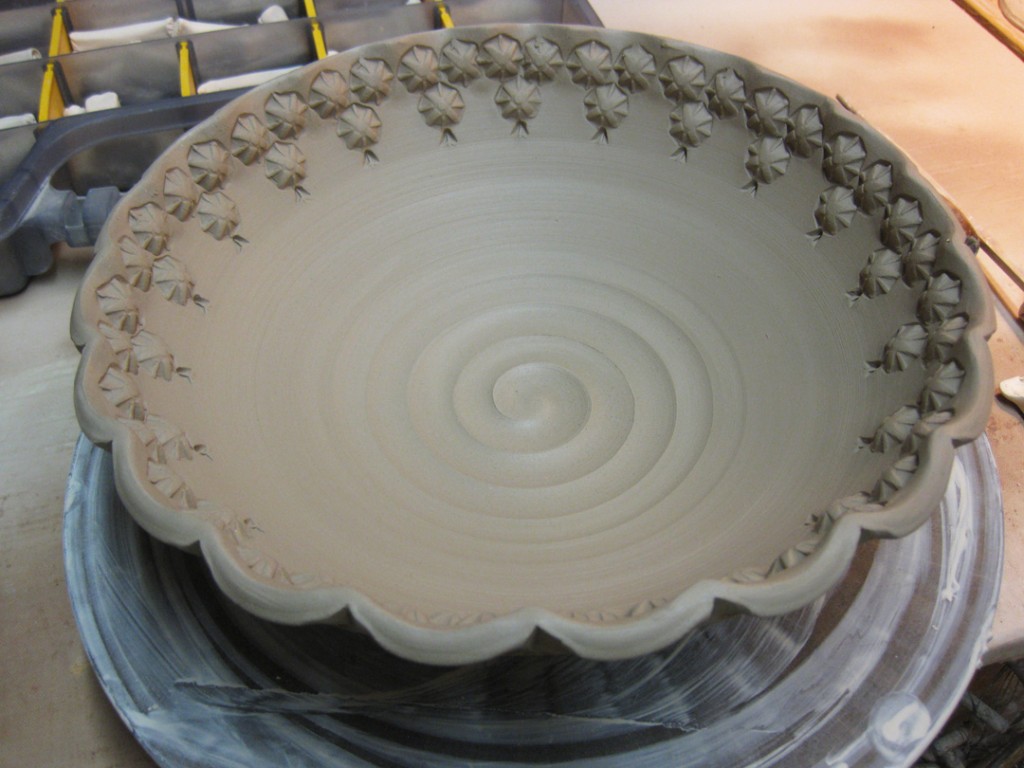
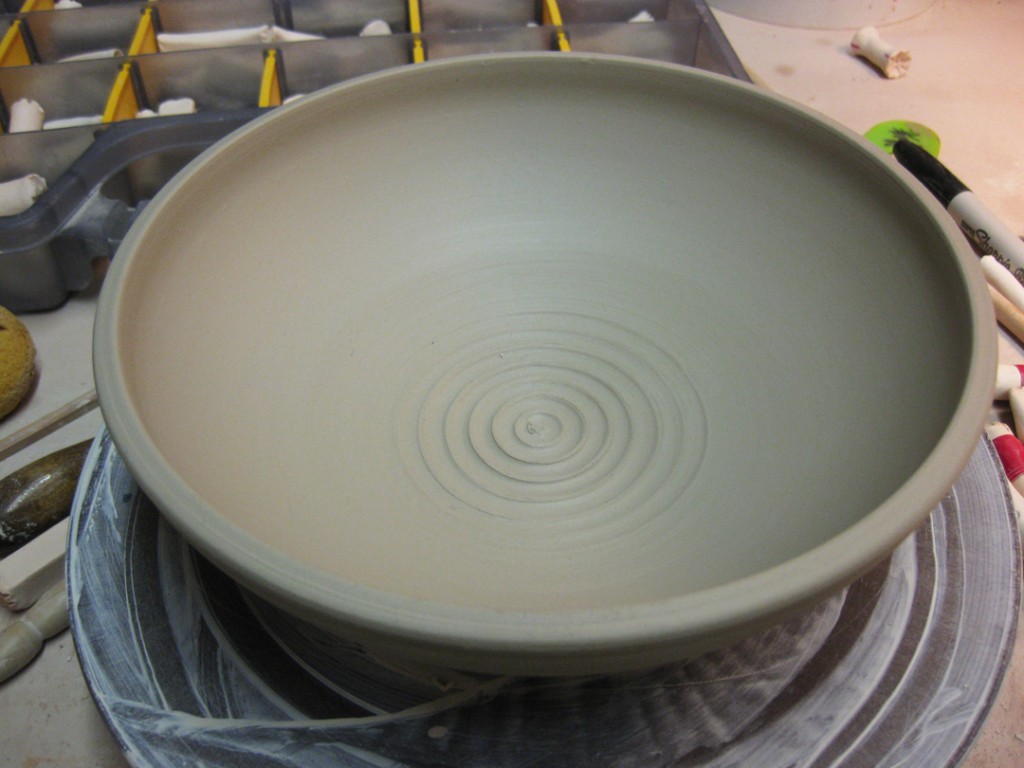
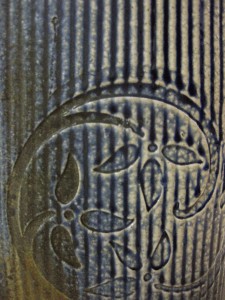
So here’s the platter I threw for my class demo last Tuesday night.
I was hoping to keep it wet enough to stamp it as “class demo part two” next Tuesday.
But it was getting a little too dry a little too quickly. So I had to stamp it today. Here’s the
“demo” I was planning to share… this time in a sequential photo format.
The chosen stamp prepared to make its mark on the platter!
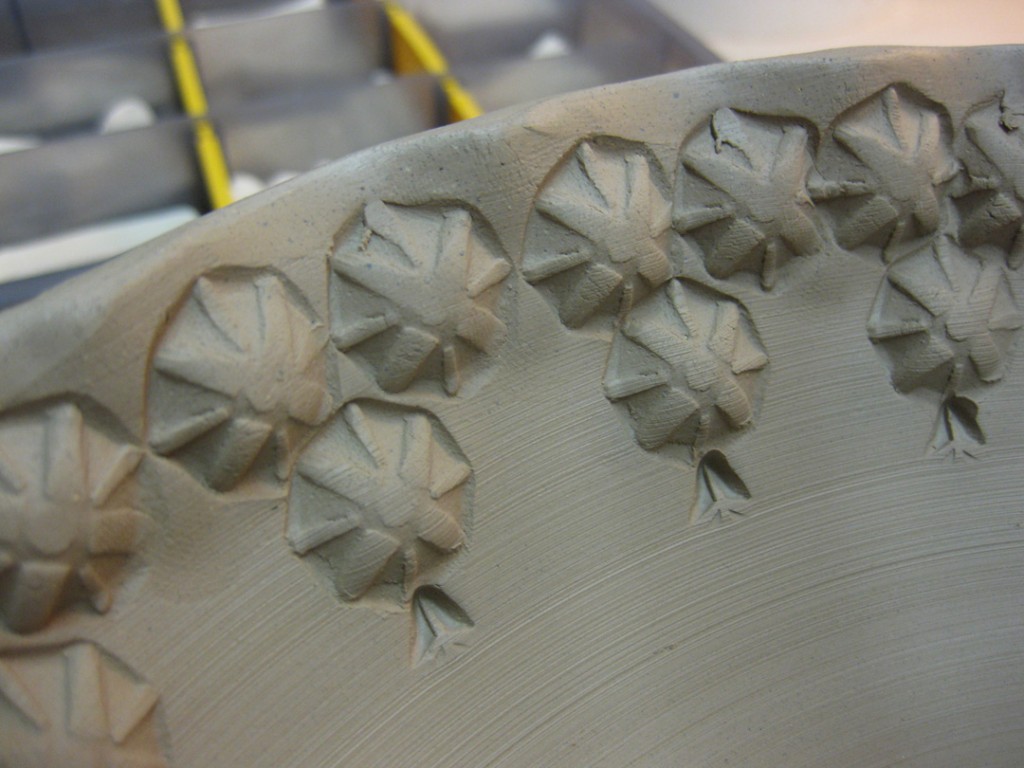
Just getting started… pressing the stamp into the moist clay one, by one, by one…
One row of stamping done. I always love to see how a basic platter can be transformed
so quickly with just a few impressions!
And if one row is pretty, a second row can only make it prettier, right?!
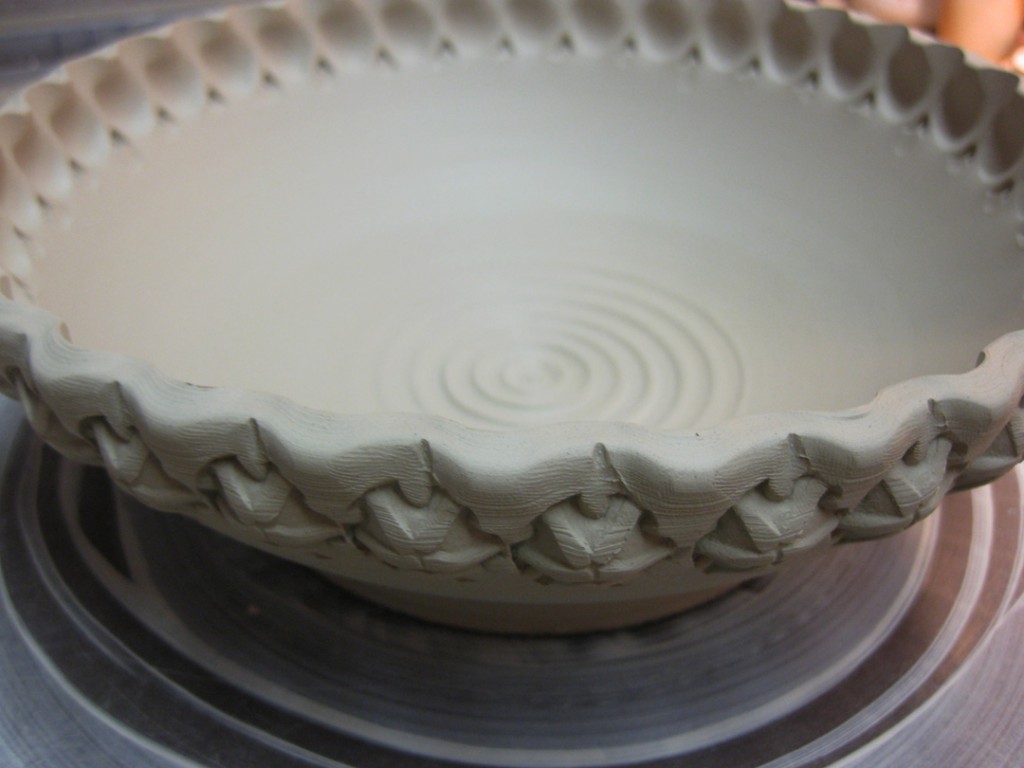
But why stop there? So I finished it off with some scalloped edge stamping. And some small
detailing with notches in the rim and small indentations in the stamps at the points.
Here are the three tools that did all the work… a stamp, a wooden tool… and my hand!
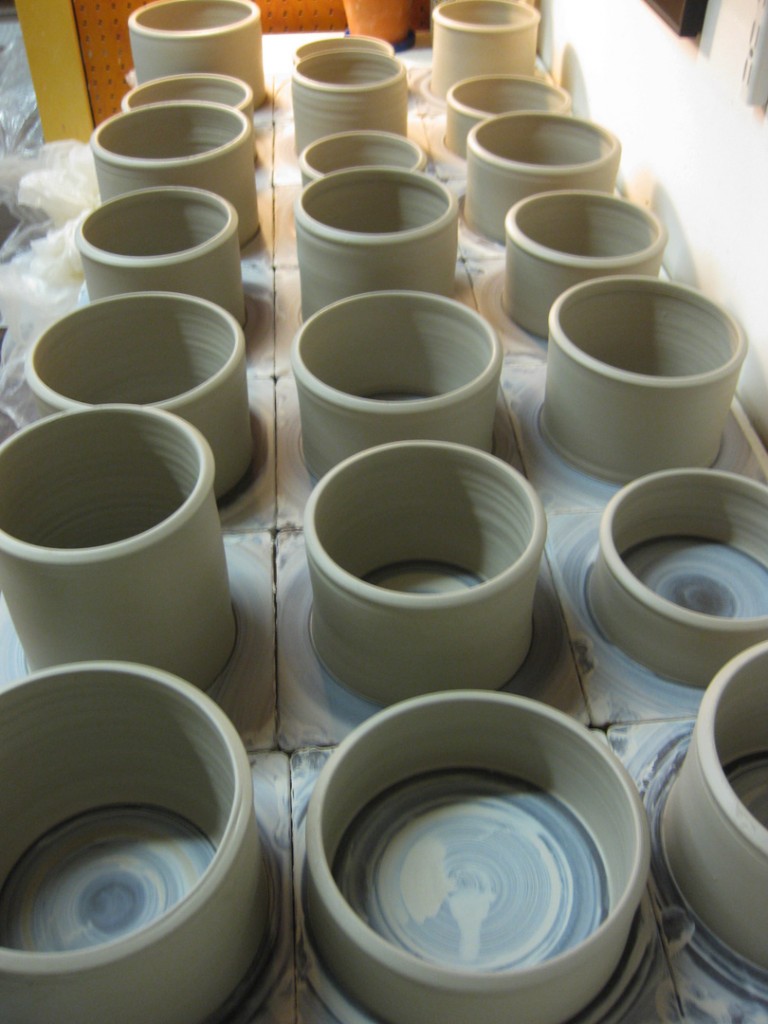
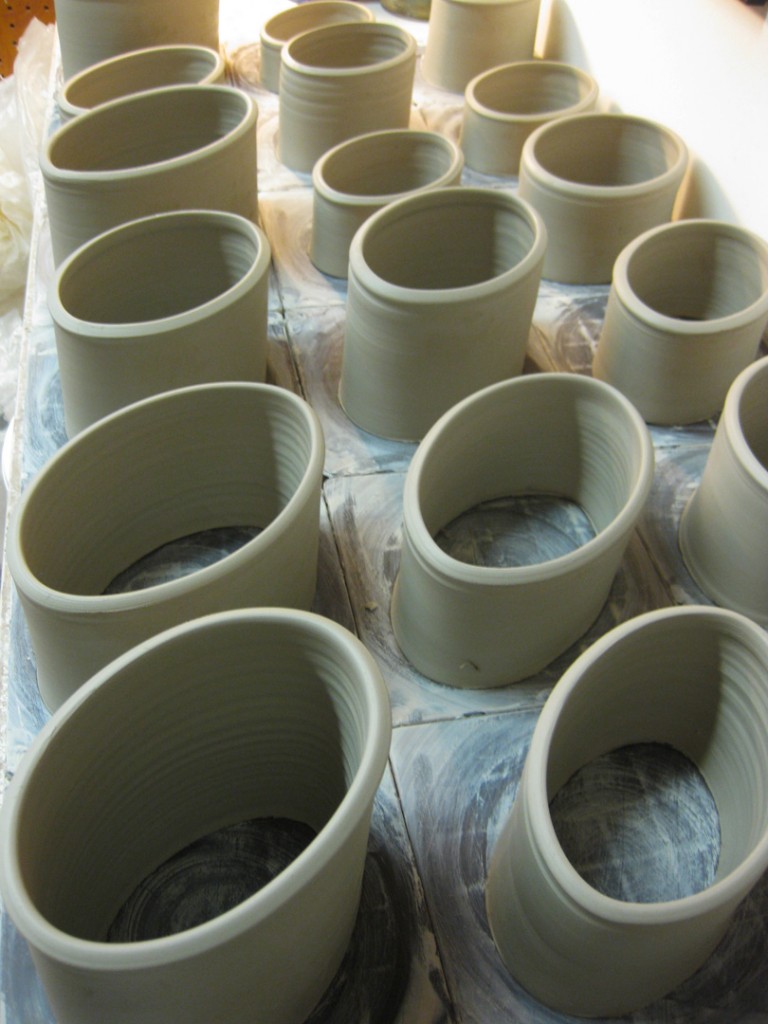
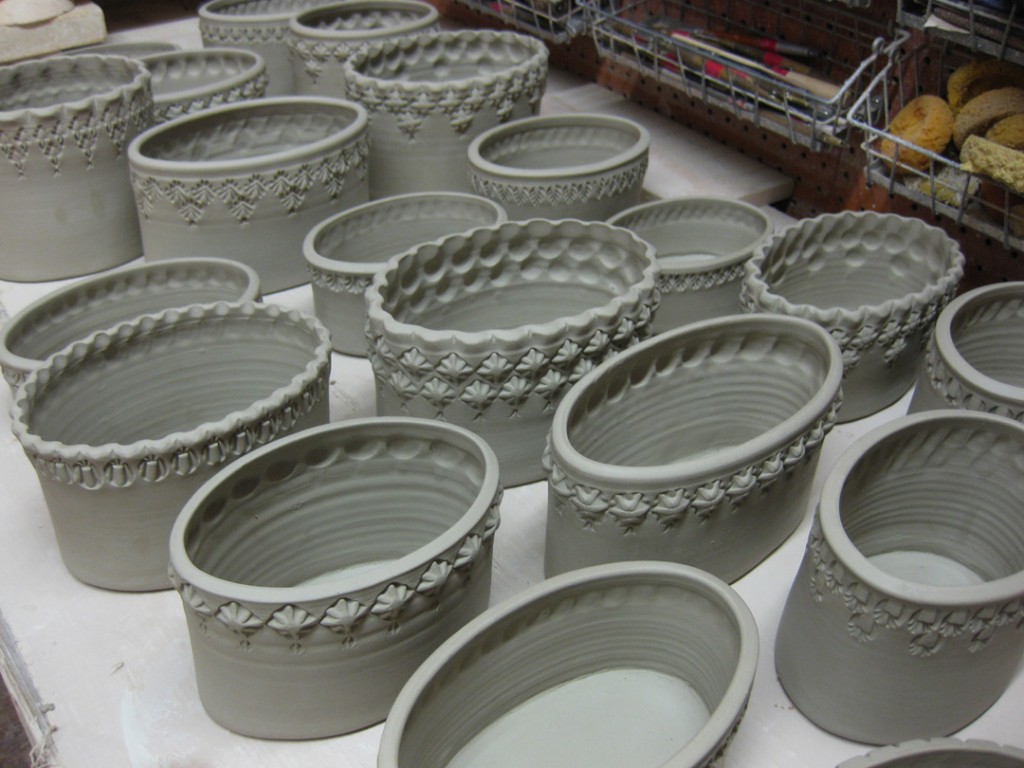
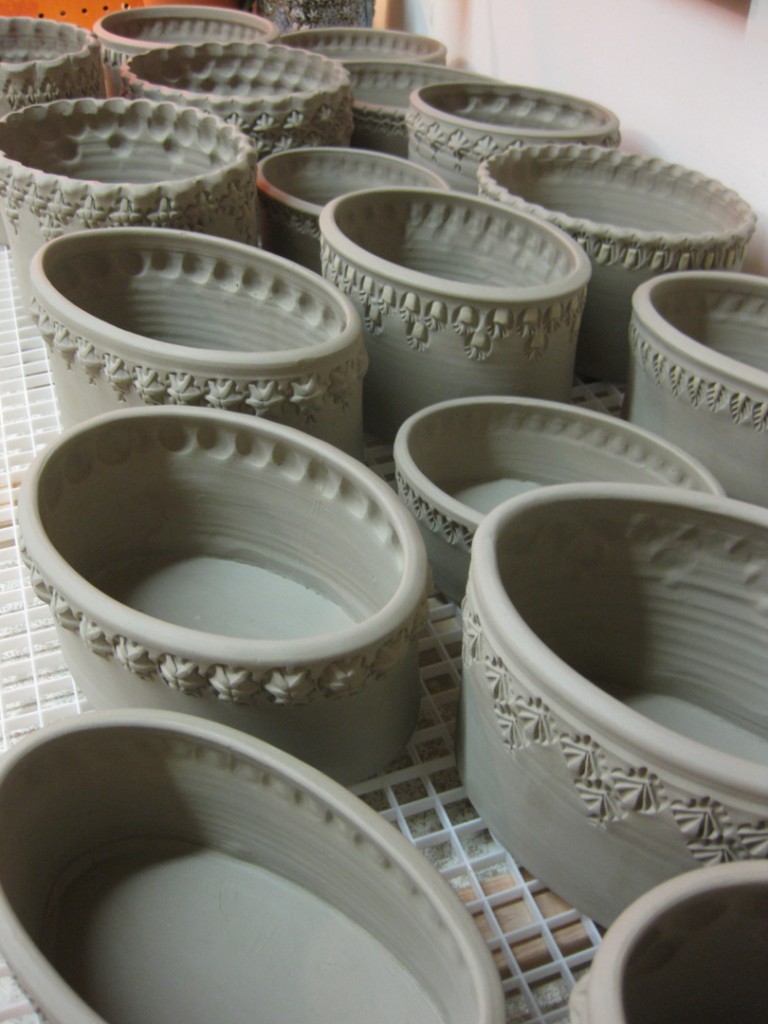
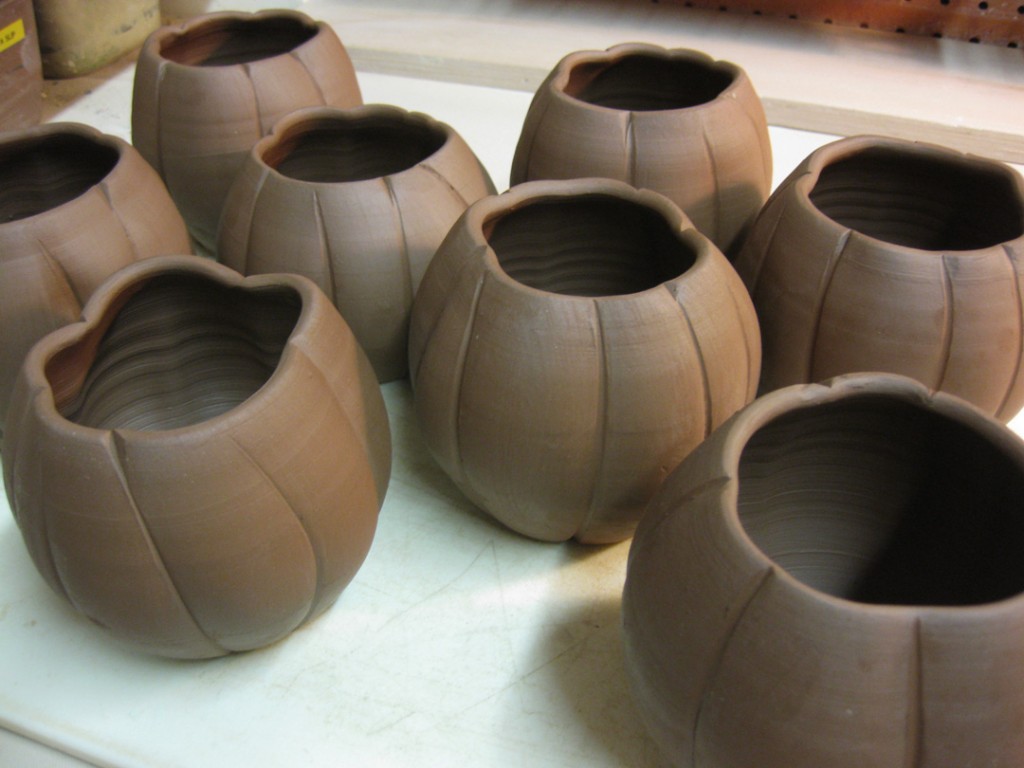
The trouble with throwing twenty-four cylinders and stamping them for mugs,
is that at some point you need to make twenty-four handles to put on them.
Tonight was that night. Two dozen handles. Two dozen attachments. Two dozen mugs!
So I started with some wedged B-Clay to match the B-Clay cylinders.
I cut them into small chunks, then threw them down towards my wedging table
at an angle to create a slight carrot-shaped wedge of clay.
Then I started pulling the handles in the traditional way. Kinda like milking a cow!
I typically pull them into a nice strap shape, then add a little concave curve to the front
side of them. When I get them to the right width & thickness, the do a quick flip-over
and stick it to itself. That way I create a nice “pre-established-mug-handle-curved-shape”
to let them set-up in the right form. Waiting a few minutes until the are a bit stiffer and
no longer wet, shiny or squishy!
I then start attaching the handles to the mugs by cutting out the portion I need of each strap.
A little scoring & slipping on each to attach them to the mugs. After several mugs, with a few
Olympic moments on my TV, I finally got to the end of all twenty-four.
Then it’s just a quick misting of water and wrapped up for the night. I always like to let them
“even-out” their moisture levels between cylinders & handles before I open them up and let
them dry. So tomorrow night, I plan on painting some of them with a bit of decorative colored
slip and then they’re off to the drying rack.
Tonight in my beginning wheel class we tackled basic glazing techniques…
and then continued our throwing demonstrations with plates & platters.
I showed my students how to throw the plate. Then we discussed how plates are pretty
easy to throw… starting with a wide, low, flat cylinder… but tougher to trim & dry properly.
3-pound plate with white slip decoration – squiggled while still spinning!
6-pound platter… pretty plain now, but soon will be stamped which is no surprise!
So last night was my “basic bowl” demonstration for my wheel throwing class!
We were working on making each bowl different and unique. After class, I brought them
all upstairs to my studio so that I could do a little more work on them. So today after camp,
I spent some time refining & stamping the bowl samples. It will be fun to show my students
how they’ve all been transformed seemingly “overnight.”
This first bowl has a flared out rim… plain & flat until you add some stamped fun!
This second one has the same flared rim, but with the addition of fluted curves. A simple
ring of stamps keeps the gently undulation of the rim intact without overpowering it.
This third bowl had a simple, solid layer of white slip inside. Kinda plain & boring.
But a quick textured rim makes all the difference. One stamp… again, and again, and again!
One of my students asked about a “squared-off” bowl form, so I took the split rim and
literally pulled out the corners to create a square-ish bowl. But it seemed a little predictable.
So I decided to highlight two opposing sides as a “canvas” for some fun stamping,
and changed the split rim on those same sides!
With a wider flanged rim, I originally though I was going to stamp the whole thing.
But then I thought “hey, I do that all the time.” So I forced myself to try something a
little different. Nice… but I’m not quite sure if I like it or not?
So there it is, the demo behind the demo. The “magic” that occurs in my studio after class
ends. The bowls are still wrapped overnight and waiting to be trimmed and finished. I may
actually add some more “fun” to the bowls before they done and ready for the bisque kiln.
Part One of tonight’s class demo was about making bowls on purpose…
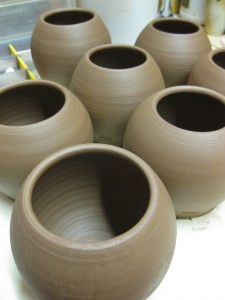
not a cylinder gone bad. Part Two was how to quickly turn 10 “matching” bowls
into 10 “unique” bowls with just a few quick tricks!
So I did the basic bowl demo to show my students how to make a bowl “the right way.”
Then, as they went back to their wheels to make their own bowls, I quickly threw nine more
basic bowls. We regrouped for Part Two where I showed them fluting, flaring, slipping,
swirling, chattering and other fun tricks! My main goal for the night is to get them over the
fear of playing with their clay. To show them that you can push it further, twist it, bend it,
shape it. That each piece doesn’t have to be so precious. That if you let yourself try a few
new things you might just make something special along the way. So go ahead…
play with your clay!!!
After the two-part bowl demo, we also did some slip painting, throwing off the hump,
throwing spouts and stamp making. It was a very busy class tonight. I kinda felt like
I had some making-up to do after missing the last two classes due to my extended
FIREFLY trip to Dover?!
After camp, I was back in the studio trying to get myself back into full production mode.
Gotta start somewhere… so why not start with my favorite form?! MUGS!!!
One bag of B-Clay… a stack of square bats… and a pile if wedged balls of clay. Ready to go!
About an hour of throwing with an hour of Olympic coverage, and I had two dozen cylinders
off the bats, wrapped up and put away for the night. Hoping to stamp them all tomorrow
in between camp & teaching my adult class!
Pile it on… pounds of possibilities! Here’s the first half of the reclaimed clay
that I got from Amy Higgason from the Northwoods. It’s been slaking down
for awhile now, and tonight I turned it out onto a large plaster bat to help it
set up a bit. The other half of her trimmings & scraps are now in my bin,
covered with water, slaking down for the next batch. My understanding is that
this is a mixture of white stoneware and B-clay. We’ll see what comes of it.
I love reclaim. I love free clay!!!