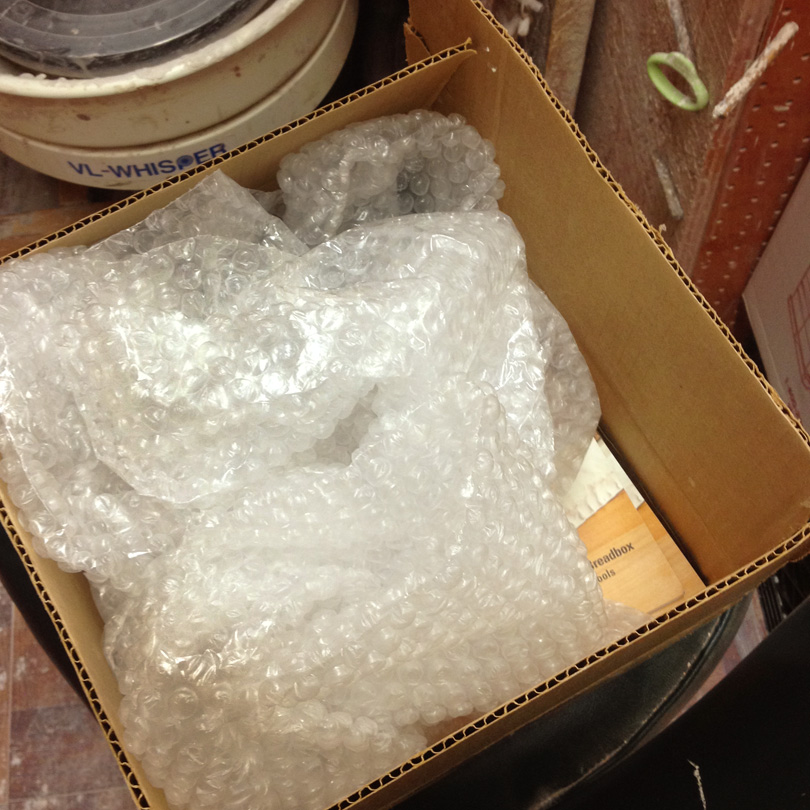
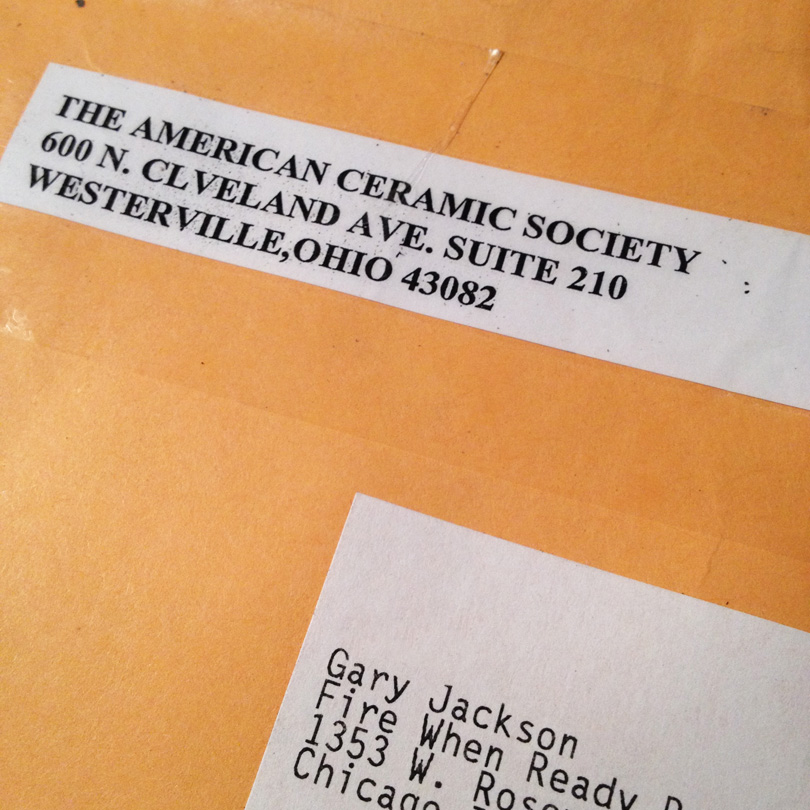
Sure, the “sneak peek” envelope was nice… but a box full is so much better.
Can’t wait to show everyone what I’ve been up to!!! Coming soon…

Gary Jackson: Fire When Ready Pottery
A Chicago potter’s somewhat slanted view of clay & play |
Sure, the “sneak peek” envelope was nice… but a box full is so much better.
Can’t wait to show everyone what I’ve been up to!!! Coming soon…

I love when a plan comes together. I’ve been working on a little “project” for awhile now… and soon enough there’s going to be a “Big Reveal.” I got a a nice envelope in the mail today with a little sneak peek.

I threw the basic cylinders a bit ago… and finally got around to finishing them. I trimmed and added handles on Saturday, and then did some detailing with colored slips tonight. It has been a fun project… trying out some new shapes for some new mugs. Some of them I’m liking… some loving… and others not so much. I’m always open for opinions, so please add your Comments below. I’m actually thinking I might tackle another batch of new shapes… and force myself to go even further the next time!!!
After cranking through a lot of work getting ready for ART IN THE BARN, I found that I had a lot of clay scraps to reclaim.I’ve been breaking them up and submerging them in my reclaim bucket. So the scraps have slaked down & re-hydrated to a very wet, gooey clay. So I turned it out onto a large plaster bat. The plaster will draw the water out of the clay quicker… and in a couple days I can start wedging it up for a LOT of “free” clay.
And then since I had an empty reclaim bin… I decied to wash it out and switch to reclaiming some porcelain. I had a few scraps of my own to break up. But I also had several clay bags full of porcelain from my friend & potter Emily.
So I started breaking them all up all of the scraps… and then dumped them into my reclaim bin with water.
But then I found several of Emily’s bags had clay that wasn’t quite dry yet. Reclaiming clay works so much better when you start with dry scraps. The water seems to soak in more evenly and faster. So I spread out the rest of Emily’s porcelain scraps so they can dry overnight.
More breaking, crushing, smashing and submerging tomorrow!!!
Today in the studio I spent couple hours with a pile of gooey clay. My pile of reclaim clay has been drying out on a large plaster bat for a few days. The top layer and edges were getting pretty dry. So I started by shaving them off and wedging them back in with some wetter clay.
At my wedging table I pounded the mess of clay into blocks. Then I took those blocks and shaved off thin slices, layering them into new piles. Mixing the clay a bit more in the process.
But when I got to the “center” of my reclaim pile, it was still a LOT wetter & gooier than the rest. But of course I was impatient… and not ready to stop in the middle of the project. Instead, I cut the clay into thinner slices and stood them up with a fan on them. Hoping the breeze would speed up the process a bit… I’m not sure that it did?! But it felt like the right thing…
While I was slicing & layering, mixing & homogenizing the clay, I sliced into something hard. What?
Oh… so THAT’s where my yellow rib had disappeared to.
Inside my reclaim bucket with lots of clay scraps!!!
Good thing the “slicing into thin layers” trick found it before I tried to wedge it back in.
More pounding. More stacking. More layering. More pounding again. Block after block.
Soon enough, I had pounded up all of my reclaim clay.
Still a little gooey in some places, but layered & blocked up just the same.
I put all of the blocks into thick plastic bags where it will stay for a few weeks. Then I’ll start using the new reclaim clay… doing a “real” wedging as I go. Until then… it’s just free clay!!! And you know how I LOVE FREE CLAY!!!
And now
Last night I unloaded my soda kiln. After a full day of firing and a full day of cooling, you’re always a little anxious to unbrick the door and get your first peek of what’s inside. The front of the kiln is always “pounded” with a bit more soda… and there fore a bit more “gray.” But the backsides of those pots on the edge are usually pretty sweet, with great contrast to the soda blast zone. Here’s the front stack of the kiln…
And then the back stack of the kiln…
looks like pretty good coverage throughout. No dry spots that I can see so far.
Yep, everything turned out pretty well. A good coverage of soda on the pots.
A lot of nice flashing. Some sweet glaze effects.
A LOT of mugs… you know they’re my favorite thing to make!!!
A couple new sets of salt & pepper shakers…
And some new tiles, in a few new sizes…
|
Gary Jackson: Fire When Ready Pottery
Lillstreet Studios ∙ 4401 North Ravenswood, Chicago, Illinois 60640 ∙ 773-307-8664 gary@firewhenreadypottery.com |