Gary Jackson: Fire When Ready Pottery
A Chicago potter’s somewhat slanted view of clay & play
Categories: process, stamps, textures, YouTube

It’s been a little while since my last video… so I decided it’s about time!!!
This platter was made with B-Clay, and was a little bit softer than I would normally like for stamping. But with my busy schedule this week, I knew that I had limited time in the studio. So… go for it now?… or wait and run the chance of it drying up too much?

Of course I decided to go for it!!!
You just need to be a bit more careful, use more even pressure on both sides…
and hope that the stamp doesn’t “stick” when it gets a little damp.

Click here for my latest Platter Stamping Demo on YouTube.

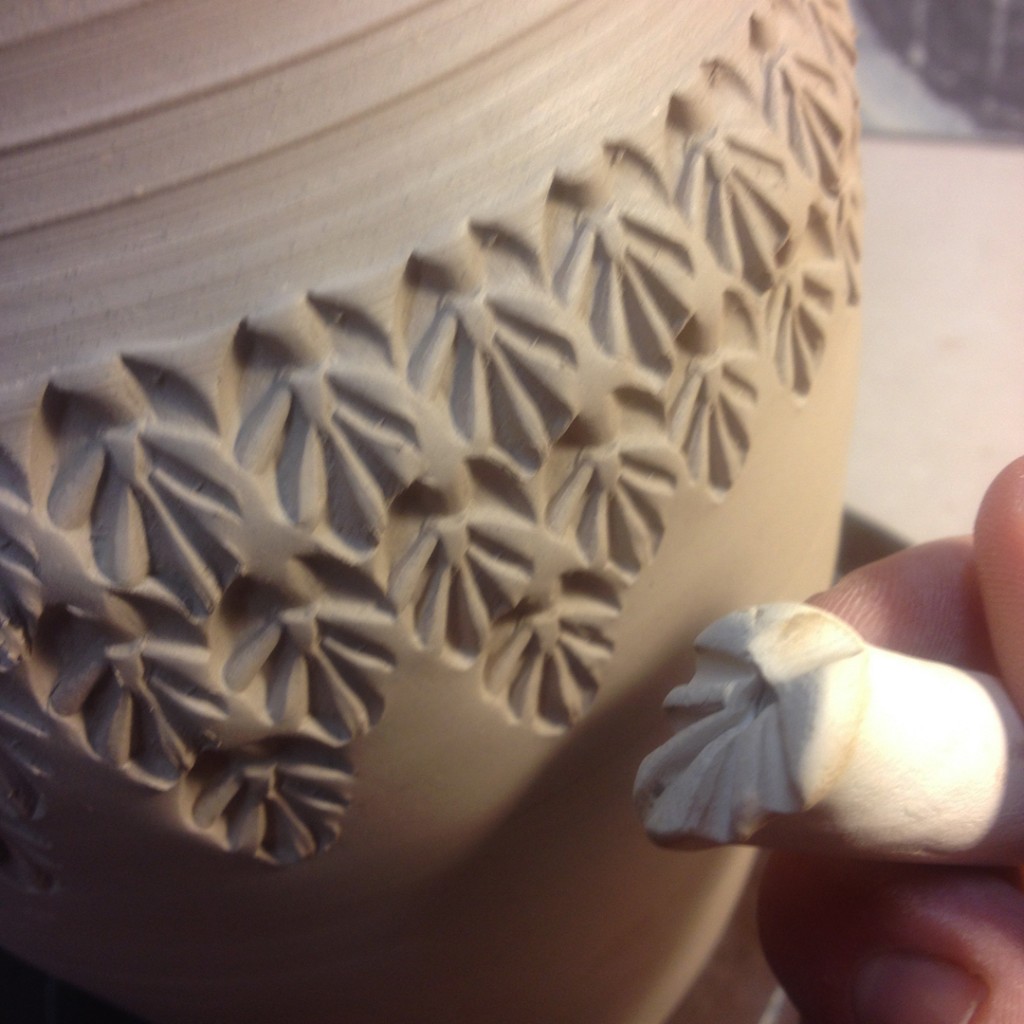
And here’s the set of tools that did all of the work…
one handmade stamp, two wooden tools and a thin sgraffito loop tool.

Click here for my latest Platter Stamping Demo on YouTube.


Categories: pottery, process, production

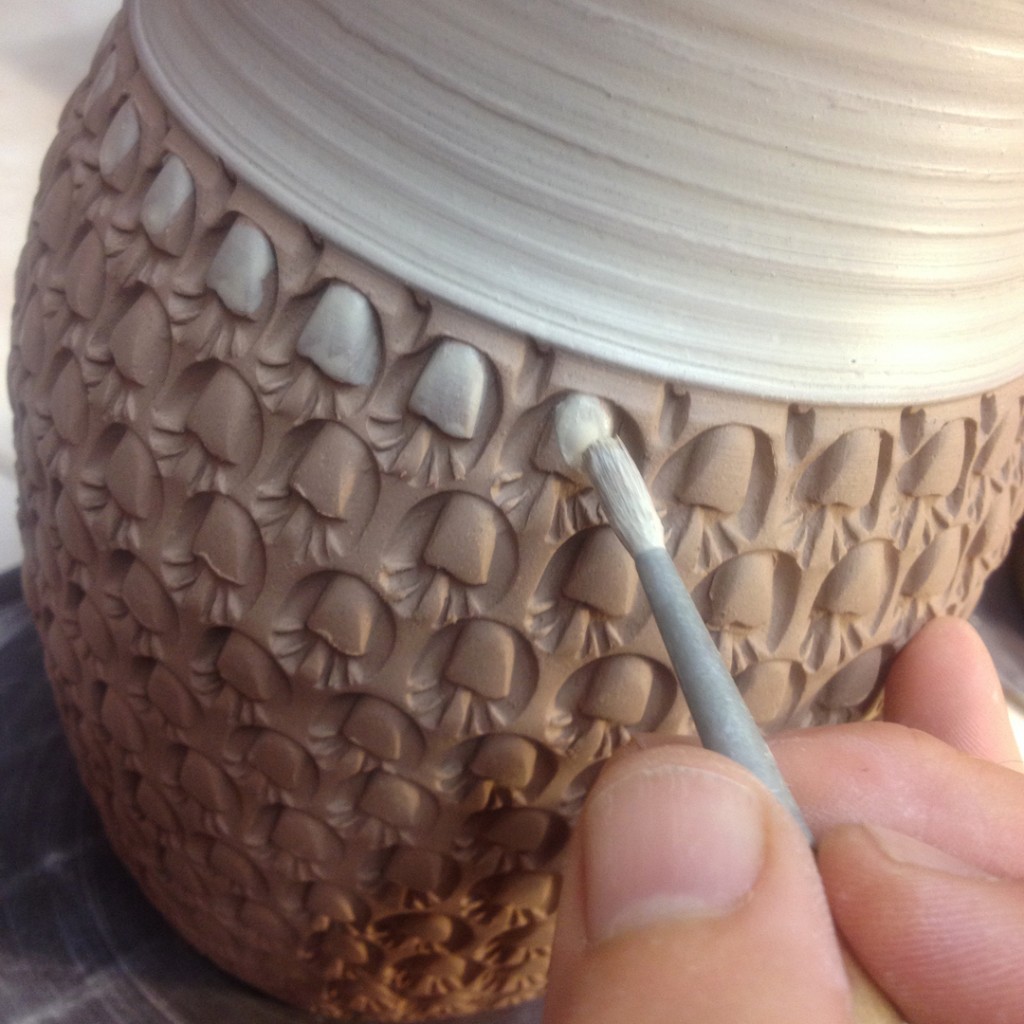
So I’ve assembled all of the teapots and decided that some of them needed a little more attention. A little pop of color here & there with some colored flashing slips.

Teapot #1 – slip painted accents on lid & each stamp.

Teapot #2 – just stamped… I figure this one will be glazed with a light coat of temoku.

Teapot #3 – slip painted accents on lid & each stamp.

Teapot #4 – slip painted accents on lid & each stamp.

Teapot #5 – just stamped… I figure this one will be glazed with a light coat of temoku.

Teapot #6 – slip painted accents on lid & each stamp.

So now they’re all assembled & slip painted… and wrapped overnight one more time so they can “dry together” a little bit slower. One they’ve settled in together, I’ll unwrap them tomorrow night so they can start drying… so that they’re ready for my upcoming bisque kiln!

Categories: process, production
Categories: clay, process, studio

Last night I continued my reclaiming of the “free” clay I got from Katie B.
The clay I had sliced thin was all dry, so I broke it up into small pieces and added it to my reclaim bucket. I then added enough water to cover the dried clay. Bubbles. Gurgling. And a slight hissing sound as the water seeped into the dry clay.

So now it sits… submerged & slaking. I’ll give it a few weeks, stir it up once & awhile, and when it’s ready… turn it back into “real” clay!!!

Categories: glaze, kiln firing, process, production

The kiln loading went well today. I’m sharing the cone 10 studio kiln with my studio neighbor Karen Patinkin. We’ve both ben glazing for a few days. Mine is more dipping, Her’s is more fastidious painting. Either way, we both kind of came together in the end and had a very efficient kiln loading. We were both surprised to see how early we were finished loading this evening.

Unfortunately, I got so carried away packing, loading & finishing up the kiln loading that I absolutely forgot to take some final pictures of the final stack?! So I guess we’re all going to have to wait to see the “after” photos as I forgot to take the “before”???

Categories: bowls, glaze, process, production

The glazing has begun. My mind is getting glazed over. And it’s starting to “spread out” all over my studio. It’s amazing to me how neatly stacked piles of bisqued bowls can suddenly take over my small space once they’re glazed and no longer stackable?! Crazy. And it’s also crazy to me to see just how much bisque I have piled up in my studio… I had NO IDEA that there were so many pieces in there waiting to be glazed!!! Crazy!!!

Categories: kiln firing, process, production

After my “greenware explosion surprise”... I was ready to some quick loading. Quick because I really wanted to get home for a goo night sleep in my own bed!!!

Layer 1 – bowls, salt & pepper shakers, mini vases & glaze test tiles

Layer 2 – plates for berry bowls, tiles and some porcelain Christmas ornaments.

Layer 3 – More berry bowls, salt & pepper shakers, ikebanas, tiles and mini’s.

Layer 4 – More ikebanas, more tiles, more glaze test tiles and the “exploded” greenware plates!
Really no good reason to glaze them… other than a souvenir and visual “evidence” of my story!

Layer 5 – tumblers, a couple mini’s and some porcelain pieces by studio neighbor Karen Patinkin.

Categories: process, production, stamps

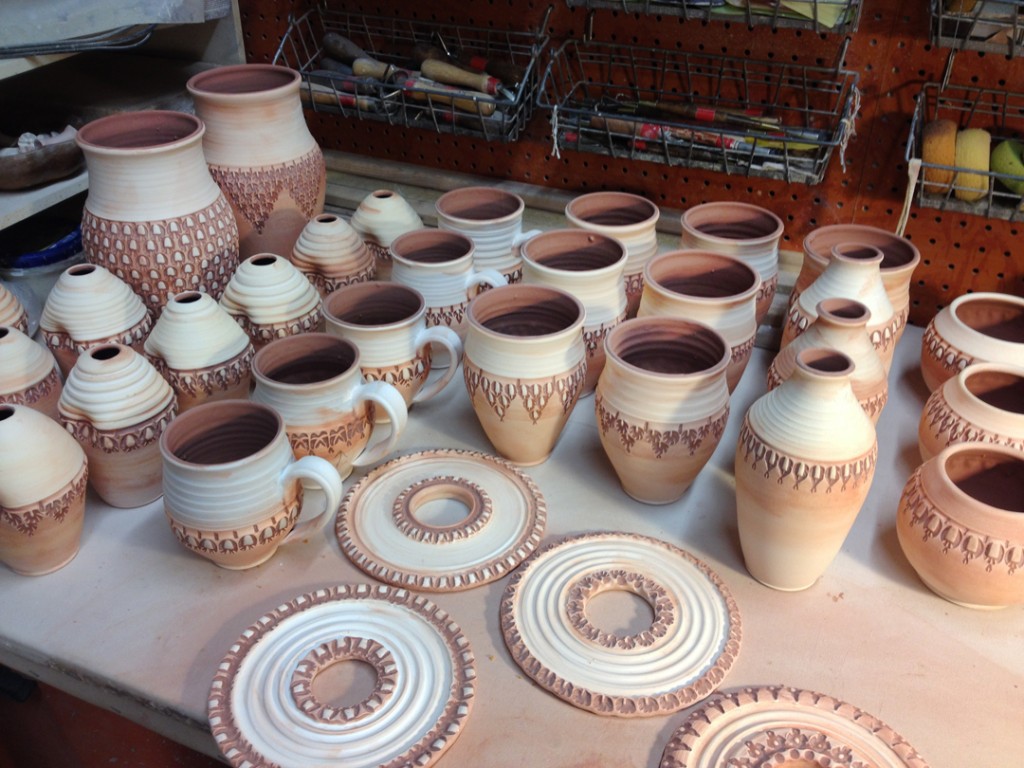
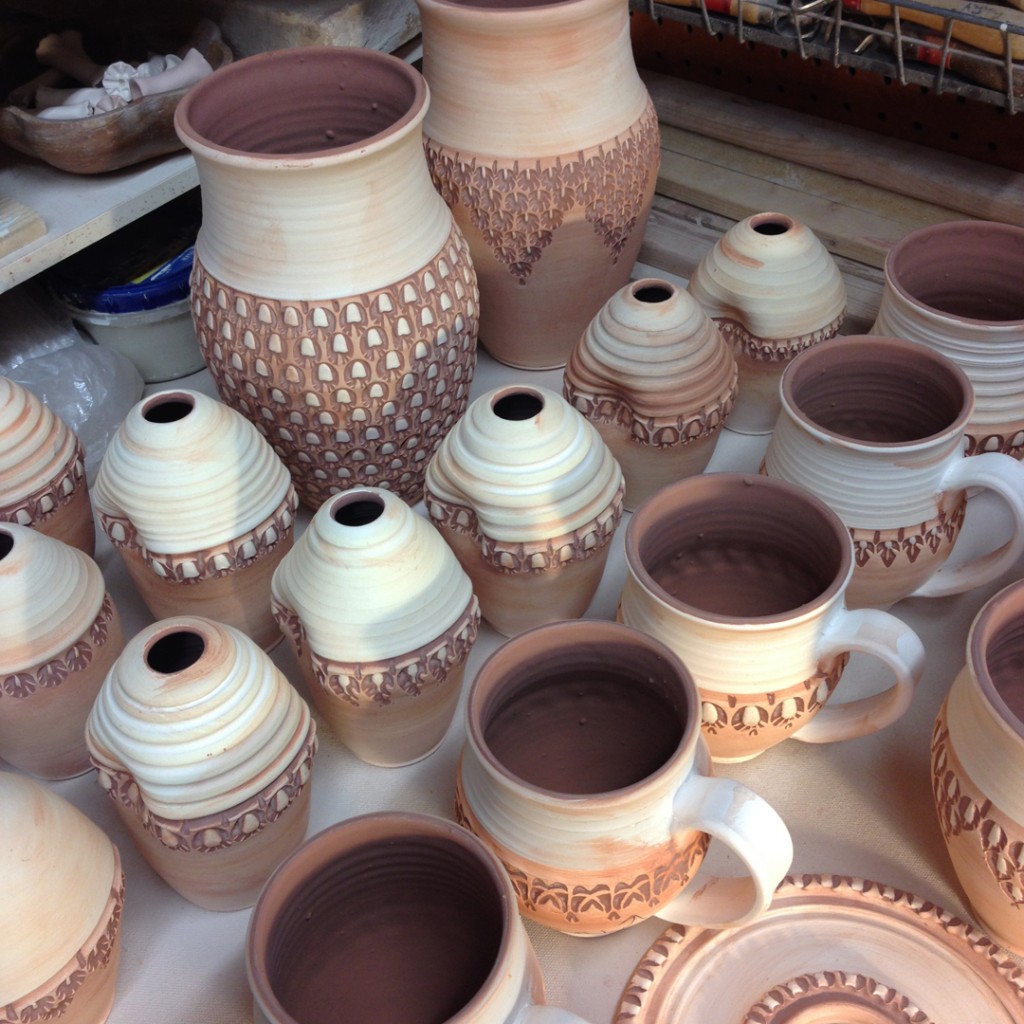
After finishing my salt & pepper shakers, I was onto my next project. Refilling my inventory of miniature vases. It’s pretty tough to wedged & throw such a small ball of clay. So I find it so much easier to throw them off-the-hump. Which really just means that I wedge a large ball of clay, and center it very roughly. No need to get it perfect. Then, I pull a small part up to the top of the hump and center just that little bit. Don’t worry about all of the clay below that little bit. Then you throw a small vase and cut it off. Pull up another small bit, center it and throw another small vase. Cut it off… repeat… again, and again!!!

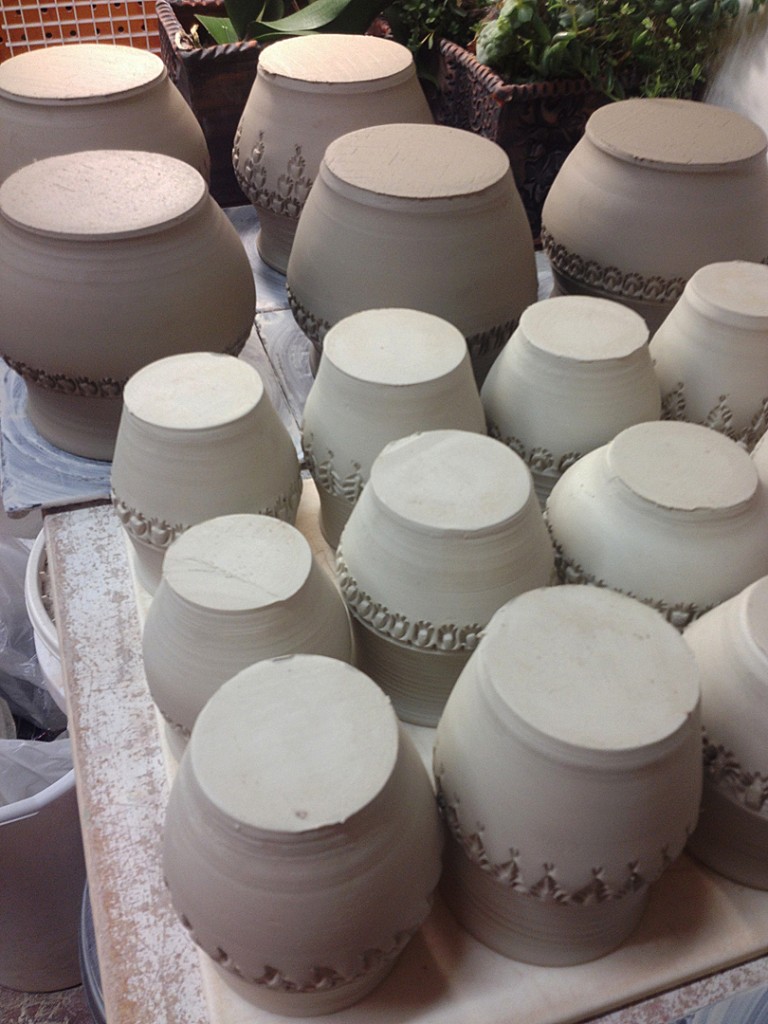
And of course… smaller vases need smaller stamps!

A little stamping… on a little vase… with a little stamp!

Now they’re all stamped and wrapped up in plastic. Waiting to be trimmed and slip accented.

Categories: process, production, studio

Last night, after my IRS audit and incredibly yummy “lunch”…
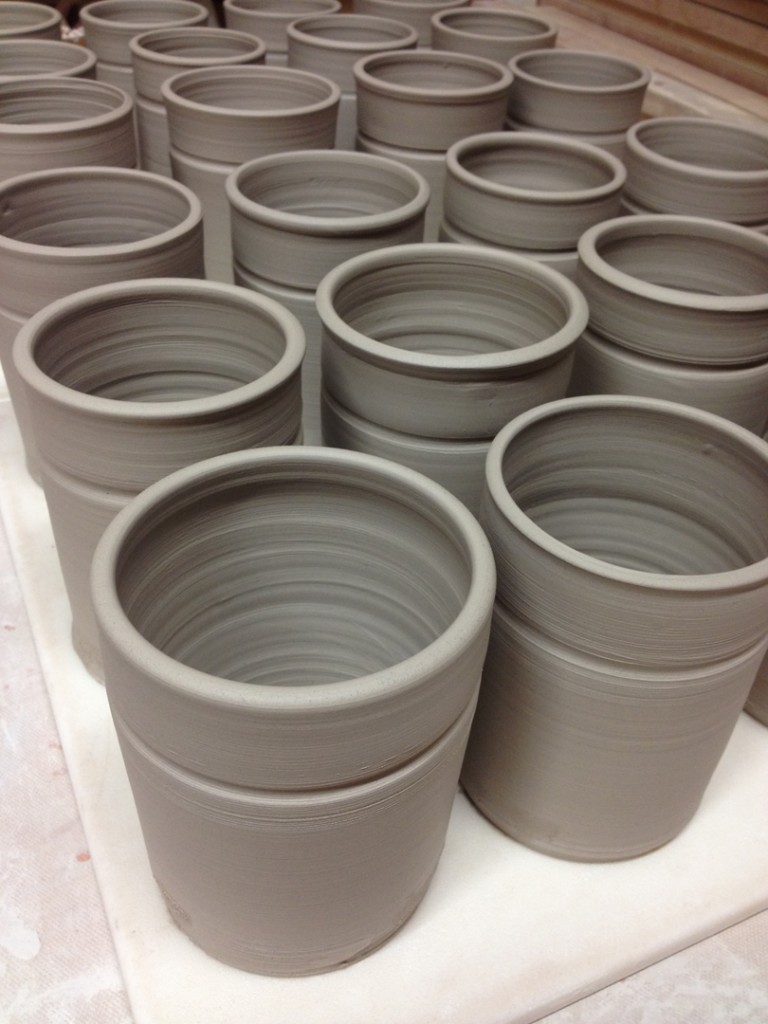
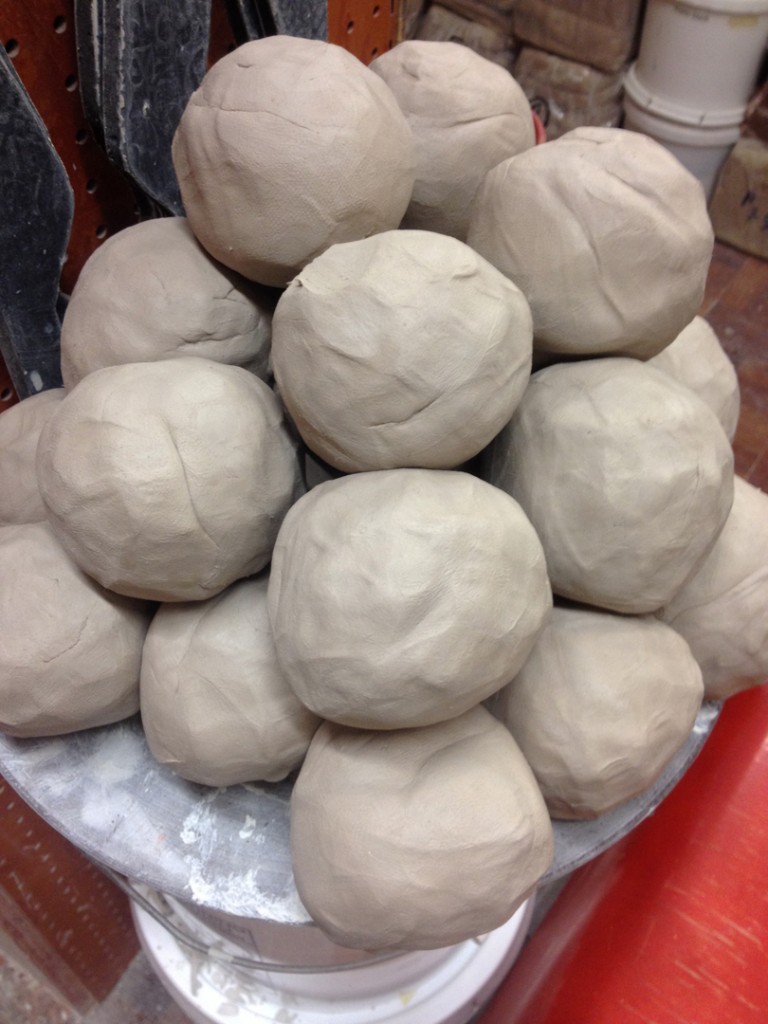
I wedged up a bunch of small balls of clay. Each of them 3/4 of a pound.
And then started throwing them all. On the wheel that is… not against the wall…

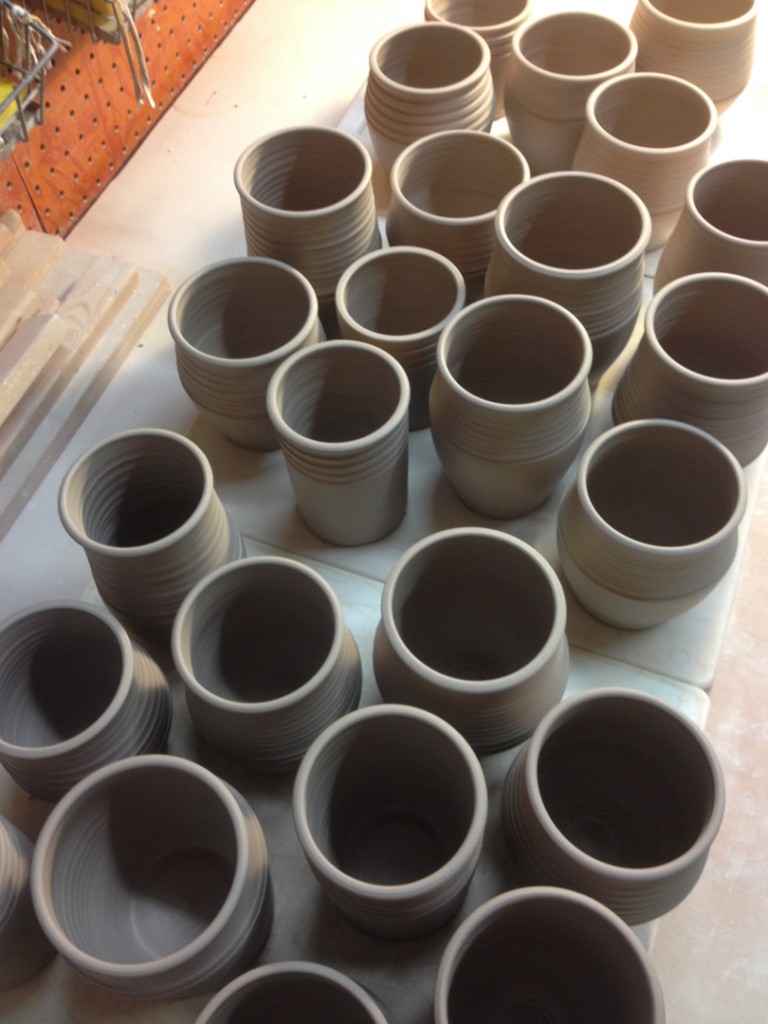
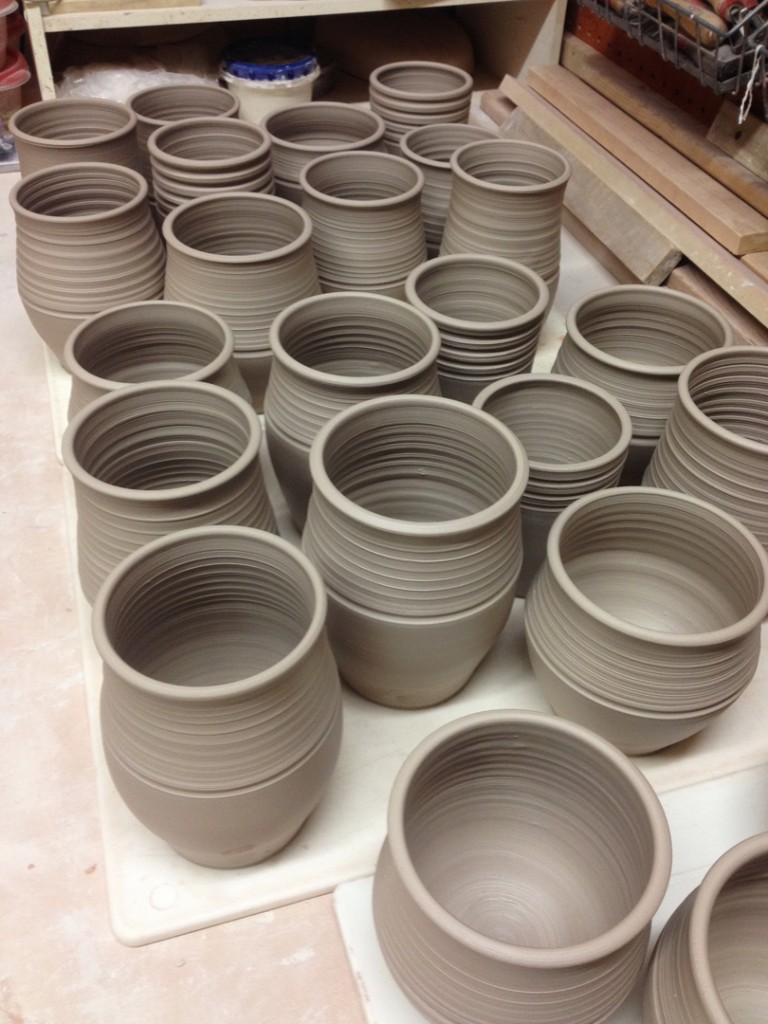
They all kind of look like cupcakes at this point?! But I’m hoping that after some stamping, detailing & trimming, these might become even cooler. Maybe even cool enough to become salt & pepper shakers?!

Categories: bowls, classes, process, production, stamps, textures

After Tuesday night’s bowl demo, I felt that some of the bowls needed a little “extra” lovin’. So last night I did some stamping & detailing to a few of the bowls. Unfortunately, my students aren’t around to see this part of the process. Hopefully this little “photo journey” will help clear up how the “magic” happens!

Bowl #1 – Originally fluted in four parts.
So I accentuated the four parts with some “sectional” stamping!
Playing along with the design & geometry of the bowl, now accented with stamps!

Bowl #2 – Originally a plain bowl with a bent-out, flanged rim.
Now with a little accent border of stamped texture!

Bowl #3 – Originally a flared out rim & fluted edges.
Now with a border of stamping just below the fluted fun.

Bowl #4 – Originally a large plain flange on a small bowl.
Which is really just a great “canvas” to do some stamping, right?

Bowl #5 – This one was originally just a bowl with a split rim.
Now it’s stamped and pinched back together in all the right places!

Bowl #6 – In class we left this one with the split rim and pinched together in 8 places.
I added a couple stamps, some little add-ons and a bit of curving.