Gary Jackson: Fire When Ready Pottery
A Chicago potter’s somewhat slanted view of clay & play
Categories: bowls, process, production, studio

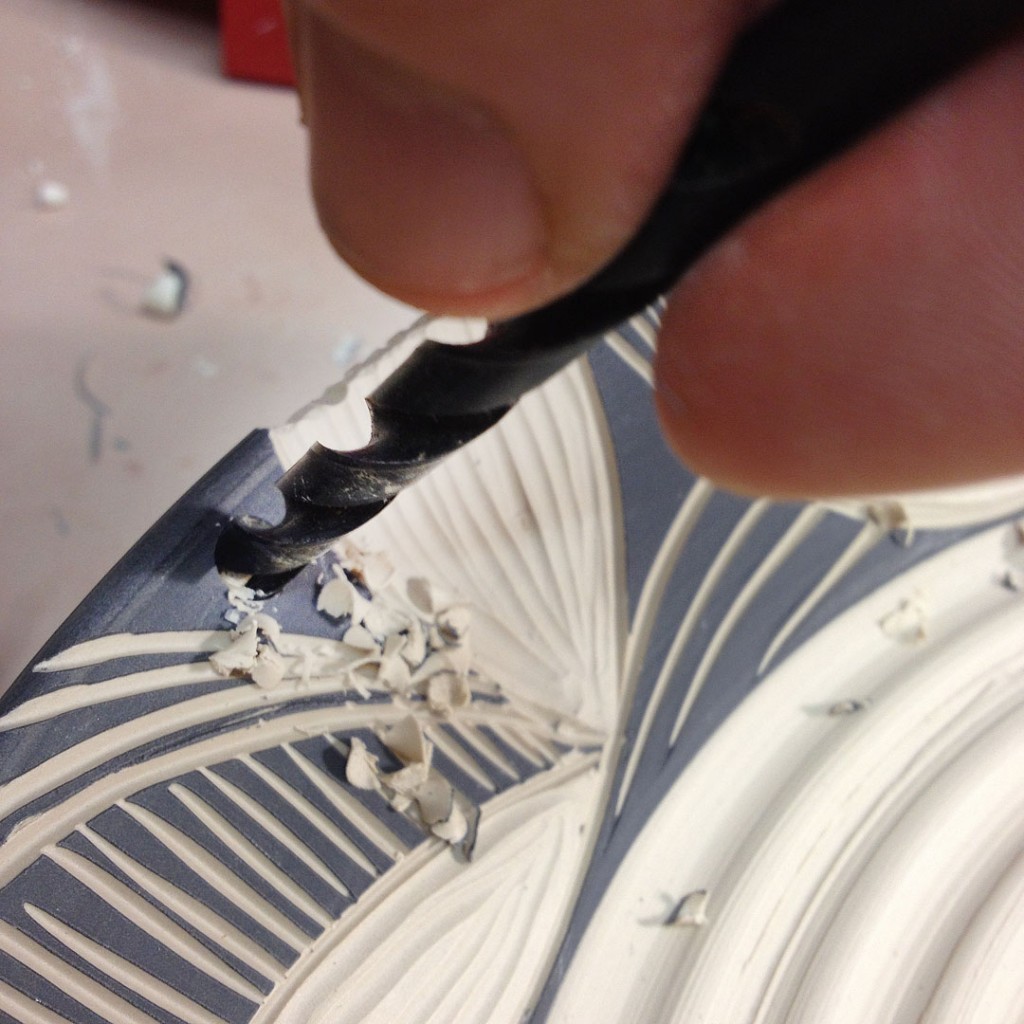
I LOVE TRIMMING.
It’s so much fun to finish off a piece with a well-trimmed foot. I made a decision early on that I would trim everything! It just doesn’t look quite “done” to me if it isn’t trimmed?! But maybe that’s just me?
And luckily, I have a lot of bowls to trim from class this week. So here we go… trim, trim trim!!!

Save

Categories: process, production, stamped

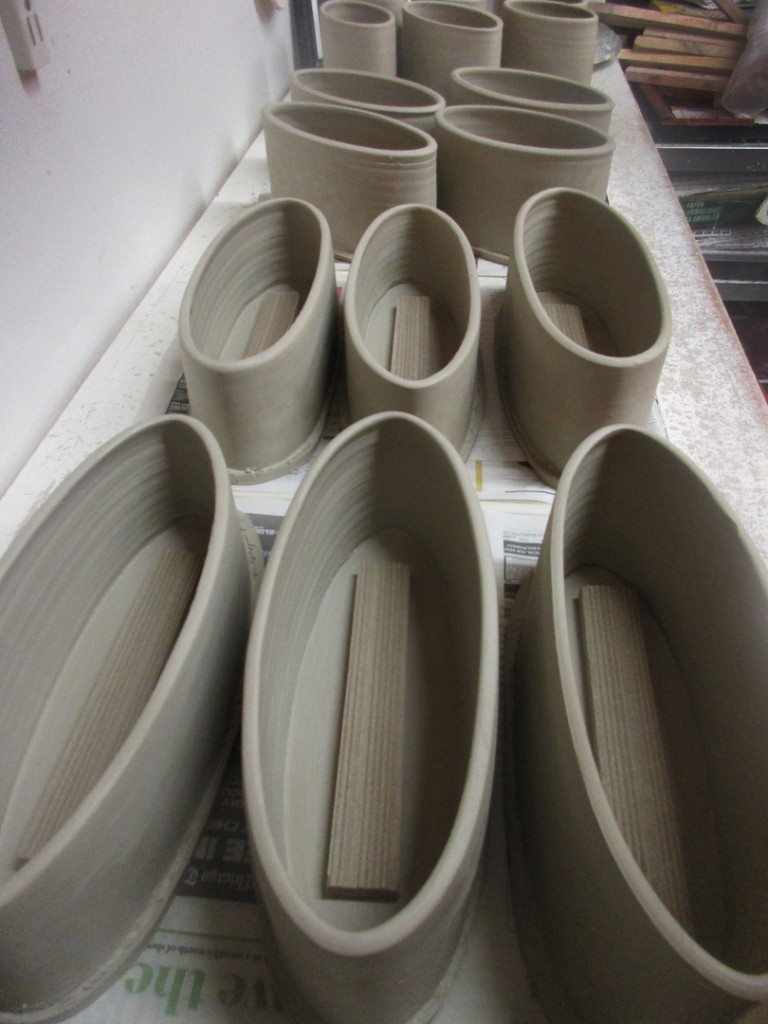
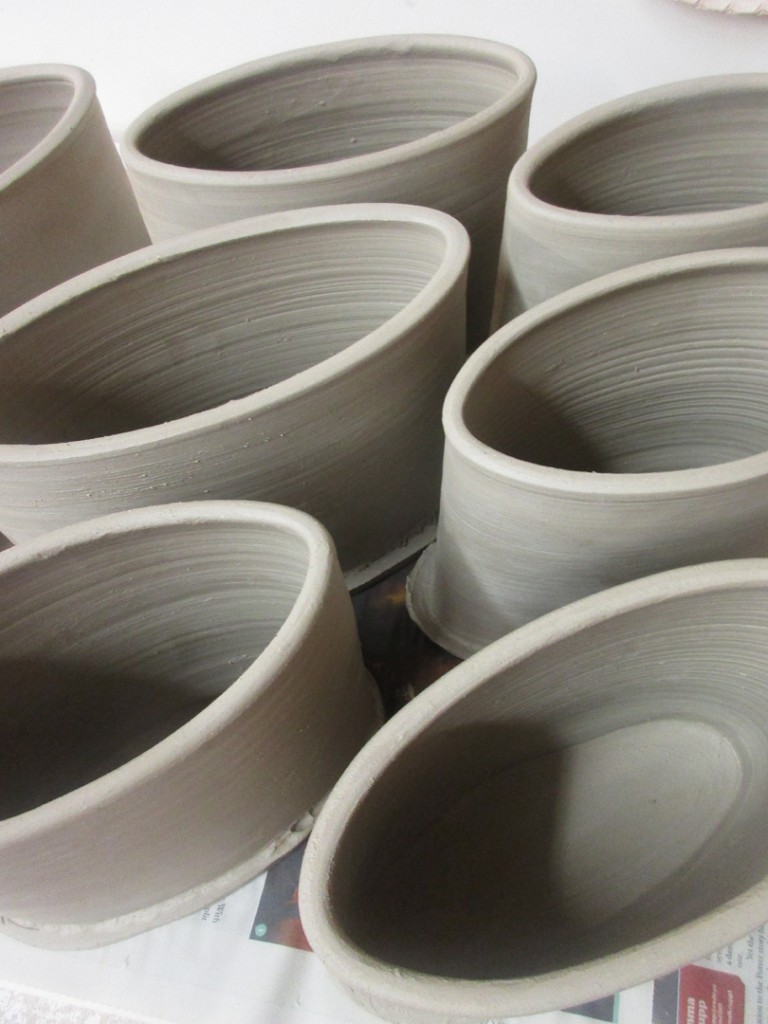
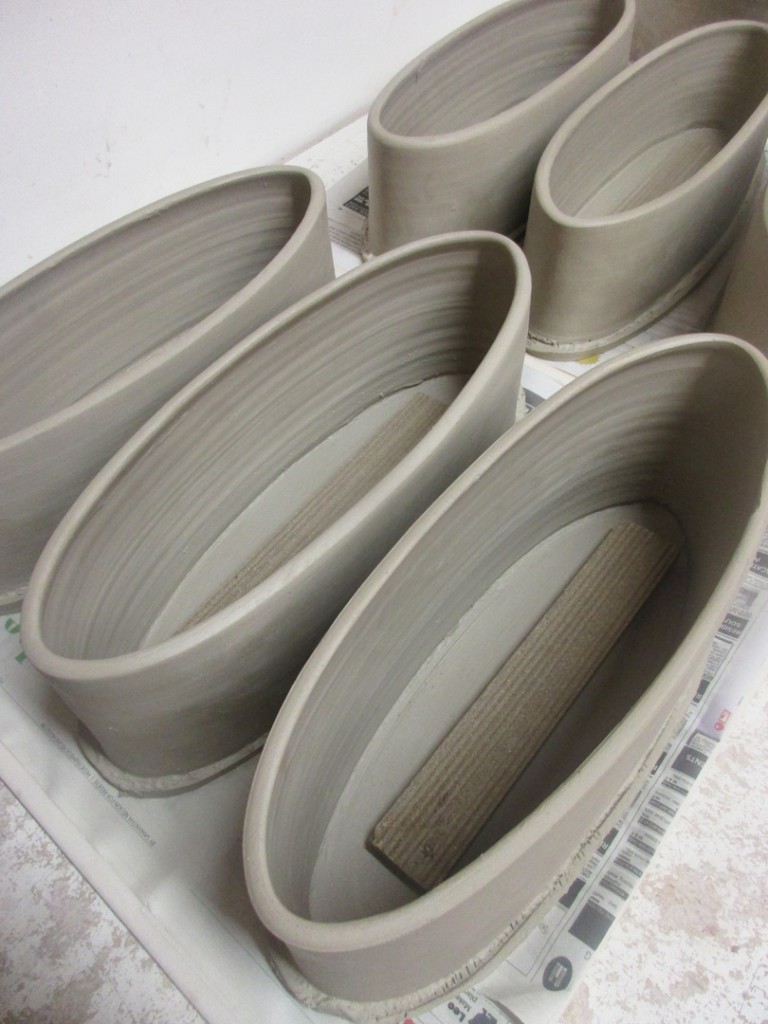
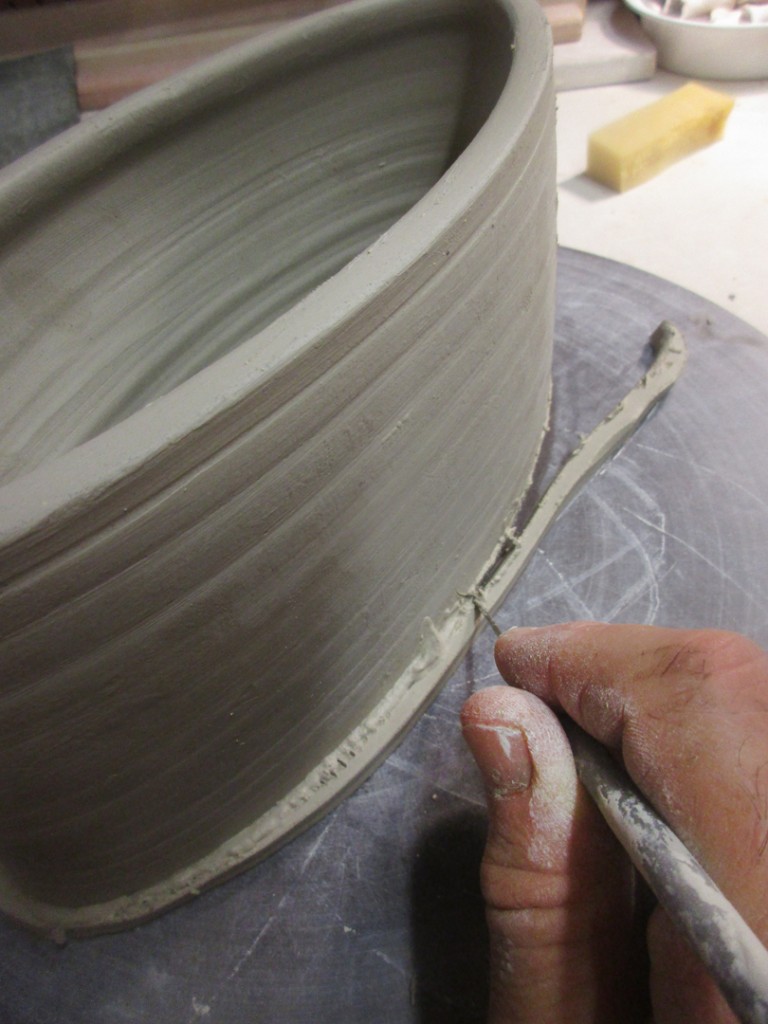
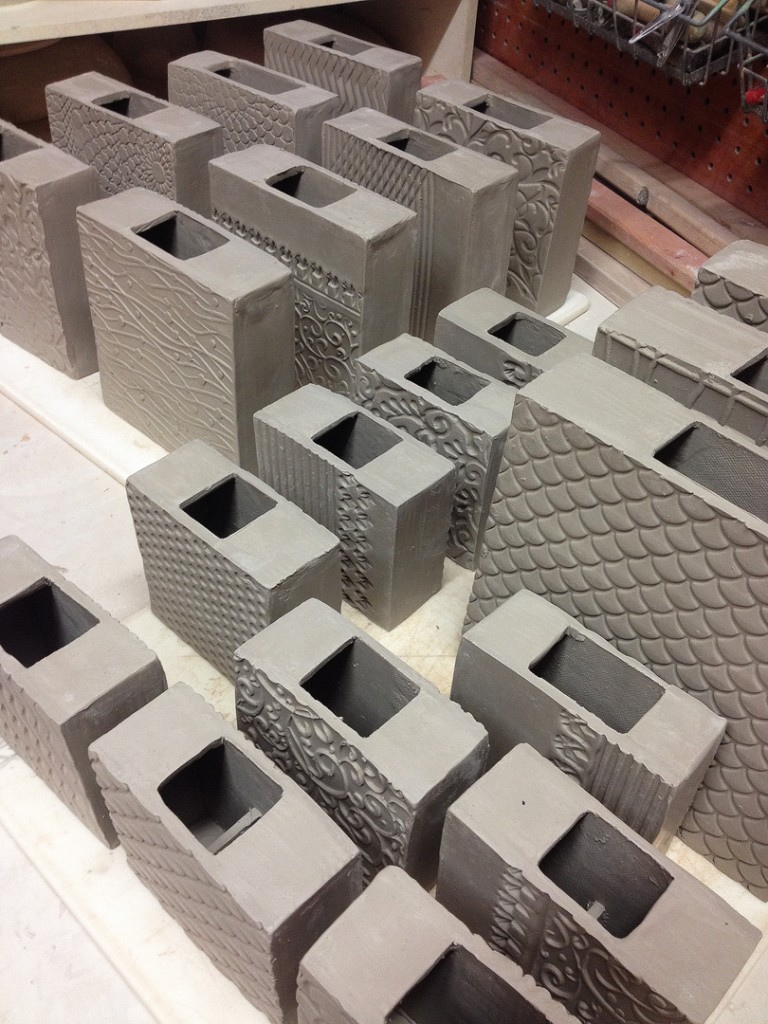
Working on a little something new in the studio tonight.
Sure, I could’ve tried making just one.. but that’s not nearly as much “fun”
as trying something new with twelve!

Categories: clay, process, studio

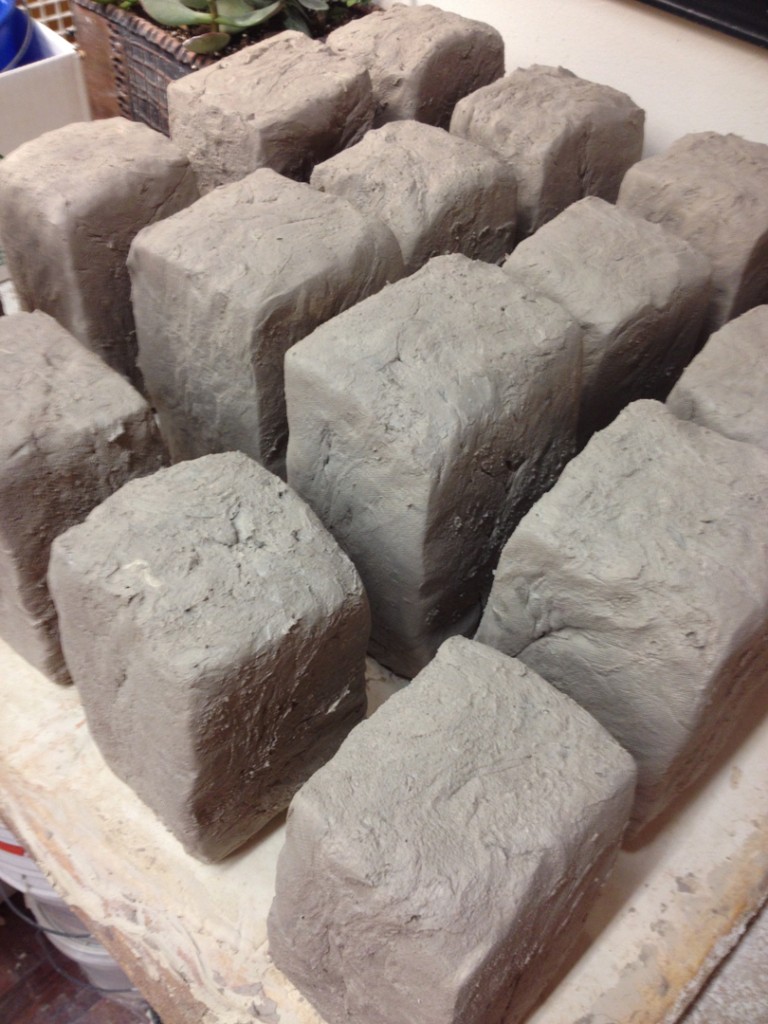
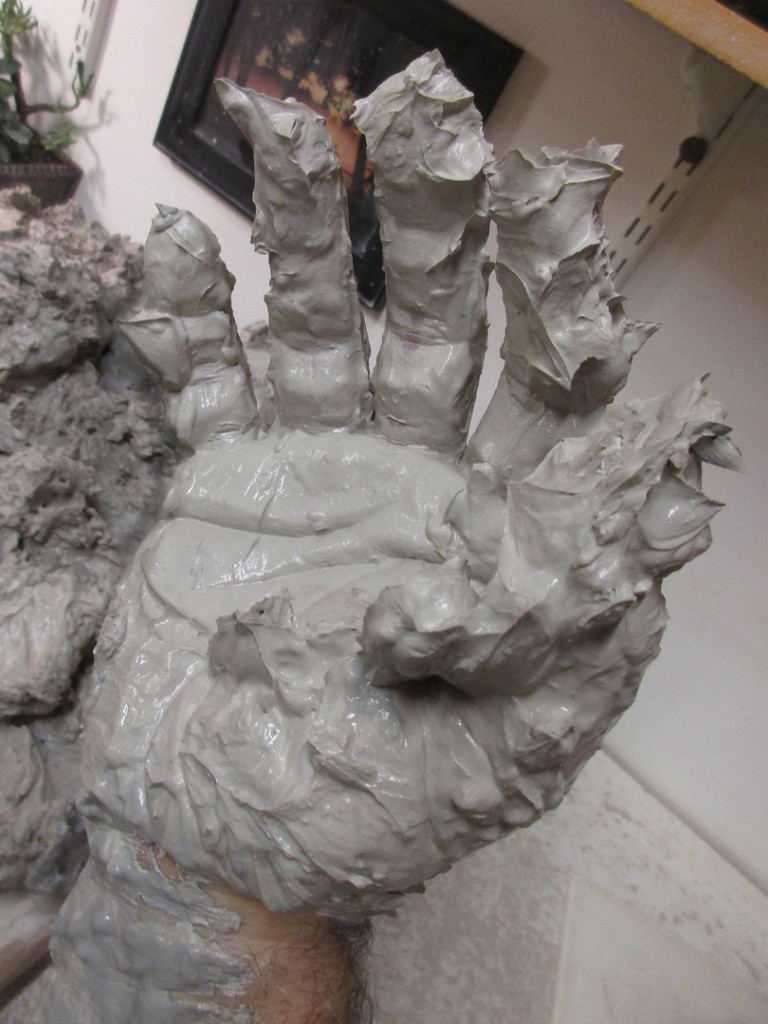
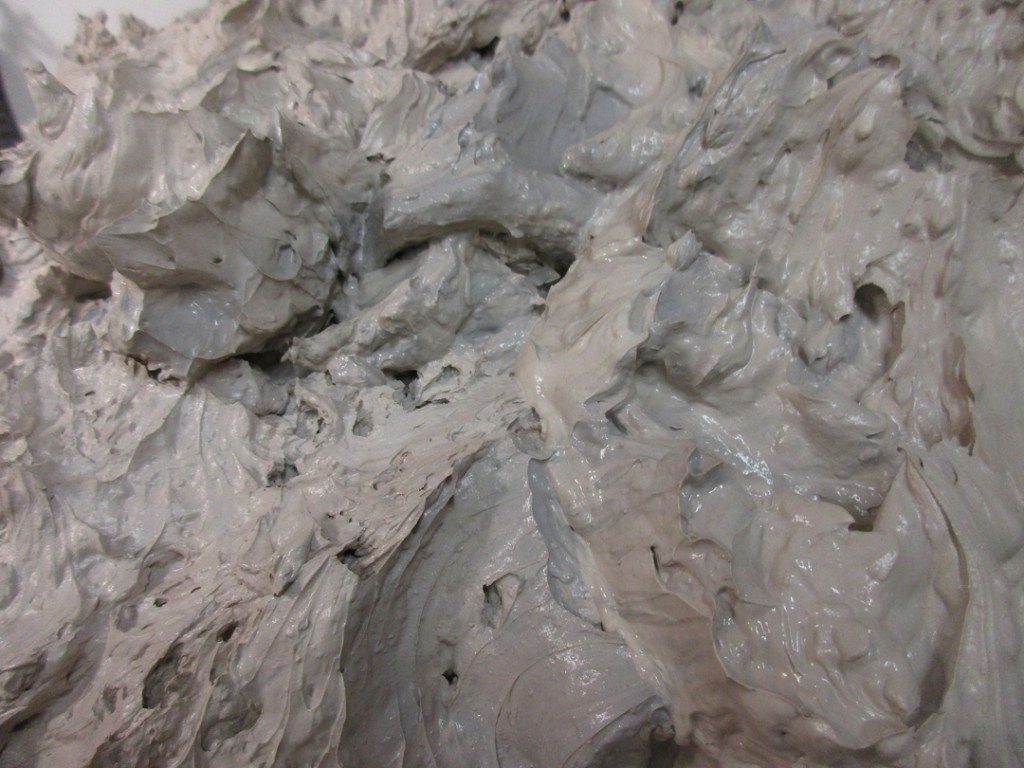
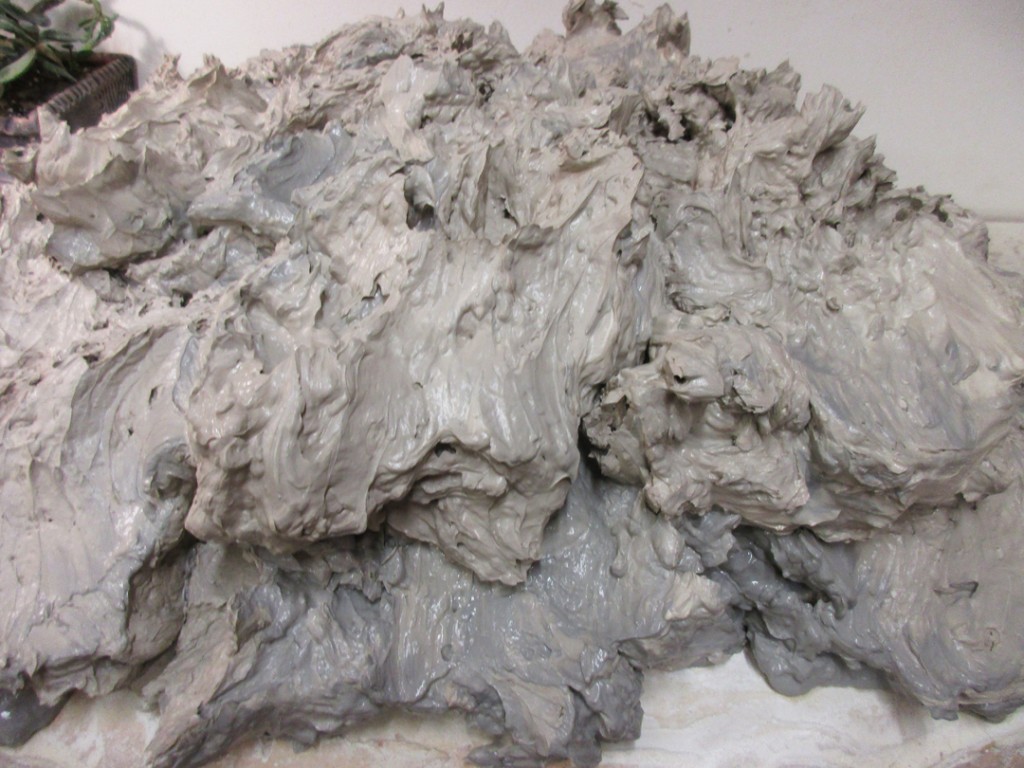
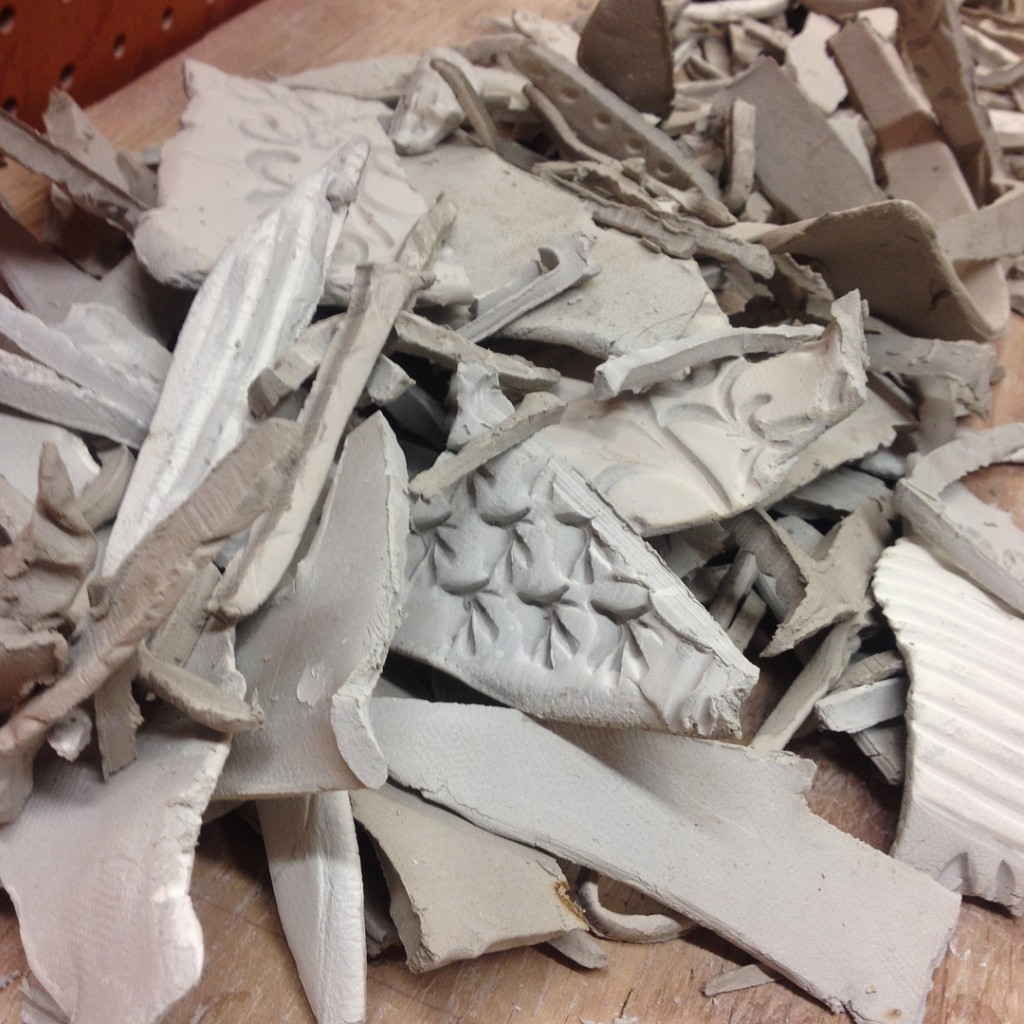
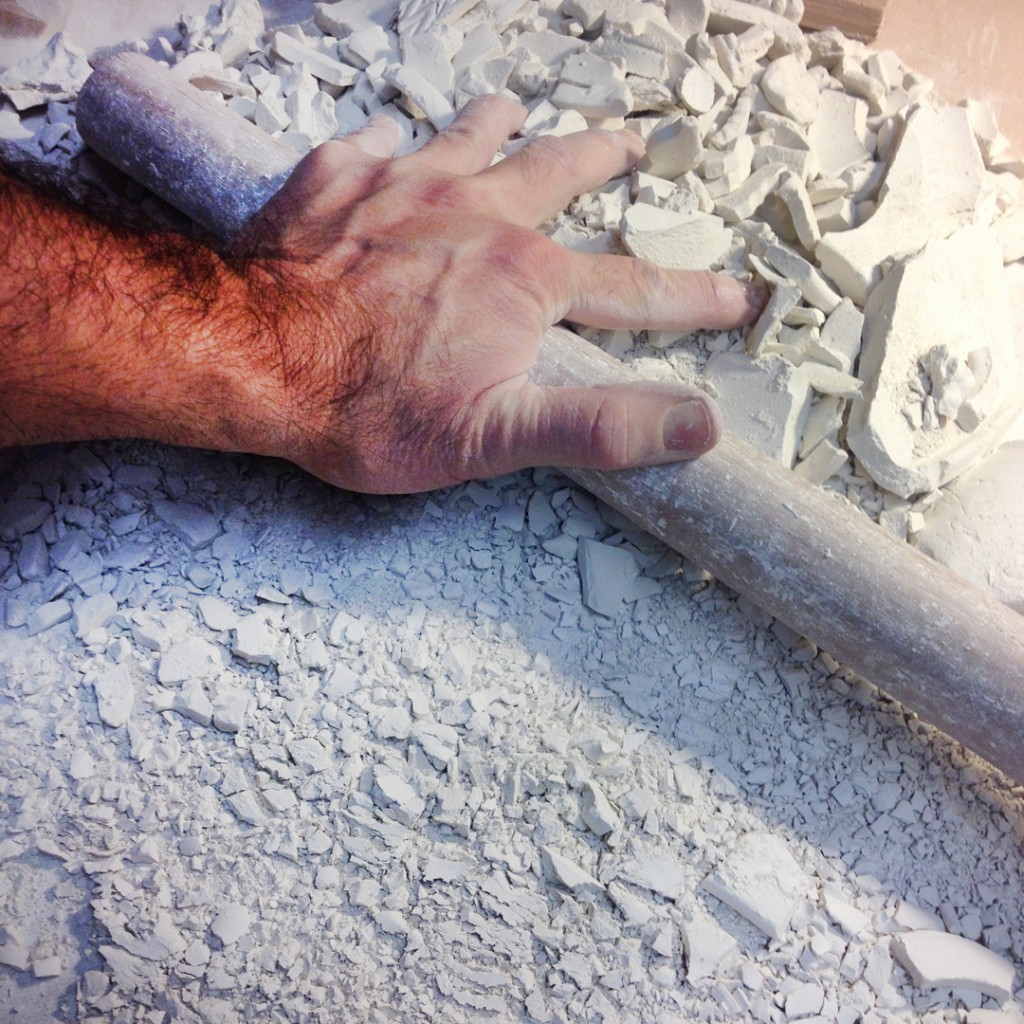
Just breaking up some more dried trimmings and used clay for my next batch of reclaim. The smaller I can make these pieces now makes my reclaim slurry smoother later. So a bit more pulverizing now will make a better clay later!

Categories: mugs, process, production

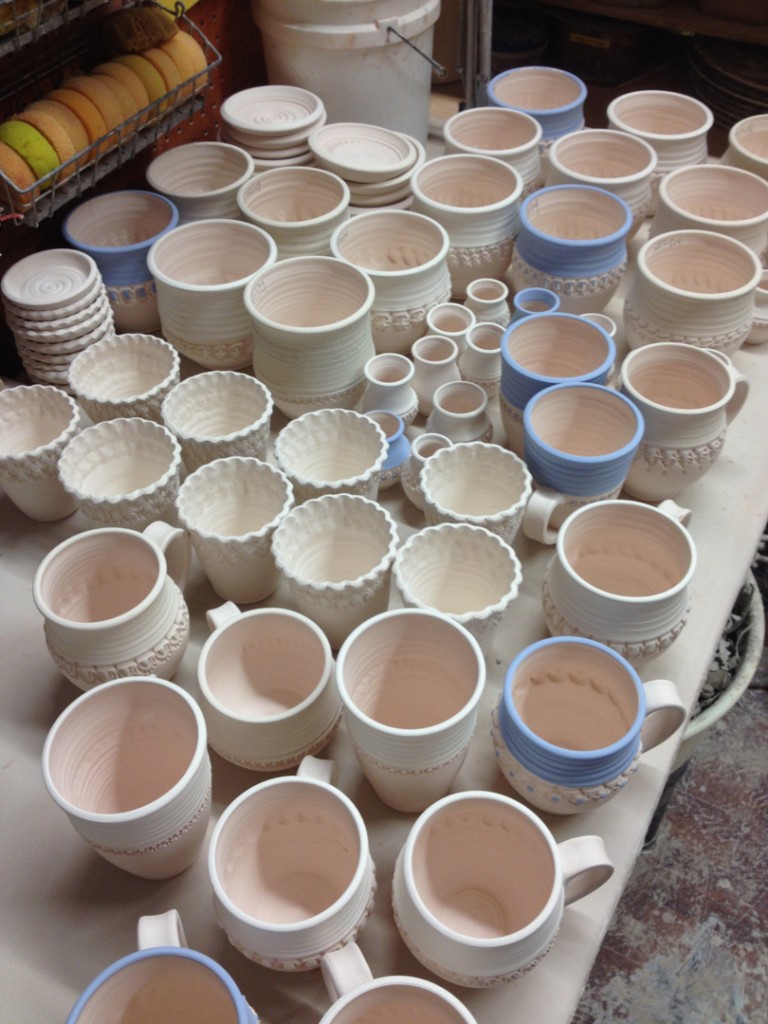
After the workshop, I was back in the studio to turn my stamped cylinders into mugs.
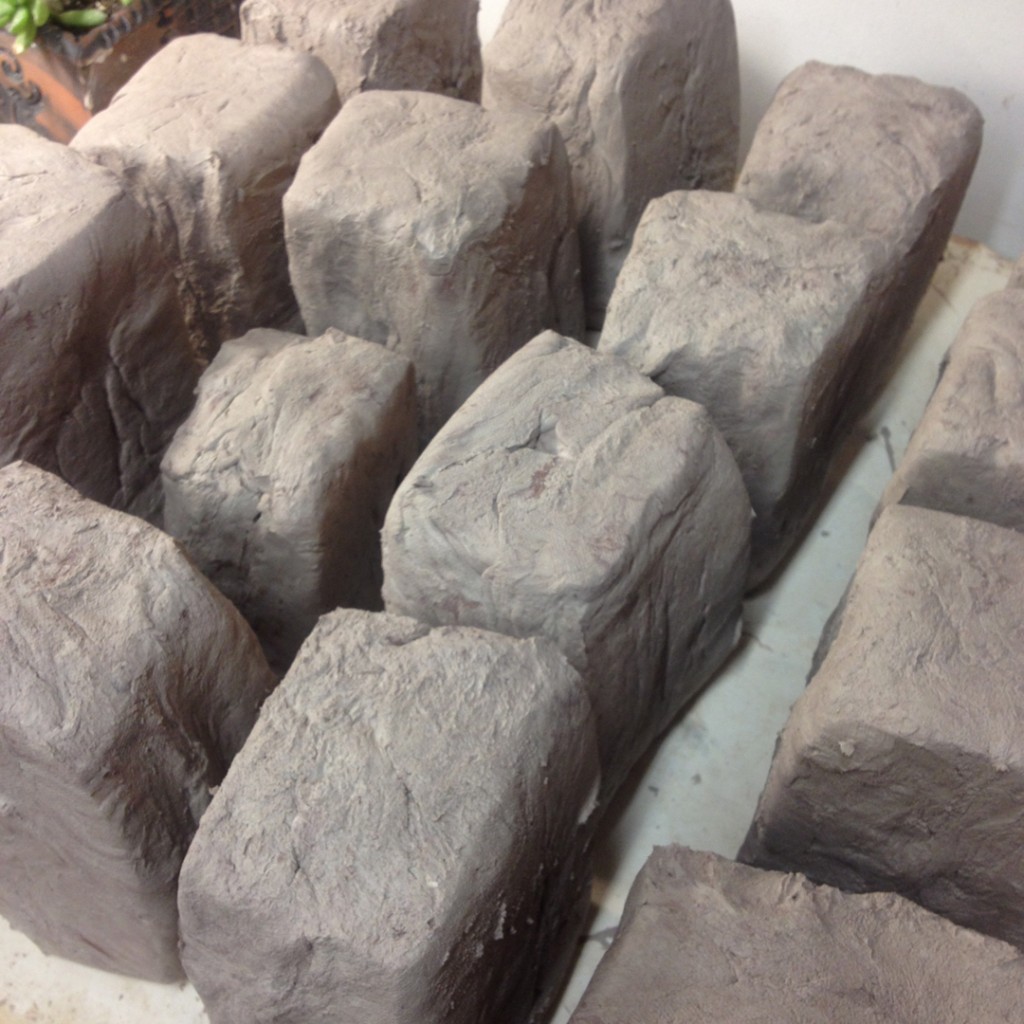
So I started by wedging up some reclaim clay. It’s the same clay body as the thrown cylinders, but I needed to dry it out a bit as it was still too squishy. So I wedged it and then flattened out pieces as slabs so the moisture would soak into my canvas-covered table faster… and then wedged it back up again. I then cut it up into 36 nuggets of clay… one for each of the cylinders. It’s going to be a LONG afternoon!

Then I take each “nugget” and slam it against the table, throwing it a bit away from me so it compresses and elongates at the same time. I rotate the nugget in between each toss. After a few times, you start to get this “carrot” shaped piece of clay.

Then I pull my handles the old-fashioned way. Holding the thicker part of the “carrot” at the top, wetting my hand and sliding it down with a bit of friction. It’s that repeated swipe of friction that starts to lengthen the clay and make it into a strappy handle.Once I get it to the width & thickness I like, I do a quick flick, loop and squish to get them to stand up like this. I like how it establishes the curve of the handle right at the start. Easier than trying to manipulate a straight strap into a curve later.

I let them set-up for about 15-20 minutes. I want them to be malleable, but not sticky or squishy. Then I set in to attaching them. I do a bit of scoring on the cylinder, and then cut off the “good” portion of the handle that I want to use. I score the end of the handle and add some slip. Carefully squishing them together and smoothing out the attachment. I always do the top attachment first, but then do the same for the bottom once I’ve established the right size for the handle.

One the handle is attached both top & bottom, it’s on to the task of smoothing it all together. Trying to make it look nice and smooth, like the handle has grown out of the mug and is actually part of the mug… not just a squished on attachment.

Score. Slip. Repeat…  Score. Slip. Repeat…   Score. Slip. Repeat…  33 more times!

And now all 36 mugs are back under wraps for the night.
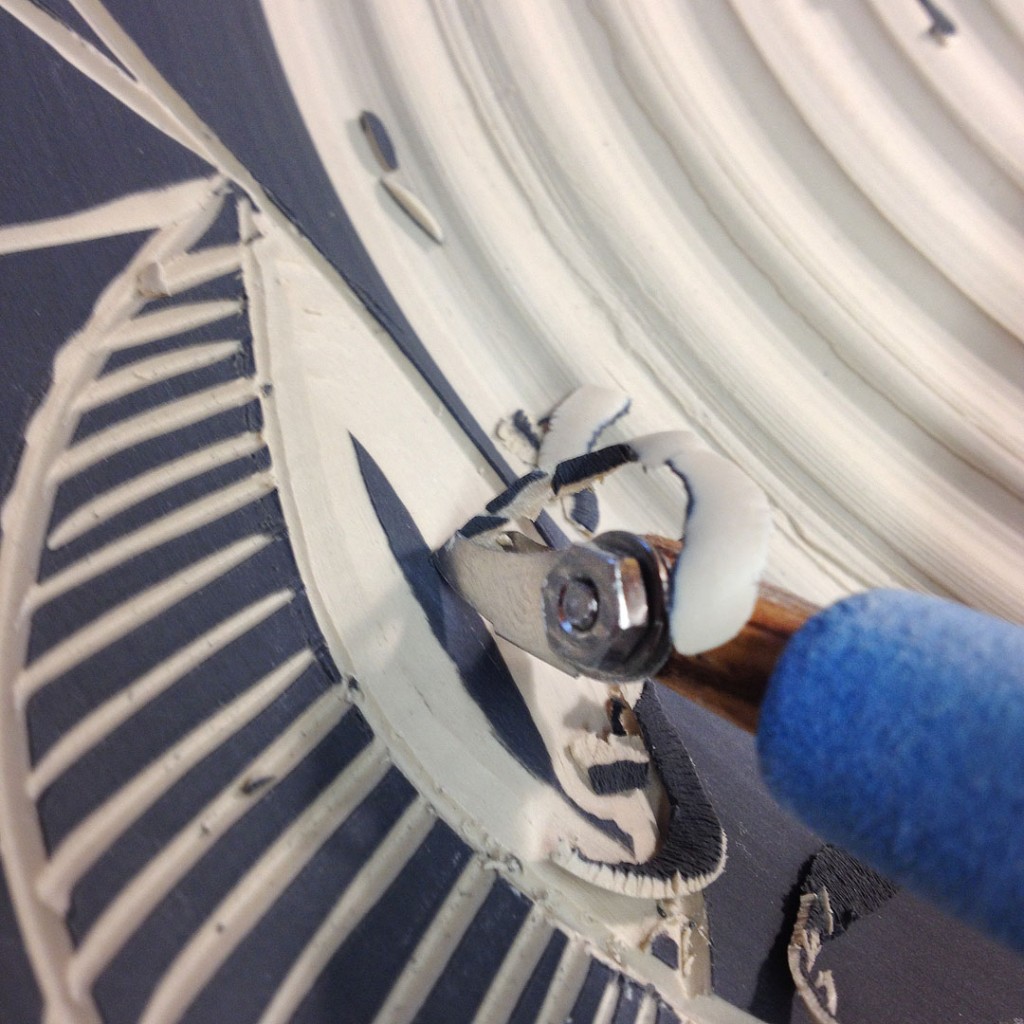
Tomorrow night I plan to add some accents with colored flashing slips.

Save

Save

Save

Save

Save

Save

Categories: process, production, tools

Spinning fast. Trimming smooth.
Love working with my Giffin Grip… makes studio life so much easier!

And then some signing to finish off the bottoms.
They are now under wraps again for the night… for tomorrow I add handles!

When I first started making pots, I signed the bottoms by printing my name in block letters. A couple years in, I switched to hand signing each and every pot. I prefer the personal signature to reinforce the “handmade-ed-ness” of each pot. And yet, I know some of those old pots are still out there… so we refer to the pots with printed letters as “vintage.”

Save

Save

Categories: mugs, process, production

It felt great to be throwing again. Starting with my favorite… a quick two dozen cylinders to become mugs. I have “big plans” for these ones… but not until next November! Okay, so I’m starting “early” on a personal project I’ve been putting off for about three years now!!!

And for now they’re covered for the night… waiting to be stamped, trimmed & handled.
Categories: clay, process

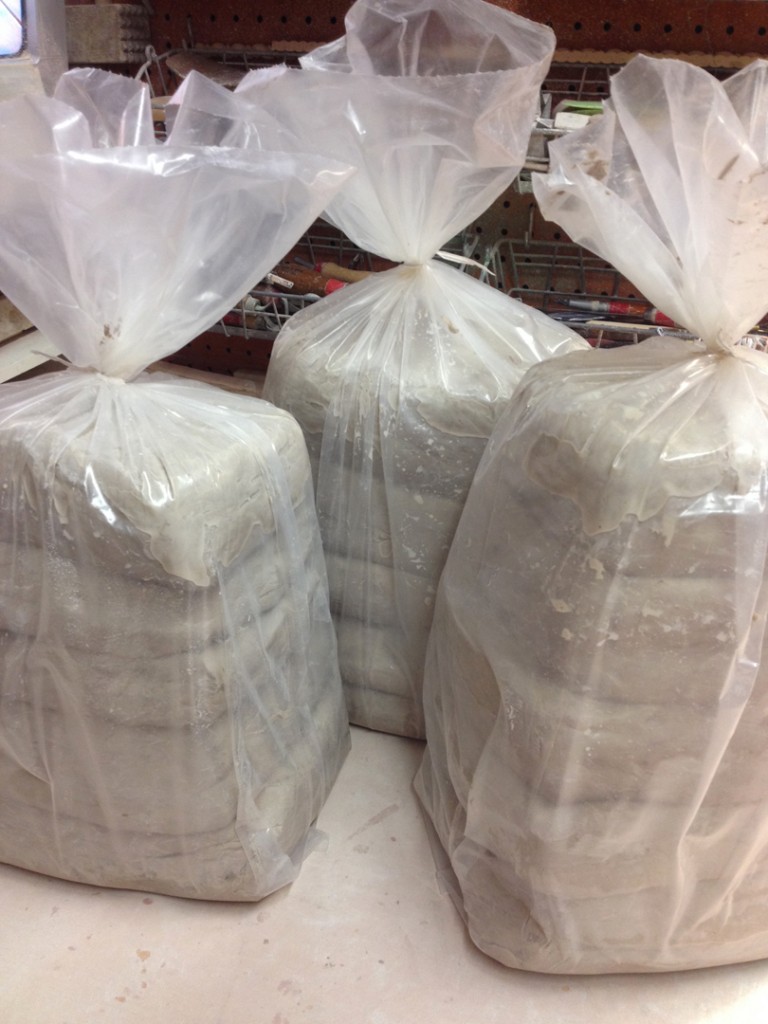
Spent some time in the studio tonight still cleaning, organizing and wedging up a bunch of reclaim clay. Gotta love FREE clay! Close to seventy pounds of it.

And while I was there cleaning, I also found my three DVD’s from NETFLIX. Yep, I’m still going old-school with actual DVD’s. Long story… but our studios have somewhat unreliable Wi-Fi, so I stick with DVD’s. Anyways… I’ve been looking EVERYWHERE for these DVD’s. You know how you put things in “that special place” when you’re cleaning to make sure you don’t lose them, and then months later you can’t remember where you put them?! Well, I apparently put them in “that place” back in October!!! And haven’t been able to find them… until tonight!!! Sheesh!!!

Categories: clay, process, studio

What better way to end out the year than with some studio cleaning, de-decorating
and turning out one last batch of reclaim clay?! Here’s to “free” clay in the New Year!!!

Categories: mugs, porcelain, process, production

This morning started early with some stamping of the porcelain cylinders. Then some trimming… and then handles needed to be attached. So the afternoon was a porcelain process. A little more fidgety than stoneware… but still went pretty smoothly.

I started with nugget cubes of wedged porcelain. I don’t measure things…
I just “guess”, and hope, that each cube will be enough clay for the handle.

Then I take each piece and “slam it” against the table repeatedly. Rotating the piece each time until it becomes a carrot shaped wedge of clay.

Then I pull my handles the old-fashioned way. A bit of water. A lot of friction. And a slight childhood memory of milking cows by my Grandfather’s place in Missouri. As I finish pulling each handle, I like to flip it into a curve shape and set it up on itself. I let them sit like this until the clay sets up a bit. When they are no longer sticky, I can start attaching them.

To attach the handles, it’s a lot of “scratching & attaching.” Always careful not to squish or mis-shape the cup as I’m attaching them. Making sure the handle looks proportionate to the cylinder. And that the attachment is secure and clean. Soon enough… another dozen porcelain mugs!!!

Save

Save

Categories: process, production

Full production mode today… stamping… handles… wedging… throwing…
Trying to get as much done as possible. But being held-up with a bit of trimming that’s not quite ready yet. I hate when I “rush” the process and try to trim pieces when they’re still too wet. No good ever comes of it. It seems like it’s always a mess. So here’s a bunch of piece bottoms-up in the studio waiting for their turn to be trimmed. C’mon… dry already!!!