05.14.2020
Categories: lillstreet
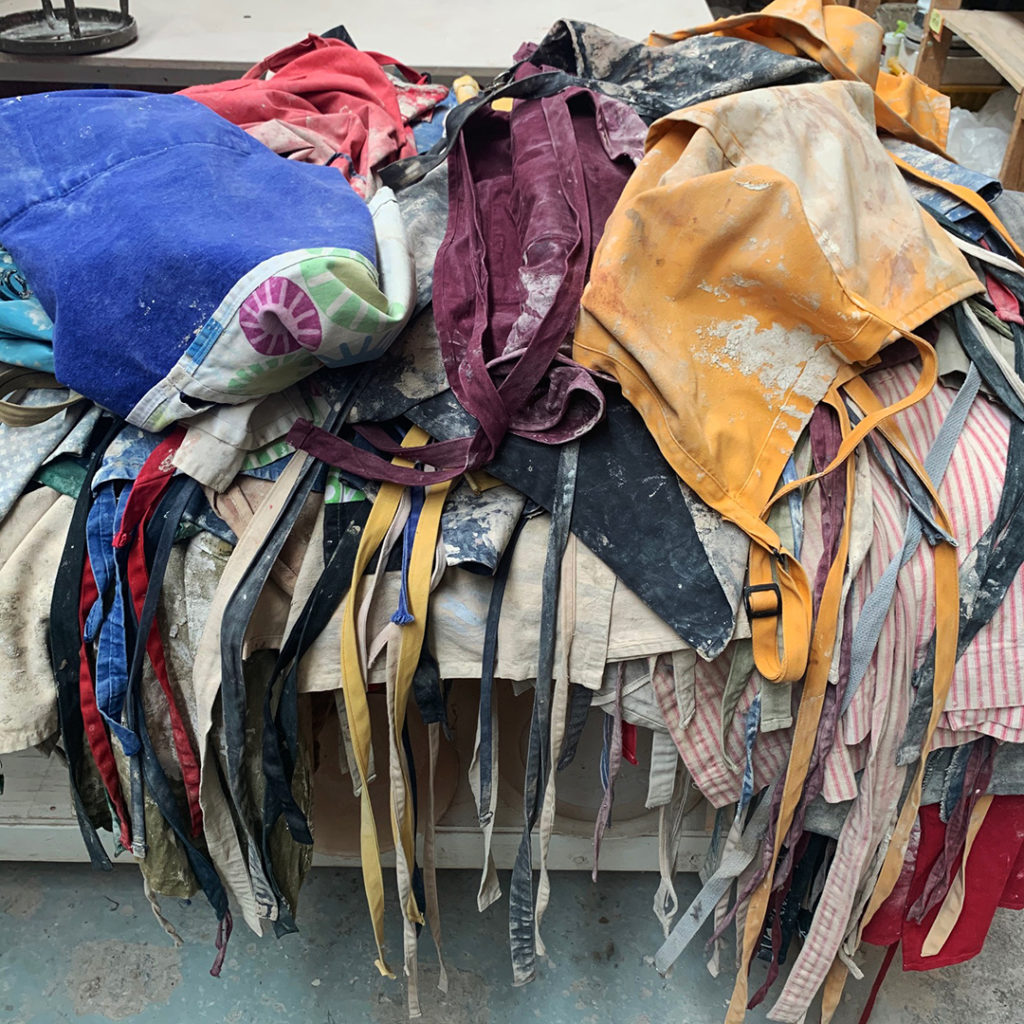
With all of the cleaning & reorganizing going on at Lillstreet Art Center right now…
the pile of potter’s aprons that need to be cleaned just keeps getting bigger & bigger!!!
Gary Jackson: Fire When Ready Pottery
A Chicago potter’s somewhat slanted view of clay & play |
With all of the cleaning & reorganizing going on at Lillstreet Art Center right now…
the pile of potter’s aprons that need to be cleaned just keeps getting bigger & bigger!!!
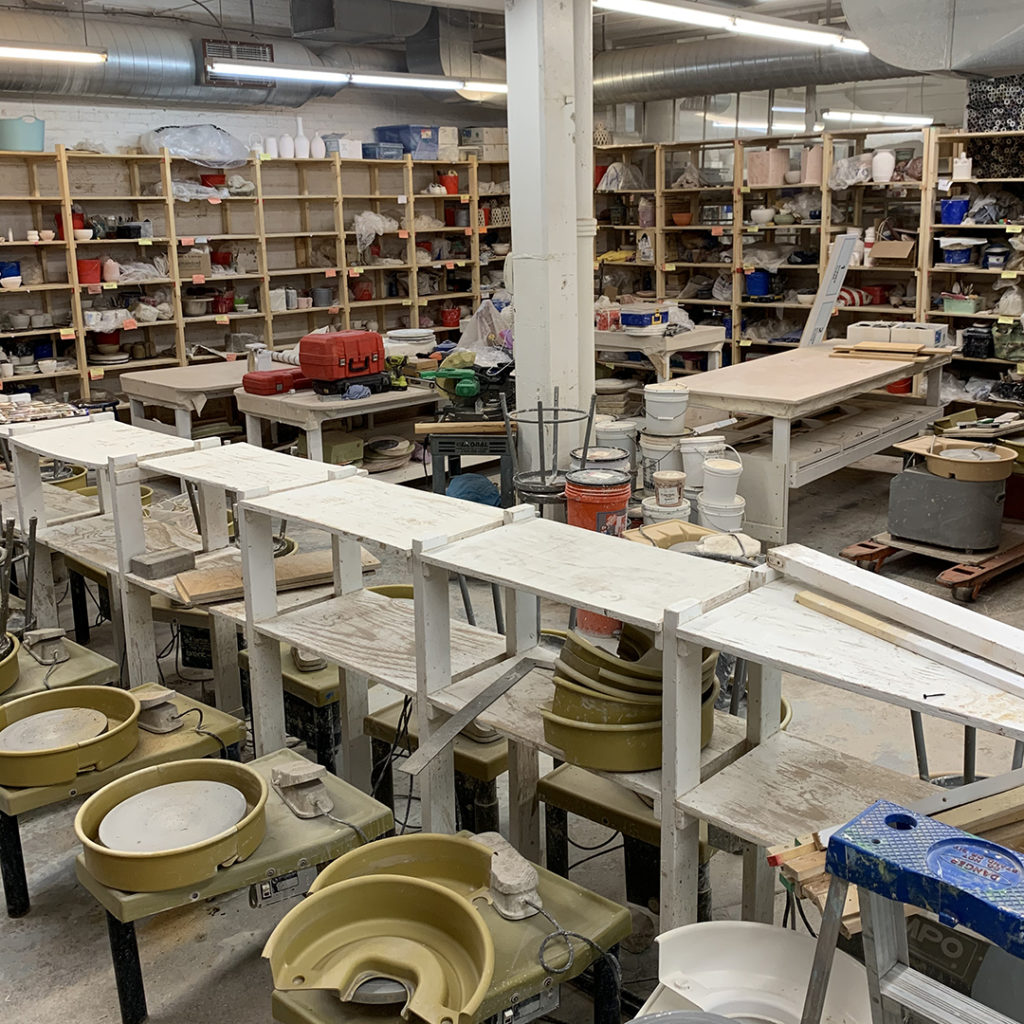
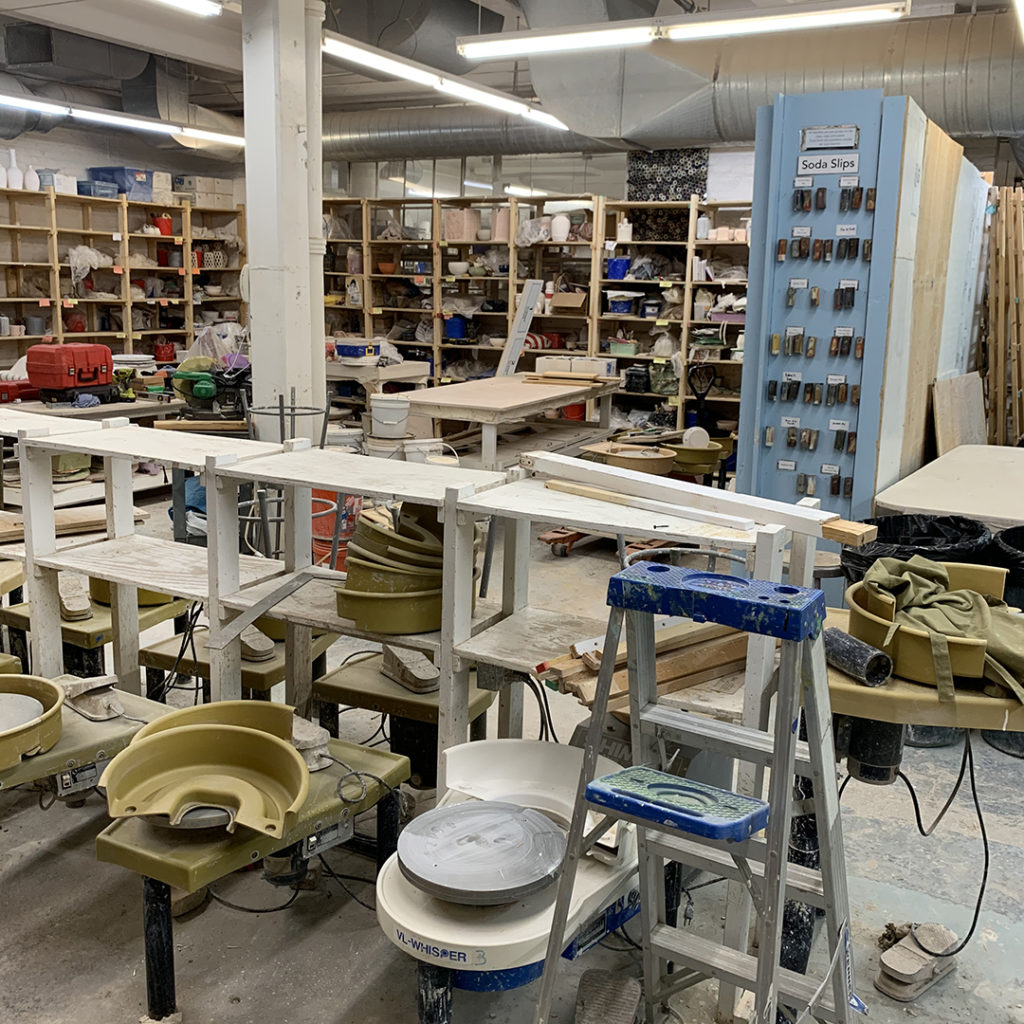
With plenty of down-time, and a LOT of emphasis on social-distancing, Lillstreet Art Center has been making a lot of changes in preparation for when they do finally get to open up to students again! We’re all so anxious to see everyone, to teach classes, to play in the mud… and to get back to a little bit of normal. Even if it is with a mask from a distance!!!

Little bit of good news though… if anyone is interested to find out how I make my own clay stamps, I will be teaching a one-hour “Making Clay Stamps” workshop a week from tomorrow as Lillstreet Art Center will be going “virtual” for some workshops & classes. So if you want to make some stamps with me, or learn a whole new “craft” while under quarantine, check-out the online classes being offered at Lillstreet!
Click here for the link to my “Making Clay Stamps” Workshop.

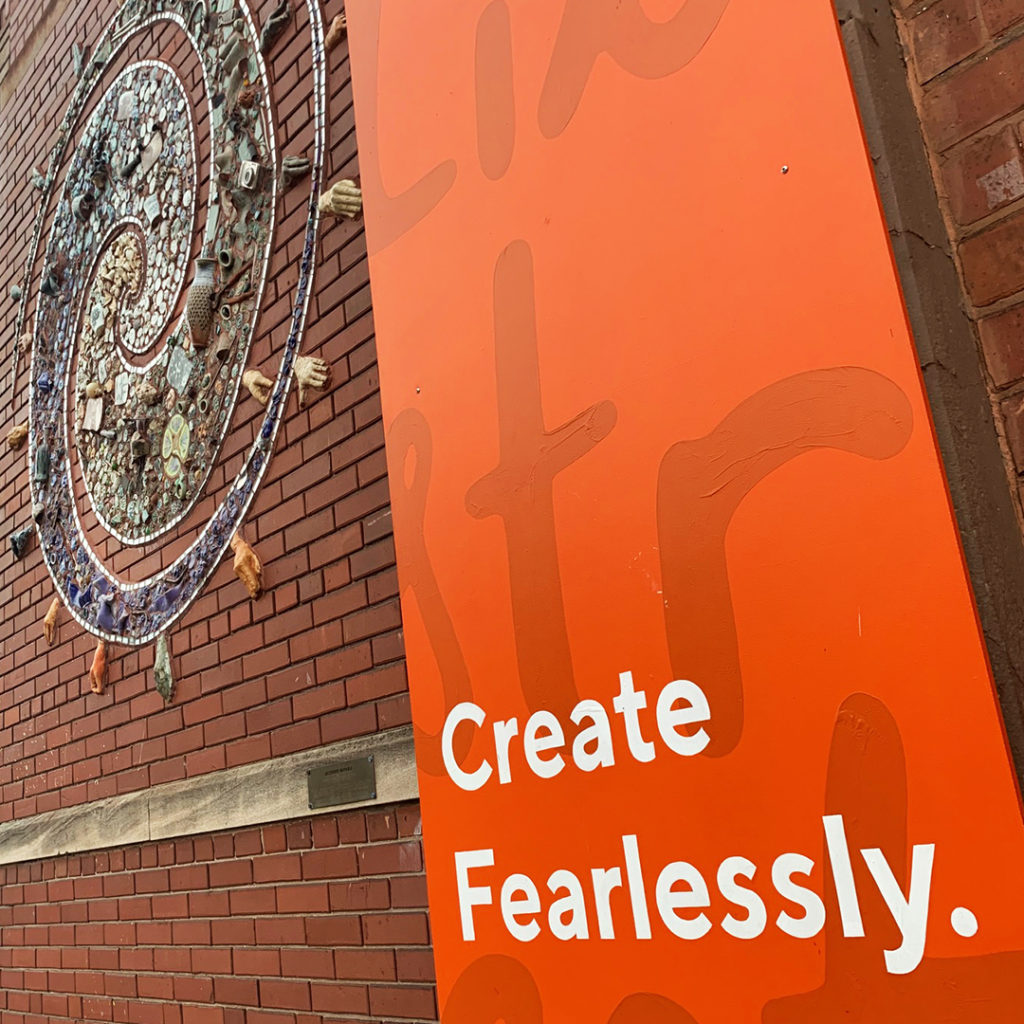
Now more than ever! Stay safe. Stay healthy. Stay creative.
Be fearless as we all face these new challenges… in a time where we all need creative solutions. Some day soon we’ll all be back to the place we love. I miss everyone. My friends. My students. My community.

Anyone notice a stamped vase anywhere… I seem to have misplaced one???

Big equipment outside of Lillstreet… working on the Metra train line and taking up a LOT of much-needed parking spaces!!!

Looks like the Wheel C classroom is coming along nicely with brand new shelving for the students… can’t wait to see everyone filing them up!!! My new class starts next Tuesday night!!! Just hoping it’s not a crazy, mad-dash-rush to get the good ones… although we all know it will be!

And it looks like someone else had been busy too… new shelves are already going up in the Wheel C classroom… looks like we’ll actually have new shelves ready when the new class session starts next week at Lillstreet!


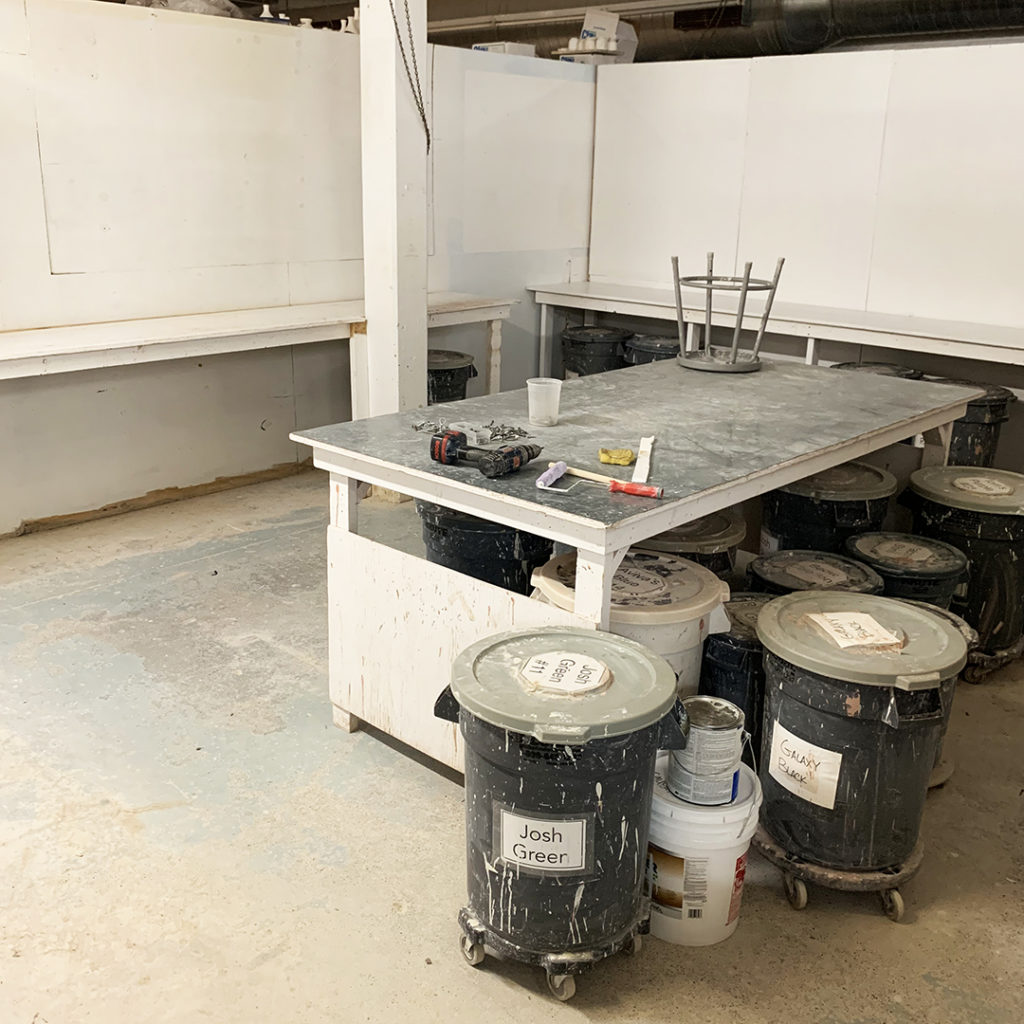
Looks like Lillstreet is getting a small make-over! Well, at least in the Wheel C classroom…
where there “used to be” shelves there against that wall?! I know they’re working hard
to make new shelves before our classes start up again next week!
But look how nice & spacious it appears without the shelves… just sayin’…


As part of our last class, my students participated in a fun little “white elephant” trading-exchanging-stealing game with sets of two matching mugs. They received the challenge early on this session… and for the most part… everyone did an AMAZING job!!! There were just a couple who didn’t quite finish the challenge?!… but still played the game!
CHRISTINE’s set of matching mugs…

MICHELLE’s set of matching mugs…

KATE’s set of matching mugs…

PATTY’s set of matching mugs…

KATIE’s set of matching mugs…

CATHERINE’s set of matching mugs…

And a little close-up to show the subtle detail of Catherine’s glazing on porcelain.

JACOB’s set of matching mugs…

DAN’s set of matching mugs…

CASEY’s set of matching mugs…

TINA’s set of matching mugs…

Oh wait… just to show the scale of Tina’s teeny-tiny cutie-patooties…


DANIELLE’s’s set of matching mugs… with a wonderful theme… which coincidentally
& ironically is the set that I ended up with and took home with me last night.
It seemed only fitting!!!


ASHLEY’s set of matching mugs… err, well, just one.
The “matching” mug didn’t quite come out of the kiln in time.
So Ashley’s mug came with an IOU for the second one!

SUSAN’s set of matching mugs…
And yes, Susan is my teaching assistant… which explains the perfect set of matched porcelain mugs with a striking black underglaze geometric design!

JOSE’s set of matching mugs… oh well… a pretty little trio of blue bowls and not mugs?!

ALLISON’s set of matching mugs… err, a nice vase… as apparently Allison didn’t get her cups done in time. I know she’s made a lot of mugs this session, but apparently didn’t get her matching set done in time for class. I think time kinda slipped away from her!

All in all, a wonderful way to celebrate the last class of the session. They all did such a wonderful job. And stepped up to the challenge of “MATCHING” which is not an easy task to take on!
This week in my Tuesday night Beginning & Advanced Beginning Wheelthrowing class, we tackled making bowls. Yep… making bowls on purpose instead of a cylinder gone bad. I started with my bowl demo… starting with a good interior curve right from the start! After we had covered all of the “basocs” of basic bowls… they went back to their whee;s to start throwing their own bowls. Meanwhile… I continued throwing more bowls. A total of EIGHTEEN “basic” bowls.
When I had made all of MY owls, we re-grouped at my wheel for a little “decorating” FUN!!! My goal for the secodn part of the demo is to encourage them to PLAY WITH THEIR CLAY!!! To do some decorating… to make thier bowls their own. The wheel pretty much makes them round… now they get to make them their own style!!! So I quickly took my 18 “matching” bowls and started doing some quick & simple “tricks” to make them all different & special!!!
Bowl One – Here’s the “basic” bowl.. the starting point for all the others!!!

Bowl Two – Two simple “flutes” to add some flair. One finger inside, one finger outside. pinch and twist.

Bowl Three – And if two flutes are cute, maybe eight would be better?!

Bowl Four – A simple one-inch flange bent out to “widen” the bowl.

Bowl Five – And if one-inch is nice, maybe three inches would be better?!

Bowl Six – And then a combined, bent-out flange and four fluted twists.

Bowl Seven – Using a metal dragon-scaling tool… a simple flower indented in the bottom.


Bowl Eight – A split-rim pinched together in eight places.

Bowl Nine – Another split rim – dented inwards at four places.

Bowl Ten – Another split rim this time dented inwards four times, and outwards four times!

Bowl Eleven – This was last session’s “challenge” bowl… a TRIPLE split rim and then fluted in eight places. My students from last session now refer to this one as the “churro” bowl!


And then I introduced my “beginner’s” to colored slip… and then benefits.
Bowl Twelve – a simple coat of thick white slip applied and then a spiral dragged through it with the curved end of my wooden knife… which I’ve now been told is called “The Potter’s Thumb.”


We noticed that the thick white slip wasn’t showing up very well for my demo purposes…
so we switched to black!
Bowl Thirteen – A layer of black slip – and then banded rings with “The Potters Thumb.”


Bowl Fourteen – A layer of black slip, and then a chattered pattern made by rhythmic tapping of a rounded rib as the bowl is spinning.


Bowl Fifteen – A layer of black slip, followed by some thick white slip squirt-bottled onto the surface… ala Ryan Greenheck!


Bowl Sixteen – Then using the same squirt bottle, I piped on a white slip spiral.


Bowl Seventeen – Using a couple strips of wet newspaper, I outlined a triangle… layered in some thick white slip, draged my finer through it to make some texture lines and then peeled away the newspaper “stencils.”

Bowl Eighteen – Always up for a challenge… this is the one this session. Stacey was sitting-in on class and she saw this bowl on her Instagram feed. So I tried my best to “mimic” the style… flaring out the flanged rim, denting down the four accent areas, and then piping some thick white slip accents. Coincidentally, Stacey was also the one who challenged me to the triple rim “churro” bowl last session

So for now they’re all “under wraps” in my studio. I think there’s a”very good chance” that there might still be a bit of embellishing & stamping to be done on them… maybe, just maybe?!


|
Gary Jackson: Fire When Ready Pottery
Lillstreet Studios ∙ 4401 North Ravenswood, Chicago, Illinois 60640 ∙ 773-307-8664 gary@firewhenreadypottery.com |