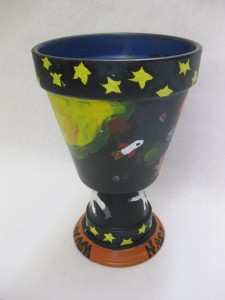
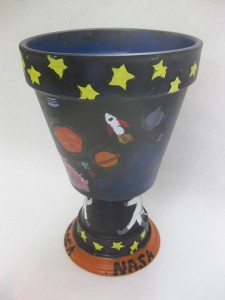
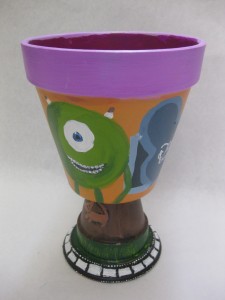
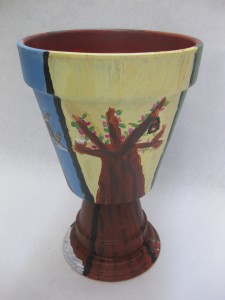
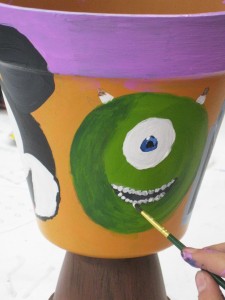
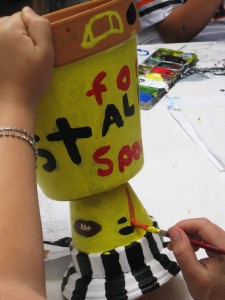
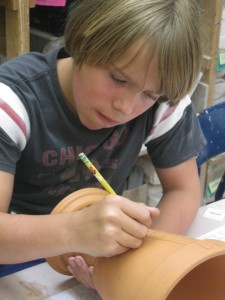
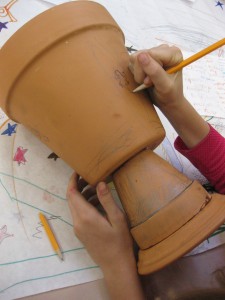
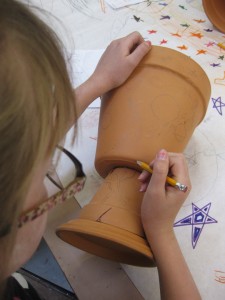
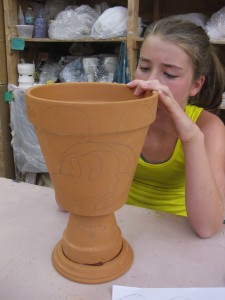
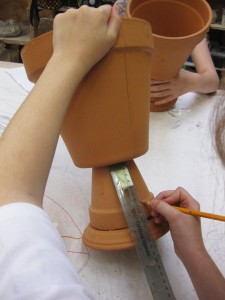
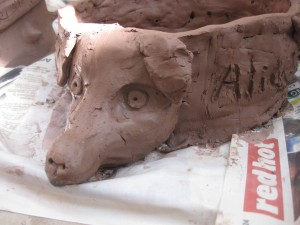
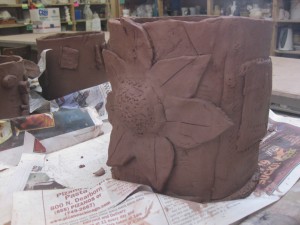
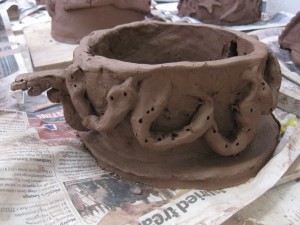
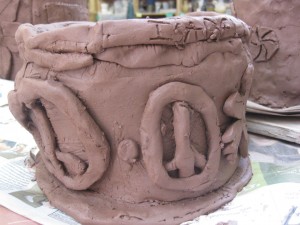
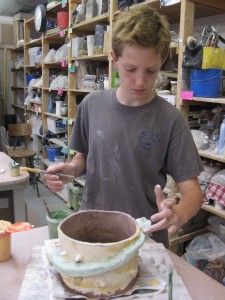
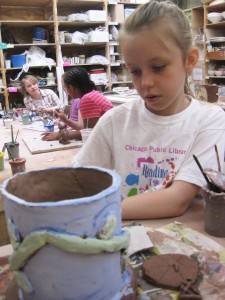
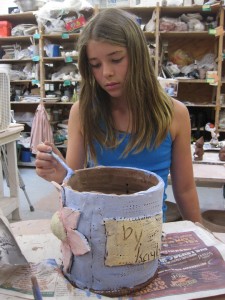
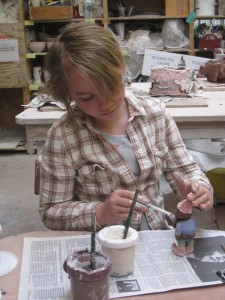
The kids have finally finished their painted terra cotta pedestal pots.
Remember, each of them received a theme that they had to brainstorm and develop.
It’s always so much fun to see how the kids approach a conceptual challenge and
turn it into a personal work of art. Here are just a few of their masterpieces…
“The Jungle” – created by Ava…
“Outer Space” – created by Lucy…
“Walt Disney” – created by Kayla…
“Underwater World” – created by Elizabeth…
“The Four Seasons” – created by Dahlia…
With their totem parts & gnomes in the kiln, may summer campers have moved on
to painting “thematic” pedestal planters. They randomly chose themes out of a hat
and did some brainstorming to figure out how they were going to portray their theme
onto their pedestal planters. The kids then set out drawing the designs…
and will soon start painting with acrylics!
Here’s an example of some of the themes they’re working with…
* The Olympics * The Four Seasons * The Z00 * The Jungle * Sports
* Walt Disney * The Chicago Skyline * Fruits * The Future * A Favorite Movie * etc…
The new summer session of adult classes begins in two weeks.
I will once again be teaching my Tuesday night wheelthrowing class
for beginners & returning beginners. It’s an 8-week class starting on July 10th.
The class is already half-full, so sign up soon before you’re left out!
Stop by Lillstreet, call in or click here to register online!
This week it’s all about the garden.. my campers are making projects for their gardens!
And when all of the kids live in the city, the term “garden” might be a loose interpretation.
We had a discussion about what our week’s projects might be… and whether they might be
interested in making a individual projects or one large project that they would collaborate on
and leave behind at Lillstreet Art Center. After some discussion, we came up with a plan to
do a totem pole installation. Each of the kids were responsible for making their own section
of the totem, decorated in whatever style they wanted.
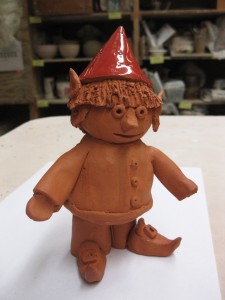
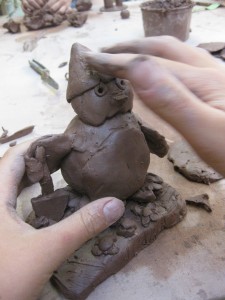
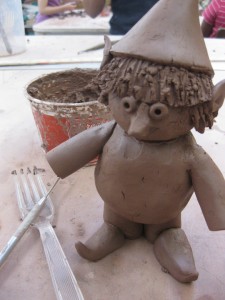
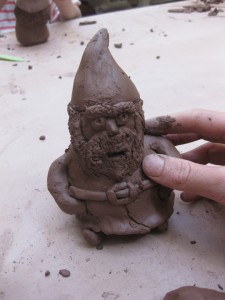
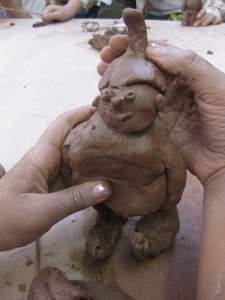
Much to my dismay, many of them asked if they could also make garden gnomes!
So we did a little handbuilding and made a troop of gnomes. They turned out to be a little
thicker & heavier than I would like, but I’m hoping that they all survive the firing. It was a
quick project and they haven’t had much experience with sculptural pieces. And they idea
of keeping all of the pieces hollow was a bit tough, but I think we succeeded… and added
small holes in all the right places so they trapped air can escape!
After some quality “gnome time,” we switched back to the totem pole pieces and started
painting them with underglazes. New this year, Lillstreet has added underglazes with glaze
already in them. Before, we painted with underglaze and then covered everything with a
clear glaze. This year, it’s all-in-one. The colors are pretty rich, but it is a new twist for me
and the returning campers who are used to the previous method.
Once the totem parts were painted, we moved back to the gnomes. A splash of color really
brought them to life. I was a little leery about making gnomes… but they’re pretty darn cute!
At the end of the day, much to everyone’s dismay… my kids are also very good cleaners!
So many of the adult students at Lillstreet blame all of the mess on the kids. But seriously,
my campers always do such a great job of cleaning… better than most of the adults!!!
They know it’s my Rule #3… Whatever mess you make, YOU will be cleaning up!
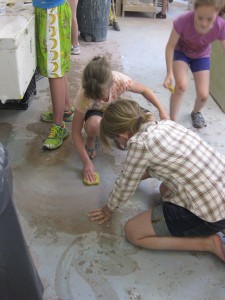
And they do. Like today when they some water was spilled on the floor…
There they were on their hands & knees scrubbing & cleaning. They also cleaned all of the
tables as well as taking the garbage out to the dumpster. Yes parents, they CAN do it…
and you can thank me later!
Another weekend art fair done. Time to shift gears…
my Lillstreet Summer Camp tour-of-duty begins in about nine hours!
Gotta get some sleep so I’m ready to take on the kids!!!
This past Tuesday was the last night for my Spring Wheelthrowing Class at Lillstreet.
As usual, we celebrated with a potluck in class… complete with ice cream sundaes
and my very own homemade, hot fudge sauce! Thanks to Grandma’s recipe!!!
Hard to believe that 10 weeks of class have already come & gone. But always so fun
to see how far my students have progressed from that first night of frustration.
So now we’re on to the next session…
Beginning & Advanced Beginning Wheelthrowing
4-Week June Session : Tuesday Nights from 7:00pm-10:00pm
Generally for those who just want to continue working on their projects. Plus the perfect
chance for newbies to get a quick taste of wheelthrowing fun. Four weeks is a little too
quick to cover “everything” – but we’ll try our best!
8-Week Summer Session : Tuesday Nights from 7:00pm-10:00pm
Starting the first Tuesday after the 4th of July, the new session starts and goes
through the months of July & August. We’ll cover all of the basics from wedging,
centering, throwing, trimming & glazing. The full process squeezed into 8 weeks.
Plus, we always try to tailor the syllabus for those returning students who want to
focus on a certain form or technique.
Registration for both sessions is already open.
Stop by Lillstreet Art Center, give ’em a call or register online by clicking here.
Be sure to sign up soon before the class gets filled up!
It’s official… Summer Camp starts on Monday at Lillstreet Art Center.
Another fun summer of playing with kids & art supplies… creating… laughing…
and maybe even teaching them a few things along the way!
Summer Camps at Lillstreet are for the full week. Kids have a choice of taking the
morning session from 9:00am-1:00pm, the afternoon session from 1:00pm-3:30pm,
or putting both together for a full day of fun. There is even an “after camp” option for
those kids who need to stay later until Mom or Dad can get off work to pick them up.
These are the weeks when I’ll be teaching camps…
Besides the first week, all of my camp are “full-day” camps from 9:00am-3:30pm.
My camps are also designed for kids who are 8-12 years old.
There are plenty of other camps for kids of all ages.
Week B – June 11-15 – Wheelthrowing AM, Clay & Multimedia PM
Wheelthrowing basics from start to finish. We’ll wedge, center & throw on Monday
and work our way to glazing on Friday! Clay & Multimedia is a clay handbuilding project
on Monday and other random art projects throughout the week… quite possibly
with tie-dye on Thursday!
Week D – June 25-29 – Garden Camp
It’s a full week camp art projects for the garden. Planters, flower boxes, lawn ornaments
and maybe even a totem pole along the way?!
Week E – July 9-13 – Fire, Forge & Feast
We start the week on the “dirty side of the building” making clay plates, bowls, cups and
handles on Monday & Tuesday. Then we move over to the “clean side” on Wednesday &
Thursday to make metal knives, forks & spoons. Friday we put it all together and have a
great potluck lunch on their finished dinnerware sets! These week I co-teach with
Pam Robinson who is the one in charge of the Metals Dept. at Lillstreet –
and an incredible metalsmith in her own right!
Week F should have been Chess Camp, but I got “pulled away” for a two-week “glitter gig”
in Dover, Delaware. So the camp is still running, but I won’t be the teacher this summer.
Instead, my friend Dave Trost will be taking the helm. His whimsical & satirical approach
to sculpture will really be fun for the kids! Still… no Chess fun for me this summer. Bummer.
Week H – July 30 – August 3 – Wild Things!
It’s a wild week filled with animals every step of the way. All of our projects are
animal themed. Including a Field Trip to Lincoln Park Zoo on Tuesday.
Week I – August 6-10 – Fire, Forge & Feast
So much fun the first time… so we’re offering it twice this Summer!
Week J – August 13-17 – Masters Camp
A little bit of Art History, thrown in with a lot of fun art projects! We go to the Art Institute
on Tuesday for inspiration – and all art projects this week are done “in the style of” a famous
master artist. The week culminates with a “gallery show” of the kids works!
Check out the Lillstreet website for a full listing of Summer Camps.
There’s a lot of Clay & Multimedia Camps, as well as metalsmithing, painting, etc… and
plenty of specialty camps like Movie Making, Cartooning, Sewing, Fashion Design & more!
It’s always a fun summer at Lillstreet Art Center.
Tonight was the night that we tackled throwing bowls on the wheel.
Making bowls on purpose, not a cylinder gone bad.
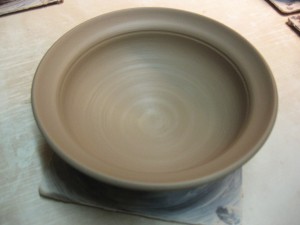
So the way it goes, I start by teaching them all how to throw the bowl.
I introduce them to the beauty of throwing on bats, and using a plastic rib to create
the smooth curve inside. And then once we’ve thrown the first demo bowl, I then
let them go back and try making their own bowls. And while they’re throwing,
I continue throwing bowls. Tonight I was throwing 2-pound bowls with a very simple,
smooth round profile. Nothing fancy. And then once I had thrown my eleven bowls,
we reconvened for ‘demo part two.’ At this point, it’s my goal to show my students
some quick tricks to make each of the “fairly identical” bowls different from the next.
Plus, it’s a great time to introduce them to slip as a decorating option. All in all,
I think the demo went well. I think most of them were intrigued by the simple techniques
and the “ah-ha” results. And I’m always trying to get them past the “each pot is too
precious to mess with” mentality. I’m always trying to get them to push things further,
and realize that it is “just clay.”
Now I have eleven bowls in my studio… waiting for some stamping, finishing & trimming!
But just in case you missed the demo… here’s a quick recap of tonight’s eleven bowls.
Remember, they all started out pretty much the same.
Bowl #1 -Fluted
A simple finger flick, with one finger inside and another outside side-by-side.
Bowl #2 -Flanged
Adding a simple flange by flaring the top inch of the bowl out over the outside finger.
Bowl #3 -Flanged, Fluted… and Flopped?!
Yes, this was supposed to be a fluted flange. But it was a little wonky when I finished it.
When I was setting it up on the shelf, you could see it was no longer level. So I set it down
“hard’ on purpose… letting the bang force the flange to drop down into a “skirt” of sorts.
Bowl #4 -Wide Flange & Spiral Center
A much wider flange (soon to be stamped) and a nice spiral in the center.
Bowl #5 -Divided & Pinched
I used the pointed tip of my wood knife to divide the rim of the bowl,
and then pinched it back together in eight places.
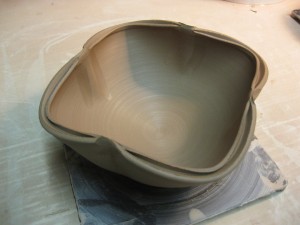
Bowl #6 -Divided, Pinched & Squared
Same trick of dividing the rim, but then I think I shocked them a bit when I took
the nice round bowl and pushed it in to square i toff a bit.
Bowl #7 -Impressed Flower
With a simple, metal dragon-scaling tool that I bought for like two dollars, I press
it in twelve times in a certain pattern to create a fun flower in the bottom of the bowl.
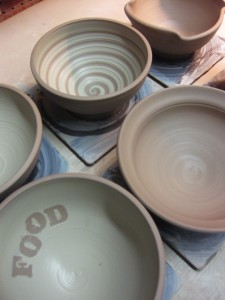
Bowl #8 -Solid Slip
A simple coating of thick white slip… allowing the thickness to create a subtle spiral.
Bowl #9 – Spiral Slip
So I coated the interior of the bowl with thick white slip, and then dragged the rounded
end of my wood knife through the slip to reveal the clay color for contrast.
Bowl #10 – Chattered Slip
First, I gave the bowl a solid coat of slip on the interior… and then took my
rubber rib and “tapped” it rhythmically against the bowl while it was rotating.
The tapping frequency and wheel speed combine to make the pattern.
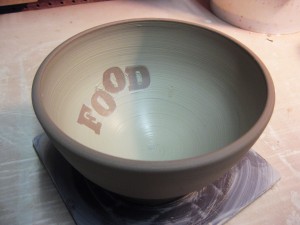
Bowl #11 -Slip Resist Lettering
Kind of the antithesis of a stencil… instead, I took letters cut out of the newspaper,
wet them, and then pressed them gently to the bowl interior. After you smooth the edges,
add a simple layer of covers the newspaper, followed by a complete layer covering the
interior. Once it’s all smoothed out & coated, carefully peel out the newspaper letter.
So now I have more bowls to finish tomorrow… some stamping, some embellishments,
and a lot of trimming to finish them all off.
Plus, it was great to have a Facebook fan & blog follower stop by class tonight!
Corbett stopped by from South Carolina to visit, say hello, chat a bit, see my studio
and then play in the clay! Thanks for stopping by Corbett… I hope you had fun!!!


