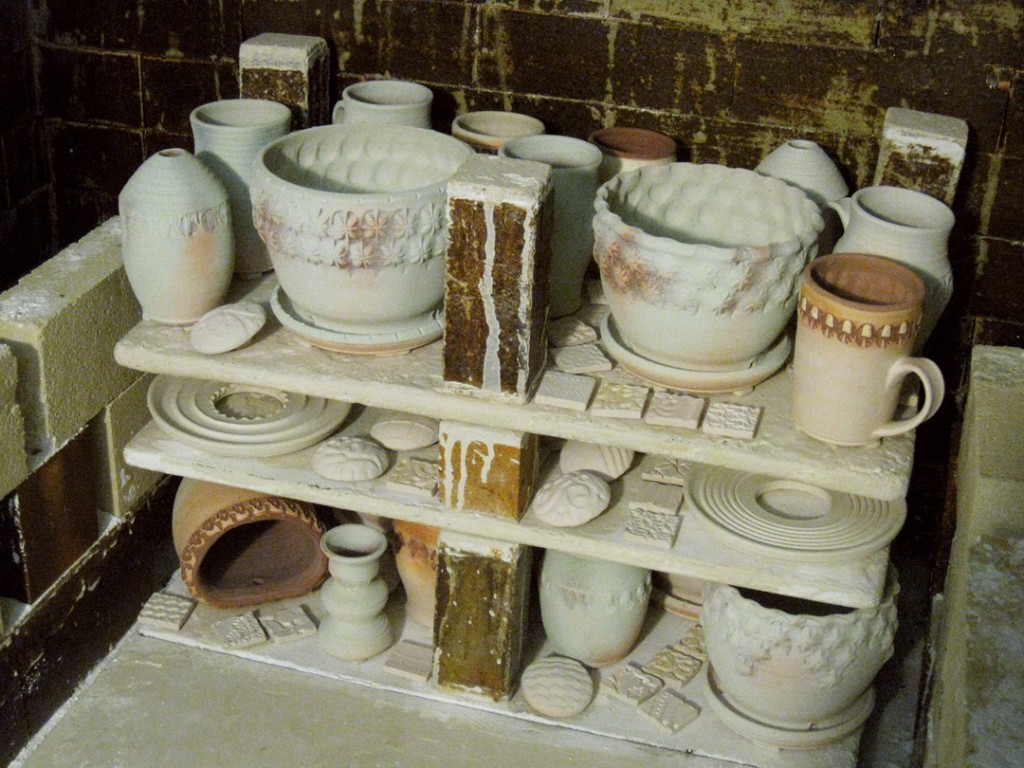
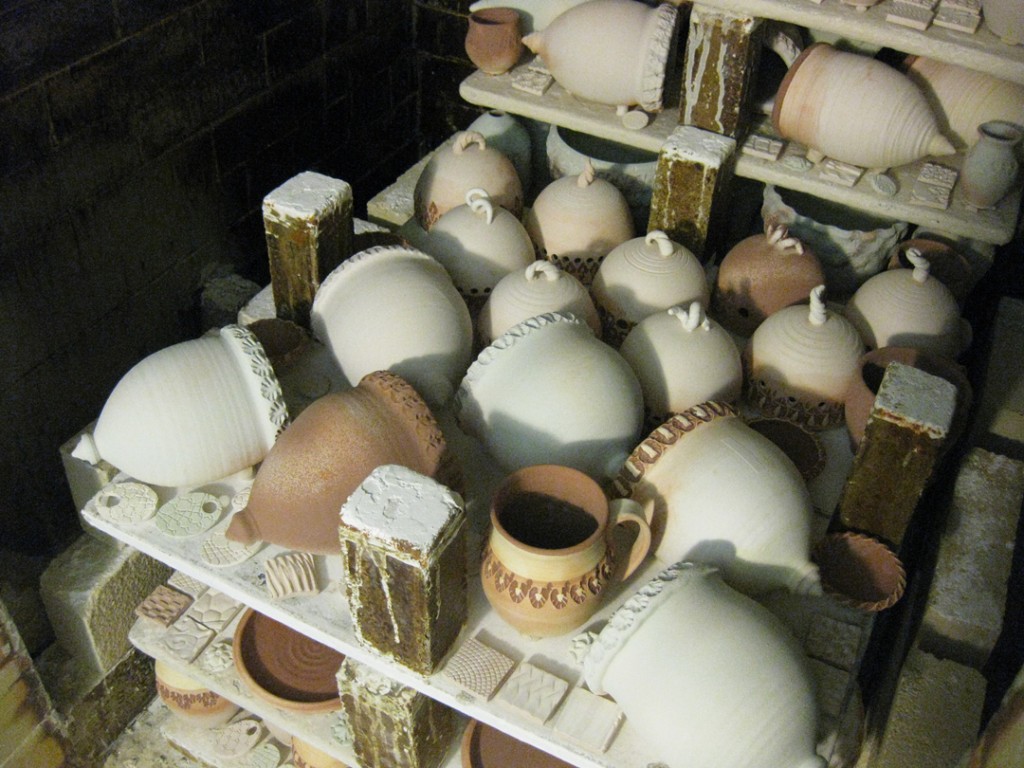
I just stop in at the studio to check on my kiln… and it is still over a thousand degrees!!!
Too hot to pull the peeps to get it cooling a little quicker! With a LOT or work and
a LOT of shelves, it’s going to take a little longer than usual to cool. Ill check back later
tonight to get the cooling process “officially” started.
Today was firing day. A long day. But worthwhile when I get to open it in a couple days!
So I started early this morning by “pumping the flames” into the kiln. There are two burner
ports on the back of the soda kiln, one on each side of the chimney. It starts up slowly,
with gradual increases in gas & air to ramp it up for the first couple hours.
About a half-hour into it, I came down for the first turn-up, checked the kiln,
checked the flames, checked the reduction, checked the cone packs… only to be
surprised to find that the bottom cone pack was gone!!! Missing. No signs.
My guess is it must have exploded or fallen off the shards that held it in place.
Luckily, I rely on the top cone pack a lot more than the bottom.
During the firing, you’re “trapped” at the studio… can’t leave, can’t really start much
as you need to check the kiln throughout the day. So it’s a lot of finishing little projects,
cleaning, sweeping, dusting, trimming class demo’s, chatting and waiting for the kiln.
When the kiln finally begins to reach the top temperatures, it’s time to mix up the
soda mixture that will be introduced into the kiln. Who knew that such a “sloppy mess”
of soda ash, soda bicarbonate, whiting, wood chips & water could make your pots
look so great?! It looks like an odd mix of oatmeal & tuna?!
When the kiln is around cone 9, I start introducing the soda mixture into the kiln
on an angle iron. Dropping soda mixture into the kiln every 15-ish minutes until the mixture
is gone. Tonight I also had two assistants putting the soda in. Two of my beginning wheel
students were there working and had never really seen a kiln firing before. So I offered
to show it to them, and even let them put some of the soda in. Pam was surprised
how hot it was back by the kiln, and Chuck had that instant look of “pyro-addiction.”
He loved putting the soda in… the flames, the heat, the danger… he’s in!
And I loved having the help. After the soda is introduced, the flames come shooting out
of the peeps as the atmosphere inside the kiln is quite volatile – with the evaporated soda
mixtures flying all around the kiln and hitting the pots inside!
After all of the soda is in, I let the kiln continue longer so the soda can “soak” and spread
a little more as it gets to it’s top temperature and cone 10 finally drops! During that
soaking time, I had a chance to hang out with Chuck & Pam… and had to laugh at the
persistence, dedication & focused attention Chuck had as he was applying slip to one of
his pots! Not bad for one of my “tile-class-convert” wheelthrowing beginners, huh!!!
After a good soaking, it’s time to turn the kiln off… and it’s suddenly silent.
Turn off the gas. Turn off the blowers. Turn off the exhaust fans. Close the damper
and call it a night. Now it’s time to wait again… as a watched kiln never cools!
So tonight I finally loaded the soda kiln. After months of making work, bisquing,
glazing, wadding and more… tonight was my night to load the kiln. Tomorrow I’ll be
firing the kiln all day. But first… here’s my step-by-step loading process from tonight!
The kiln was empty and waiting for me. You always start with the back stack. I load
the entire back stack, one shelf deep, all the way to the top… then move to the front
two shelves and load them all the way to the top. Each shelf is placed on kiln posts
of different heights to make the shelves work with the heights of your pots. With lots
of tiles conveniently fitting in between all of the pots – the perfect kiln filler!
Lots of pots. Lots of tiles. All different sizes. All different shapes. It’s sort of a 3-D puzzle…
loading in pieces, trying to get as many pieces in as possible – while making sure there’s
enough air space around everything for good soda flow & coverage. It’s tough…
the more I “squeeze” in, the more I feel like I’m getting my money’s worth for the cost
of the kiln firing! Pack it too tight, and some of the work may not be covered & glazed
with soda. So I keep packing… up to the top!
Then it’s time to move to the front two shelves – and load them both at the same time,
layer by layer. Again, matching the brick heights with the work going in. Part way up…
another Kodak Moment.
More pots. More shelves. More posts. Layer by layer. And a LOT of tiles!!!
But then it’s done. Loaded all the way to the top. With one last shelf carefully slid in
at the top… just a few more tiles and a couple cups. Whew… a lot of stacking,
a lot of posts & heavy shelves! And I’m sweating… but glad it’s done.
Once the kiln is packed, and the cone packs in place, the door then needs
to be bricked closed. One brick at a time. Alternating, some this way, some that way.
Making sure that the peeps are in, and line up with the cone packs so I’ll be able to see
them during the firing. Yes, the peeps are the “brighter white” bricks that can be
pulled out for a quick peek.
And then it’s done for the night. Put to bed. Trying to get a good night’s sleep
for tomorrow’s long day of firing! And… scene!
Another loaded bisque kiln… layer by layer… piece by piece… firing today!!!
Love the challenge of stacking, nesting and piling in of as much work as you can fit in.
Guess I’m going to need to do some glazing – and get a soda kiln scheduled soon!
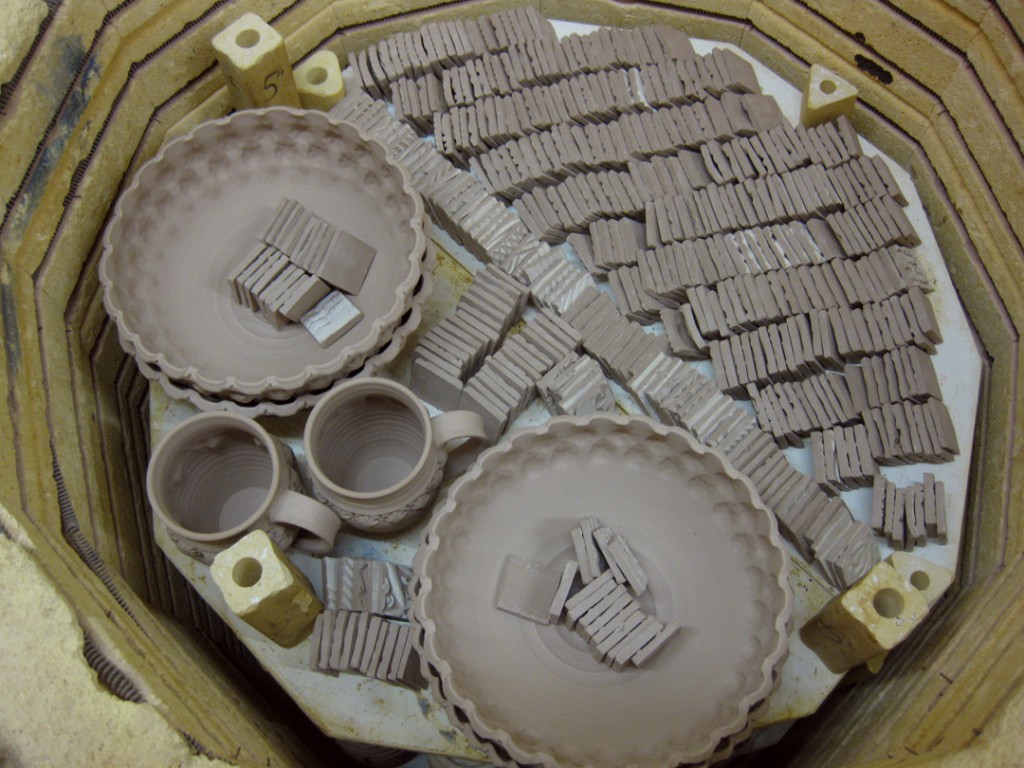
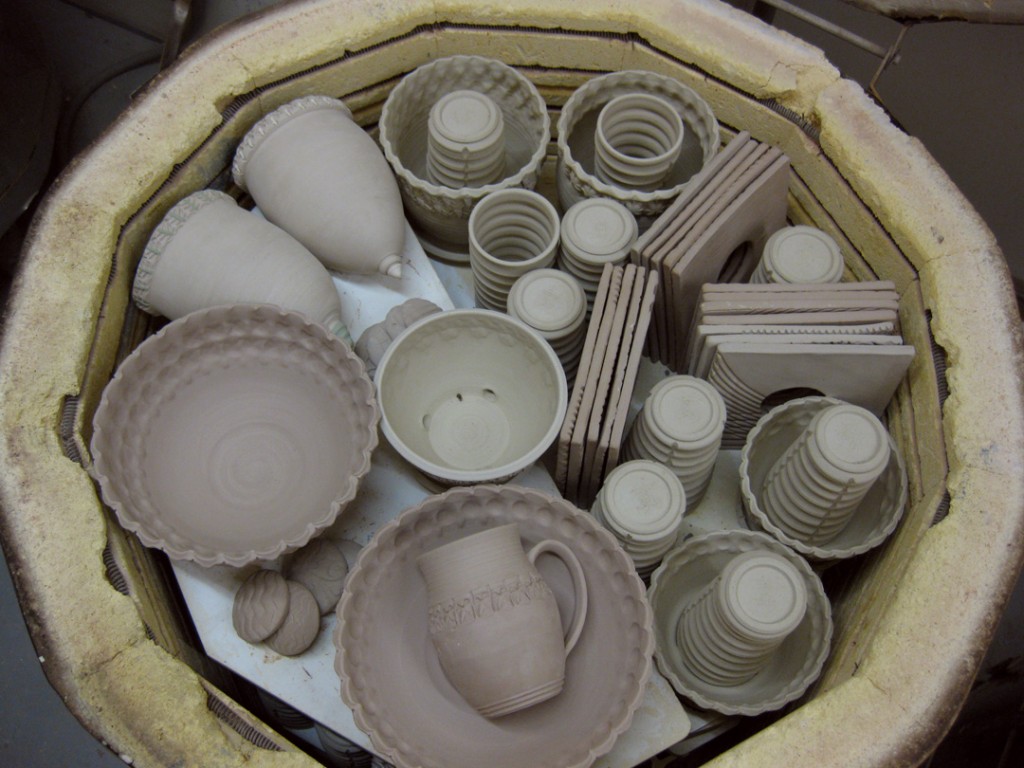
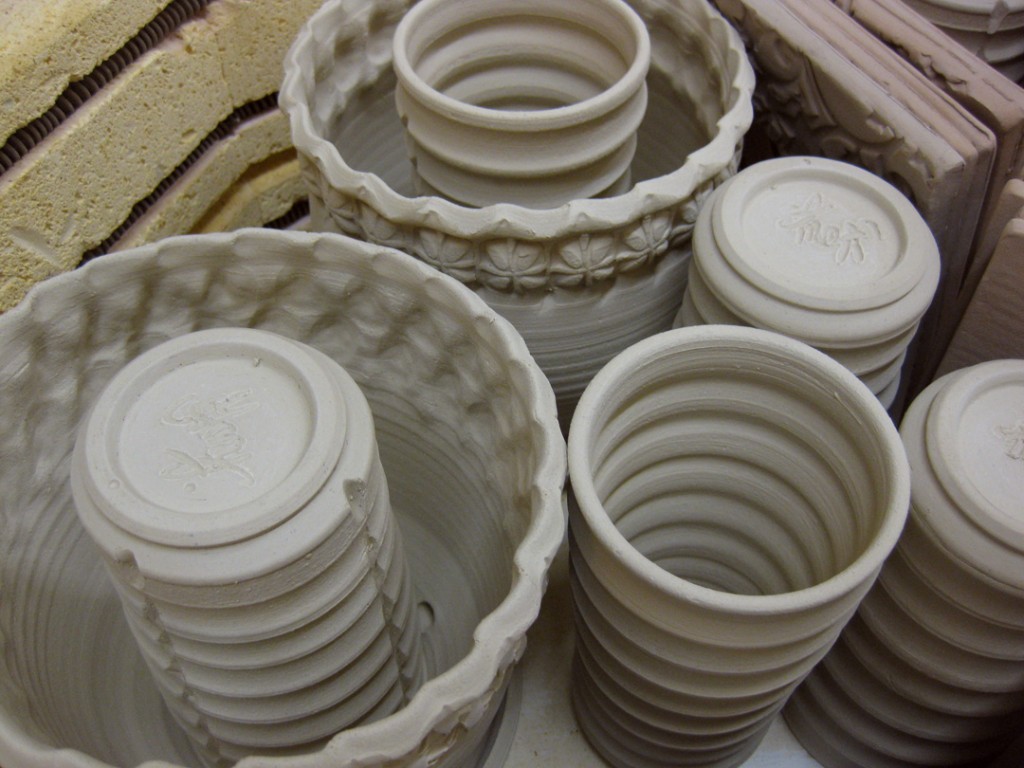
Layer One – flower pots, mugs and tiles!
Layer Two – bowls, flower pots, tumblers and more tiles.
Layer Three -bowls, mugs and a LOT more tiles!!!
Layer Four – bowls, flower pots, tumblers and tiles!
So while my bisque kiln cools tomorrow…
I’m taking a day off and heading out of town for a little hiking in the woods!
So my textured glaze test tiles have made it through their kilns.
Some in a regular cone 10 reduction gas kiln, and others in a cone 10 soda kiln.
Remember, I was testing some new glazes that were “abandoned” in the studio and I claimed.
Free glaze is free glaze! But I wanted to see what they looked like on top of my textures –
as well as how the soda kiln atmosphere would affect the glazes. Keep in mind that the soda
mixture we add to the kiln works as a flux, the “melty” part of a glaze. So frequently, when
a glaze is used in the soda kiln, it can change colors chemically, and become a lot runnier.
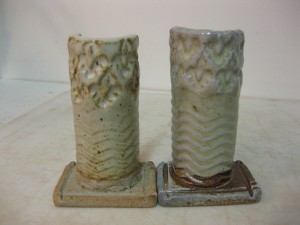
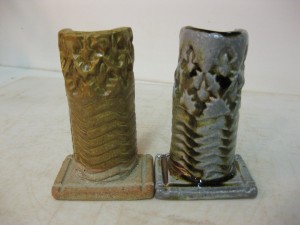
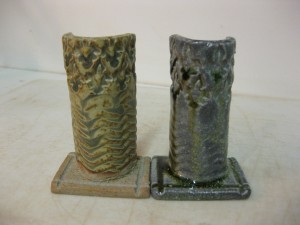
Here are my results, side by side, with the soda fired test tile on the right.
Some of the glazes worked well. Some didn’t. Some are just brown. Some are just beige.
As you may already know… I’m not a fan of BEIGE. In my colors, my pots, my food, my life!
I am intrigued by some of them though. I especially like how some of the samples worked well
in the soda kiln and helped to accentuate the stamping textures without obliterating it in glaze.
The test was a success, as I now know a lot better what these “bonus” glazes look like.
The downside being that the glaze recipes weren’t left behind with the buckets of glaze.
So when they’re gone, I may or may not be able to make more glaze… I’ll need to do some
glaze recipe research for those glazes that work well.
Also, while I was testing, and had a few extra test tiles to use, I decided to try a
low fire glaze that I had heard rumors of working really well in the soda kiln.
I’ve never used it before… but after seeing this test tile, I’m definitely intrigued.
So I unloaded my electric bisque kiln this afternoon, layer by layer…
and just for fun, counted the number of pieces in that firing.
I included the seven bowls by Karen Patinkin, but not the maquettes
by Lisa Harris… nor did I count my glaze test tiles. I guess I was just
counting the “real” pieces?!… either way, there was a LOT of work in there!
The final bisque tally?… 135 pieces!!!
Today I loaded another electric kiln to bisque my latest batch of work.
And you know my theory… pack it in as tight as possible to get your money’s worth!
So I did. And here it is, layer by layer…
Layer One: bowls, mugs, soap dispensers – and a new oval planter for my windowsill.
Layer Two: bowls, mugs, test tiles and new garlic keeper lids!
Layer Three: bowls, test tiles, garlic keeper plates… and a stack of beautifully
decorated bowls made my my studio friend Karen Patinkin.
Layer Four: a tumbled-stacked pile of fun!… soap dispensers, vases, mugs & more!
Plus a couple hand-built maquettes by Lisa Harris for a show she’s going to be in soon.
She’ll be using them as glaze tests before the finishes off the full size versions.
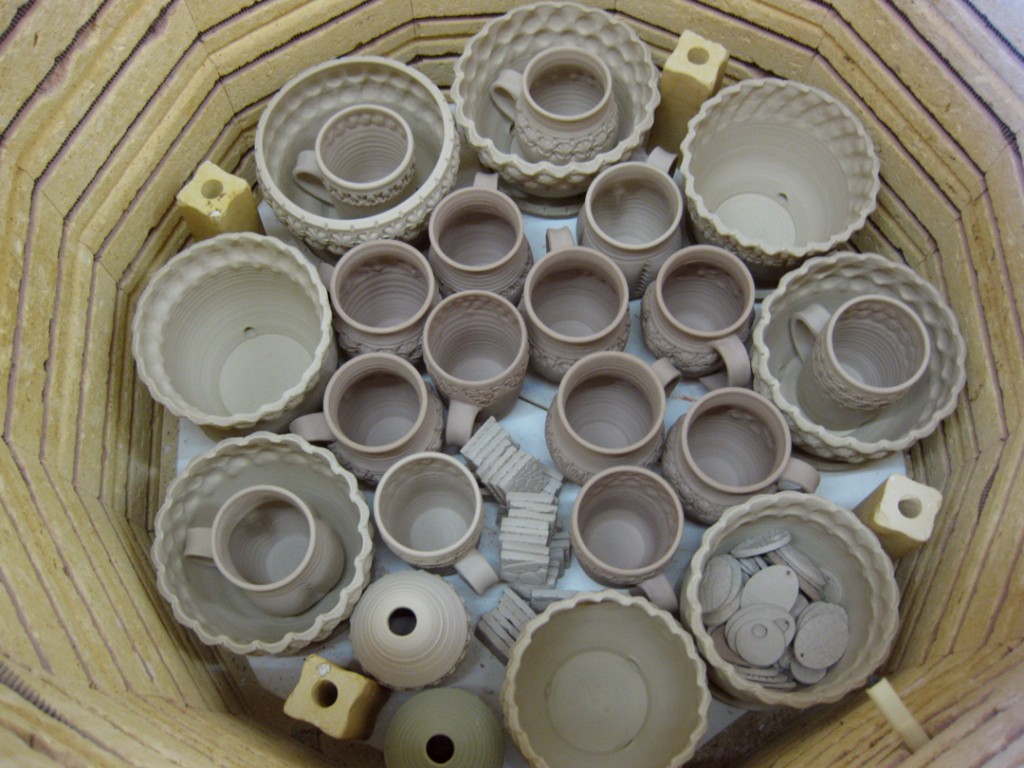
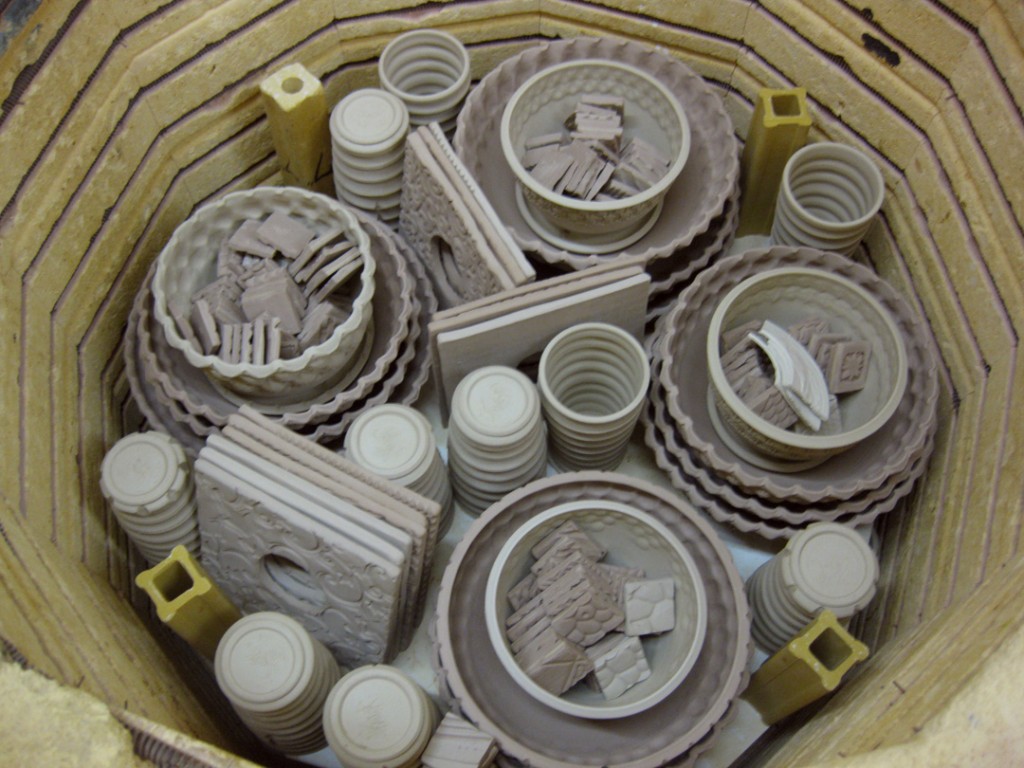
So I loaded another electric bisque kiln tonight before class. I love loading kilns.
It’s like a three-dimensional, spatial-relationship puzzle trying to fill every space,
fit it all together and get as much in as possible! The beauty of a bisque kiln is that you can
carefully stack the greenware to optimize the spacing in the kiln. I always do good
at the bottom layer, but it always seems tougher as you get towards the top and start to
run out of “options” and no more smaller pieces to squeeze in. I hate leaving open spaces.
It seems like a waste of space. I should have made more!
Layer One: All mugs!
Layer Two: More mugs, bowls and berry bowls…
Layer Three: Bowls, berry bowls, berry bowl plates… and a couple mugs!
Layer Four: Plates… and my new butter dish “prototypes”!!!
Today was another kiln firing day.
I got all of my glazing done over the weekend, loaded last night with Karen & Marian…
and lucky for me, Marian was willing to start the kiln early this morning and Karen
was able to finish it off. My part of the kiln project is the big unloading on Thursday night!
Which let me just say is the best part… like Christmas finding all of the new treasures!
More pots for the weekend’s Holiday Home Show.


