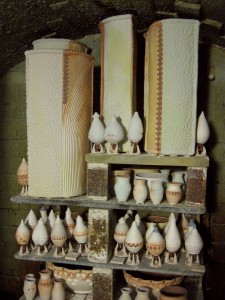
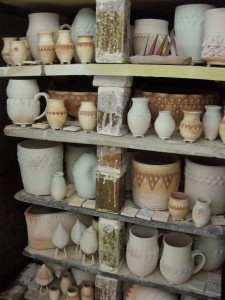
After a very hectic firing day on Saturday, it was a great relief to open
the kiln today to find out that everything turned out perfect. Good soda coverage,
good colors, good flashing. It’s a relief to have a kiln full of work done for the
upcoming art fair season… this far in advance! So I unloaded tonight and took
lots of pictures along the way… and I promise to post them very soon.
Here’s a couple shots of the full kiln just to whet your whistle. More to come…
On my way home from Easter dinner, I stopped off at the studio to check in on my kiln.
After all of the drama during my firing yesterday from the “electrical hiatus”…
it was great to open the peeps today to start the cooling process – and peek inside!
And from the little bit I could see through the peep with the flashlight, everything looks
pretty good so far. Although I did notice on tripod missing its ornament just behind
the bottom cone pack?! Not sure where it went…
So I finally got to turn the kiln off… after a very long day.
After the “electrical hiatus,” the rest of the firing went pretty smoothly.
Nothing too exciting. I tried to bring it back up to temperature a bit slowly,
and then back into reduction. Then it was full-speed ahead… and it finally
came to temperature, I added the soda right around cone 9, soaked until cone 10
and turned it off at 10:30pm. On a good note… according to the pyrometer, the
temperature difference between top & bottom of the kiln was only six degrees!!!
Not bad after a crazy firing!!!
So now it will cool Sunday & Monday while my fingers are crossed
that everything turned out okay. I can finally open it & unload on Monday night.
Pictures to come…
So today I got an early start firing my soda kiln.
I got up, headed back to the studio and got it all fired up. Things were going well.
I was a couple hours into it and it was time to put it into body reduction. So I did.
I was upstairs in my studio when all of a sudden… darkness!
Now for some reason, whenever one of our studio members turns on her microwave
it blows the fuse to my studio. So I just assumed that that’s what happened. Until I
stepped out into the hallway to head to the circuit breaker… and the hallway was dark.
It wasn’t just my studio. And the emergency lights were on… this can’t be good.
So I quickly went downstairs to find out that my soda kiln had gone off too.
Turns out that Lillstreet was without electricity… along with a lot of the neighborhood!
And there I am. With my kiln firing in reduction and suddenly OFF… and cooling quickly!
But there was nothing to do. We heard from ComEd that electricity should be back on
at 2:30pm. Which was over two hours away! I was concerned about my firing.
But there was still nothing to be done – but wait. Turns out that the elctric came on about
an hour earlier than expected. And my kiln had only lost about 600-degrees.
So much for my early start, huh?
And there seemed to be a few questions… Why does a gas kiln need electric to fire?
Well, the kiln is fueled by the gas, but a lot of the mechanics are electric. The thermocoupler
that keeps the flame lit with a heat sensor. The blowers that push the air and the flames into
the kiln. The safety triggers that shut everything down if anything happens. Stuff like that.
But when the electric came back on, I was able to turn the kiln back on and get my firing
back on track. Knowing that the electrical hiatus just added a few hours onto my day.
And I just hope that everything inside the kiln is still okay?!
So there wasn’t much I could do.
Except I felt as though I “deserved” a treat… so I did…
I’ve been planning in doing this forever… good intentions… but something else
always seems to come up. Until tonight. I finally got to it.
One of the best ways to get some good color in the soda kiln is with special slips
designed to “flash” in the soda kiln atmosphere. And it seems like I always fall back
onto my “favorites” that I use all the time. But when you look in my studio, I have
quite an assortment of slips. Many of them thanks to Emily Murphy who bequeathed
her “stash o’slips” to me when she packed up her studio and moved to Minneapolis.
So my plans has been to make test tiles for all of the slips… using one of my own
textures and firing them in one of my kilns. So I finally loaded them in tonight up on
the top shelf. I’m hoping to get some dramatic flashing results that demonstrate how the
slip reacts. My fingers are crossed… and I’m glad that my plan finally came together!
Tonight I loaded my soda kiln… after a LOT of glazing & wadding. It’s been days…
Seems like I’ve been glazing quite a bit over the past couple days. Trying to maneuver
through my studio glazing pots, and working my way around stacks of bisque.
It’s always a guessing game of how many pots will actually fit into the soda kiln.
So I try my best to gauge it as I go… and trying to wad each piece along the way so I
don’t get slammed in the end with just a ton of wadding! So it finally all came together…
and after four straight hours of loading “fun”… my soda kiln is all bricked up for the
night and waiting for the big firing day tomorrow!
The soda kiln is three shelves deep. So I always stack the back shelf by itself,
all the way to the top. Trying to squeeze in as many pieces as I can, while still allowing
enough air space for the soda to travel through during the firing. Each time…
I get concerned that I’m packing it too tight!? But I really need to get my money’s
worth out of the kiln firing! So here’s the back stack…
And then I finally packed the stack in the front – two shelves in each layer. Piece by piece…
ornament by ornament… mini by mini… again, squeezing in as any pieces as I can.
Did I do too much?!… We’ll see when I open & unload the kiln Monday night.
After weeks of working in the studio, it was finally time to load a bisque kiln.
It’s always tough to determine how much will fit in the kiln. How many will stack?
How much will nest inside another. What will squeeze onto each layer? And so,
tonight I tackled the three-dimensional puzzle of stacking the kiln effectively.
You now how I hate to leave unused kiln space!!! It drives me crazy…
Layer One: flower pots, mini vases & more ornaments!
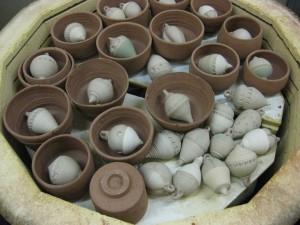
Layer Two: bowls, utensil crocks, mini vases & tripods!
Layer Three: bowls, berry bowls, utensil crocks and more tripods!
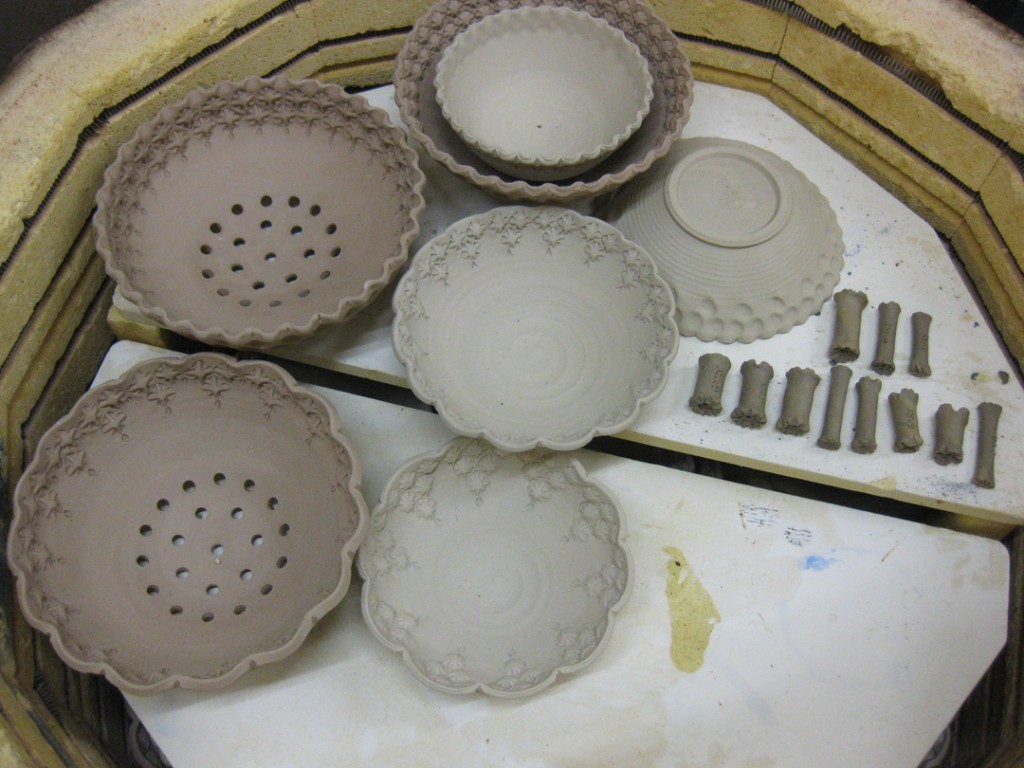
Layer Four: berry bowls, bowls… and some last minute stamps I made tonight!
And sadly, I didn’t do so good estimating this time. And there’s a little space left open
on the top layer of this kiln. I left a phone message with my potter friend Karen Patinkin
to see if she wanted to fill it in. The kiln turns on tomorrow morning… still waiting…
Once again, I was lucky enough to be “kiln filler” for a “not-quite-so-filled”
bisque kiln for the Artreach Program at Lillstreet. The kiln was only 2/3 filled
with assorted kids projects… and Jayson asked if would like to fill it up.
My answer was of course YES!!!
So I packed it tight, flush to the top! Stacked, nestled, sideways, upside-down,
whatever it took to get everything in! You know I’m always there to help the cause!
And luckily, unloaded a pile of fun tonight! One step closer to that cone 10 kiln…
After class, I loaded another bisque kiln. Along with some terra cotta
work that is glazed inside. Luckily, they’re both firing to cone 04.
So it’s one kiln for all!
Layer #1 – terra cotta planters, ornaments & tiles… and two Patinkin cups.
Layer #2 – terra cotta planters, ornaments and even MORE tiles!
I love how the tiles stack and make a perimeter around the kiln. Funny.
Layer #3 – terra cotta drip trays and a couple test tiles for Karen Patinkin.
And you know how I hate open unused kiln shelf space… this killed me!
Layer #4 – terra cotta drip trays and a couple stamped square plates
by Karen Patinkin. Again, too much kiln shelf showing for my liking!
Layer #4-1/2 – my class demo stamped plate and the last water drip tray.
Layer #5 – topping off the kiln with some stacked bowls…
stamped & fluted but not fitting together in a stack as much as I would like.
Next time I need to remember to make different sizes so they stack better?!
And the two bowls that didn’t quite fit in… as much as I tried & tried.
And while I was loading my kiln, Lillstreet Artreach Director Jayson Lawfer
was loading his bowls in the kiln next to mine… and since he had a little space
left over, and some empty bowls… I was more than willing to “fill-in”
with some ornaments!


