Gary Jackson: Fire When Ready Pottery
A Chicago potter’s somewhat slanted view of clay & play
Categories: kiln firing, lillstreet

Good thing I fired my soda kiln last weekend and unloaded Monday night.
The soda kiln I use was completely demolished on Tuesday!!!
Looks I got out just in the nick of time!!!

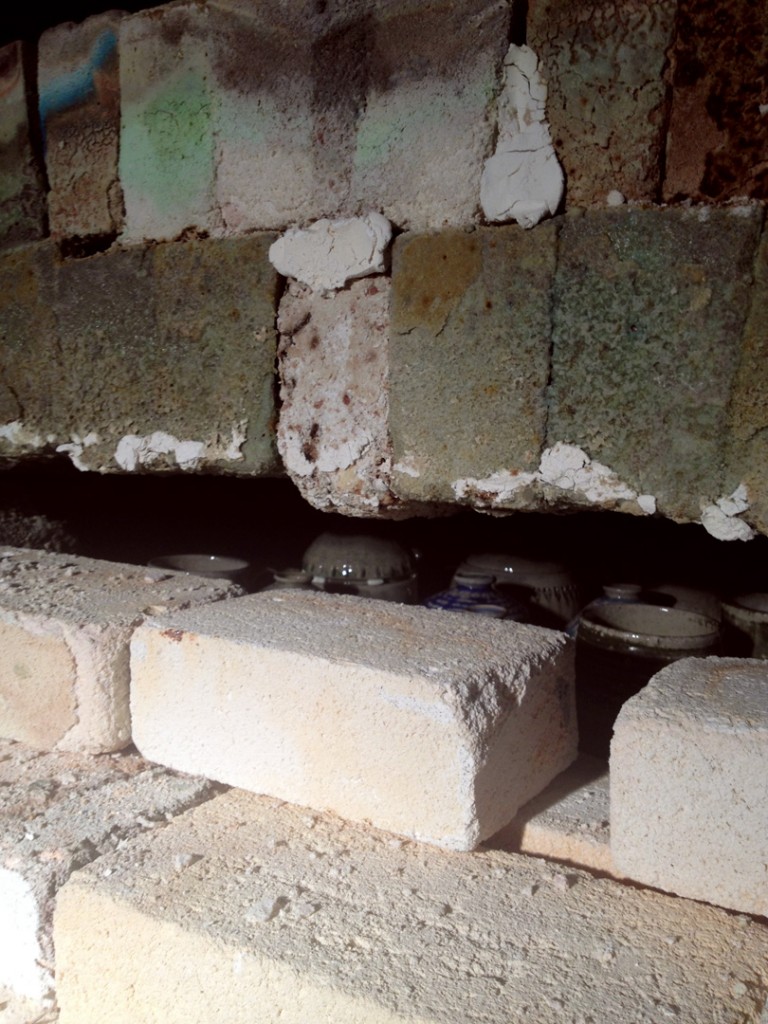
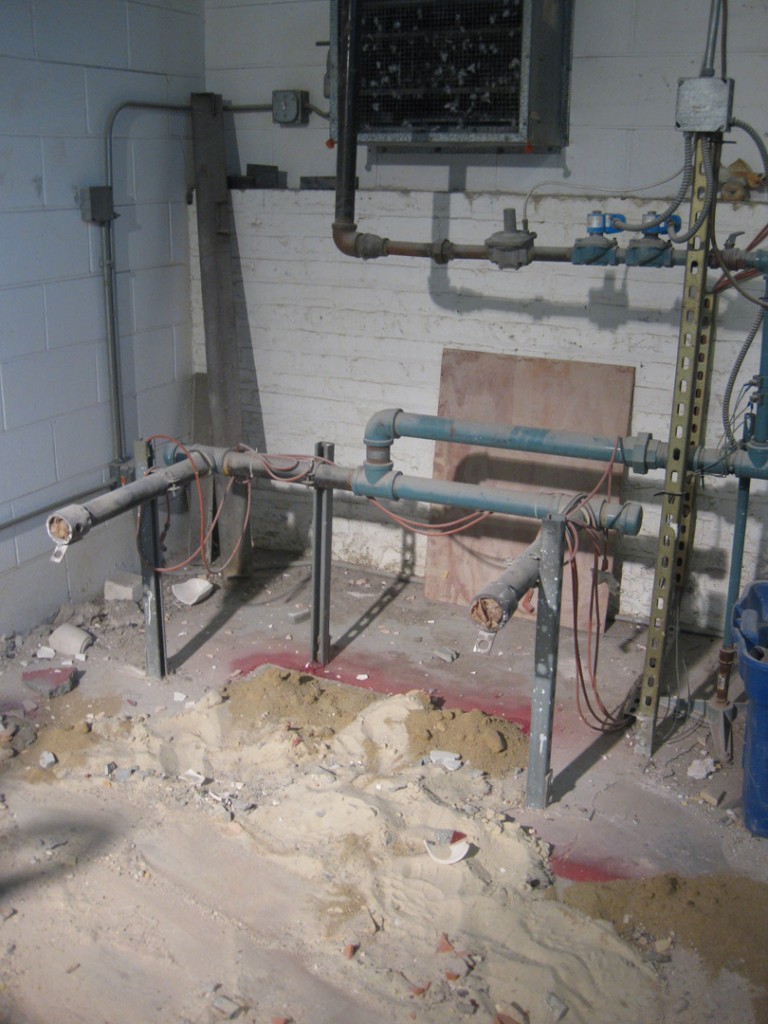
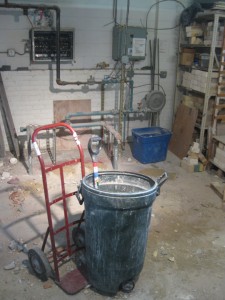
Yes, the soda kiln at Lillstreet Art Center was completely torn down yesterday so that they can make a newer & improved version. Everything is gone except for the burner system!!! The current kiln was having some”moving” brick issues… and the arch was pretty much flat and “non-arch-like” towards the end. So now we have a practically empty kiln room… except for the piles of sand, dust & debris.

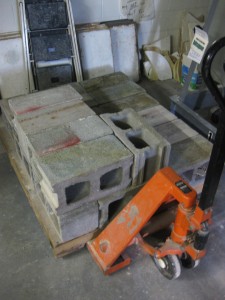
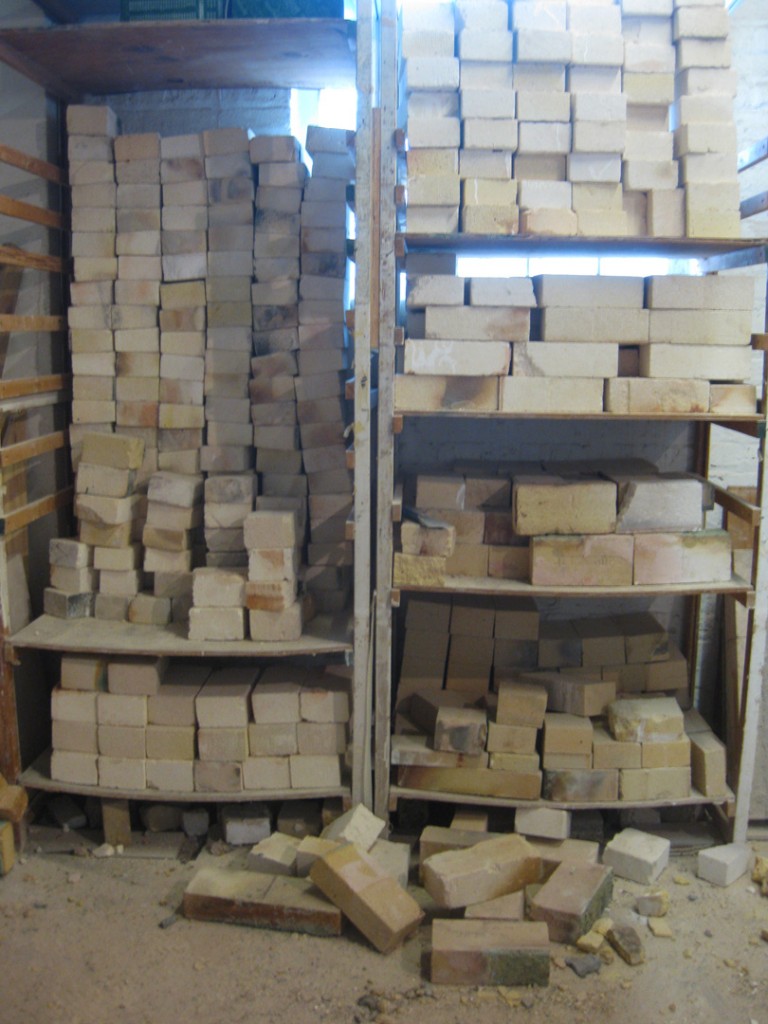
There are pieces & parts everywhere. Trying to save as many bricks as possible.
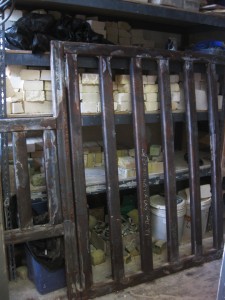
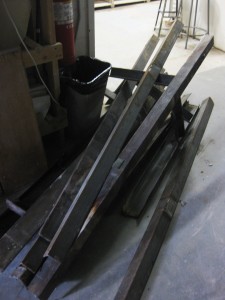
As well as the steel framework from the floor… and the side & corner posts.
Might be reused… might just become a souvenir?!

And bricks pretty much stacked up everywhere… in the kiln room, on carts, on shelves…

This will all be cleaned up and a new concrete foundation will be poured. Once that cures, they will start building the new kiln brick by brick. It’s pretty exciting… but a HUGE amount of work. Oh, I remember… I was one of the ones who built the very first soda kiln at the new Lillstreet location along with my friend & potter Emily Murphy. Special thanks to all of the volunteers who are working on this kiln demolition & re-building project!!!
Categories: kiln firing, pottery, process, production

I unloaded my kiln late this evening. It was nice & cool by the time I came back from my fun day at the Renaissance Faire. Unbricking the door is always kind of exciting as you see more & more of the pieces revealed layer by layer. When the door is gone, it’s time to start unloading… and re-loading into crates to get it all home! The front of the kiln is a little heavy on the soda… but I knew I had to add a little extra & force it through if I was ever to get it into the tightly packed kiln. And it worked… even though the front & top has a bit more soda than I personally like, the majority of the middle & back was perfect!!!
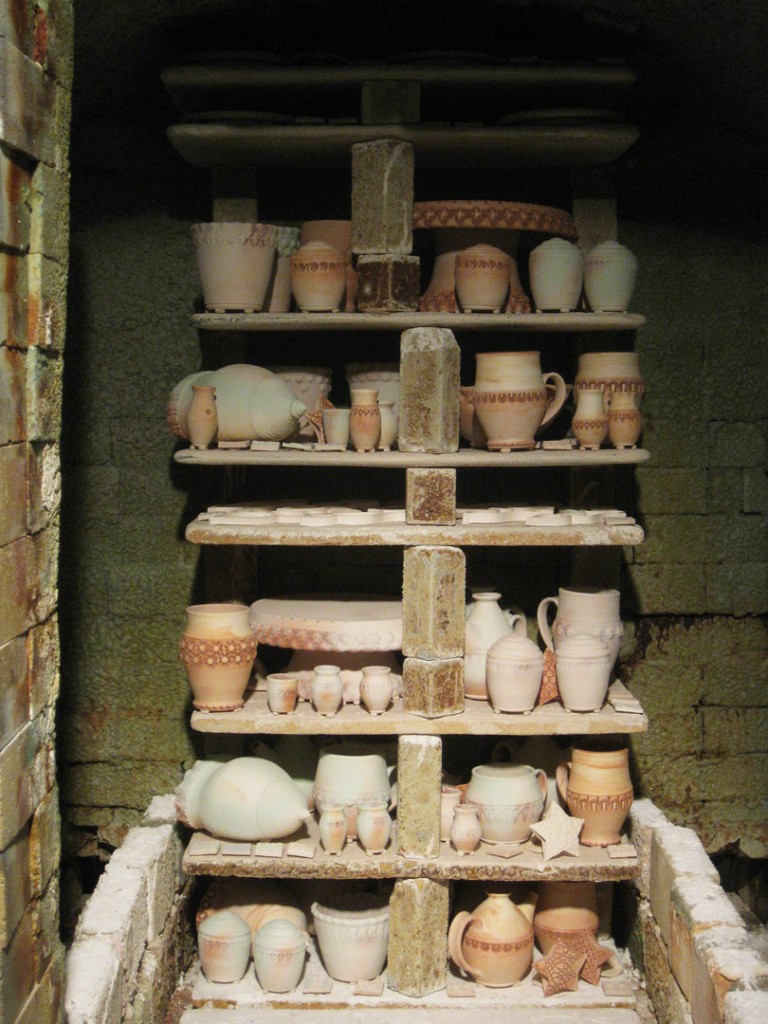
Unfortunately, I got a little caught up in the unloading and didn’t do so well with the picture taking?! So, there will be more photos to come when I unpack at home…

Categories: kiln firing

My kiln is still too hot to unload…
but not too hot to remove a few bricks at the top to speed up the cooling process…
and to offer us a quick peek of the treasures inside!

Categories: kiln firing

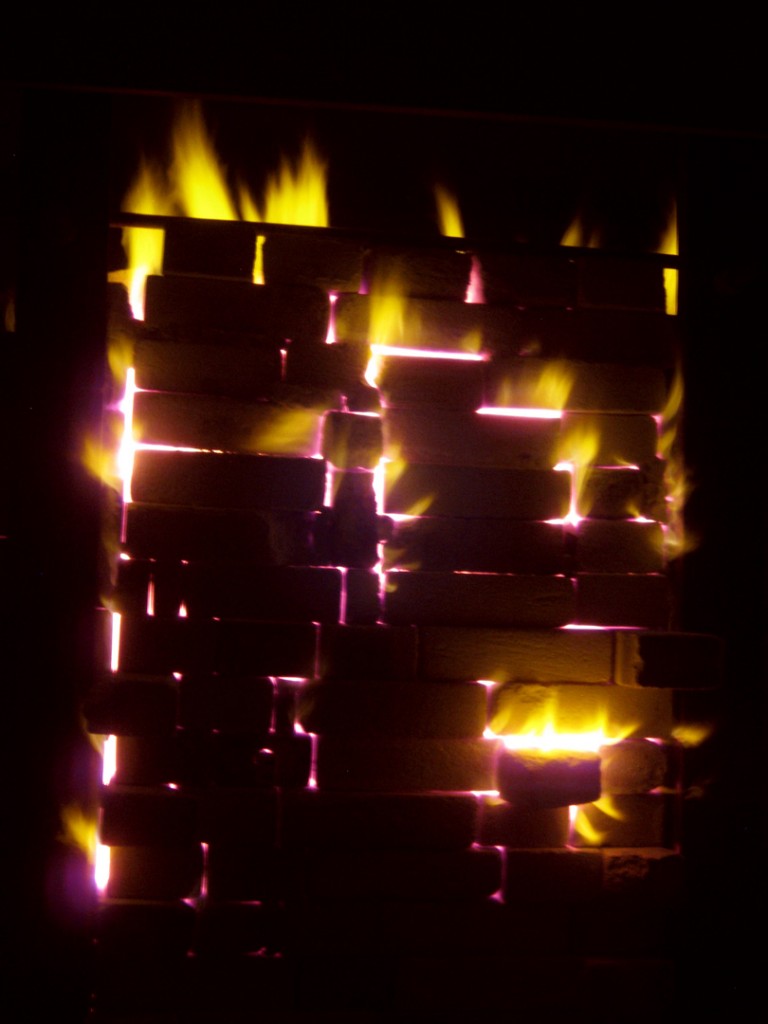
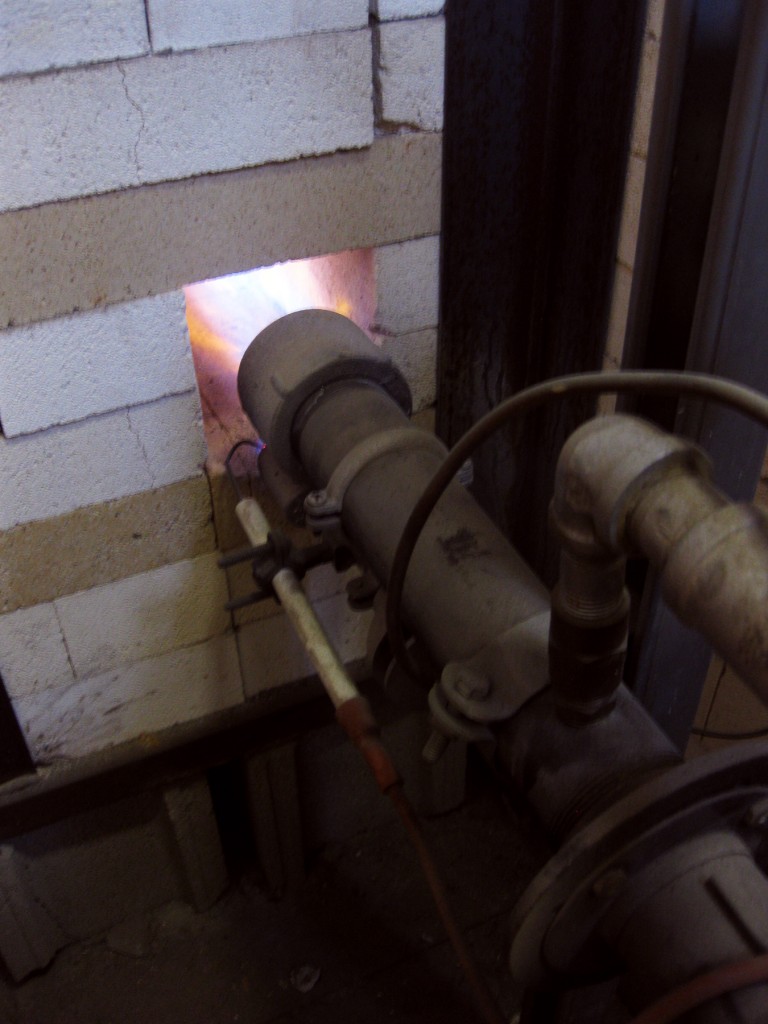
Soda mixture going in. Flames shooting out. Cones going down.
All is right with the world… err, well at least in the kiln room!

Categories: kiln firing

Cone 8 is down on top… and the bottom one is trying its best to catch up!!!

Categories: kiln firing, process

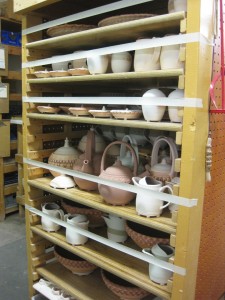
Glazing is done. Thankfully. I hate glazing! So I’m always thrilled when it’s done!!!
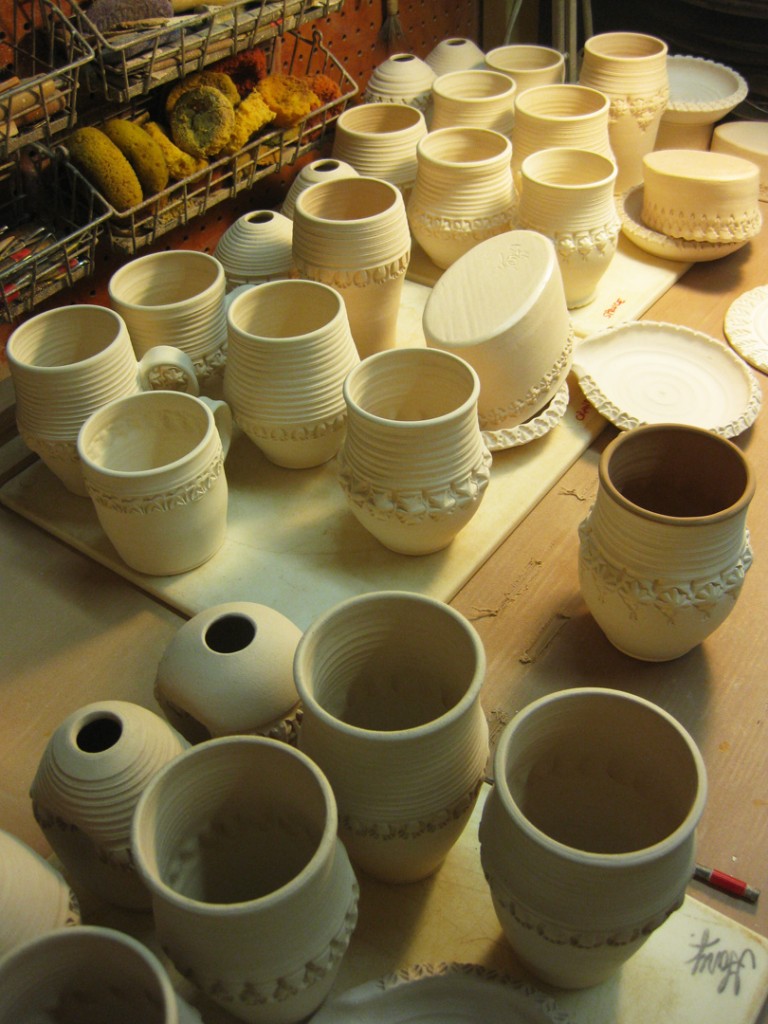
Equally pleased when I eventually get my studio cart down into the kiln room – and all of the pots made it there in one piece! I “strap ’em in” with strips of masking tape. Kind of a “safety belt” for the glazed pots so they can survive the bumpy trip downstairs from my studio via the rickety freight elevator!!!

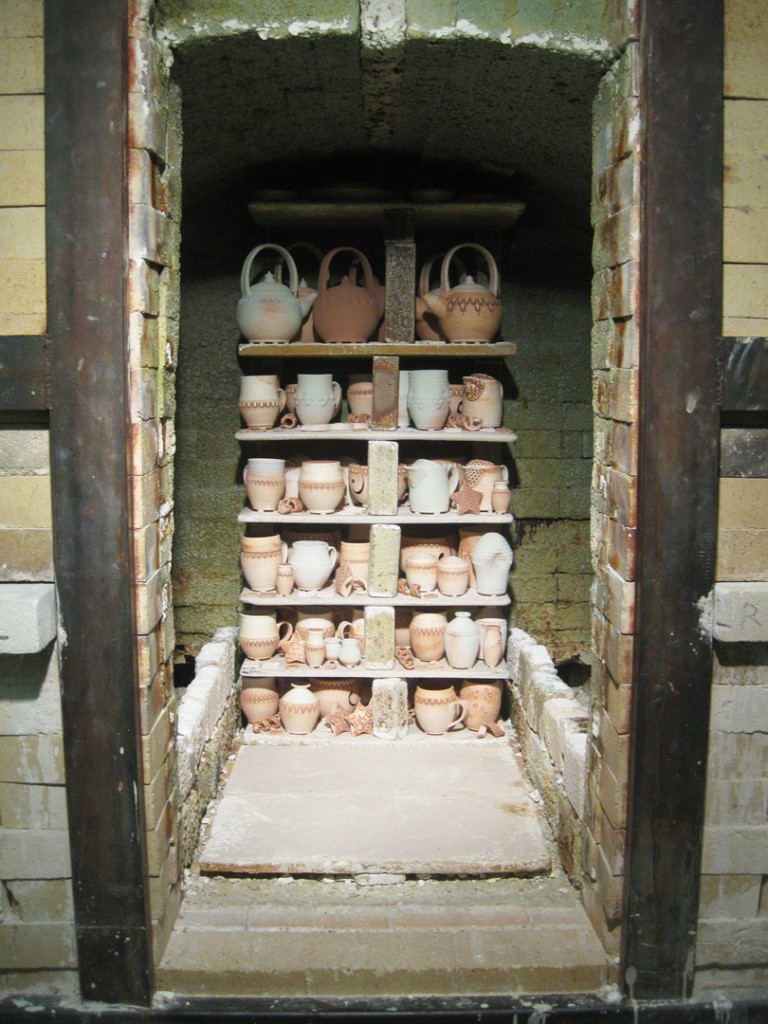
So first up… stacking the back set of shelves. It’s always like a game of Tetris fitting in as many pieces as possible, while pacing yourself to mix the big & small pieces evenly throughout the kiln. And don’t forget about leaving a little space for air-flow so the soda has some way to travel through the pots. I have a tendency to pack the kiln as tight as I can… and I think I’m off to a good start.

Once the back stack is done, it’s time to start the front stack which is two shelves deep. More space to fill with more pots! Again… get in as much as you can without packing it too tight. Delicate balance… that I always err on the side of packing too tight!!! Especially when you’re getting ready for another art fair where I’ll have a DOUBLE booth space!!!

“Art In The Barn” in Barrington, Illinois – September 28th & 29th, 2013
More details to come…

So it’s packed all the way to the top where I always try to fit in right up to the curve of the arch. Or in this case… lack of arch!!! In fact, as soon as I unload my kiln on Monday night, this kiln is being demolished Tuesday morning to be rebuilt woith a better & safer kiln arch. This kiln has been “well-used” and too many of the bricks have been moving around. So it’s time to be replaced. I’m just glad that I got in for this firing BEFORE they tear it down!


Categories: kiln firing, process
Categories: bike, kiln firing, sunrise

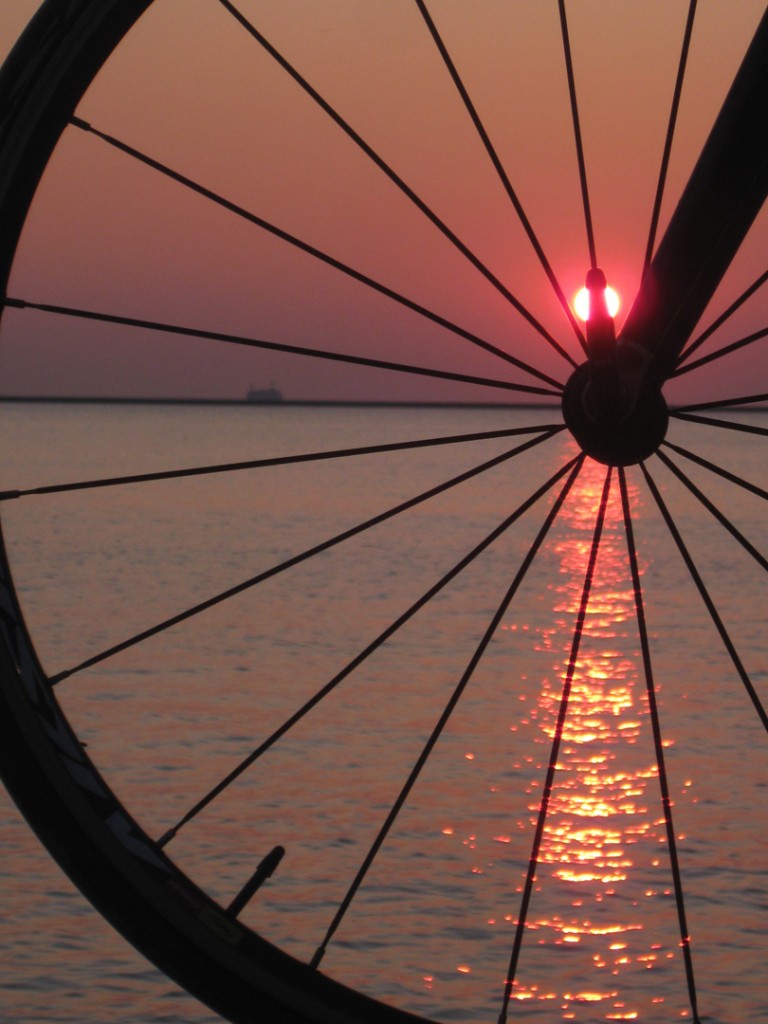
A quiet rise with a serene skyline this morning. Red sun rising changing into a beautiful orange sparkle. Followed by a quick swing past the studio to turn on the kiln. Ignition ON and the firing has begun!!!

Categories: glaze, kiln firing, studio

So there’s been a lot of “stray” bisque piling up in my studio. Lots of leftover pieces that didn’t fit into my last firing. So I’ve decided to share a cone 10 glaze kiln this coming week. Now I’ve got a lot of glazing to do… and most people know how much I hate glazing!!!

Categories: kiln firing, process, production

An empty kiln holds such potential. Ready to be stacked layer by layer, shelf by shelf.
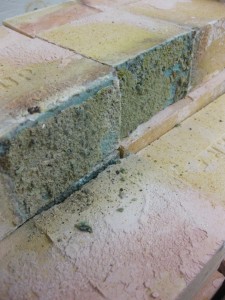
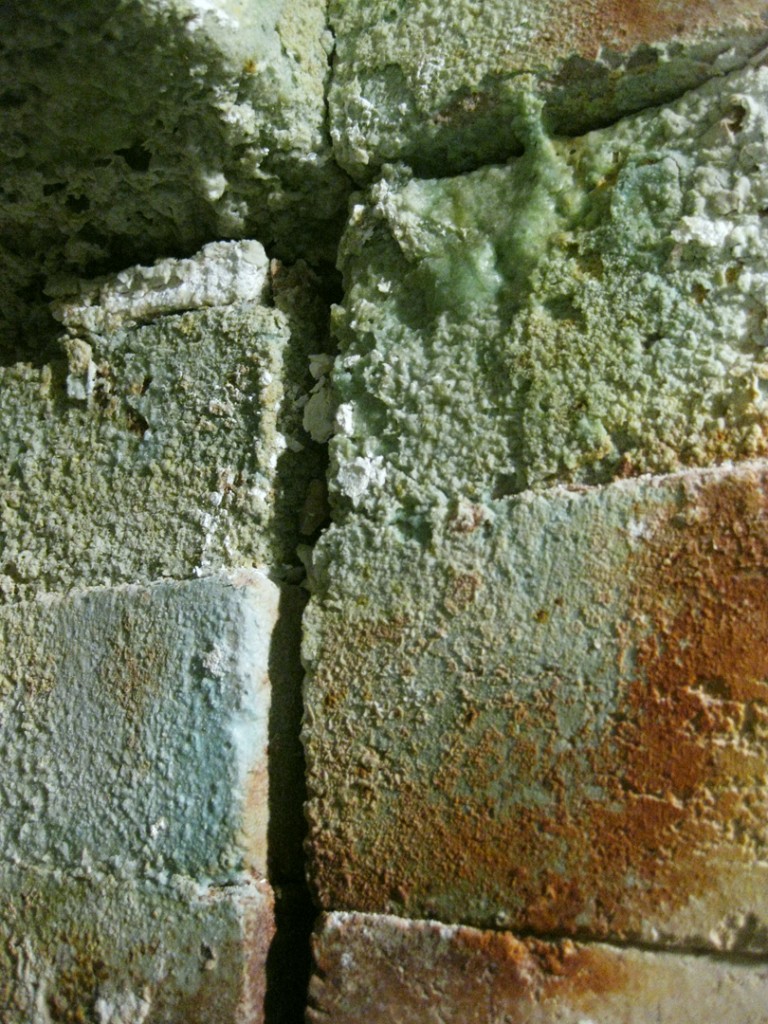
Of course you need to take a second or two to admire the kiln. To appreciate the colors and crustiness of the bricks. Over the course of many firings, the soda build-up changes colors and “eats-away” at some of the bricks. So it’s actually bad for the kiln, but kind cool to look at. Except for the arch of the kiln.. which has definitely seen better days. Remember the definition of an arch… well it generally refers to a curve somewhere. Sadly, the arch of our soda kiln doesn’t look too curved any more?! Uh oh… and yes, the next picture is the top “curve” of the arch… and I use that term loosely…

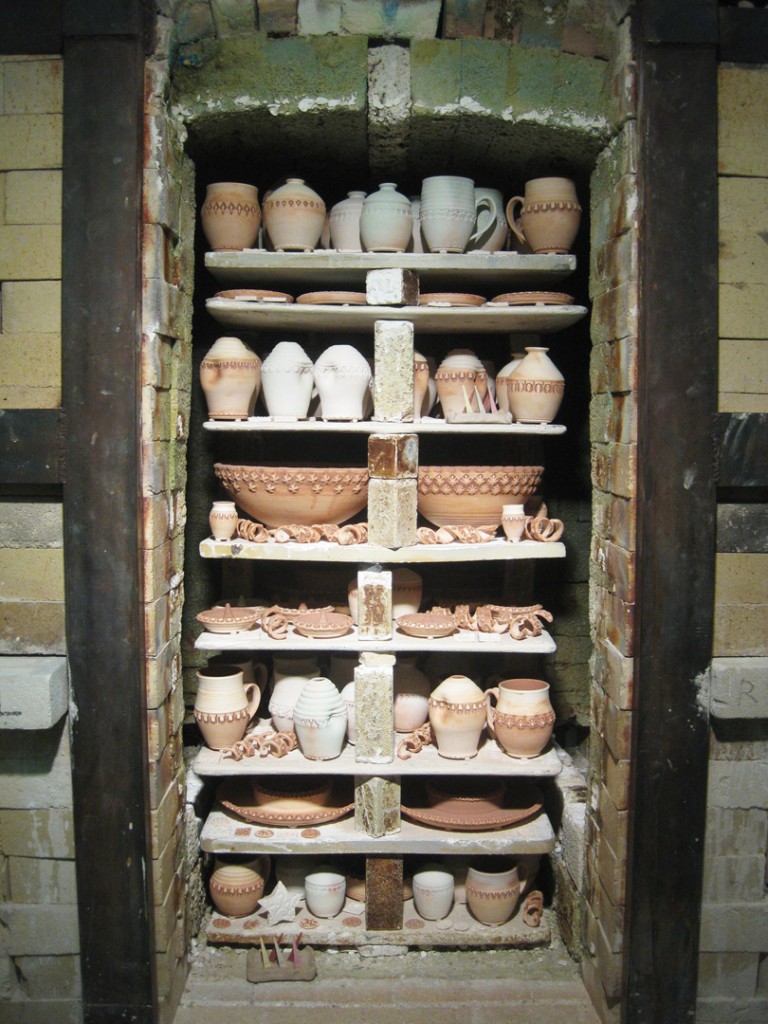
So I start with loading the back stack which is just one shelf deep.

Once the back stack is done, you can start the front stack which is two shelves deep. At this point it’s always a delicate balance of packing as many pieces into the kiln as possible… versus keeping enough air space around the pieces so that there’s plenty of air movement during the firing to distribute the soda. I have a tendency to pack my soda kiln tighter than most. I want to get in as much as I can!

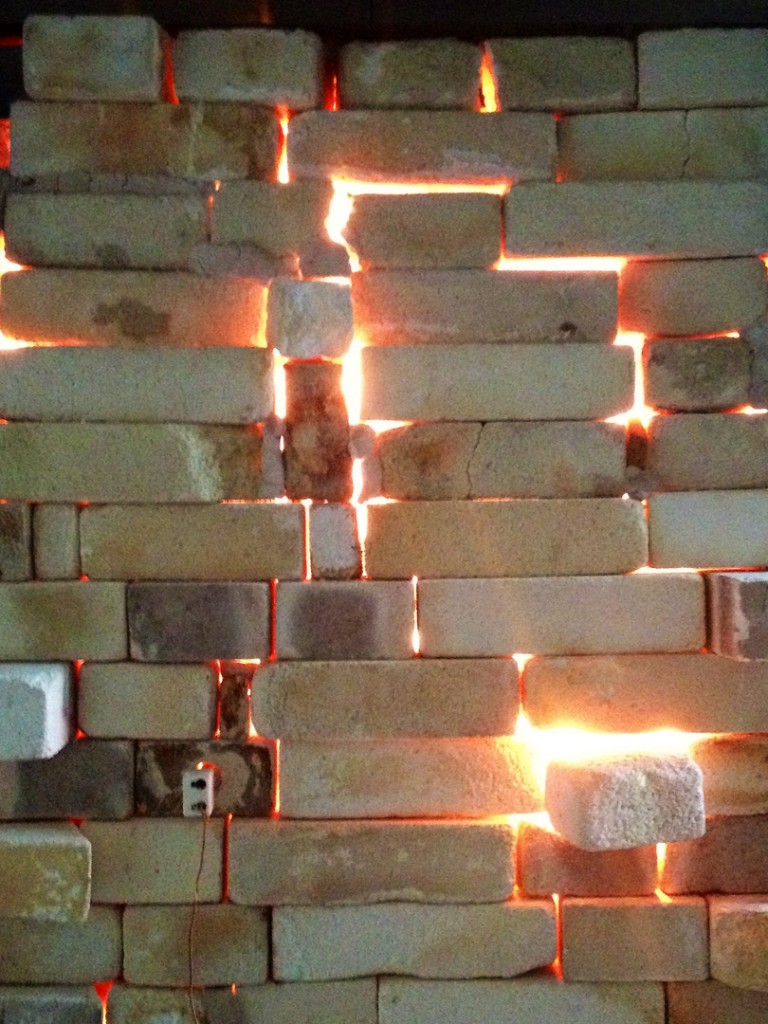
Once the kiln is all stacked & packed, it’s time to close up the front door… brick by brick.

Once the kiln is closed, I turn on the burners for about 15 minutes to get some heat in there to dry out everything overnight. So I came home for a very quick sleep so I can get back to it early tomorrow morning to get the kiln started. The earlier I start, the earlier I can finish firing!!!