Gary Jackson: Fire When Ready Pottery
A Chicago potter’s somewhat slanted view of clay & play
Categories: kiln firing, process, production

After a few long days of glazing & wadding, I was finally ready to load the kiln.
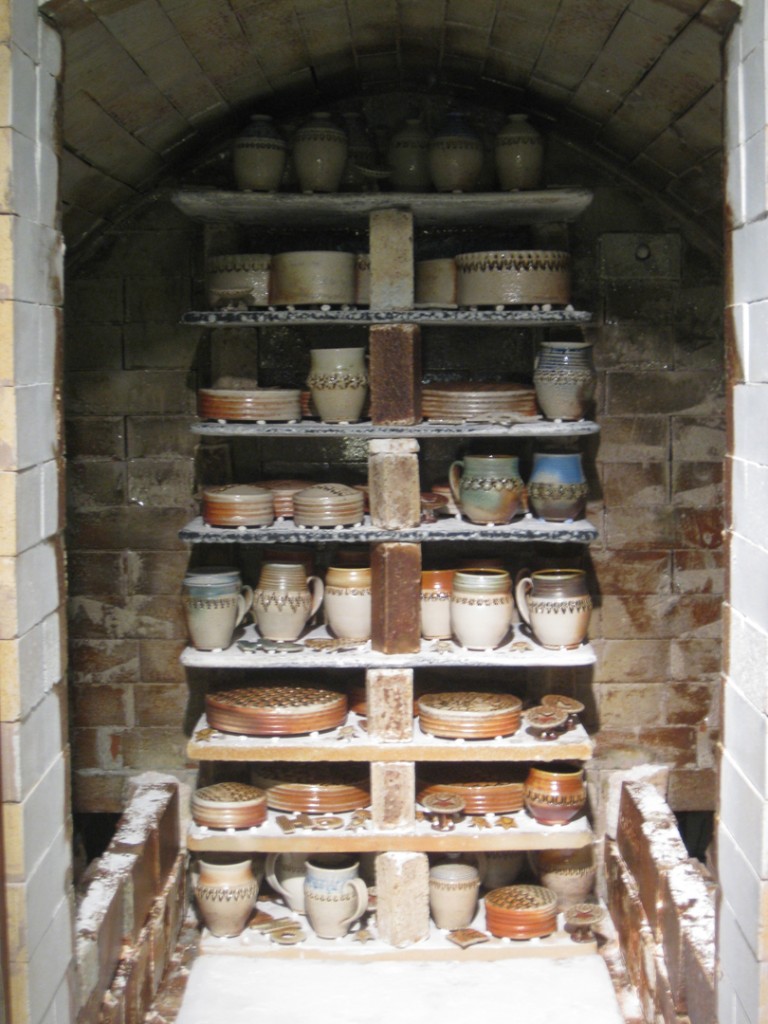
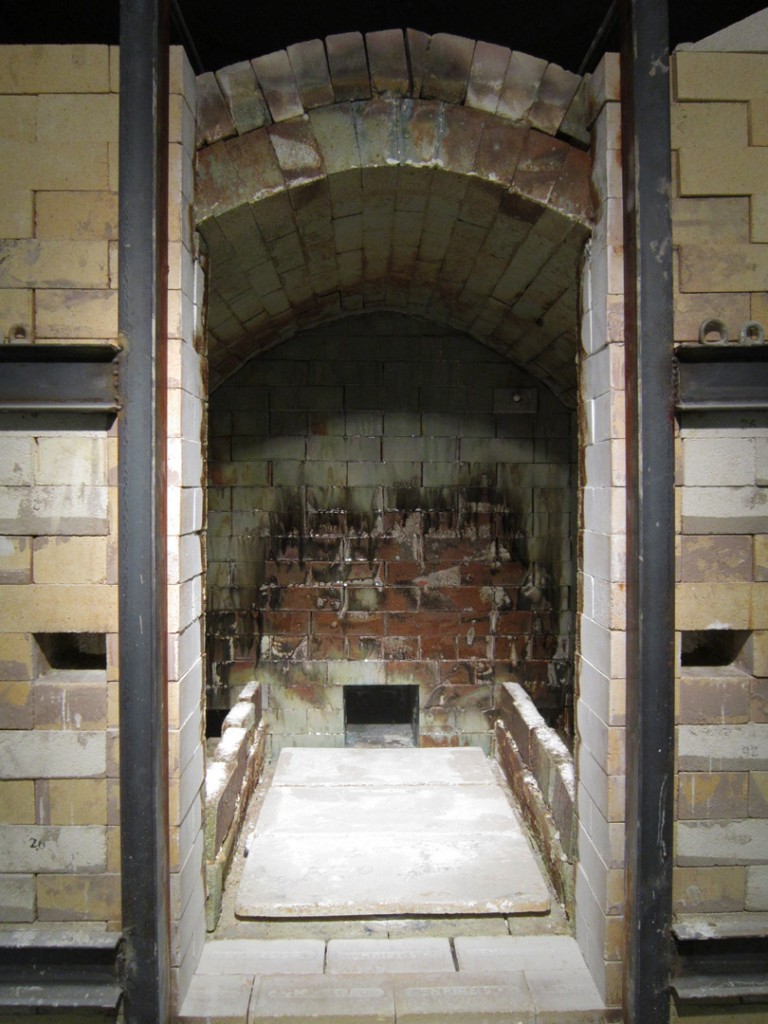
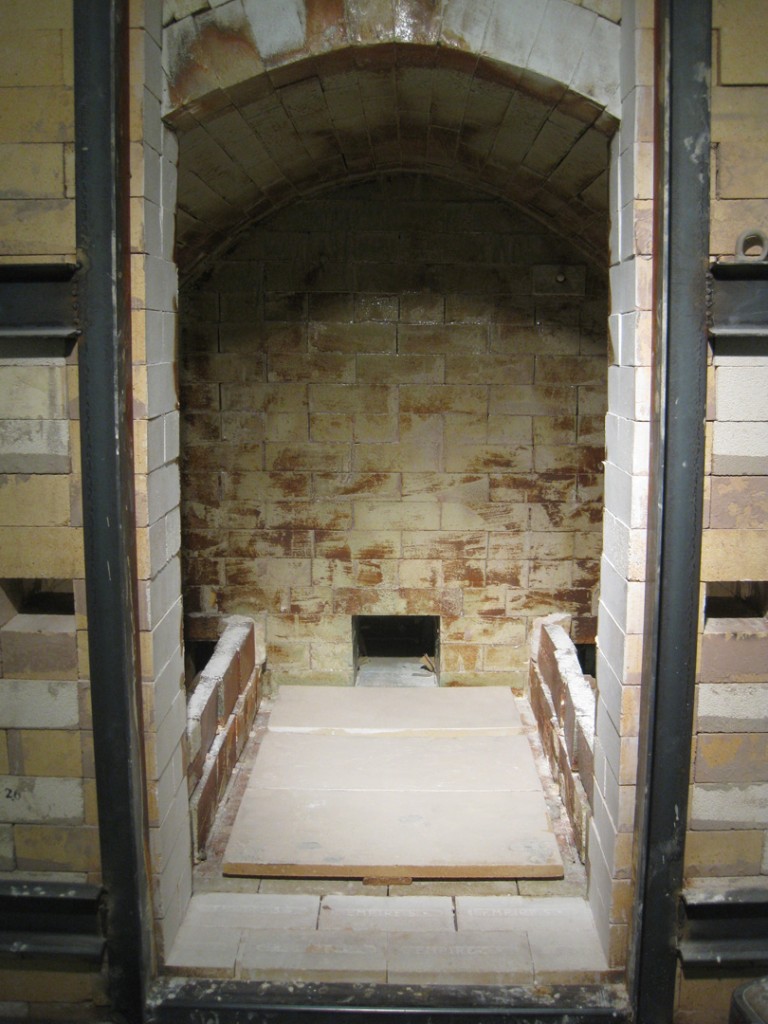
An empty kiln has such potential…

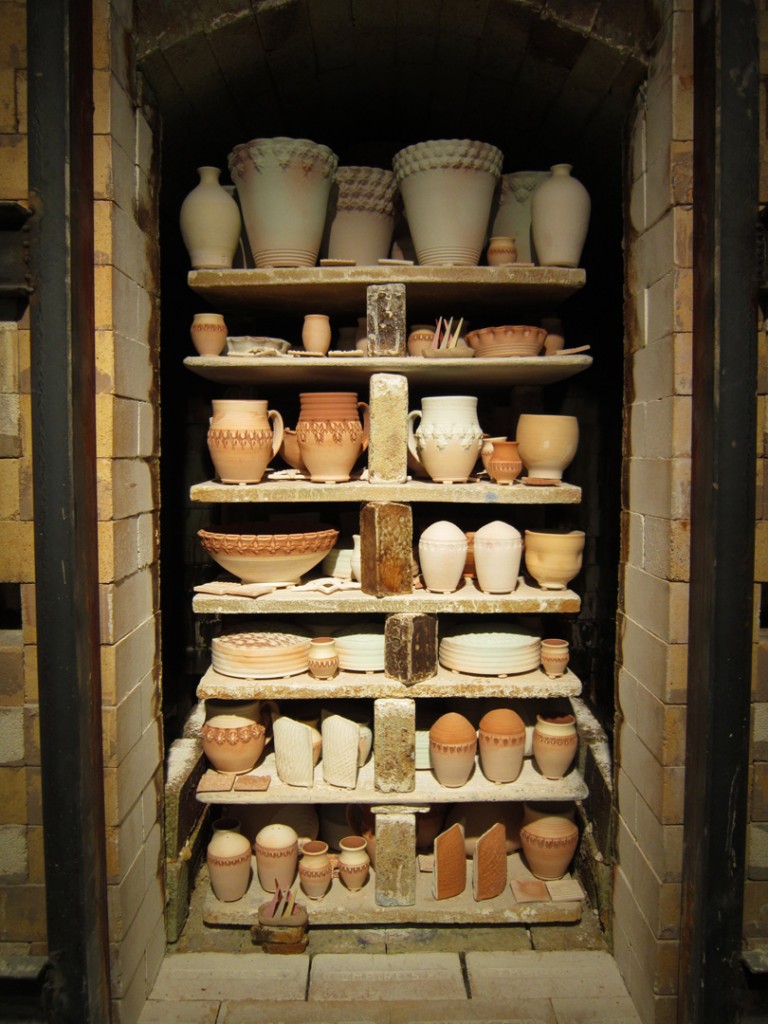
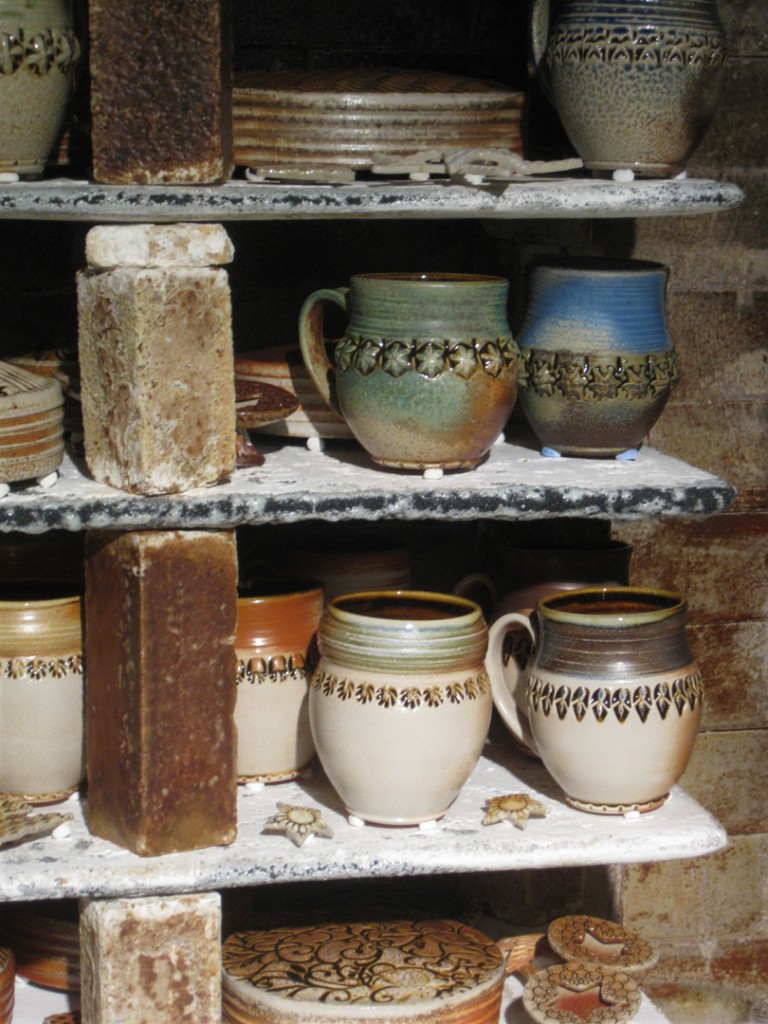
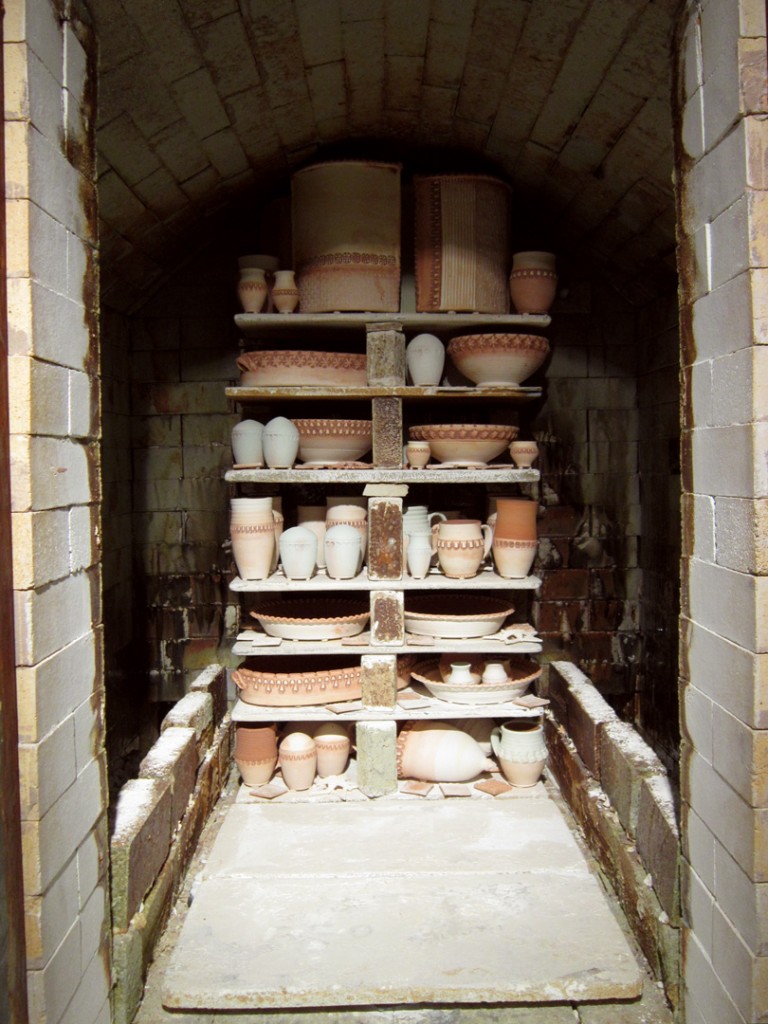
I always start in the back with a single stack of shelves. These will get hit with a bit less soda than the front, so I plan ahead and use different clay bodies for this area. Porcelain & B-Clay “blush” really well back here without getting “blasted” by the soda. As well as pieces that have a git more glaze, or I’m hoping for a more subtle effect.

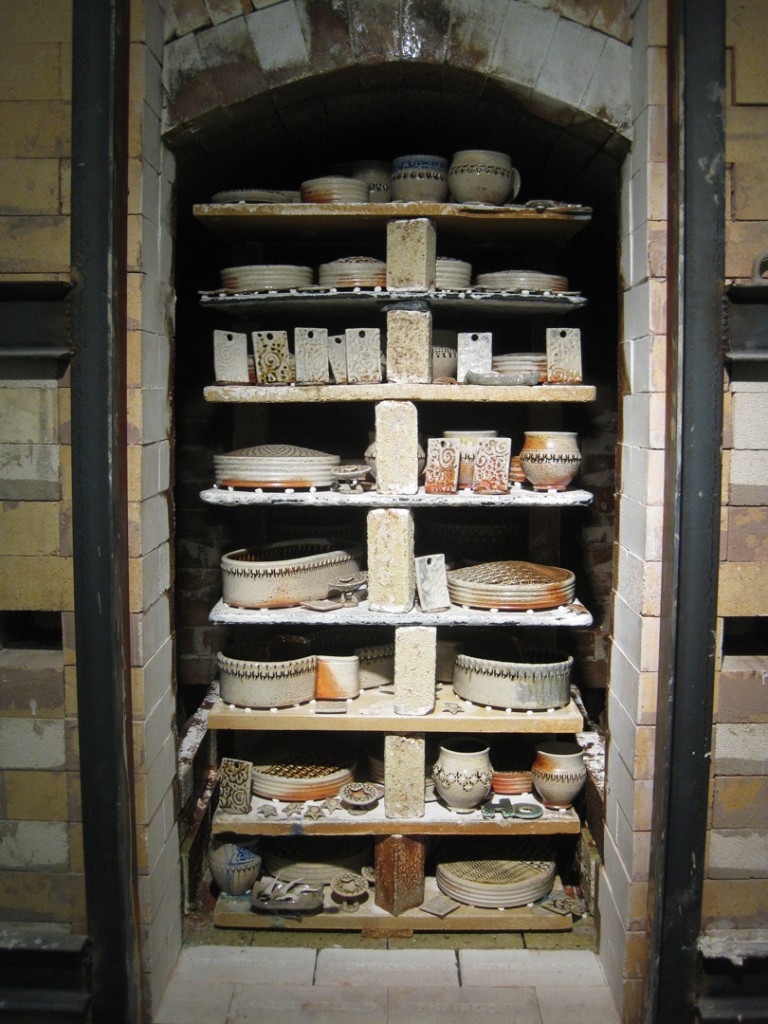
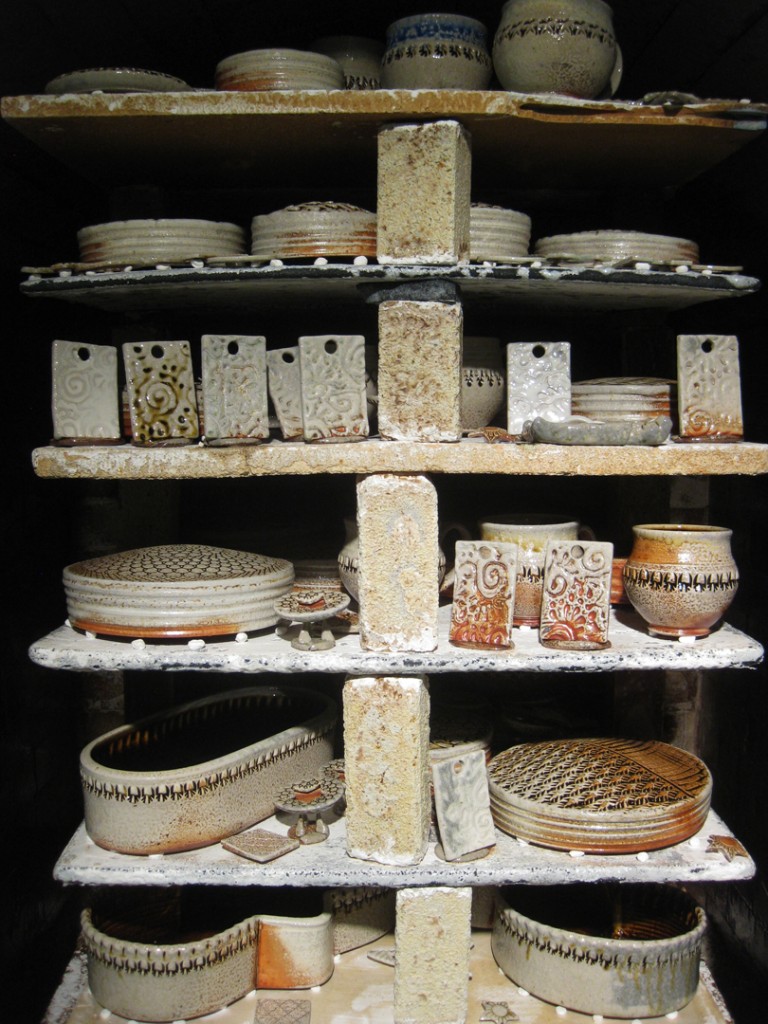
The middle & front stack of shelves get built at the same time. It’s always a puzzle putting it together. Trying to fit in as much as you can while leaving a bit of airspace for the soda to travel through. As you’ve seen… I LOVE to pack a kiln. And I LOVE kiln filler. So it all comes together in this final glaze firing… as I pack it tight and try my best to cover every possible space of kiln shelf!!!

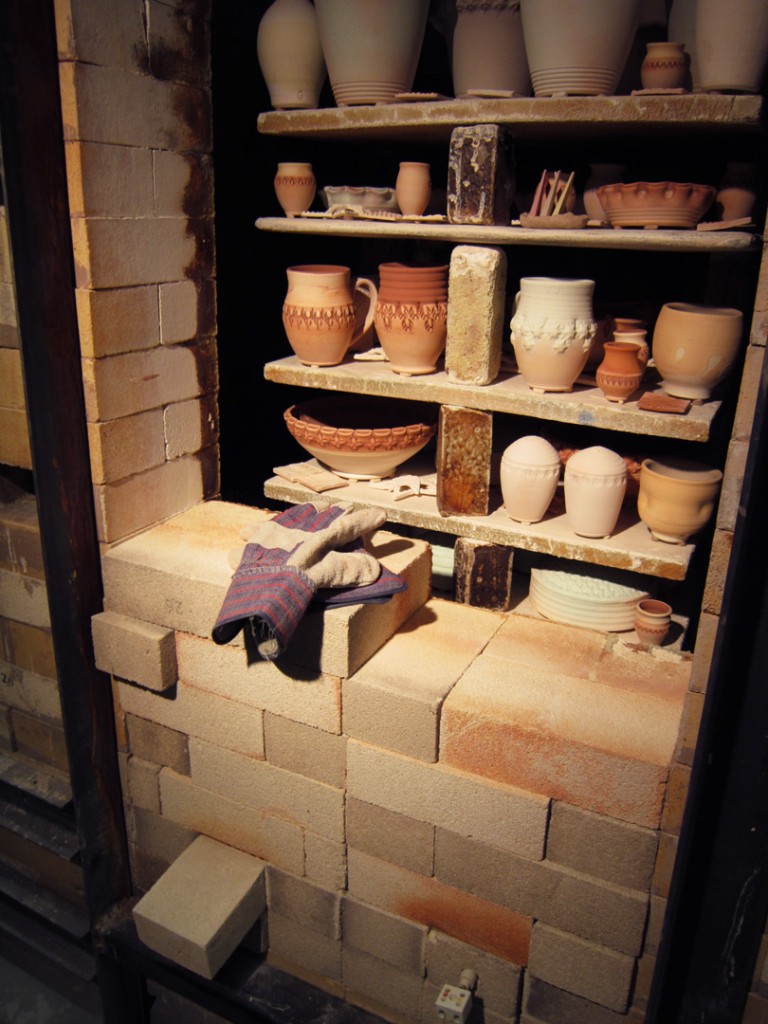
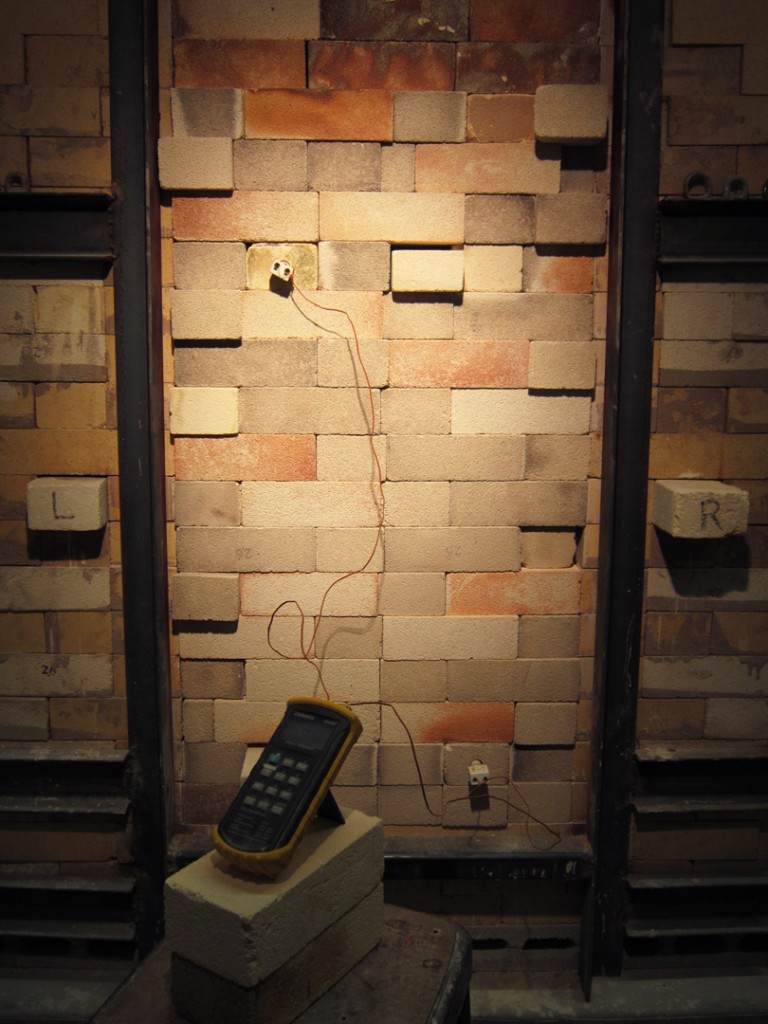
Once loaded and the cone packs are in place, it’s time to start bricking it up… one brick at a time!

All closed up. A very short preheat while I tidy up & gather my things.
And then it’s off for the night – waiting for an early start tomorrow morning.
Categories: kiln firing

Firing after firing, the soda atmosphere not only makes beautiful glaze effects on the pots…. but it is also building up on the back wall of the kiln and creating this beautiful, drippy, glazy beauty on the bricks!!!

Categories: kiln firing, process, production

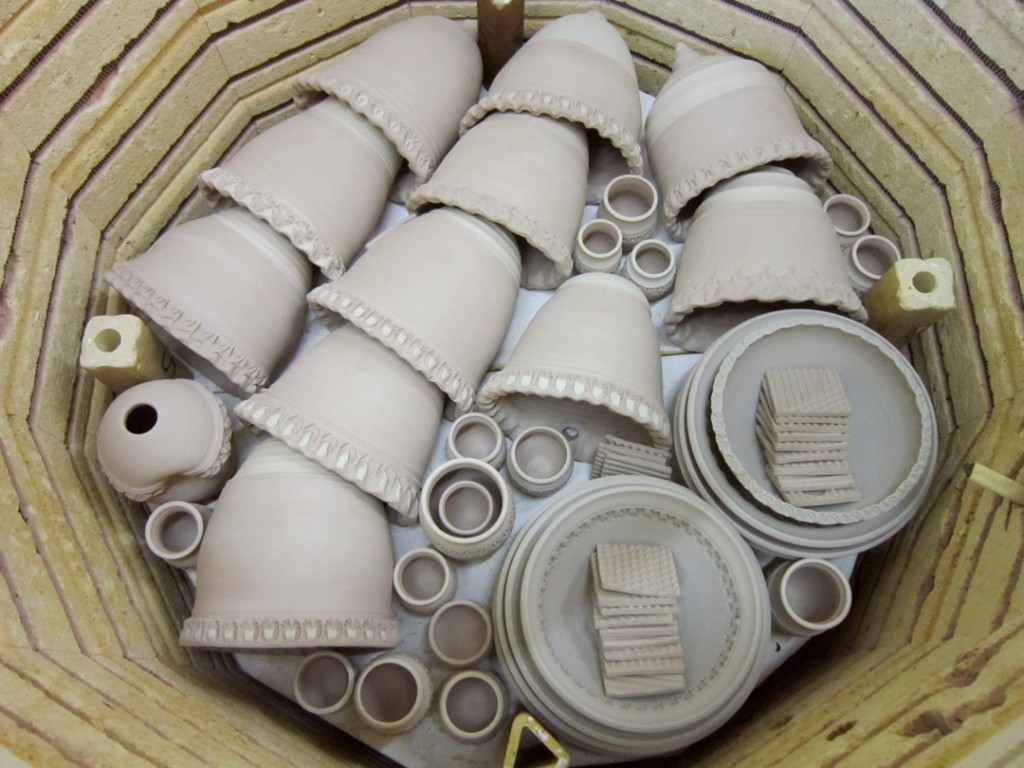
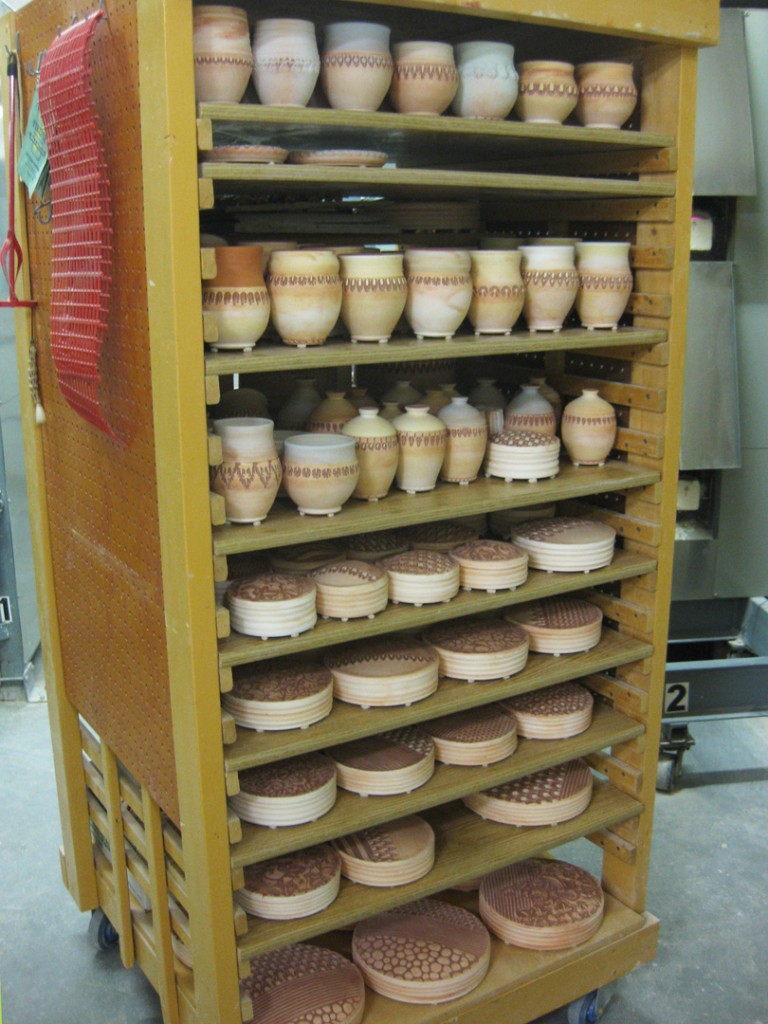
It’s always tough to do a second bisque kiln so close to the one before. Generally not enough small pieces to fit in all the small places. I made a few more tiles, and that last batch of mini vases… but still, I would have liked to have more to squeeze in here!

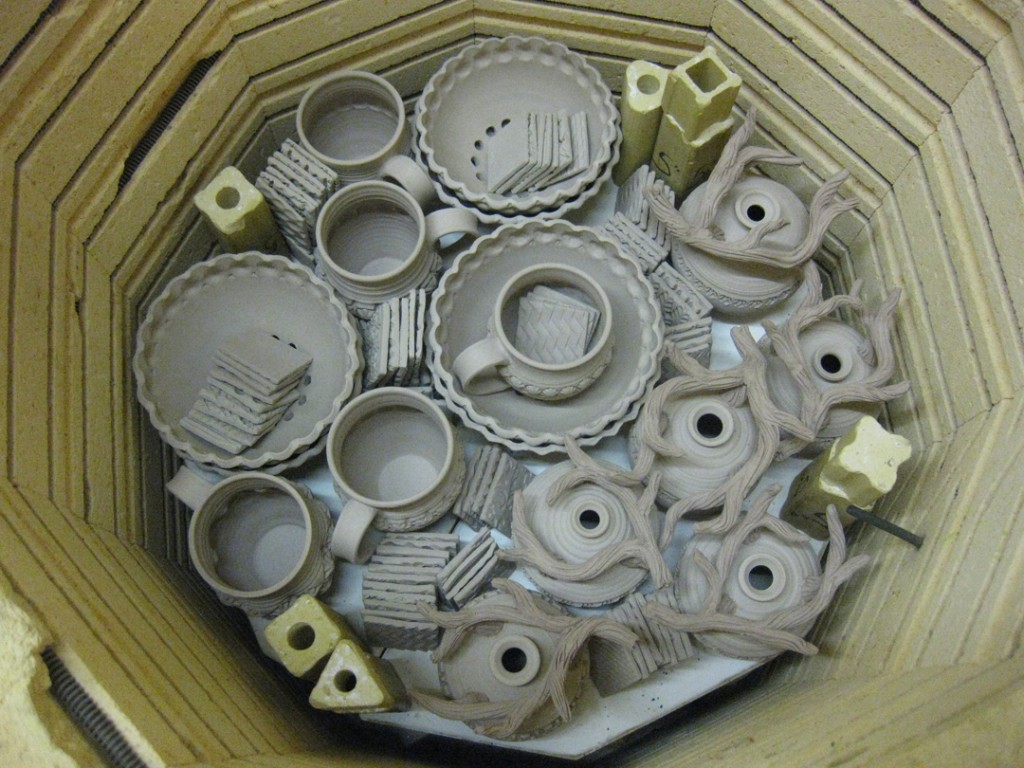
Kiln Layer #1 – textured wall pillows, tiles and two large porcelain platters by my studio neighbor Karen Patinkin.

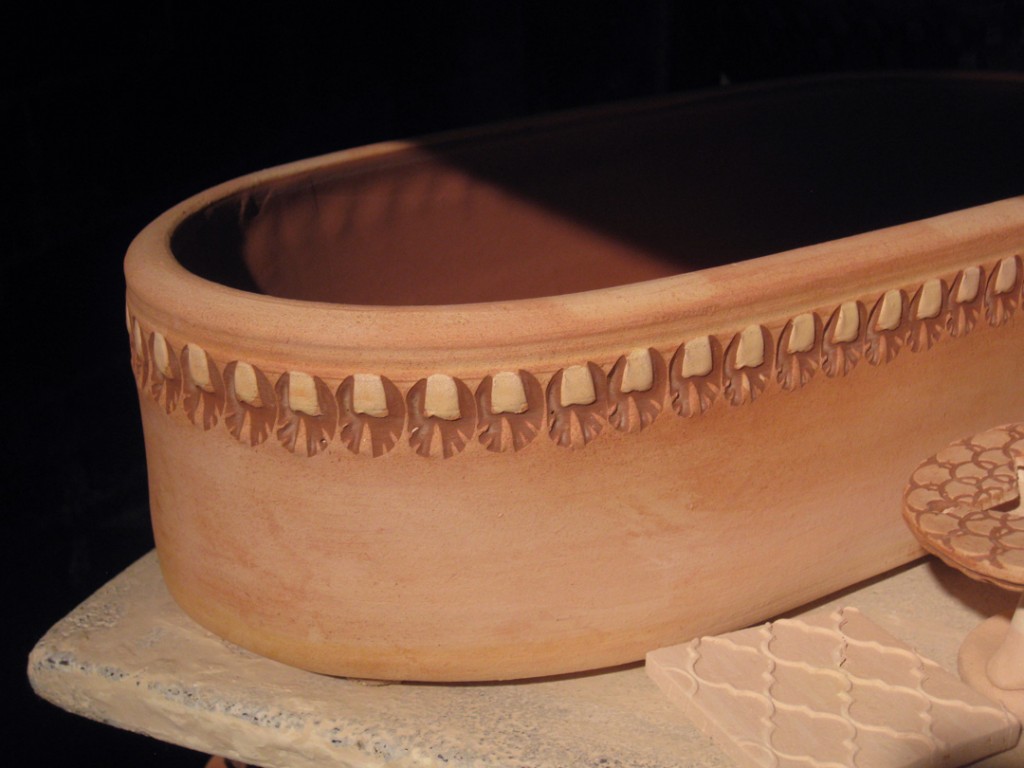
Kiln Layer #2 – a few stacked bowls, textured wall pillows, mini vases & tiles.

Kiln Layer #3 – a partial layer… with textured wall pillows, mini’s and more tiles.

Kiln Layer #3-1/2 – another partial layer of taller pieces… the textured slab vases I made this weekend. Which aren’t quite dry yet… but I’m putting them in upside down so the damp bottoms aren’t flat on the shelves. More room for air flow, evaporation & drying this way. I think.

Still a few damp pieces in there… but they won’t be for long! Preheat already on…


Categories: bowls, kiln firing, process, production

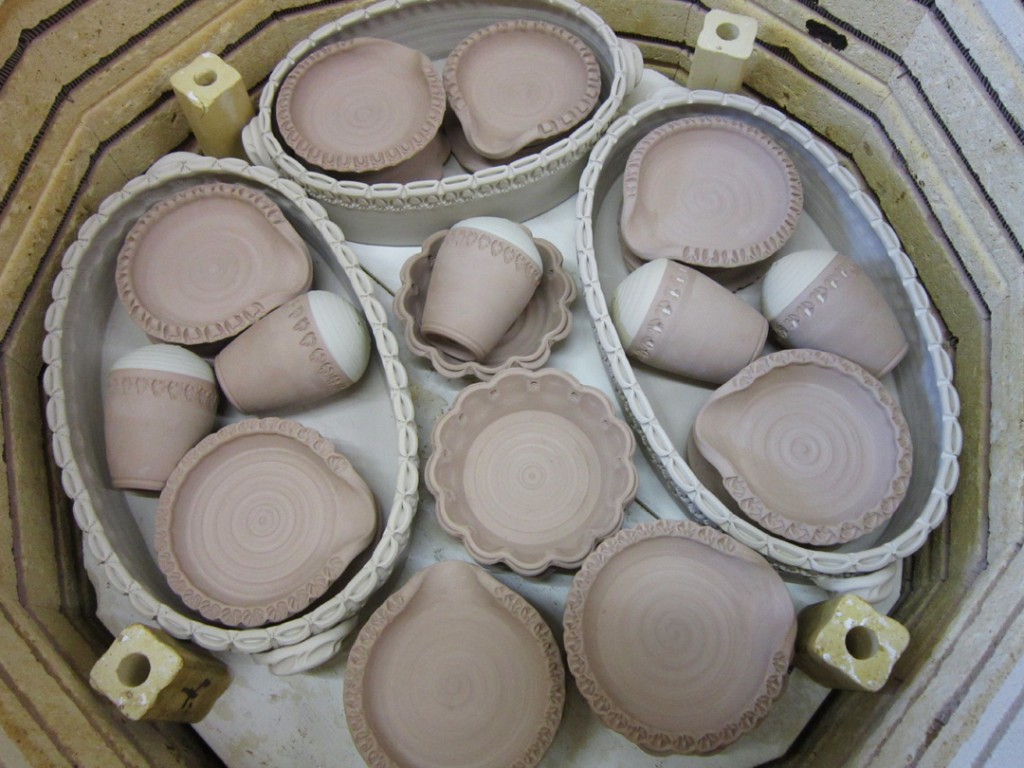
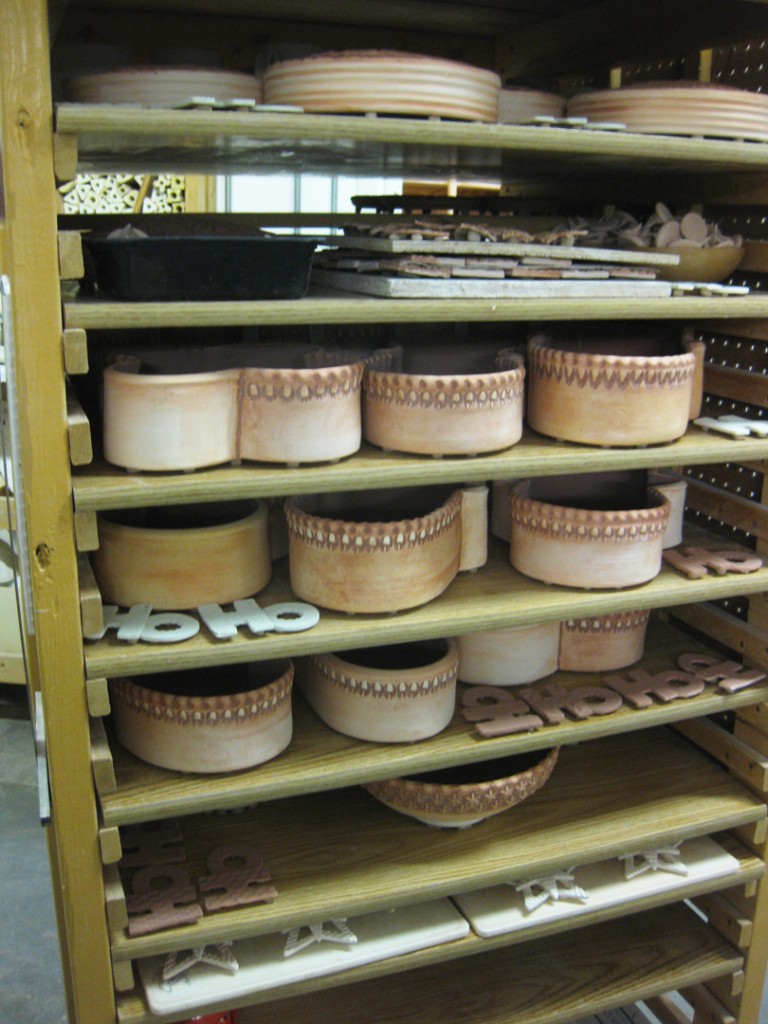
Tonight I loaded another bisque kiln. And as usual, I tried my best to pack it tight. I think I did pretty well this time… and sadly, a few bowls & an oval casserole did not make it in!!! Good thing I have another bisque kiln scheduled for early next week. For which I need to make a LOT of work to fill that one too!!!

Kiln Layer #1 – flower pots, tumblers, salt & pepper shakers

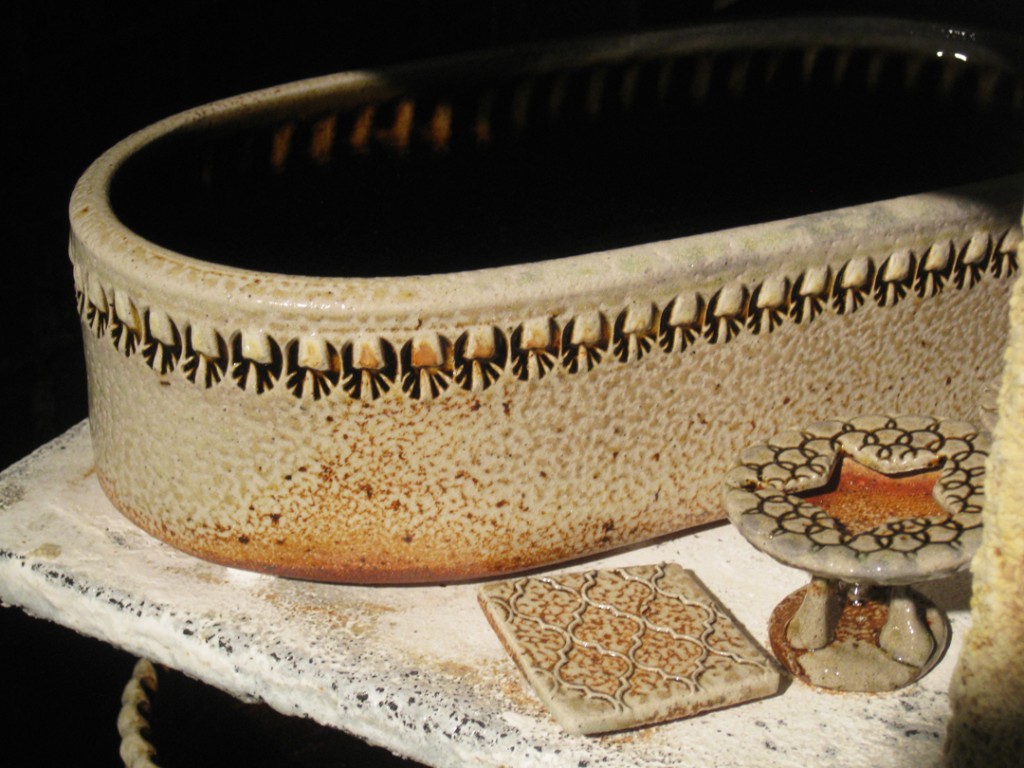
Kiln Layer #2 – oval casseroles, flower pot drip plates, salt & pepper shakers & tiles.

Kiln Layer #3 – oval casseroles, spoon rests, flower pot drip plates & salt & pepper shakers.

Kiln Layer #4 – bowls, flower pots, salt & pepper shakers… and two adorable terra cotta mugs made by my little friends AJ & Lizzie… who I’m sure have been waiting anxiously to get their masterpieces back!

Categories: kiln firing, process, production

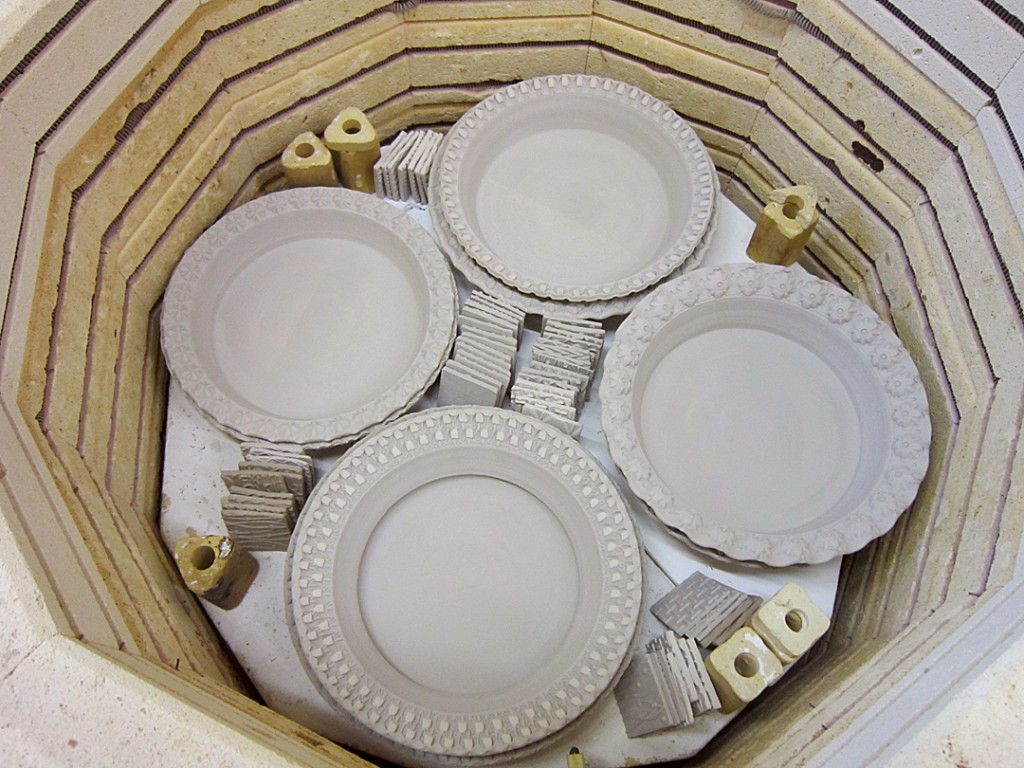
Another kiln loaded and ready to fire. I popped in the last few pieces just before sneaking off to class. A couple pieces were still a bit damp, so I set the kiln for an extended preheat before it kicks into high gear! Fingers crossed that things dry out during that time.

Kiln Layer #1 – mugs, soap dispensers, miniatures & tiles.

Kiln Layer #2 – wall pocket vases, bowls, miniature vases and tiles.

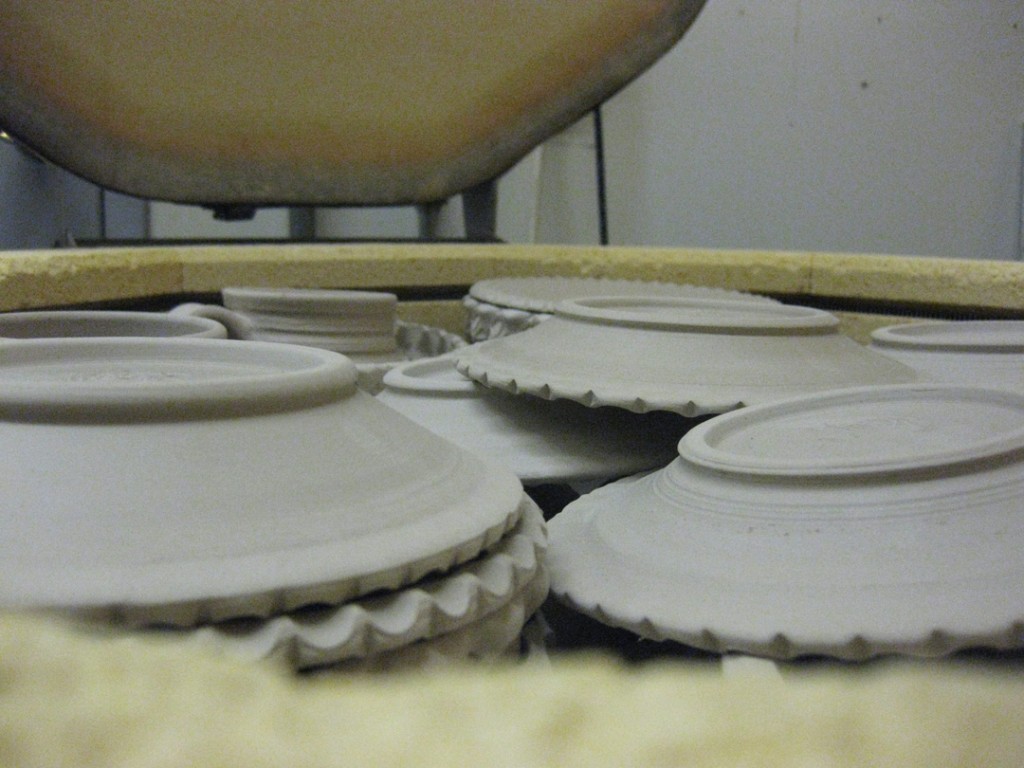
Kiln Layer #3 – new pie plates and tiles.

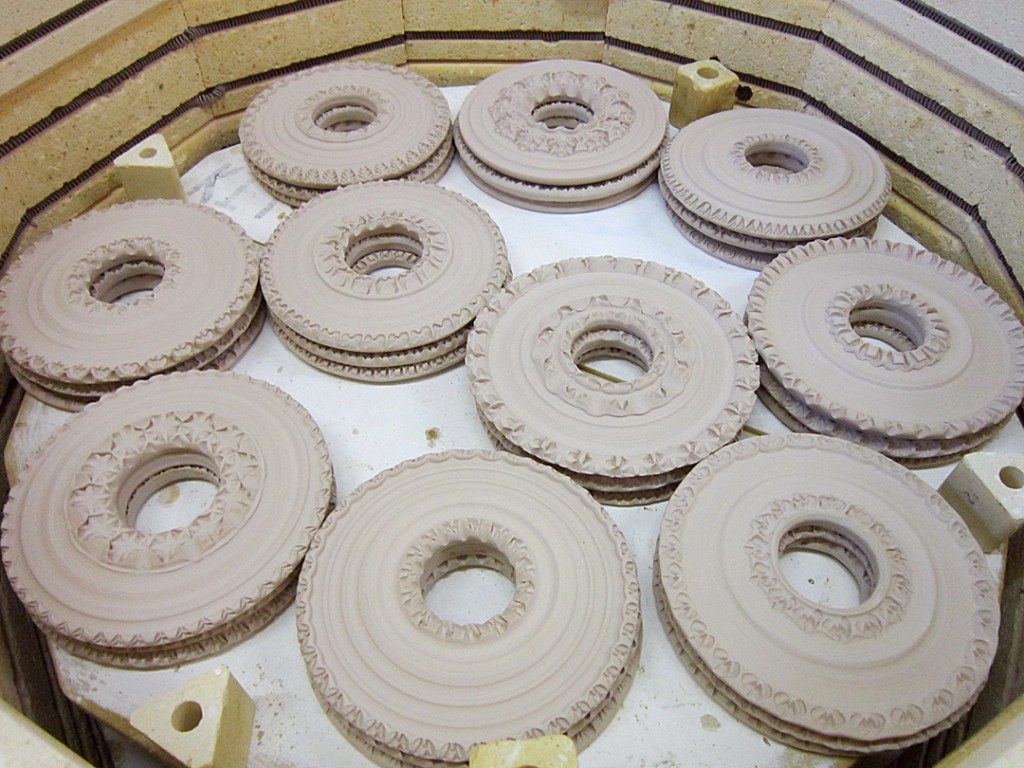
Kiln Layer #4 – stamped discs… that will eventually become ikebana flower vases.

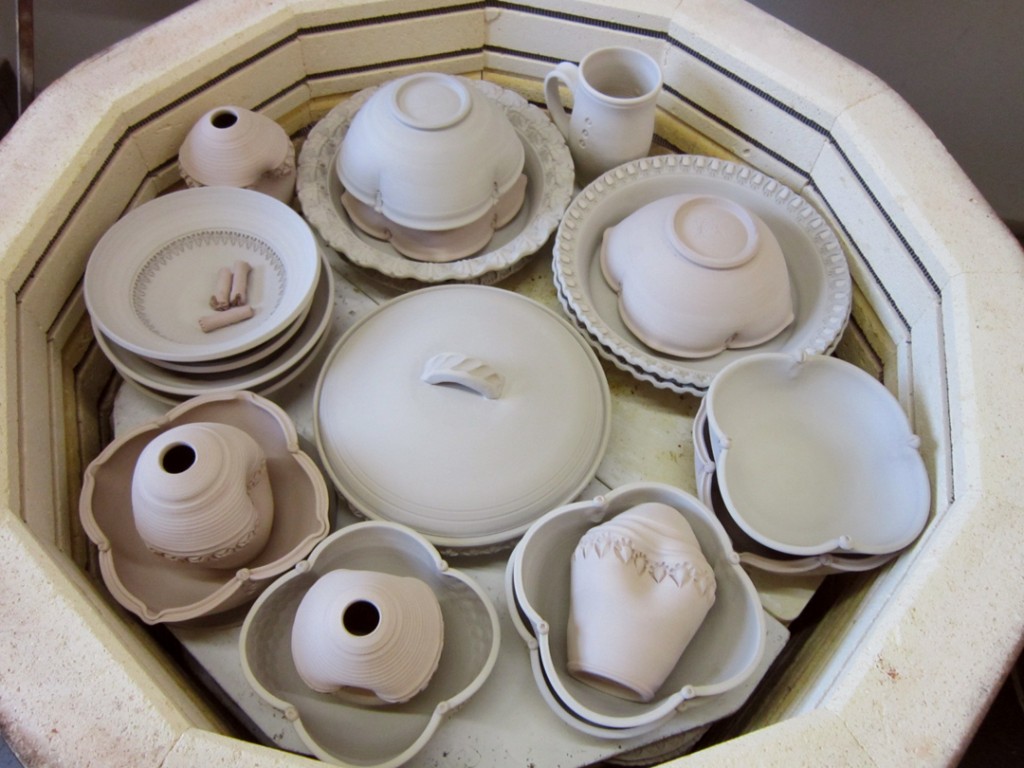
Kiln Layer #5 – pie plates, bowls, soap dispensers & a lidded casserole.

Close to the top, but still a smidge of room. If only I had planned a little differently… I’m sure I could have squeezed even more in here!!!


Categories: kiln firing, production

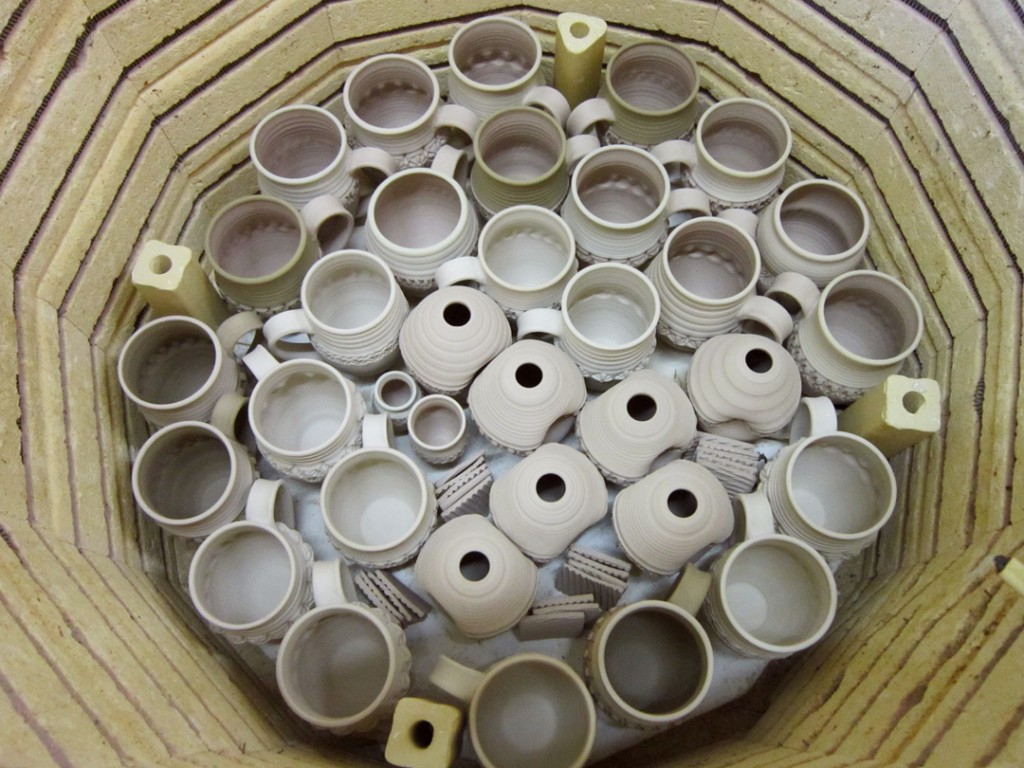
Tonight I loaded my first bisque of the New Year. I’m trying to get a couple pieces done quickly so I needed to bisque… yet my normal kilns were already being loaded & fired by someone else. So I had to go with a slightly smaller electric kiln than normal.

Kiln Layer #1 – mugs

Kiln Layer #2 – berry bowls, mugs & oil lamps.

Kiln Layer #3 – more mugs, more berry bowls, more tiles & some new stamps.

Kiln Layer #4 – a couple last mugs, berry bowls and a lot of plates to go with the berry bowls!

Well, the kiln may be smaller… so I really needed to pack it tight ALL THE WAY to the top!!! As long as the lid still closes, right???

Categories: kiln firing, pottery, process, production
Categories: kiln firing

Tonight I opened up my soda kiln. It was still a little toasty… but who can wait?!
So I unbricked the door and gave it a few more minutes to cool before I dove in to start unloading. The front stack of the kiln looked a little “blasted” with soda. But that’s to be expects. I know that I pack my kiln tighter than most. And if I hope to get soda “pushed” all the way into the middle of the kiln, sometimes I need to “sacrifice” a few pieces in the front. And while I’m not a huge fan of “overly-blasted”… some people prefer them. And I must admit, overly-blasted is always better than dry!
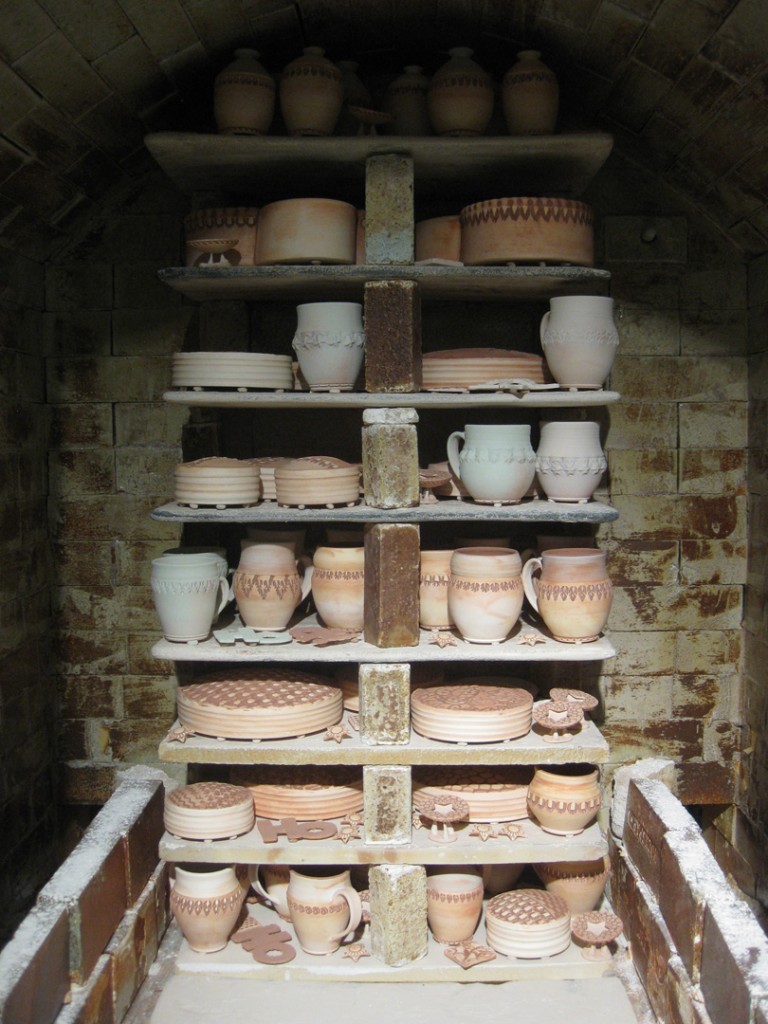
And a little bit closer… showing some test tiles of different slips.

After I had unloaded the stack of the front two shelves, the third shelf (back stack) is still standing and waiting to be unloaded. A further reach into the kiln… but a lot cooler by the time I got back there.

And a little closer view of the back stack… and some more colorful mugs!

So at this point, everything is unpacked and loaded into crates. I’ve got to shlepp everything out to my car. Plus, all of the “fun” part of firing the soda kiln. Not only do you work hard to unload everything – but you still need to scrape all the shelves, re-kiln wash everything, sweep out the firebox, throw away the garbage and sweep the floor. A LOT of work for one person – especially after doing several long days of getting ready for the firing!!! Worth the work. Worth the effort. Especially when you get all of these treasures in the end.

Categories: kiln firing

So it’s been a very busy couple of days. Glazing. Wadding… Glazing. Wadding…
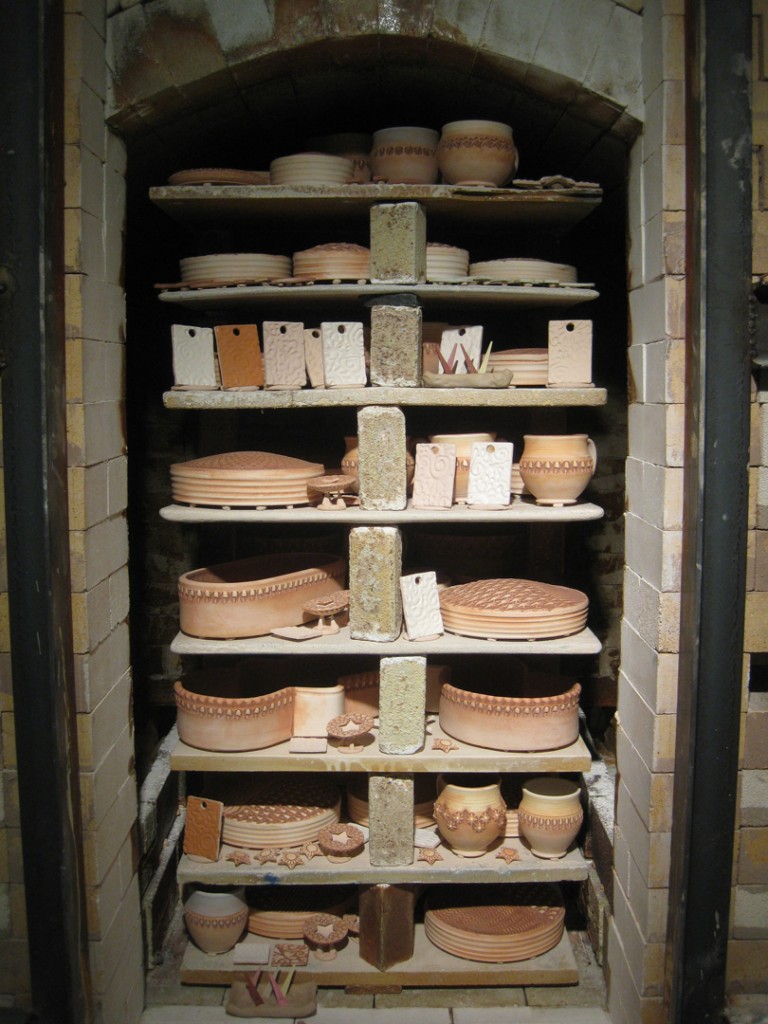
And then I took my studio cart down to the first floor kiln room. Huge thanks to whoever fixed the freight elevator. When I checked Tuesday evening, the freight elevator was “out of order.” And I was NOT looking forward to carrying everything downstairs by hand. Luckily… the elevator got me (and my cart) downstairs in one piece.

And so I started loading the kiln.
Kind of exciting as this is my first firing in the new Lillstreet soda kiln. Not that it’s any different really

Once the back stack was loaded, I started on the front. It always fills up faster than I think it should. I start out thinking there is SO much space to fill. Hoping that I have enough work to fill it. But then all of a sudden, it fills up fast. Luckily, this time I got EVERYTHING that I had glazed & wadded into the kiln.


Categories: kiln firing