Gary Jackson: Fire When Ready Pottery
A Chicago potter’s somewhat slanted view of clay & play
Categories: classes, kiln firing, soda-fired

THE BIG REVEAL.
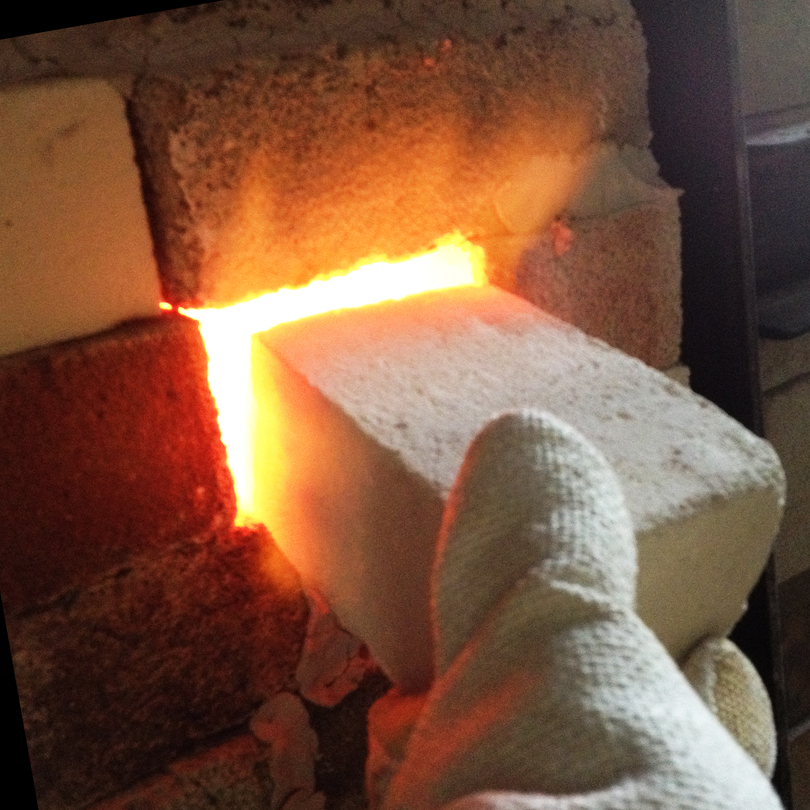
A quick peek into the top as we started to unbrick reveals a well-melted cone pack.
Cone 10 just a bit flatter than I would normally go for, but it took our class a bit longer to get all of the soda mixture into the kiln. Oh well… still a beautiful kiln full.
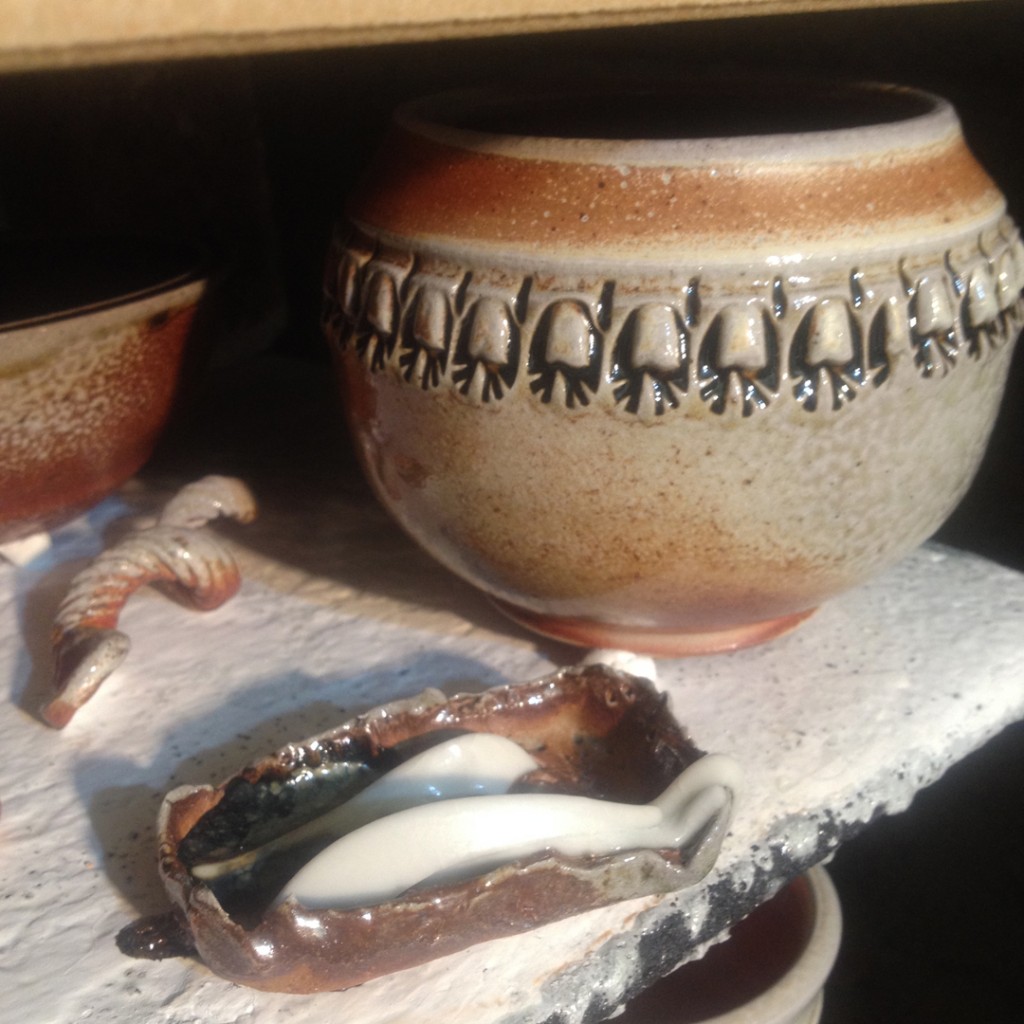
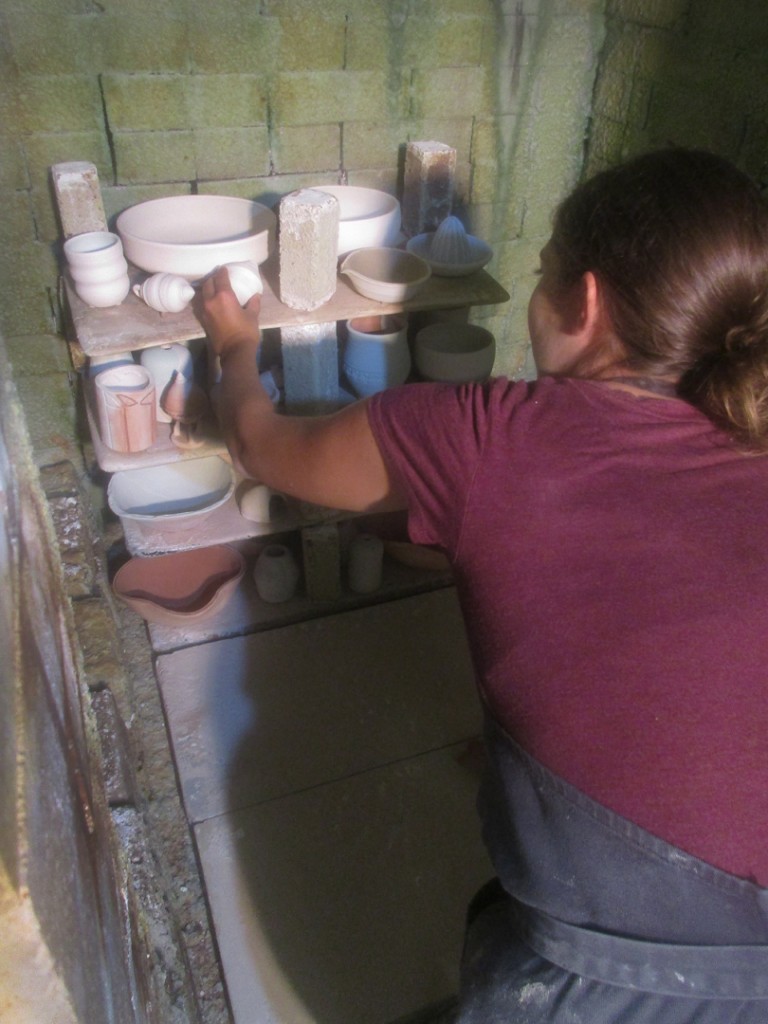
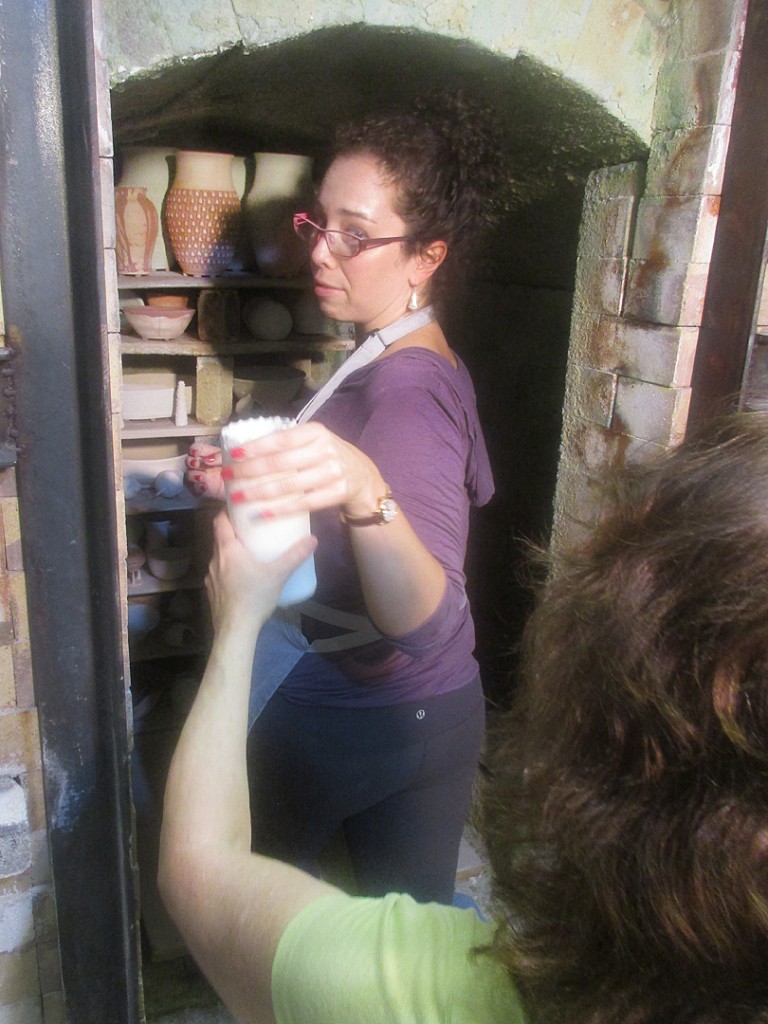
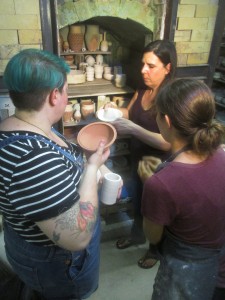
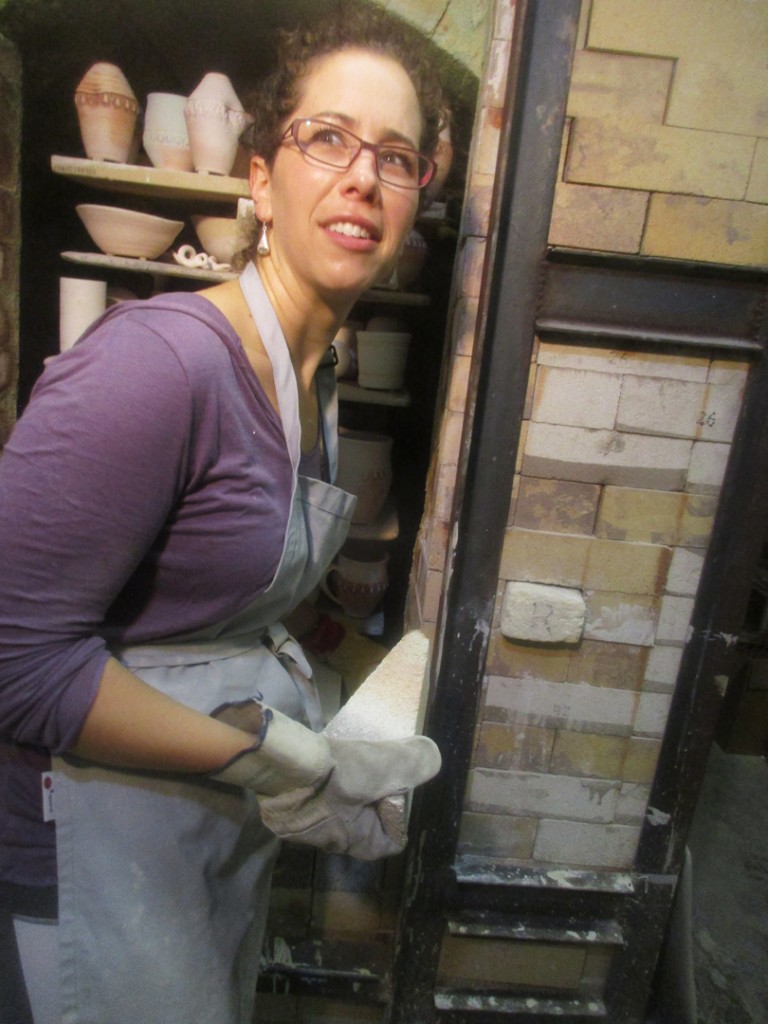
After the door bricks were removed, the Soda Workshop Team started unloading their kiln. Piece by piece. Shelf by shelf. Post by post. Trying my best to limit the ooh-ing & aahhh-ing until later. I thought it would be best if we got all of the pots unloaded into one of the classrooms… and then clean the kiln, scrape the shelves and kiln wash before we start to admire their treasures! I was afraid that if we started the admiration process, I may never get them back into the kiln room to do the “ugly” part of the process.


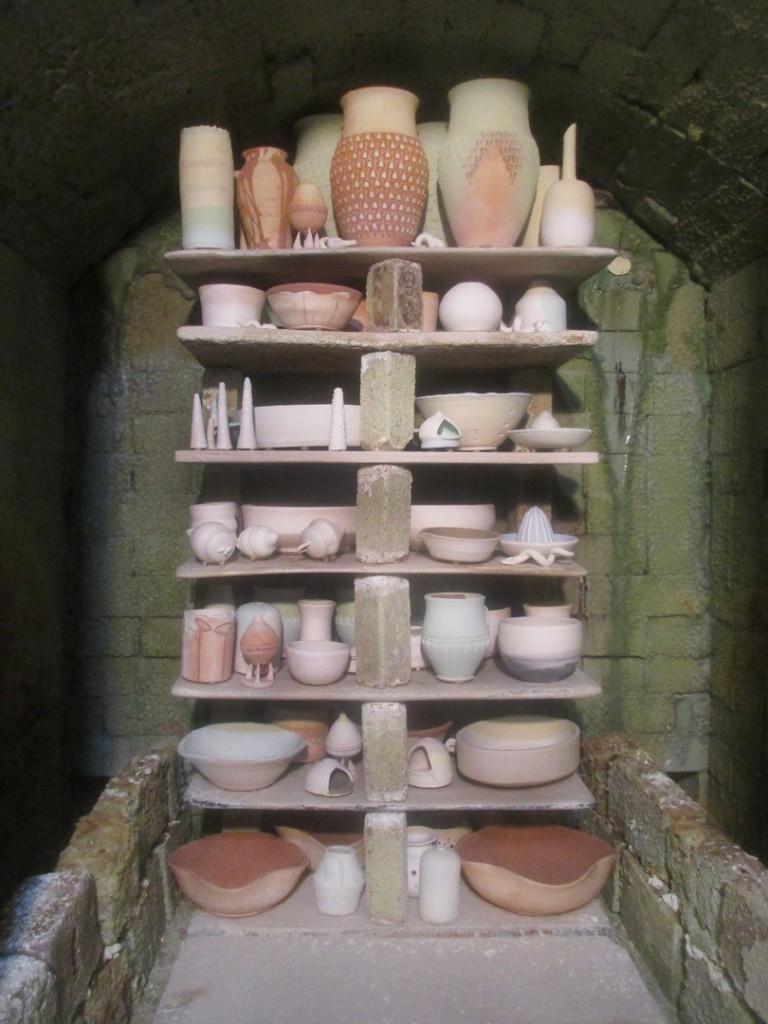
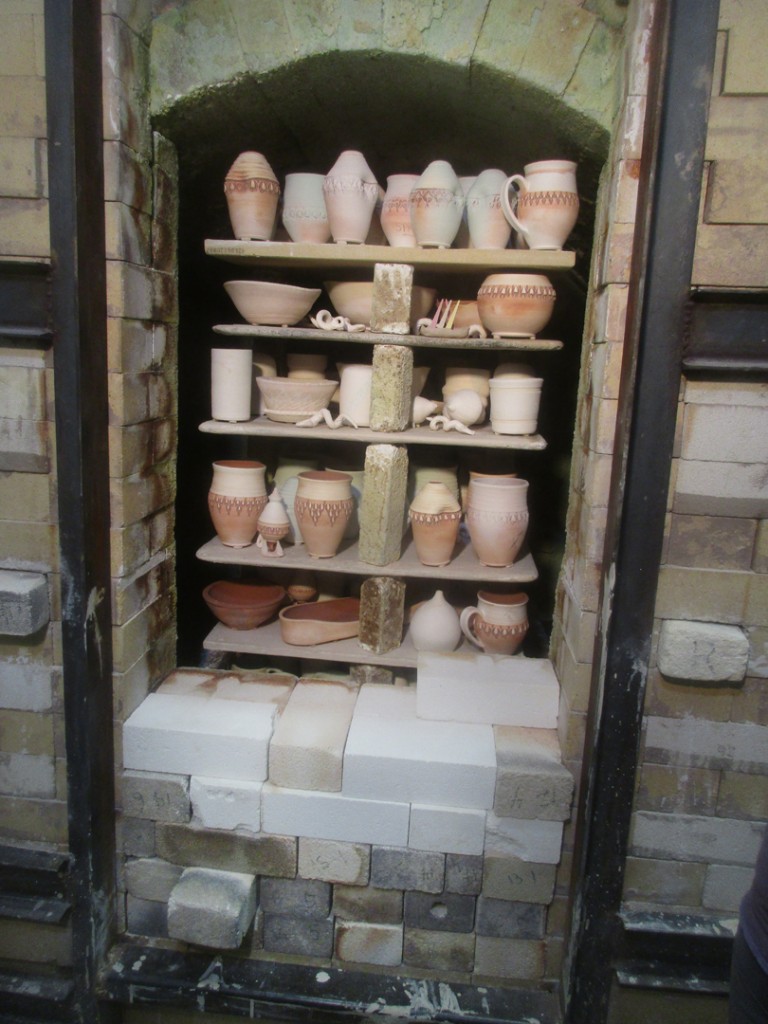
A quick shot of the back stack before it was unloaded.
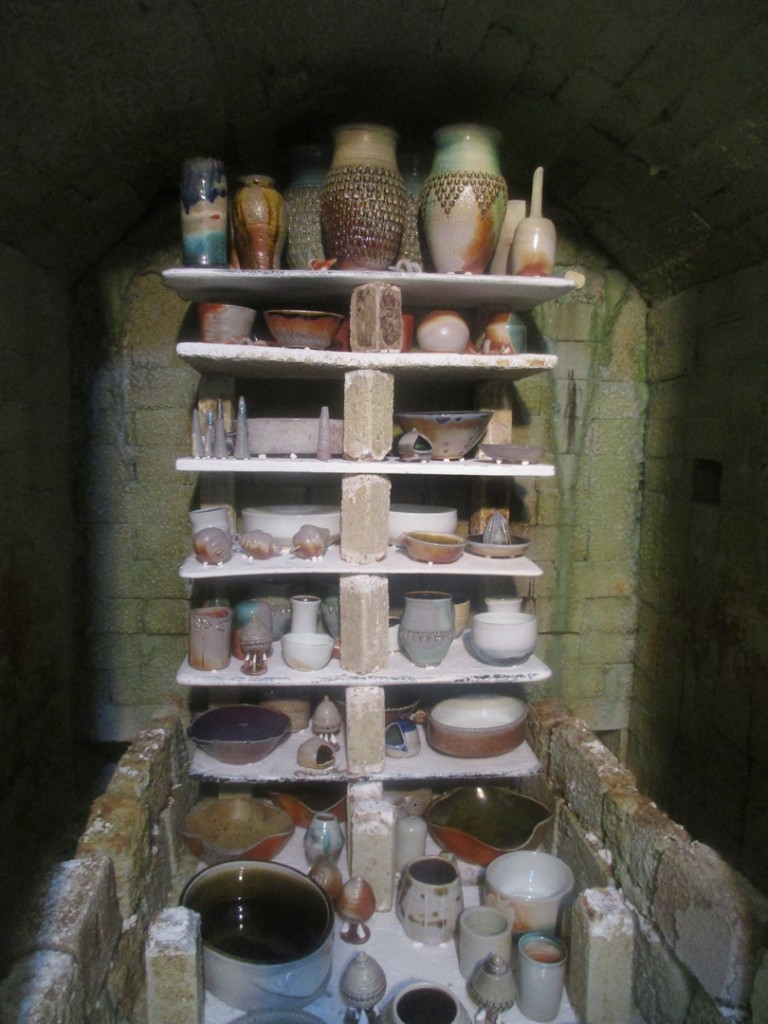
One casualty… it was a large, flat oval casserole. It was liner glazed with Reitz Green and nothing outside. Rachel wasn’t too upset as it is all part of the learning curve. But she also couldn’t help herself with camera is at the ready!

It was such a “perfect” crack that we think it might have been a bad glaze fit. With the inside lined with glaze, and nothing on the outside, the shrinkage differential may have been too much for the low, flat oval casserole. The cracks were right through the walls of the pot… nowhere near the construction points as you might expect.

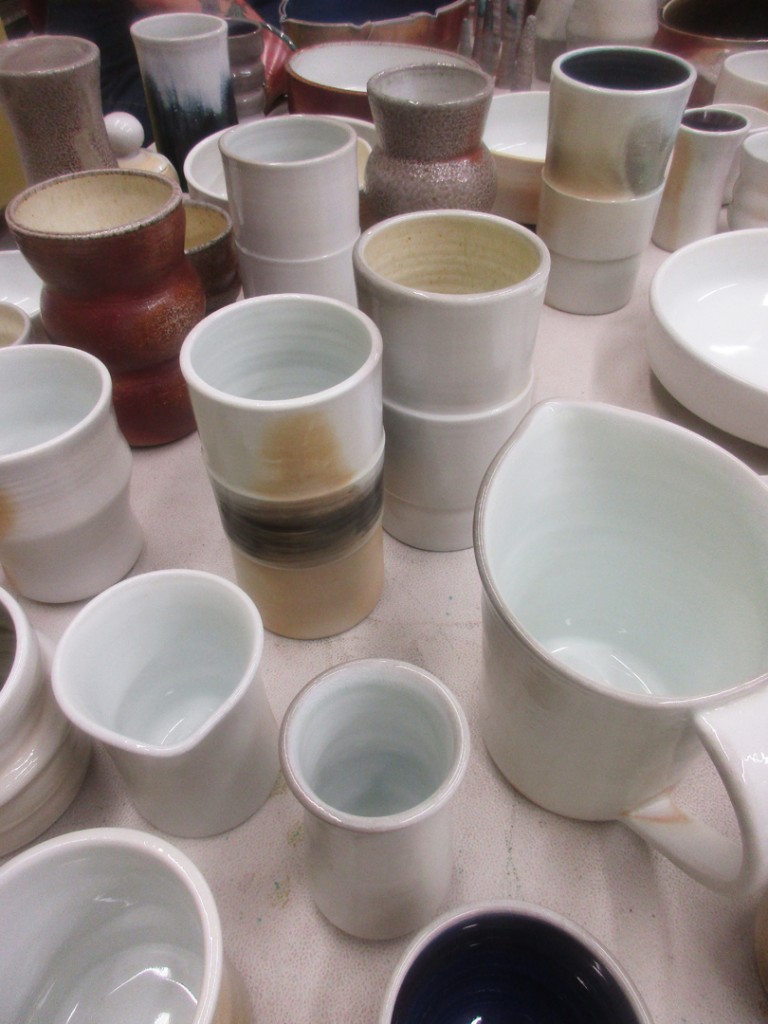
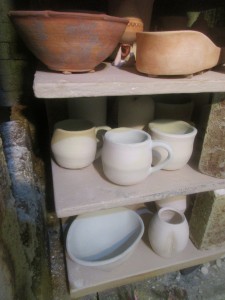
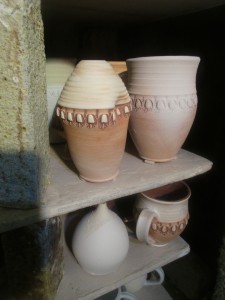
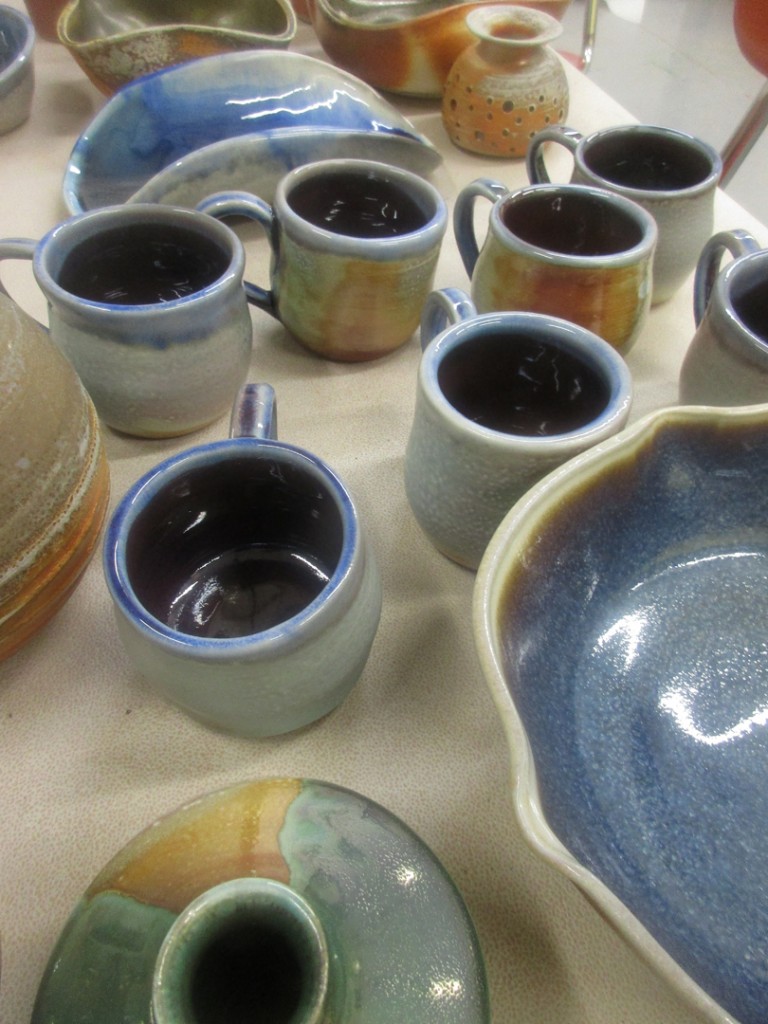
As their soda-fired pots began to pile up, it was tough to stop the admiration! So many beautiful pots. So many new things to learn. So many excited Soda Workshop peeps!!!

All too soon, it was back to the “ugly” part of the process. They scraped the shelves down and then re-painted them with kiln wash. My very least favorite part of the entire process. I would much rather scrape than kiln wash!!!

So many shelves that they had to expand into the larger kiln room to spread the shelves out.

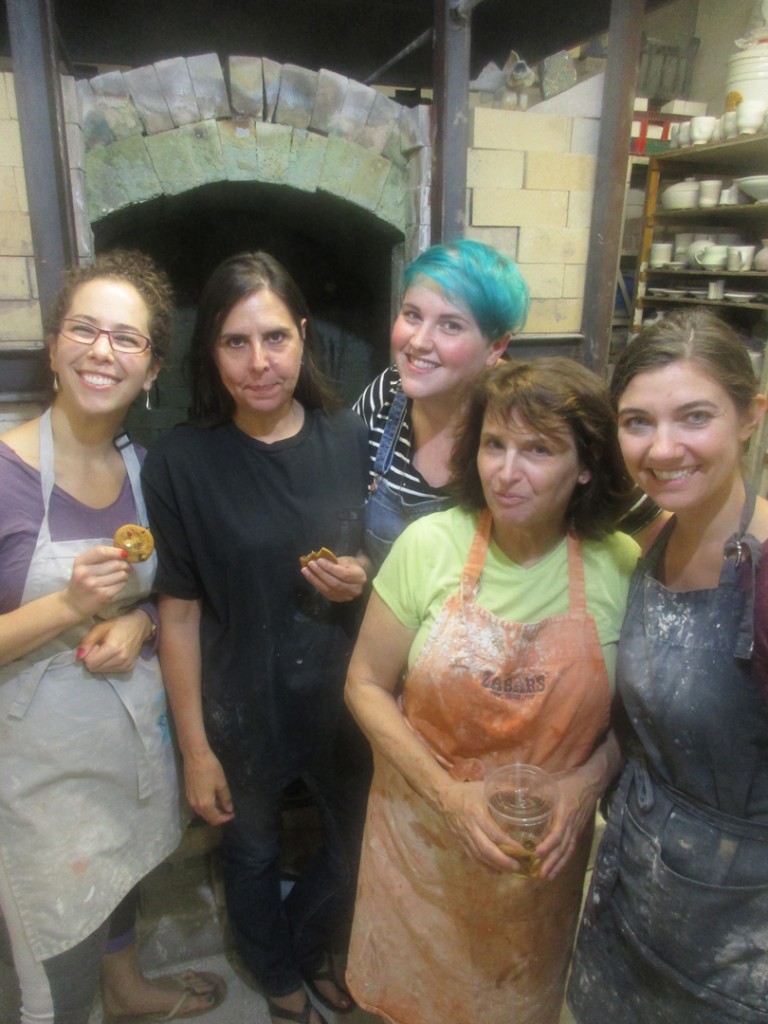
It was a long thee days. Yet never enough time to bequeath all of the soda-firing information. So much to share, so little time. I’m pretty sure the Soda-Firing Workshop students had a great time. Their pots turned out great… and now they have been bitten by the “soda” bug. Let the addiction begin…
 

Save

Categories: kiln firing, stamped

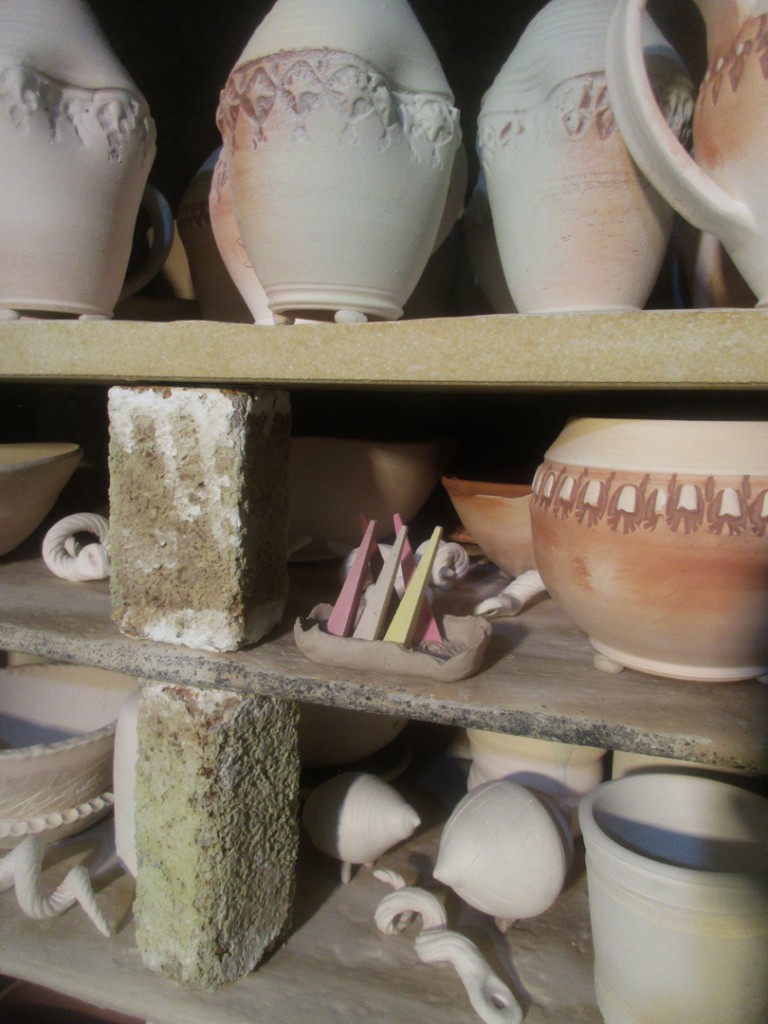
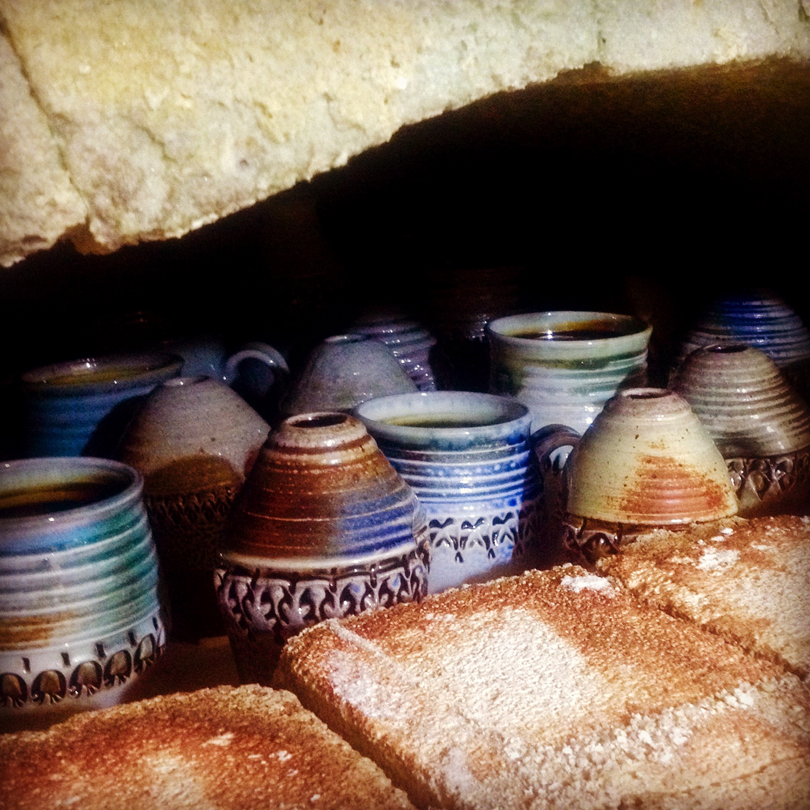
This morning I took off the first row of bricks to help speed up  the cooling process. I’m pretty sure my Soda-Firing Workshop students will appreciate unloading a cooler kiln. It’s never fun when everything is all too hot too handle. Plus, when you take out a couple rows of bricks… you also get a sneak peek of the treasures inside. Looks like a few of my stamped pots made it in as kiln filler for the workshop firing.

Categories: classes, kiln firing, workshop

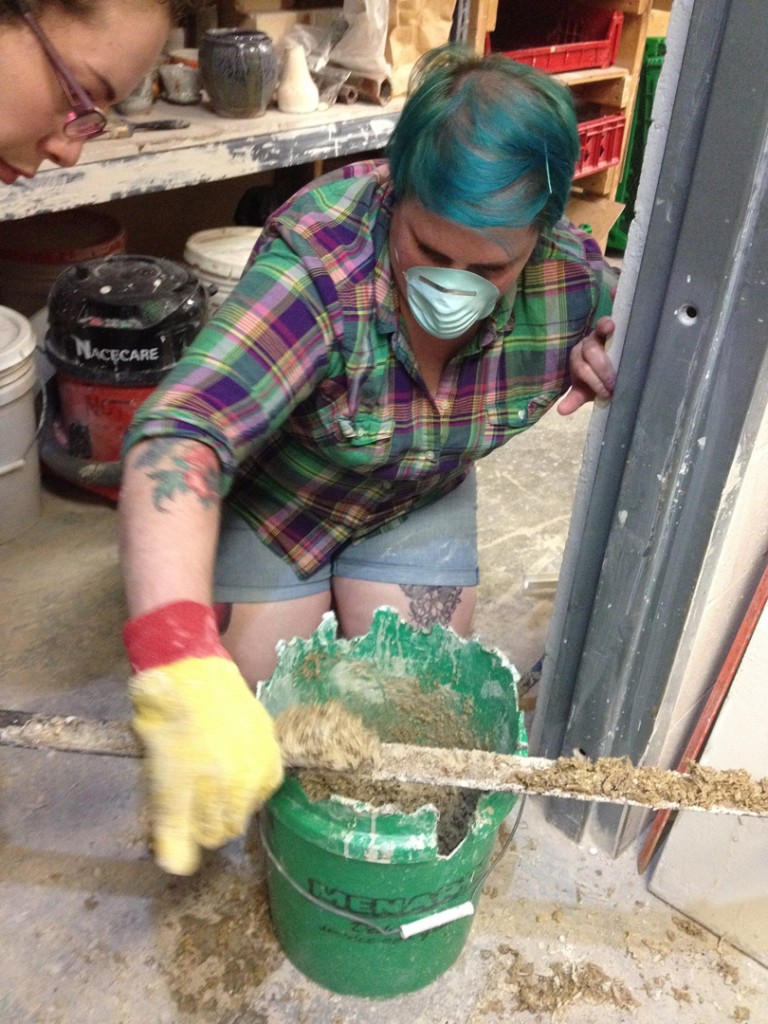
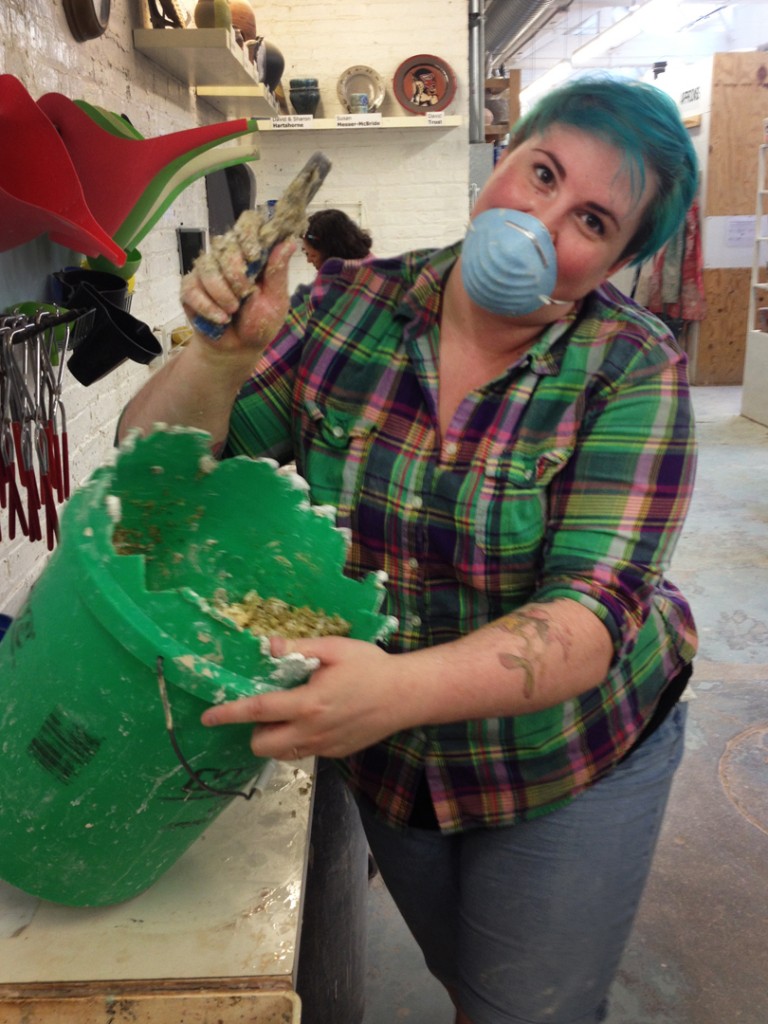
After a very short sleep, I was back in the studio firing the soda kiln. Day Two of the three-day Soda Firing Workshop. My students came back towards the end of the firing in time to help put the soda mixture in. Since this is the very first firing experience for any of them, I thought it was important that they get the full experience. Doing all of the work if possible. Including the oh so glamorous job of mixing the soda mixture…

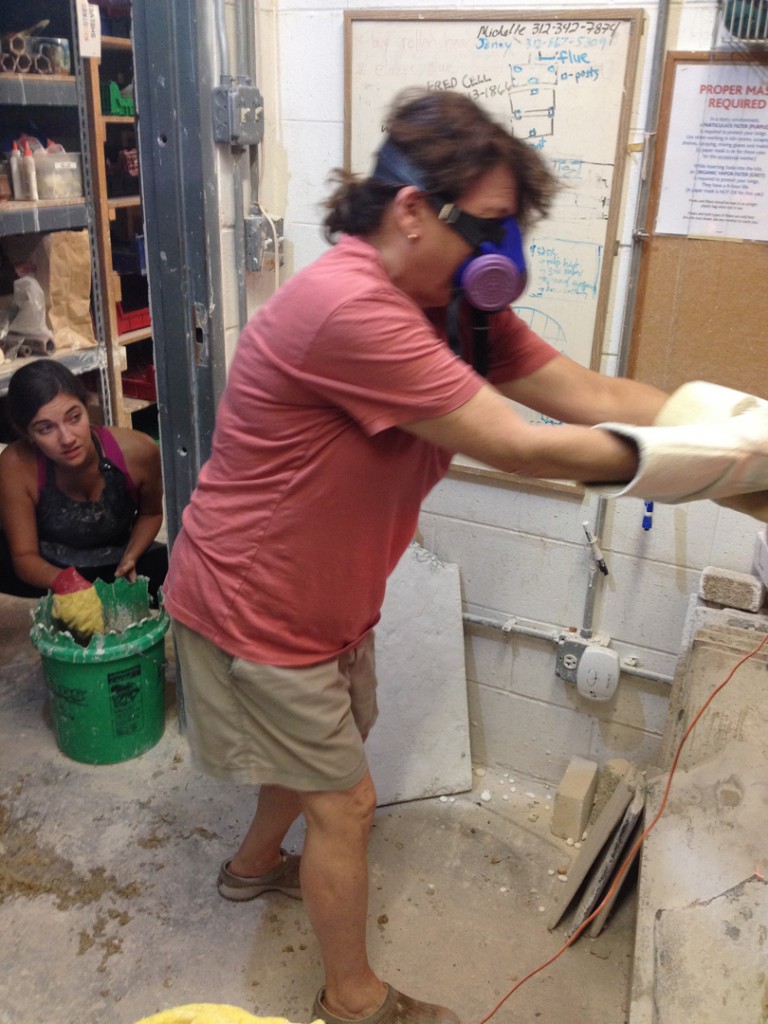
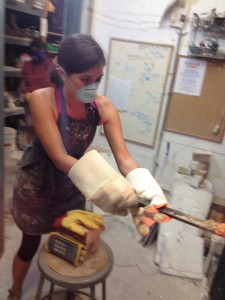
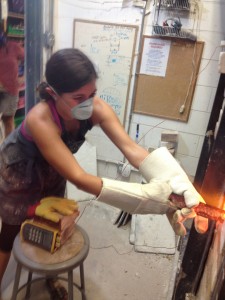
Then when the kiln was ready, we started insert the soda mixture. I like to put it in when cone 8 is mostly down and cone nine is starting to soften. I gathered the group, explained our process and then had them do the soda insertion. Starting with laying the mixture onto an angle iron.

The loaded angle iron is then inserted into the peeps so that it dumps into the side fire boxes. They were a little apprehensive of the flames shooting out at first, but quickly warmed up to it. And found the fun & excitement of playing with fire!!!

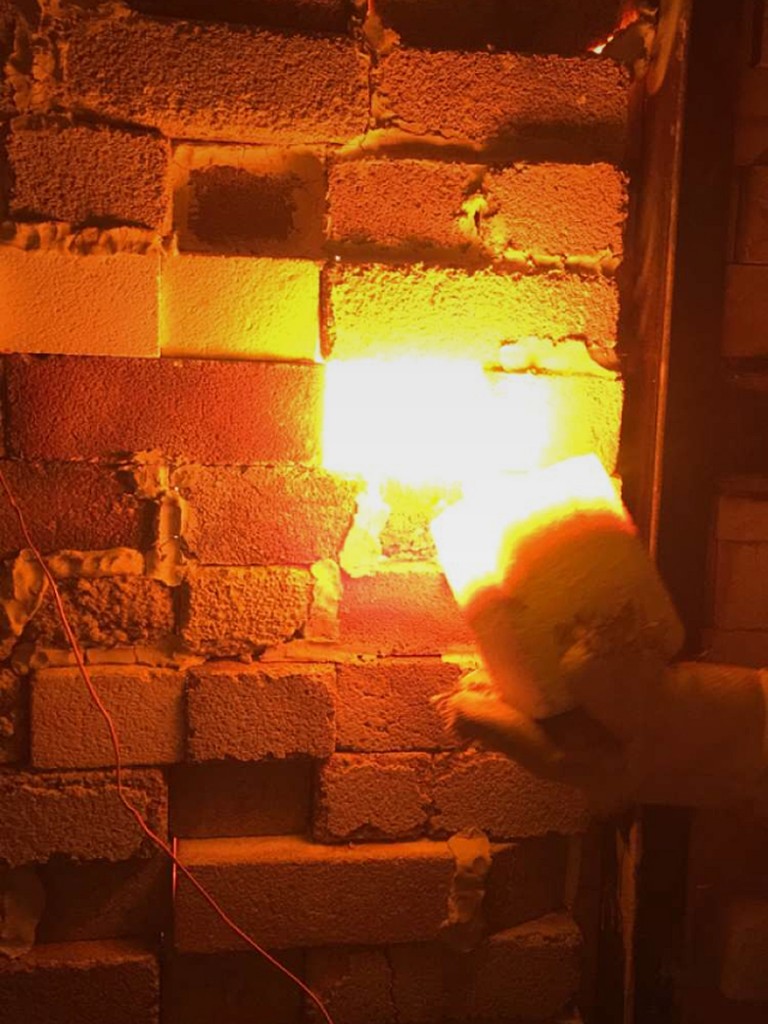
Beautiful flames as the peeps are pulled out to check the cones. Glowing. Orange. Fantastic.

As we’re nearing the end of the firing, it’s always fun to see the flames peeking out between any brick it can.

So now the kiln has been turned off and the cooling has begun. It will cool all day Sunday, as well as most of Monday. My Soda-Firing Workshop students return MOnday evening to unload their kiln, admire their pots and do some kiln shelf cleaning, scraping & maintenance. All part of the process.


Save

Save

Save

Save

Categories: kiln firing, workshop

Soda-Firing Workshop well under way. The kiln is heating up nicely. We’re currently in body reduction… but a few more flames than expected so I’ve got to back it off a bit. Still so much fun to play with fire!!!

Categories: classes, glaze, kiln firing, process, soda-fired, workshop

After much discussion, I finally decided it was time to teach a Three-Day Soda-Firing Workshop. Many of my Tuessday night Advanced Beginners were looking for a little soda-firing experience. So we’re kicking off the Three-Day Workshop.

Day One – Friday : Glazing, wadding & loading.
Day Two – Saturday : Firing & potlucking
Day Three – Monday : Unloading, kiln cleaning & admiring of pots!!!

We started the evening with a discussion about glazing & wadding for the soda kiln. They had all come with a collection of bisqued pots… so they set about to glazing & wading. With LOTS of reminders to take good notes and keep track of what they’re doing so we can discuss the results after the firing.

Once everything was glazed & wadded, we moved pots into the kiln room. More discussions about the soda-firing process, air-flow patterns, reduction/oxidation… and other kiln loading basics like how to stack with shelves & posts.


Back stack done… time to move onto the front stack of two shelves. Lots of discussions amongst the workshop participants. Trying to determine which pots should go where, and figuring out how to get everyone’s pots into the kiln evenly and fairly.

After many-repeated conversations about soda-firing & kiln loading, the workshop participants finally got the kiln loaded.  I think they all have a new realization & appreciation for all the work our Monitors do with loading & firing all of the classroom kilns. For the first time, they had to load kilns themselves… instead of their work just “magically” getting fired. I think it was a LOT more work than they expected… but hopefully they’ll appreciate the process more when they get their finished pieces out of the kiln Monday night.

Excited to have the kiln loaded… and now on to bricking the door.
One-by-one… brick-by-brick…

So now it’s all closed up. Ready to go.
Firing begins early tomorrow morning to kick-off Day Two of the Soda-Firing Workshop.

Save

Save

Save

Save

Save

Save

Save

Save

Save

Categories: kiln firing

So a few of my students are “rushing” to get ready for this weekend’s Soda-Firing Workshop. They’ve been making a lot of pots right up to the wire. Getting ready for their three days of soda-firing fun. In an effort to get things fired in time, some of my workshop students got together to load a couple bisque kilns. Their first time loading kilns!!! Some of the work was a bit wet… but they decided to go for it anyways. They loaded, we resisted nesting wet pieces, we turned things upside-down, we pre-heated and set it to fire on SLOW. Sadly… one of them didn’t quite make it.

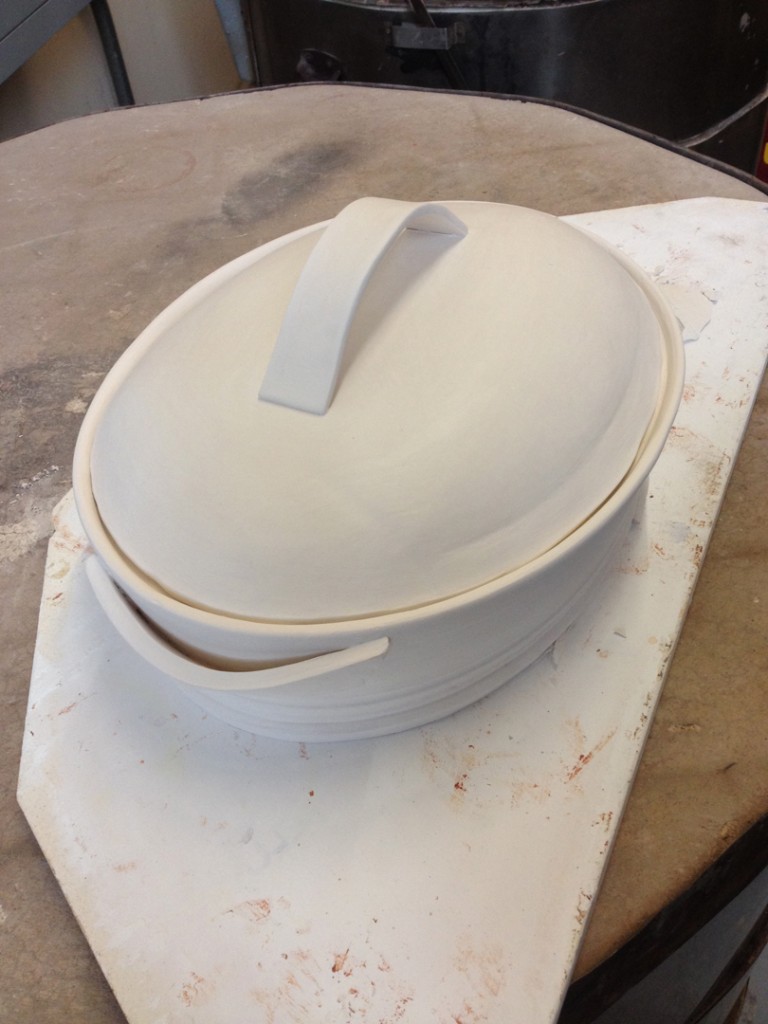
So here’s Stacey’s best covered oval casserole ever!!!
Such a nice piece from one of my Tuesday night Advanced Beginners!
She worked long & hard on it. But it was apparently too wet on the bottom still. When I opened the kiln lid to unload, it looked pretty good.

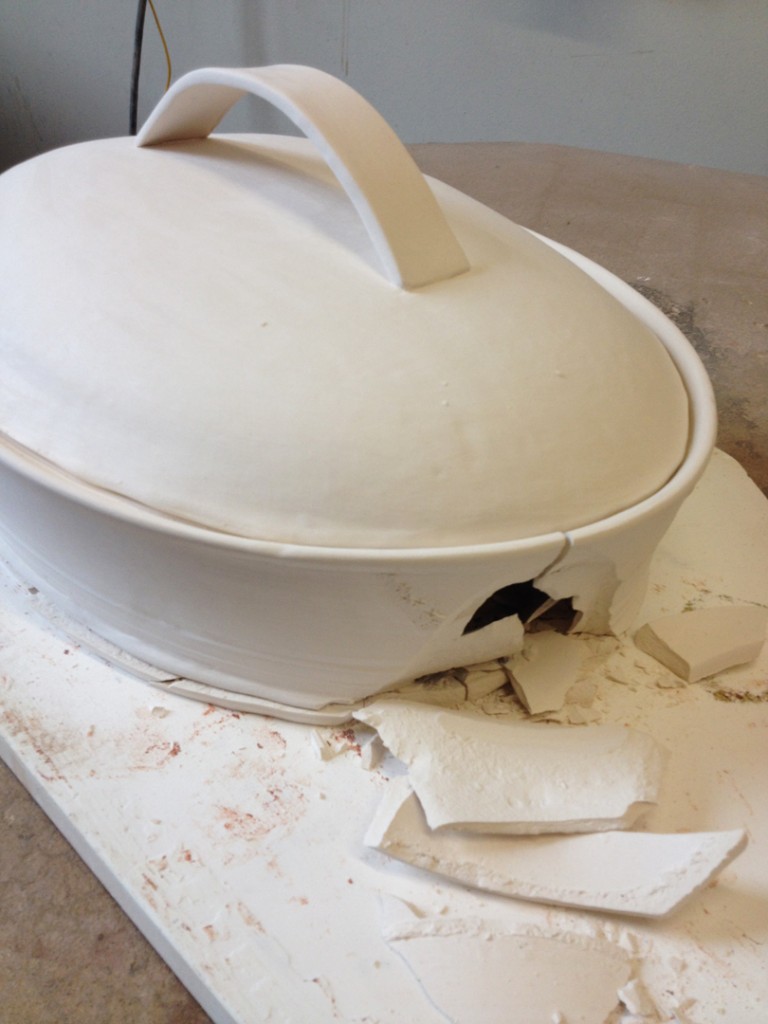
But then I noticed that one of the side handles was broken off… and, uh oh… kind of a gaping hole in the side. What??? This can’t be good…

But then when you lift the lid off… uh oh… worse than I thought…

Important, but tough lesson to learn from their first bisque kiln loading.

Save

Categories: kiln firing
Categories: friends, kiln firing

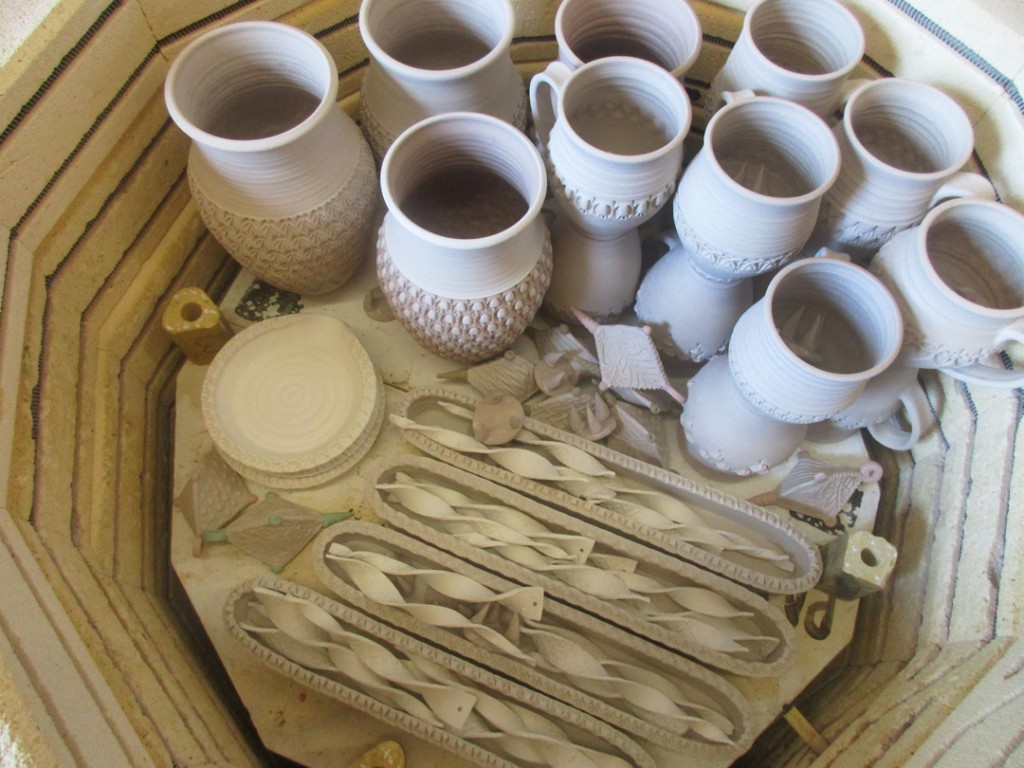
Trying to pull together some pieces for an upcoming soda firing. I’m teaching a workshop and there might be some extra room in the kiln… so I’ve thrown a bunch of stuff that I will have ready just in case.

Kiln Layer #1 – Ovals and mugs.

Kiln Layer #2 – Soap dispensers, mugs and spoon rests.

Kiln Layer #3 – Thin ovals, ornaments, vases and mugs… stacked two high!

Kiln Layer #4 – A partial layer with some olive trays, ikebana circles and ornaments.

Kiln Layer #5 – Another oval, bowls and ornaments.

And you know how I like a well-packed kiln… especially when it come so close to the top!

But the best part of my kiln loading was the “Special Guest” who stopped by to help.
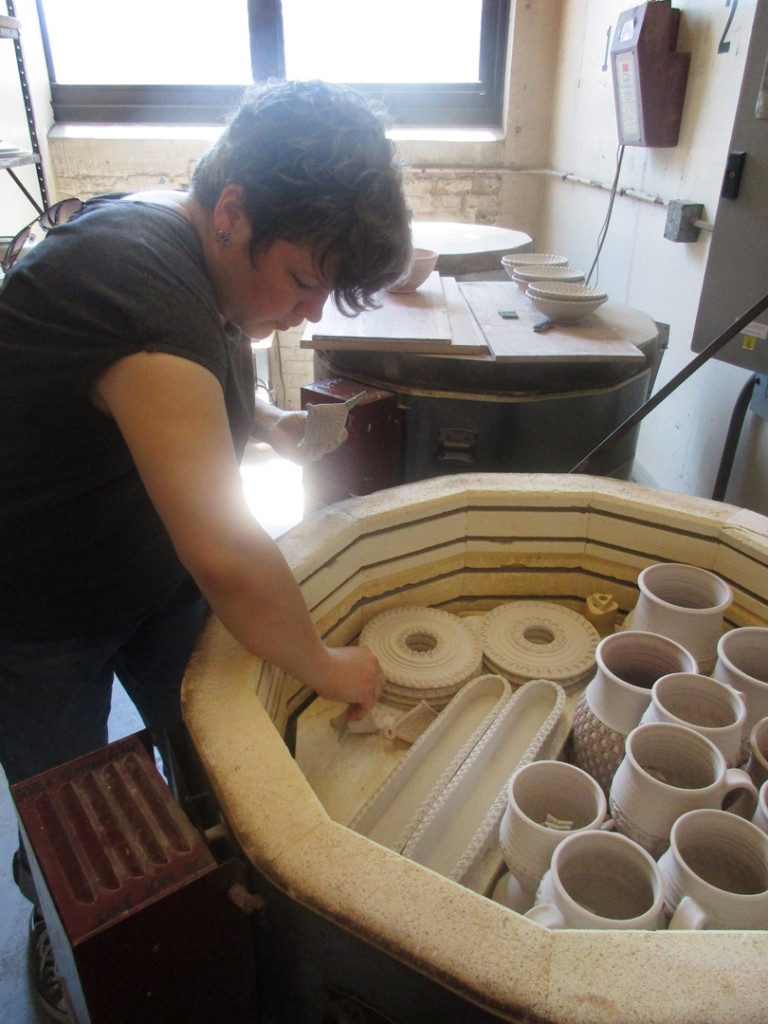
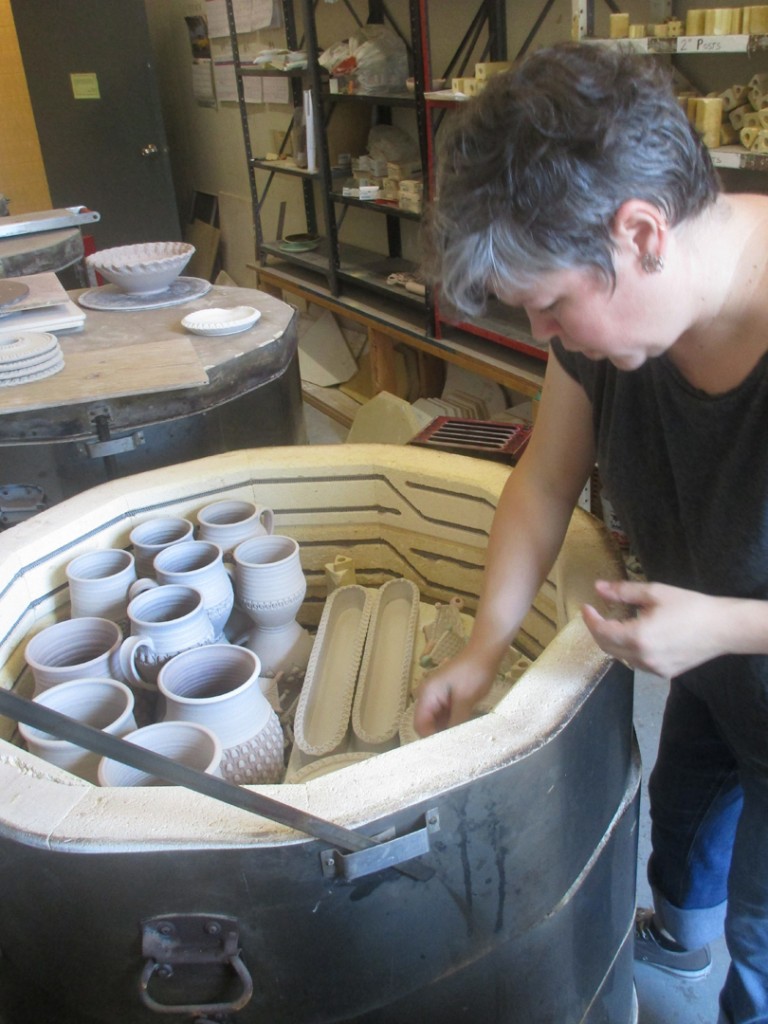
My friend and amazing metalsmith Sarah Chapman just happened to be in town and stopped by for a visit. She offered to help… and of course I said yes. I’m always up for “free help” and playing with my friends. I think Sarah really enjoyed her first real kiln loading.  A sort of 3D Tetris game played with fragile greenware. She did a GREAT JOB!!!… and I “paid” her with ice cream over at Margies!!!

Save

Save

Save

Categories: kiln firing, soda-fired

Step up on your tippy-toes and you can get a quick peek into my soda kiln as it cools throughout the day. Looking forward to the “treasure hunt” tonight as I unload the whole kiln with fingers crossed.

Categories: kiln firing

My soda kiln is firing smooth today… cones are falling… adding soda mixture…
we’re getting really close to cone 10. Almost ready to put it to bed for the night!